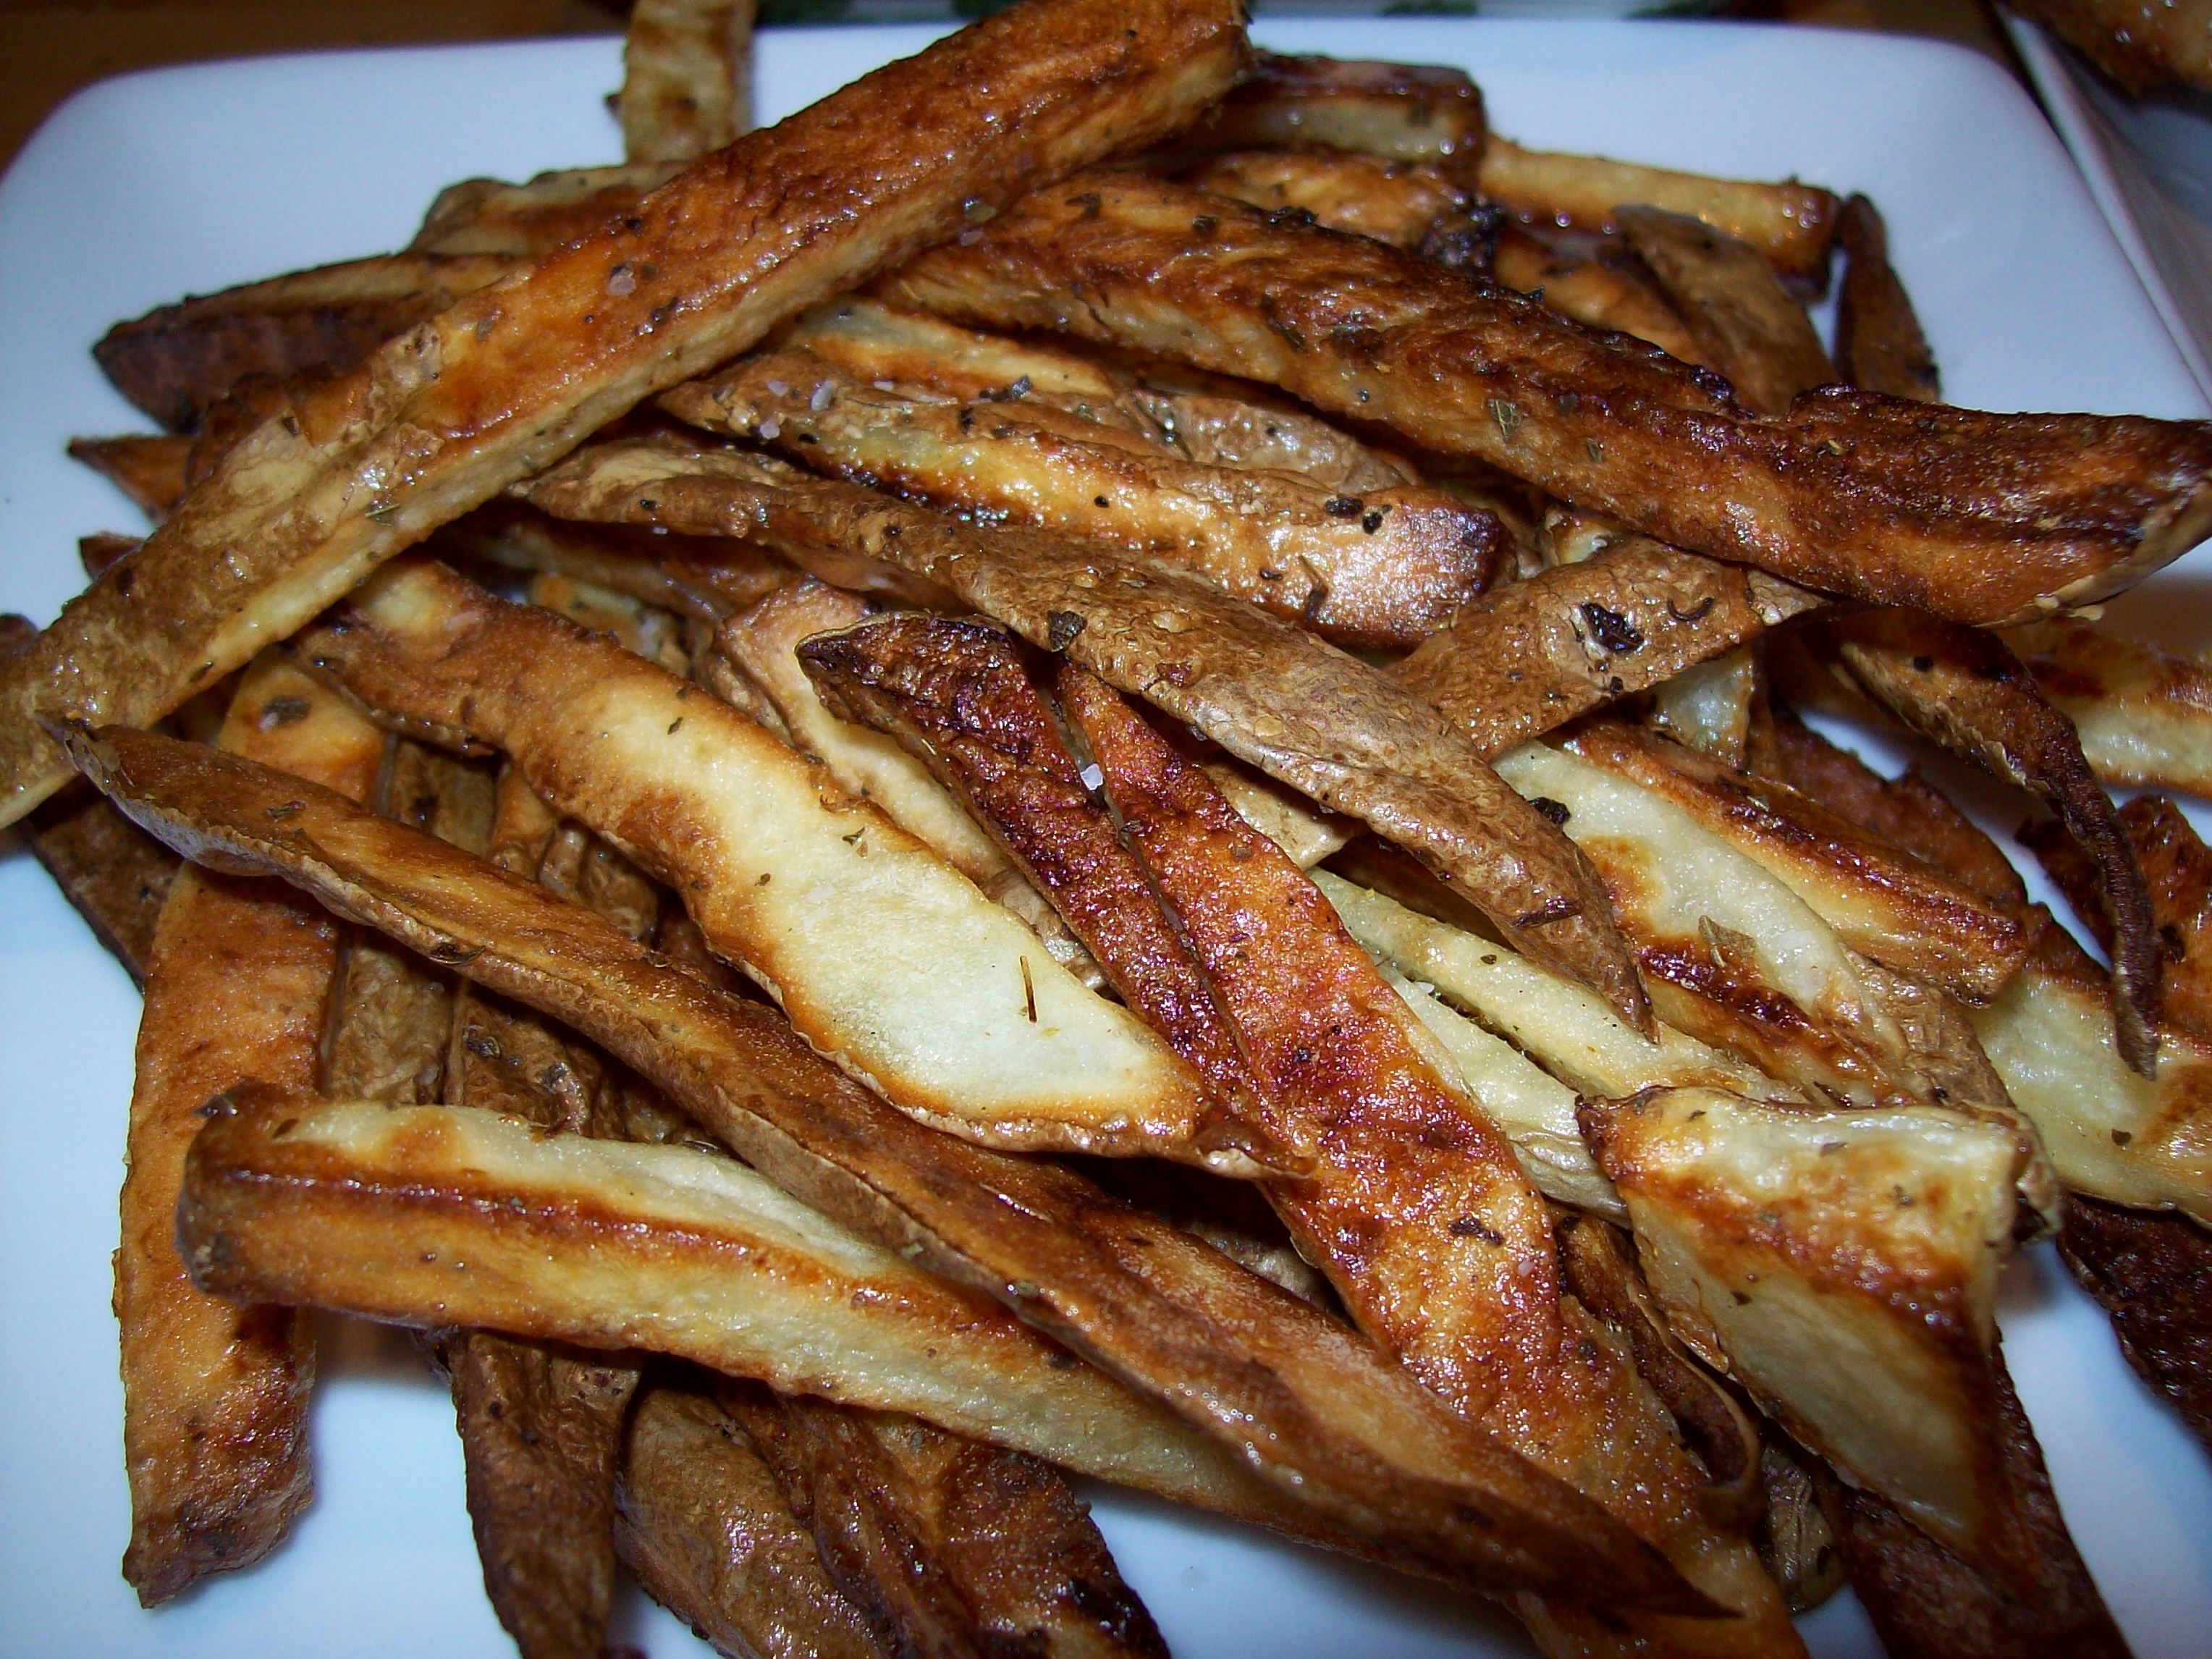
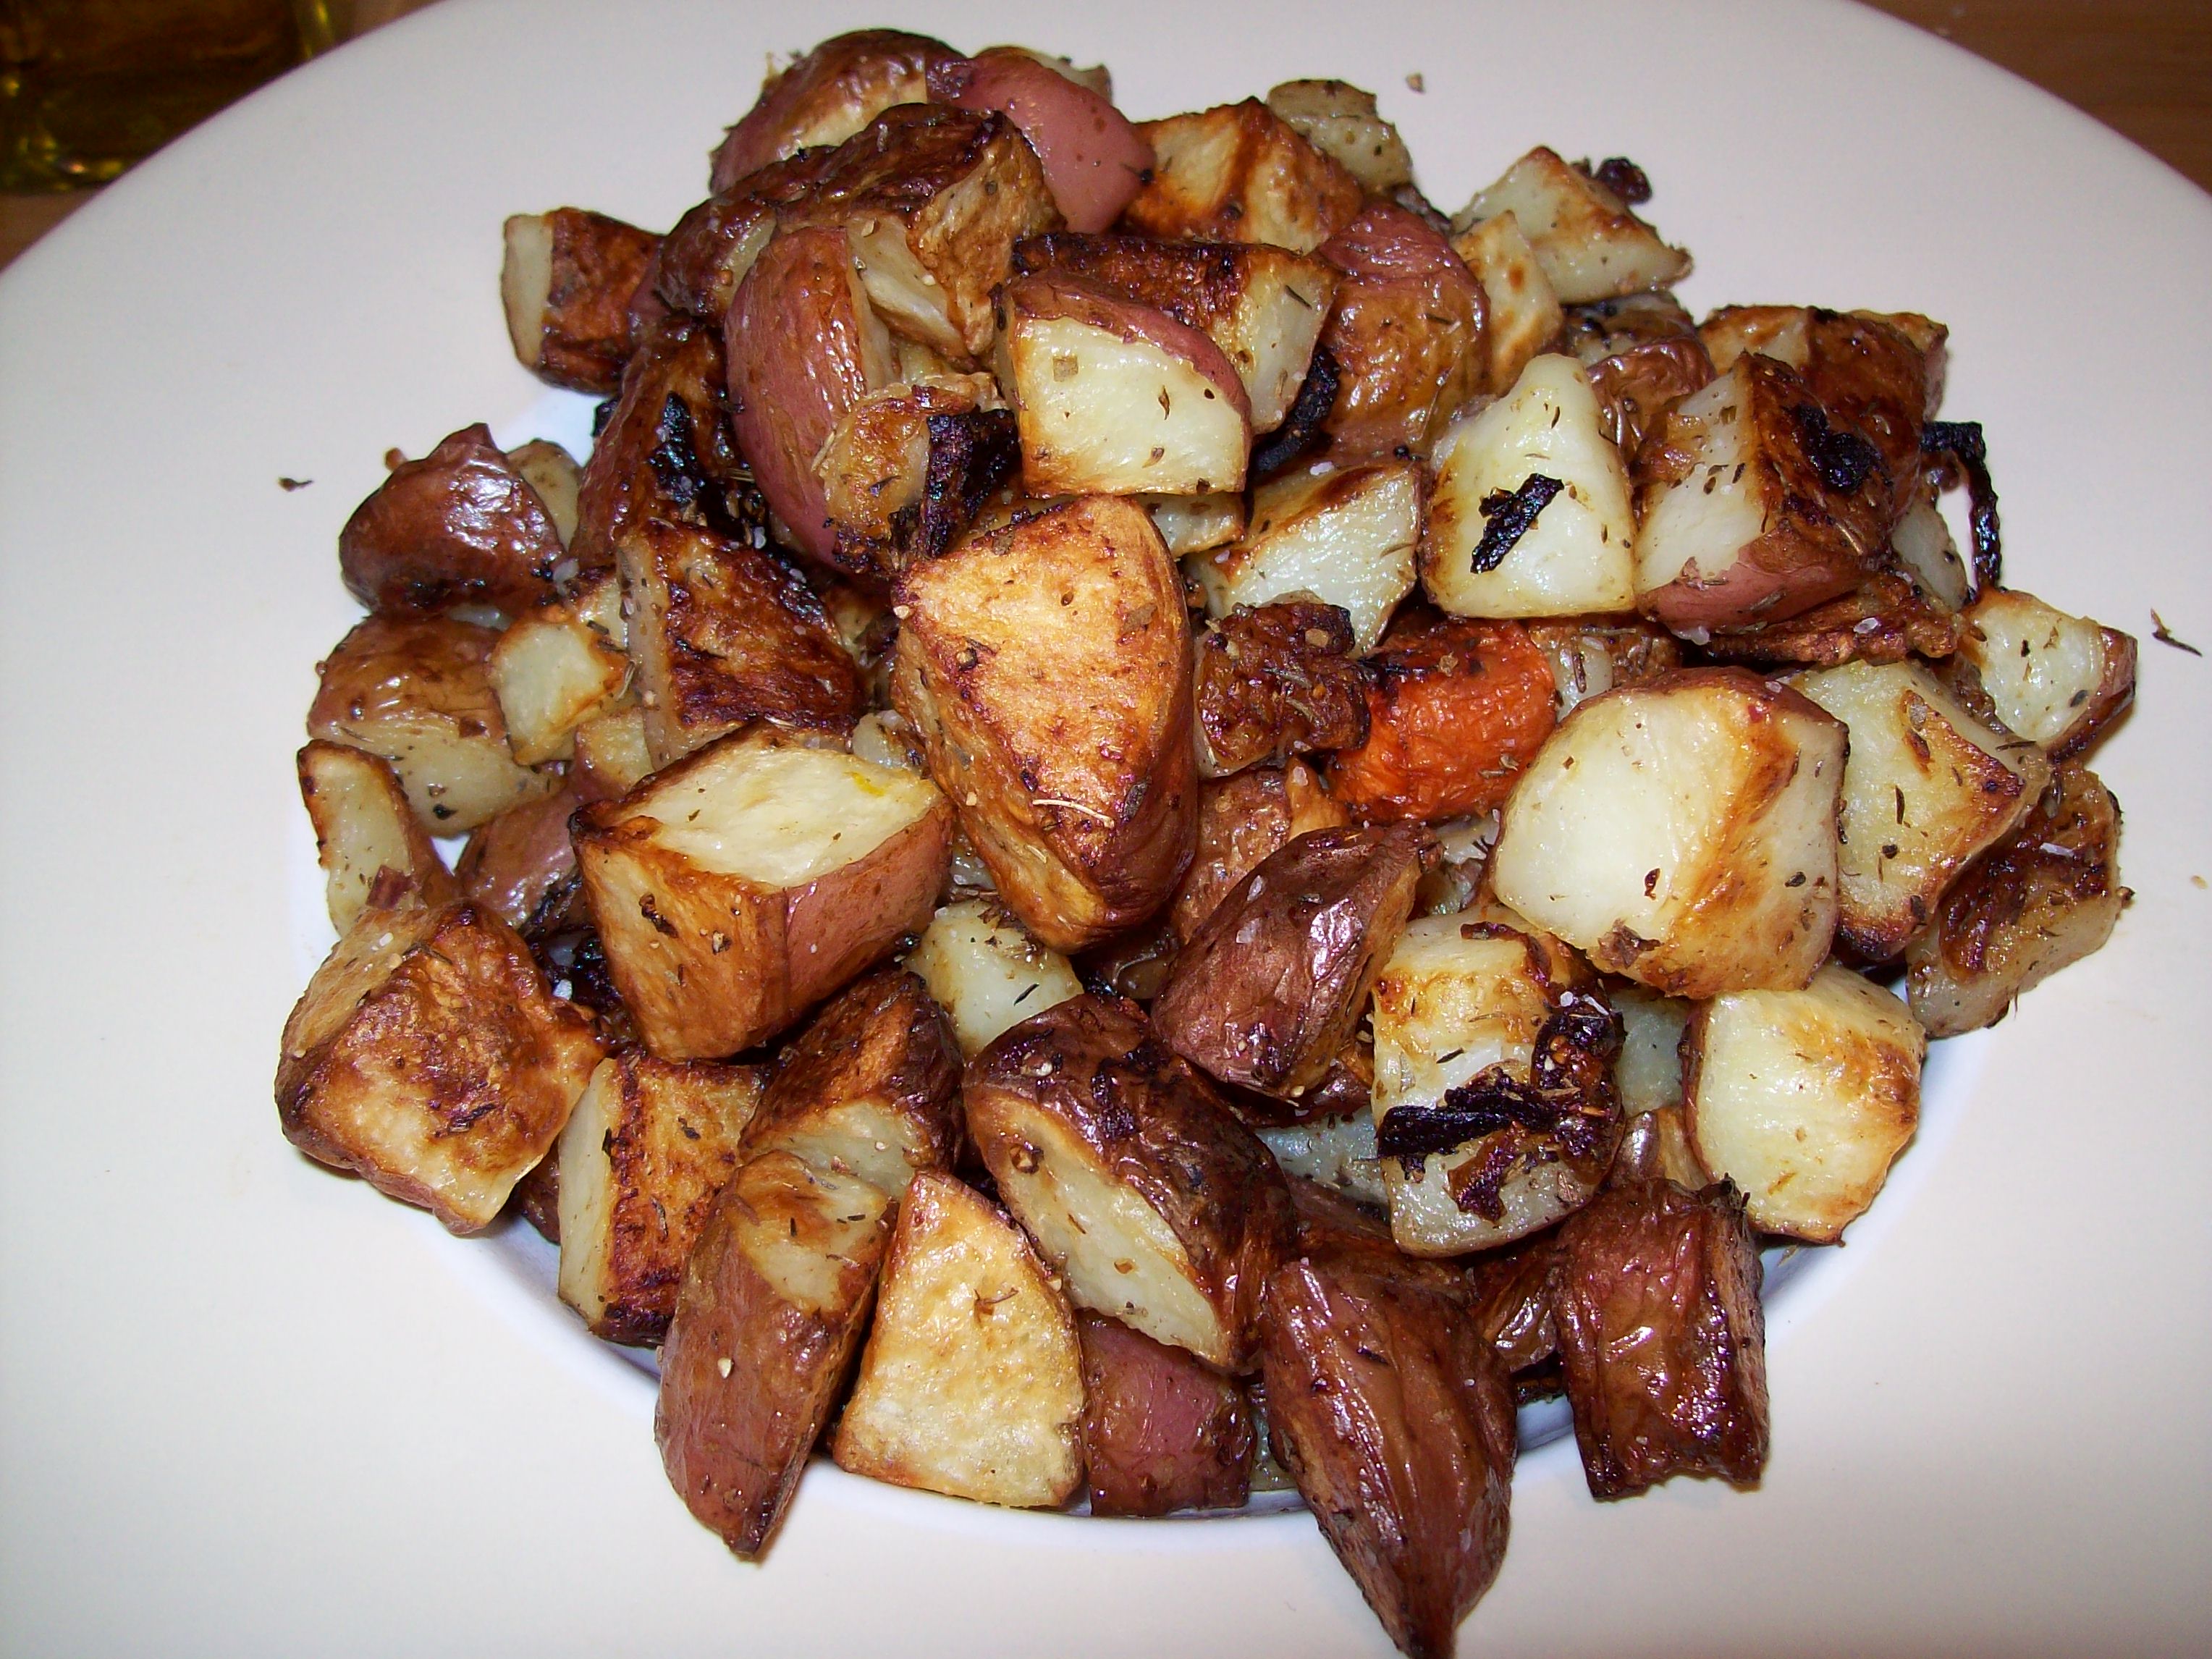
I can remember going to Rose’s house for the holidays and praying that she would make her roasted potatoes for at least one of her dinners. One of the few times that my parents were right in their assumption that if we were not at their house with the grandson we were at Rose and Mike’s ahhhh the in-law game. My favorite part was picking the caramelized bits and pieces of the side of the roasting dish. Like picking at the Chinese food after the meal sitting around the table we would sit chat and pick at the little bits and pieces. Unlike Chinese food everyone would always be fighting over it.
Rose’s was a simple dish, I made some modifications to the ingredients and you can too that’s the fun with cooking.
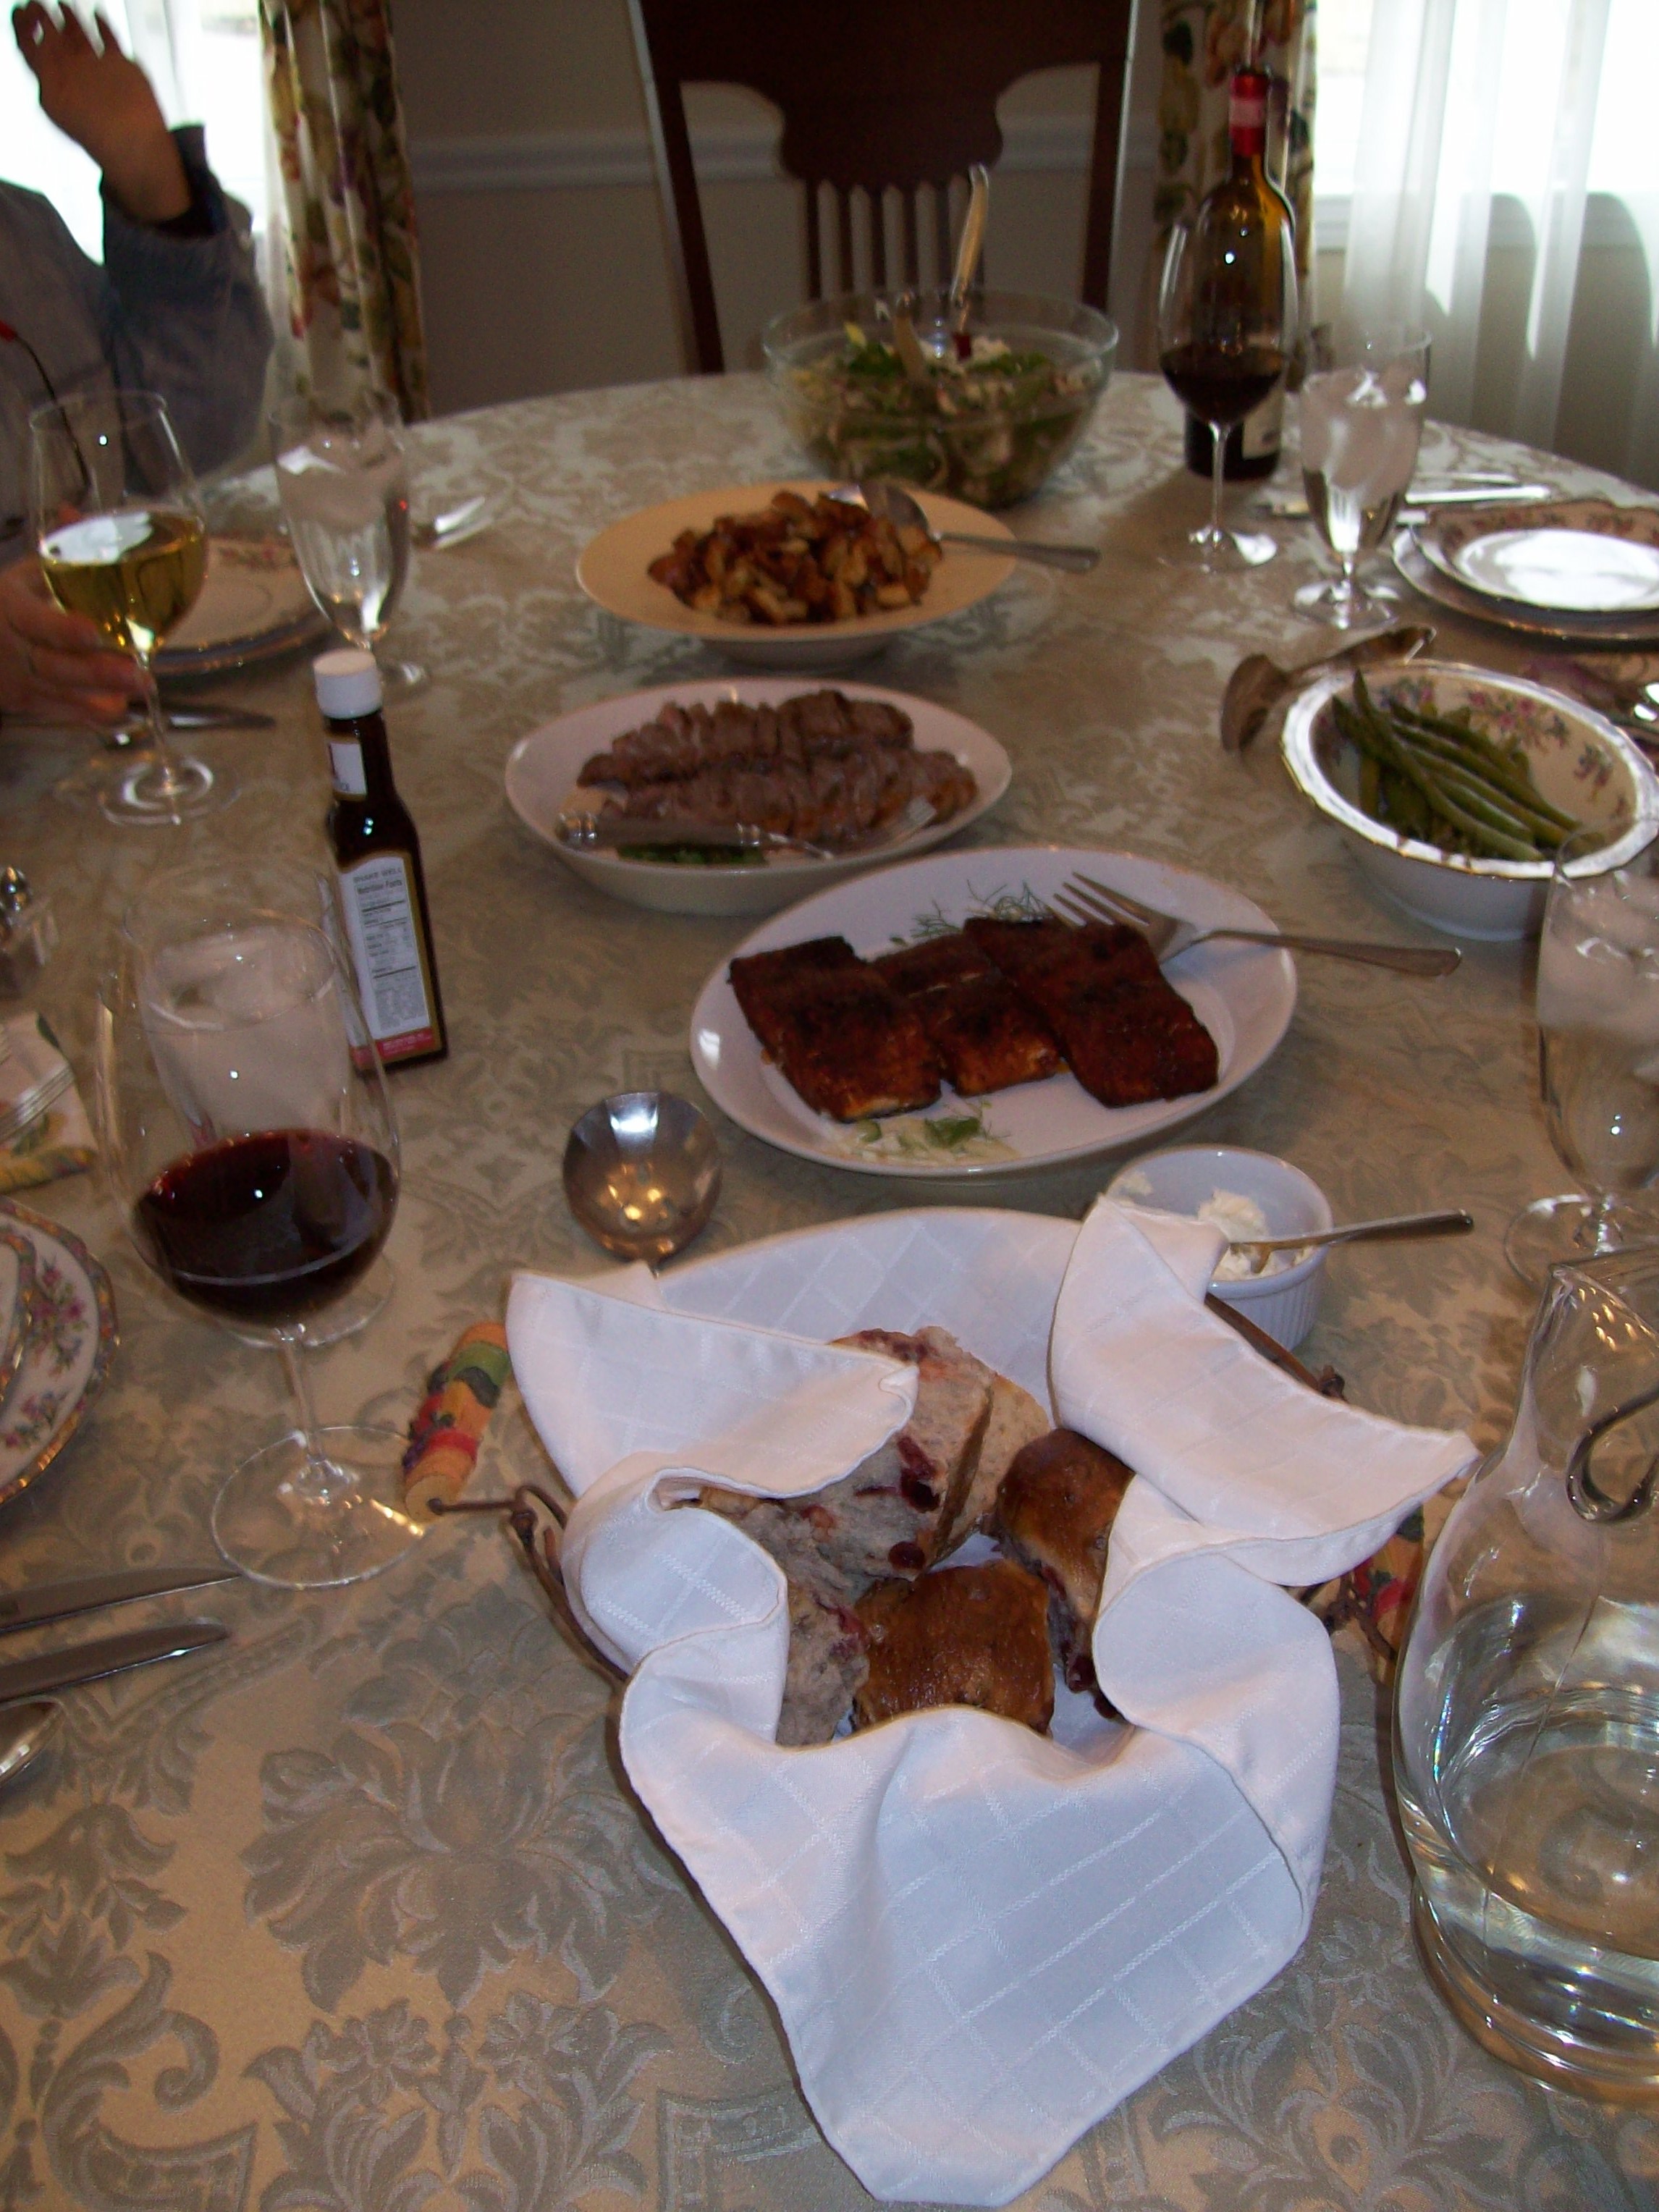
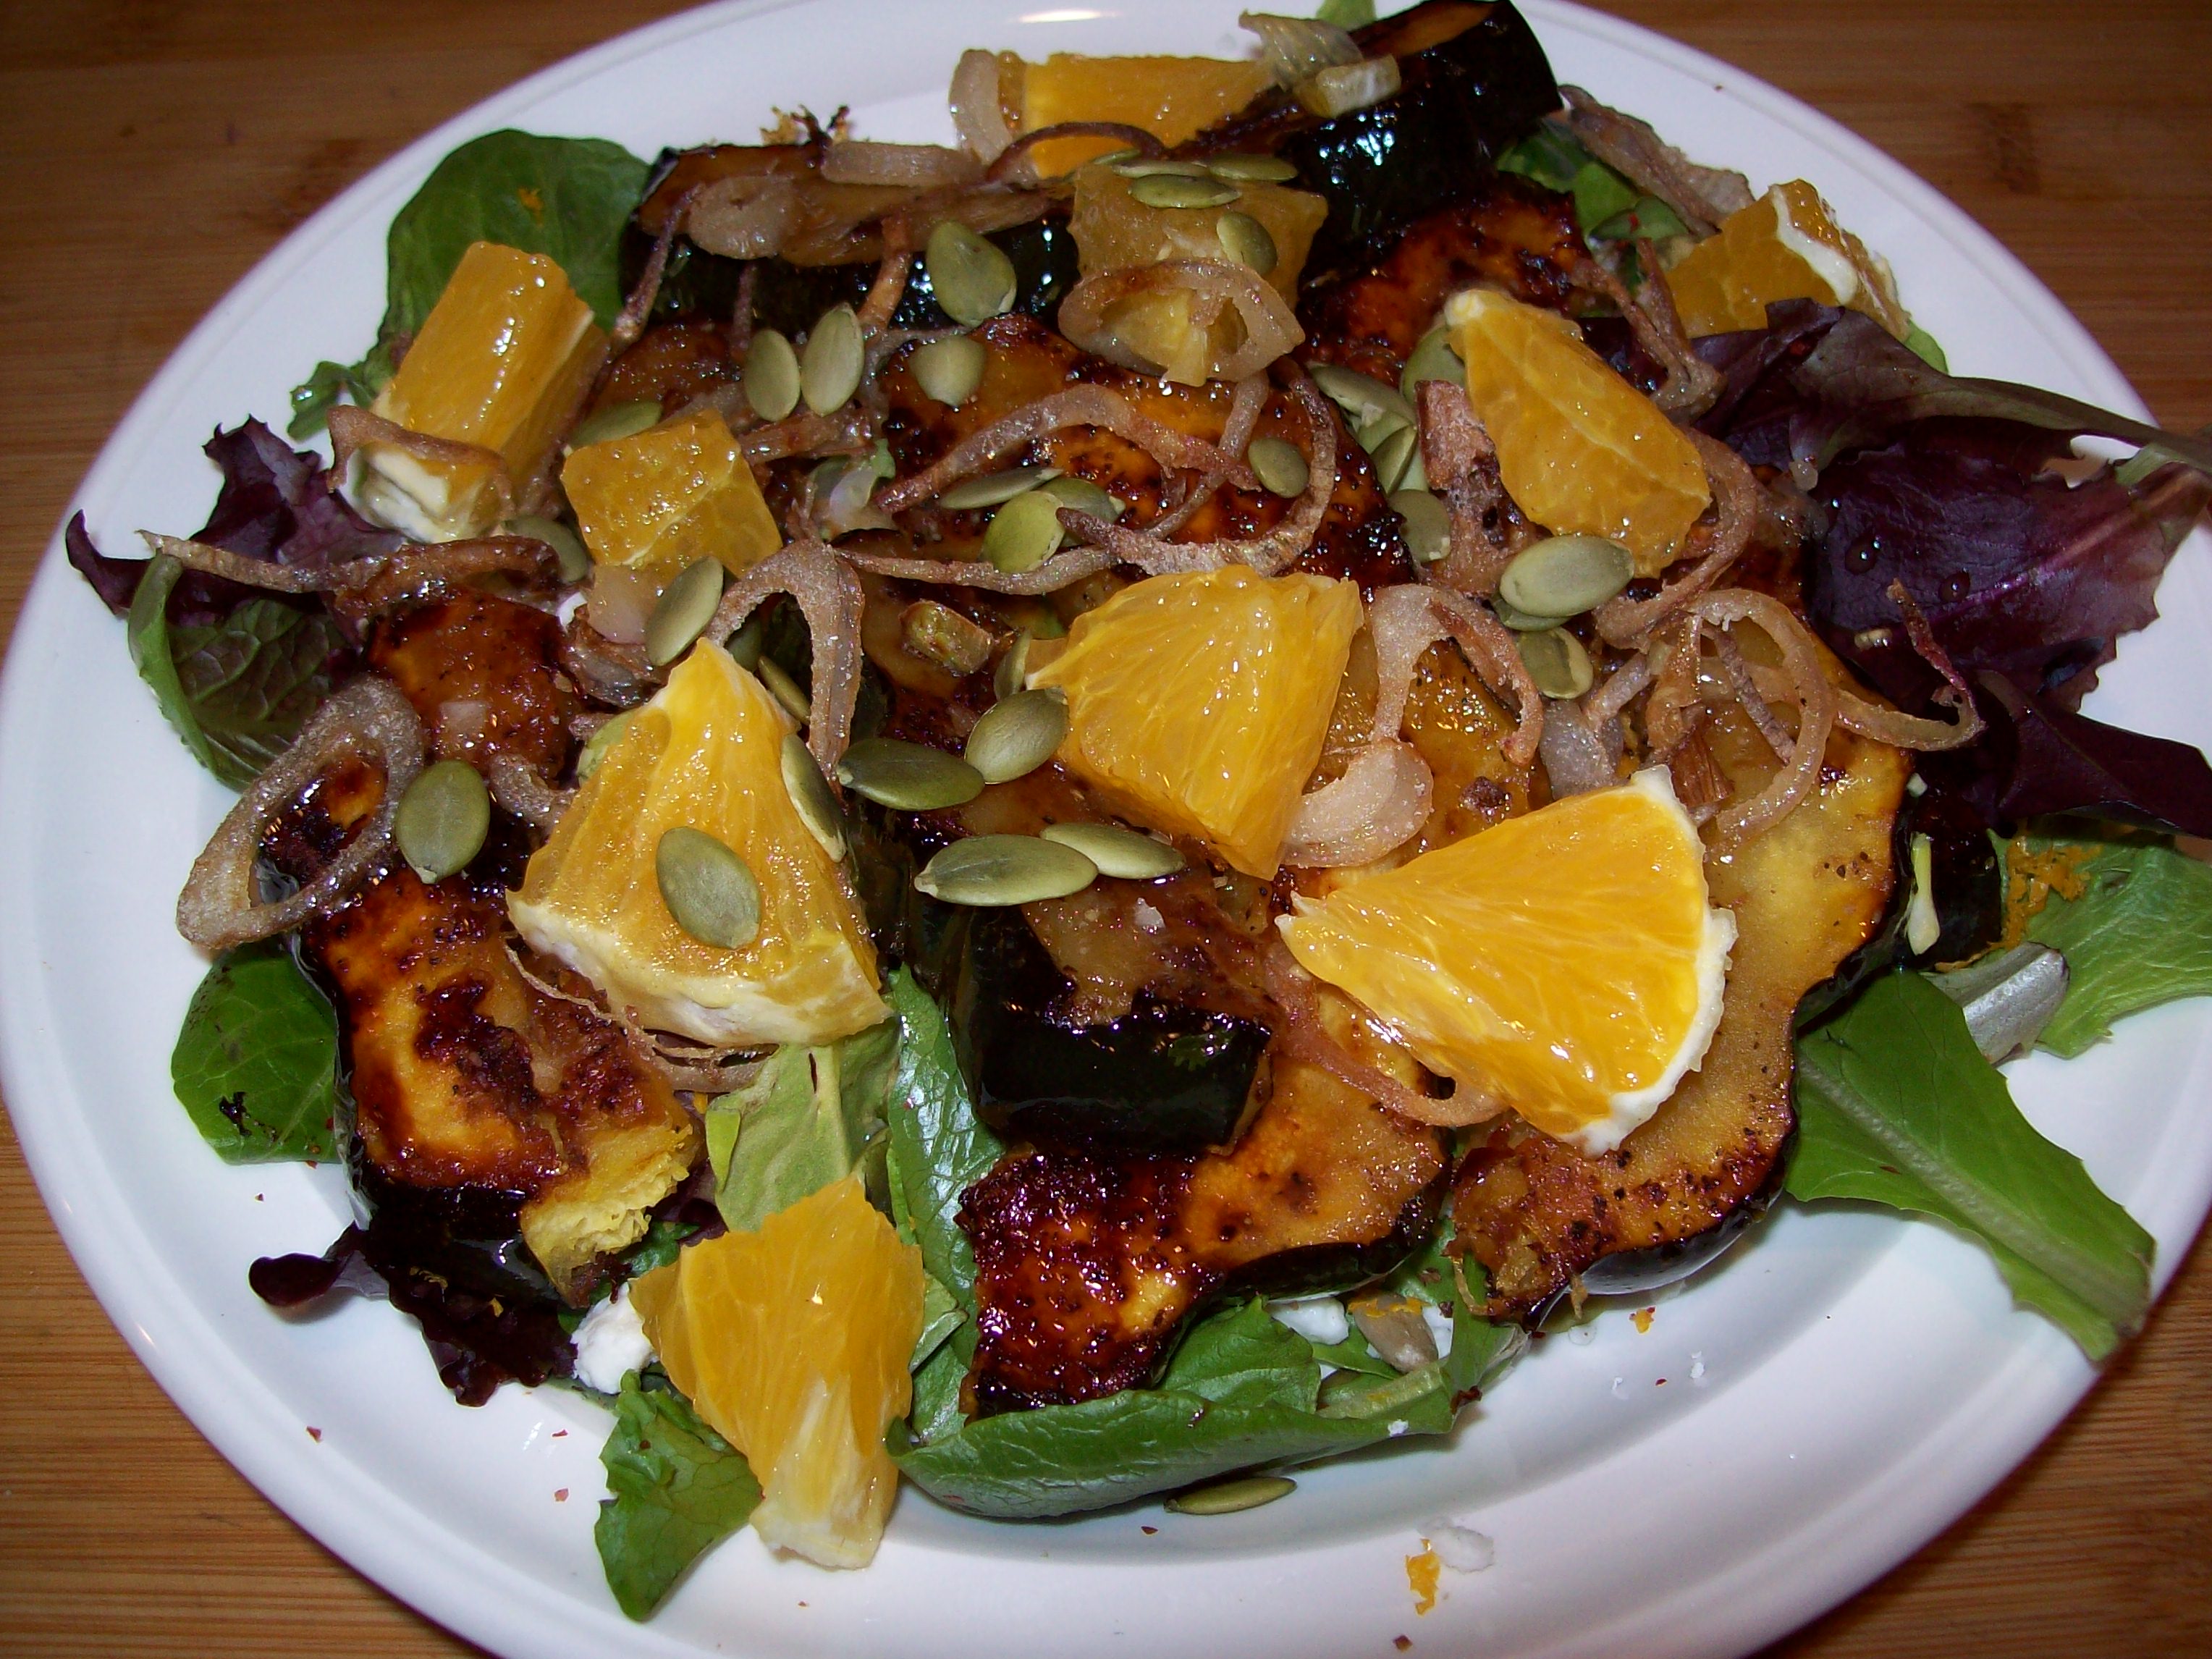
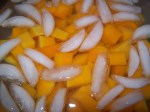
Eastover Surf and Turf BBQ Rub Salmon, Grill NY Strip Steak, Roasted potatoes, Celery root, turnips and carrots, Fennel salad and asparagus.
Ingredients
Approximately:
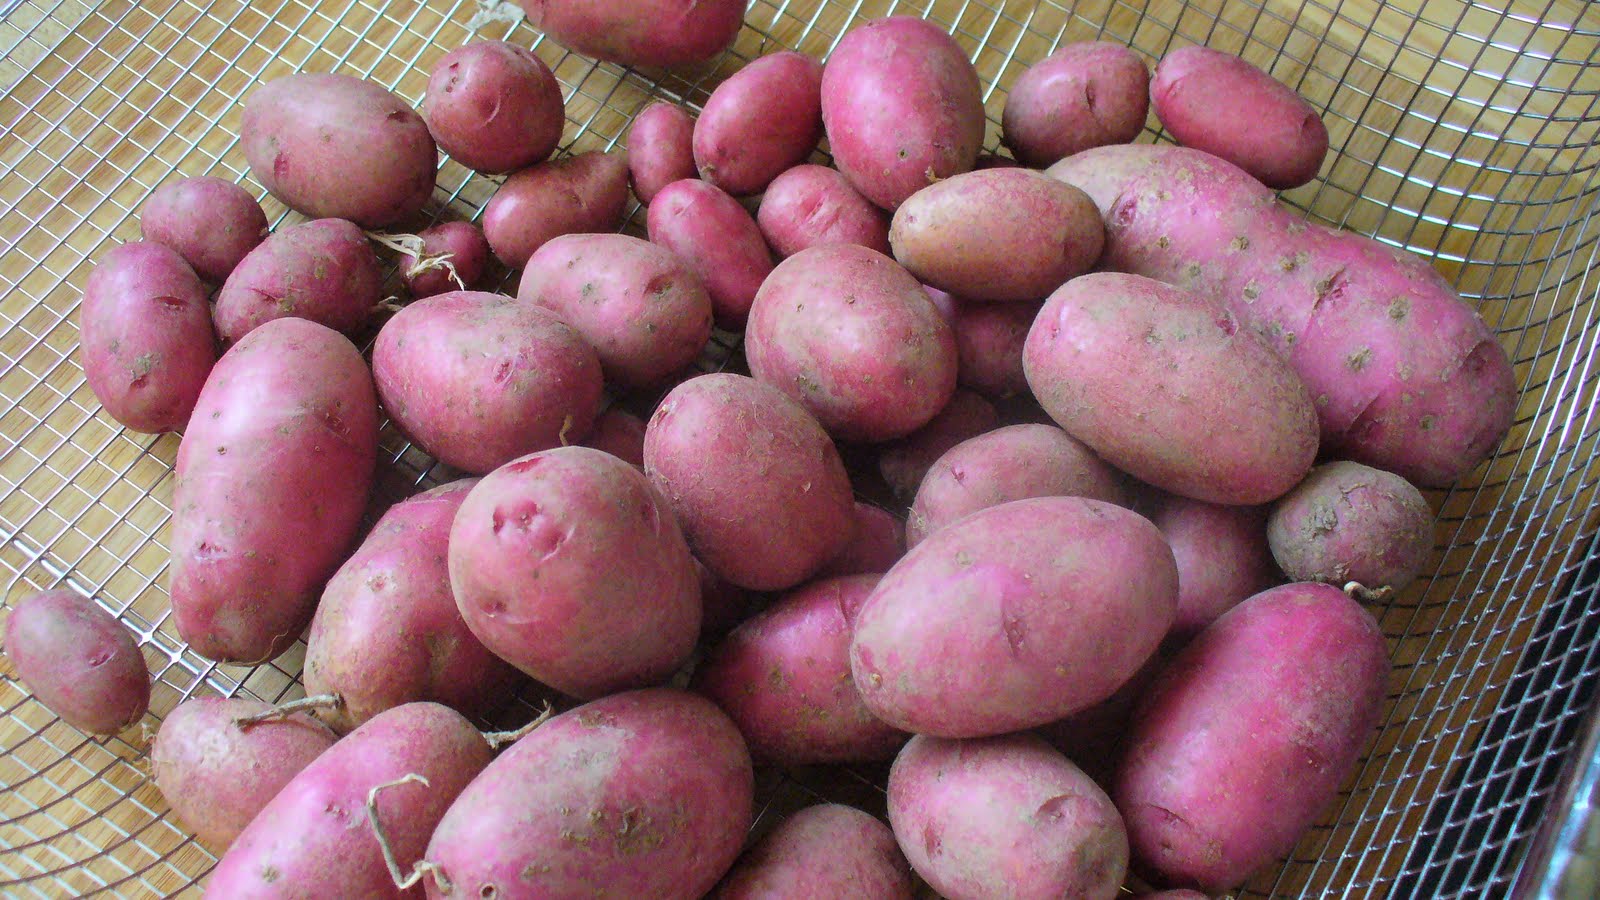
- 1 lb. of red potatoes
- 1 Celery root ball about a pound
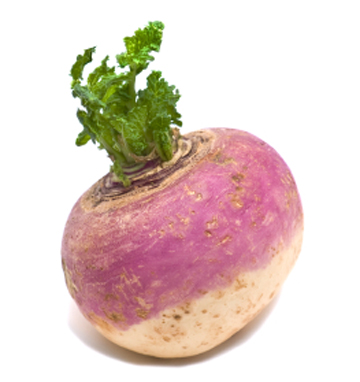
- 1 turnip or 2 small ones.
- 1 or 2 carrots just for color
- Olive oil
- Salt and pepper
- A few sprigs of fresh thyme or a good pinch or two of dried.(eyeball it)
- I even added some Meyer lemon zest this time
How:
Preheat oven to 425
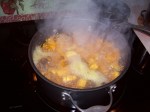
Peel the celery root and turnip. Cut potatoes, carrots, celery root and turnip into rough 1” pieces. Put all ingredients into a bowl add about olive oil to coat, just eyeball it and add fresh ground pepper, thyme, lemon zest and a little salt. I go light on the salt adding more after cooking, remember I am cutting back on salt. Note: I don’t use a lot of salt to begin with so cutting back is hard. Toss to coat and spread in one layer on a baking pan or in a roasting dish.
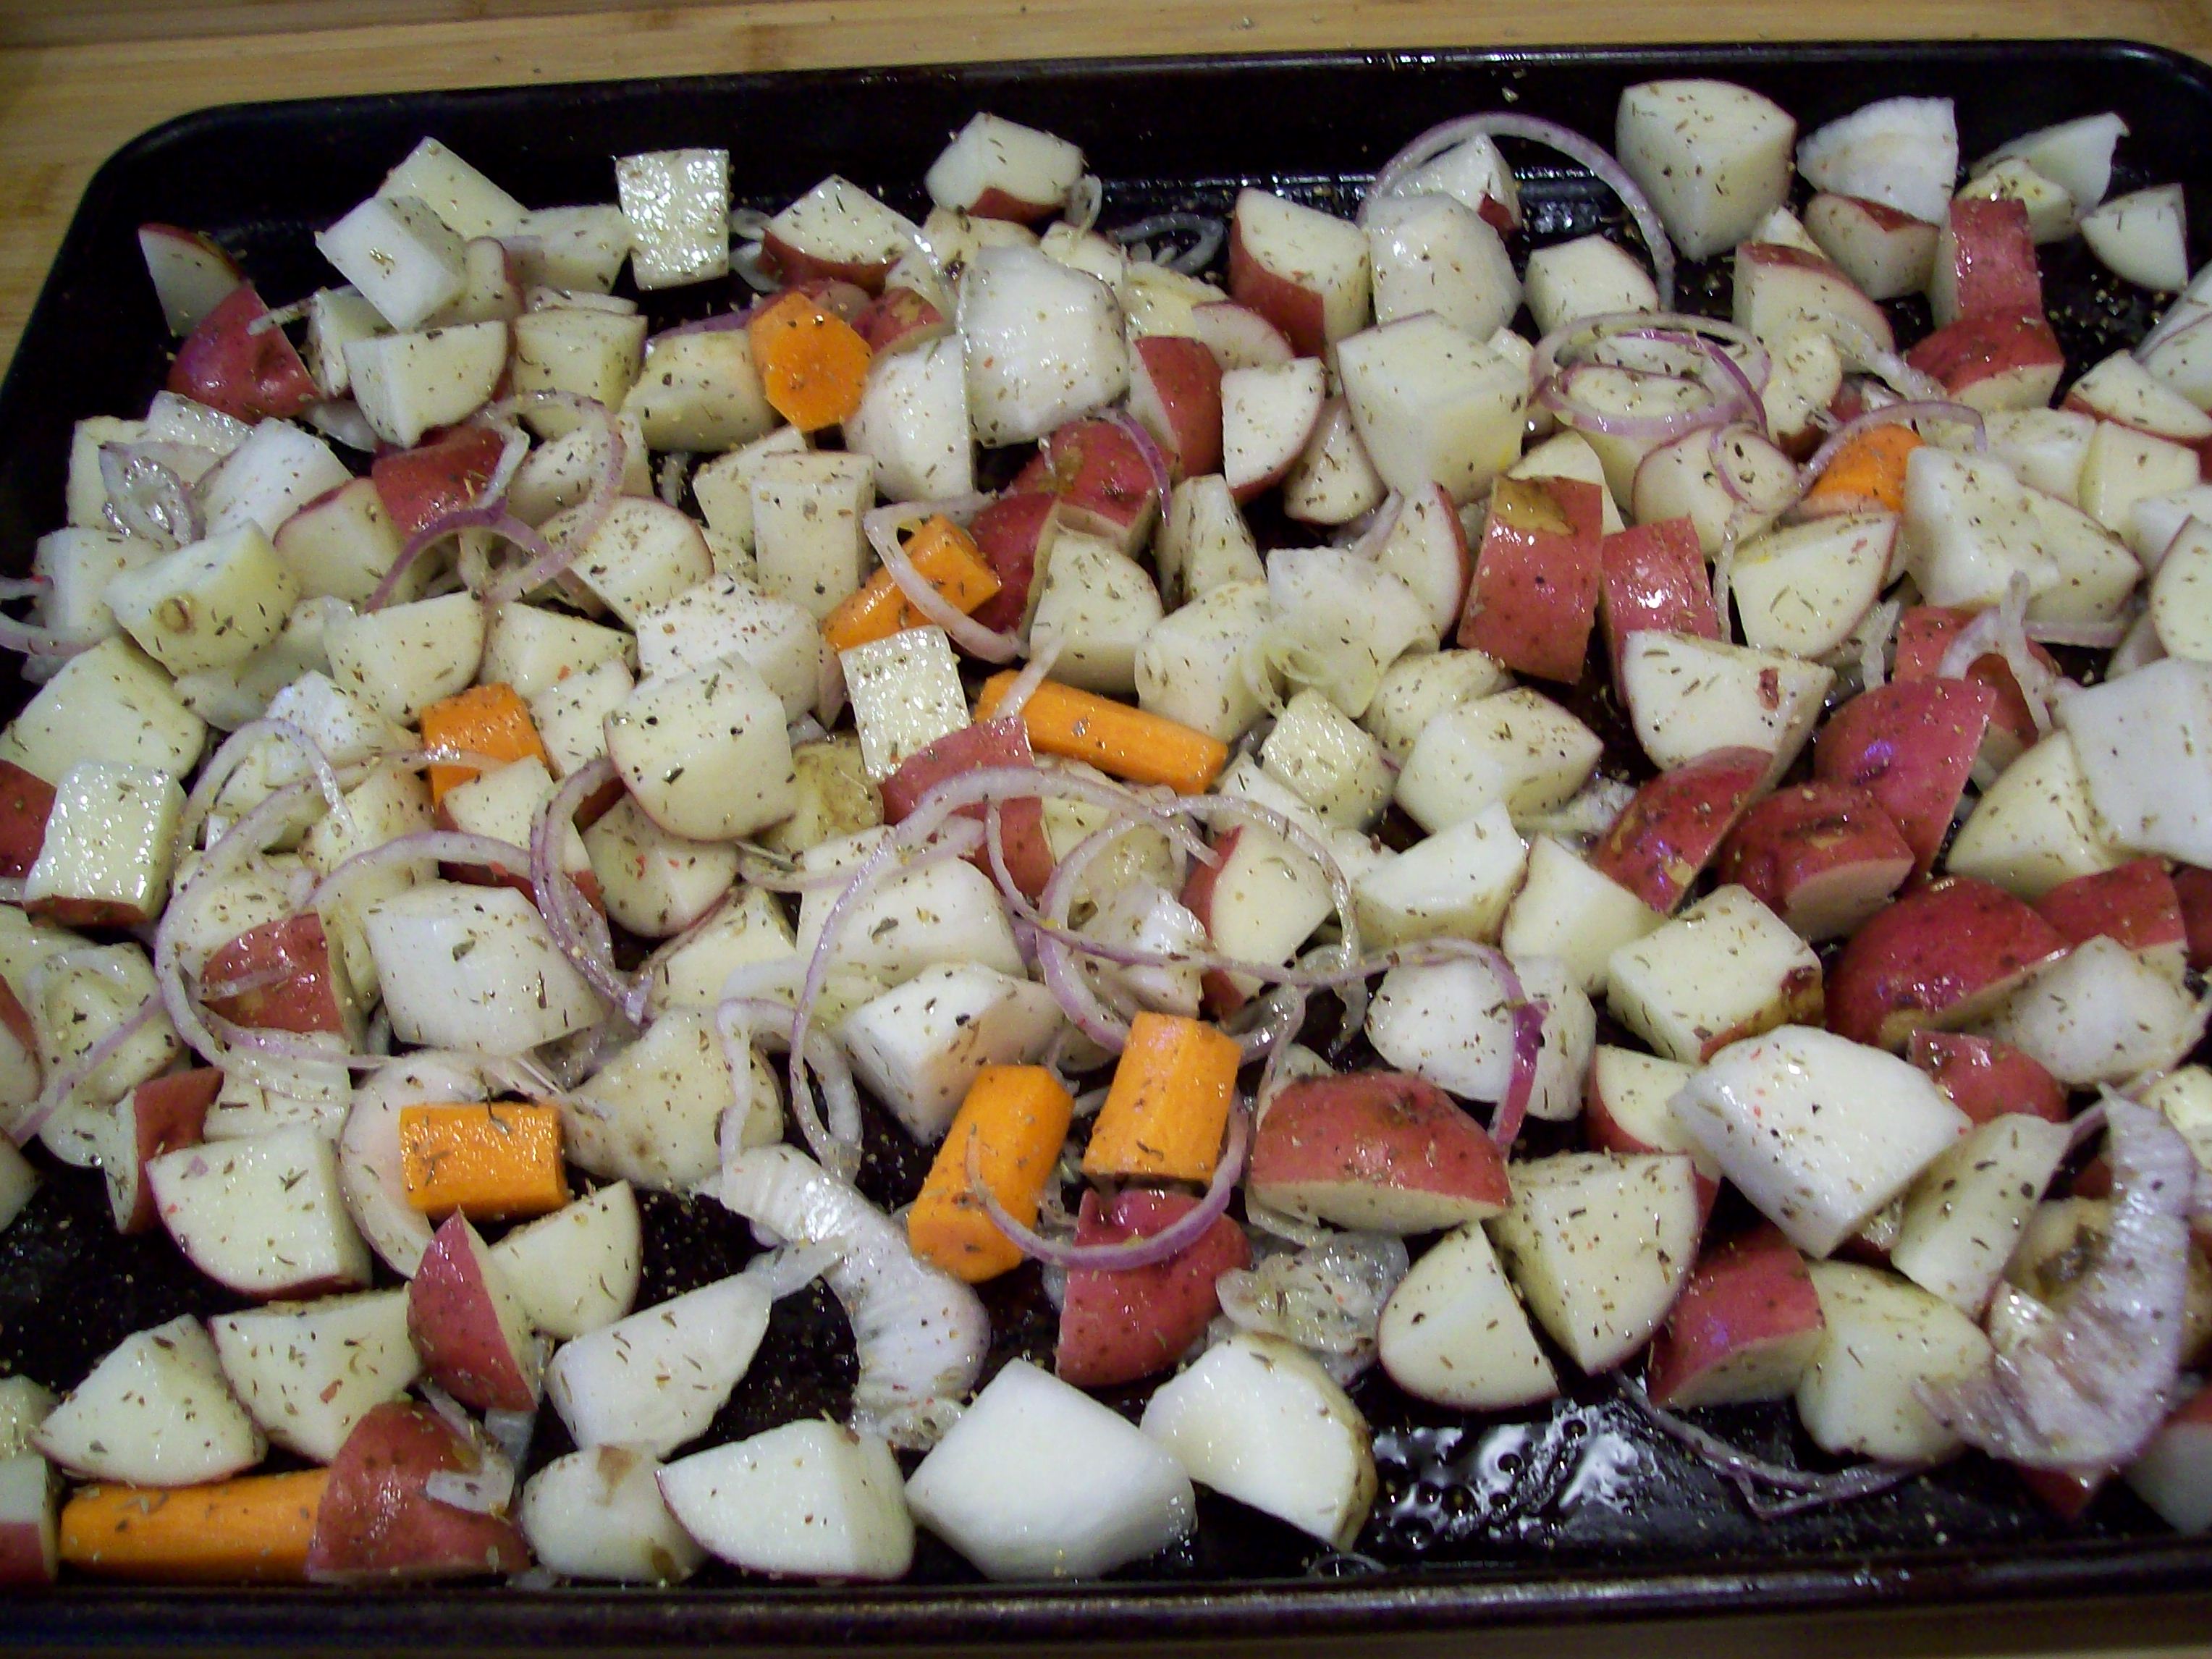
If you think it needs more olive oil add and toss again it does not need a huge amount maybe ¼ cup or less.
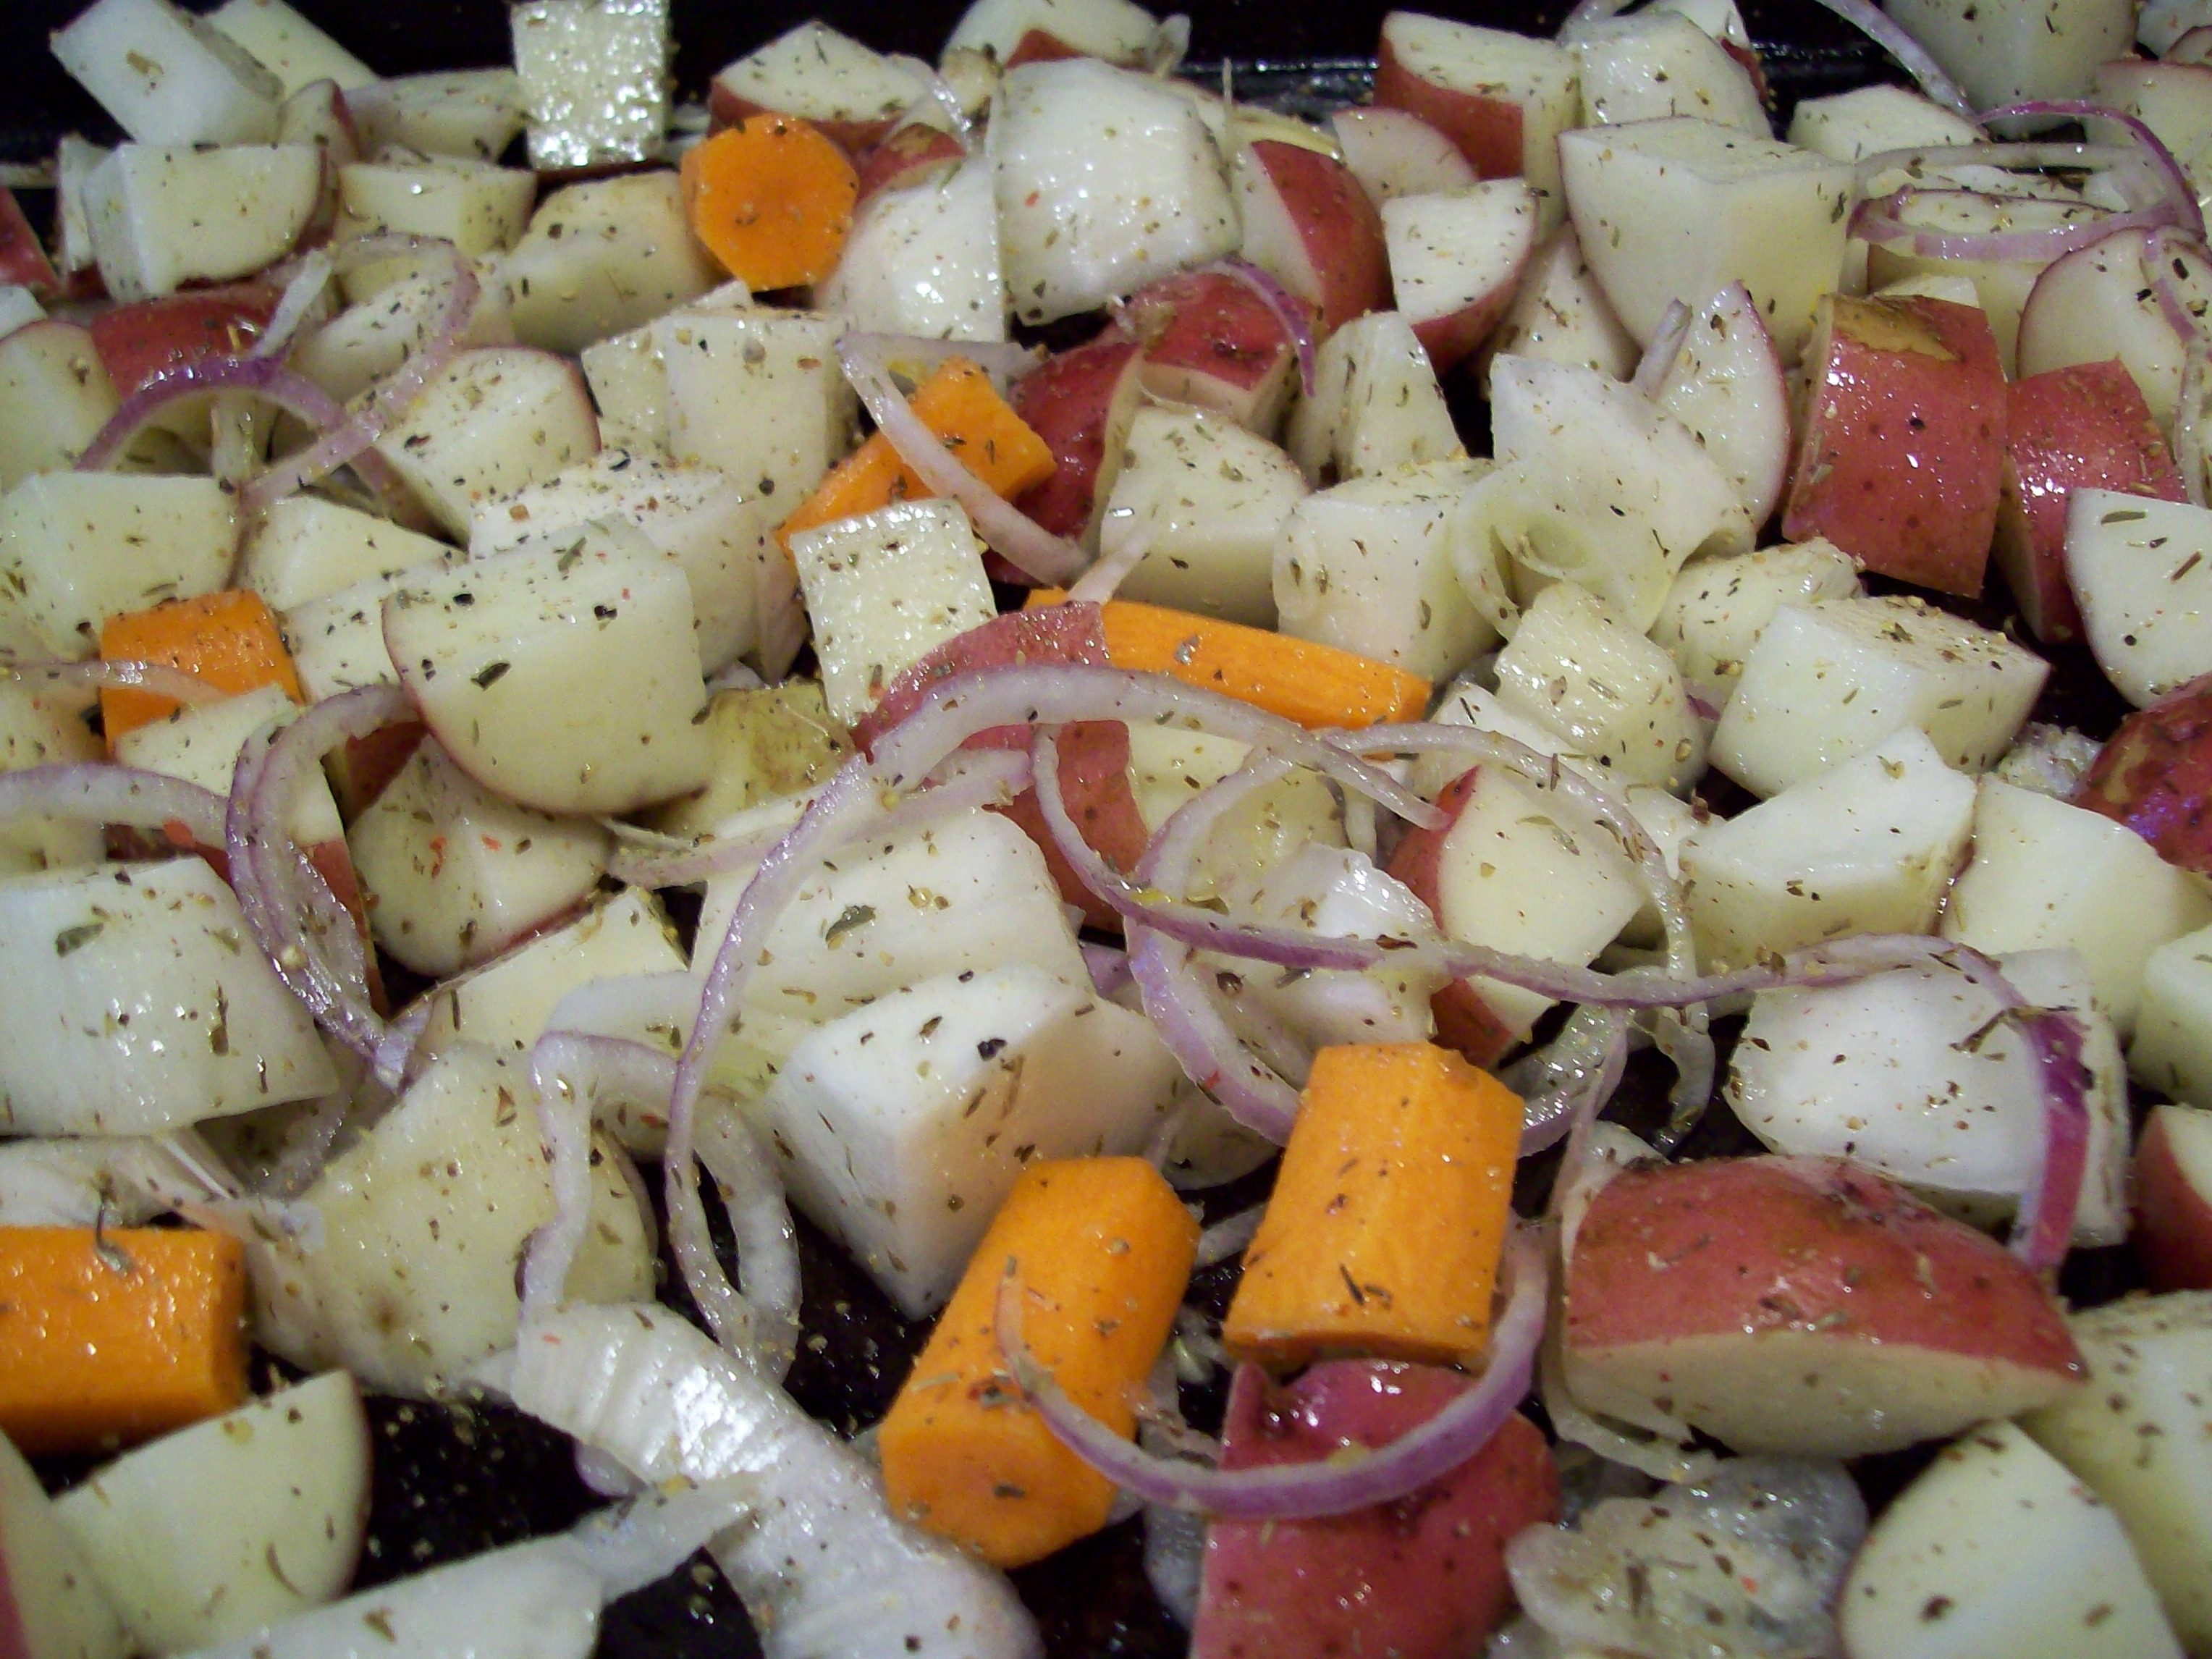
Roast on middle rack for about 30 minutes and mix the vegetables, drop heat to 375 and continue roasting for 35-40 minutes until you believe they are done. I also turned on the broiler for about 5 minutes to crisp up at the end I like them crisper not hard just the outsides sort of crispy.
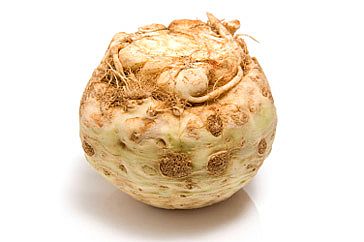
About Celery Root
Celery root, also known as celeriac, is just what its name claims it to be: the root of the celery plant. This ugly brown hairball of a vegetable has a mild, celery-like flavor with a starchy, rather potato-like texture. It’s a surprising but winning combination. With “root” in its name, celery root is obviously a root vegetable. That means that it stores well, making it a real treat for local eaters in fall and winter.
Celery Root Season
Photo © Molly Watson
Celery root is often available year-round, especially in temperate climates, but is at its best in the cooler months of fall, winter, and early spring (except in cold climates, where you’ll find it during the summer and early fall). Freshly harvested celery root is sometimes sold with the stalks and leaves still attached, as pictured here.
How to Buy Celery Root
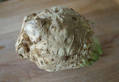
Photo © Molly Watson
Look for celery roots that feel heavy for their size. If any greenery or bits of stalk are discernible on the top of the root, they should be fresh looking and neither dried out nor slimy or wilted. Celery root are notoriously difficult to peel because of the hairy peel and its many nooks and crannies, so look for specimens with as smooth as exterior as possible (be warned: they only get so smooth).
If you see celeriac at the market with long bright green stalks still attached, snap them up! Freshly harvested celery root tends to be more tender and easier to peel. Pretty as the stalks are, be sure to cut them off and store them separately when you get the celery root home – both the root and the celery will last longer when stored separately.
How to Store Celery Root
Since celery root is a root vegetable, it stores well and for an amazingly long time if it is kept cool. Having spent most of its life underground, it also enjoys the dark. Kept loosely wrapped in plastic in the fridge it will last up to several weeks, even longer if it was freshly harvested.
For more information see Molly Watson’s article on celery root on About.com
Related articles
- Celery Root Purée (lizthechef.com)
- Broiled BBQ-Spiced Rubbed Salmon (stevesacooking.com)
- Roasted Beets & Celery Root Soup (jasmingeorge.wordpress.com)