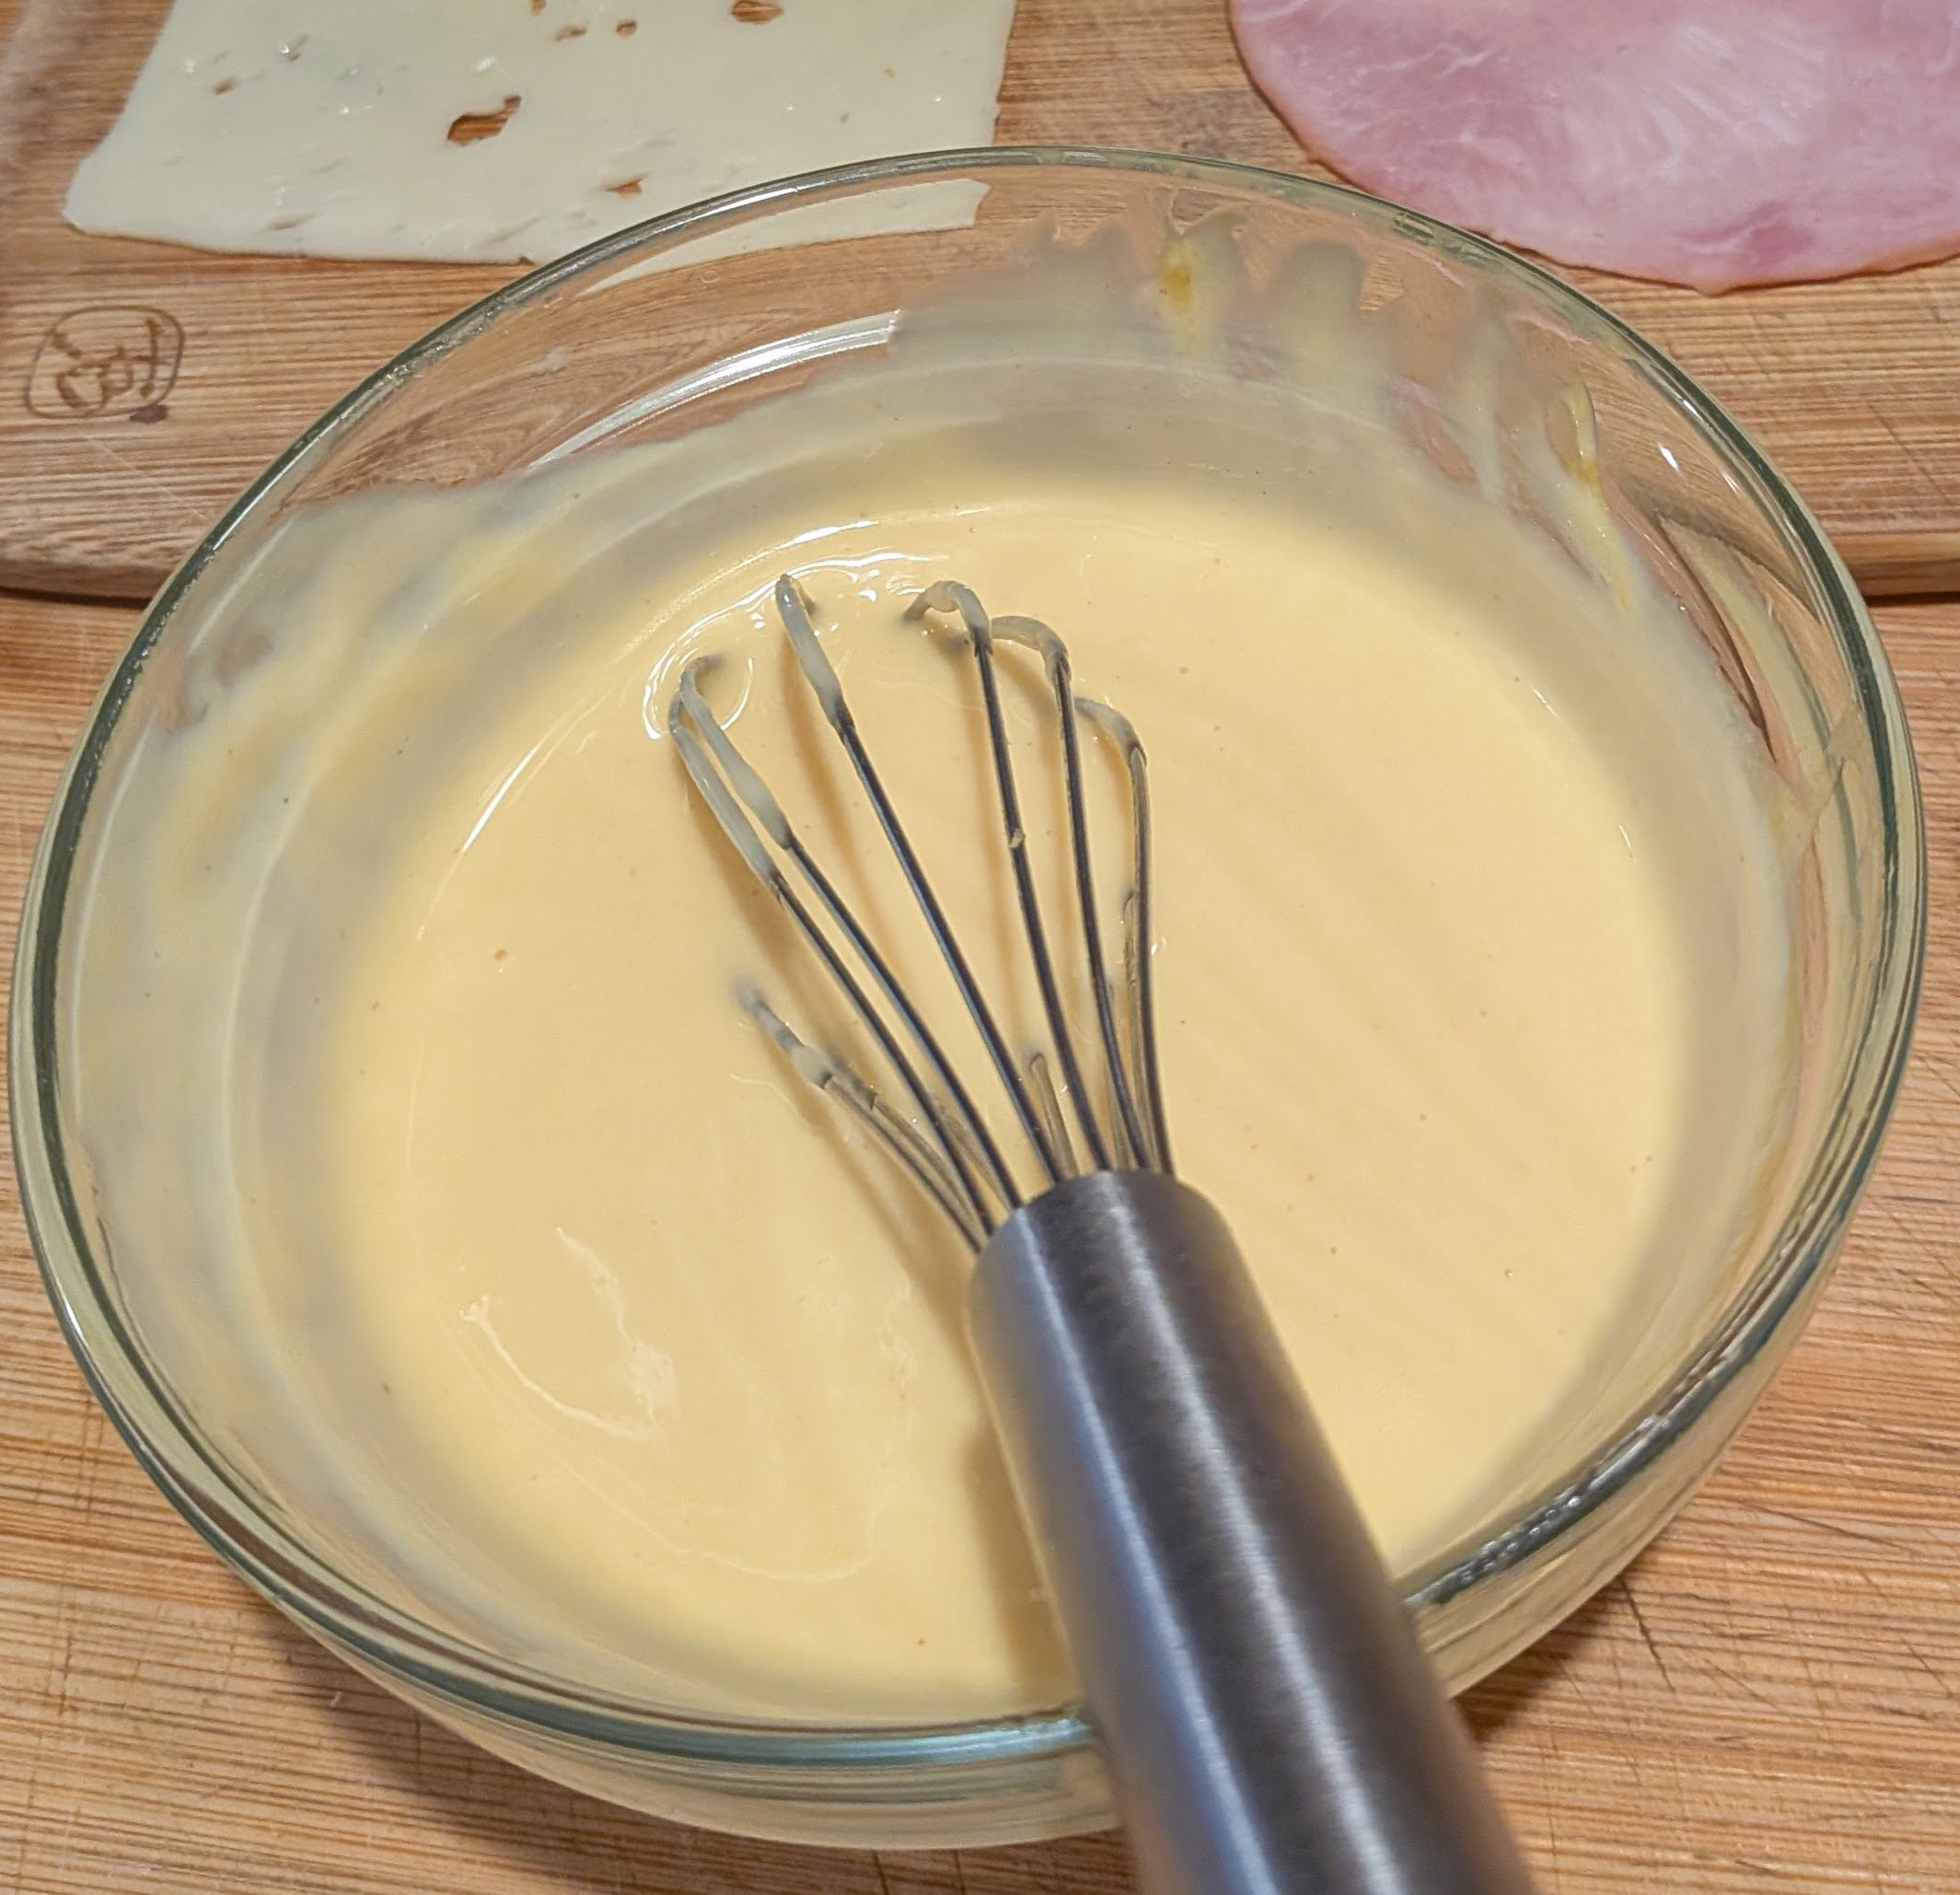
- Mustard Sauce
- 1/2 cup mayonnaise
- 1 Tbsp. Dijon-style mustard
- 1 Tbsp. yellow mustard
- 2 tsp. honey


I got a Grass-fed brisket from ButcherBox because Lyn got me a Brisket spice rub for my birthday.
I decide to bypass the liquid smoke and Worcester sauce since the last time I did that it took forever for the smoke aroma to go away. So remember this won’t have that smoked taste unless you use the liquid smoke.
If you are looking for an easy way to make BBQ brisket in the oven but you don’t want to spend all day and night doing it, then this recipe is great !
Ingredients
5 lb Flat cut Beef Brisket Note: I had a 2.5 lbs
1 recipe BBQ Dry Rub
BBQ Sauce
1 tablespoon Liquid Smoke (optional)
1 tablespoon Worcestershire Sauce (optional)
Instructions
1. Preheat oven to 300 degrees. Note: I did 275 degrees since I had a class at the center so I cooked longer
2. Liberally season the brisket on all sides with BBQ Dry Rub. The brisket can sit in the fridge overnight to let flavor penetrate (highly suggest), or it can be cooked right away.
3. Set brisket on a large strip of foil, fat cap up, and add liquid smoke and Worcestershire sauce, then wrap the foil around the brisket, sealing tightly.
4. Bake in the oven for 3-4 hours, or until the brisket is perfectly tender. The brisket is done when it can be pierced with a fork with little resistance, and the meat separates when the fork is twisted. Note: I did 4 hours because of lower temperature and only half the weight
5. Remove brisket from oven, unwrap from foil, and turn the broiler on high.
6. Set brisket under the broiler and broil the fat cap until it begins to crisp. Watch carefully so it does not burn. Note( I also broiled all sides, fat cap longer) to get a good bark on it.
7. Remove brisket from the oven and paint liberally with BBQ sauce, then set under the broiler again to allow the BBQ sauce to thicken into a jam-like consistency. The sauce will burn quickly, so keep your eye on it.
8. Note( I also broiled all sides, fat cap longer) to get a good bark on it.
9. Remove from oven, let brisket rest for 10 minutes and serve

I’ve used for chicken, beef, or just a big pile of veggies. most recently for stir fried chick tenders and stir fried veggies,
The tenders were left over the veggies frozen.
(makes about 1 cup)
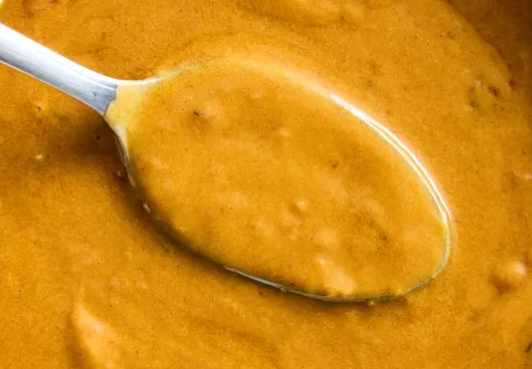

Maria came up last month to pick up most of her stuff we had been storing for her after she moved back to Maryland. she loved ginger ale and we loved watching her drink it. Odd ya but she would take a sip and it would take her breath away, I mean really take her breath away. I’m not sure if it that sensation or the taste of it that she loved so much but either way it was fun for us. We had all this ginger ale left over from her last visit and with the 4th coming up I’m planning of gas BBQ smoke ribs, along with steaks , hot dogs and whatever anyone wants. So I asked Chat GPT for recipe and it came up with this.
Here’s a simple and delicious BBQ sauce recipe using ginger ale:
Enjoy your homemade ginger ale BBQ sauce!


Here’s a link to my prize winning root beer BBQ sauce and the glaze I used for chicken thighs and Texas style BBQ sauce
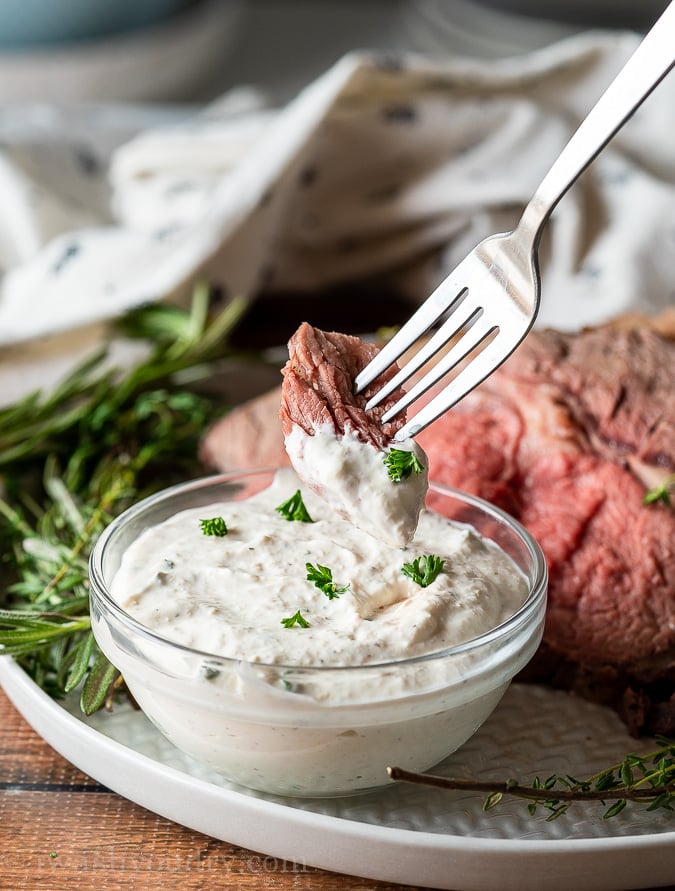

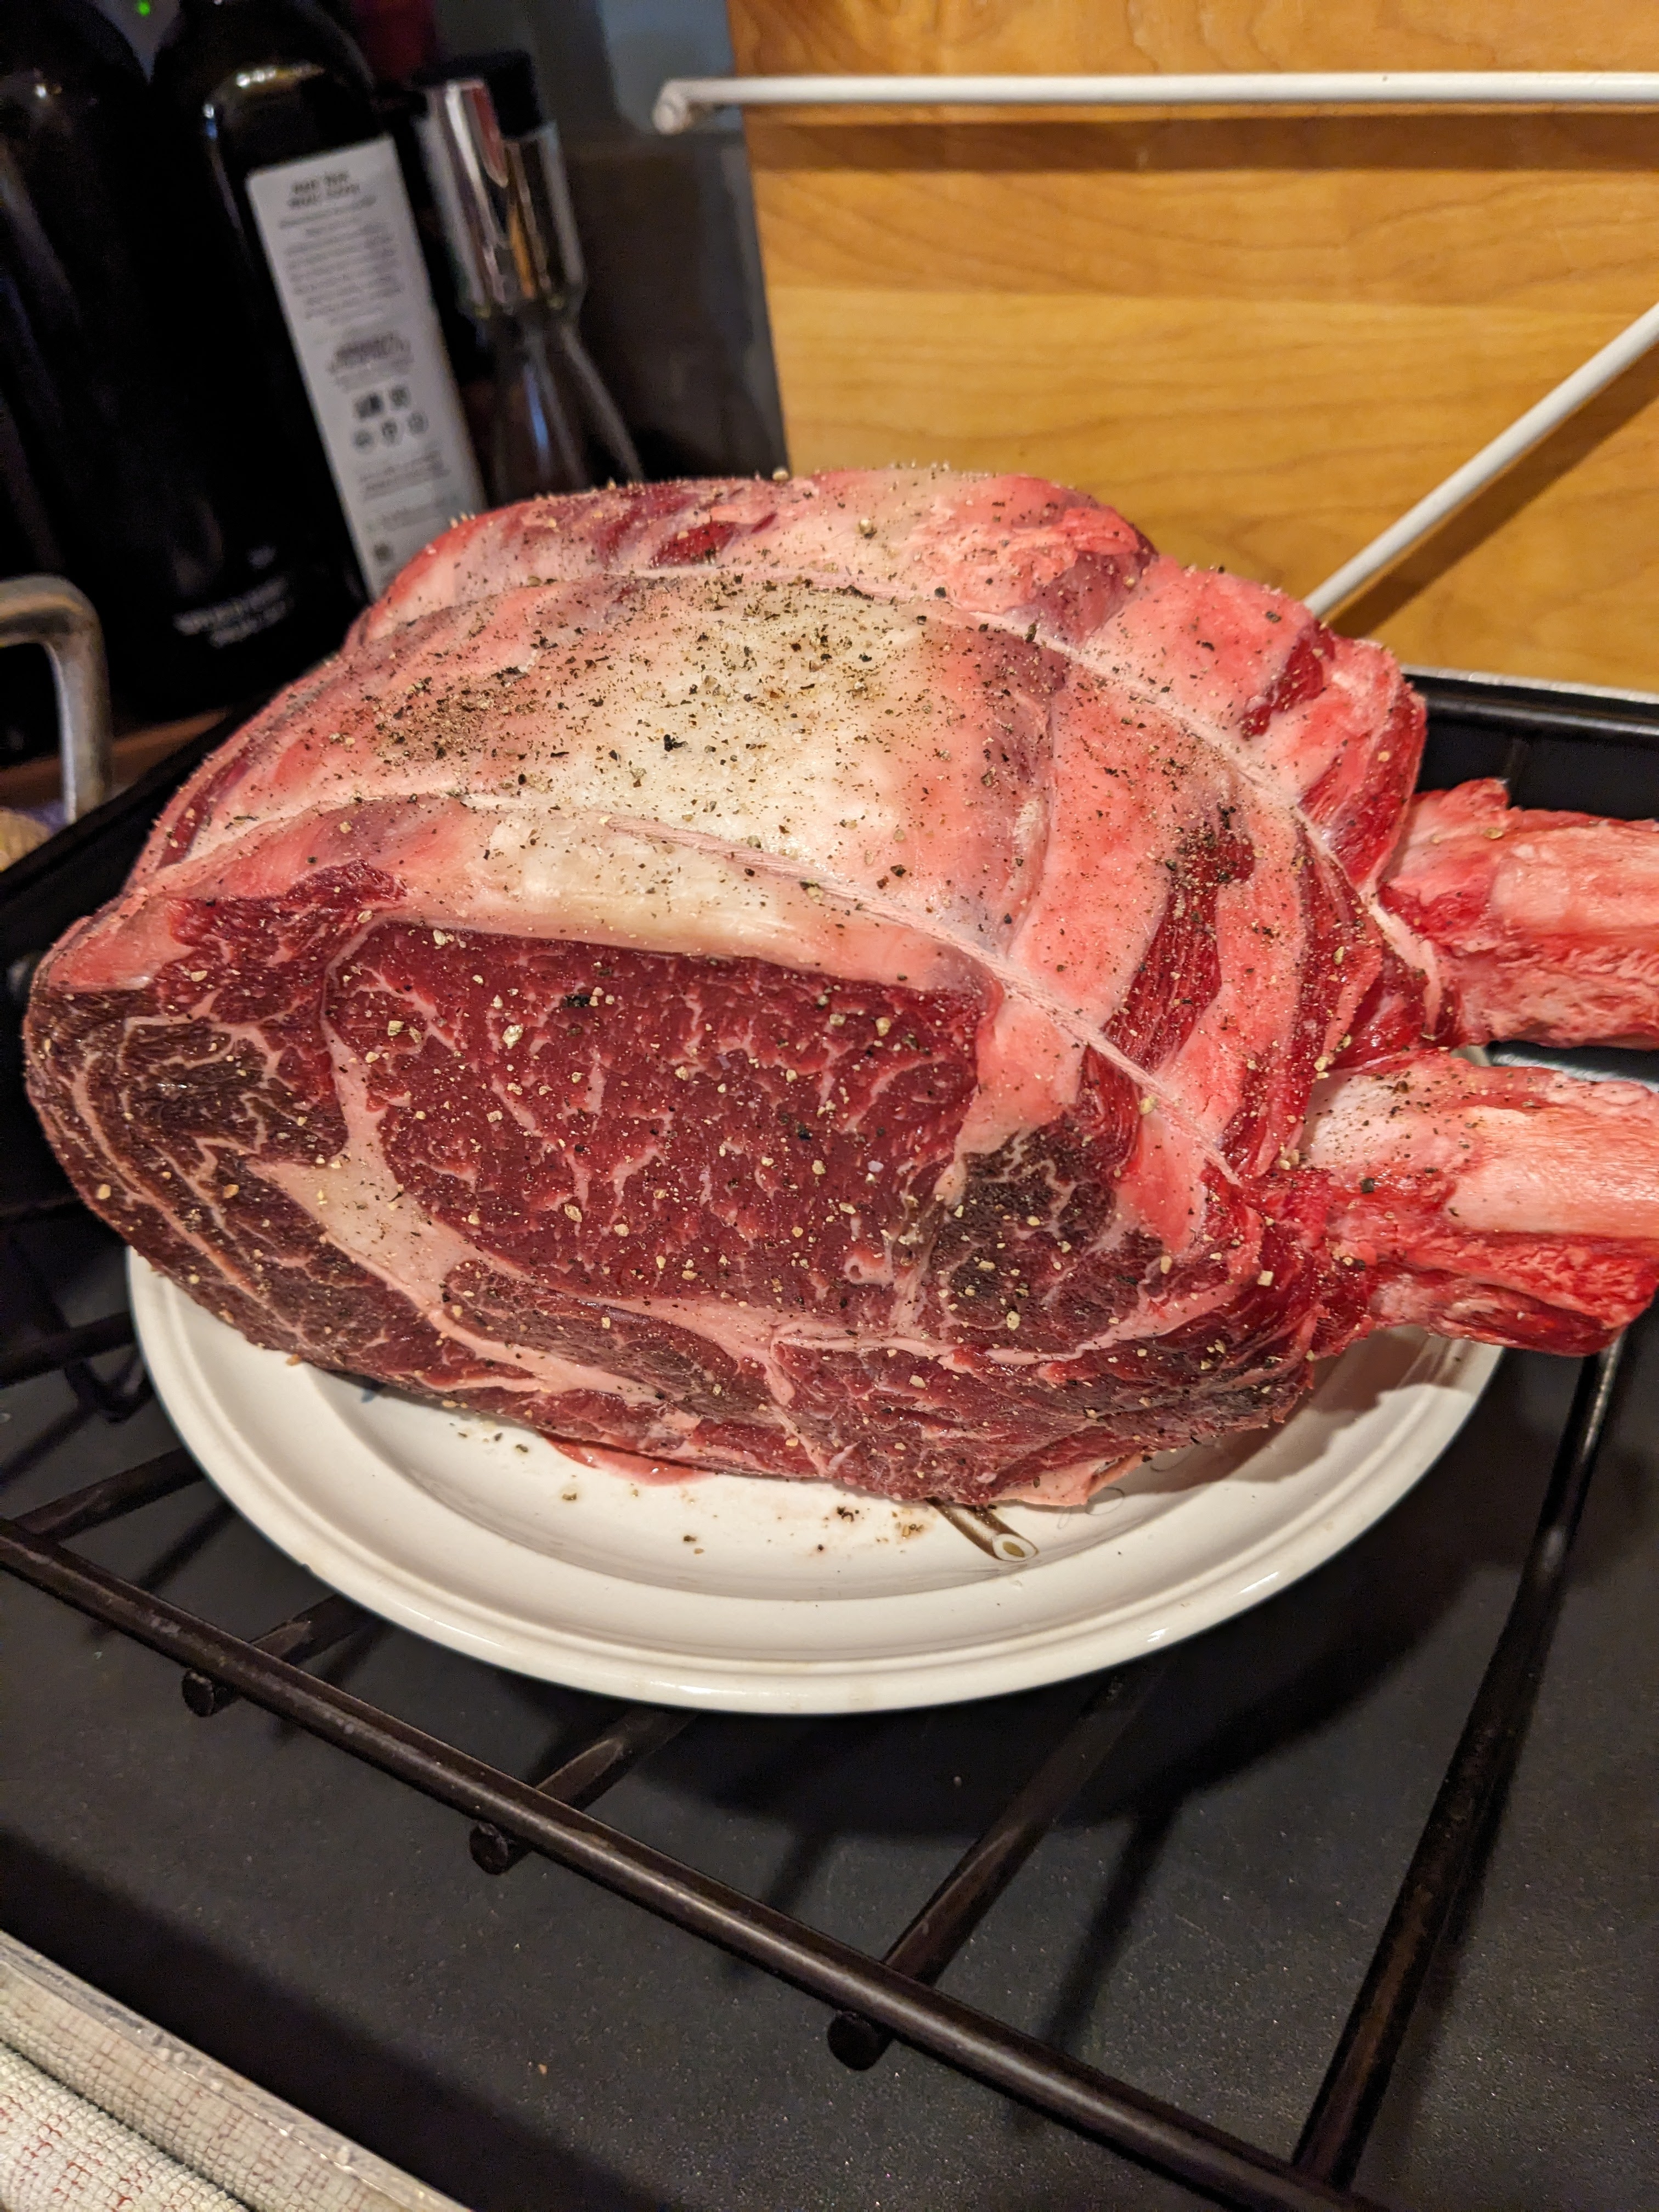
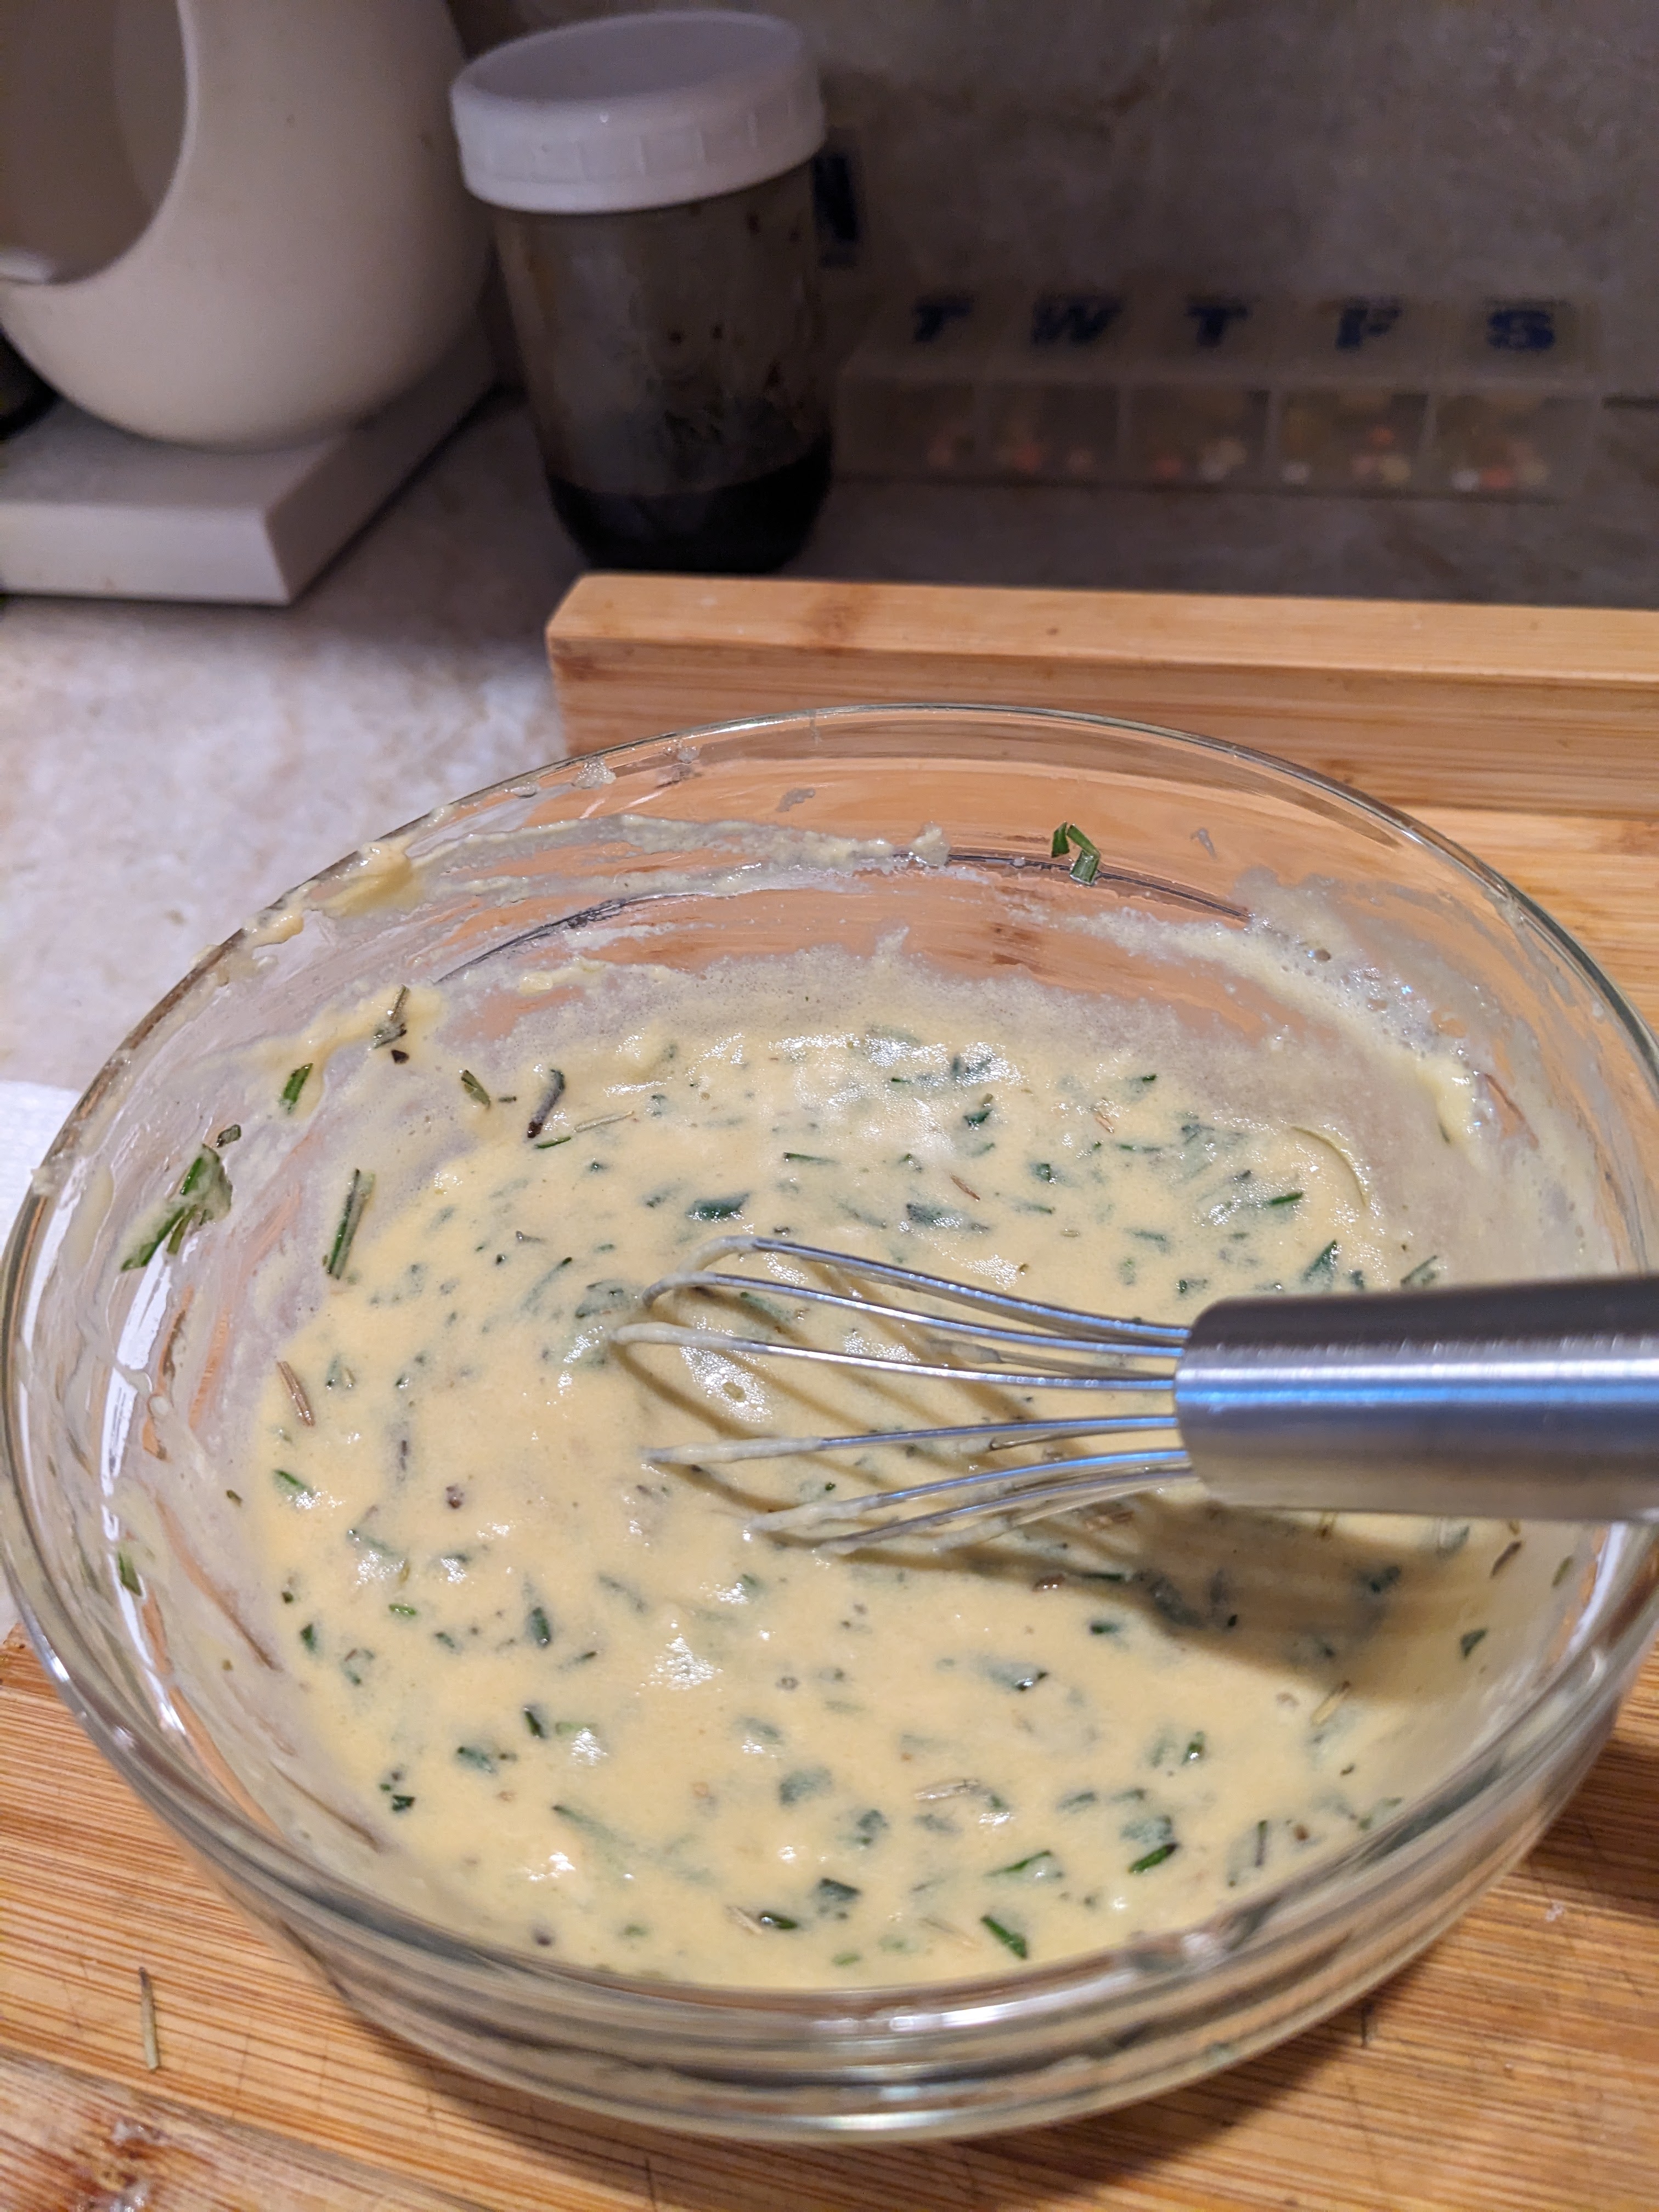
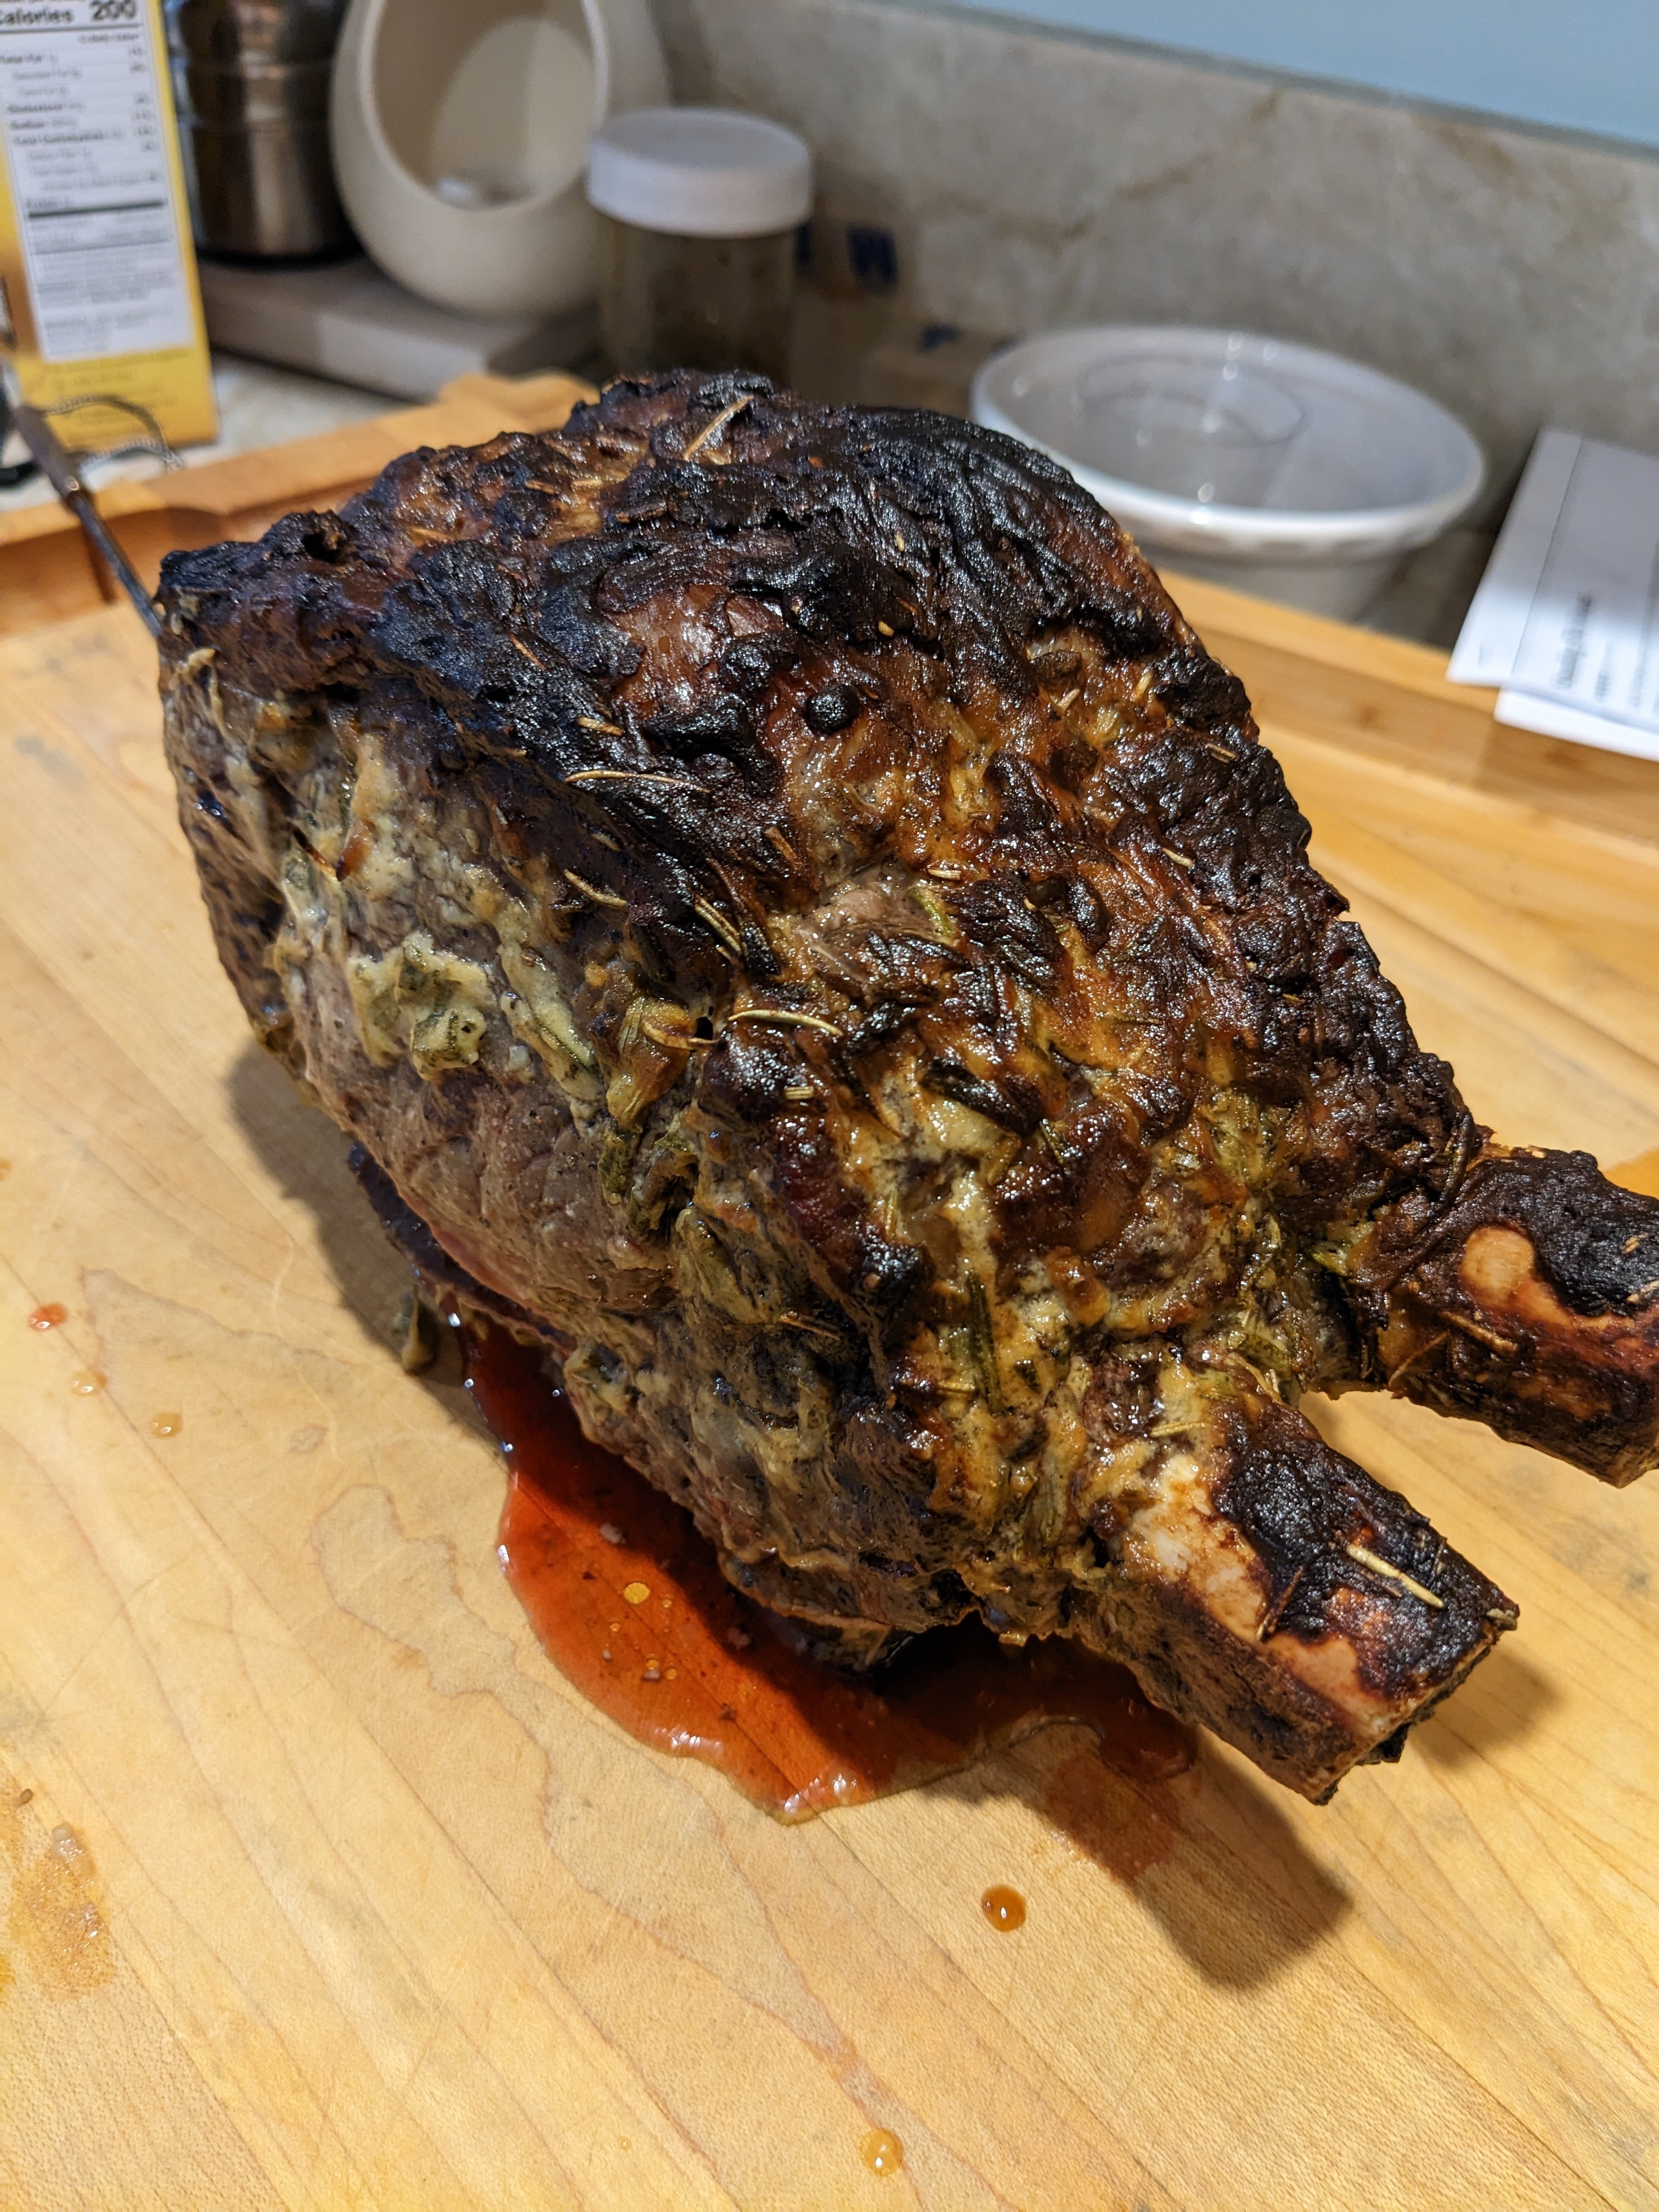
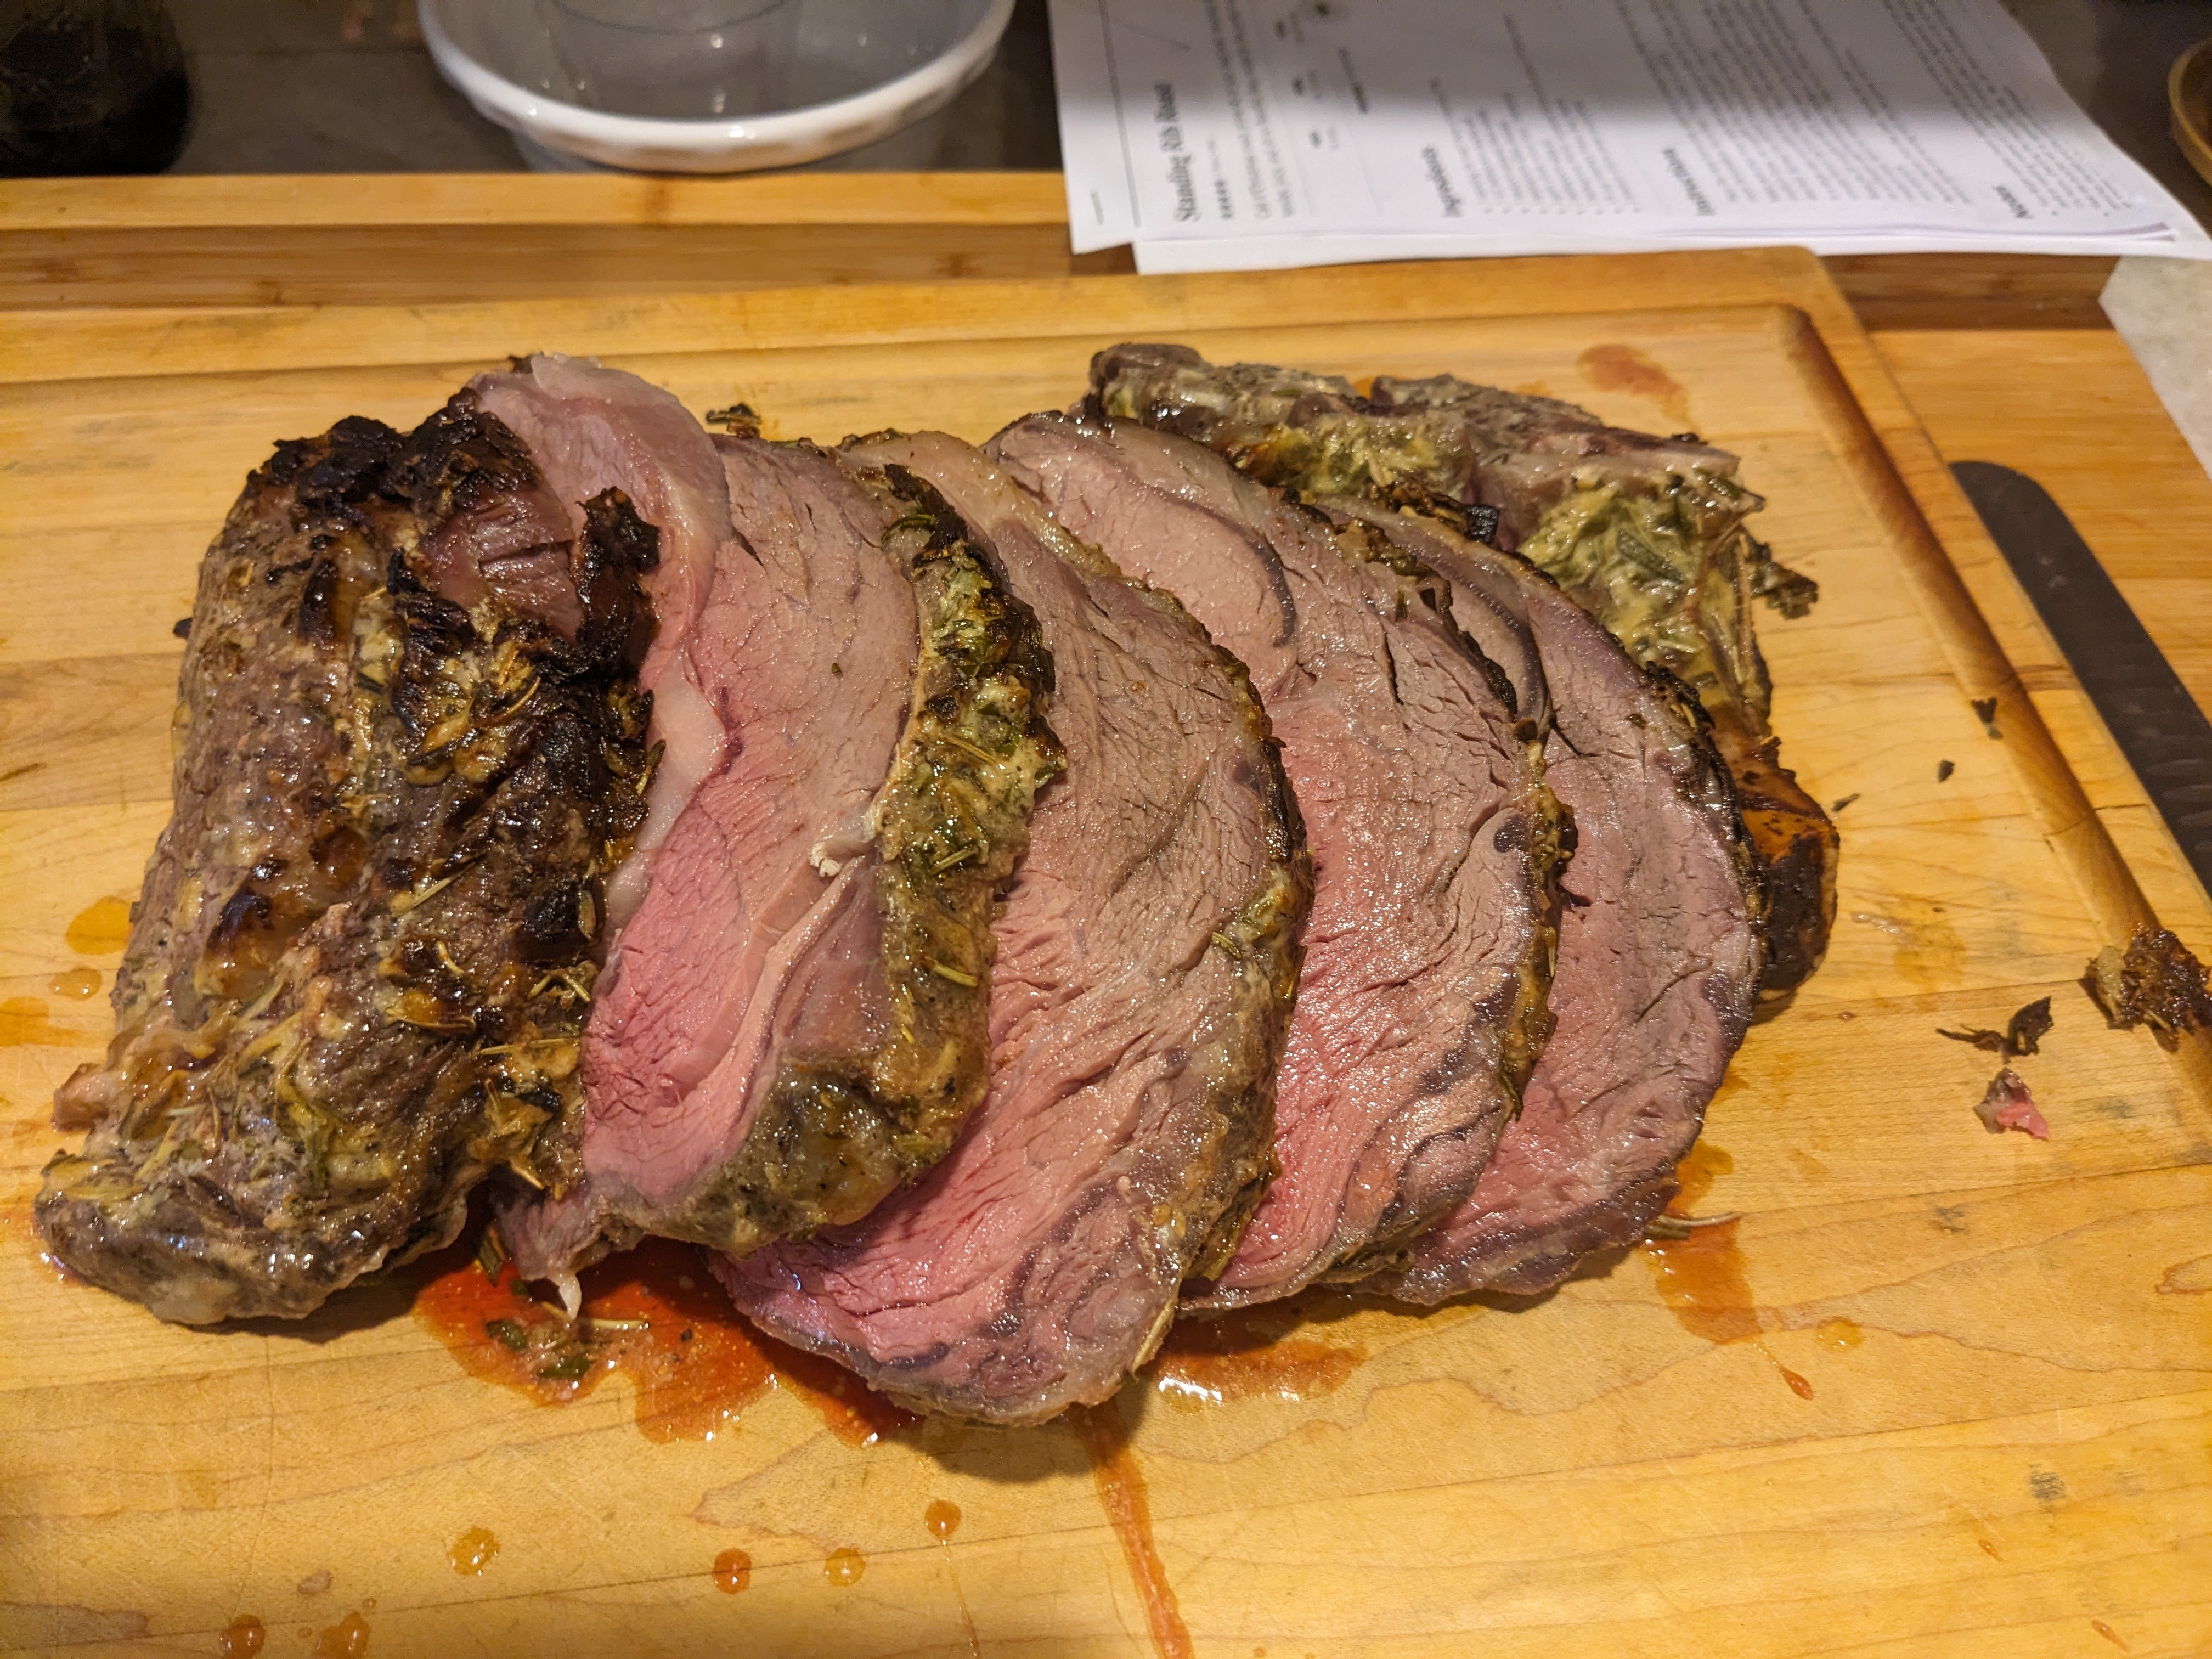
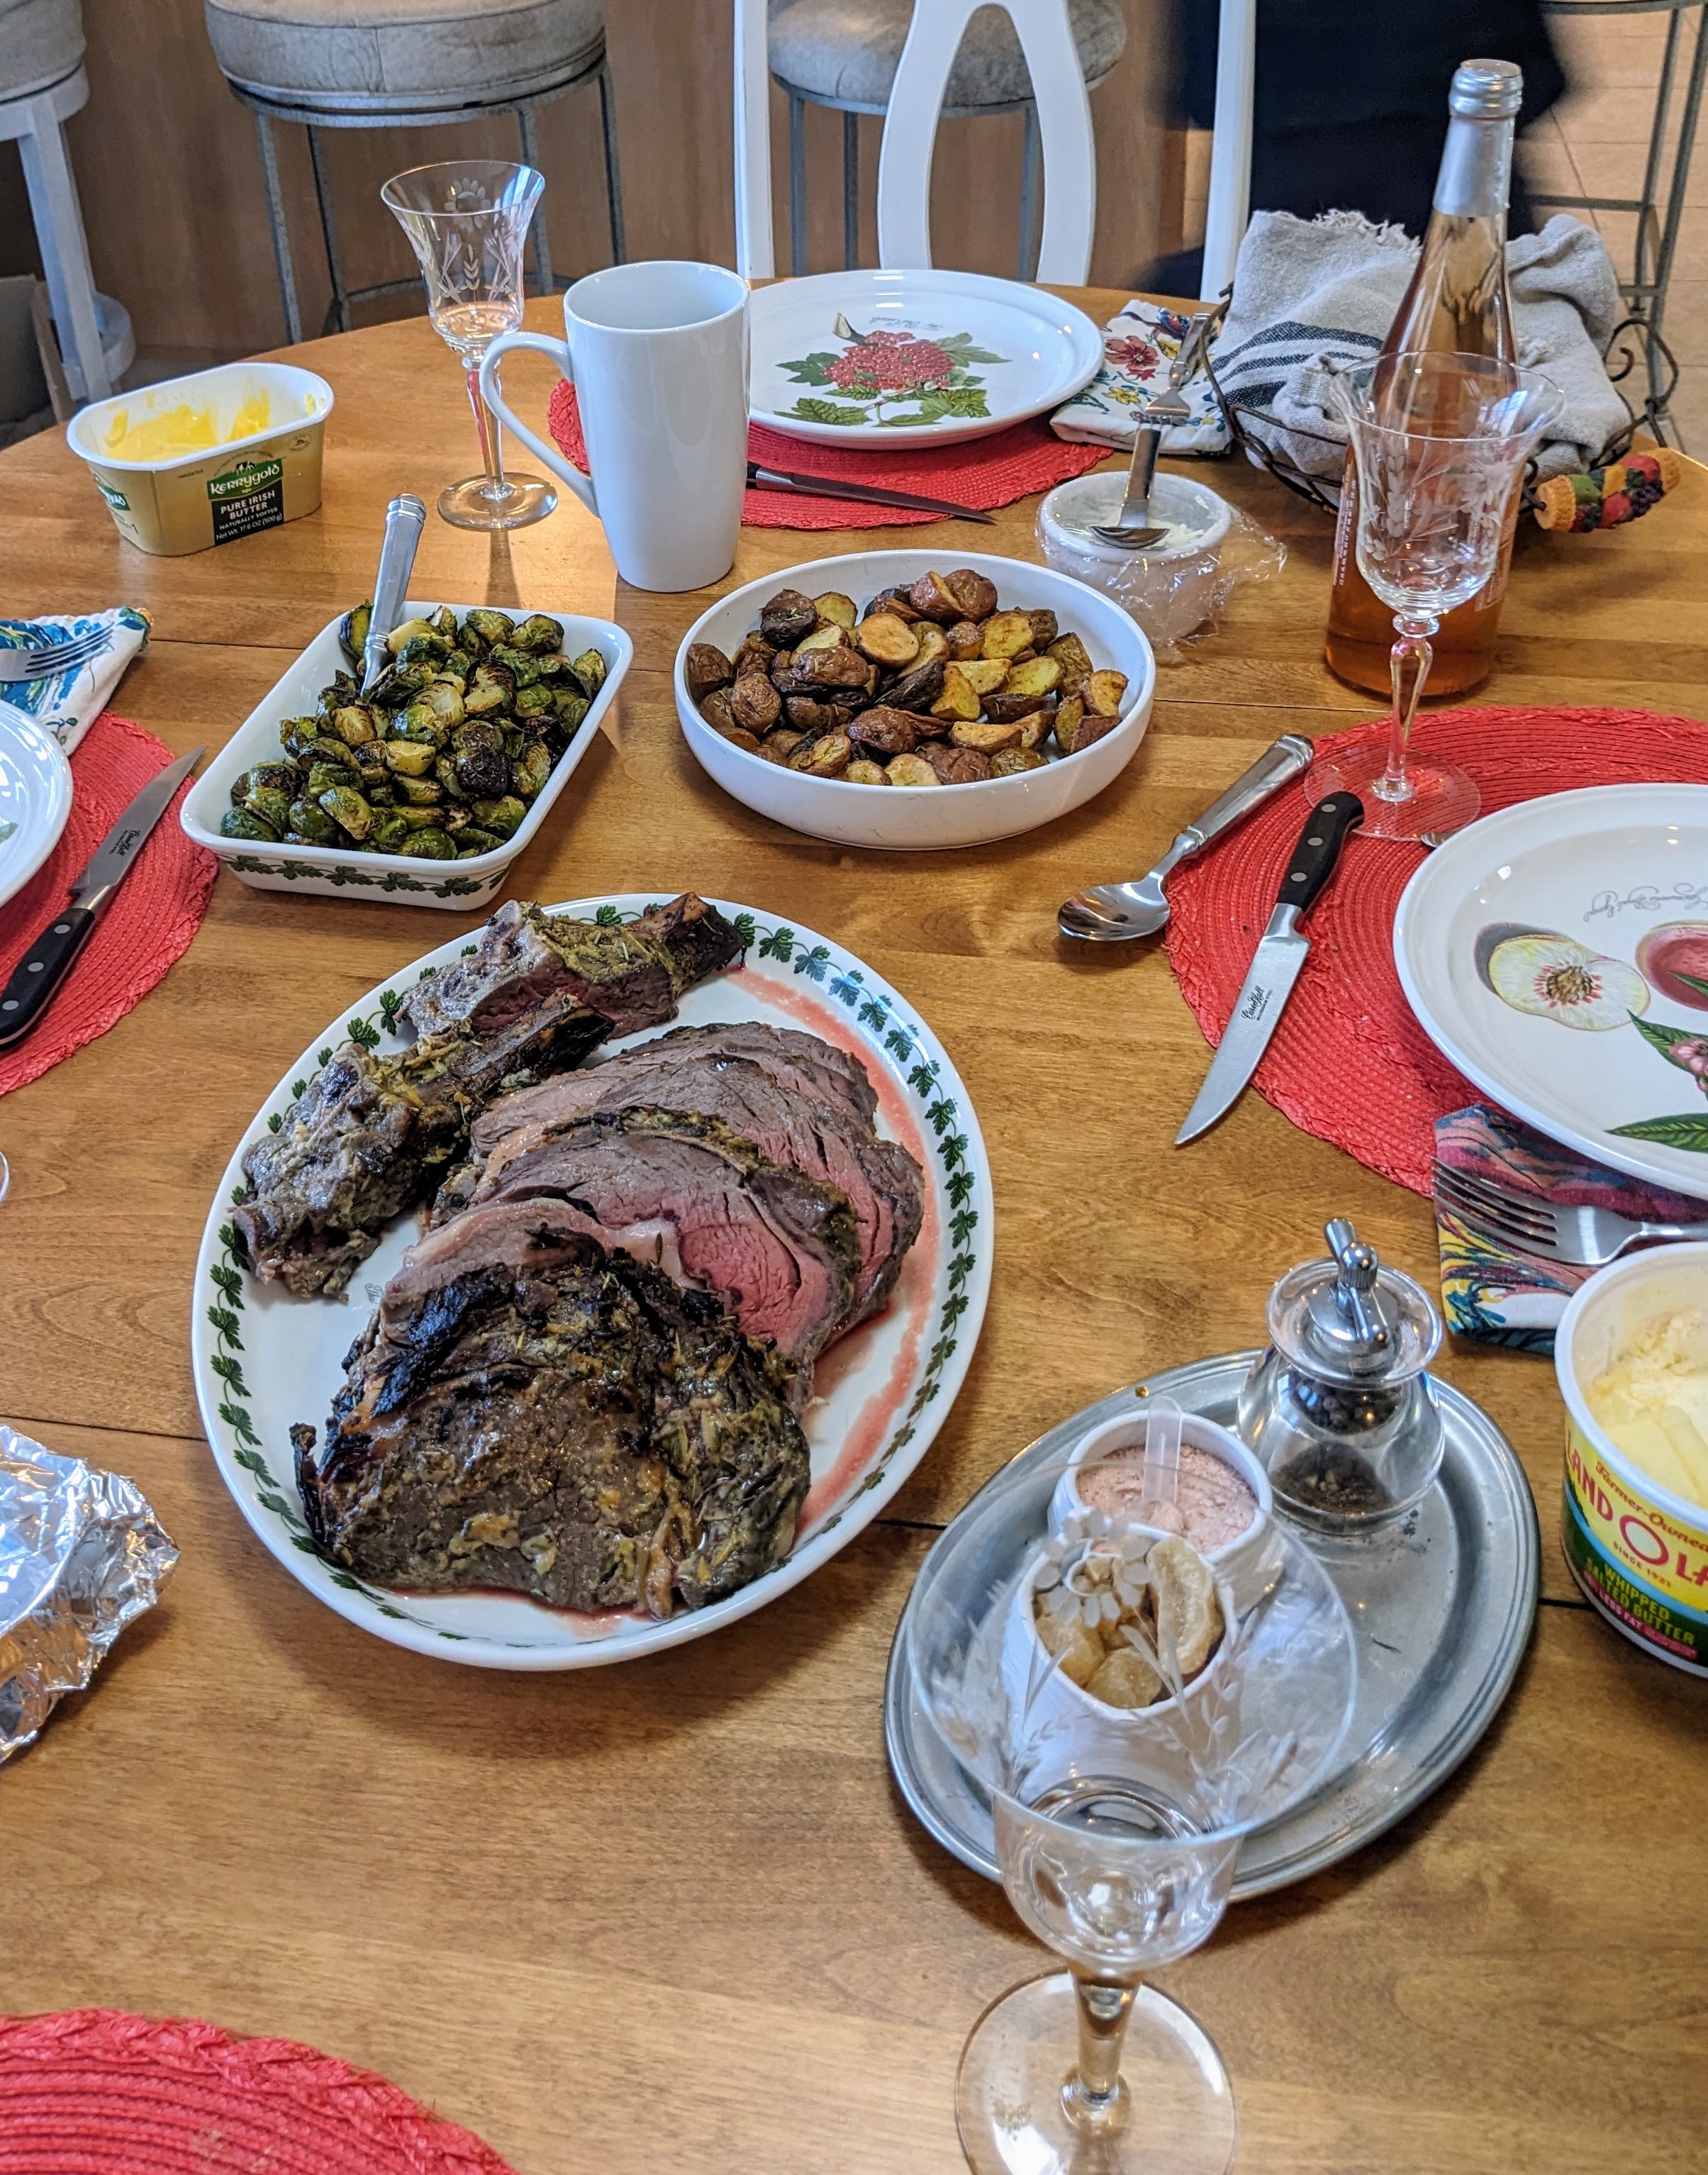
I never made a rib roast before and I always kid my wife that I want to make one. Kid because she knows as well as I do that it goes right through me. But I love it so tender and the taste of the crust out of this world. The last time I had one was the year I retired and on my goodbye tour to the Florida office I drove to my brothers over by Jacksonville. Didn’t realize that it would be a 4ish hour drive, but he and Nancy are worth it.
Anyway I was nostalgic this year and remembering we always had one for family holiday especially when Diane bought a 8 rib roast thinking that it was 1 rib per person not per couple. and I must have made a good enough argument because we had one this year for Xmas. And to answer your question yes it did live up to all expectations.
Whole foods was having a sale on their grass fed roast so I picked up a 4 lb. 2 rib.
Ingredients
How
Creamy Horseradish Sauce Recipe


I recently made a turkey meatloaf with a quick BBQ glaze which both Lyn and I said will make again. I thought the glaze or similar might be good on skinless chicken thighs.

Ingredients for 5-7 skinless boneless chicken thighs
Sorry we were starving I forgot to take pictures

1/3 cup Orange Marmalade
2 TBS Honey
1 TBS Brown Suger
1 TBS Dijon Mustad
2 TBS Grainy Mustard
Mix all together and cover brisket with then reheat for about 10-15 minutes
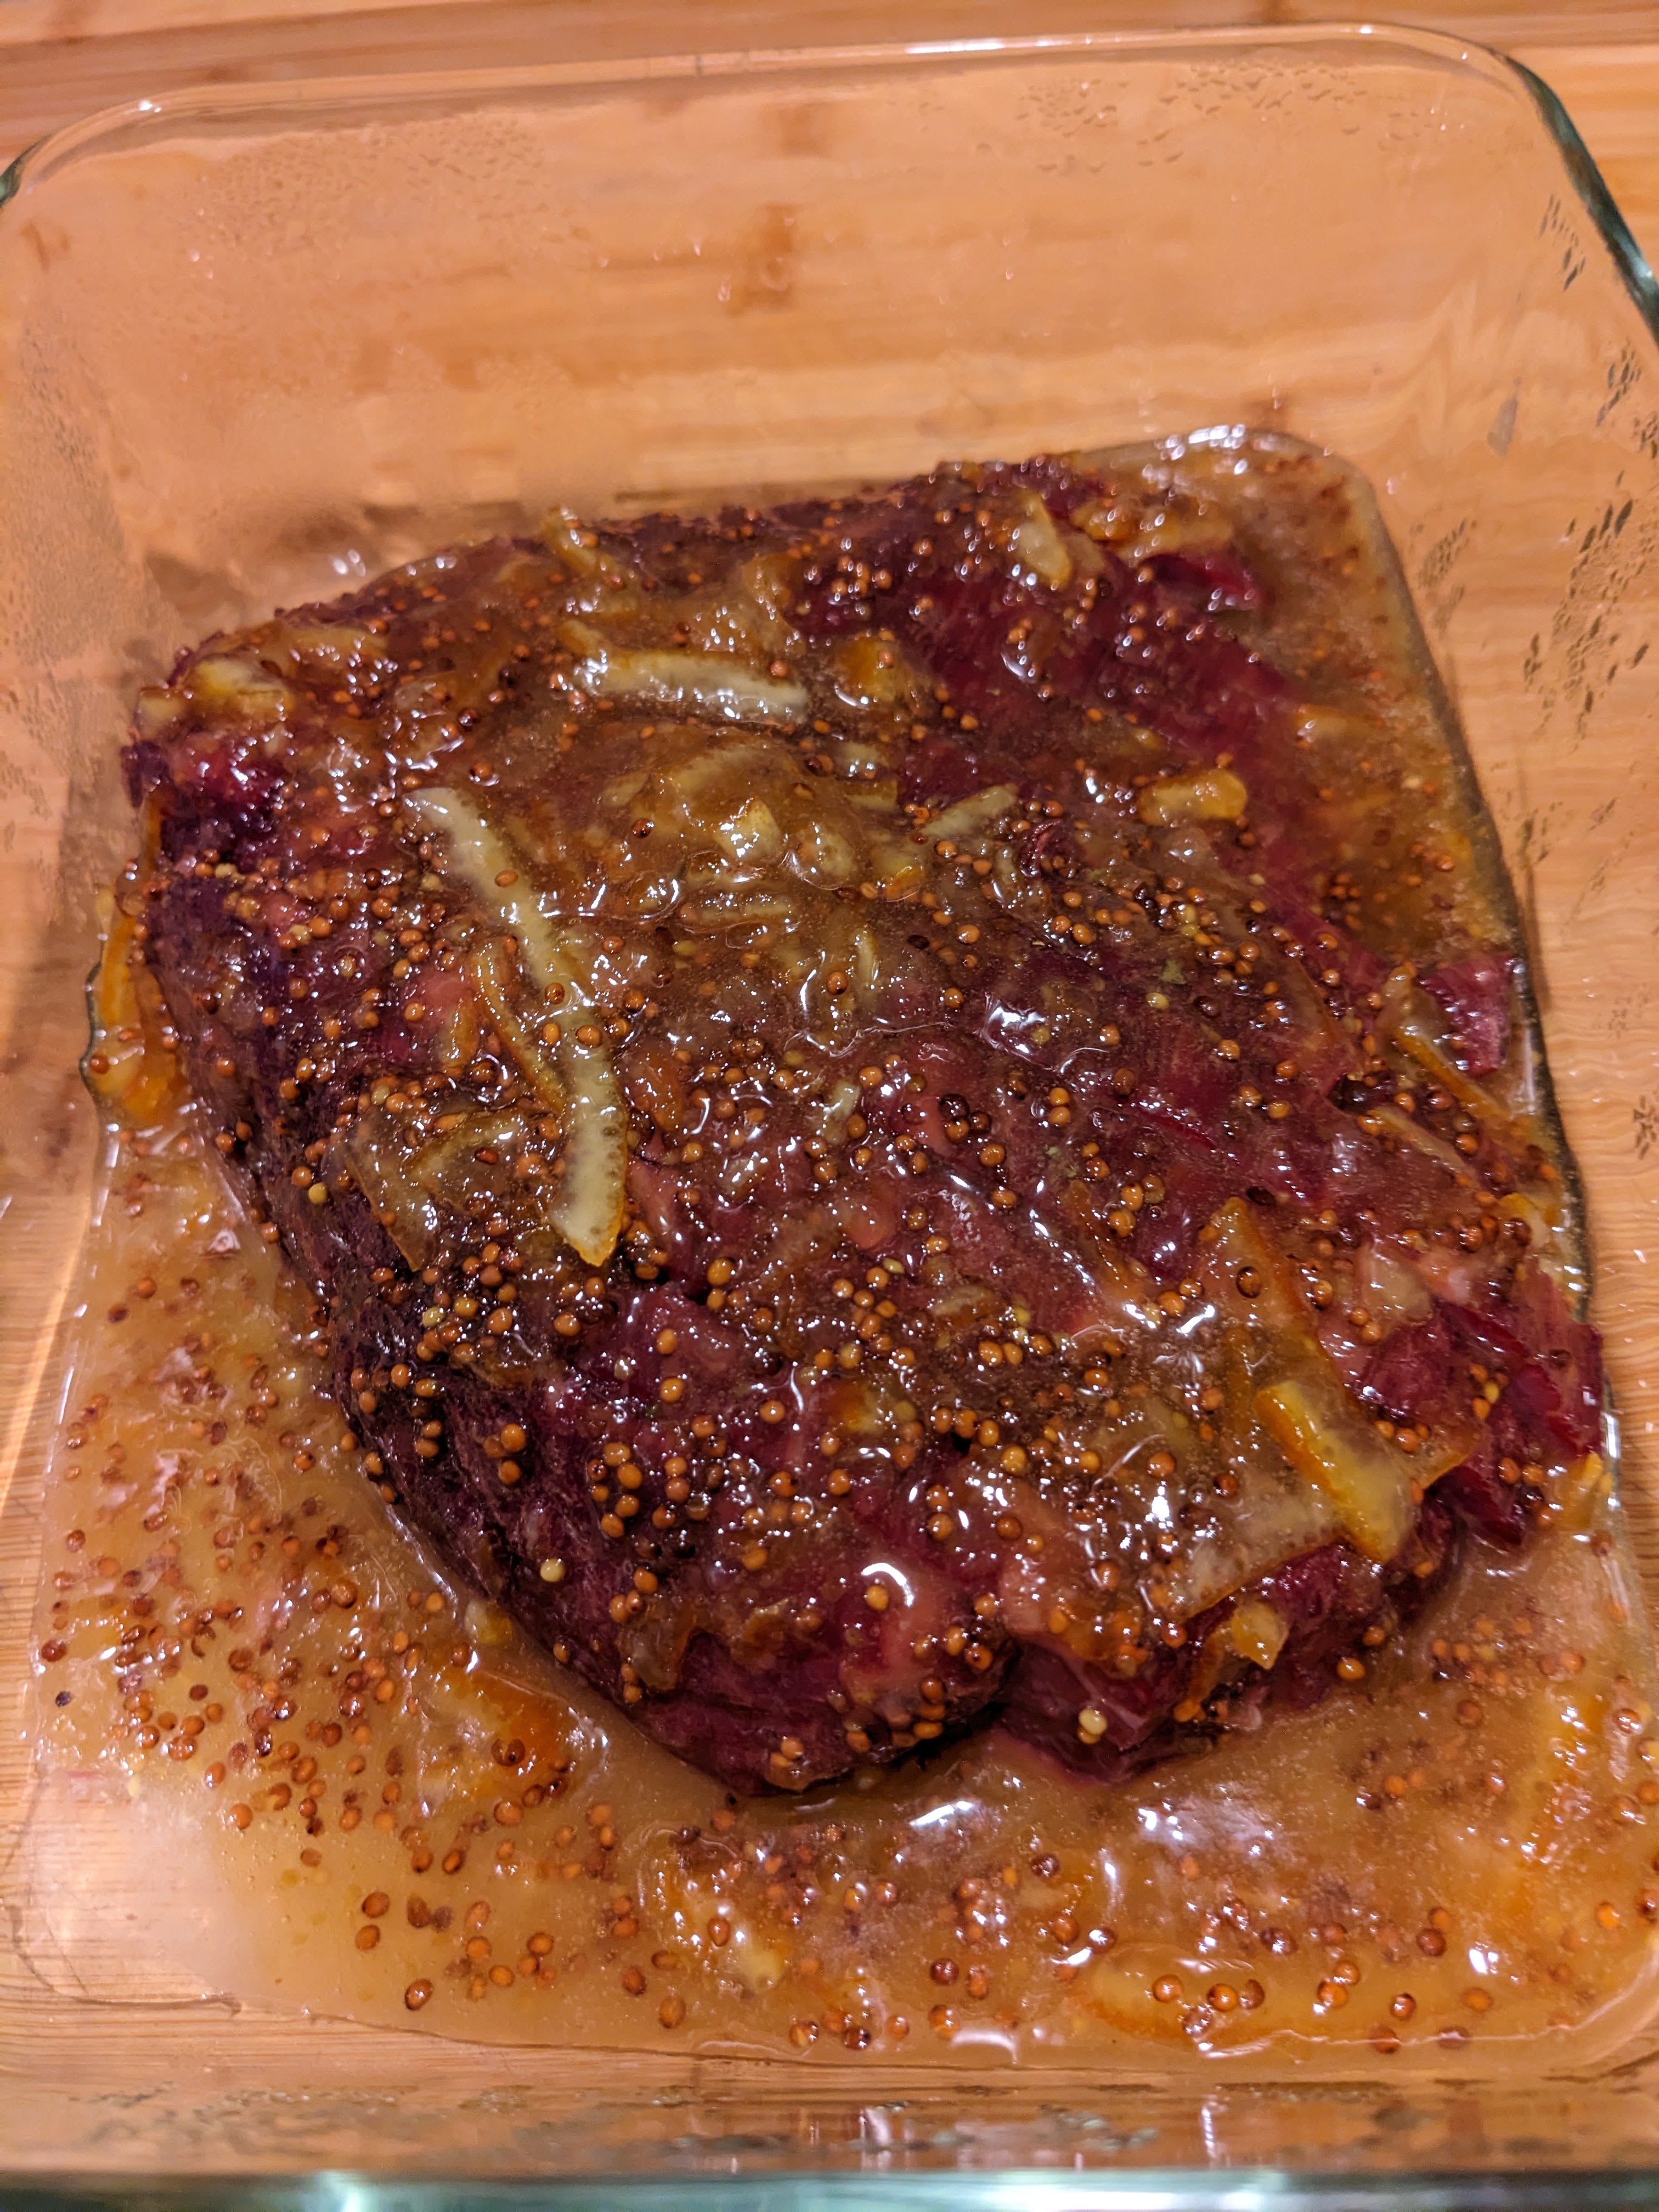
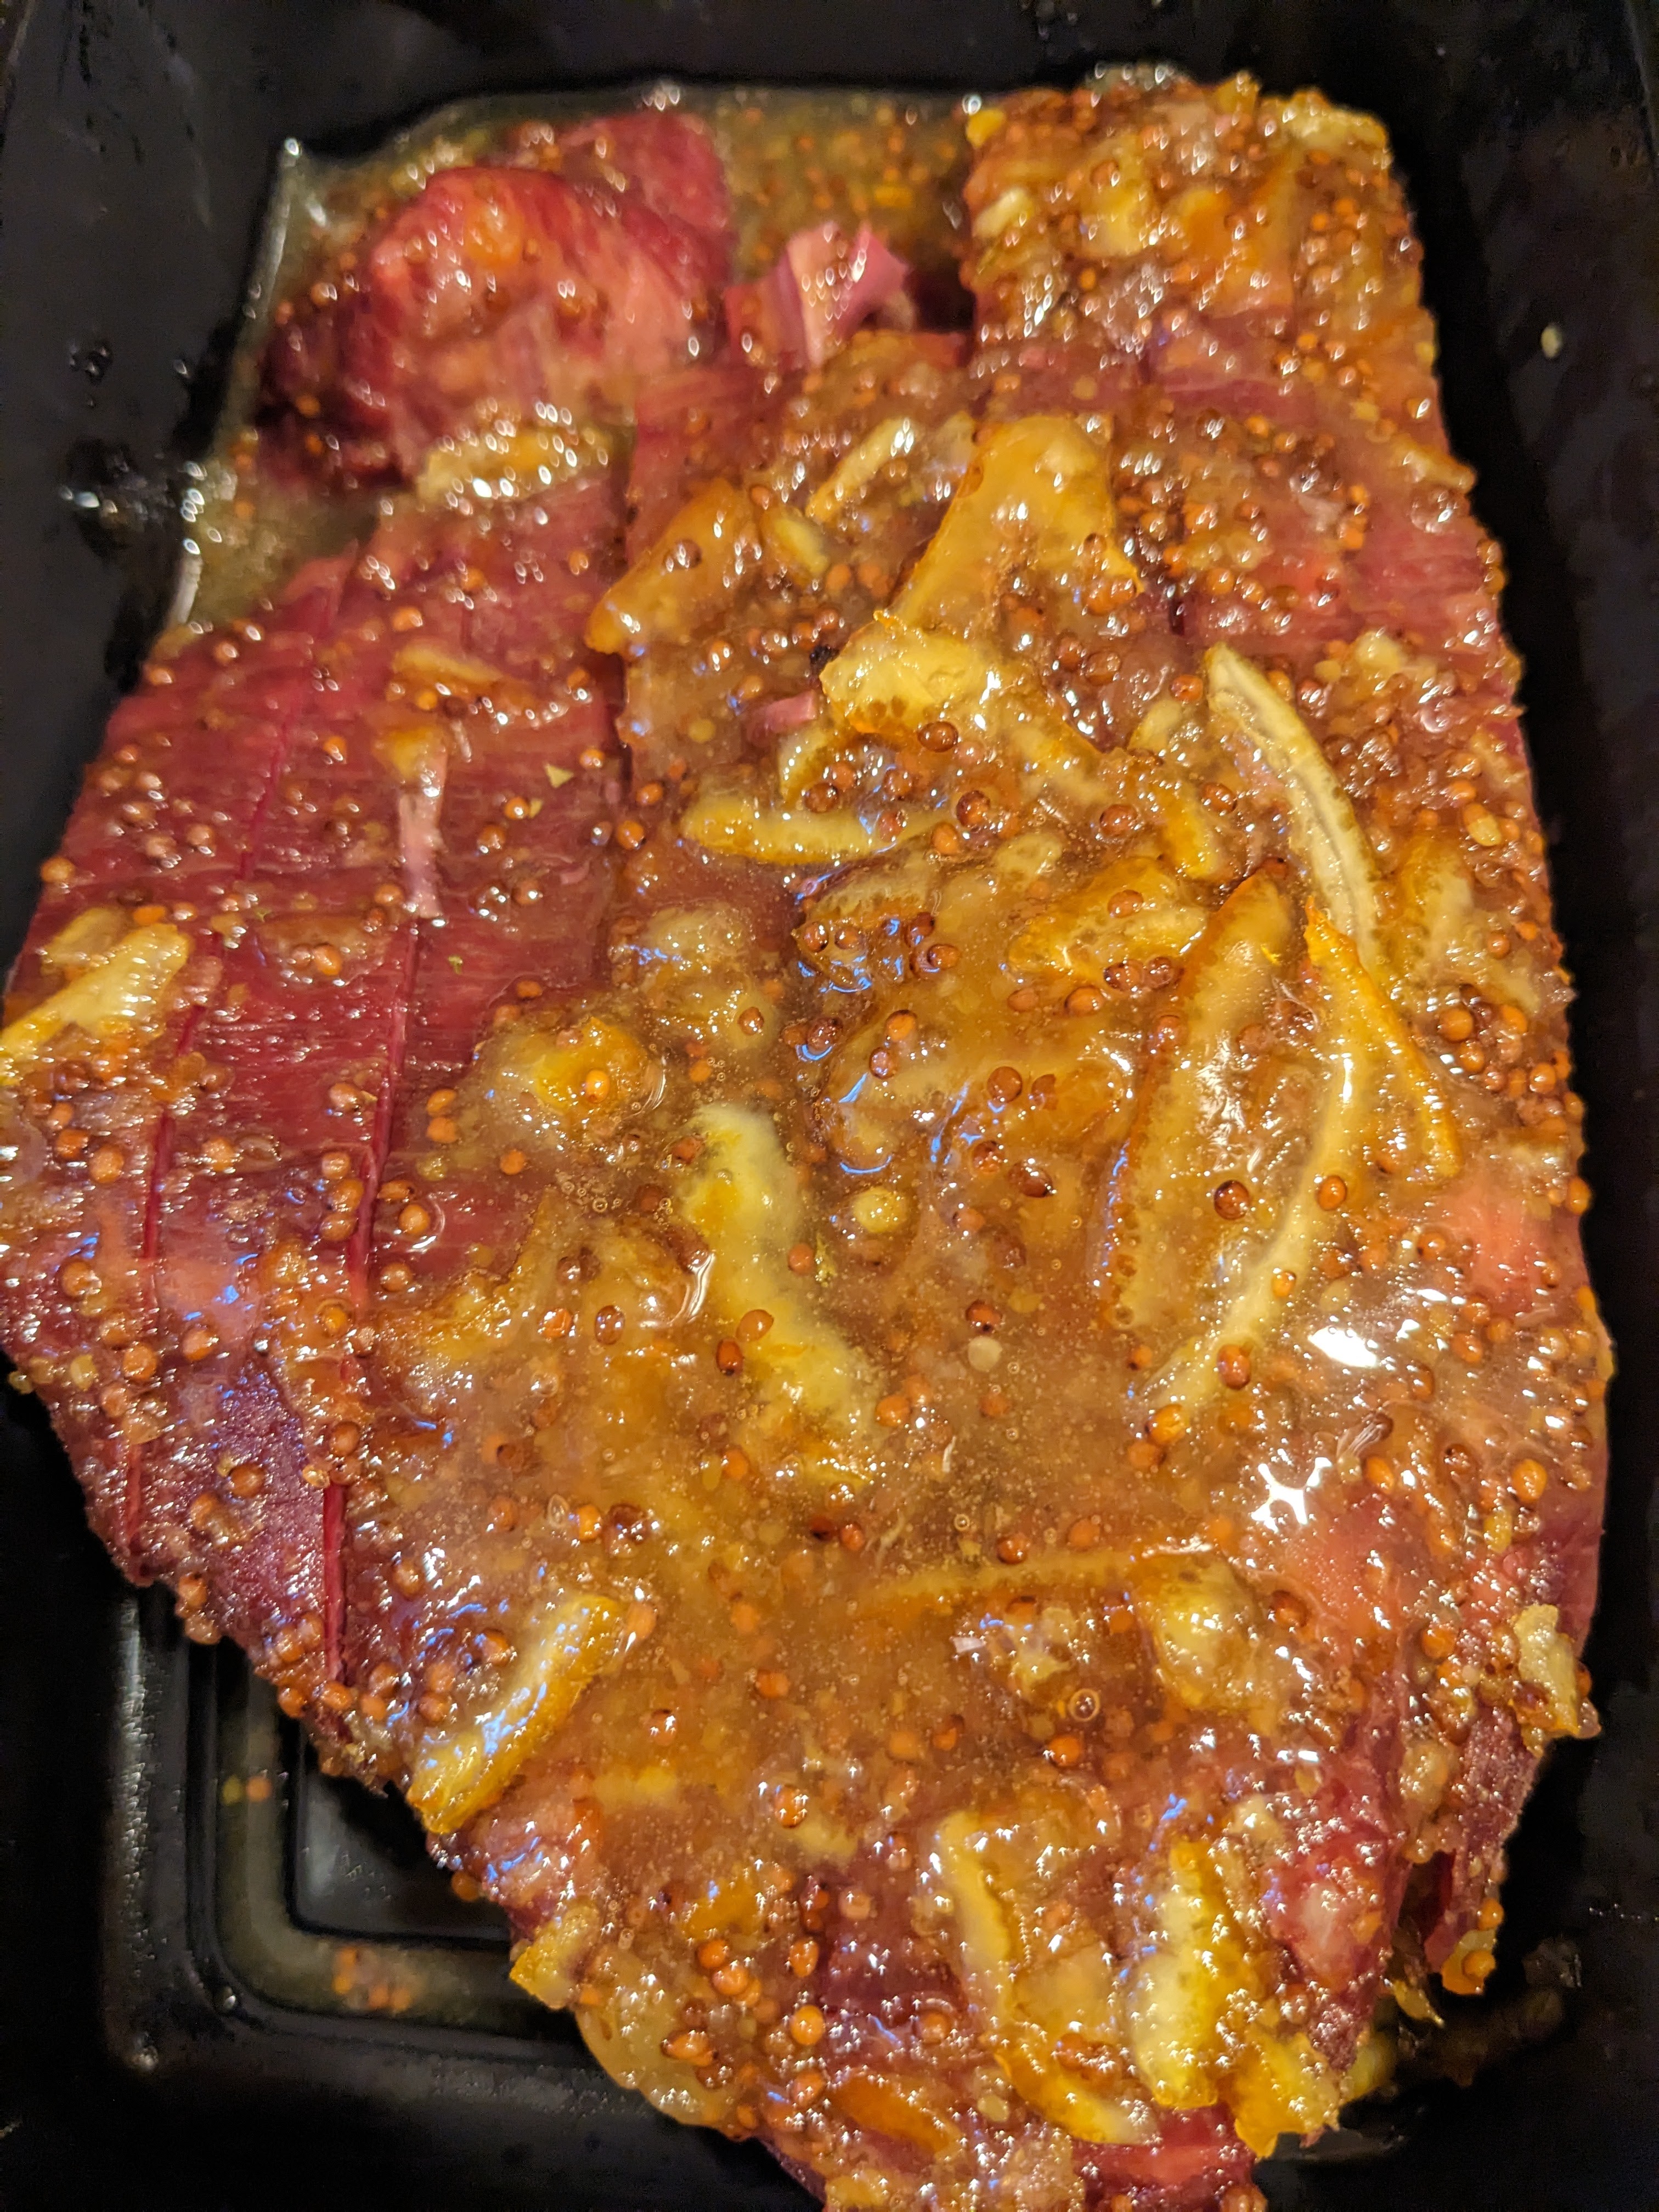
I also used on pork tenderloin wasn’t bad

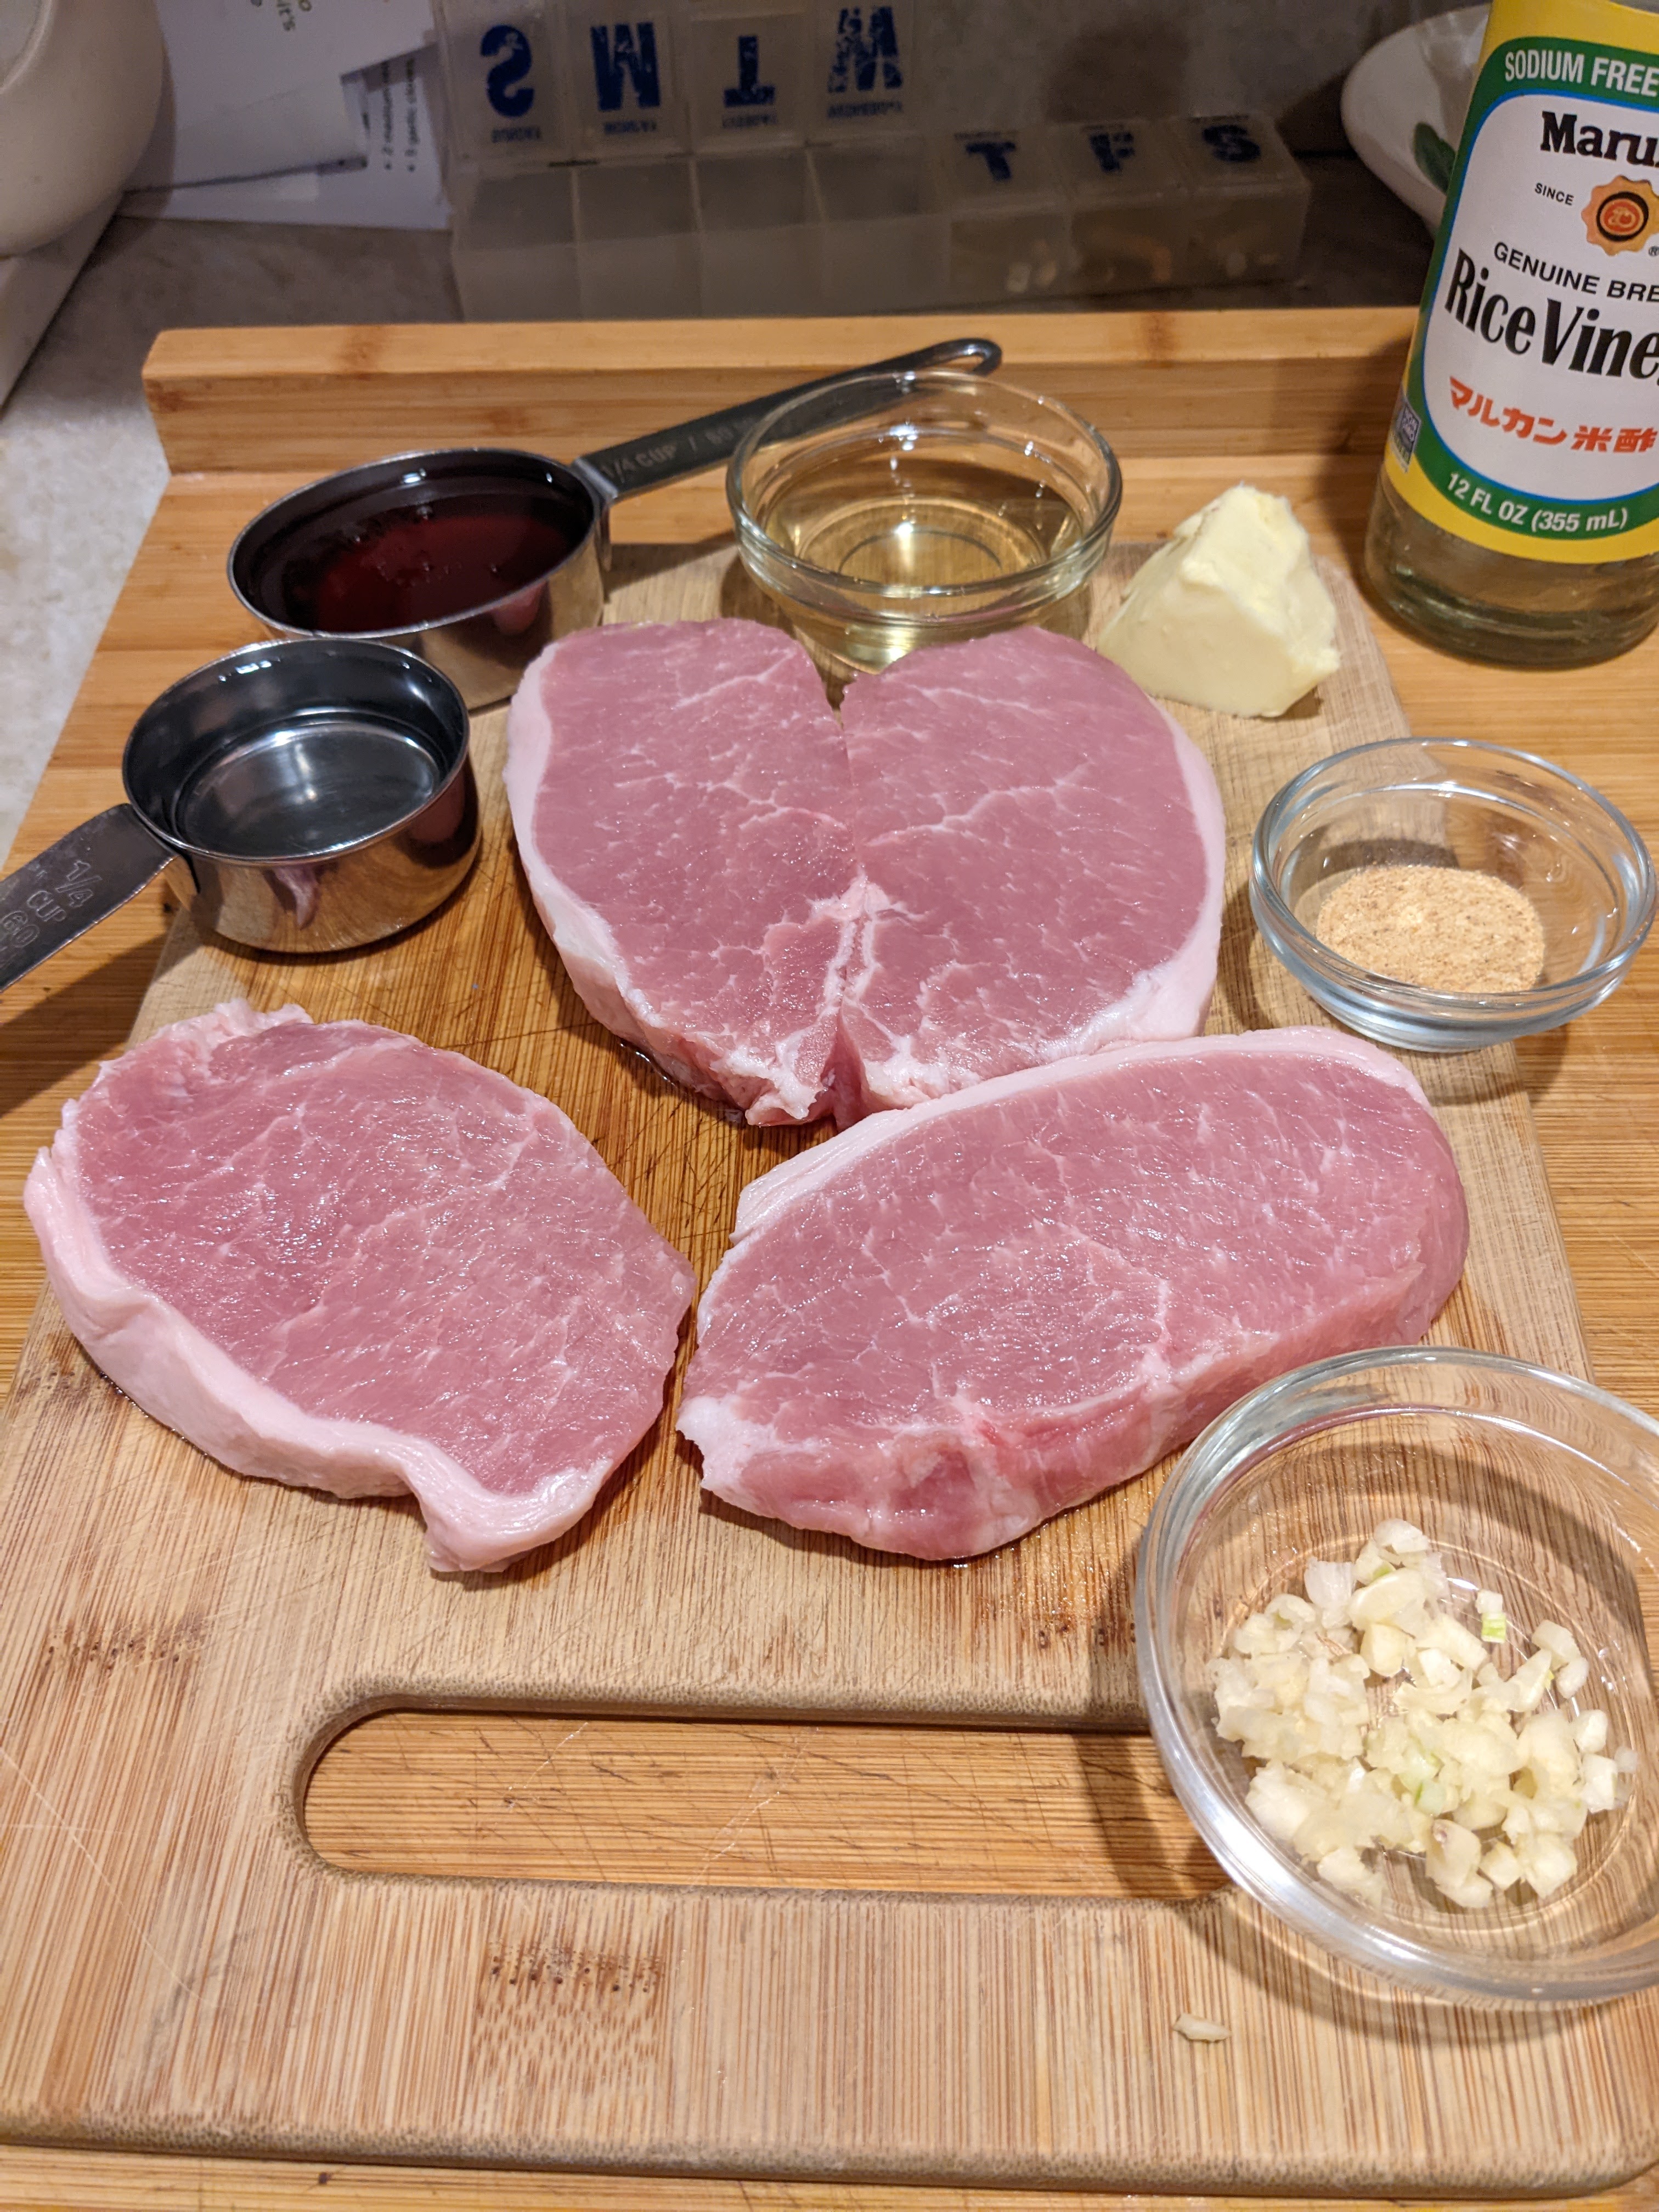
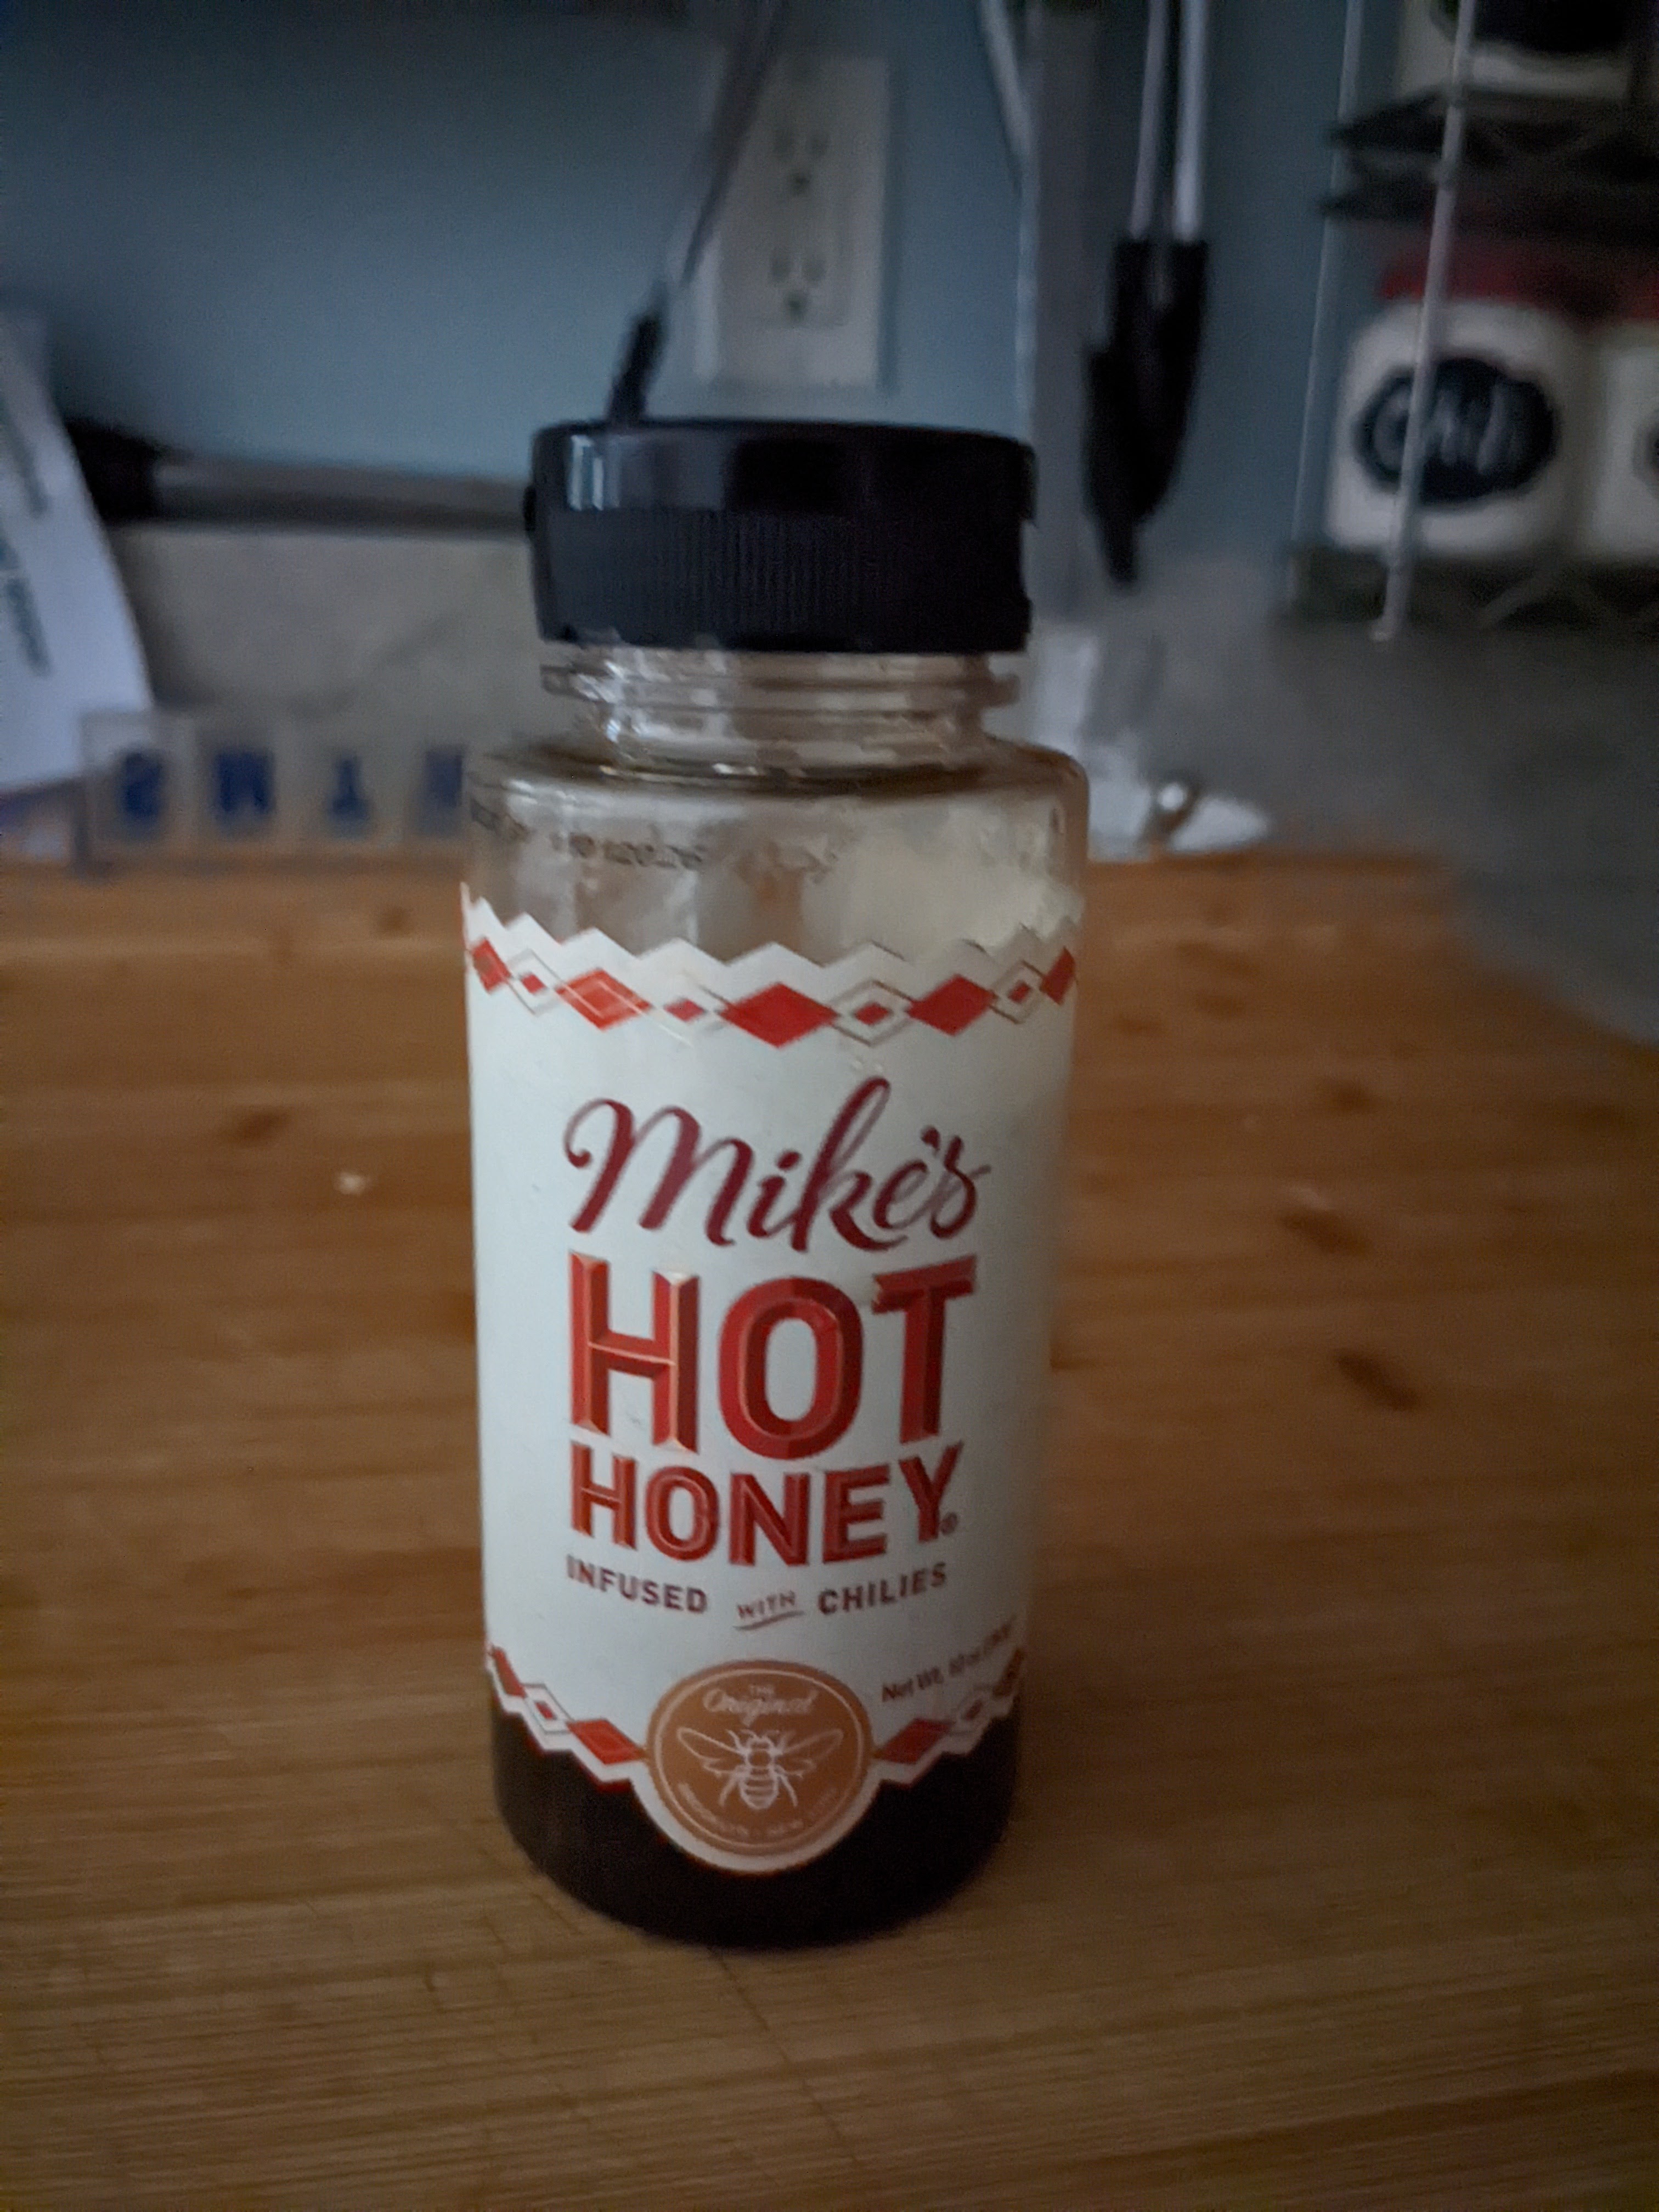
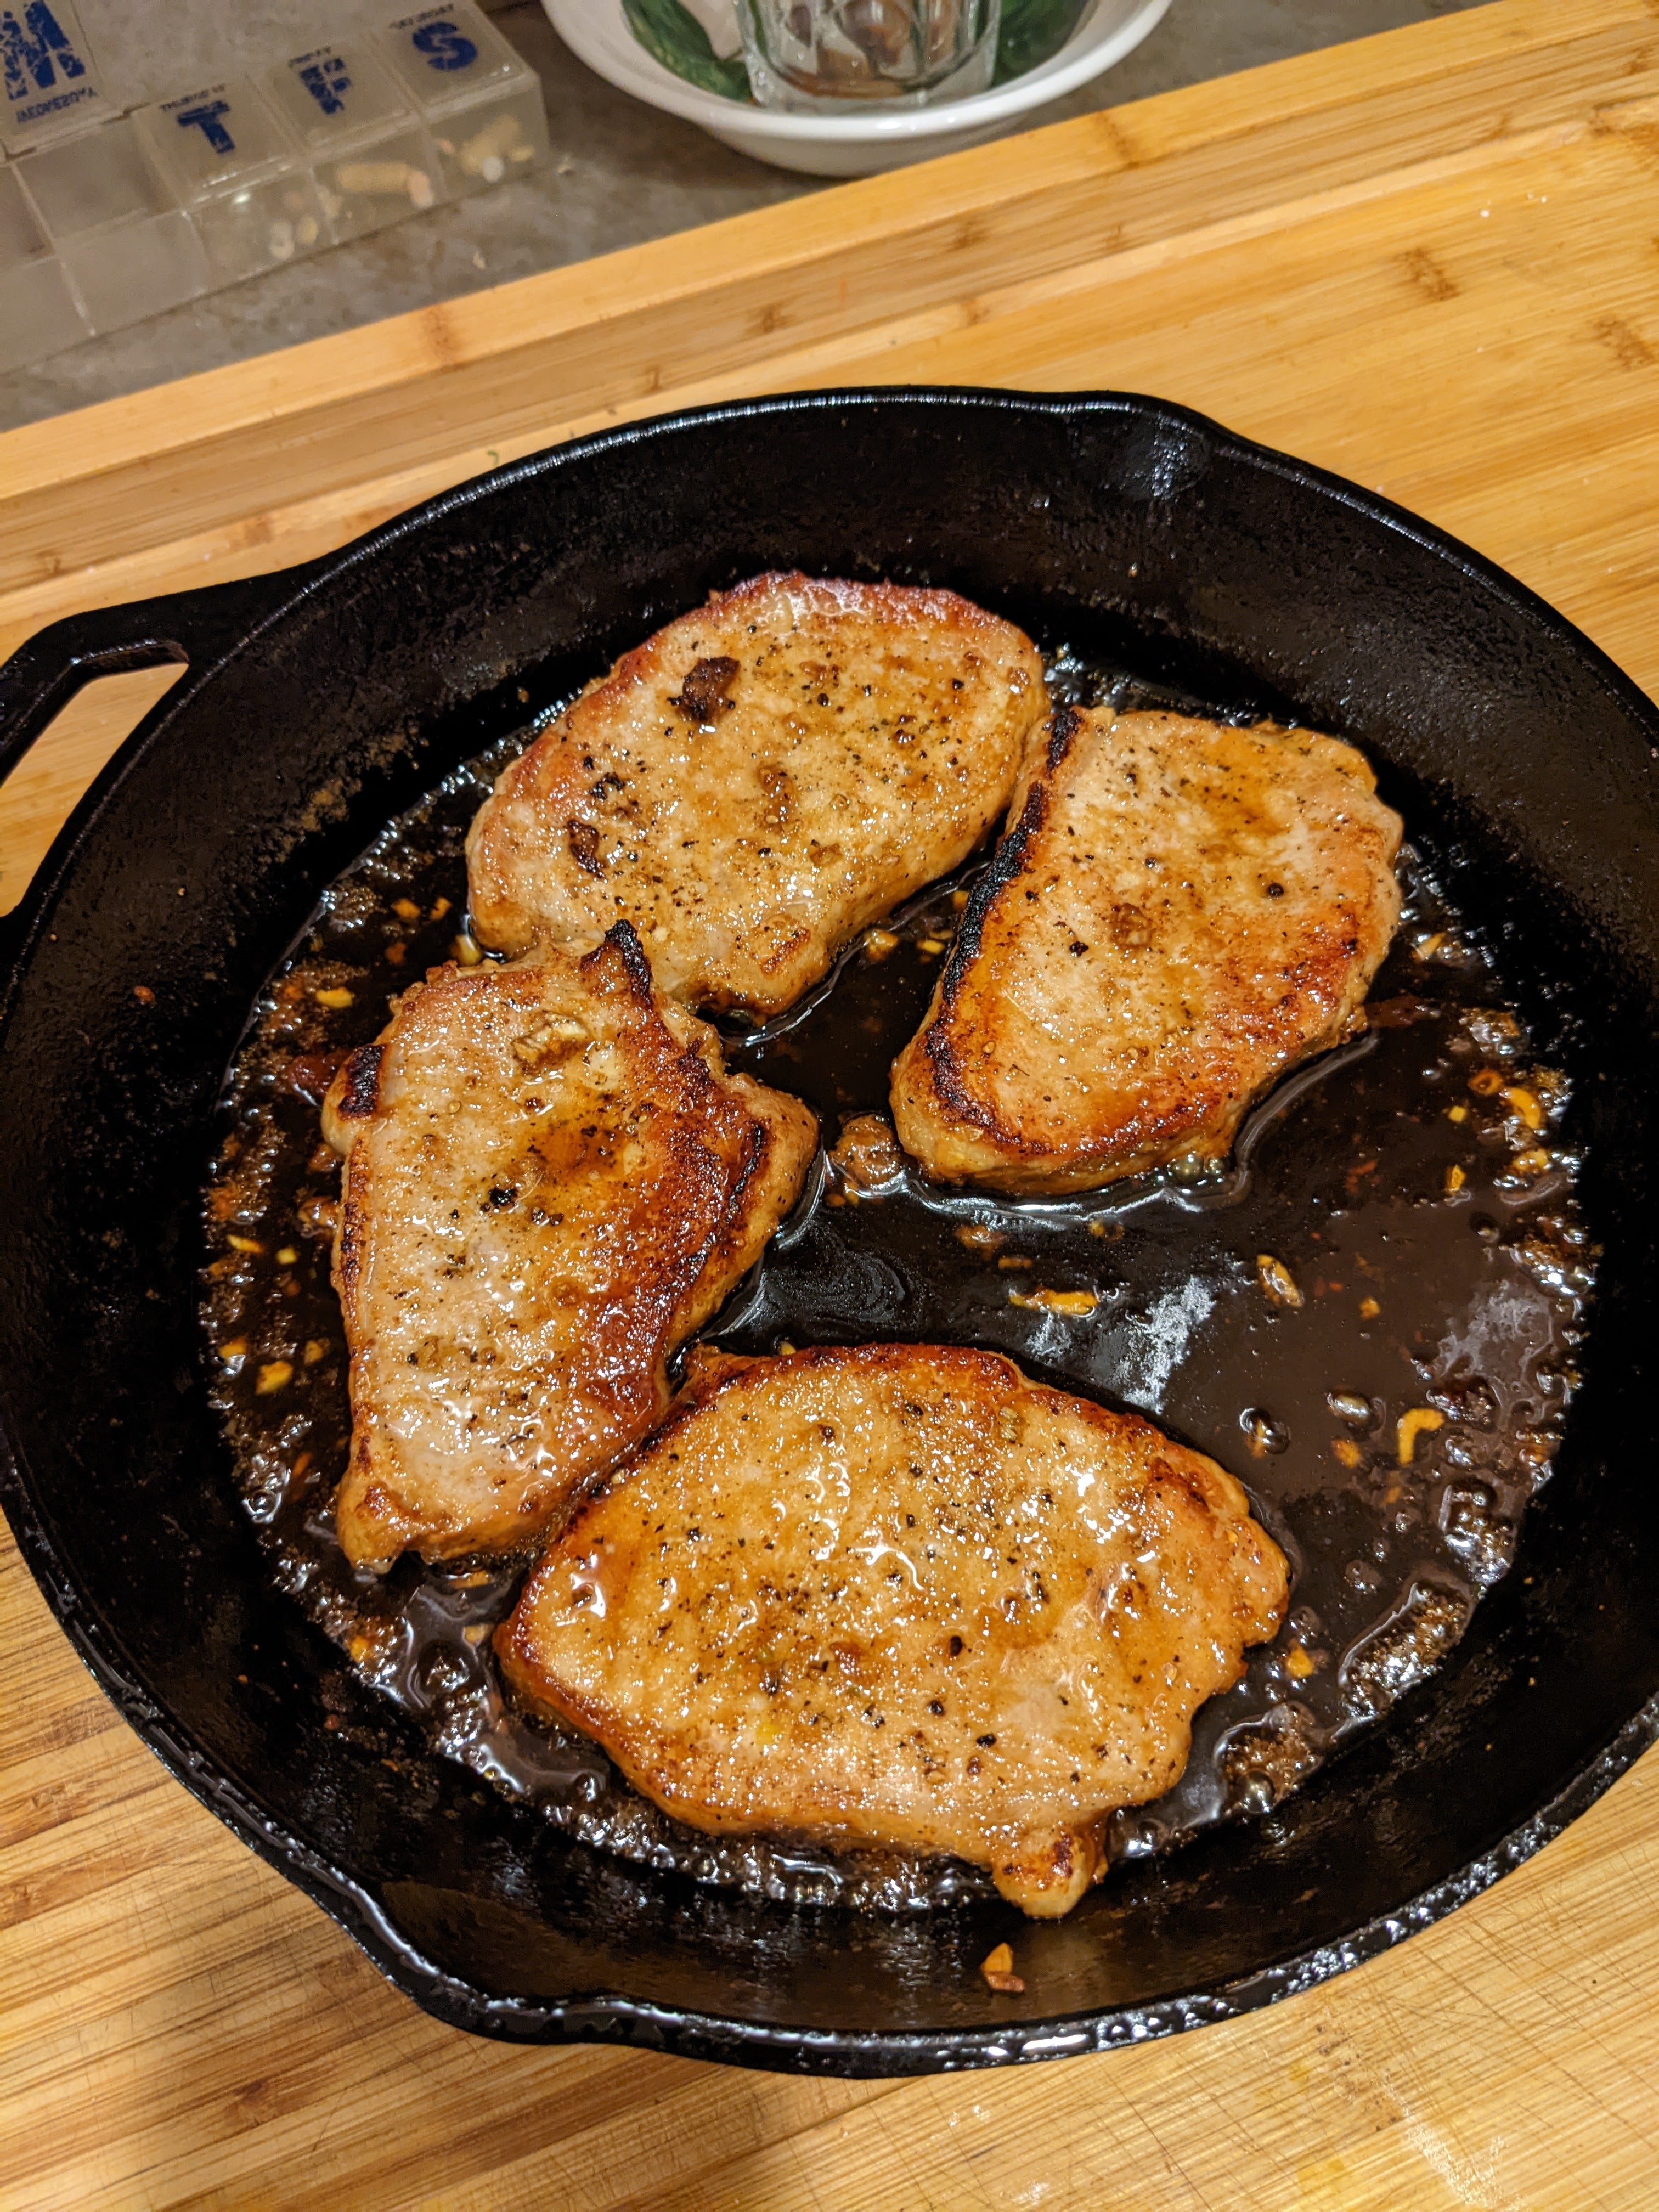
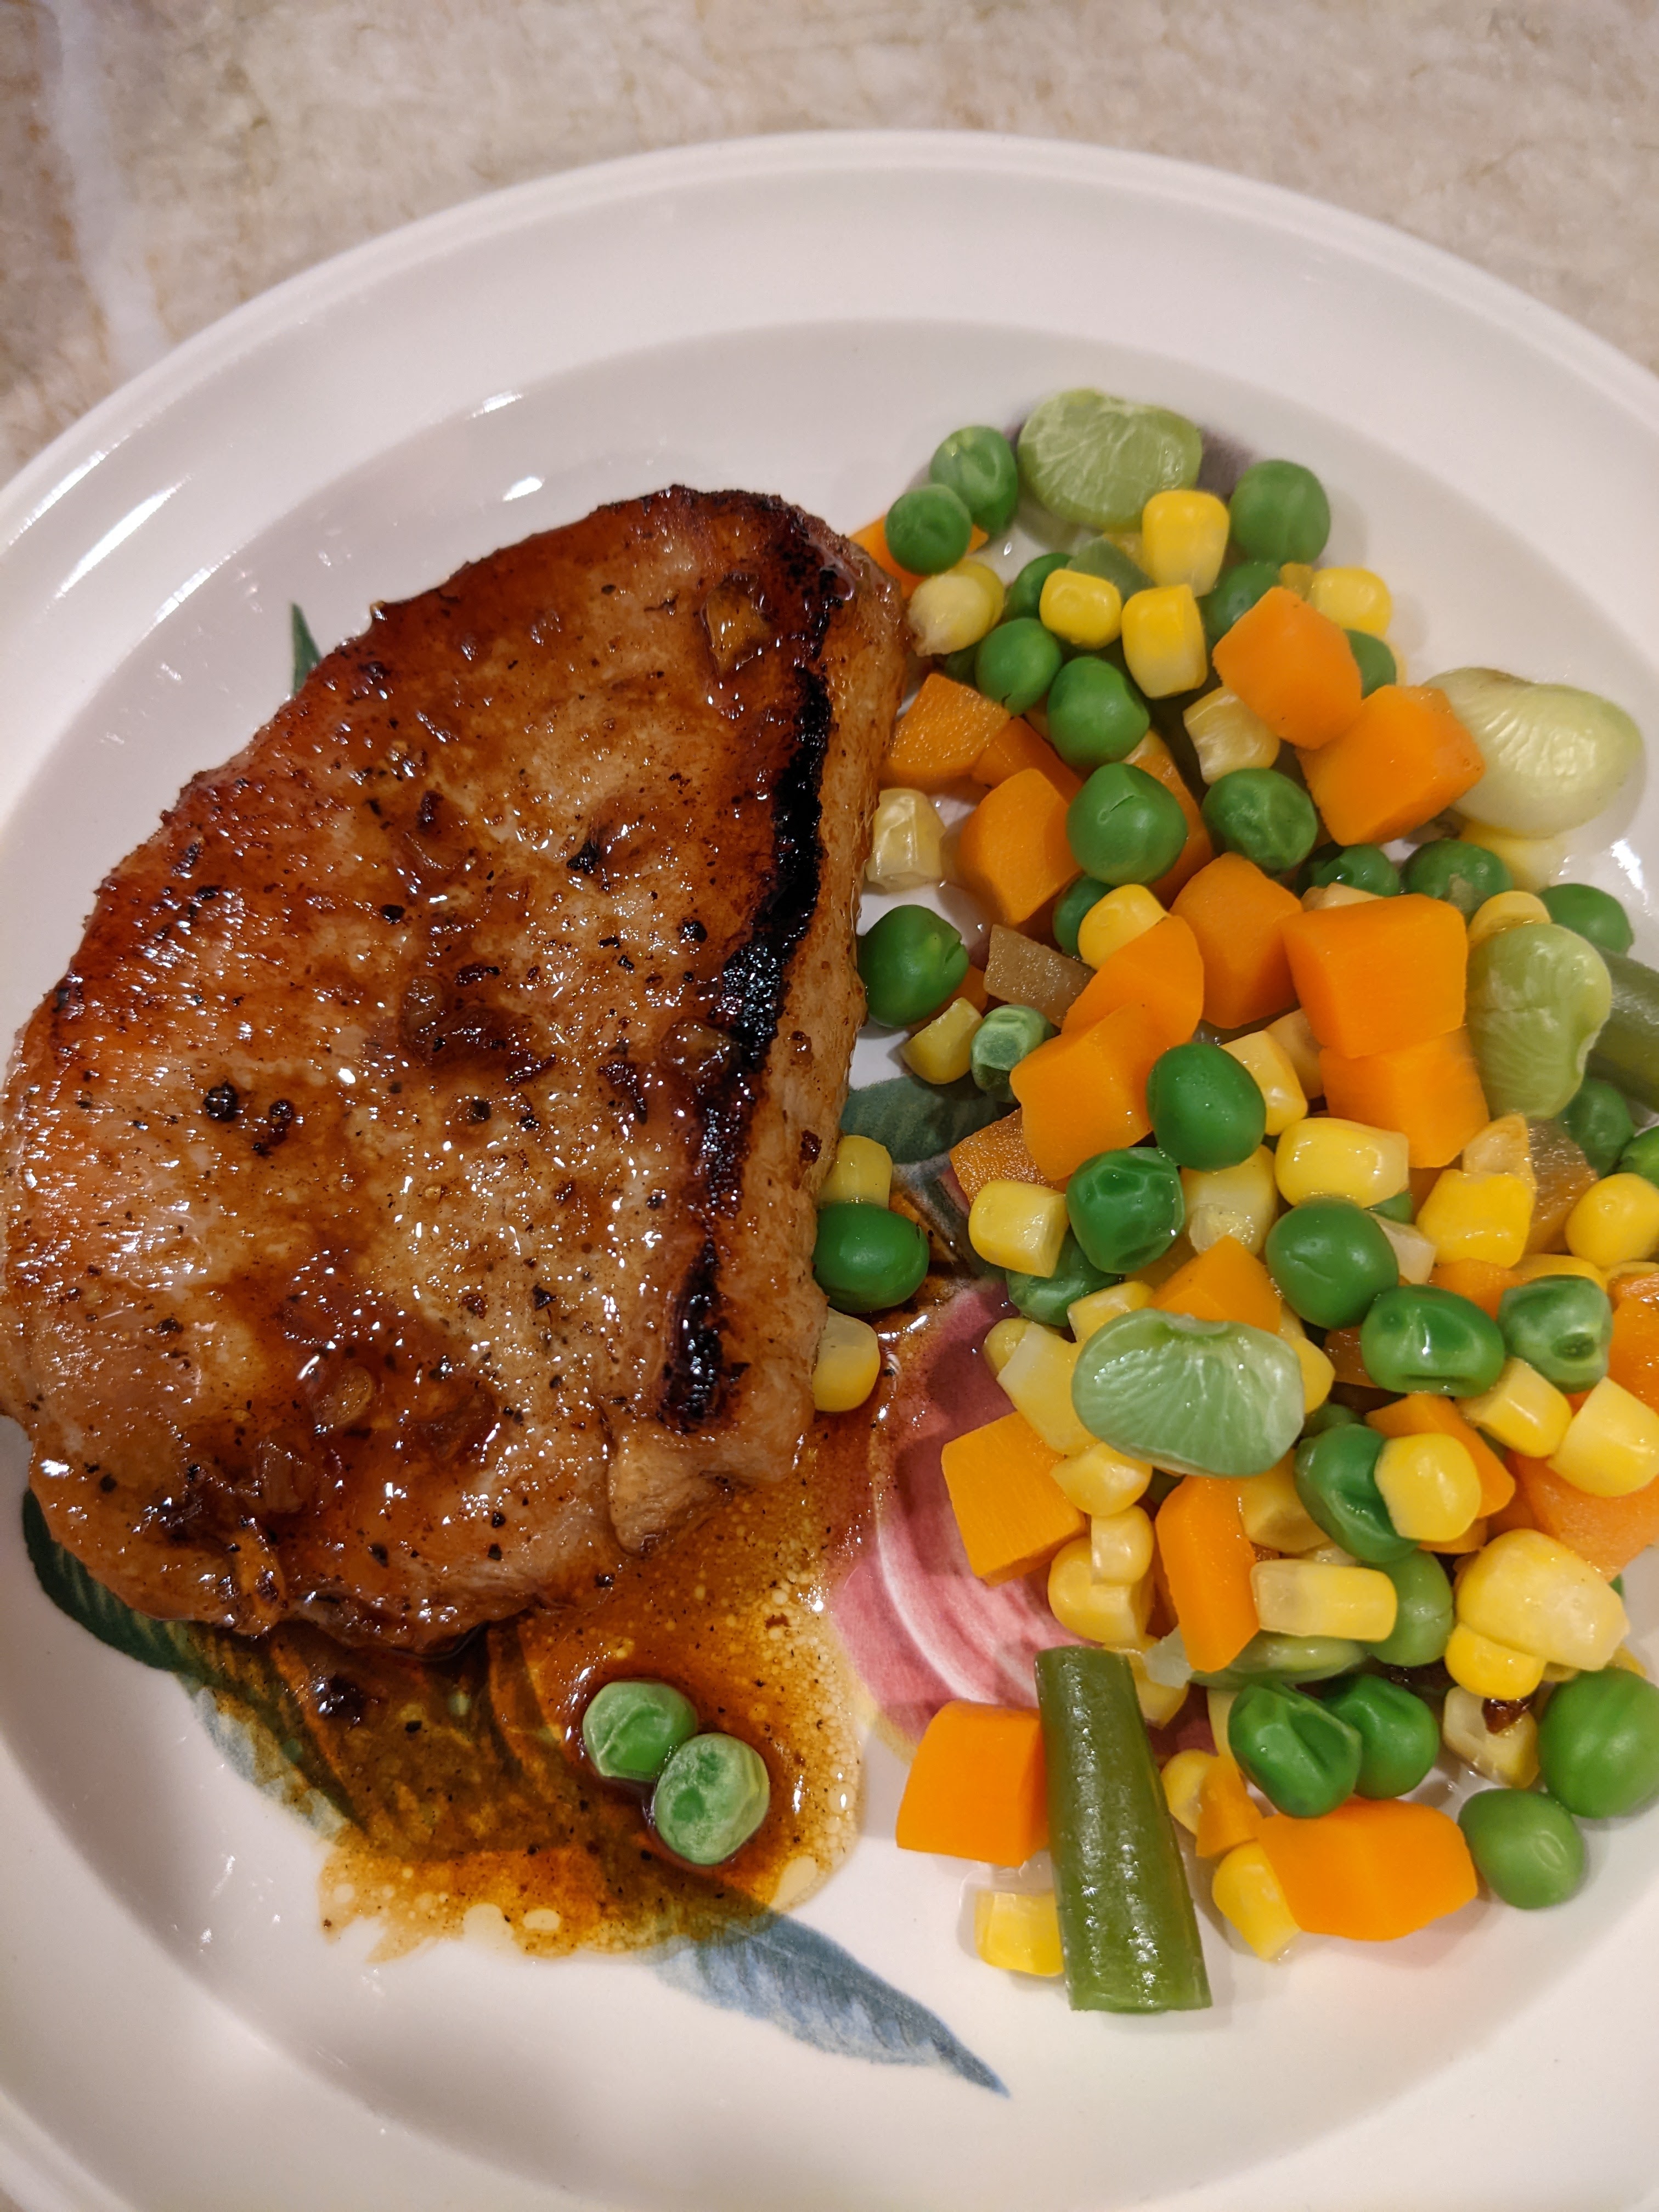
I had some center cut pork chops from ButcherBox and I was wondering what to do with it. Maria had given us some Mike Hot Honey so I though honey mustard but after checking out a few recipes on line I decide to modify this one from Café Delites. I only had two chops so I split them in half. I think next time I won’t cut in half. Anyway this was pretty darn good.
This Honey Garlic Pork Chops Recipe is so easy you won’t believe it when it’s done! No marinating needed, this recipe is an incredibly quick and delicious way to serve bone in or boneless pork chops — seared until golden then simmered and broiled (or grilled) in the most amazing honey garlic sauce!
INGREDIENTS
How
Optional
Baked Pork Chops:
Butcher Box
If your interested in great grass fed beef plus chicken, pork seafood and more check it out.
