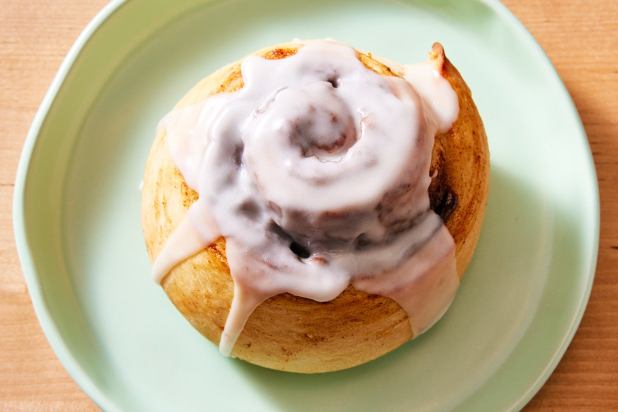
King Arthur Small-Batch Cinnamon Rolls

King Arthur Small-Batch Cinnamon Rolls

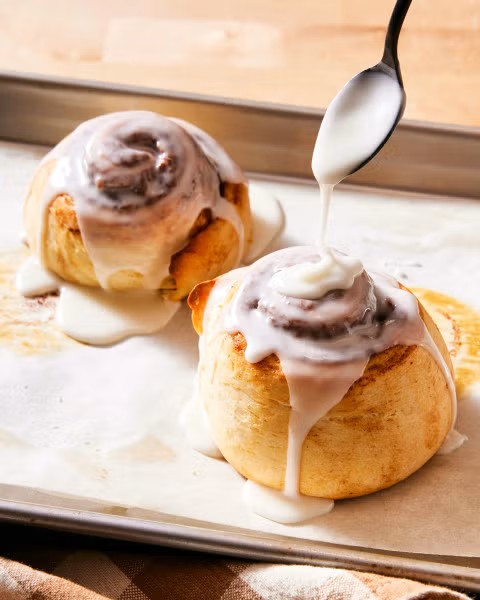
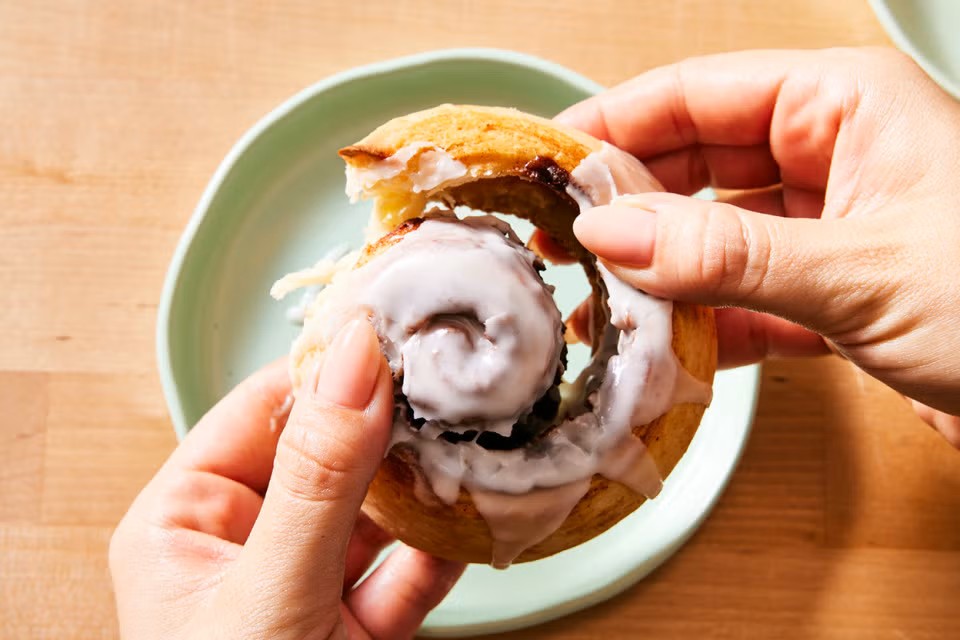
Soft, tender, and brimming with cinnamon flavor, these small-batch cinnamon rolls are ideal for small households. With a yield of just two cinnamon rolls, there’s lots of flexibility to use whatever pan you have: a quarter-sized baking sheet, a loaf pan, a round cake pan, or a square pan. These cinnamon rolls also fit perfectly in a countertop oven, providing another easy way to bake no matter the size of your kitchen.

Hands-on 20 mins

Bake 15 to 18 mins

Total Time 2 hrs 30 mins

Yield 2 cinnamon rolls

Ingredients

Dough

Filling

*Use the lesser amount for stronger cinnamons, like Vietnamese (Saigon); the larger amount for milder cinnamons, like Indonesian/Ceylon.

Icing

  • 1/2 cup (57g) confectioners’ sugar, sifted if lumpy
  • 2 to 3 teaspoons milk

Instructions

  1. To make the dough: For best results, weigh your ingredients; in small-batch recipes, it’s important that ingredient quantities are precise. However, if you prefer to work with volume measurements, please be sure to measure your flour the King Arthur way: gently spoon the flour into a cup, then sweep off any excess.
  2. In a small bowl, mix together all of the dough ingredients then transfer it to a floured surface and knead by hand to form a smooth, soft dough.  

  3. Shape the dough into a ball, place it in a bowl, cover, and let it rise until puffy but not necessarily doubled in bulk, 45 to 60 minutes (depending on the warmth of your kitchen).
  4. To make the filling: While the dough is rising, use a fork to whisk together the brown sugar, flour, cinnamon, and salt. Set aside.
  5. Prepare the pan of your choice: Line a quarter- or half-sheet pan with parchment, or lightly grease a loaf pan, 8″ or 9″ square pan, or round pan.
  6. To assemble the small-batch cinnamon rolls: Transfer the dough to a lightly floured work surface and press it into a 4″ x 10″ rectangle.
  7. Brush the surface of the dough generously with milk and then sprinkle the filling on top, covering all but a 1/2″ strip along one short side. Press the filling gently to adhere.
  8. Cut the dough in half lengthwise using a bench knife. You will now have two rectangles, approximately 2″ x 10″.
  9. Starting with the filling-covered short end, roll one piece of dough into a log. To prevent the cinnamon roll from unraveling while it rises and bakes, tuck the end of the spiral underneath the bottom so that it’s held in place. Stand the log up, exposing the swirl, and press down to create a shorter cinnamon roll. Transfer it to the prepared pan and repeat with the remaining piece of dough.
  10. Cover the pan and let the rolls rise for 45 to 60 minutes. The dough will be puffy and shouldn’t bounce back immediately when gently pressed. While the small-batch cinnamon rolls are rising, preheat the oven to 375°F.
  11. Bake the rolls for 15 to 18 minutes, until a digital thermometer inserted into the center of one roll reads 190°F. Rolls baked on a baking sheet will be golden brown in color, while rolls baked in a pan with higher sides will remain pale. Allow the small-batch cinnamon rolls to cool while you make the icing.
  12. To make the icing: In a small bowl, combine the confectioners’ sugar and milk until you reach your desired consistency.
  13. Spread the icing evenly over the cinnamon rolls. Serve warm or at room temperature.
  14. Storage information: Store any leftovers, covered, at room temperature for several days.

Tips from our Bakers

  • Want fresh-baked, oven-warm buns in the morning? Prepare the buns up until the rise in the pan (through step 9). Cover the pan and refrigerate overnight. Next day, allow the buns to rest at room temperature for 15 minutes before uncovering and baking; you may need to increase the baking time by a few minutes.
King Arthur Cinnamon Rolls

King Arthur Cinnamon Rolls

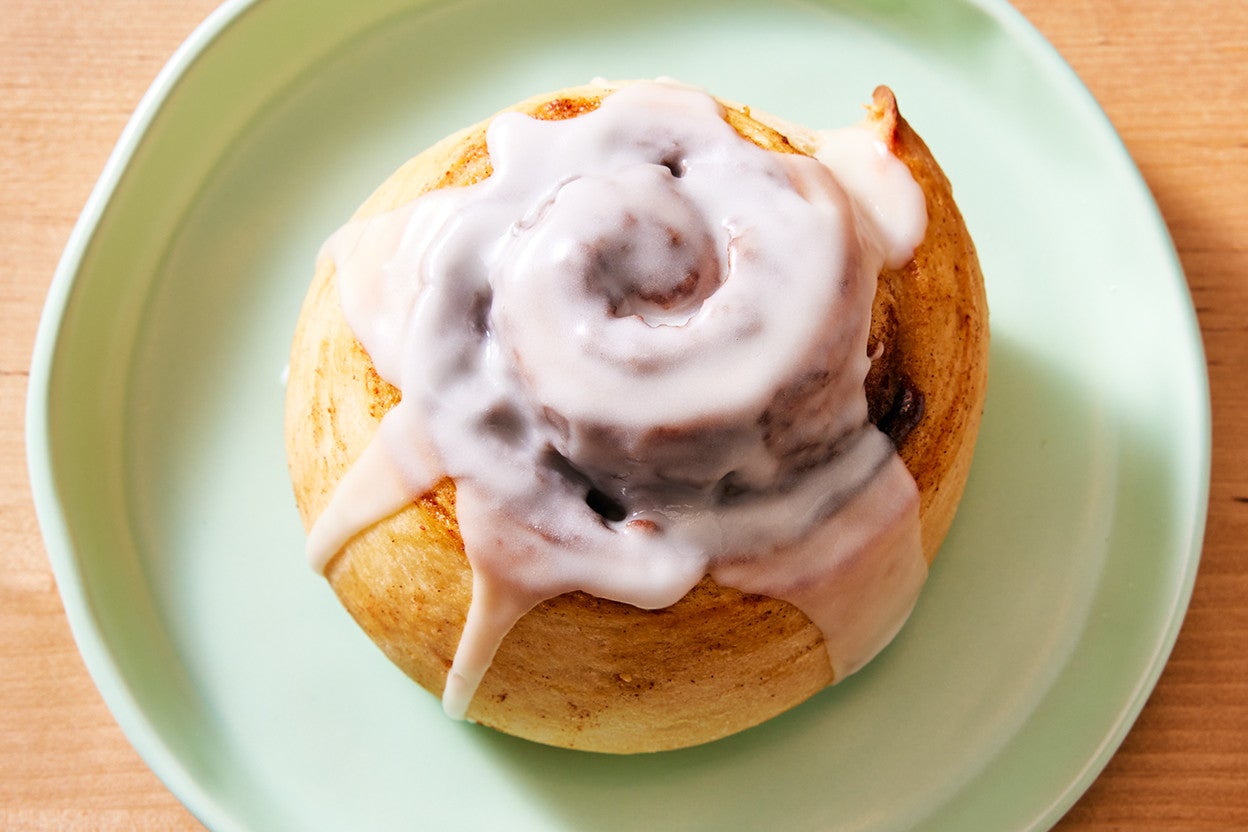
Warm cinnamon rolls are available at every airport, every mall, and many fast-food outlets. So why make your own? Because YOU control what’s in them, using your own butter, sugar, flour, cinnamon, and other natural (not chemical-laden) ingredients. And besides, there’s nothing like pulling warm rolls right out of your own oven!

Ingredients

Dough

*Use the lesser amount in summer (or in a humid environment), the greater amount in winter (or in a dry climate), and somewhere in between the rest of the year, or if your house is climate controlled.

Filling

Glaze

  • 1 1/4 cups (142g) confectioners’ sugar
  • 1/2 teaspoon King Arthur Pure Vanilla Extract
  • 4 to 5 tablespoons (57g to 71g) heavy cream or 2 to 3 tablespoons (28g to 43g) milk, enough to make a soft, spreadable icing

Instructions

  1. To make the dough: Weigh your flour; or measure it by gently spooning it into a cup, then sweeping off any excess. Combine the flour, dry milk, potato flour, sugar, salt, and yeast in a large mixing bowl. Add the butter and lesser amount of water then mix and knead everything together—by hand, mixer or bread machine set on the dough cycle—to form a smooth, elastic dough, adding more water if necessary. If you’re kneading in a stand mixer, it should take 7 to 10 minutes at second speed, and the dough should barely clean the sides of the bowl, perhaps sticking a bit at the bottom. In a bread machine (or by hand), it should form a smooth ball.
  2. Place the dough in a lightly greased bowl. Cover the bowl, and allow the dough to rise, at room temperature, until it’s nearly doubled in bulk, about 1 to 2 hours. Rising may take longer, especially if you’ve kneaded by hand or if your kitchen is cool. Give it enough time to become quite puffy.
  3. While the dough is rising, lightly grease two 9″ round cake pans.
  4. Transfer the risen dough to a lightly greased work surface, and pat or roll it into a 16″x12″ rectangle. It’s a nice, soft dough, and pats out easily.
  5. To make the filling: Combine the sugar, cinnamon, and flour.
  6. To assemble the rolls: Brush the dough lightly with milk. Sprinkle the filling evenly over the dough, covering the entire surface
  7. Roll the dough into a log the long way; it’ll stretch to about 20″ long as you roll. Using a bench knife or a serrated knife, cut the log into 16 slices.
  8. Space eight rolls in each of the prepared pans. Cover the pans and let the rolls rise until they’re noticeably puffy, about 1 to 2 hours; they should spread out and start to crowd one another.
  9. While the rolls are rising, preheat the oven to 375°F.
  10. Bake the rolls until they’re brown around the edges and beginning to turn golden brown across the center, about 20 minutes.
  11. Remove the rolls from the oven and place the pans on a rack. Wait 5 minutes, then transfer the rolls from the pans to a rack.
  12. To make the glaze: When you’re ready to serve the rolls, combine the sugar, vanilla, and enough cream or milk to make a spreadable glaze.
  13. Spread the glaze on top of the warm rolls and serve immediately.
  14. Store rolls, well wrapped, at room temperature for a couple of days; freeze for longer storage.

Tips from our Bakers

  • When making anything with yeast, including these rolls, let the dough rise to the point the recipe says it should, e.g., “Let the dough rise until it’s doubled in bulk.” Rising times are only a guide; there are so many variables in yeast baking (how you knead the dough; what kind of yeast you use) that it’s impossible to say that bread dough will ALWAYS double in bulk in a specific amount of time.
  • You can also bake these rolls in a 9″ x 13″ pan. Prepare the recipe as instructed through step 7. Divide the log into 12 equal slices, and arrange them in the lightly greased pan. Let the rolls rise as instructed, then bake in a preheated 375°F oven for about 20 minutes. Finish the rolls as instructed.
  • Want to prepare these rolls ahead of time, freeze or refrigerate them (unbaked), then bake fresh? To freeze, see our blog post, Freeze! Time-savers for the holidays. To prepare the night before, place the shaped buns in the pan, cover the pan, and refrigerate overnight. Next morning, let the buns warm at room temperature for about an hour, covered. Uncover and bake as directed.
  • Want to bake the rolls, but serve them later in the day (or within a few days)? Allow the unglazed rolls to cool completely, then wrap in plastic wrap and store at room temperature for up to three days. Fifteen minutes before you’re ready to serve the rolls, preheat the oven to 350°F. Unwrap the rolls, place them on an ungreased baking sheet, and tent lightly with aluminum foil. Bake the rolls for 10 to 15 minutes, until they’re nicely warmed; make the glaze while the rolls are warming. Spread the glaze on the rolls when they come out of the oven.
Malibu Chicken

Malibu Chicken

This was a nice Lyn find I cut these directions in half because it was just the two of us.

Ingredients for 4

  • 2 (6- to 8-oz.) boneless chicken breast halves, each halved horizontally
  • spice rub
    • 1/2 tsp. ground black pepper
    • 1/4 tsp. garlic powder
    • 1/4 tsp. onion powder
  • For coating
    • 1/3 cup all-purpose flour
  • For coating
    • 1 large egg
    • 1 Tbsp. water
  • For coasting
    • 1 cup Italian-seasoned panko bread crumbs
    • 1/4 cup grated Parmesan cheese
  • For greasing
    • Nonstick cooking spray
  • For topping
    • 6 oz. deli ham (8 thin slices)
    • 4 oz. Swiss cheese (4 slices)
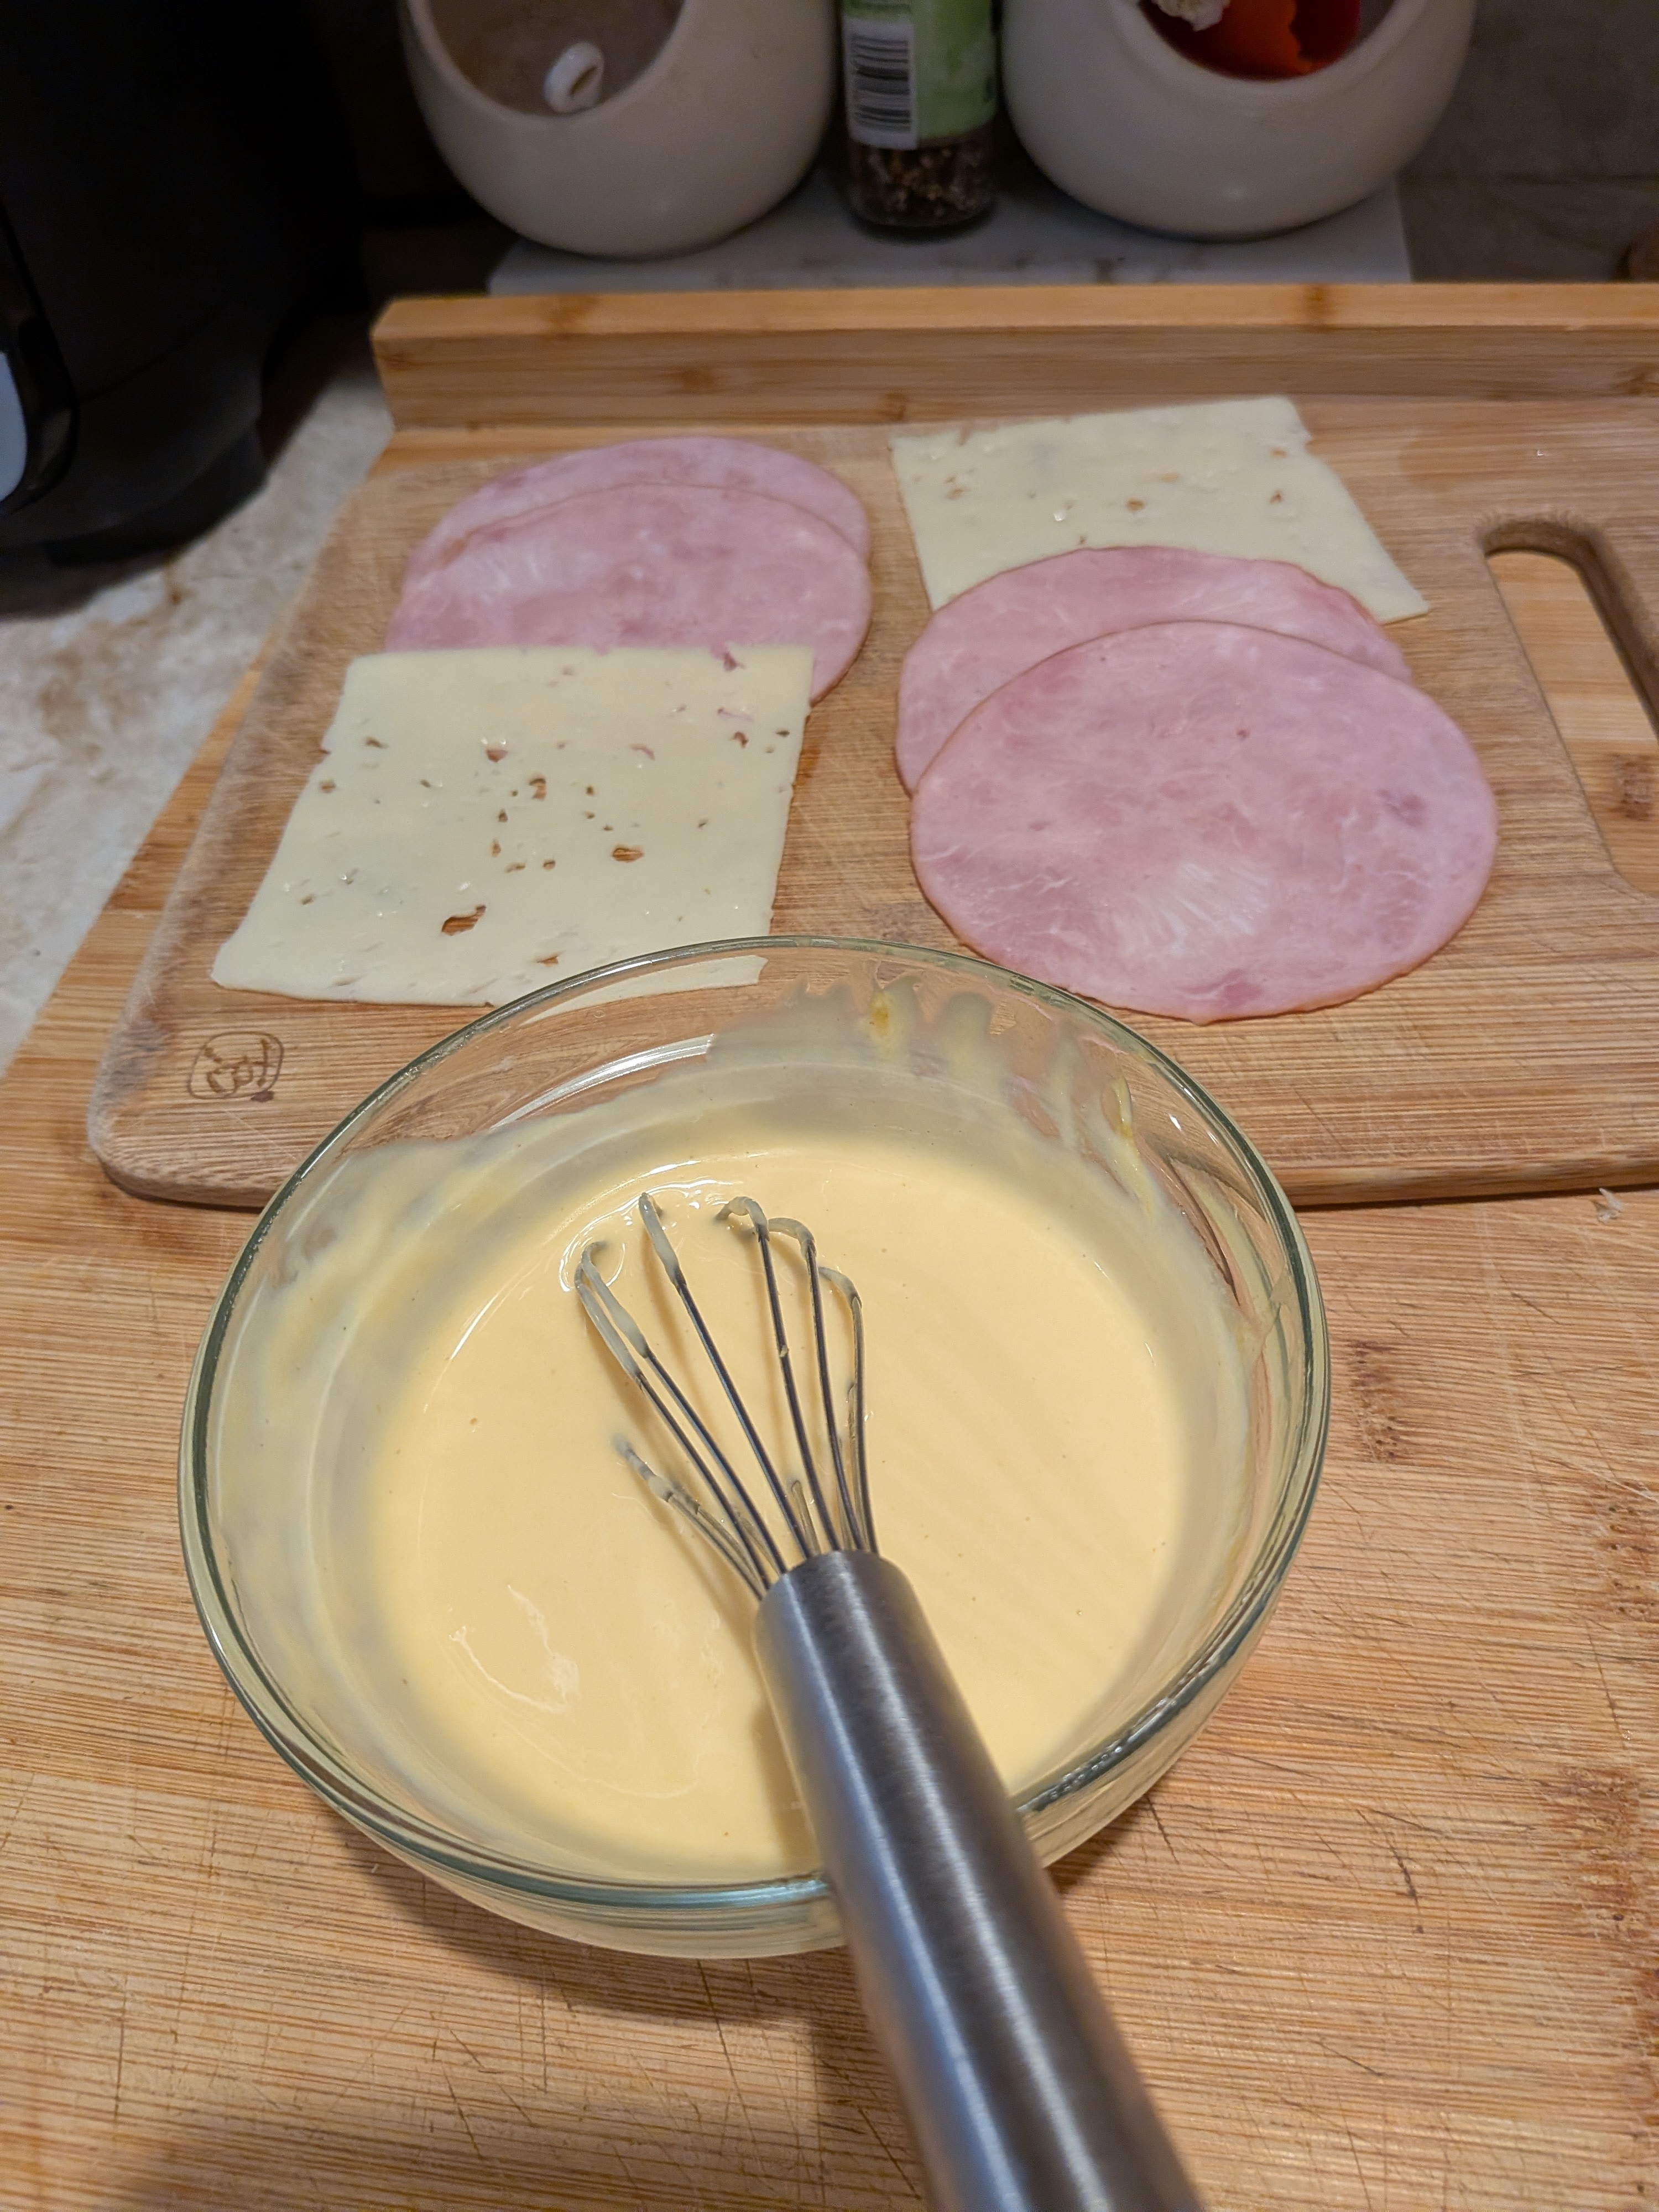
  • Mustard Sauce
    • 1/2 cup mayonnaise
    • 1 Tbsp. Dijon-style mustard
    • 1 Tbsp. yellow mustard
    • 2 tsp. honey

Directions

  1. Prep Pan

Preheat oven to 425°F. Grease a 3-qt. rectangular baking dish.

  • Pound Chicken

Place a chicken breast piece between two sheets of plastic wrap. On a cutting board, lightly pound with a meat mallet to even thickness. Repeat with remaining chicken breast pieces.

Make Seasoning Mix

Combine pepper, garlic powder, and onion powder in a small bowl. Sprinkle chicken pieces with seasoning.

  • Make Coating

Place flour in a shallow dish. In another shallow dish, whisk together egg and water. Combine panko and Parmesan in another shallow dish.

  • Bread Chicken

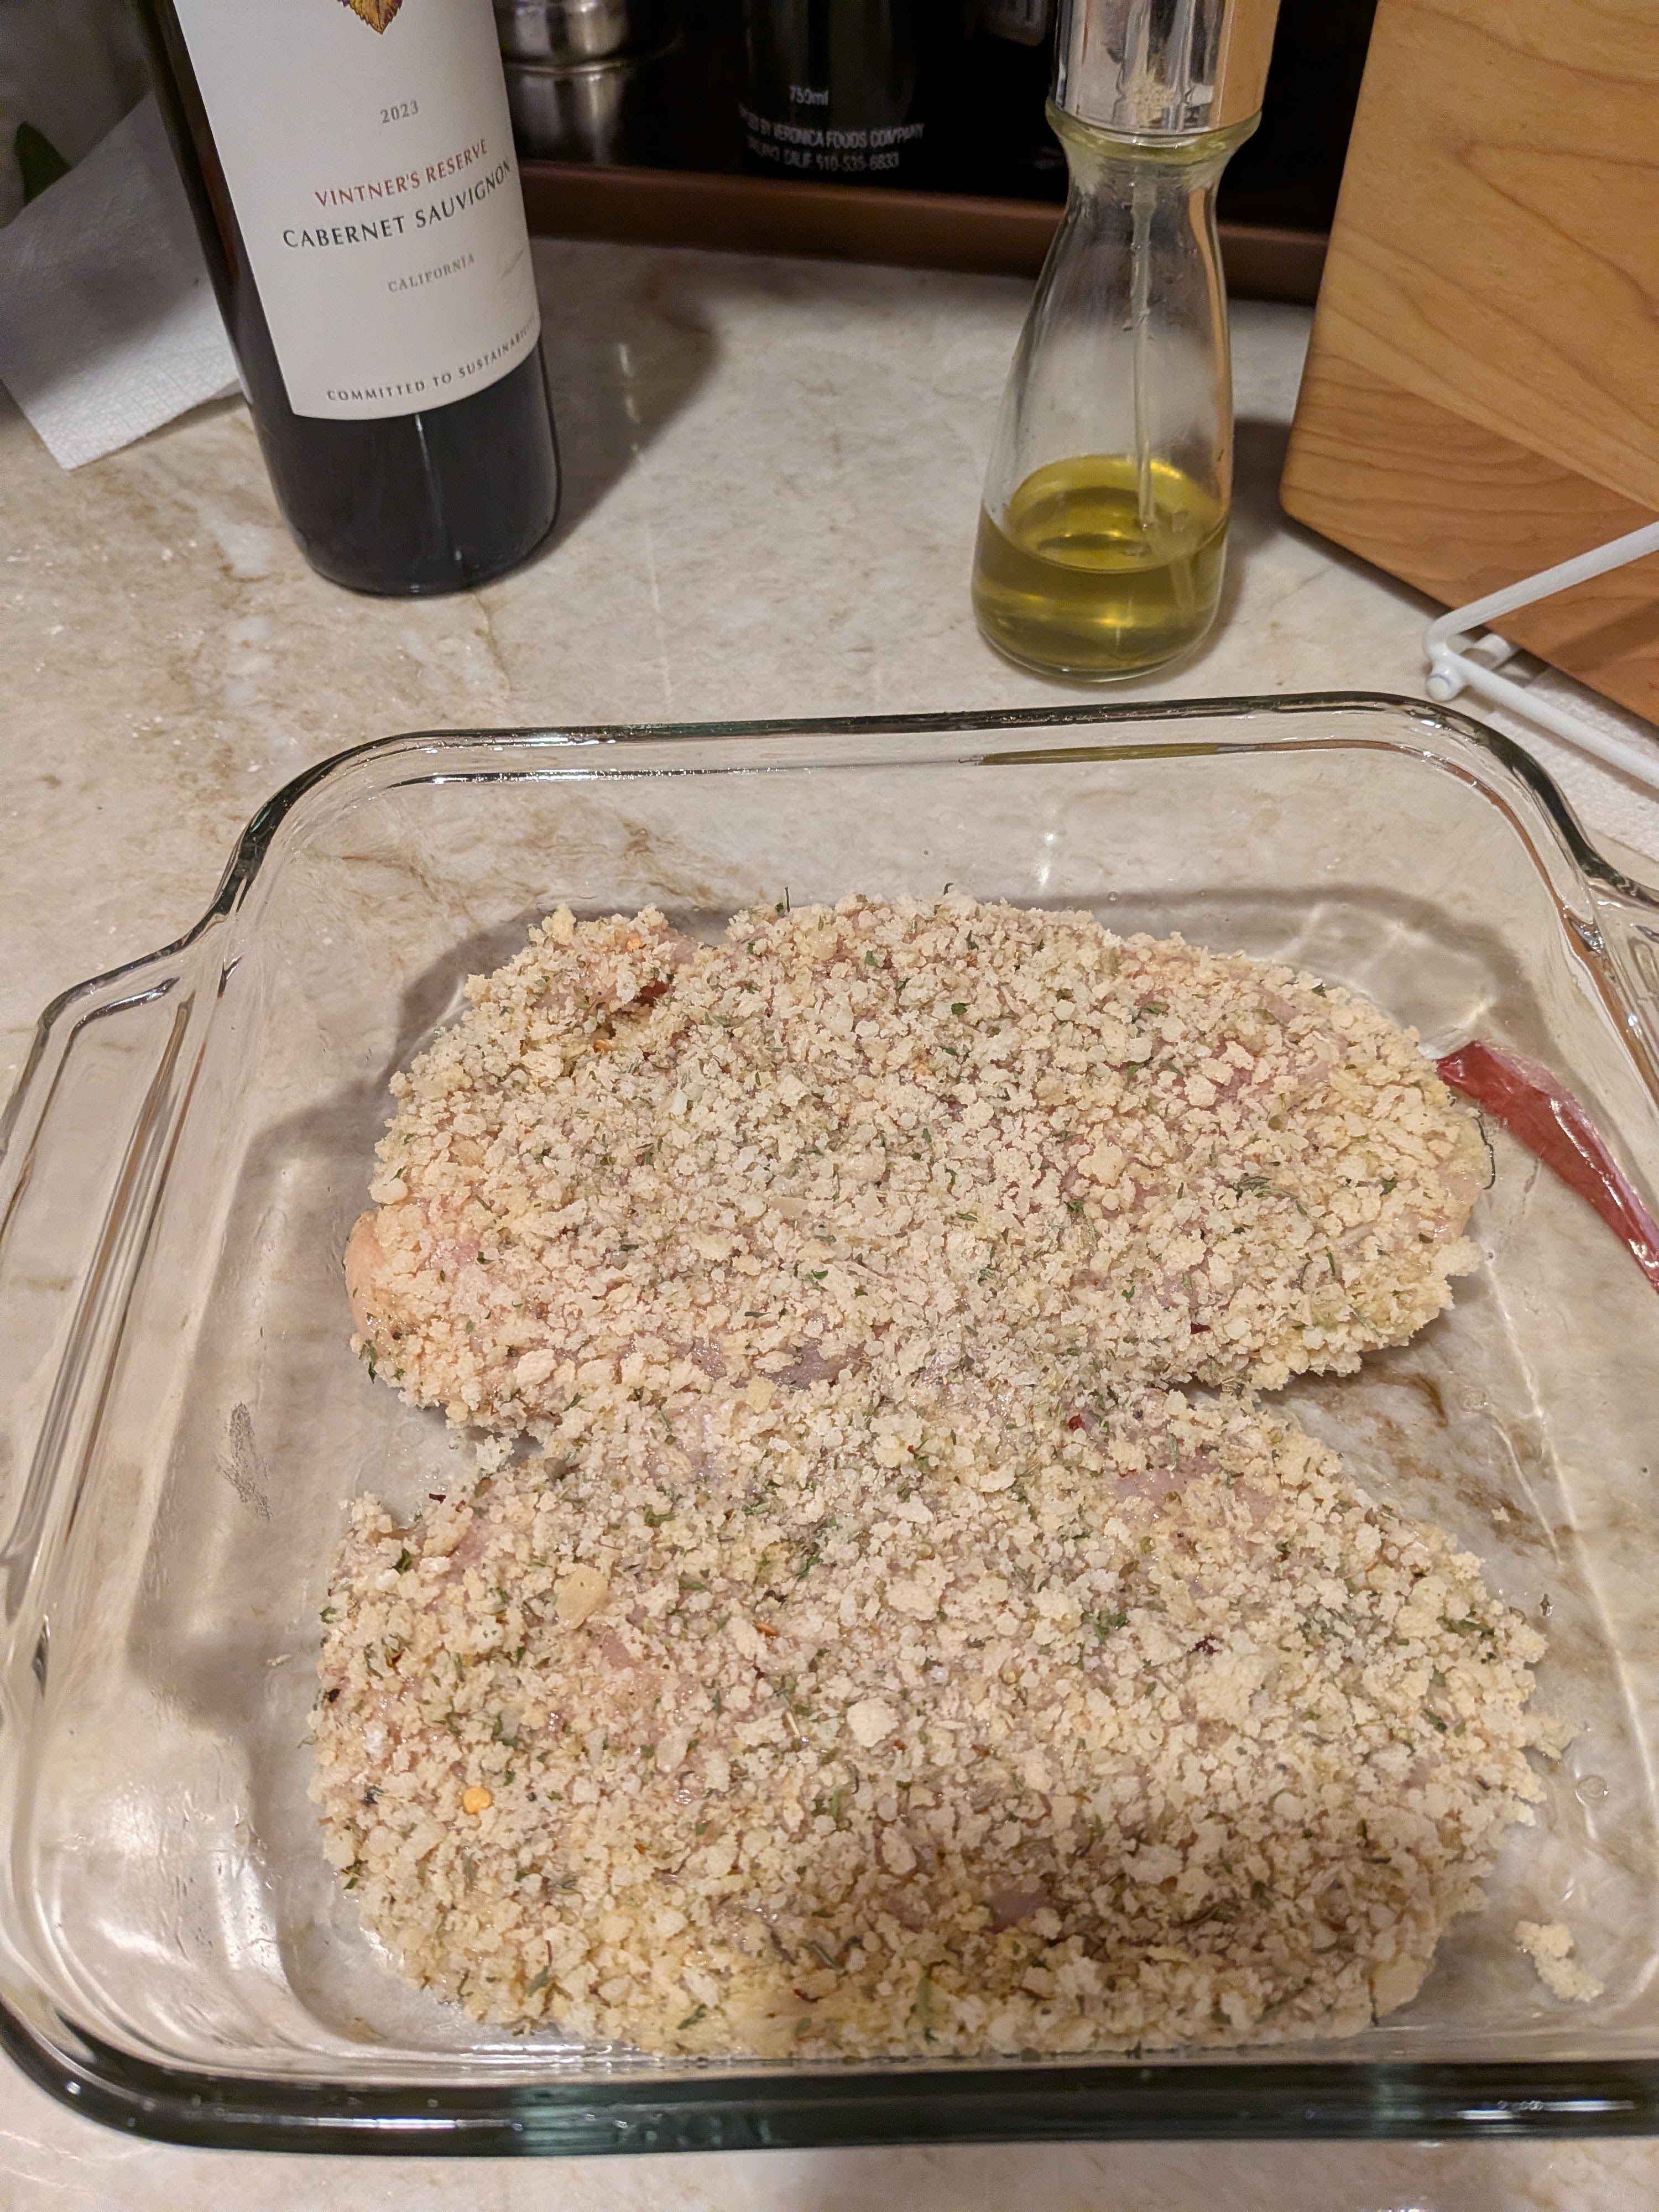
Dip chicken pieces in flour, then the egg mixture, then in the panko mixture to coat, turning and pressing to stick panko mixture to chicken. Place in prepared baking dish. Coat generously with nonstick spray.

  • Bake

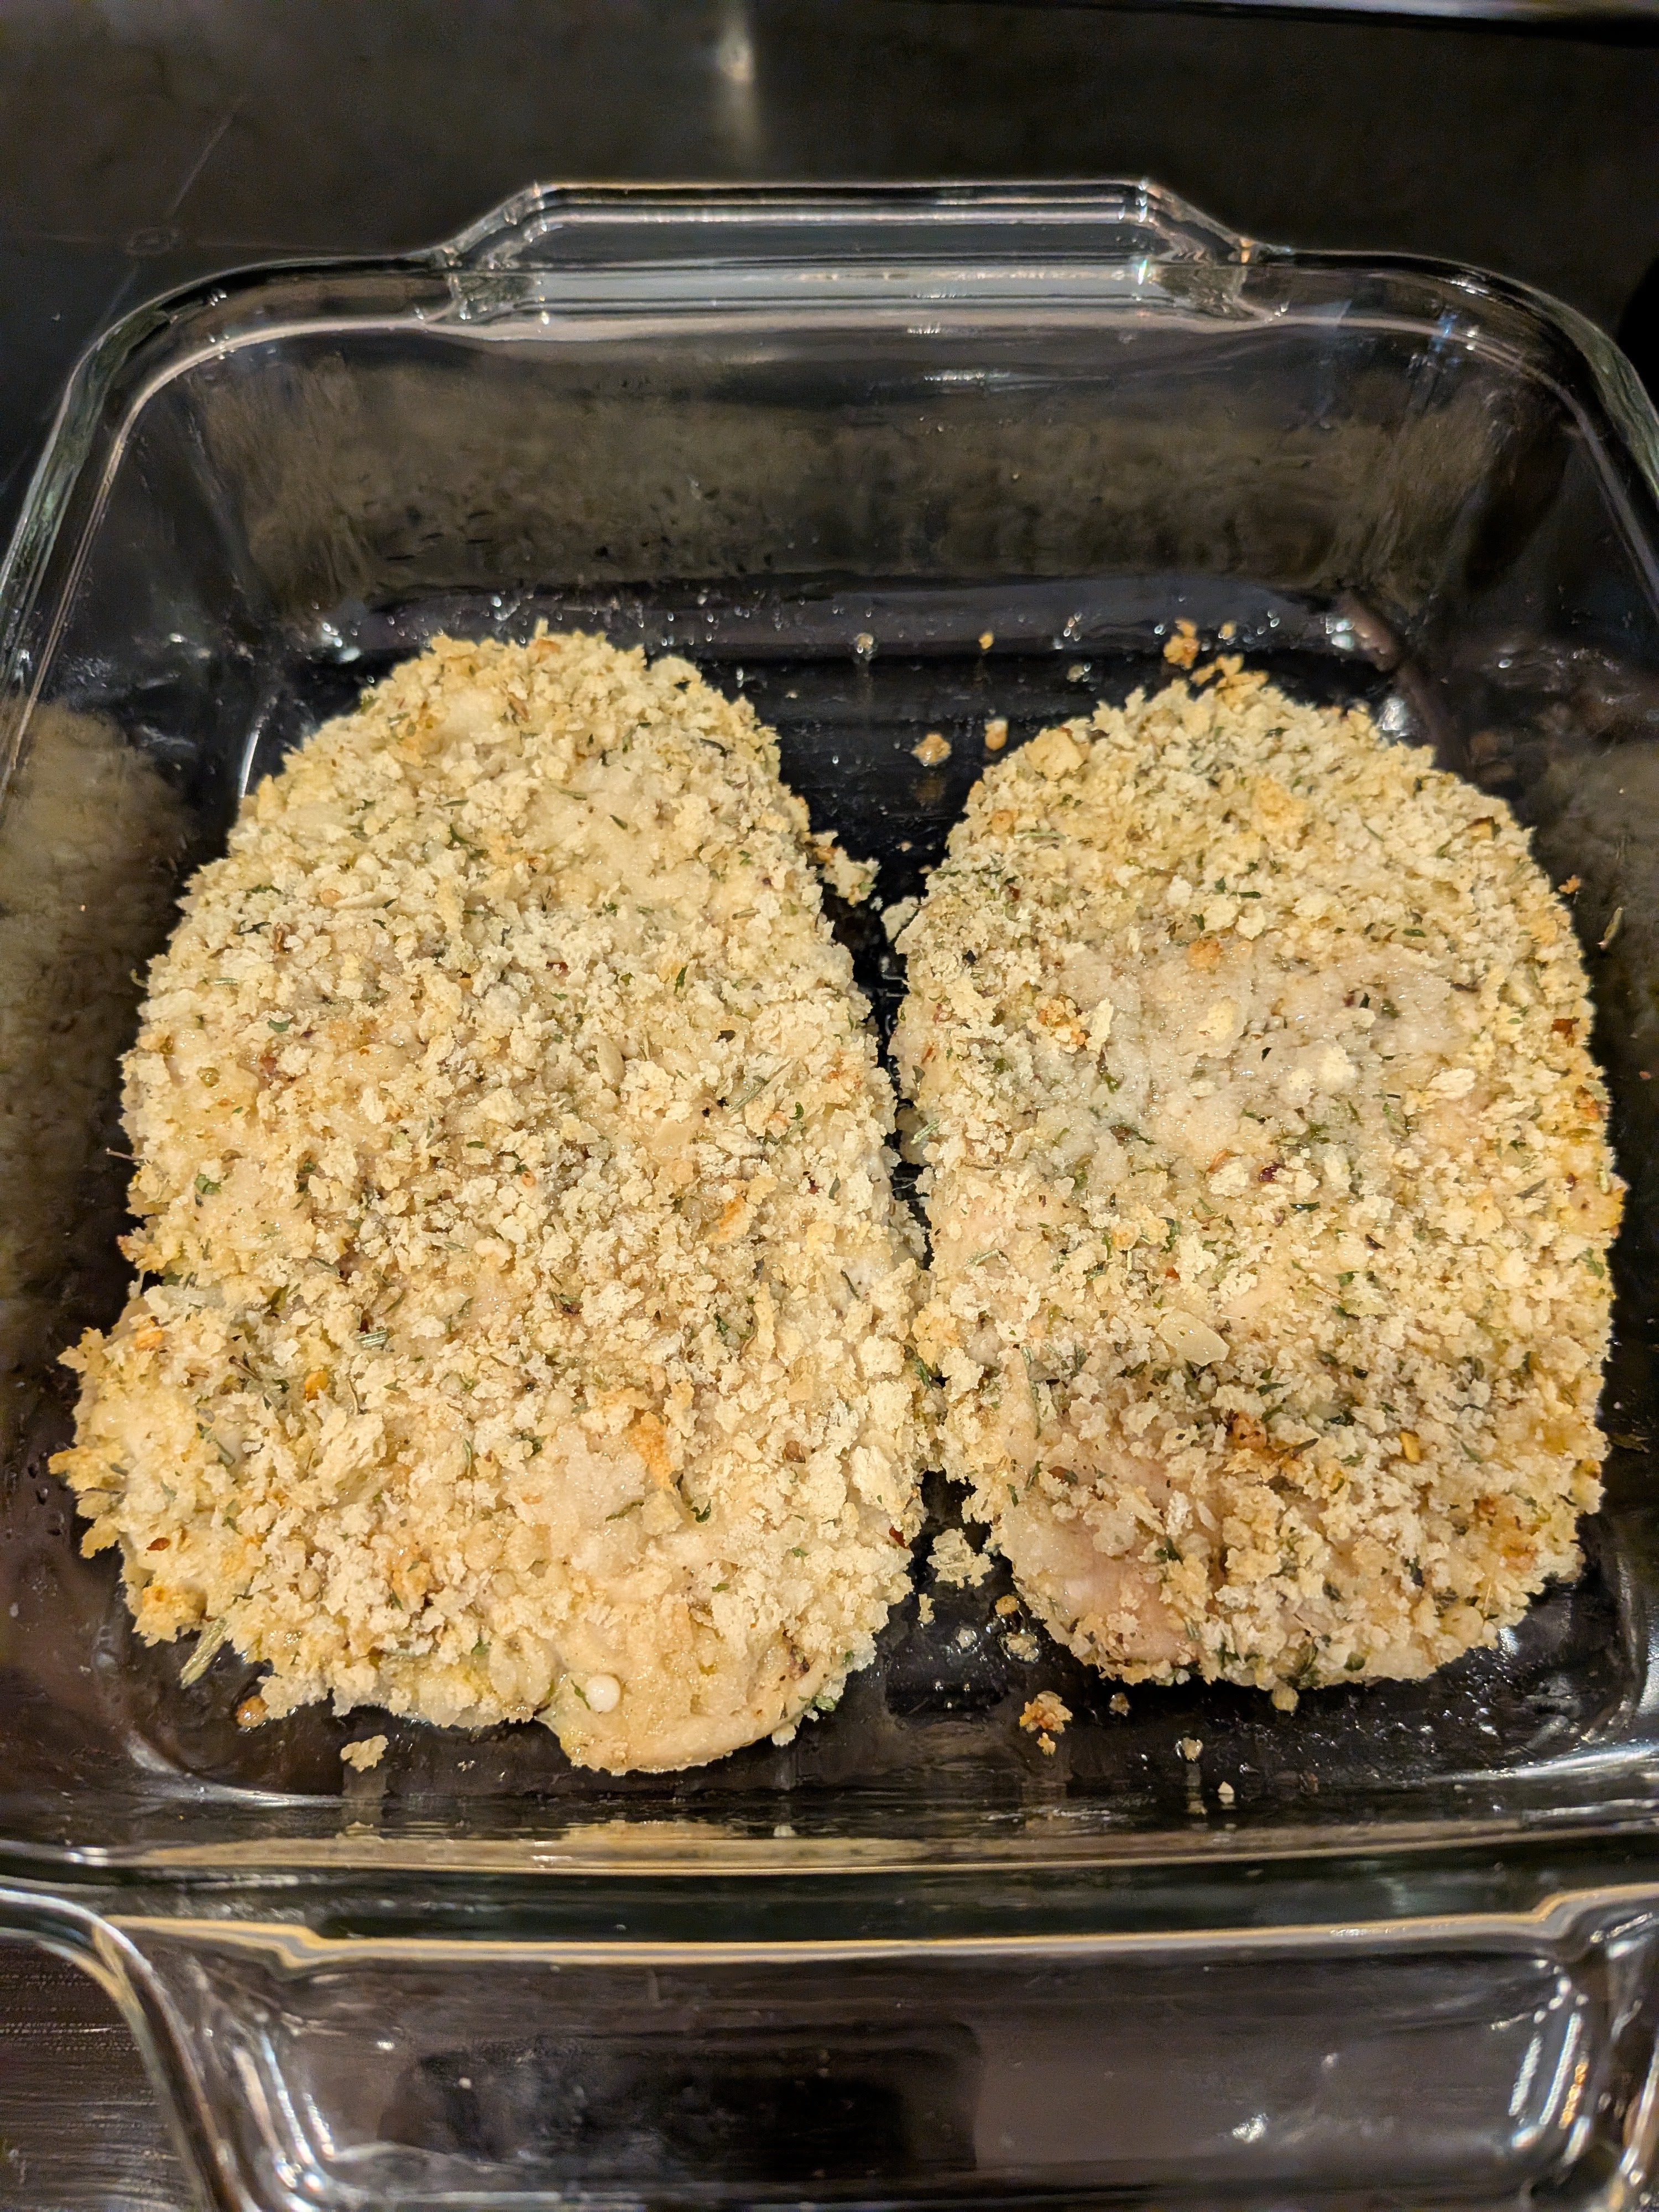
Bake 25 minutes or until golden brown and an instant-read thermometer inserted in the center registers 165°F, turning once.

  • Add Ham and Cheese

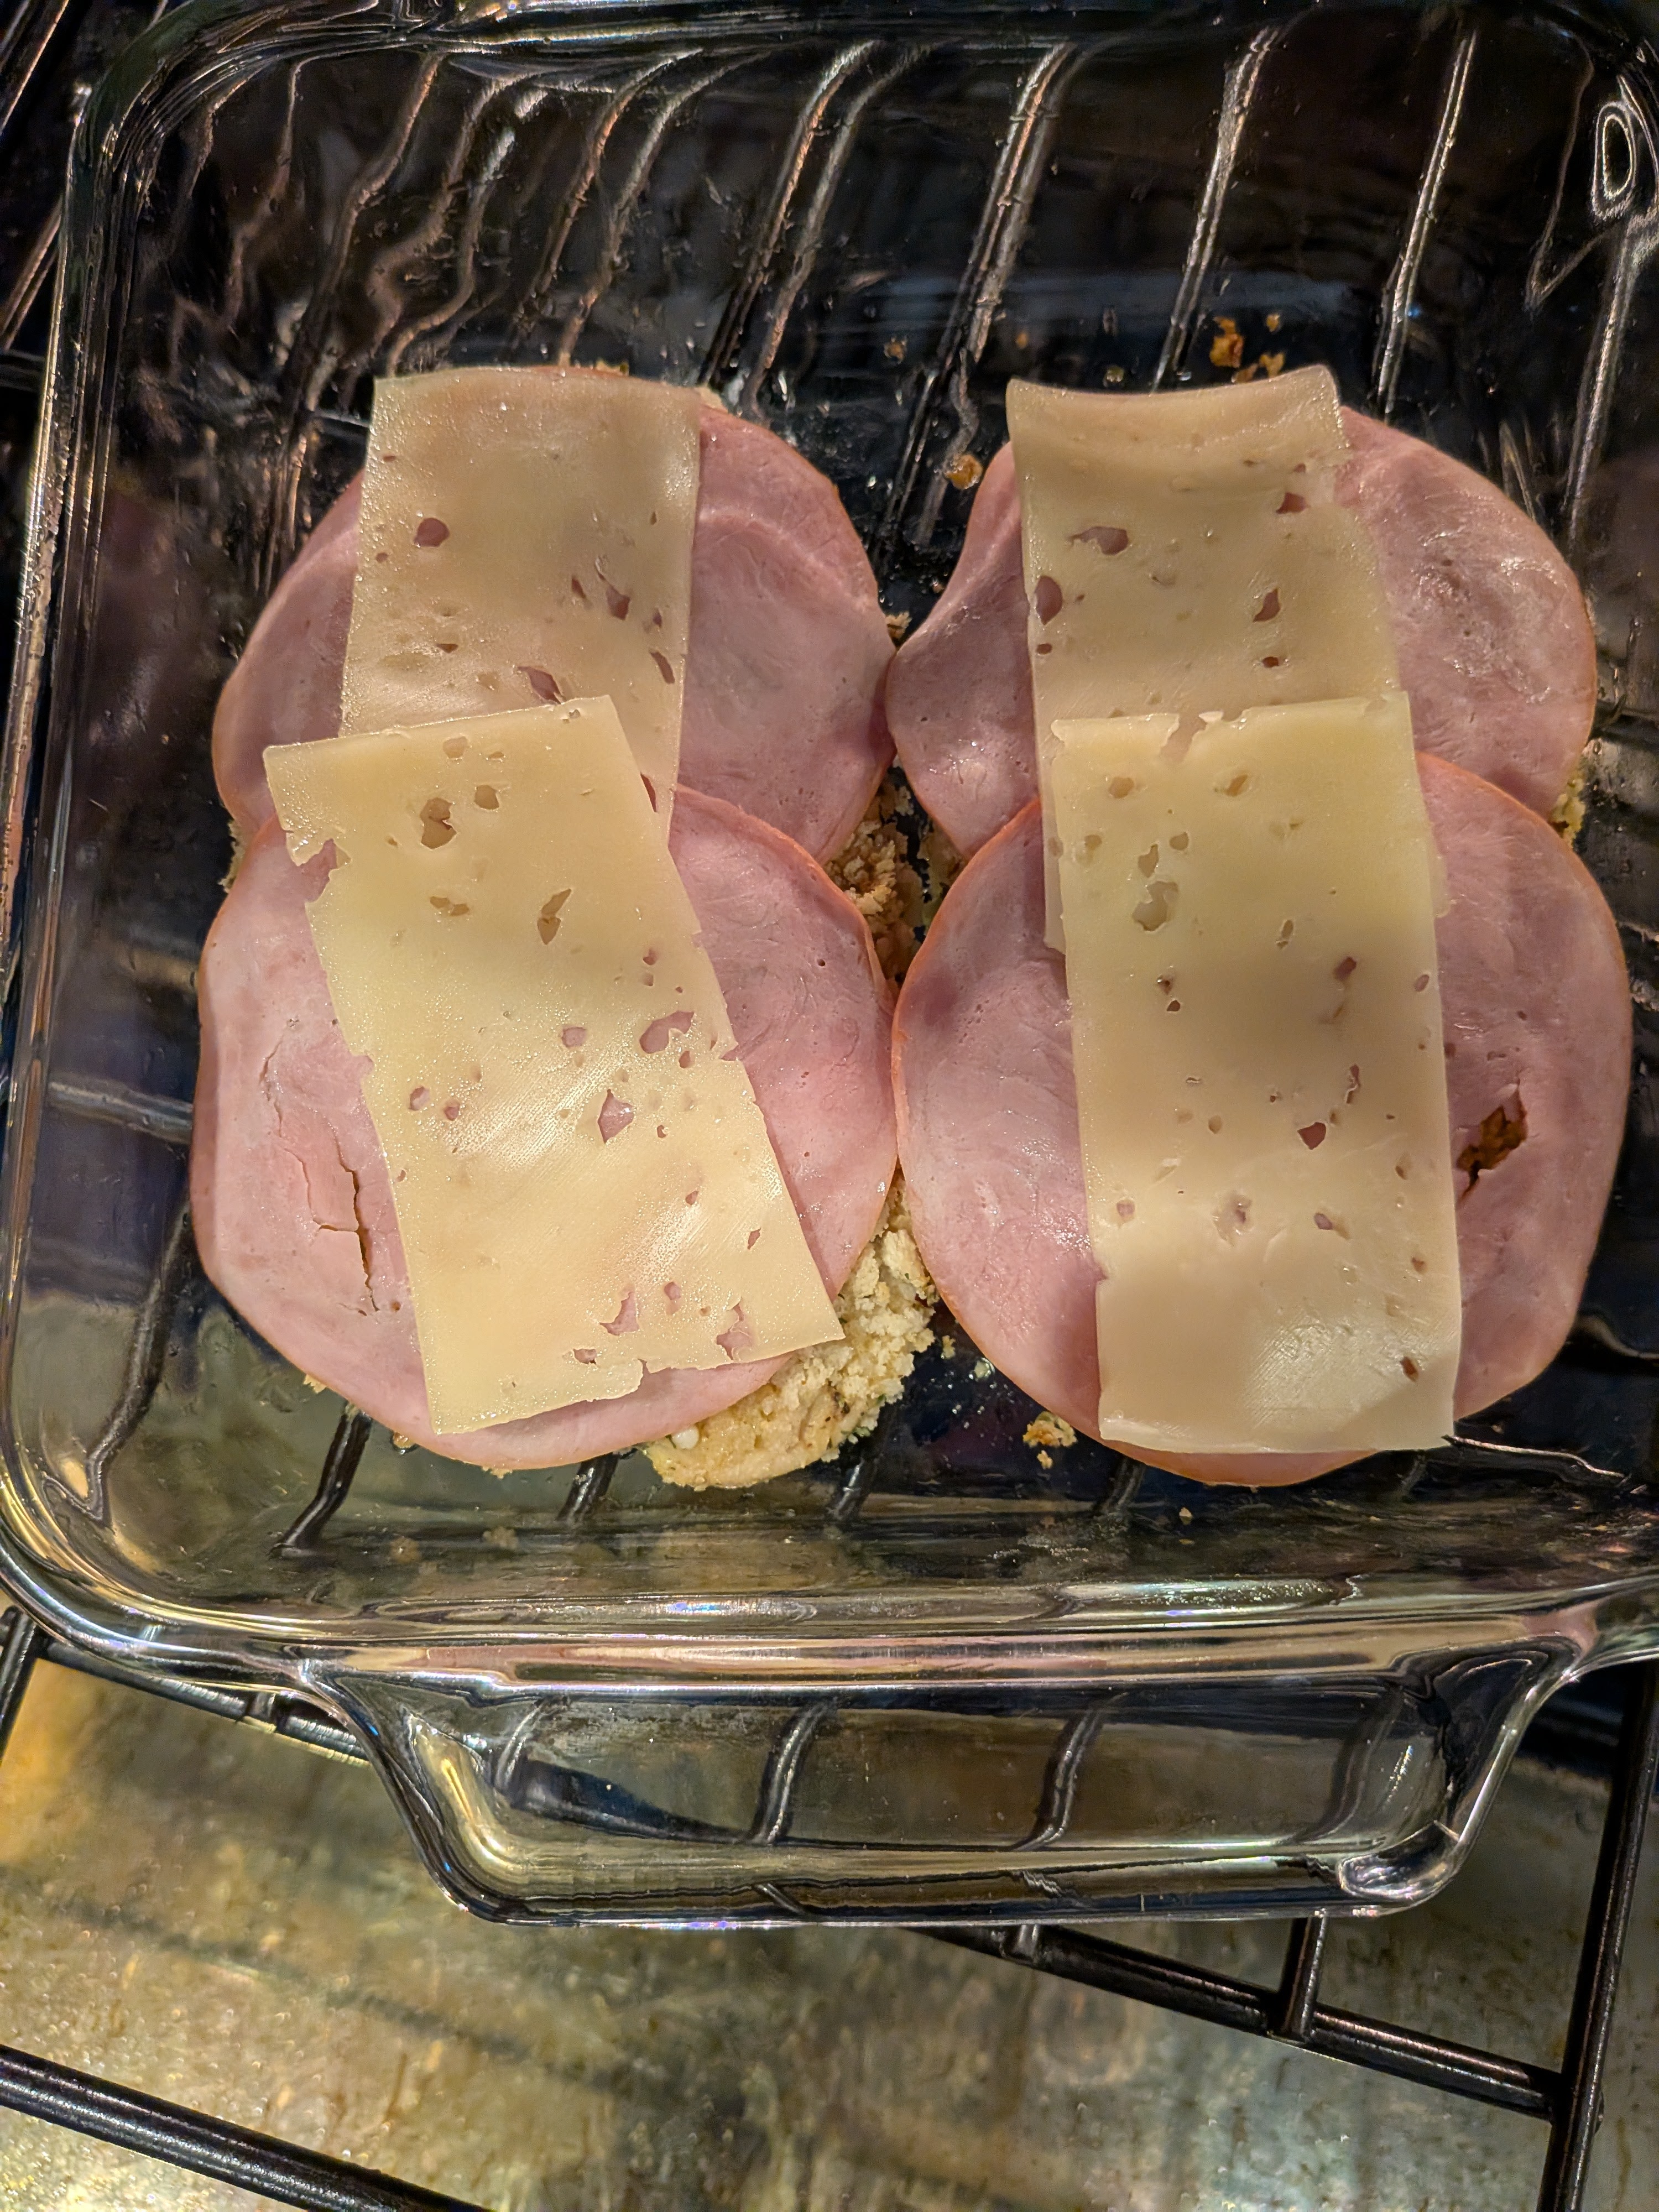
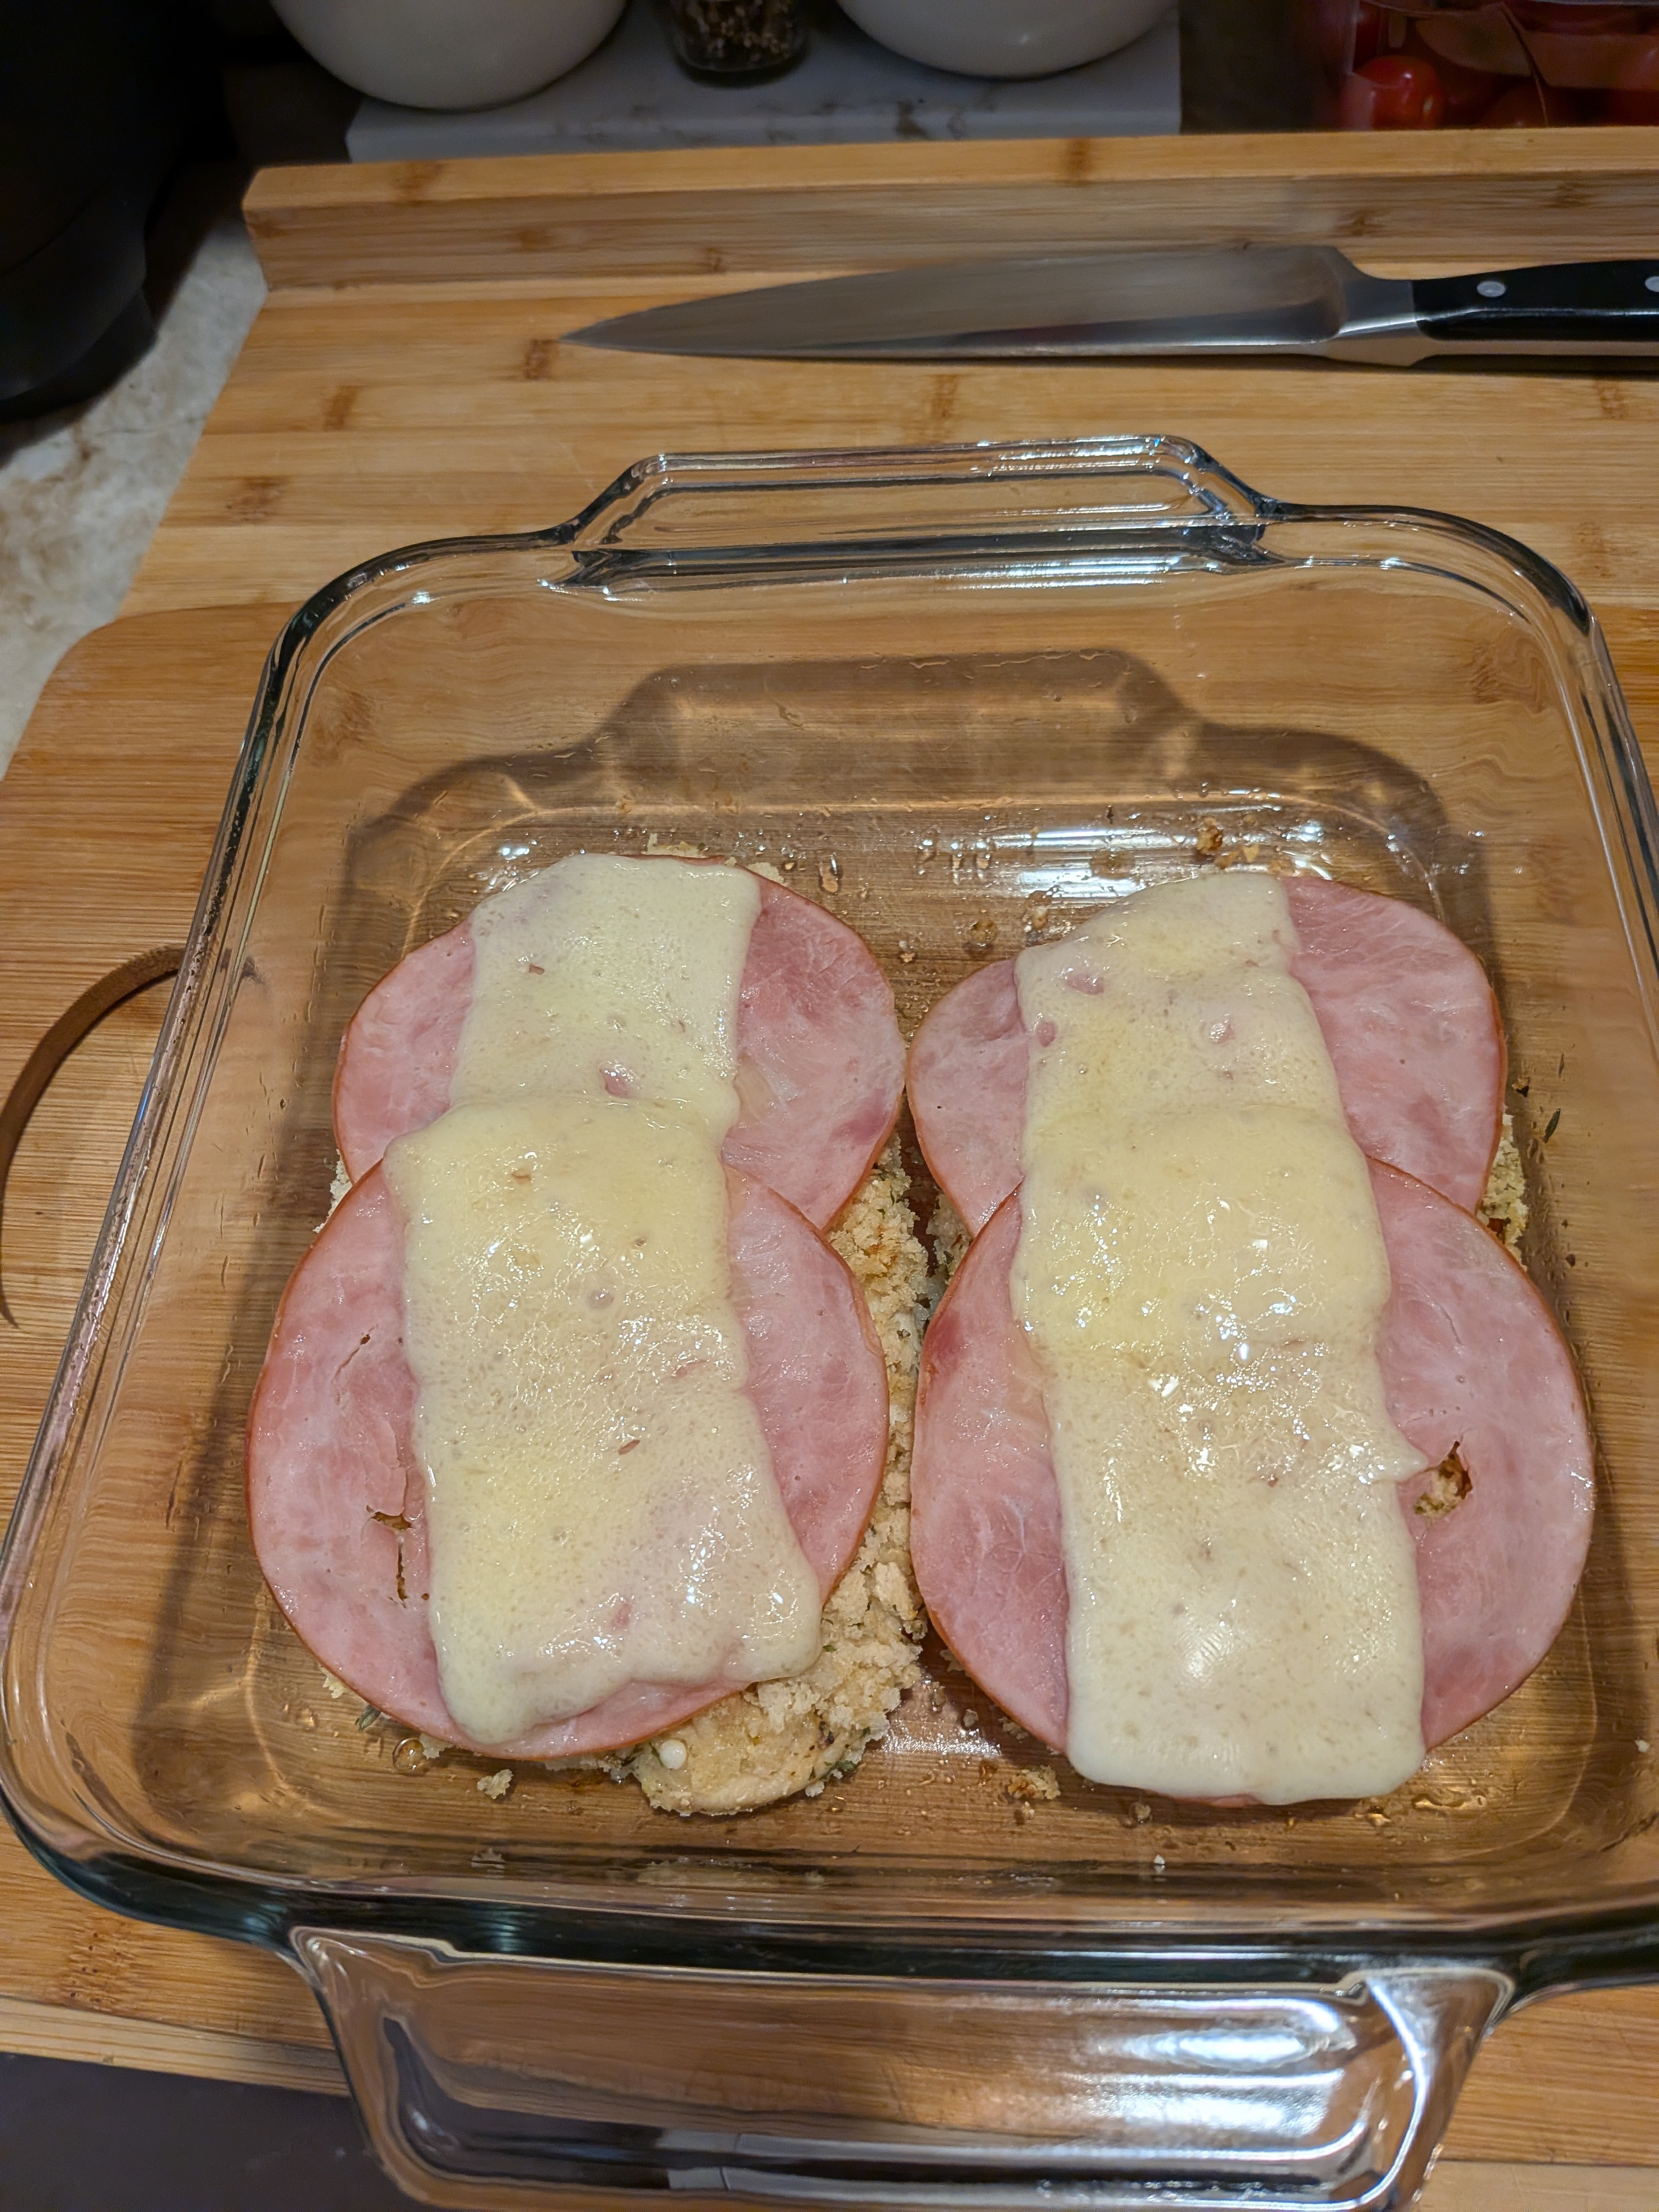
Top each chicken piece with two slices of ham and a slice of Swiss cheese. Bake 5 minutes more or until cheese melts.

  • Make Sauce

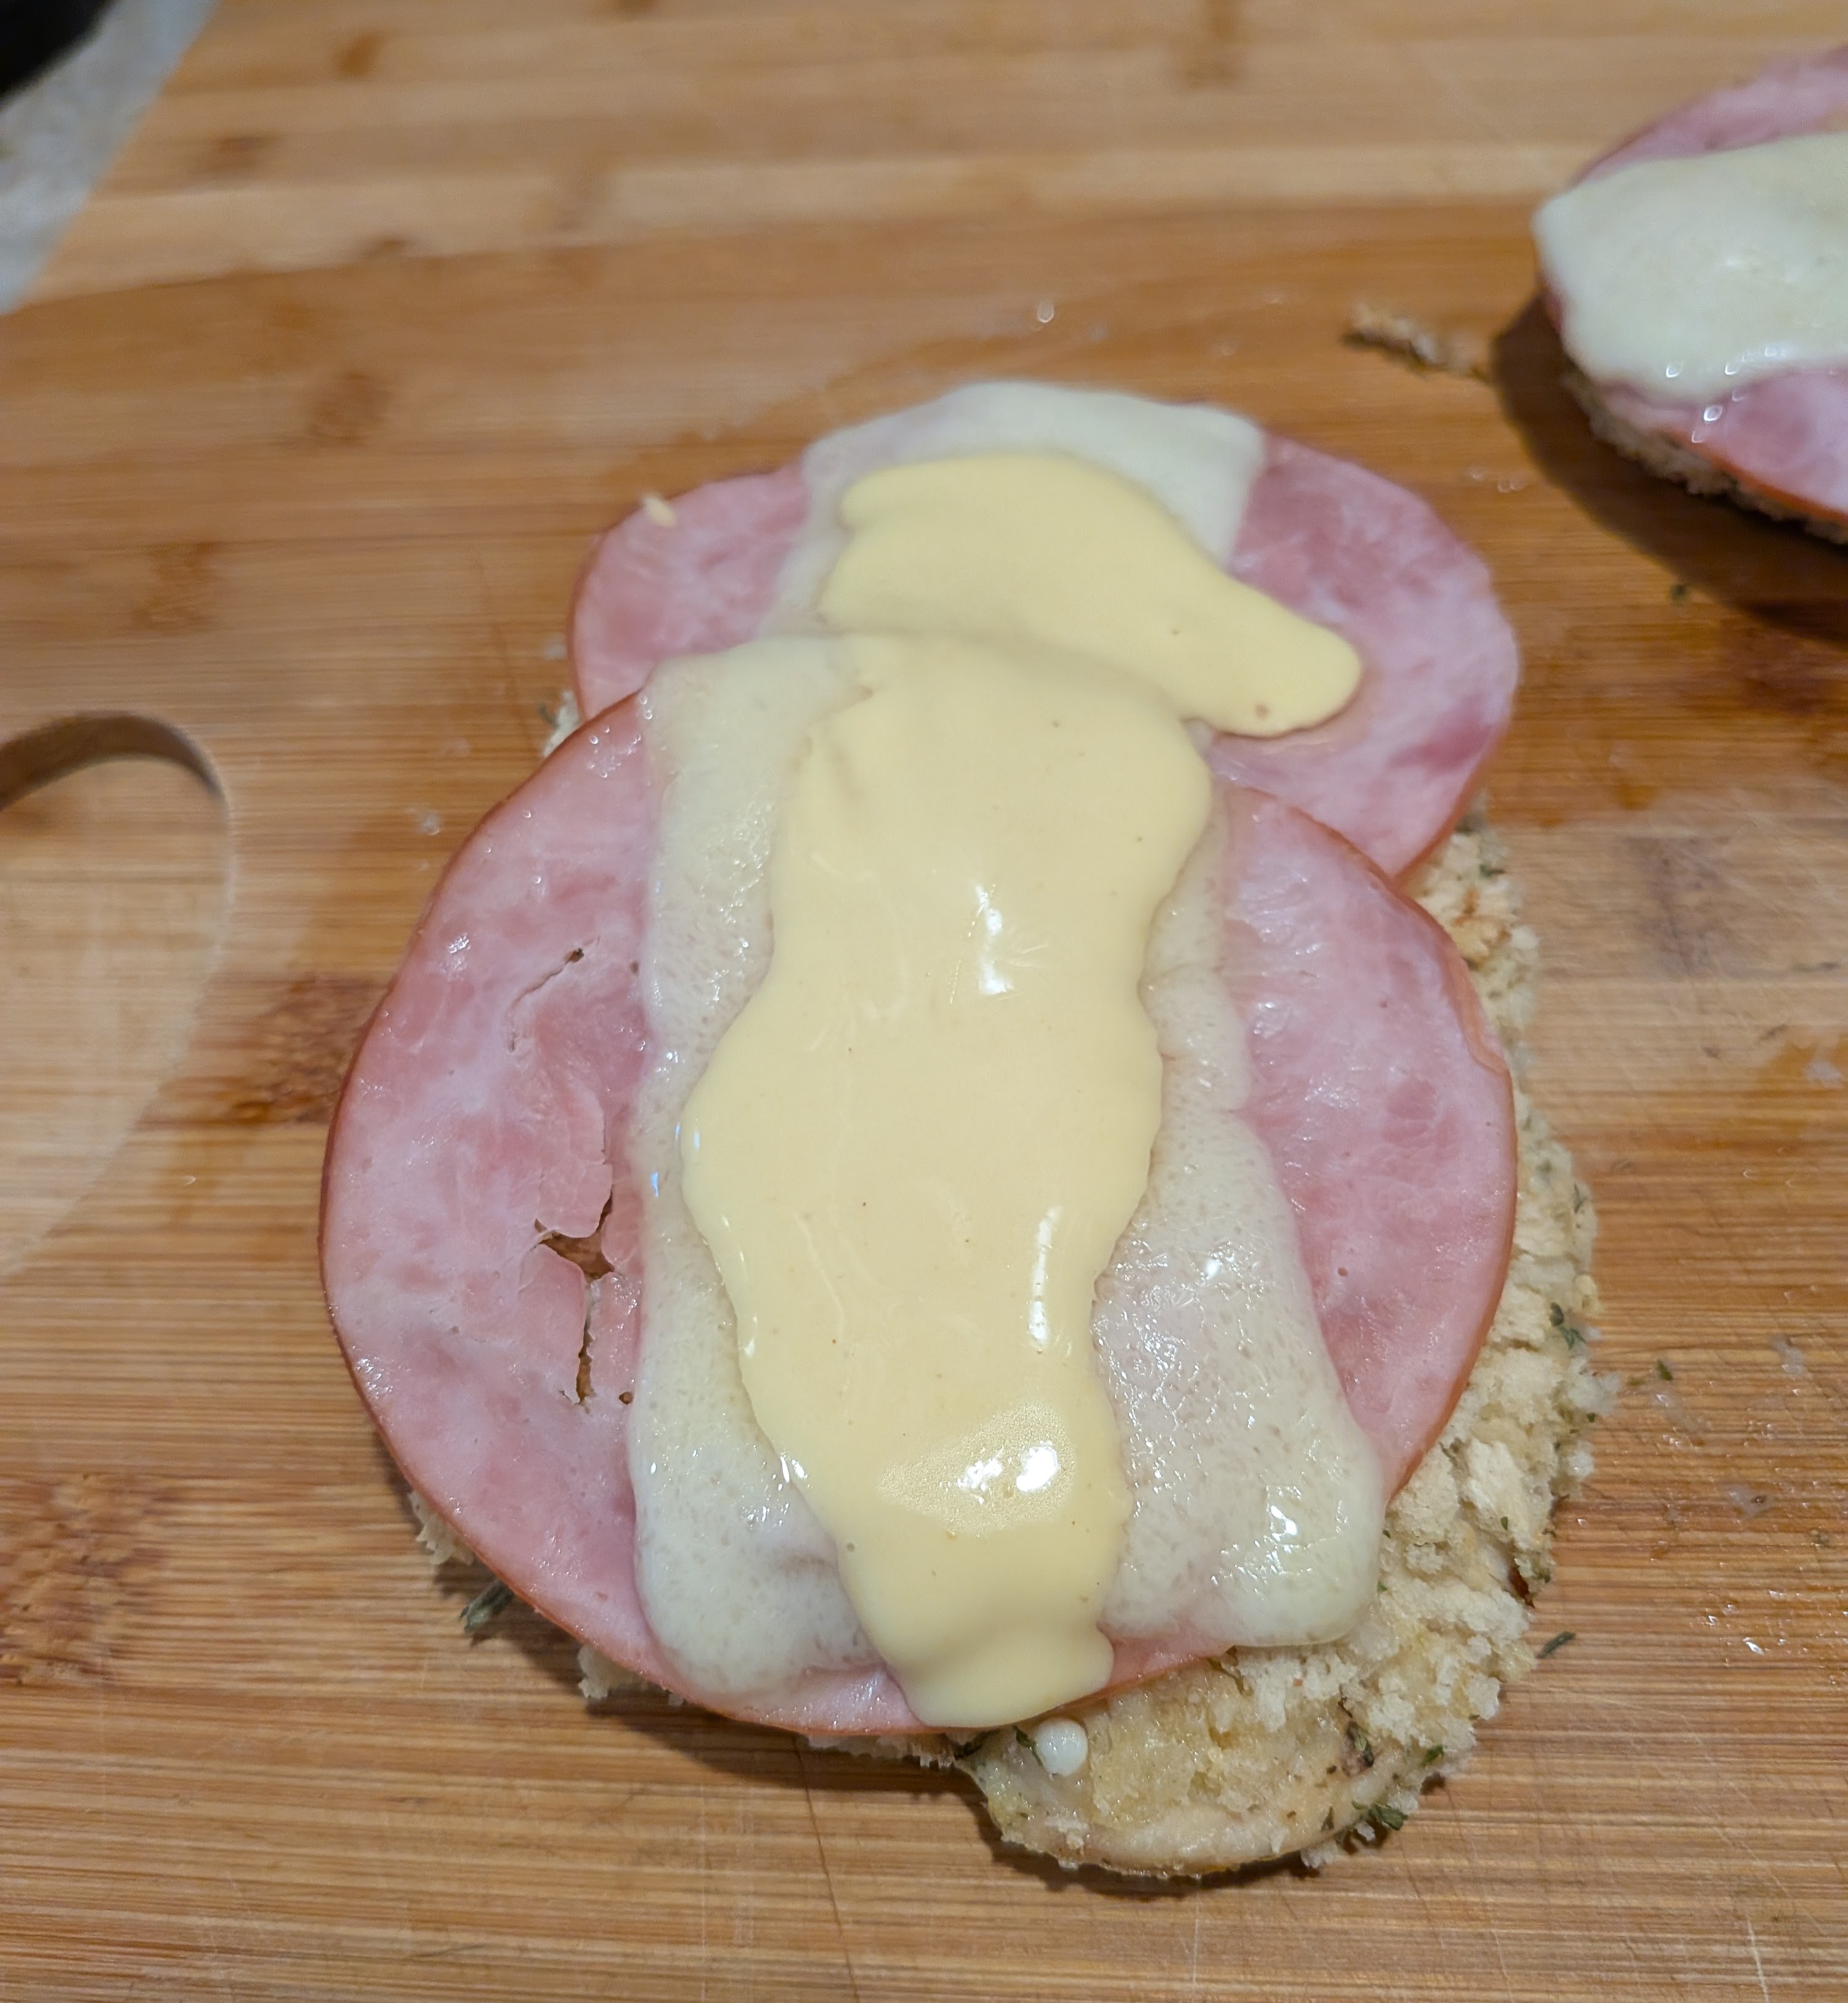
For sauce, in a small bowl, whisk together mayonnaise, Dijon and yellow mustard, and honey. Serve chicken with sauce for dipping.

Chicken Sausage Sheet Pan Supper

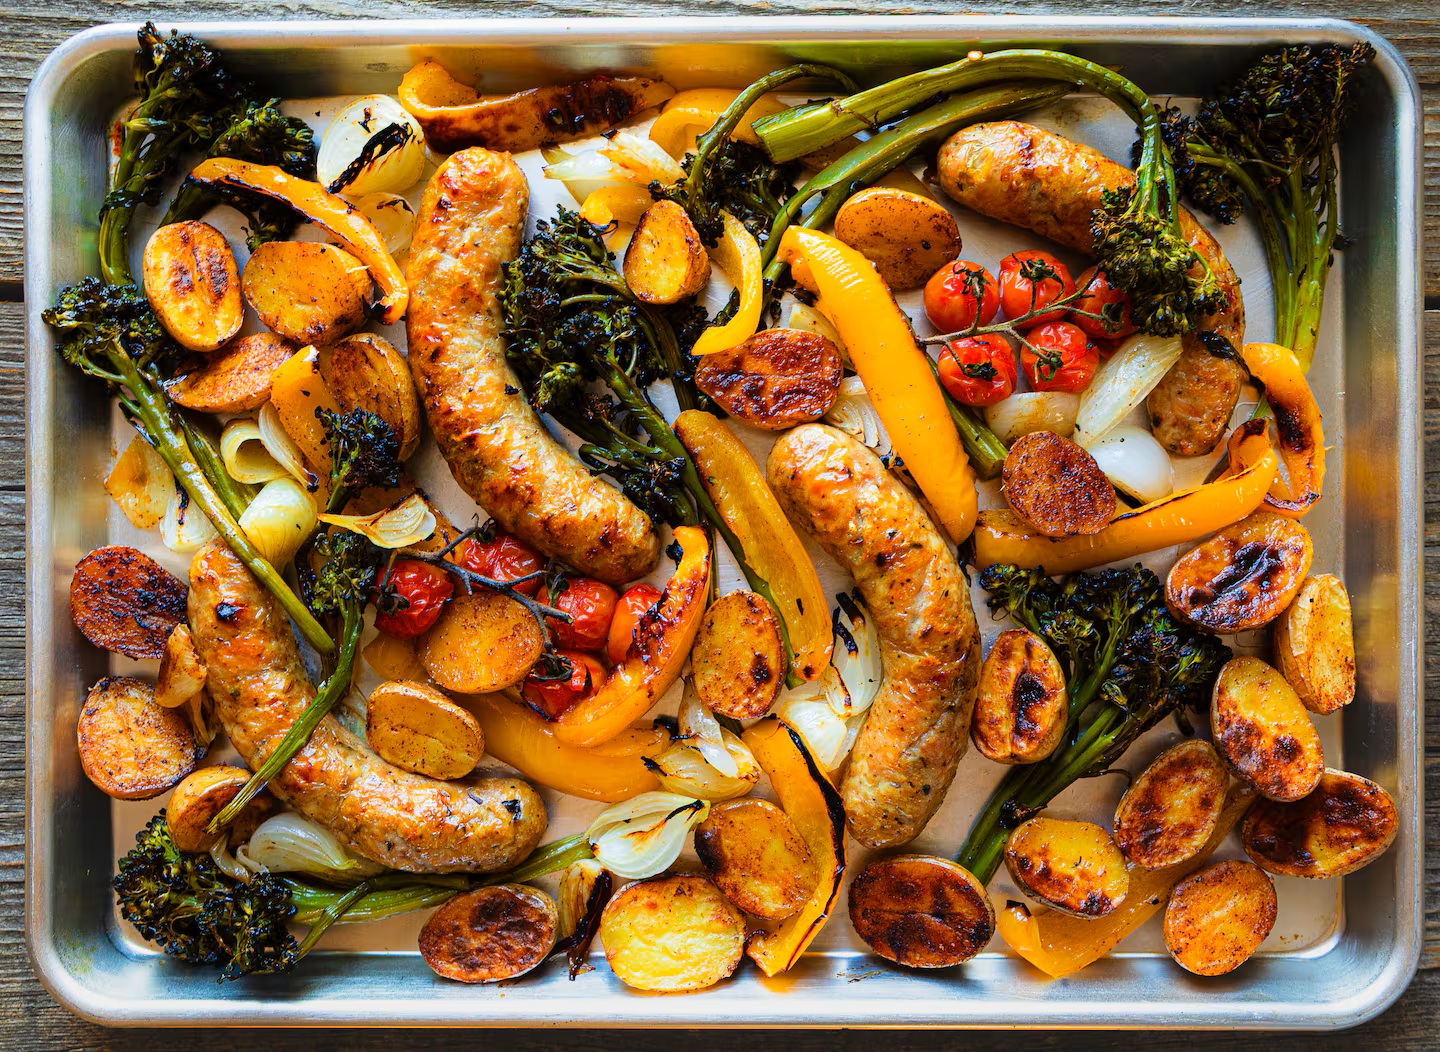
Wholefood had mild chicken sausage so we decided to try some since can’t find Davio’s in the stores but we’ll keep looking. I usually just make roasted vegetables but Lyn saw this in the globe so we gave it a try. We only did 1/2 recipe since there are only two of us. Will try again it’s great for what ever you have in the frig for veggies.

A sheet pan is a kit­chen work­horse and your ticket to an easy weeknight. Use it to make a one-dish meal with min­imal prep, lay­ers of fla­vor, and stream­lined cleanup. A typ­ical sheet pan is a sturdy 13-by18-inch rimmed bak­ing sheet, big enough to accom­mod­ate a vari­ety of ingredi­ents. Veget­ables cooked on it at a rel­at­ively high tem­per­at­ure turn crispy on the out­side with con­cen­trated fla­vors. Chicken or tur­key saus­ages are ideal com­pan­ions to the veget­ables, since they cook at about the same time. Give small golden pota­toes a head start in the oven because they take a little longer than everything else. While they roast, prep broc­colini, cherry toma­toes, yel­low bell pep­per, onion, and saus­ages. Make a few shal­low slashes in the saus­age cas­ings so they don’t burst in the oven when they release steam. It’s a col­or­ful meal that hands off most of the work to the oven.

1 pound baby golden pota­toes, halved

¾ tea­spoon Span­ish smoked paprika (pimenton)

Salt and black pep­per, to taste

4 table­spoons olive oil

1 bunch broc­colini, ends trimmed

1 pint cherry toma­toes

1 yel­low bell pep­per, cored, seeded and cut into

1-inch­wide strips

3 spring onions (golf ball-size bulbs), ends trimmed and bulbs quartered, or

1 medium yel­low onion, halved and cut into thick slices

4 chicken or tur­key saus­ages (about 1 pound), such as sweet or hot Italian saus­age

1. Set the oven at 425 degrees. Have on hand a rimmed bak­ing sheet.

2. On the bak­ing sheet, spread the pota­toes in one layer and sprinkle with smoked paprika, a few pinches of salt and black pep­per, and 2 table­spoons of the oil. Toss to coat the pota­toes. Roast them for 15 minutes.
3. Mean­while, in a large bowl, toss the broc­colini, cherry toma­toes, bell pep­per, onions, a pinch each of salt and black pep­per, and the remain­ing 2 table­spoons olive oil.

4. Make shal­low cuts in the saus­ages on both sides in a few places.

5. Remove the pota­toes from the oven. Arrange the saus­ages, broc­colini, cherry toma­toes, bell pep­per, and onions between and around the pota­toes, keep­ing everything in one layer.

6. Return to the oven for 20 minutes, or until the saus­ages are cooked through and a meat ther­mo­meter inser­ted into the thick­est part of a saus­age registers 165 degrees. If the saus­ages have not browned enough, turn on the broiler and let the saus­ages and veget­ables brown for 3 to 4 minutes. (Total roast­ing time is 35 minutes.)
7. Divide the saus­ages and veget­ables among 4 plates.

Quick and Easy Pasta Salad

Quick and Easy Pasta Salad

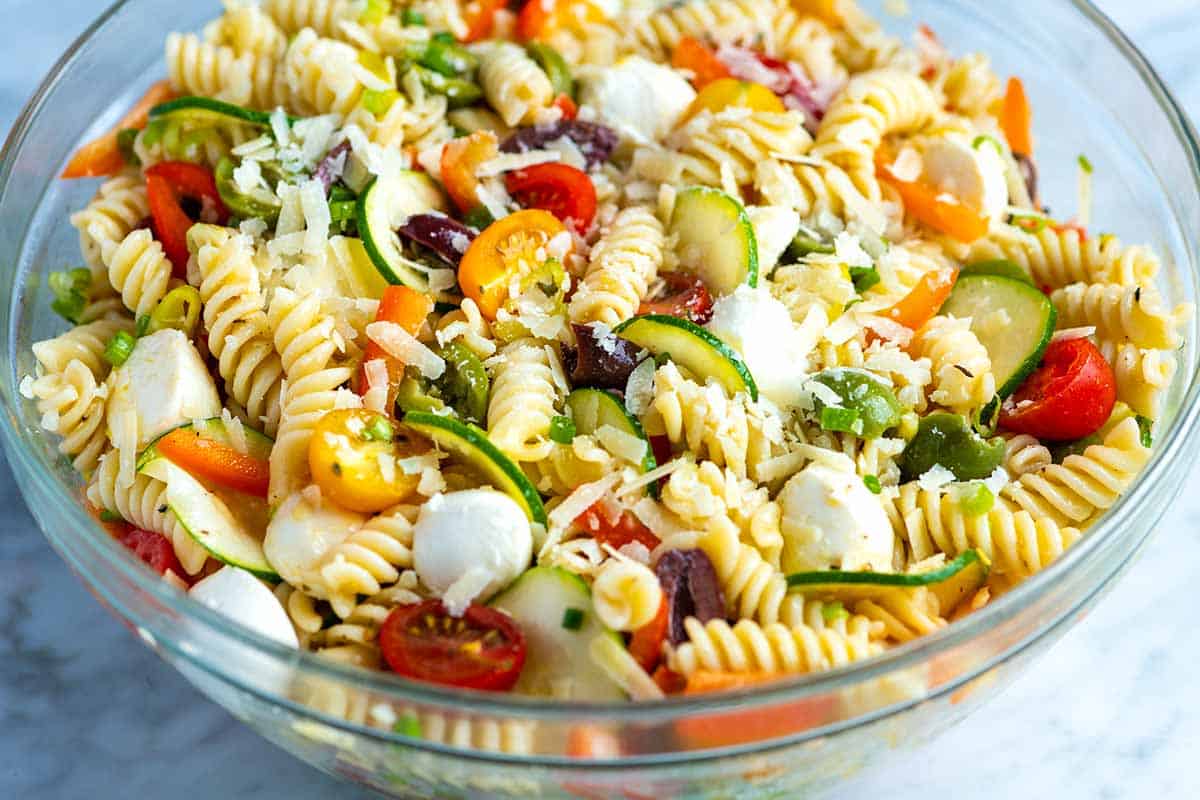
This easy pasta salad recipe is flexible based on the ingredients you have in your kitchen or the season. Use a hearty pasta shape with nooks and crannies to hold onto the dressing, like rotini or penne. We love the fresh mozzarella balls and parmesan cheese, which melts into the dressing, and pepperoncini peppers add a tangy kick if you have them on hand.

Pasta Salad

  • 1 pound dried pasta like fusilli, penne, rotini or farfalle
  • 1 cup sliced bell pepper, 1 medium
  • 1 cup thinly sliced zucchini , 1/2 medium
  • 1 cup halved cherry tomatoes
  • 1/3 cup thinly sliced green onions, 5 to 6 green onions
  • 1/4 cup sliced pepperoncini or banana peppers, optional
  • 1 cup (4 ounces) halved mixed olives
  • 1 cup (2 ounces) grated parmesan cheese or other hard cheese
  • 1 cup (6 ounces) fresh mozzarella balls, chopped
  • 1/3 cup fresh parsley or basil, optional

Homemade Dressing

  • 1/3 cup red wine vinegar, white wine vinegar, or champagne vinegar
  • 1/2 teaspoon fine sea salt, plus more to taste
  • 1/2 teaspoon fresh ground black pepper
  • 1/2 teaspoon dried oregano
  • 2 to 3 tablespoons juice from pepperoncini jar, optional
  • 1/2 cup extra-virgin olive oil

Directions

1Bring a large pot of salted water to a boil. Add pasta and cook until tender, 6 to 10 minutes (check the package for recommended cook time). Drain and rinse well under cold water.

2While the pasta cooks, make the dressing in the bottom of a large bowl. Whisk the red wine vinegar, salt, pepper, oregano, pepperoncini juice (if using), and olive oil until blended. Add the drained and rinsed pasta to the dressing and mix well.

3Stir in the bell pepper, zucchini, tomatoes, scallions, pepperoncini (if using), olives, parmesan, mozzarella, and herbs (if using). Taste for seasoning and adjust with salt and pepper as needed. Serve, or for the best results, cover and refrigerate for at least 30 minutes and up to 5 days.

Adam and Joanne’s Tips

  • Storing: You can make pasta salad and keep it in the fridge for 3 to 5 days.
  • Make ahead: The extra time allows the flavors of the pasta, veggies, and dressing to meld together. I like making this salad the day before serving. I save a bit of the dressing separately in the fridge. Then, just before serving, I toss in the reserved dressing to refresh the salad.
  • The nutrition facts provided below are estimates.

NUTRITION PER SERVING: Serving Size 1/10 of the salad / Calories 363 / Total Fat 19.1g / Saturated Fat 5.1g / Cholesterol 18.3mg / Sodium 507.1mg / Carbohydrate 36.6g / Dietary Fiber 2.3g / Total Sugars 2g / Protein 11.7g

AUTHOR: Adam GallagherThe full recipe post can be found on Inspired Taste here: https://www.inspiredtaste.net/38019/easy-pasta-salad-recipe/

Walnut and Breadcrumb Spaghetti (No Anchovy)

Walnut and Breadcrumb Spaghetti (No Anchovy)

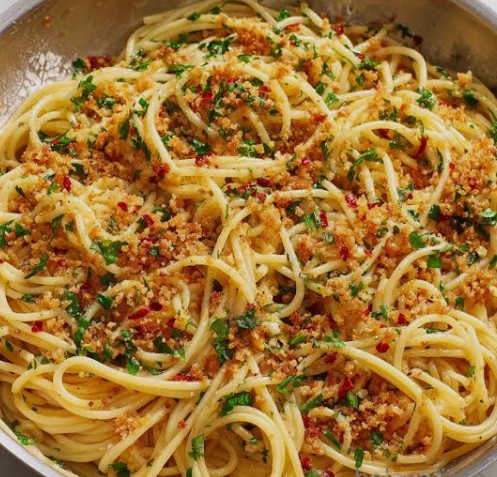
Want a quick meal that tastes great with or without the anchovy. I saw similar on Milk Street so I decided to give it a try but I had no anchovy. The pasta was the longest cooking in this recipe.

Ingredients

  • 1 lb (500g) Spaghetti or Linguine
  • ½ cup to 1 cup walnuts, roughly chopped
  • ½ cup panko or rustic breadcrumbs (fresh is best)
  • ½ cup extra virgin olive oil, divided
  • 1-6 garlic cloves, minced
  • ¼ cup chopped fresh flat-leaf parsley
  • ¼ -½ tsp red pepper flakes (optional, for heat)
  • ½ lemon, zested and juiced (optional)
  • ½ cup grated Parmesan or Pecorino Romano cheese
  • A few chopped sun dried tomatoes (I soaked in the lemon juice)
  • Salt and black pepper to taste
  • Top with some more fresh grated cheese

Instructions

  1. Toast the Walnuts and Breadcrumbs: In a large skillet or frying pan, heat 2 tablespoons of olive oil over medium heat. Add the breadcrumbs and chopped walnuts. Toast, stirring frequently, until the breadcrumbs are golden brown and the walnuts are fragrant (about 3-4 minutes). Remove from the pan and set aside in a small bowl.
  • Cook the Pasta: Meanwhile, bring a large pot of salted water to a boil. Add the spaghetti and cook according to package directions until al dente (usually 1-2 minutes less than the package says).
  • Create the Sauce: In the same skillet used for the nuts, add the remaining olive oil, minced garlic, and red pepper flakes. Sauté over low-medium heat for about 1 minute until the garlic is fragrant but not browned.
  • Combine: Before draining the pasta, reserve about 1 cup of the starchy pasta water. Add the cooked spaghetti directly to the skillet with the garlic oil.
  • Finish the Dish: Add half of the walnut-breadcrumb mixture, the lemon zest/juice (if using), and a splash of pasta water. Toss everything over medium heat, allowing the water and oil to emulsify into a light sauce that coats the pasta. Add more pasta water if it seems dry.
  • Serve: Turn off the heat and stir in the parsley and Parmesan cheese. Top with the remaining toasted walnut-breadcrumb mixture for extra crunch.

Serve: Turn off the heat and stir in the parsley and Parmesan cheese. Top with the remaining toasted walnut-breadcrumb mixture for extra crunch.

Greek-American Lamb Gyros Recipe

Greek-American Lamb Gyros Recipe

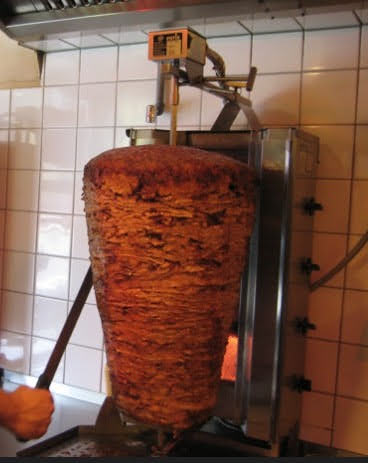
I got turned onto Gyros when i lived in Chicago, thinly sliced meat that was flame broiled on a screwier.

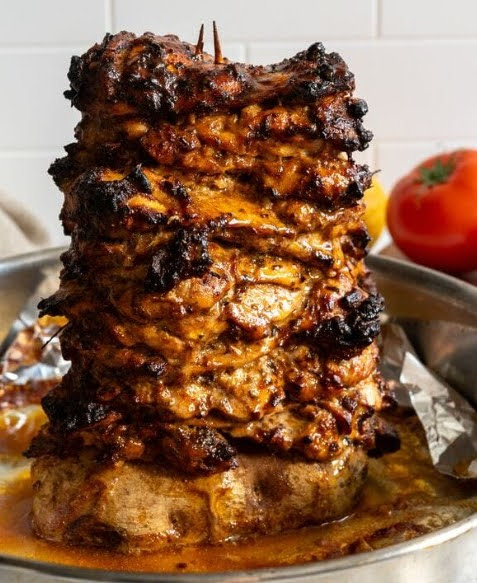
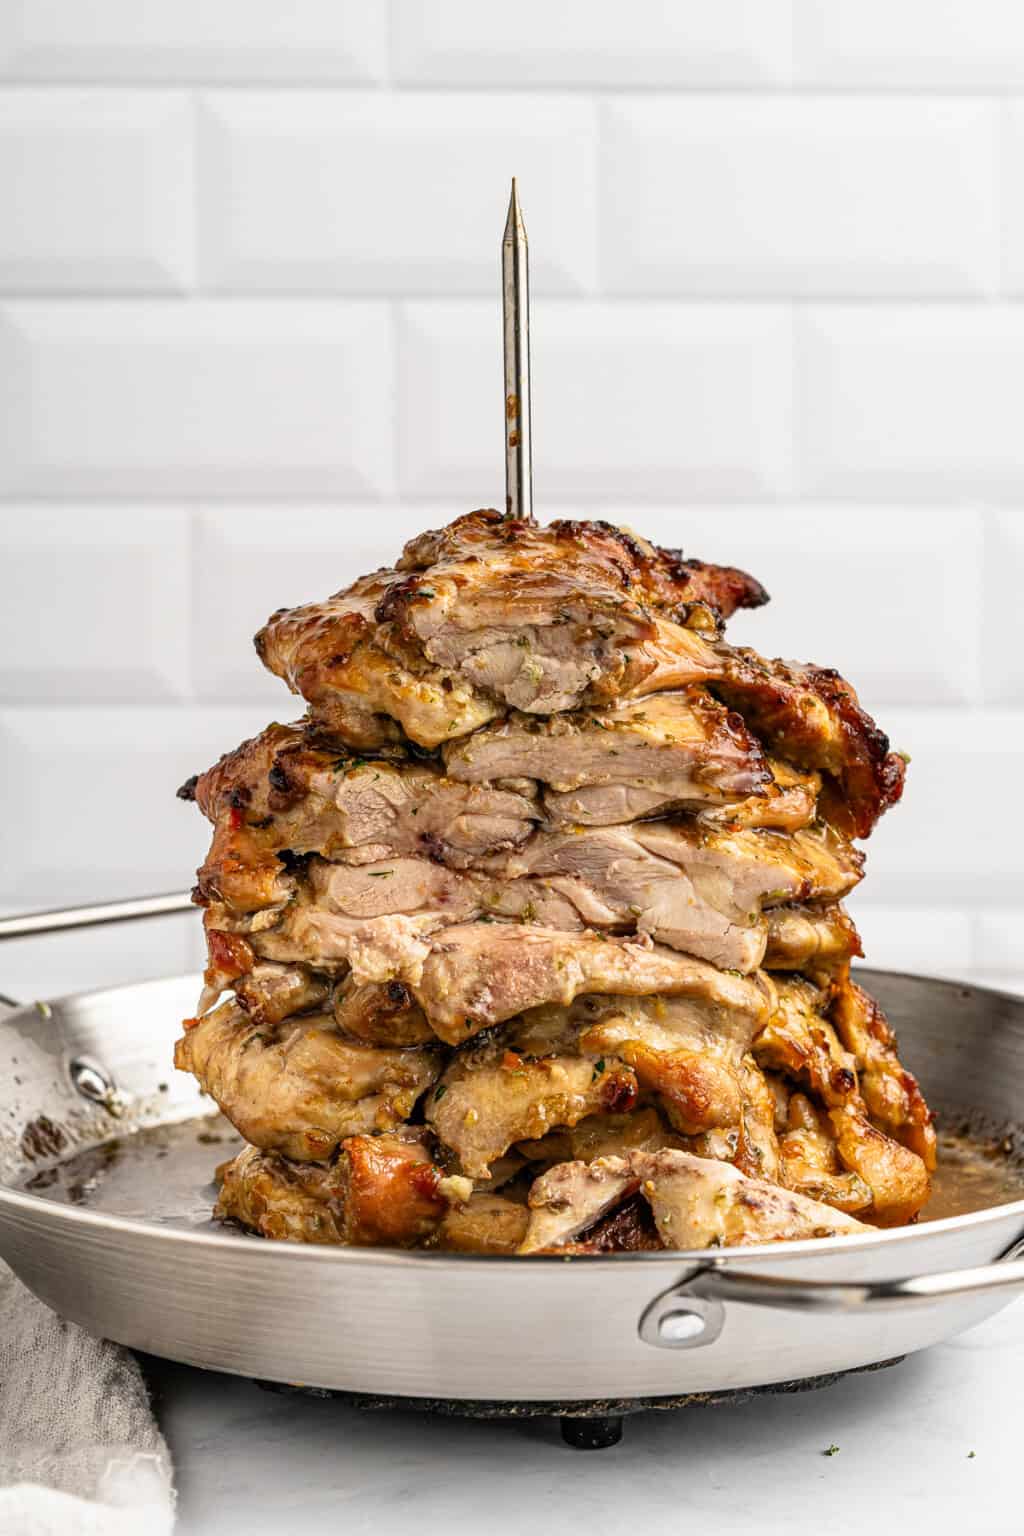
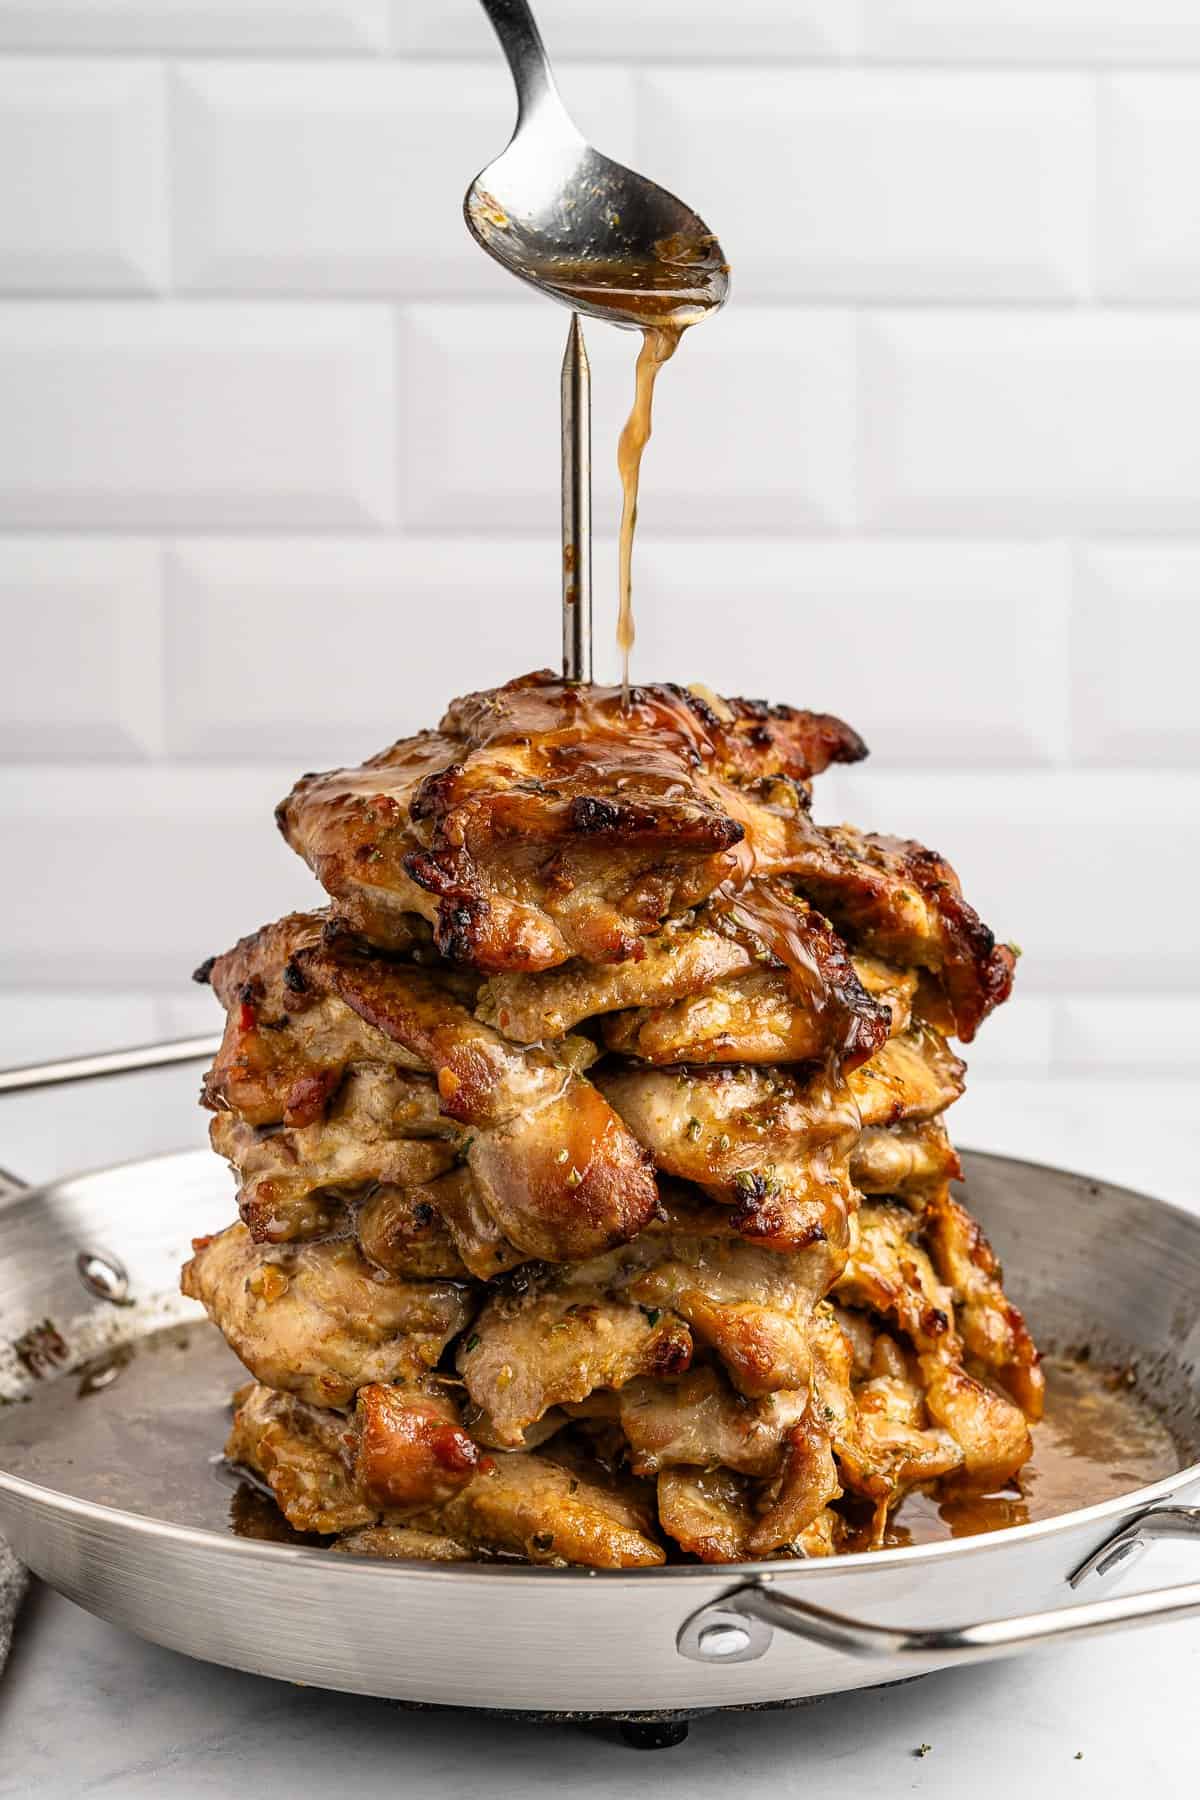
I bought a Gyros pan pictured on left. I’ve done it with chicken and beef and both came out pretty good. The chicken was a killer smelling it while it cooked.

Ingredients

For the Meat:

  • 1 pound ground lamb (Lean is preferred)
  • 2 teaspoons kosher salt (or 1 teaspoon table salt)
  • 1/2 teaspoon freshly ground black pepper
  • 1/2 teaspoon dried or 2 tablespoons fresh oregano leaves
  • 1/2 medium onion, cut into 1-inch chunks
  • 1 clove garlic, sliced

For the Yogurt Sauce:

  • 3/4 cup plain, unsweetened yogurt
  • Peeled seeded cucumber, minced
  • 1 clove garlic minced or through press
  • 2 teaspoons juice from 1 lemon
  • 2 tablespoons chopped parsley or mint or dill

To Serve:

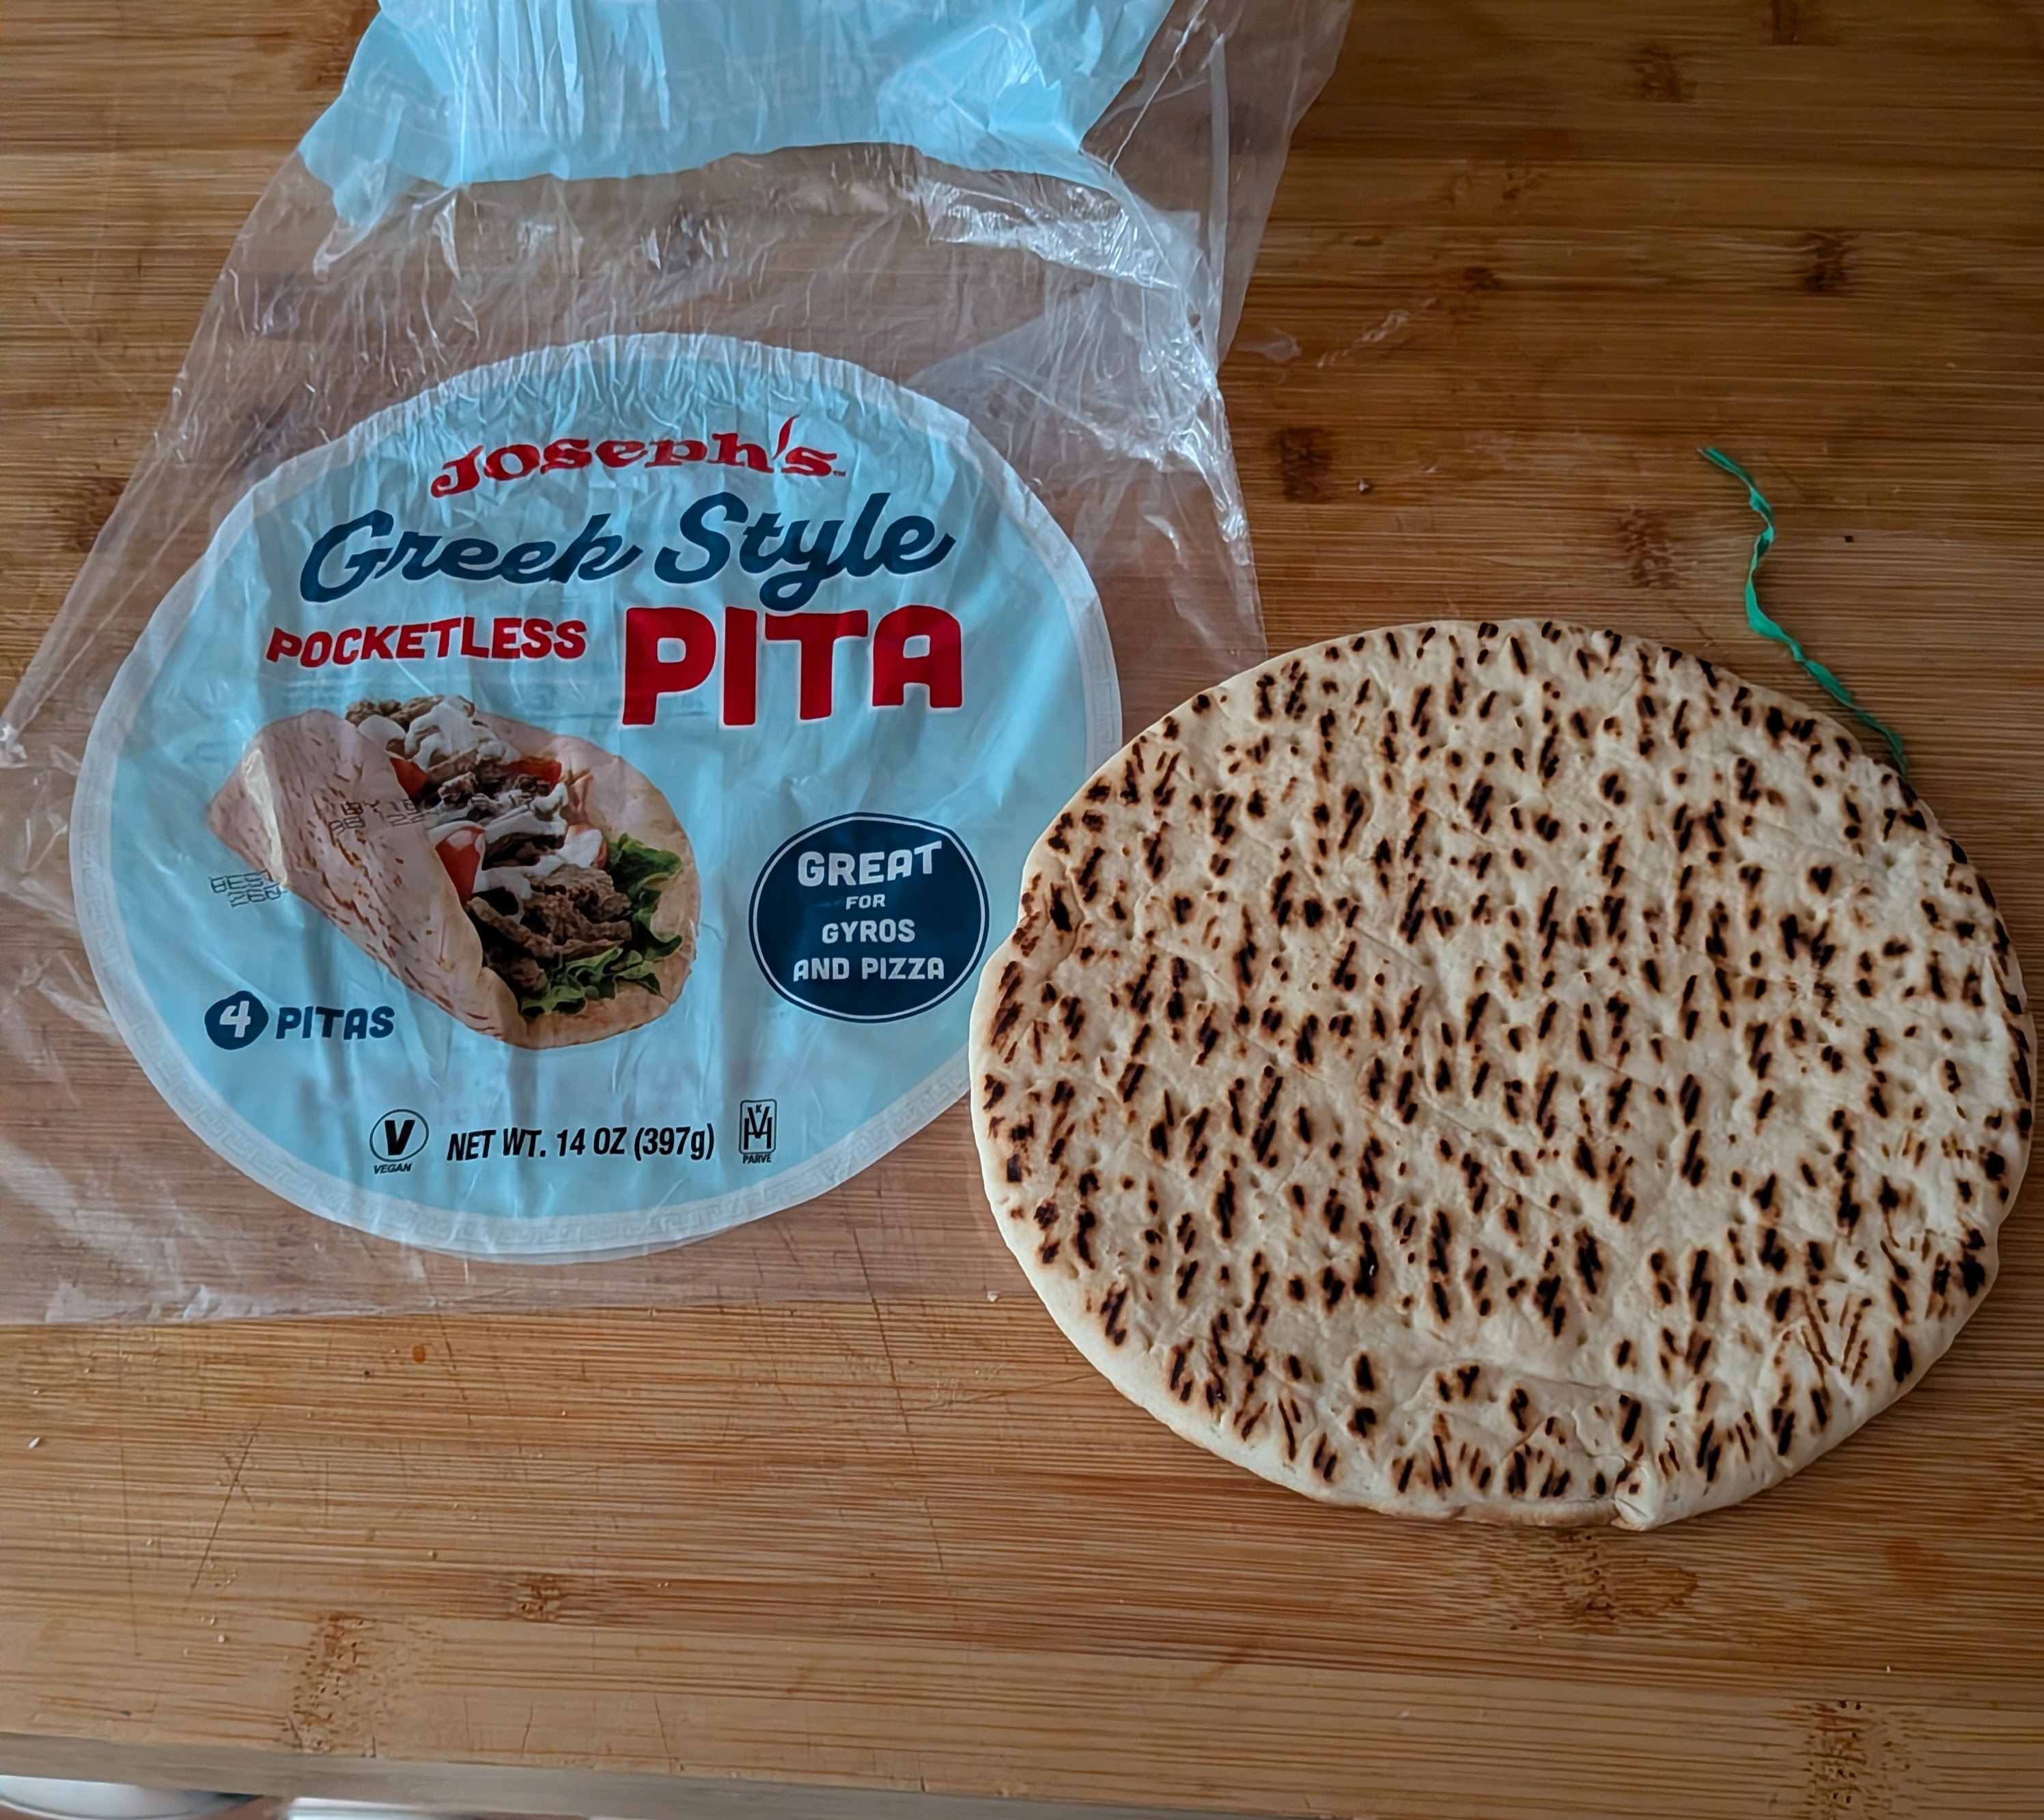
  • 4 pieces soft, Joseph Greek Style pocketless pita)
  • Chopped fresh tomato
  • Finely sliced onion
  • Cubed peeled seeded cucumber
  • Shredded lettuce

Directions

  1. Combine lamb, salt, pepper, and oregano in a medium bowl. Mix with hands until homogeneous. Cover and refrigerate at least 1 hour or up to overnight. Meanwhile, place yogurt in a fine-mesh strainer set over a small bowl. Allow to drain in refrigerator for 1 hour. Adjust oven rack to middle position and preheat oven to 300°F (150°C). Place cold lamb mixture in bowl of food processor with onion, garlic, and bacon. Process until smooth a purée is formed, about 1 minute total, scraping down sides with rubber spatula as necessary.
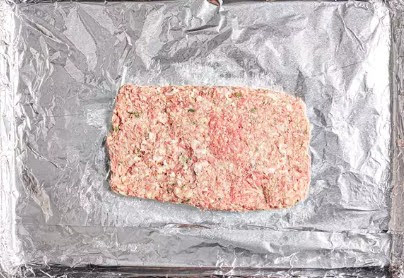
  2. Line rimmed baking sheet with aluminum foil. With moist hands, form meat mixture into rectangles about 1 1/2-inches high, 8-inches long, and 5-inches wide. Bake until center of loaf reads 155°F (68°C) on an instant-read thermometer, about 30 minutes. Allow loaf to rest at room temperature for 15 minutes (or refrigerate for up to a week, see notes).
  3. Meanwhile, make the sauce. Combine strained yogurt, mayonnaise, garlic, lemon juice, and parsley and stir to combine. Season to taste with salt. Refrigerate, covered, until ready to use.
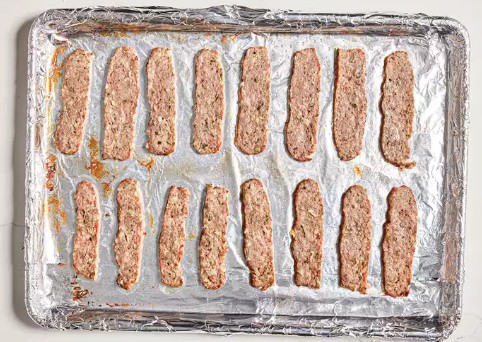
  4. Adjust broiler rack to highest position (about 1 1/2 to 2 inches from broiler element) and preheat broiler. Slice loaf crosswise into 1/8 to 1/4-inch strips (each strip should be about 5-inches long and 1 1/2-inches wide). Lay strips on rimmed baking sheet lined with aluminum foil and broil until edges are brown and crispy, about 2 minutes. Tent with aluminum foil. Warm bread by placing on rimmed baking sheet and broiling until soft and pliant, about 45 seconds per side.
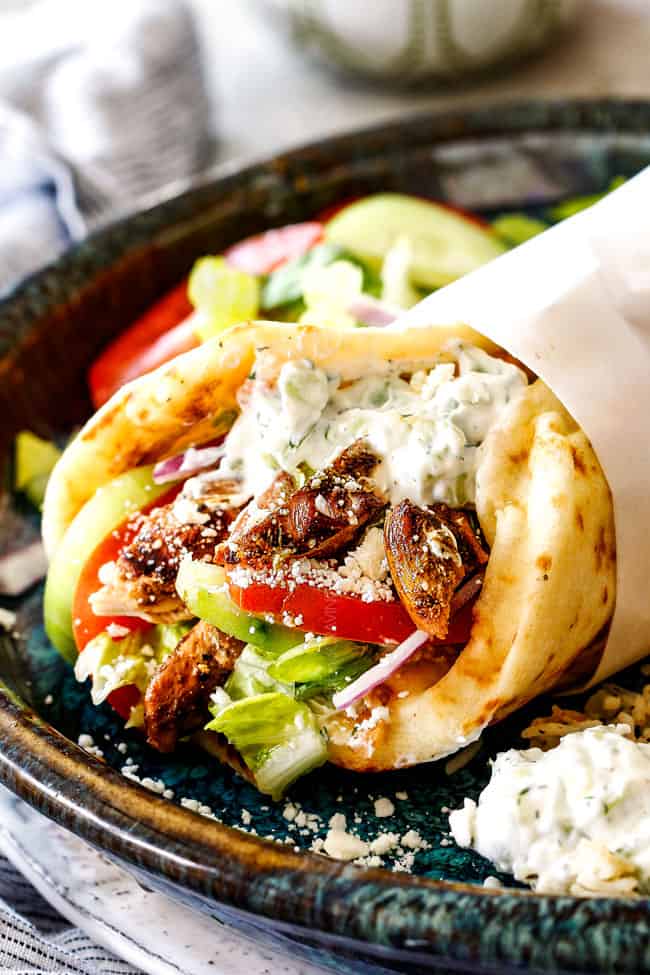
  5. Spread some sauce over each piece of bread. Divide meat evenly between sandwiches. Top as desired, wrap with paper or foil, and serve. Some places serve with French fry but I’m a traditionalist those go on the side or maybe a Greek salad instead
BBQ Brisket in the Oven

BBQ Brisket in the Oven

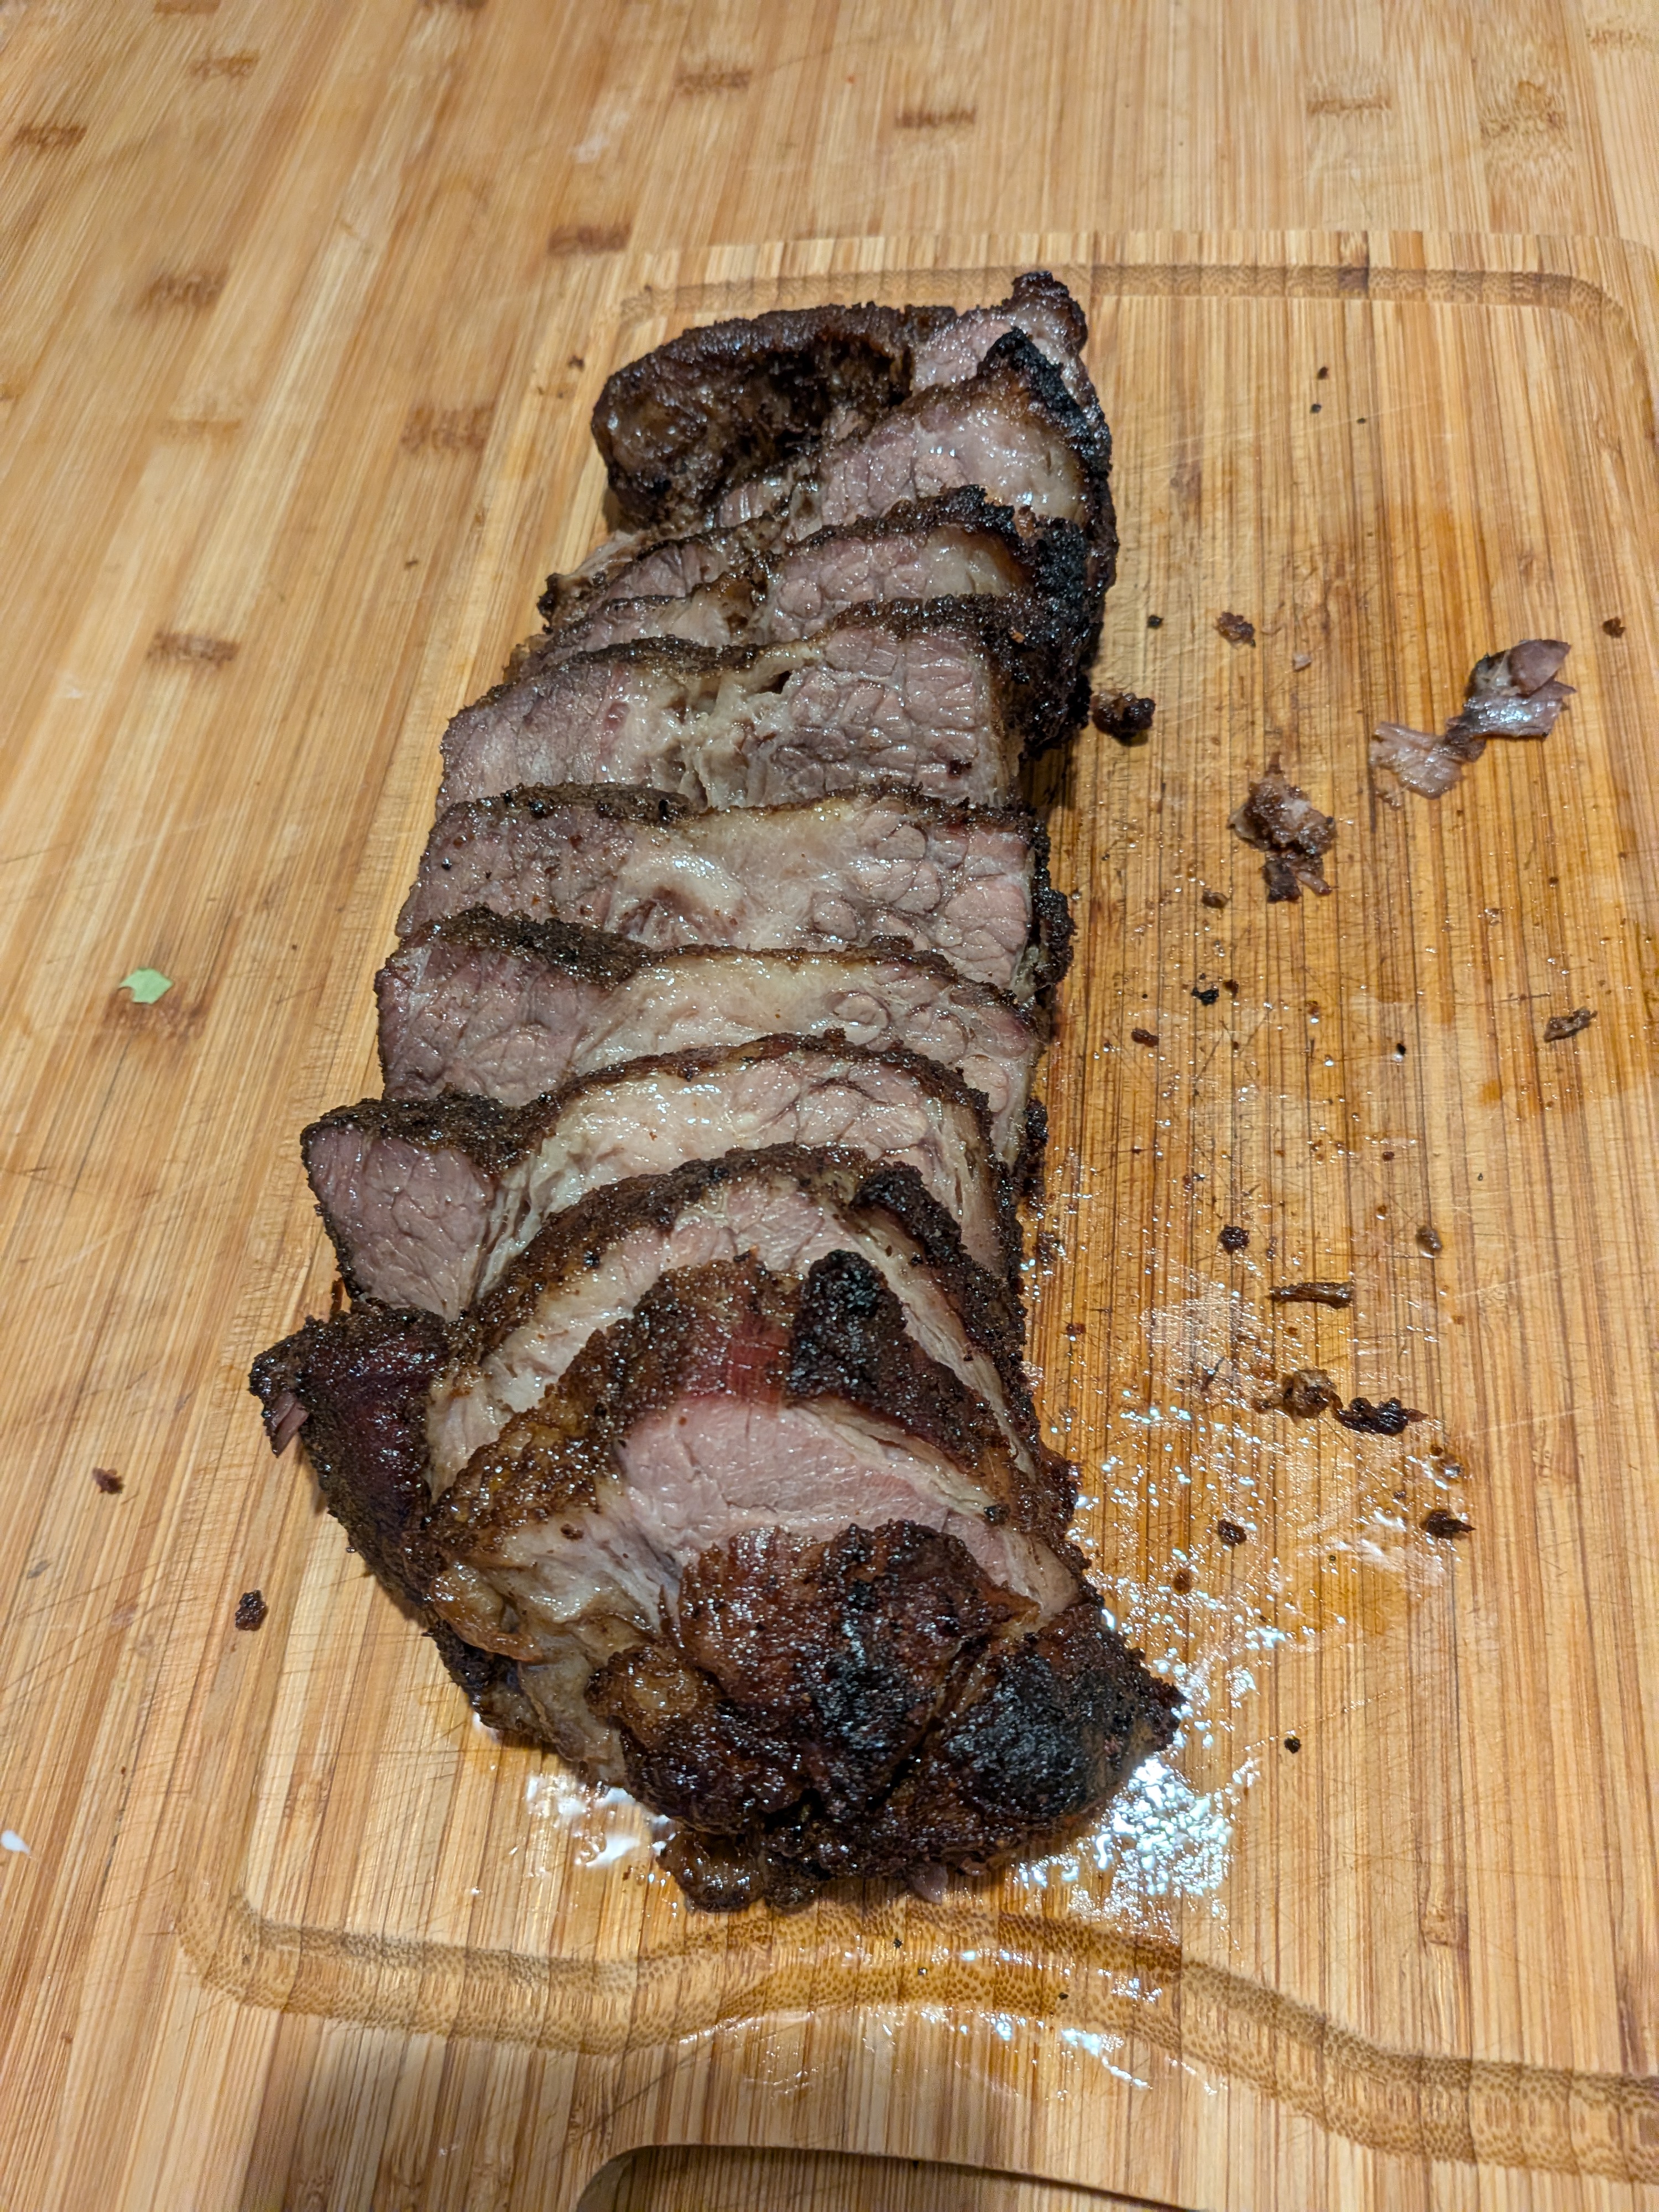
I got a Grass-fed brisket from ButcherBox because Lyn got me a Brisket spice rub for my birthday.

I decide to bypass the liquid smoke and Worcester sauce since the last time I did that it took forever for the smoke aroma to go away. So remember this won’t have that smoked taste unless you use the liquid smoke.

If you are looking for an easy way to make BBQ brisket in the oven but you don’t want to spend all day and night doing it, then this recipe is great !

Ingredients
5 lb Flat cut Beef Brisket Note: I had a 2.5 lbs
1 recipe BBQ Dry Rub
BBQ Sauce
1 tablespoon Liquid Smoke (optional)
1 tablespoon Worcestershire Sauce (optional)

Instructions
1.        Preheat oven to 300 degrees. Note: I did 275 degrees since I had a class at the center so I cooked longer

2.        Liberally season the brisket on all sides with BBQ Dry Rub. The brisket can sit in the fridge overnight to let flavor penetrate (highly suggest), or it can be cooked right away.

3.        Set brisket on a large strip of foil, fat cap up, and add liquid smoke and Worcestershire sauce, then wrap the foil around the brisket, sealing tightly.

4.        Bake in the oven for 3-4 hours, or until the brisket is perfectly tender. The brisket is done when it can be pierced with a fork with little resistance, and the meat separates when the fork is twisted. Note: I did 4 hours because of lower temperature and only half the weight

5.        Remove brisket from oven, unwrap from foil, and turn the broiler on high.

6.        Set brisket under the broiler and broil the fat cap until it begins to crisp. Watch carefully so it does not burn. Note( I also broiled all sides, fat cap longer) to get a good bark on it.

7.        Remove brisket from the oven and paint liberally with BBQ sauce, then set under the broiler again to allow the BBQ sauce to thicken into a jam-like consistency. The sauce will burn quickly, so keep your eye on it.

8.        Note( I also broiled all sides, fat cap longer) to get a good bark on it.

9.        Remove from oven, let brisket rest for 10 minutes and serve

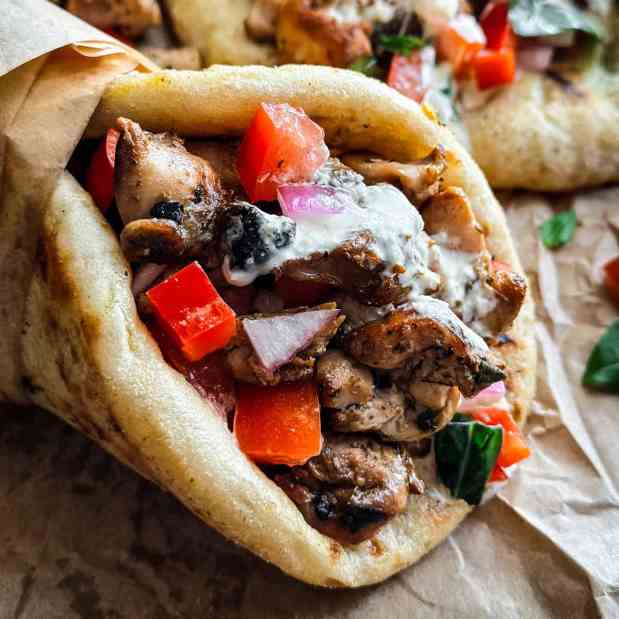
Greek Chicken Gyros

Greek Chicken Gyros

Lyn texted me that this look good, so I took a look and said to myself how could I not.

Thanks to The modern Nonna for the inspiration. Chicken Gyros and I actually go way back. Although I am Bulgarian 🇧🇬, my family and I lived on the Island of Crete for many years following my Dad’s Olympic career in water polo. While living there, I experienced true Greek 🇬🇷 home cooking. My mom learned how to make authentic Greek dishes from the women in Greece, which inspired most of the Greek dishes I cook and share on my page.

Me again: Many years ago while I lived in Chicago there was a restaurant down the street that introduced me to Gyros in fact one Thanksgiving he treated me to one since I was stuck alone in town.

The word “gyro” (as in the Greek dish) is typically pronounced “YEE-roh” or “YEE-rohs” (with the “s” indicating plural), while the word “gyro” (as in a gyroscope) is pronounced “JAHY-roh (This is the way most sub shops pronounce it here, so I quickly change to this when I get the puzzled look.)

What is a Gyro?

A Greek Gyro, or simply “Gyro,” is a popular Greek 🇬🇷 dish made of seasoned meat (often beef, lamb, pork, or chicken) cooked on a vertical rotisserie. The meat is then thinly sliced and served wrapped in warm pita bread, with toppings such as tomato 🍅, onion, and tzatziki sauce – a creamy yogurt and cucumber sauce. Sometimes, Gyros also include lettuce, French fries 🍟, or other veggies.

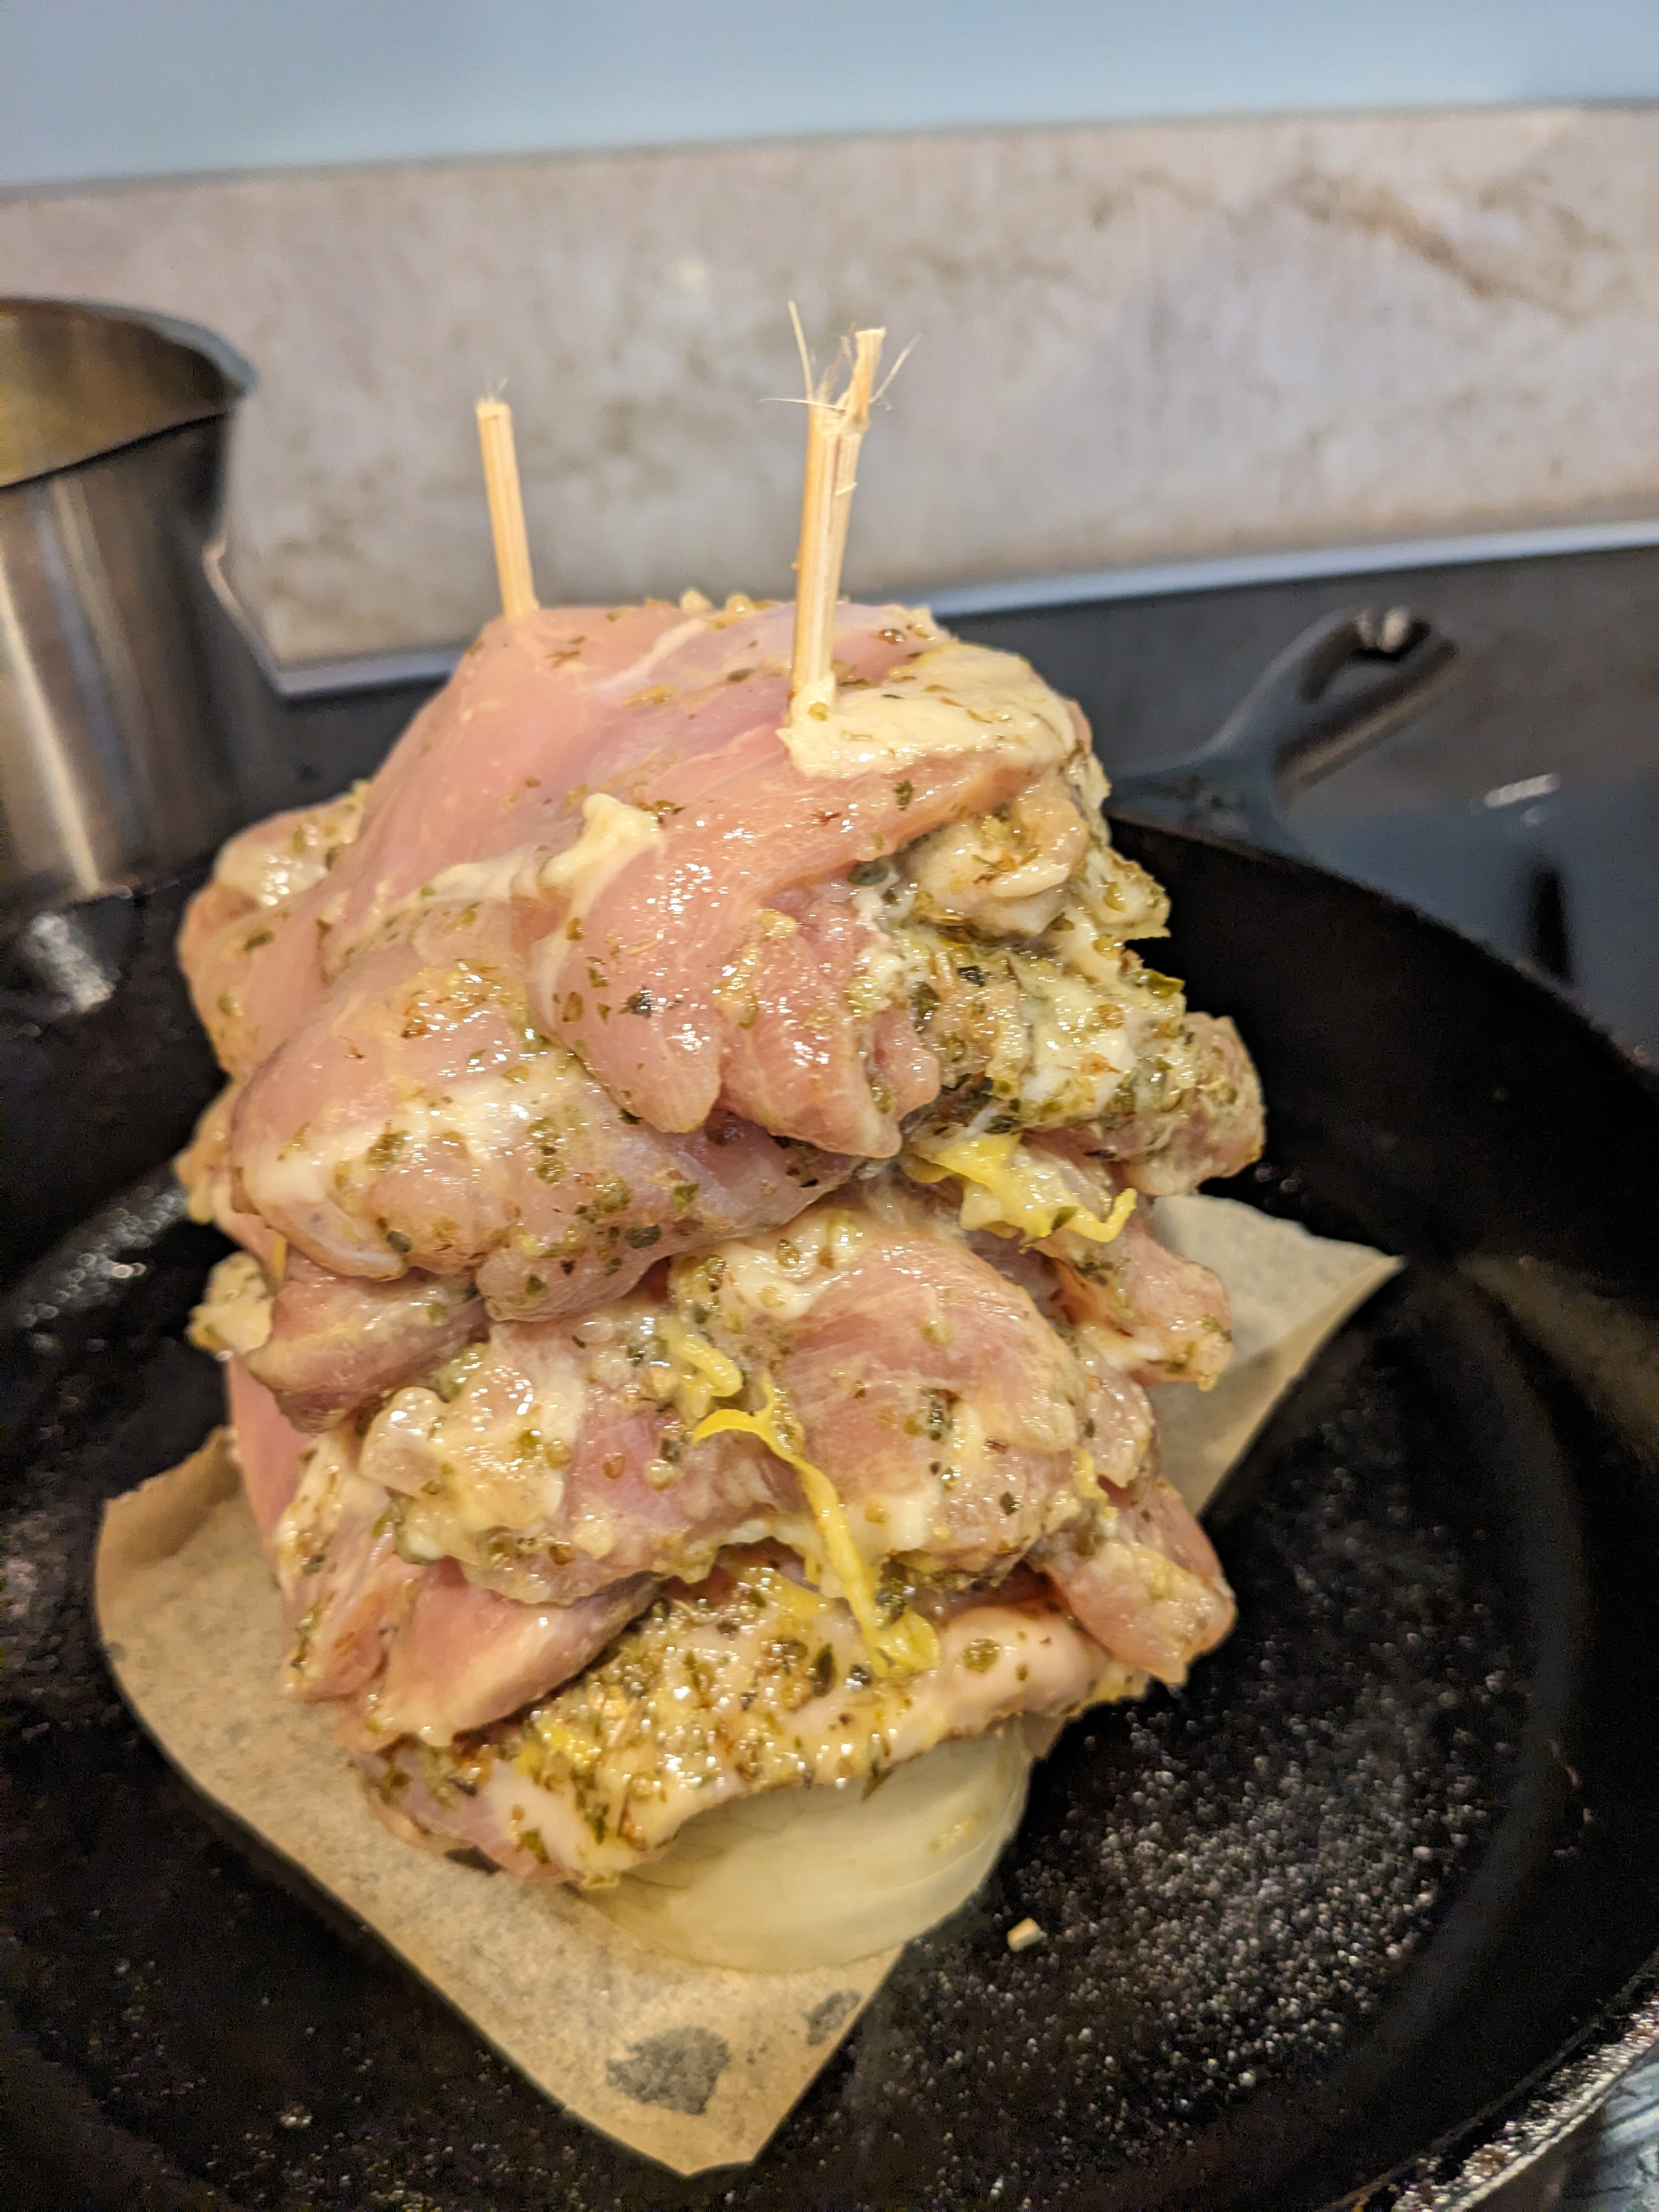
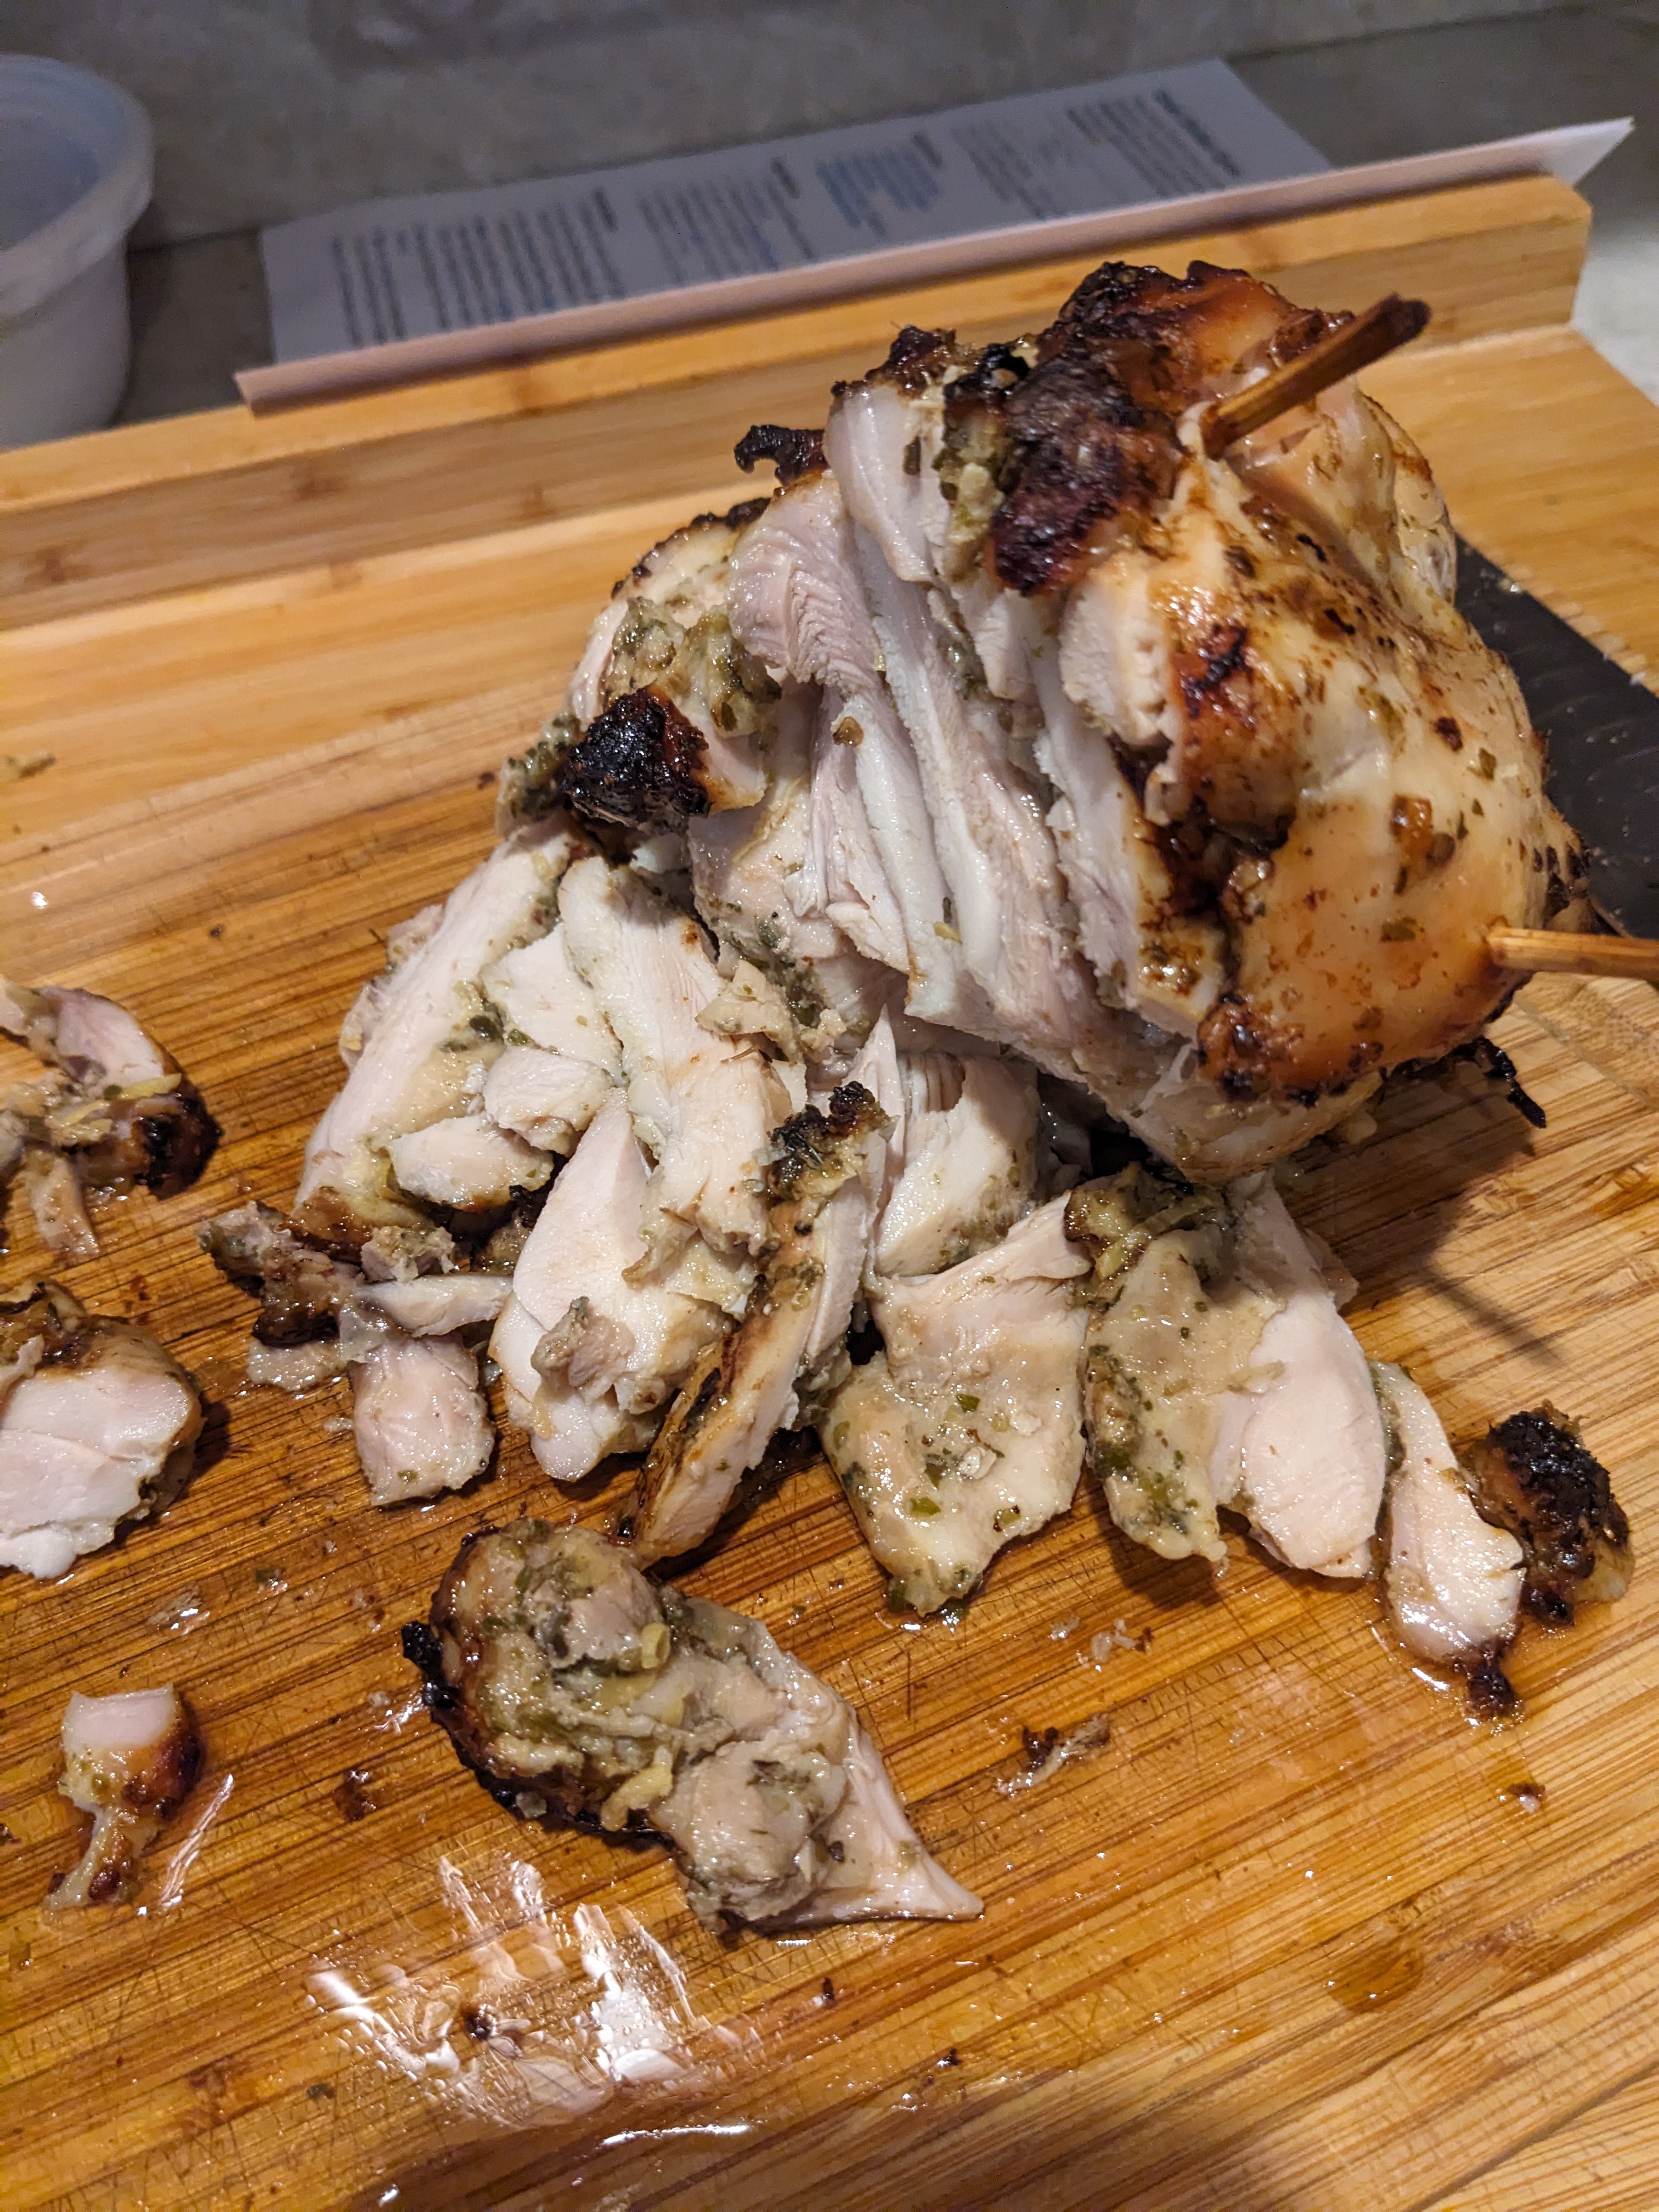
I did not have a Gyro pan so I used the onion trick- it fell over towards the end but I got it to stand up again.

Why You’ll Love Greek Chicken Gyros

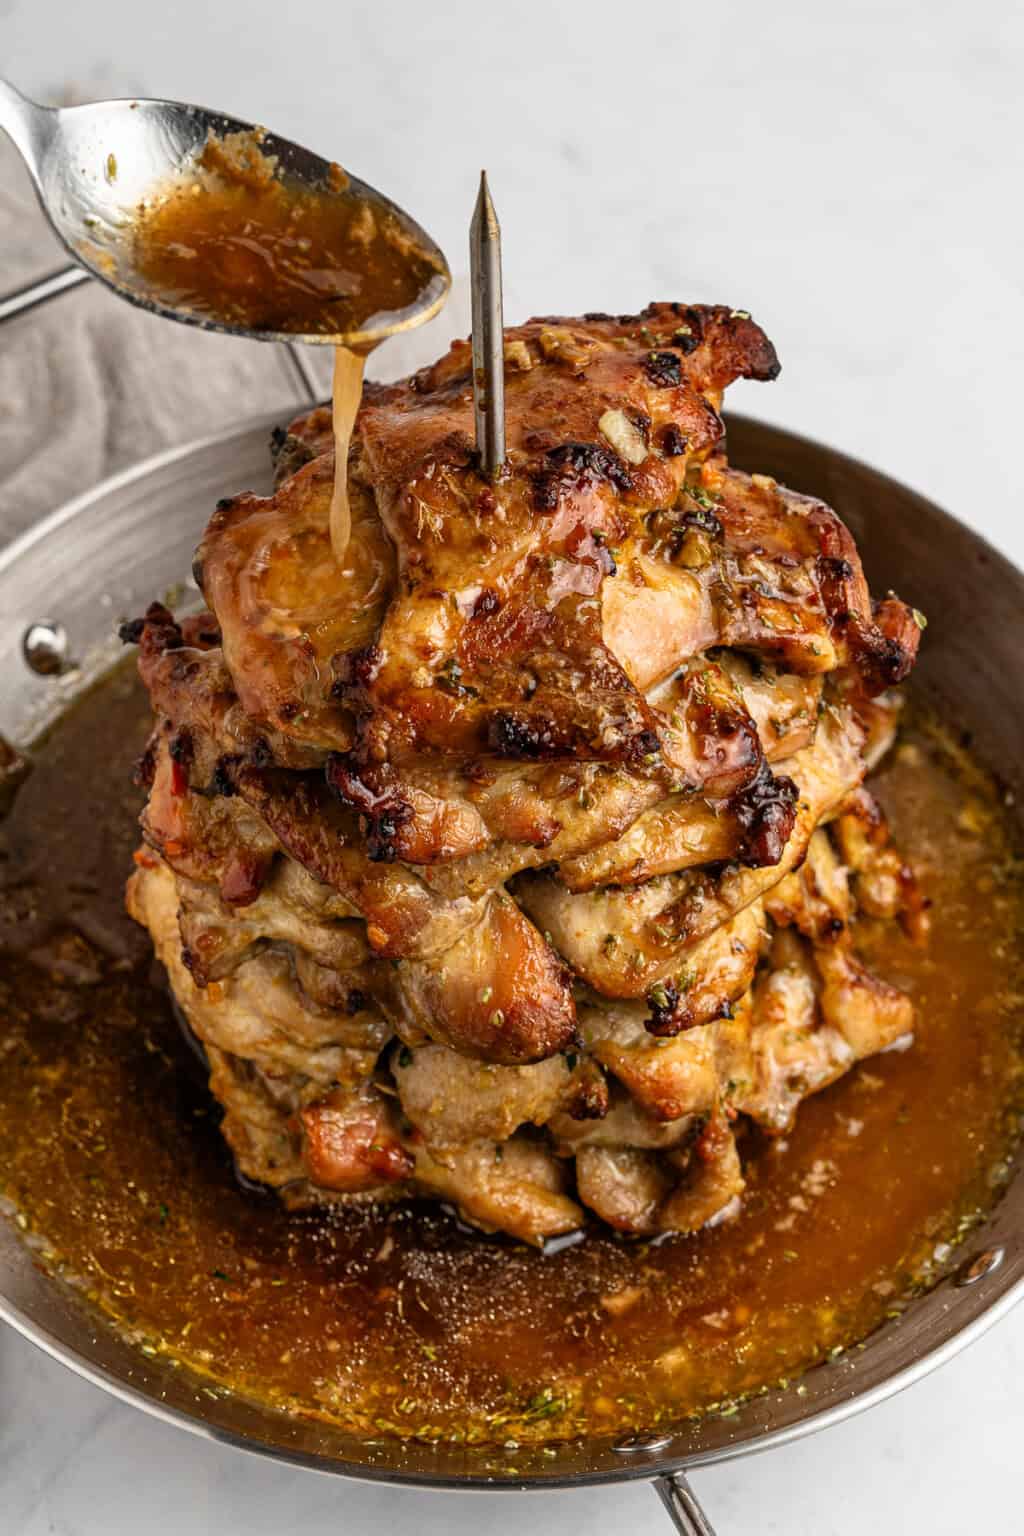
Nonna: When I say this is the juiciest 💦 chicken that will ever grace your mouth, I mean it! Juicer than girl’s night gossip, these Greek Chicken Gyros are meticulously seasoned and roasted to perfection. The chicken is marinated in a combination of savory, tangy and herbaceous flavors, stacked on a spit and slow-roasted until the exterior develops a slight caramelized char while the inside remains tender and succulent 🤤. Serve this Greek Chicken Gyro on a warm pita with creamy tzatziki or on top of a salad or bowl – I promise you, you’ll never want to make chicken thighs any other way!

Ingredients 1 serving (I did 1/2 of this but a little more than 1/2 of sauce)

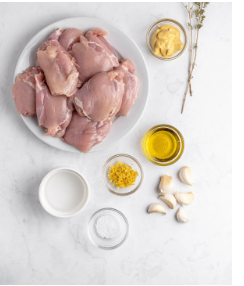
  • 12 boneless skinless chicken thighs, 1.3kg total
  • ⅛ cup olive oil
  • 2 tablespoons honey Dijon mustard
  • 6 cloves minced garlic, or 3 very large ones
  • lemon zest , two lemons zested
  • ½ tablespoon salt, you may need less if using regular table salt
  • dry oregano, to taste
  • 1 cup water, or stock (for the bottom of the pan)
  • Instructions 
  • Preheat the oven to 425F (220C).
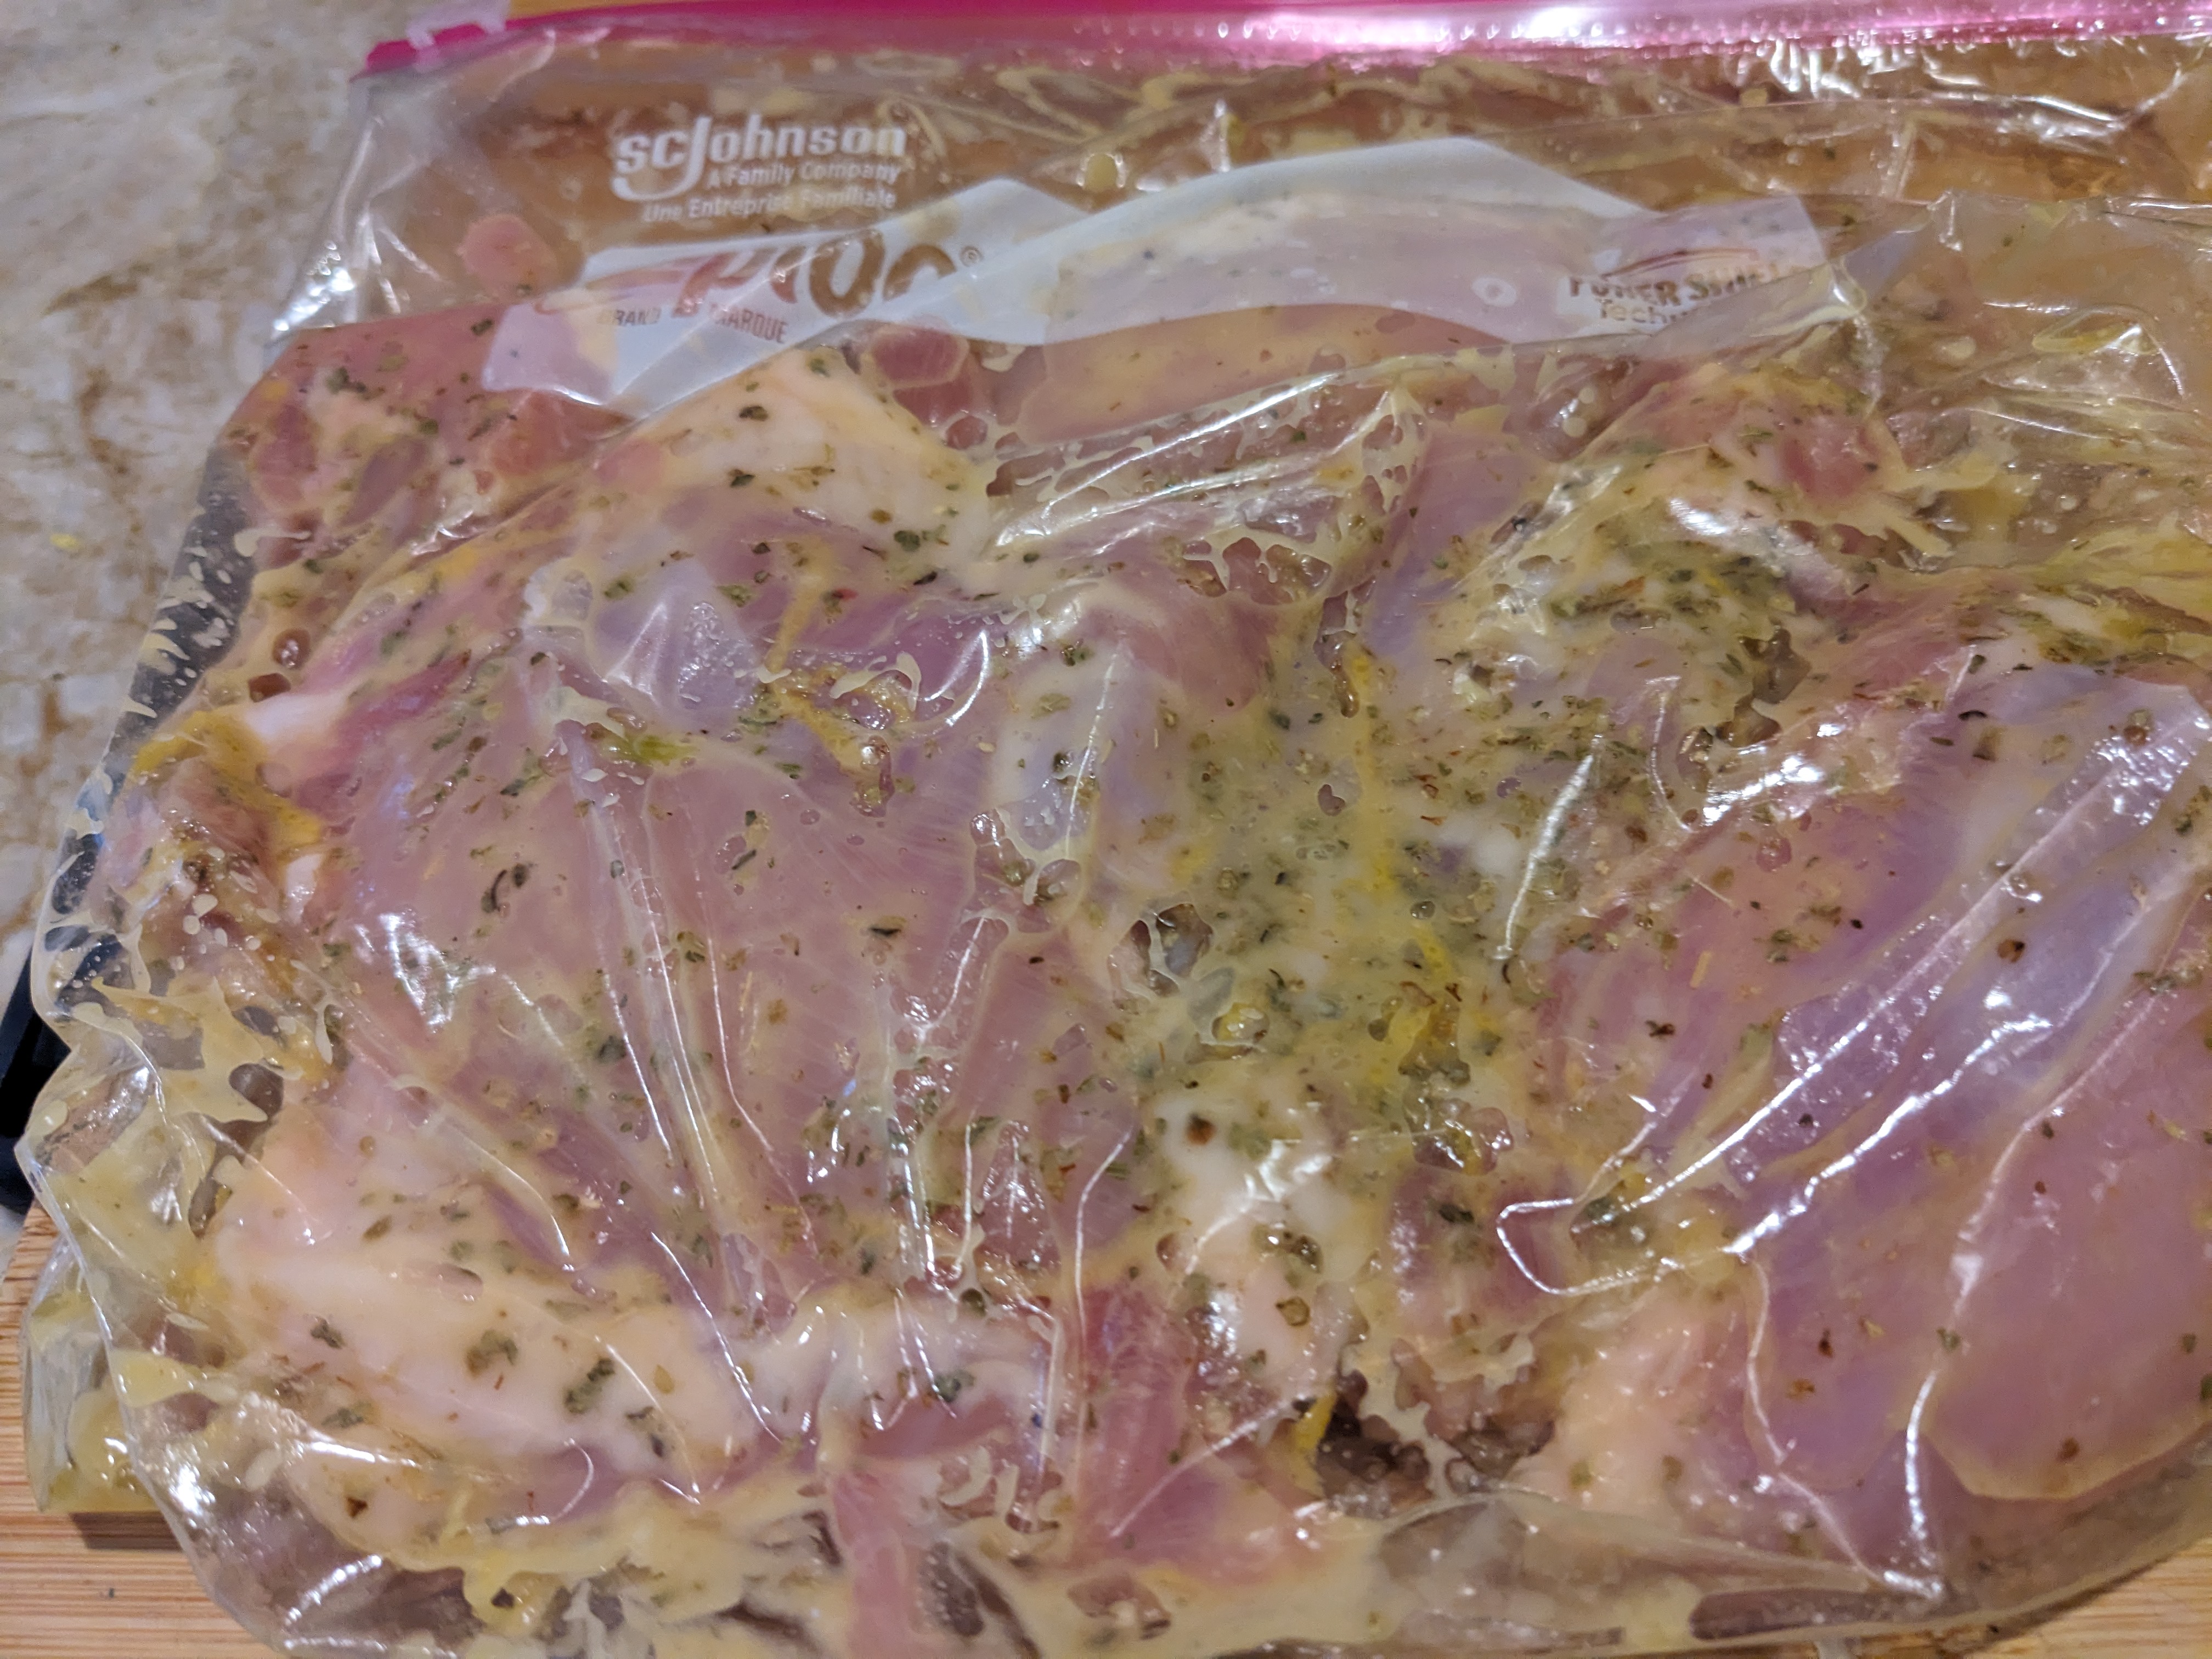
  • In a bowl add the chicken, olive oil, honey Dijon mustard, garlic, salt, lemon zest, and oregano. Mix well. You can marinate for a minimum of one hour (even overnight for best results).
  • Once marinated, take the Vertical Gyro Spit Plate and thread the chicken thighs making sure to rotate each one opposite from the last.
  • Note: if you don’t have a Vertical Gyro Oven Plate, cut an onion in half, place it on a baking sheet lined with parchment (or foil) and position two wooden skewers vertically into the onion and voila, you made your own spit and don’t need to buy one!
  • Now, place the gyro in the oven and add 1 cup of water or stock to the base (which will create our sauce).
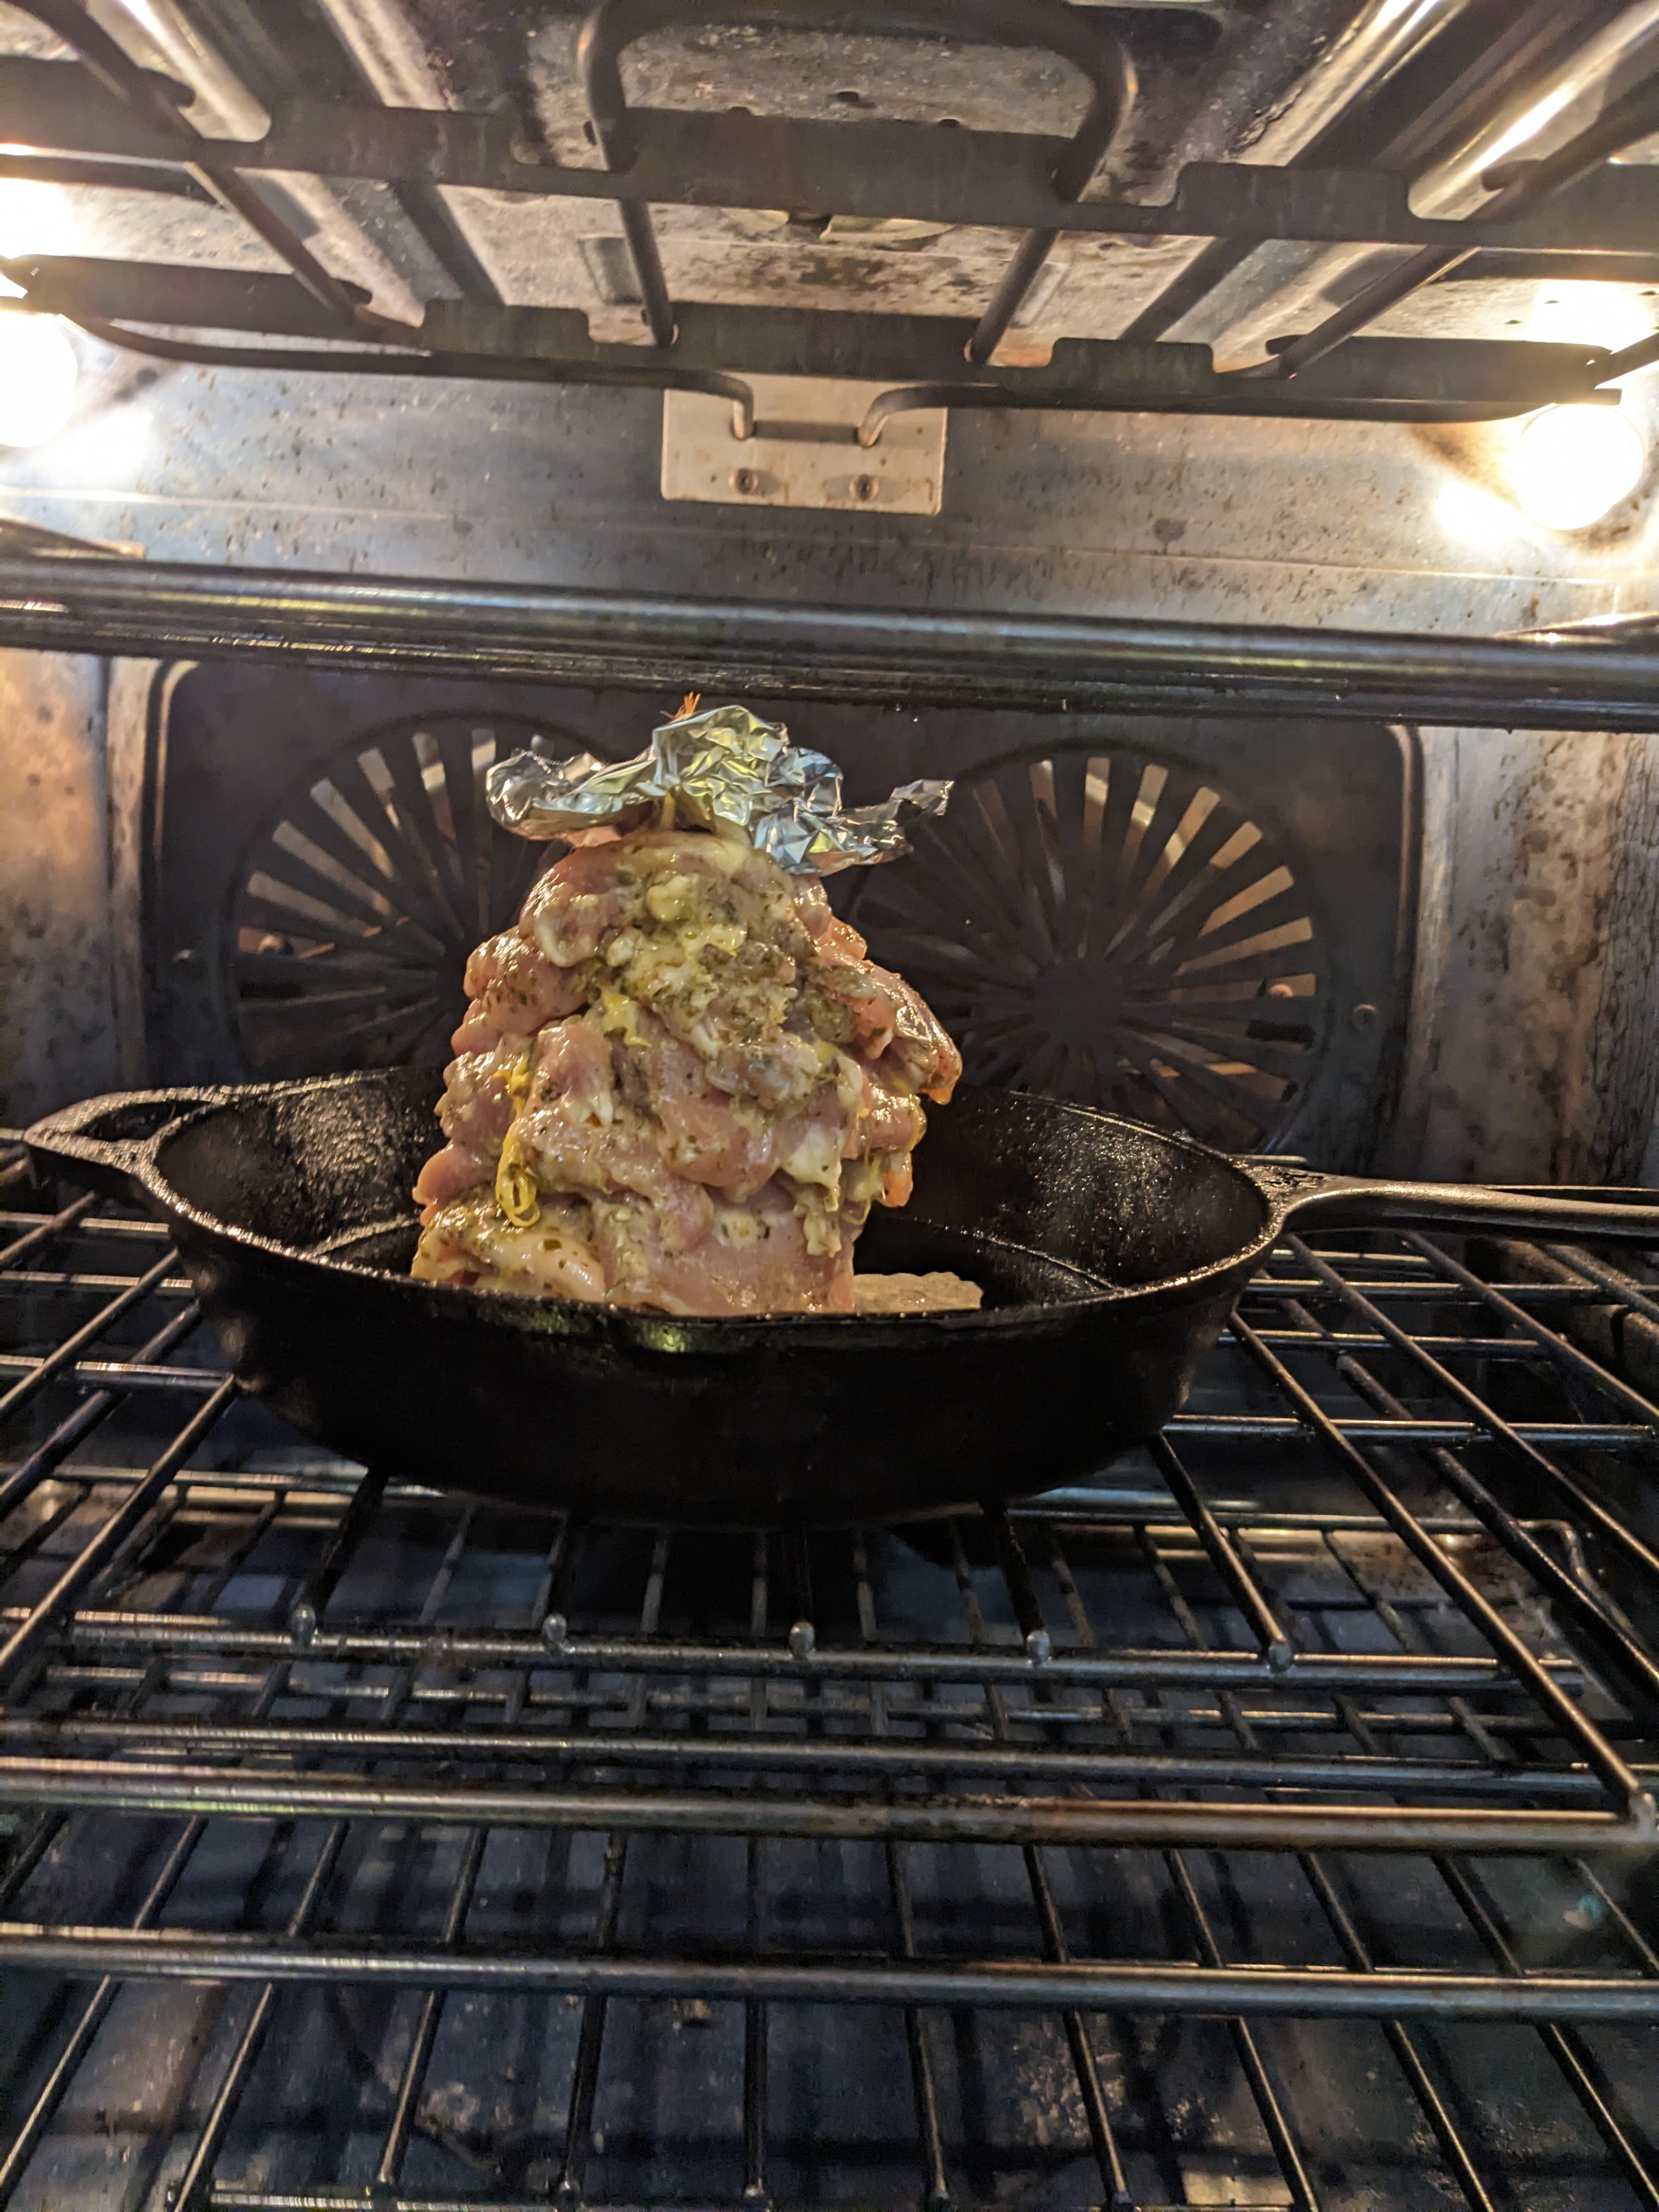
  • Tip: you can pierce a small piece of foil making sure to cover the top chicken thigh as it will start to burn first on the top as it bakes.
  • Bake for 75-90 minutes or until fully cooked. Mine took exactly 1.5 hours.
  • Take it out of the oven, let it rest and cut! You can enjoy this chicken gyro with loaded Greek fries, on pita with tzatziki, on a Greek Salad and so much more!
  • My Note: My mistake was using cast iron pan the water evaporated to quickly

Her pictures

Quick Orange Flavored Chicken

Quick Orange Flavored Chicken

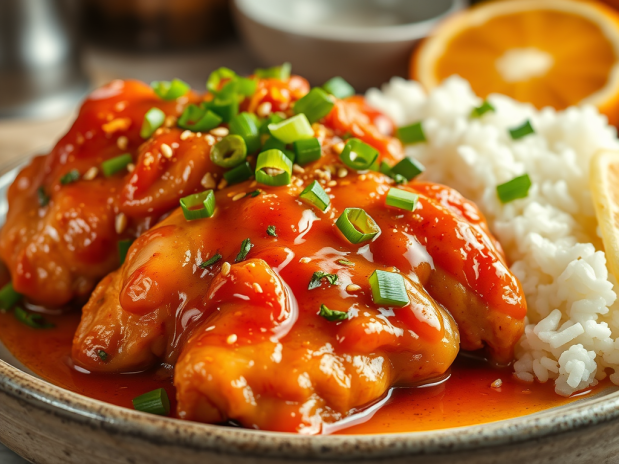
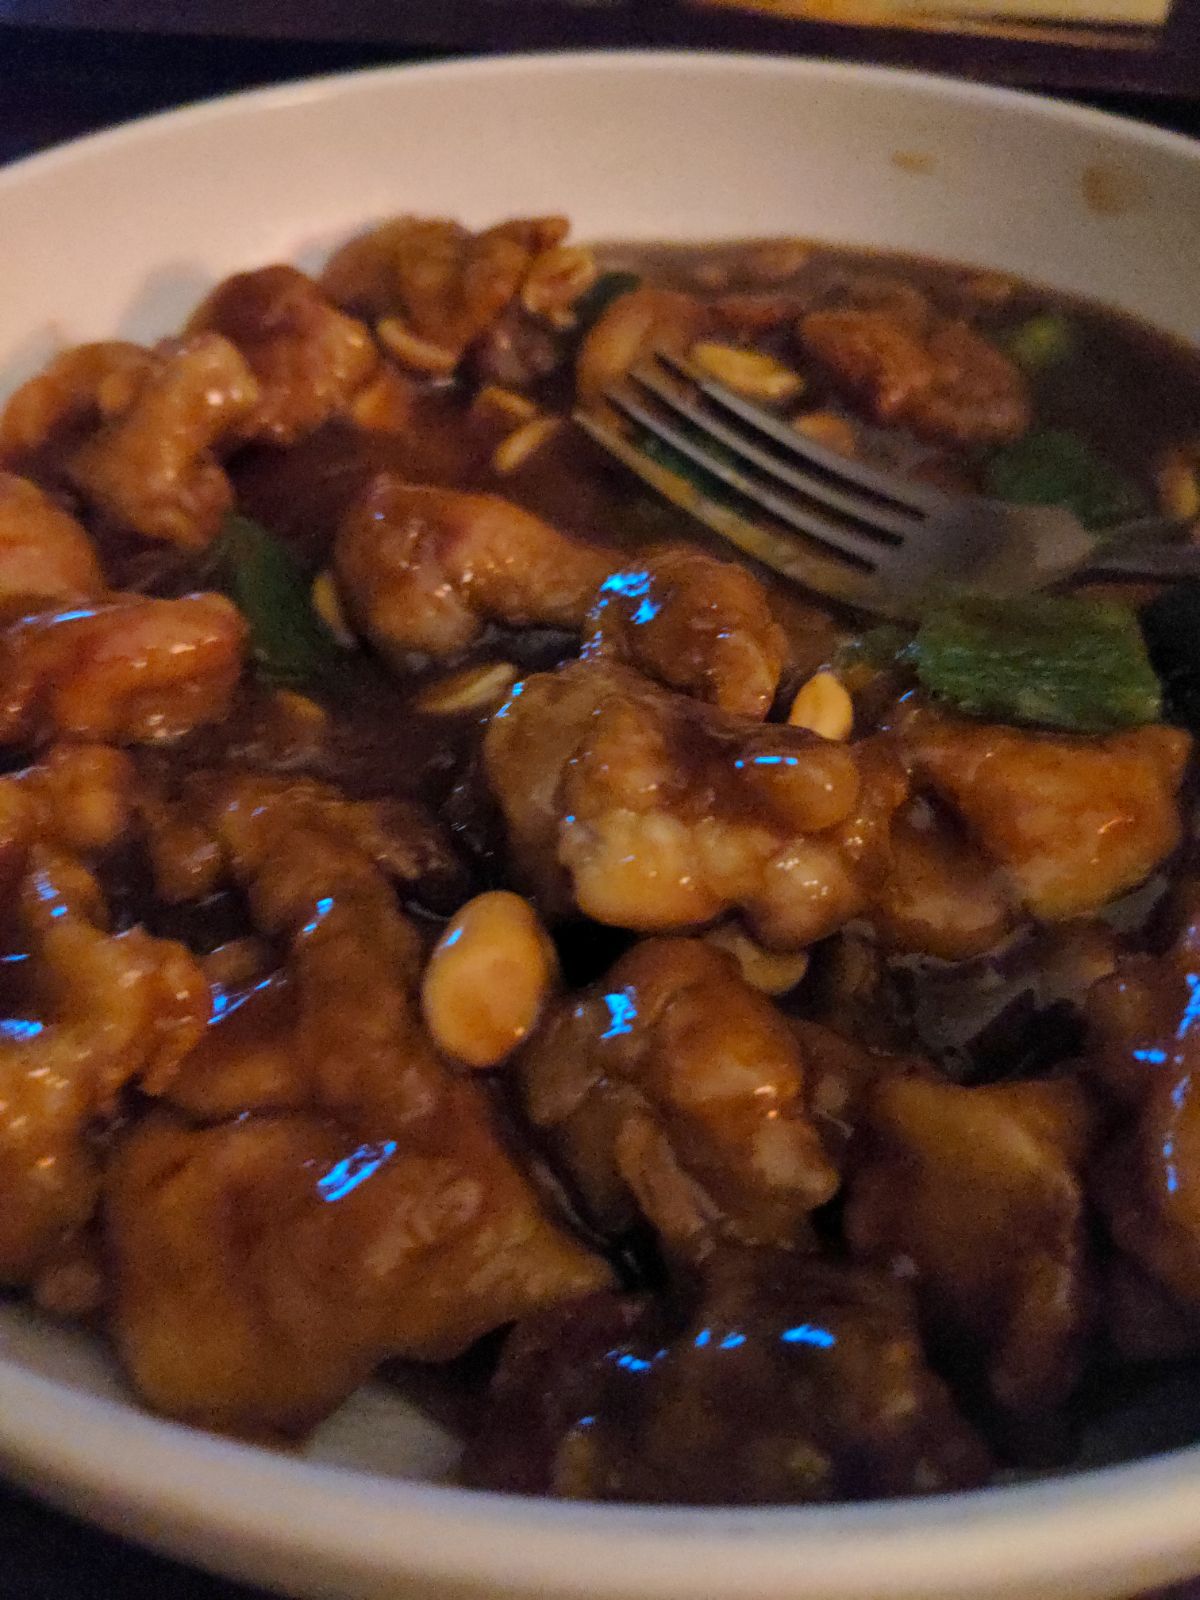
I’m a huge fan of the orange-flavored chicken at Trader Joe’s—it’s my go-to bachelor night meal when Lyn is out having dinner with the girls. The other day, I saw it in the store but passed it up, forgetting about her night out. So, I decided to check out a few recipes online and give it a shot myself. I have to say, it turned out pretty darn good!

Ingredients  

  • 1/2 lb skinless boneless chicken thighs
  • ¼ cup cornstarch or sub with potato starch
  • ⅓ cup vegetable oil or any neutral tasting oil (if you’re Air Frying, sub with 2 tablespoon of oil)

Orange Chicken Sauce:

Note: I have to say when it comes to sauces etc. I usually go with full recipe amounts figure more sauce is better. This was the case since I only had 2 chicken thighs

  • 1 cup freshly squeezed orange juice pulp strained (about 4-5 medium sized oranges)
  • 2 tablespoon rice vinegar
  • ¼ cup + 2 tbsp brown sugar
  • 2 tablespoon Coconut Secret Coconut Aminos (a lower sodium soy sauce substitution)
  • 1 cloves garlic minced
  • ¼ teaspoon ginger powder or sub with freshly grated ginger
  • 1 tablespoon cornstarch or sub with potato starch
  • ½ tsp red chili flakes optional if you prefer it spicy

Optional Garnish

  • ½ green onion finely chopped
  • 1/4 large chopped green or red bell pepper
  • 1 tbsp orange zest grated
  • 1 tsp sesame seeds toasted
  • Hand full of peanuts

Instructions 

  • In a small bowl, combine sauce ingredients. Mix well and set aside.
  • Dice chicken thighs into bite size pieces, about 1.5-inch pieces (about 6-8 pcs per thigh, depending on size). Do not pat chicken thighs dry, some moisture is needed so the starch can adhere to the chicken.
  • Transfer pieces of chicken into a large bowl, followed by cornstarch. Mix to coat each piece evenly with tongs. I let sit uncovered in frig for about 4 hours
  • Heat vegetable oil in a large pan on medium-high heat. Carefully lower coated chicken into the oil and quickly spread apart. Allow the chicken pieces to sear and form a golden crust, about 4-6 minutes on each side and let them sit avoid stir-frying them. Flip chicken over and cook on the other side until golden brown. 
  • Remove and transfer fried chicken onto a plate lined with paper towels to drain off excess oil. Pour out any excess oil from pan.
  • In the same pan set over medium high heat, pour sauce in. Stirring consistently until the sauce bubbles and thickens, about 2-3 minutes.
  • Toss in fried chicken until pieces are coated in sauce. Garnish with orange zest, sesame seeds and green onions, peanuts, whatever.
  • Serve with rice now you know why I like extra sauce!