I think I enjoy the cooking more than eating, there is nothing better than to watch the smile grow after someone’s first bite. Note from Steve: I am a flow of thought writer and apologize up front if I lose you. My family is used to it.
This was a nice Lyn find I cut these directions in half because it was just the two of us.
Ingredients for 4
2 (6- to 8-oz.) boneless chicken breast halves, each halved horizontally
spice rub
1/2 tsp. ground black pepper
1/4 tsp. garlic powder
1/4 tsp. onion powder
For coating
1/3 cup all-purpose flour
For coating
1 large egg
1 Tbsp. water
For coasting
1 cup Italian-seasoned panko bread crumbs
1/4 cup grated Parmesan cheese
For greasing
Nonstick cooking spray
For topping
6 oz. deli ham (8 thin slices)
4 oz. Swiss cheese (4 slices)
Mustard Sauce
1/2 cup mayonnaise
1 Tbsp. Dijon-style mustard
1 Tbsp. yellow mustard
2 tsp. honey
Directions
Prep Pan
Preheat oven to 425°F. Grease a 3-qt. rectangular baking dish.
Pound Chicken
Place a chicken breast piece between two sheets of plastic wrap. On a cutting board, lightly pound with a meat mallet to even thickness. Repeat with remaining chicken breast pieces.
Make Seasoning Mix
Combine pepper, garlic powder, and onion powder in a small bowl. Sprinkle chicken pieces with seasoning.
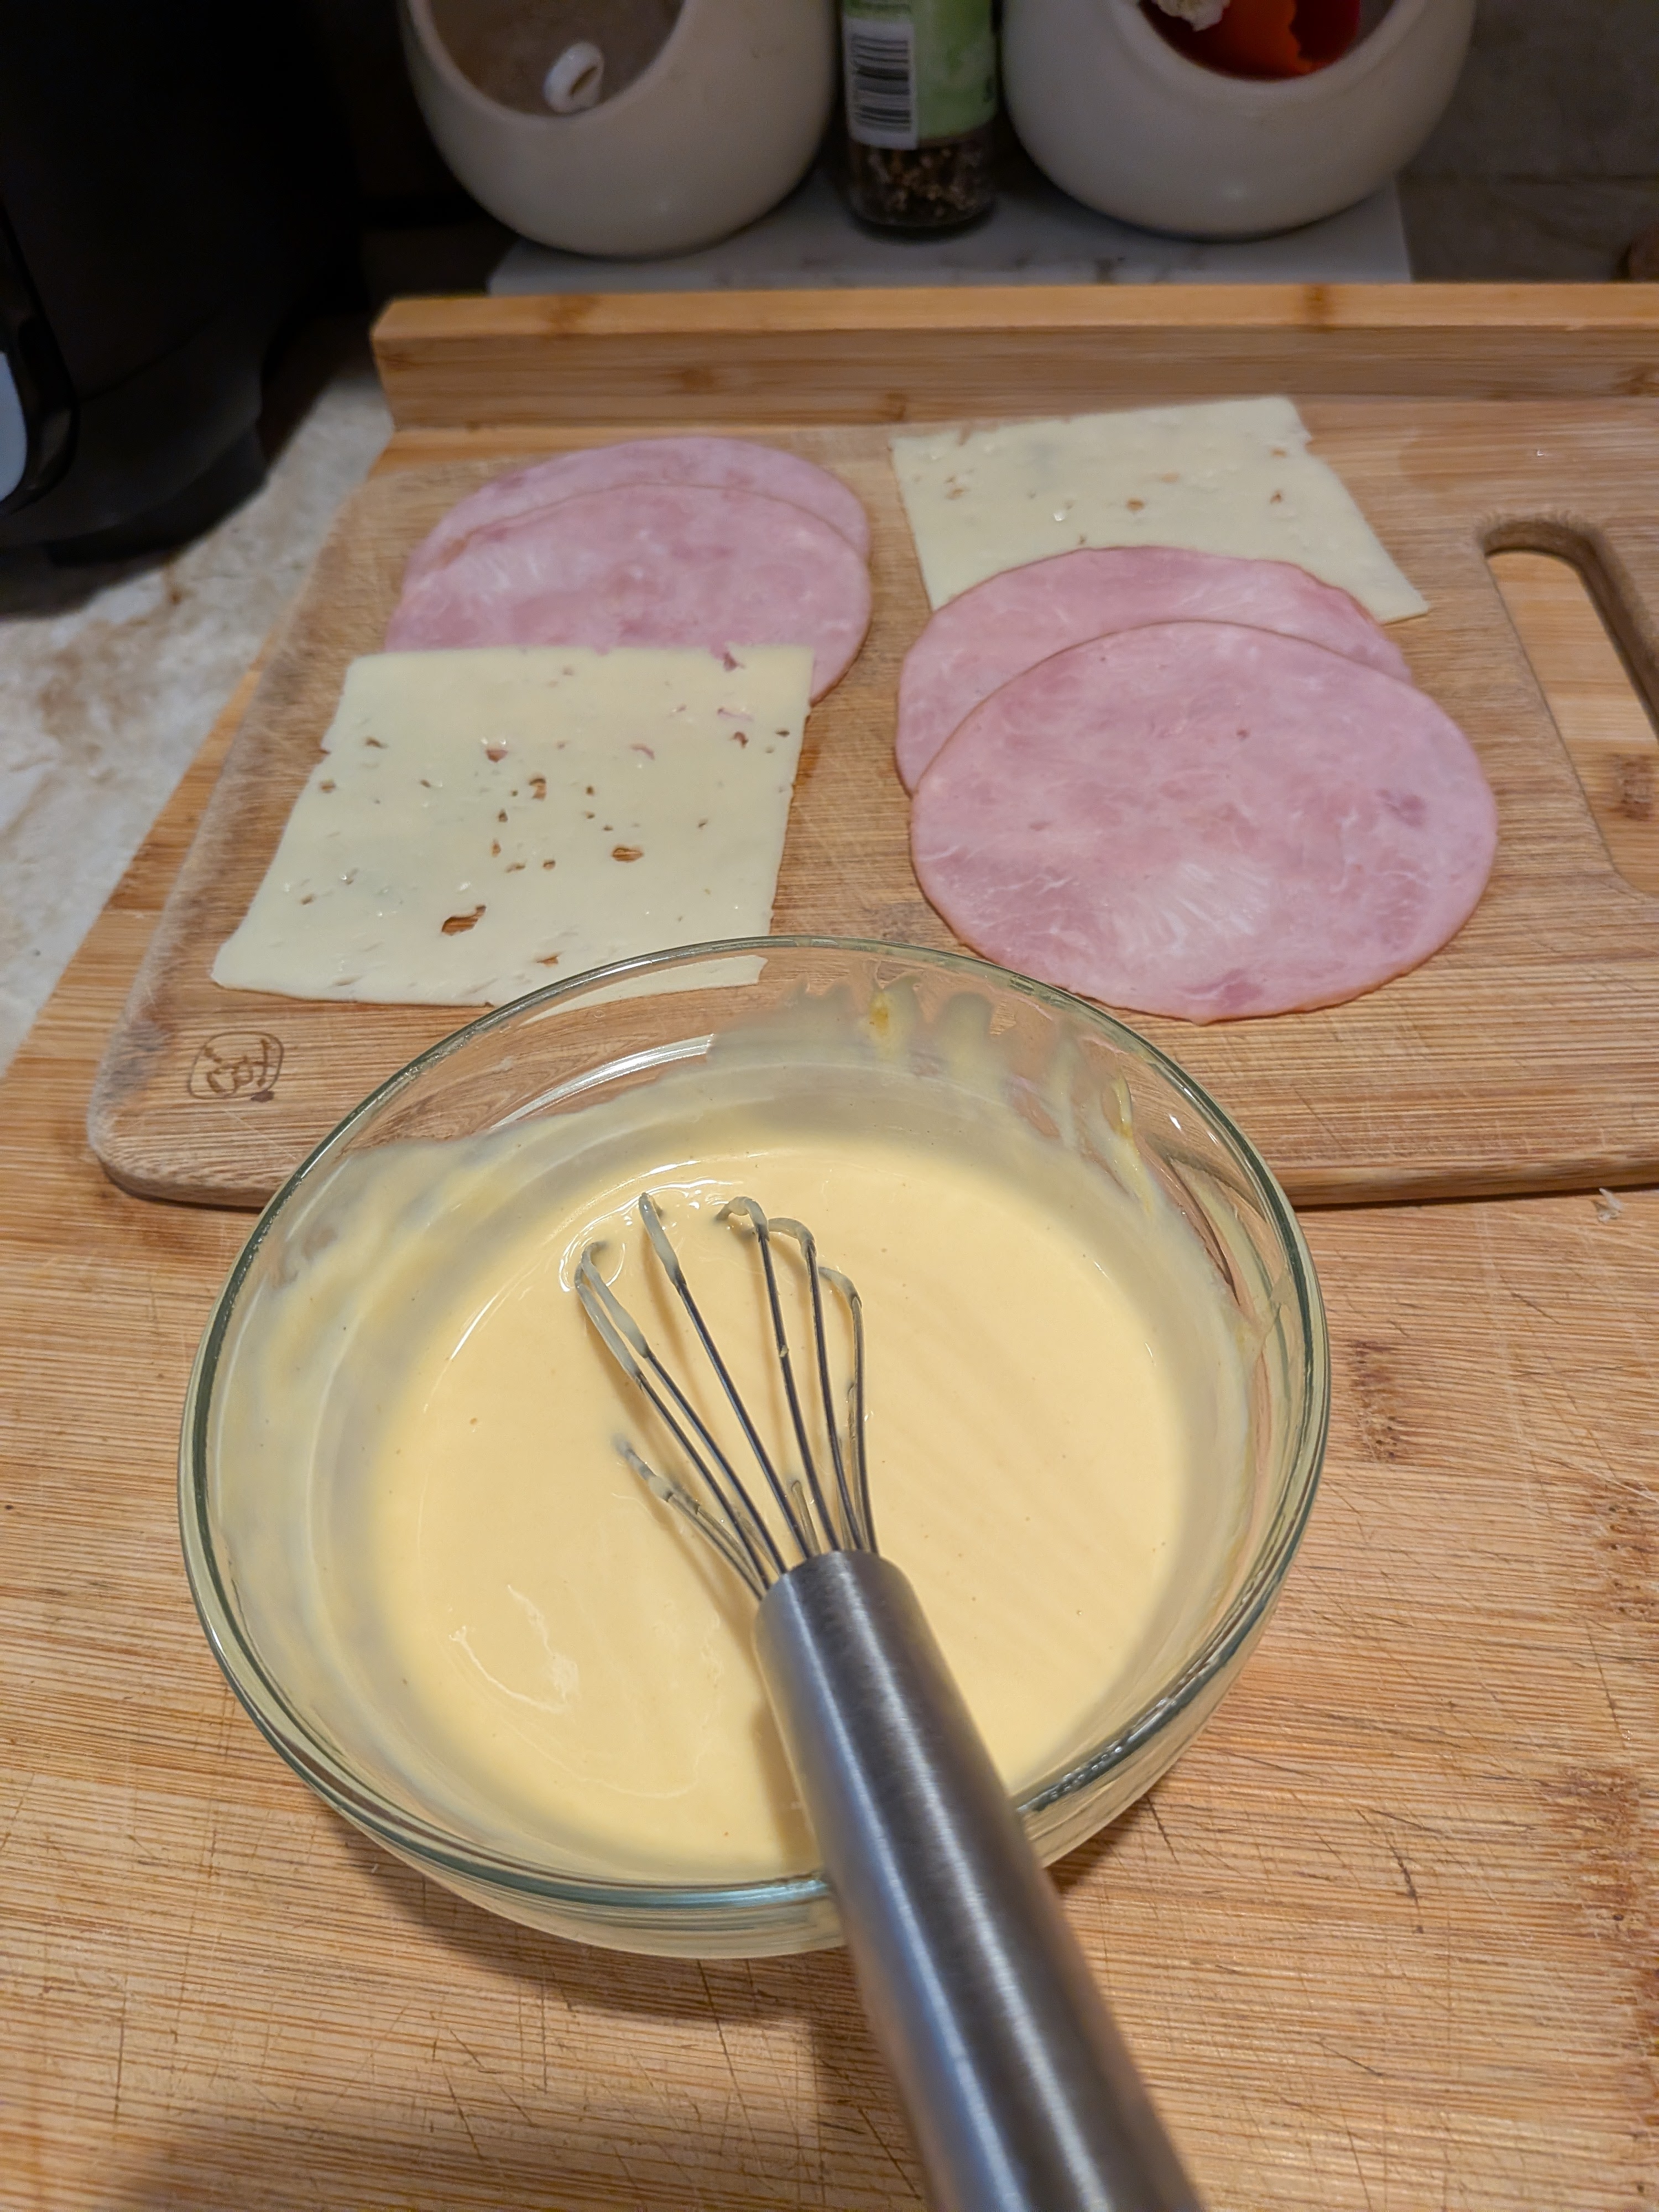
Make Coating
Place flour in a shallow dish. In another shallow dish, whisk together egg and water. Combine panko and Parmesan in another shallow dish.
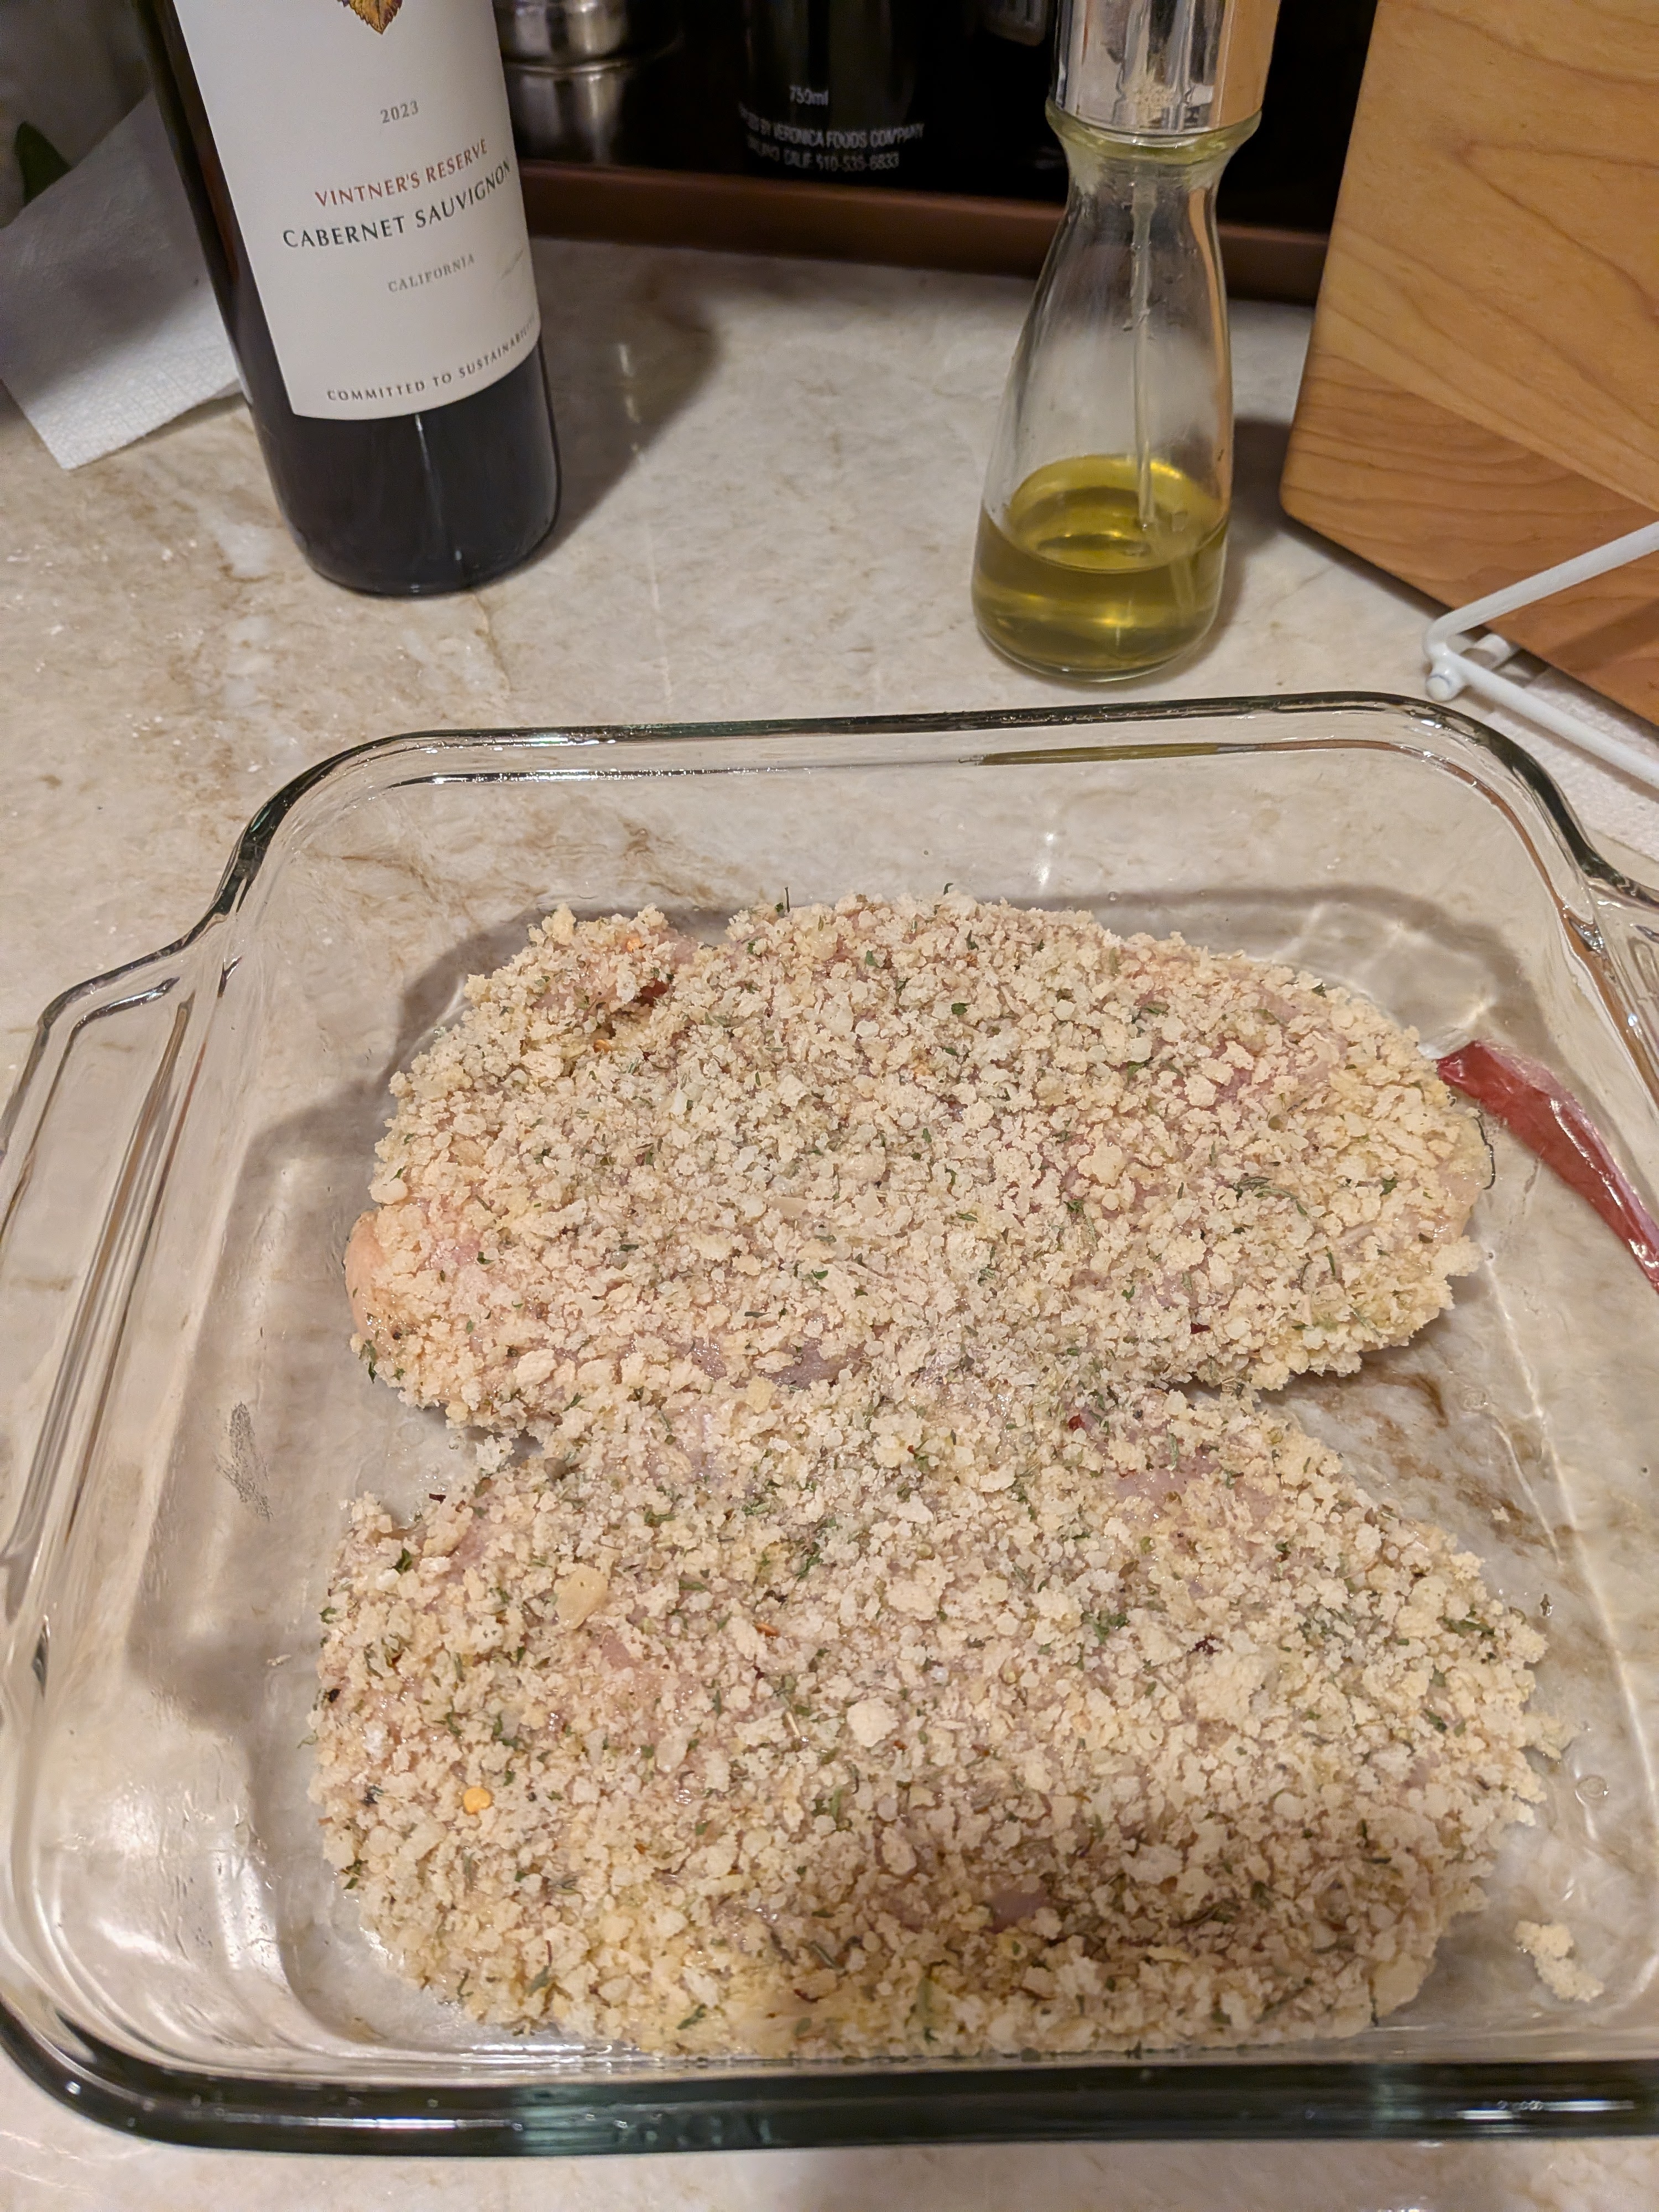
Bread Chicken
Dip chicken pieces in flour, then the egg mixture, then in the panko mixture to coat, turning and pressing to stick panko mixture to chicken. Place in prepared baking dish. Coat generously with nonstick spray.
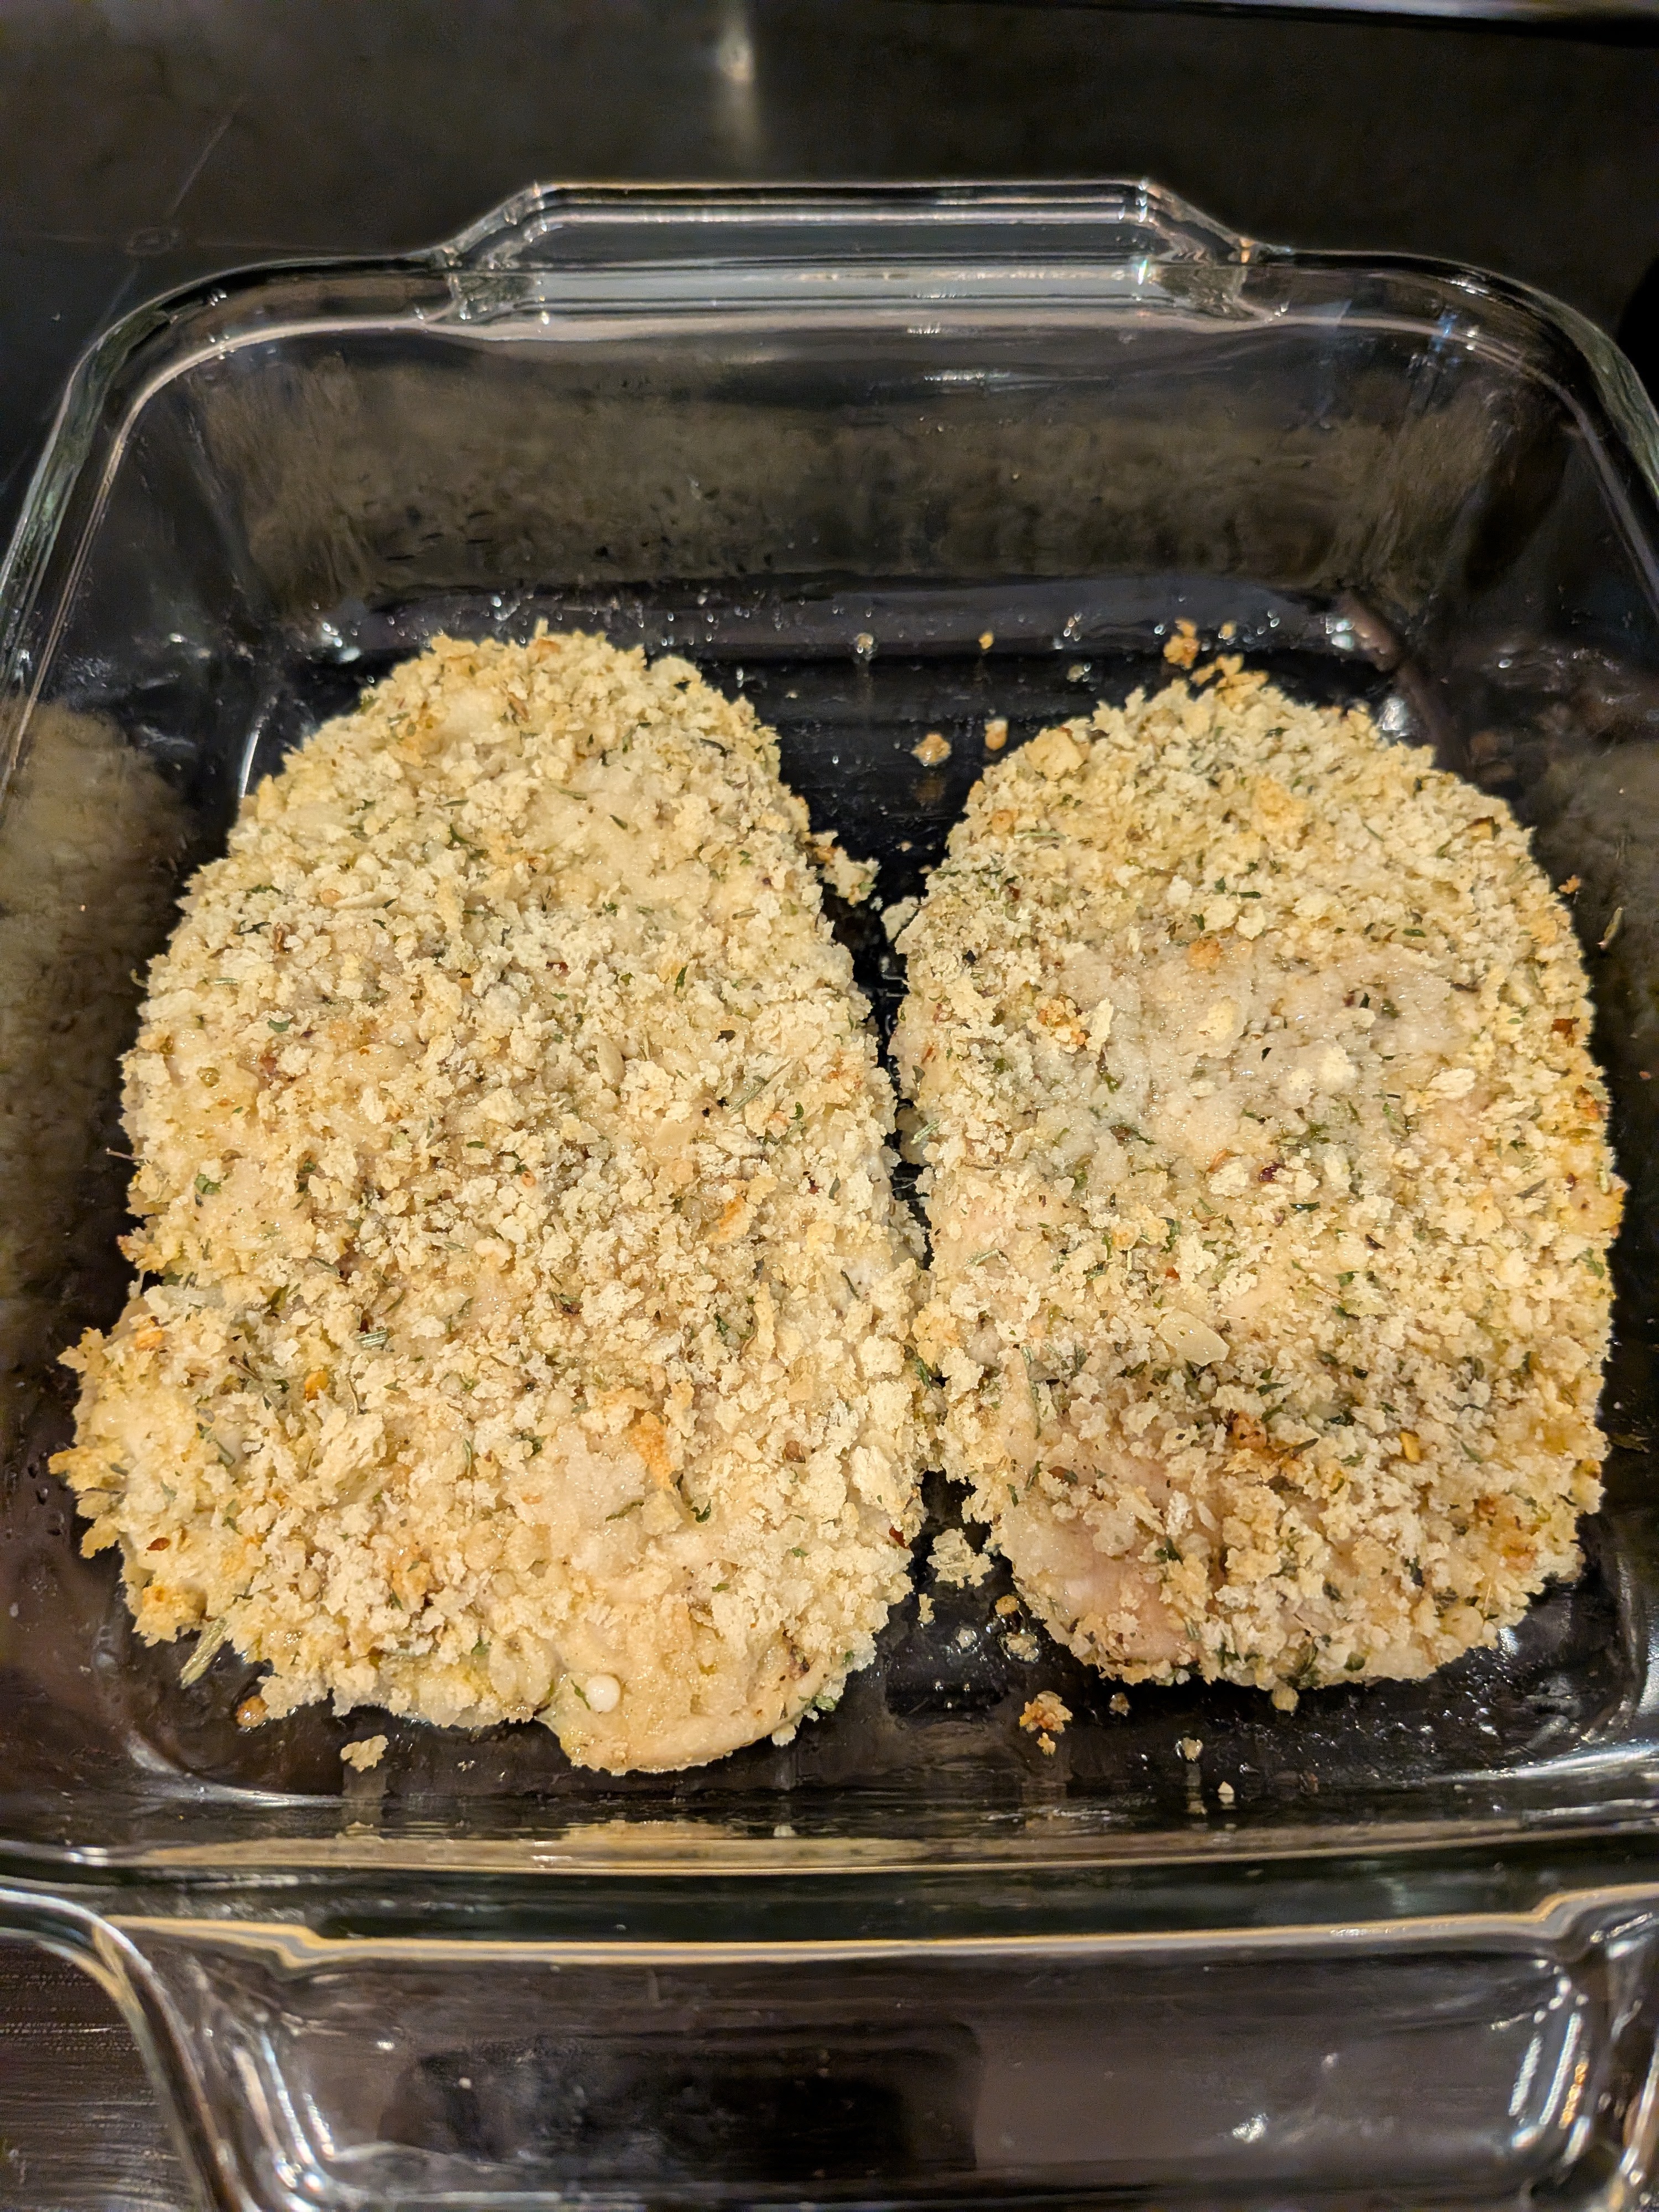
Bake
Bake 25 minutes or until golden brown and an instant-read thermometer inserted in the center registers 165°F, turning once.
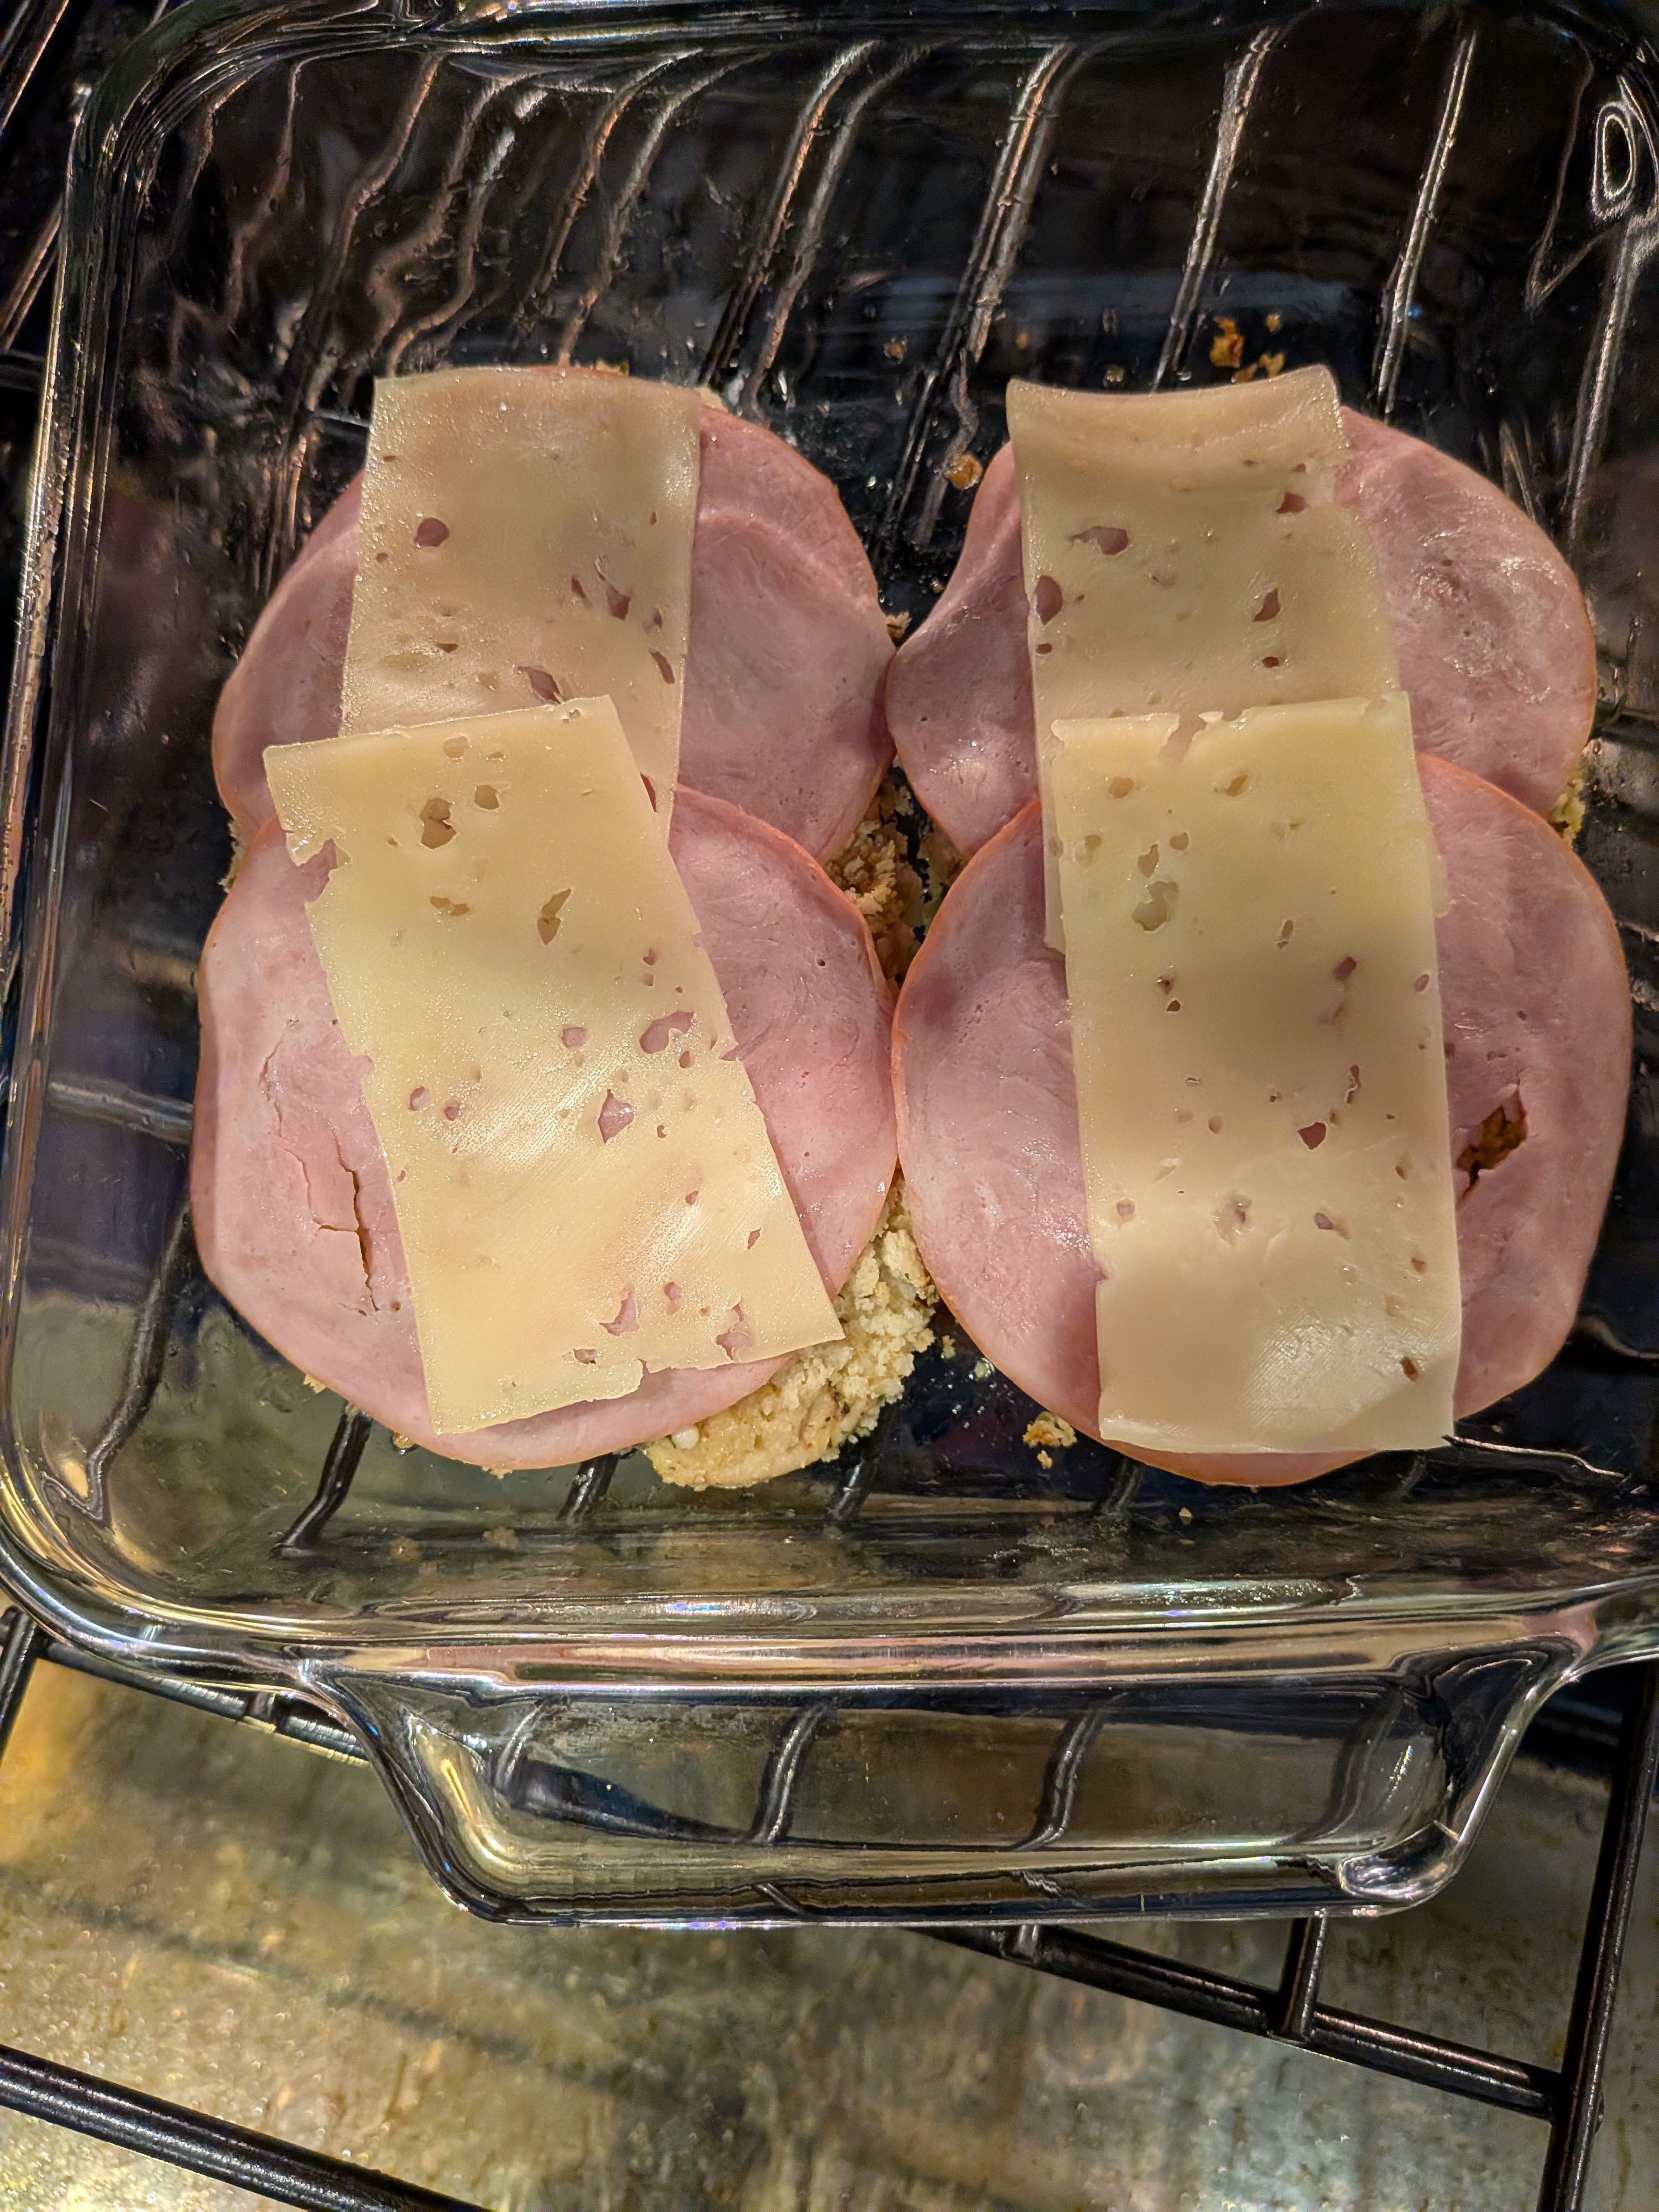
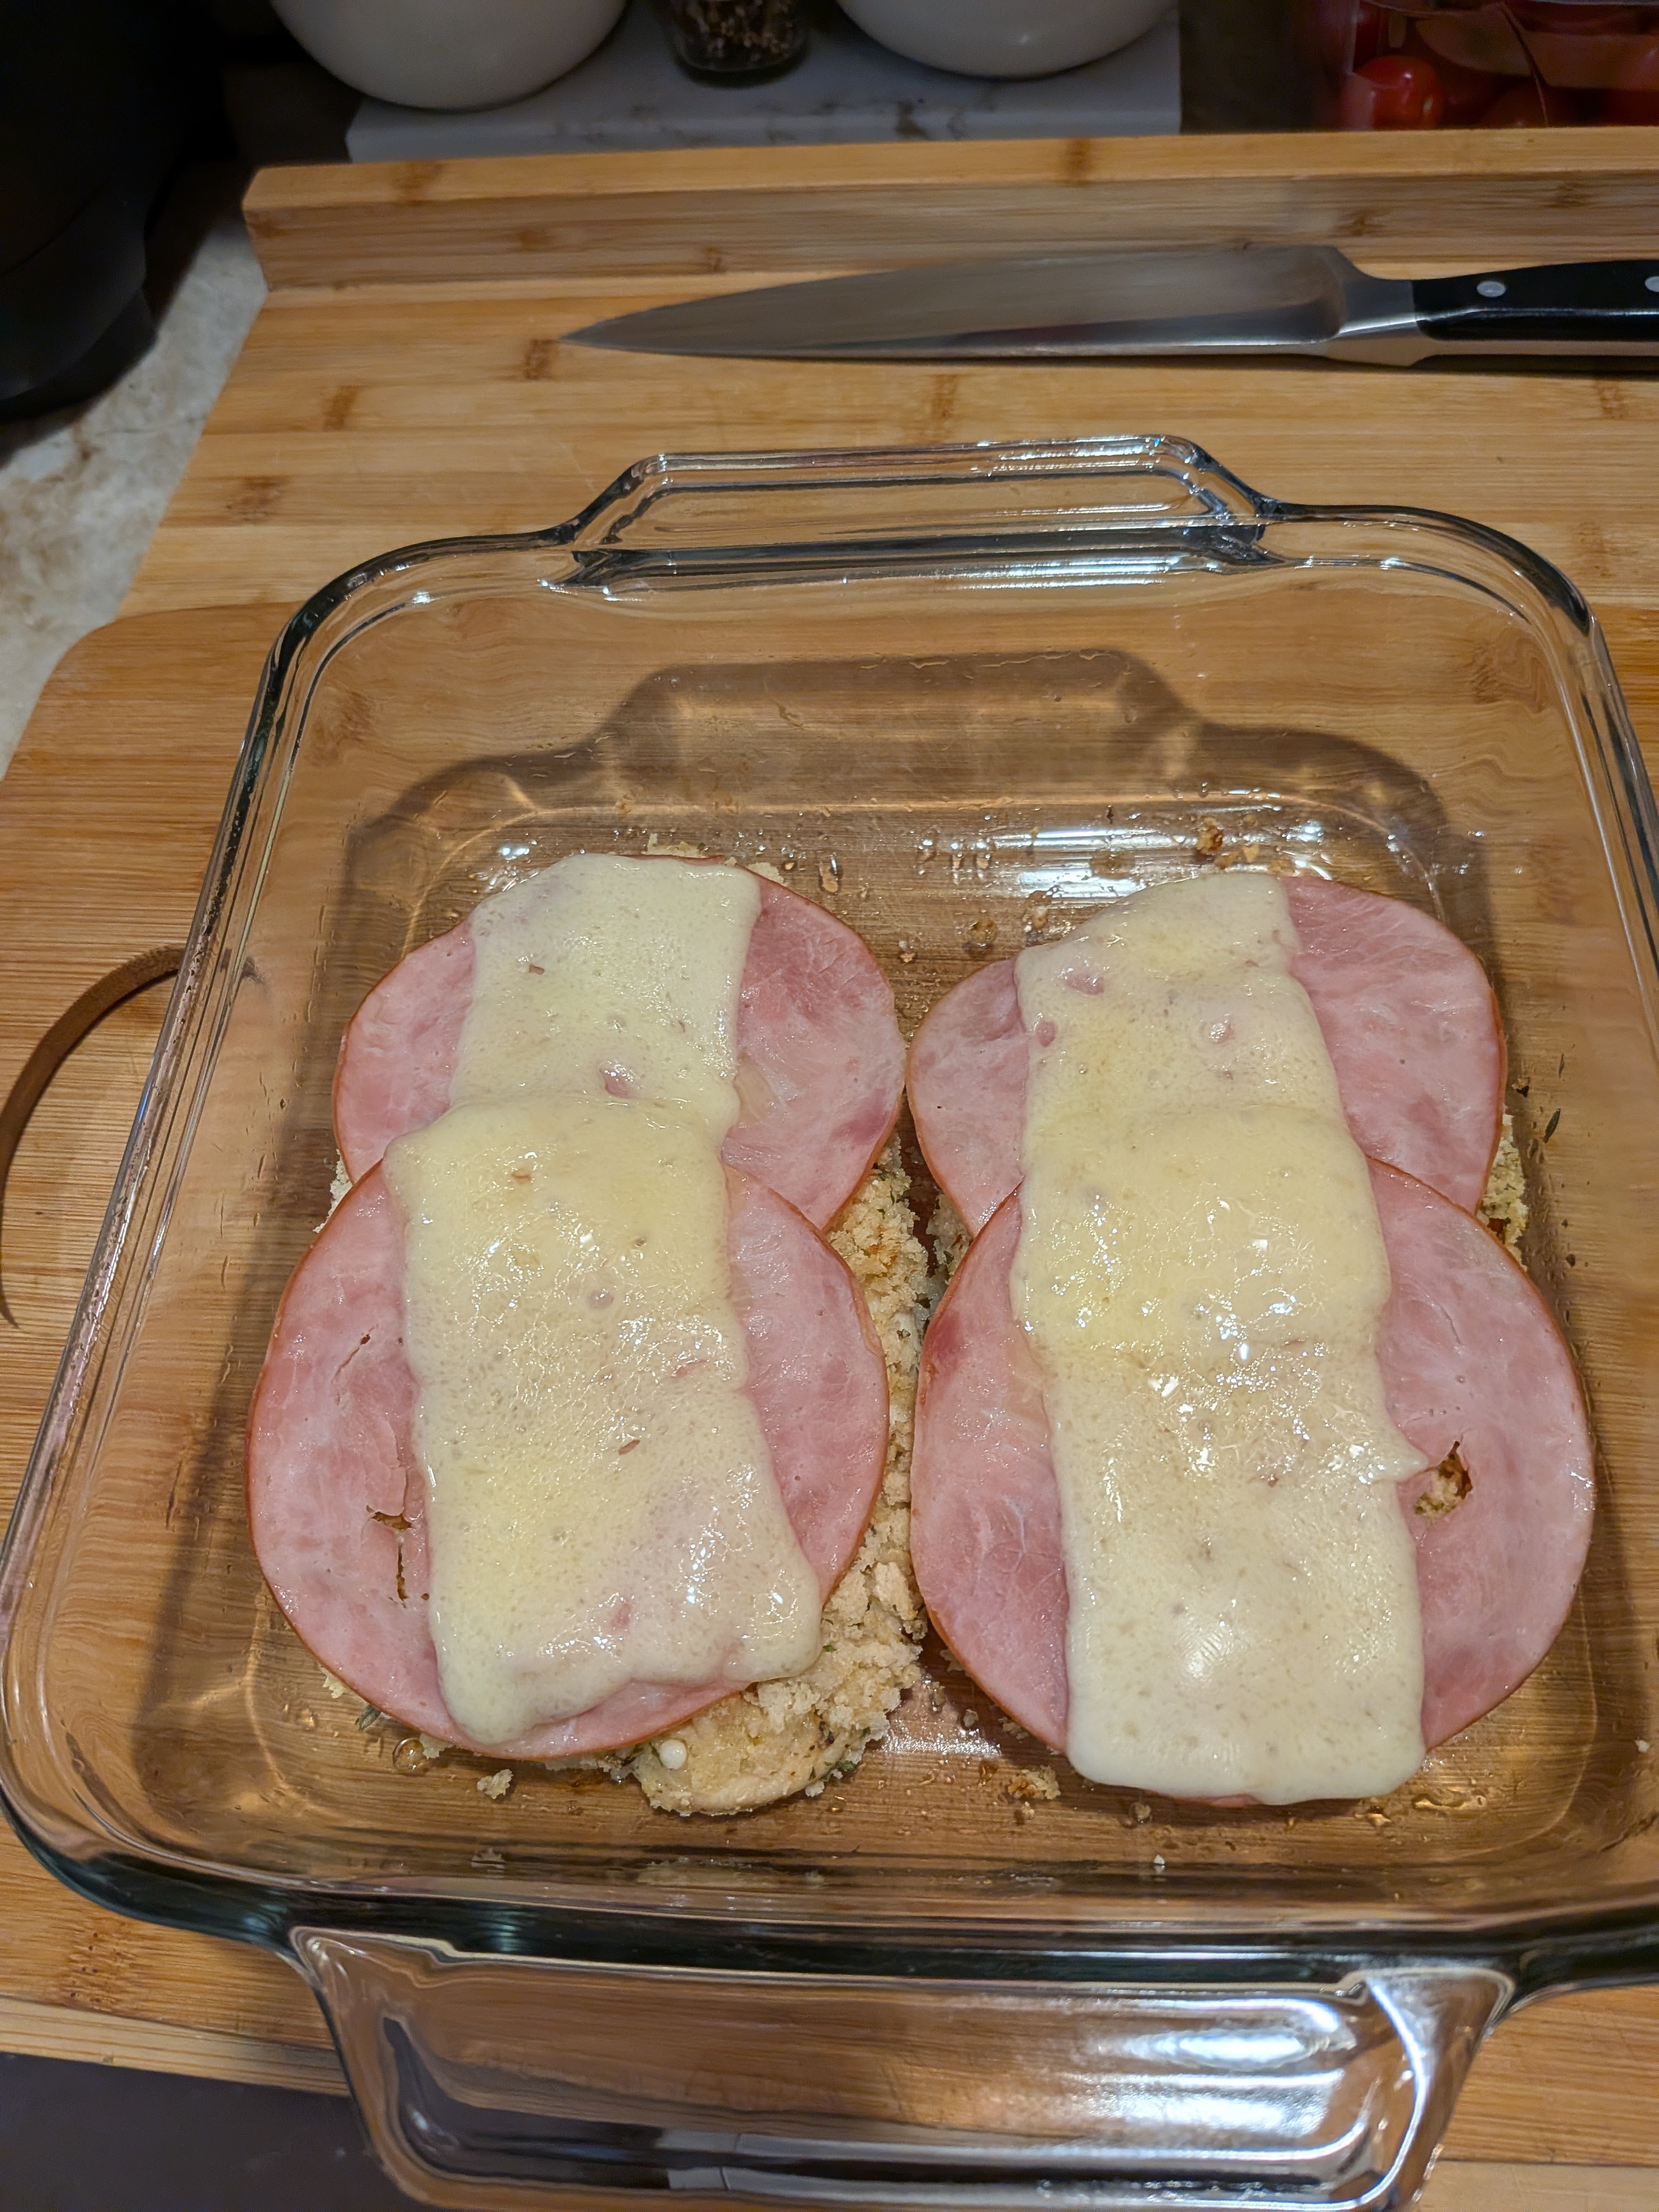
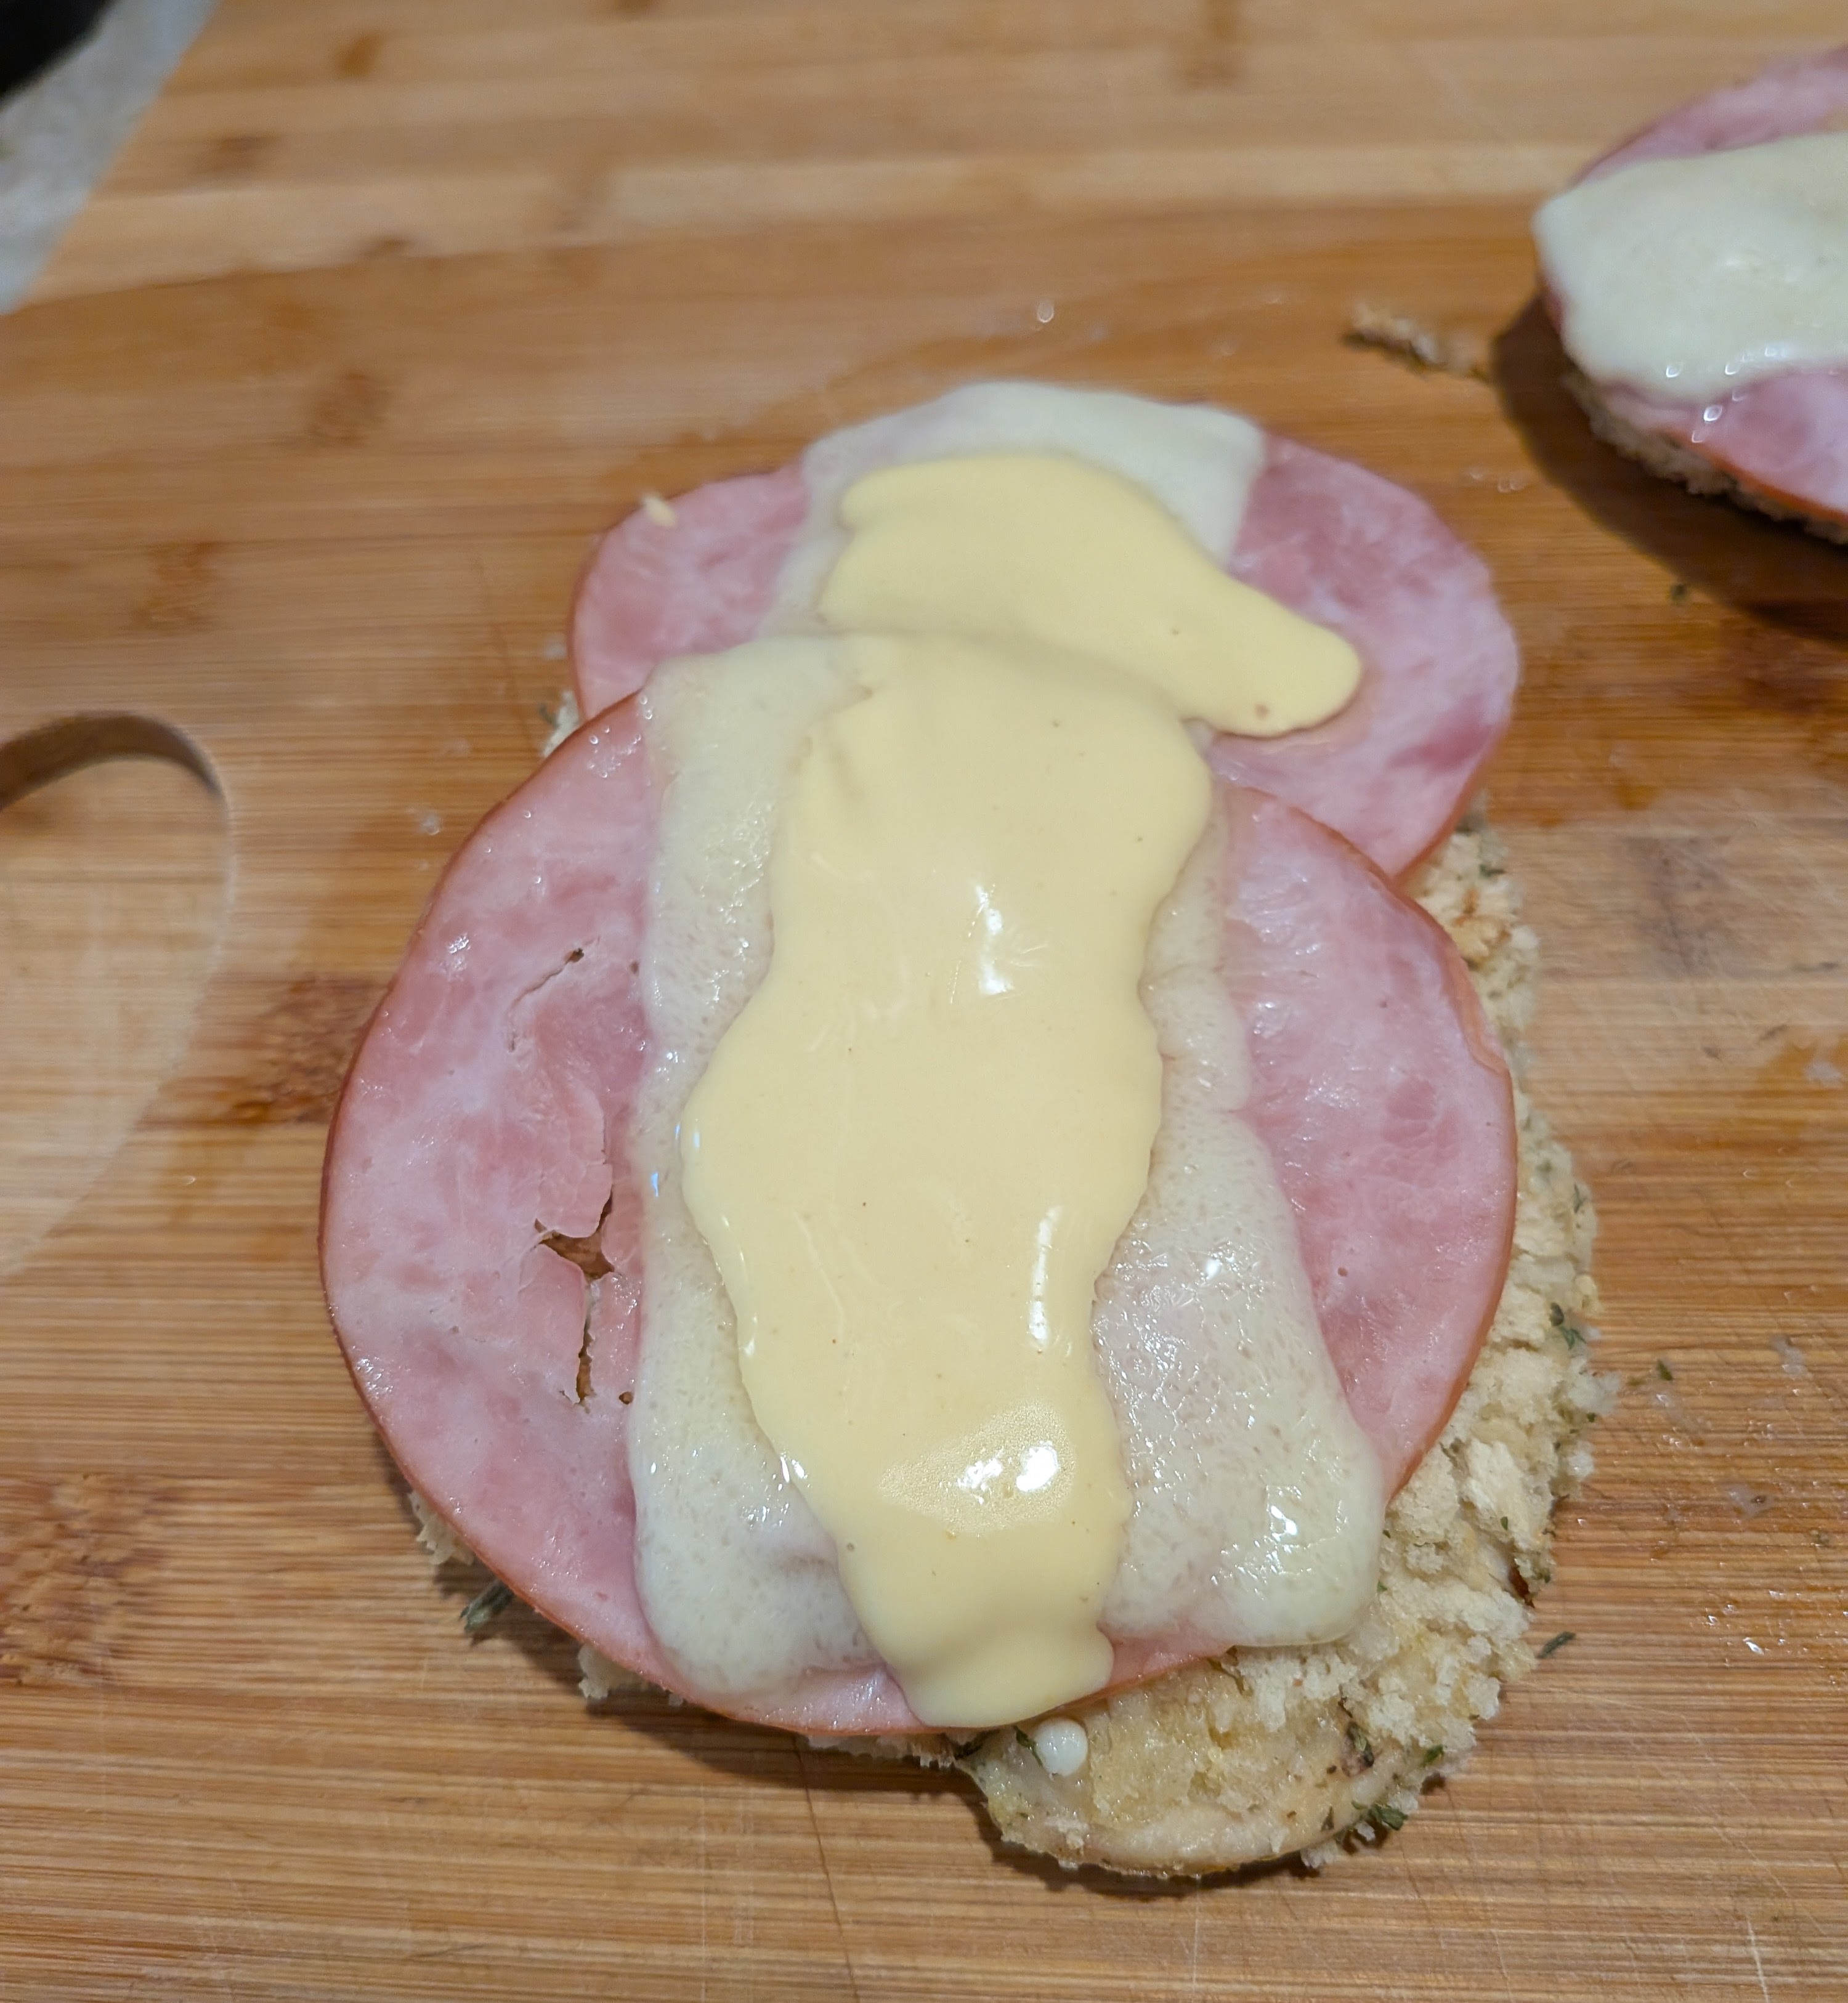
Add Ham and Cheese
Top each chicken piece with two slices of ham and a slice of Swiss cheese. Bake 5 minutes more or until cheese melts.
Make Sauce
For sauce, in a small bowl, whisk together mayonnaise, Dijon and yellow mustard, and honey. Serve chicken with sauce for dipping.
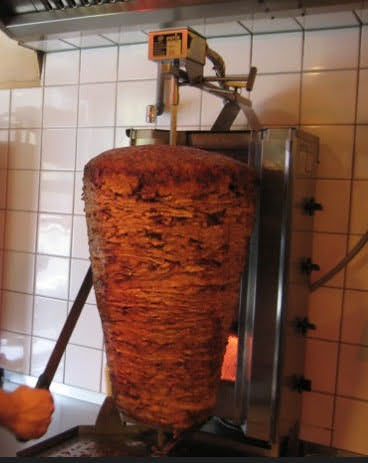
I got turned onto Gyros when i lived in Chicago, thinly sliced meat that was flame broiled on a screwier.
I bought a Gyros pan pictured on left. I’ve done it with chicken and beef and both came out pretty good. The chicken was a killer smelling it while it cooked.
Ingredients
For the Meat:
1 pound ground lamb (Lean is preferred)
2 teaspoons kosher salt (or 1 teaspoon table salt)
1/2 teaspoon freshly ground black pepper
1/2 teaspoon dried or 2 tablespoons fresh oregano leaves
1/2 medium onion, cut into 1-inch chunks
1 clove garlic, sliced
For the Yogurt Sauce:
3/4 cup plain, unsweetened yogurt
Peeled seeded cucumber, minced
1 clove garlic minced or through press
2 teaspoons juice from 1 lemon
2 tablespoons chopped parsley or mint or dill
To Serve:
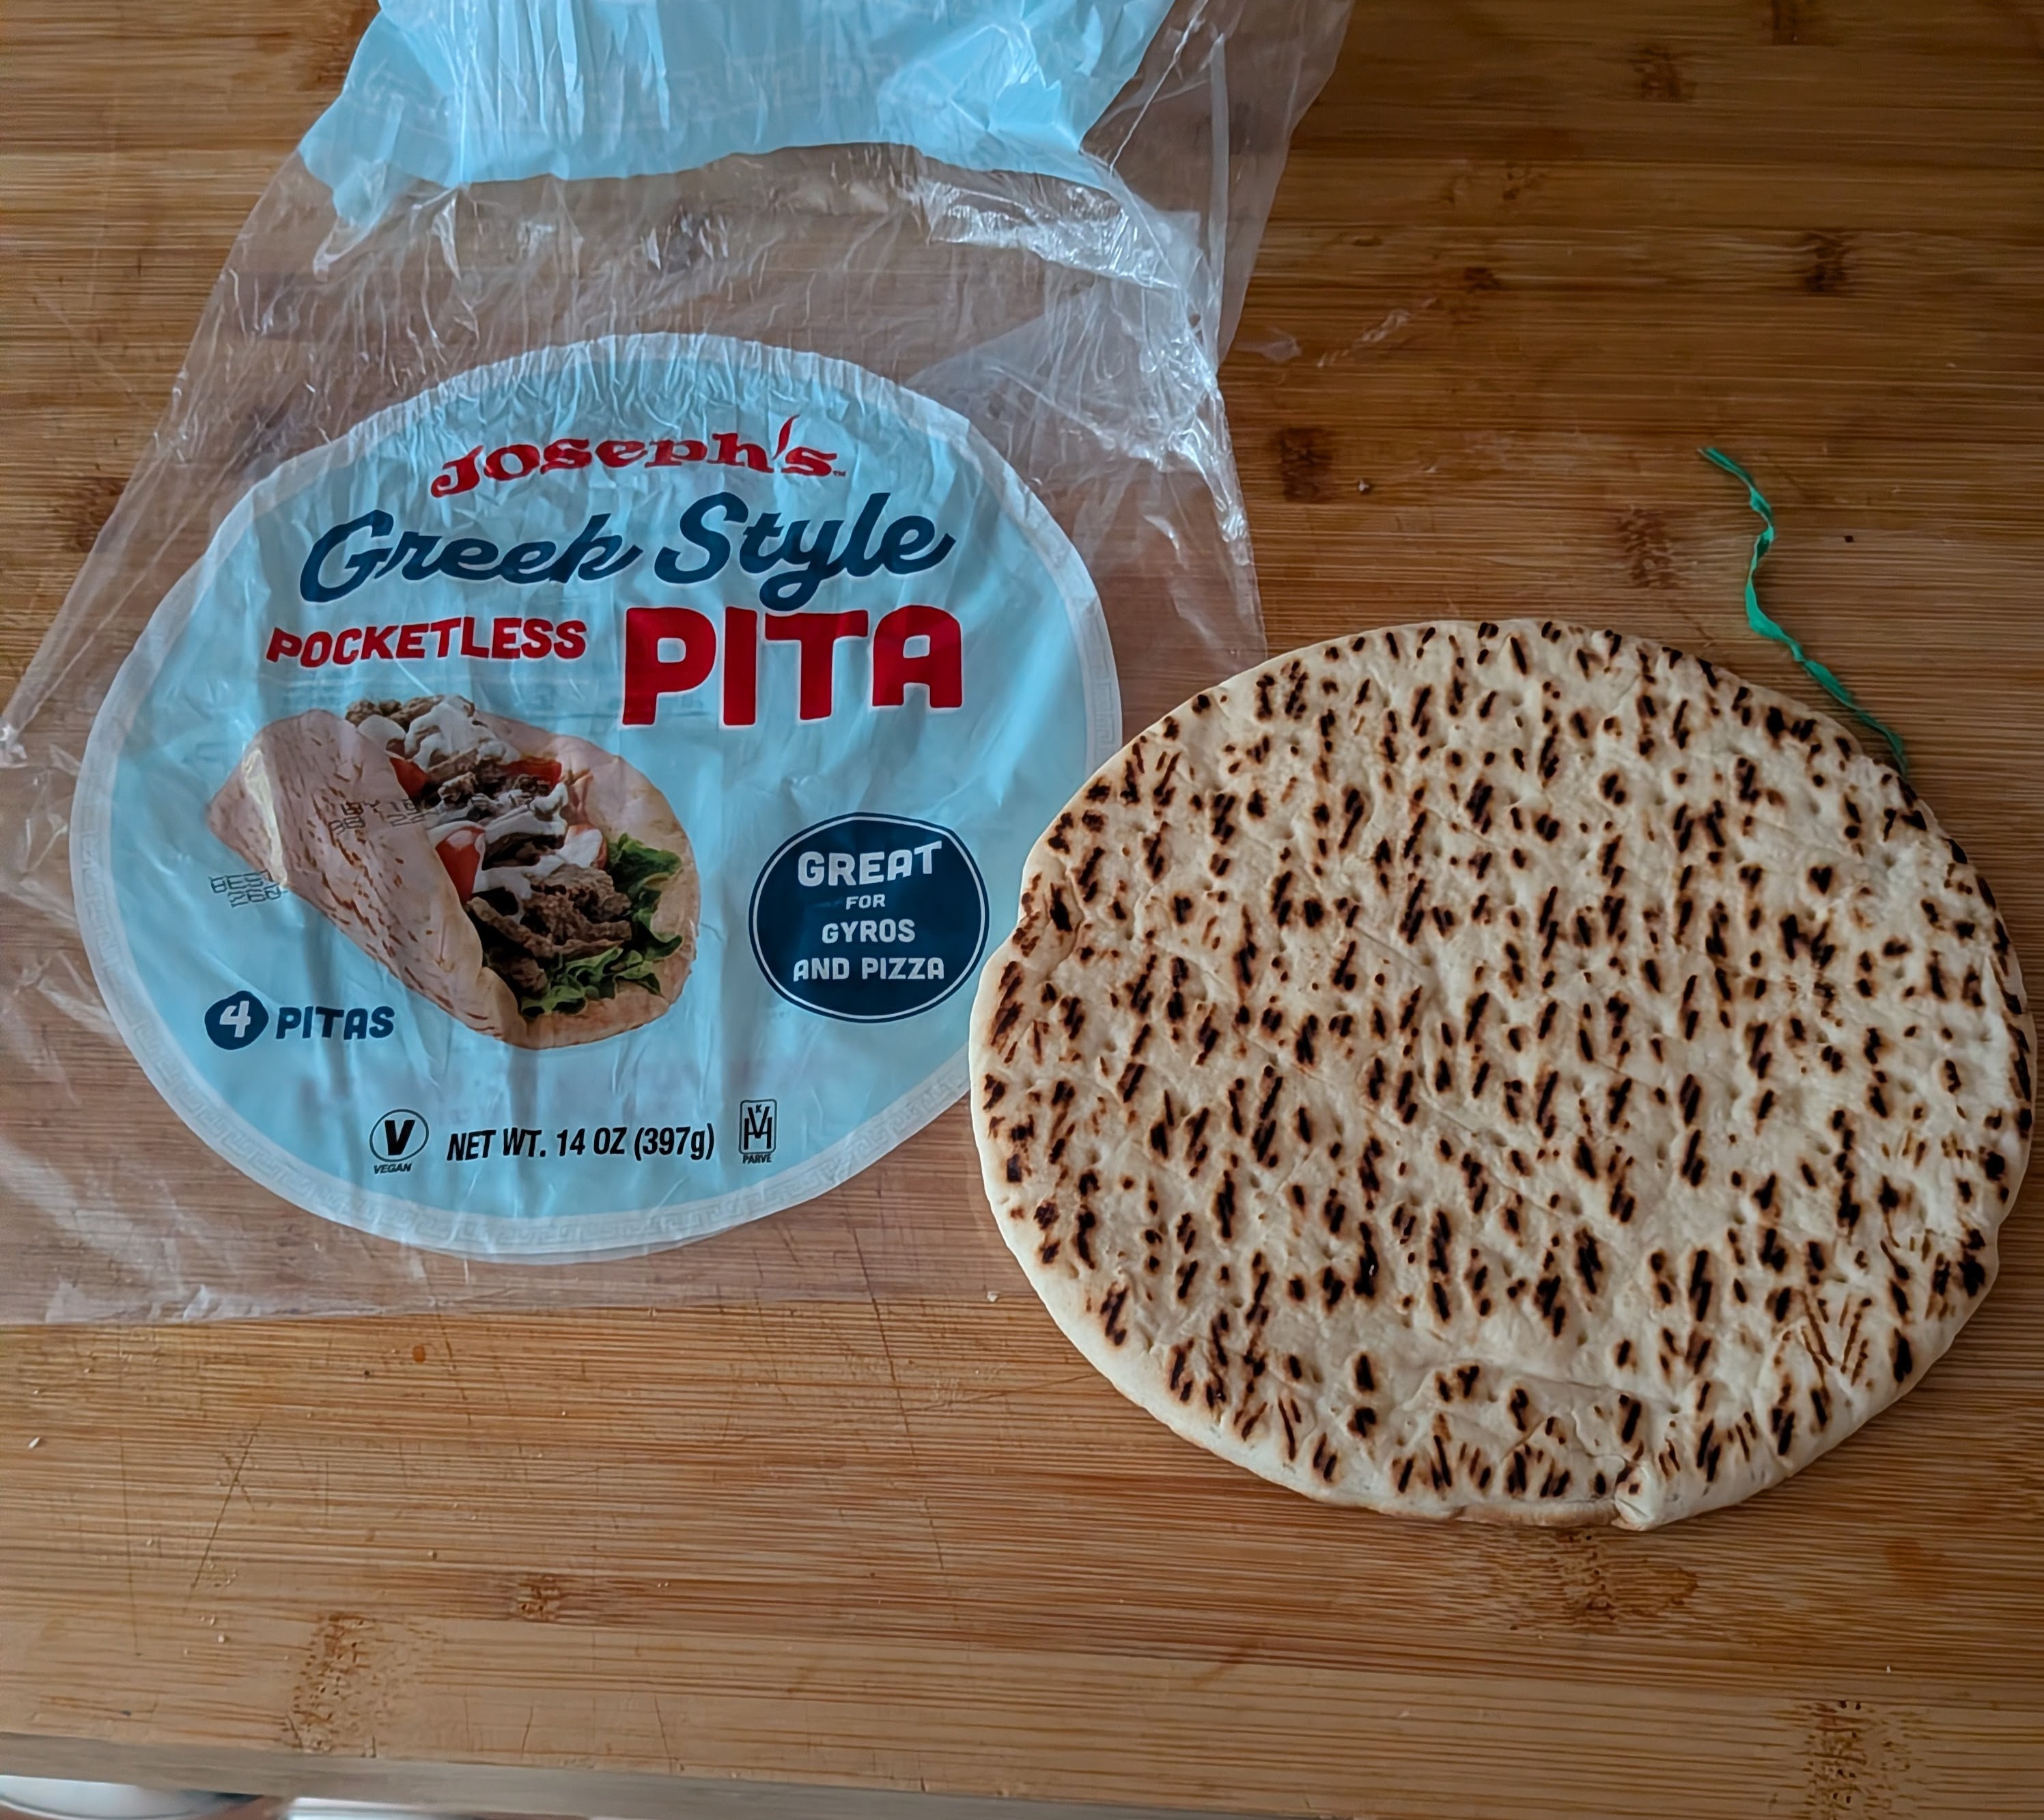
4 pieces soft, Joseph Greek Style pocketless pita)
Chopped fresh tomato
Finely sliced onion
Cubed peeled seeded cucumber
Shredded lettuce
Directions
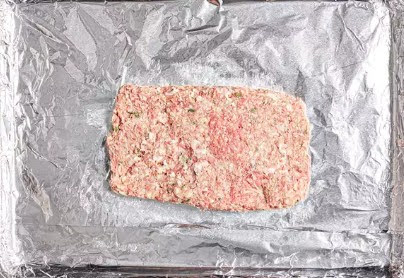
Combine lamb, salt, pepper, and oregano in a medium bowl. Mix with hands until homogeneous. Cover and refrigerate at least 1 hour or up to overnight. Meanwhile, place yogurt in a fine-mesh strainer set over a small bowl. Allow to drain in refrigerator for 1 hour. Adjust oven rack to middle position and preheat oven to 300°F (150°C). Place cold lamb mixture in bowl of food processor with onion, garlic, and bacon. Process until smooth a purée is formed, about 1 minute total, scraping down sides with rubber spatula as necessary.
Line rimmed baking sheet with aluminum foil. With moist hands, form meat mixture into rectangles about 1 1/2-inches high, 8-inches long, and 5-inches wide. Bake until center of loaf reads 155°F (68°C) on an instant-read thermometer, about 30 minutes. Allow loaf to rest at room temperature for 15 minutes (or refrigerate for up to a week, see notes).
Meanwhile, make the sauce. Combine strained yogurt, mayonnaise, garlic, lemon juice, and parsley and stir to combine. Season to taste with salt. Refrigerate, covered, until ready to use.
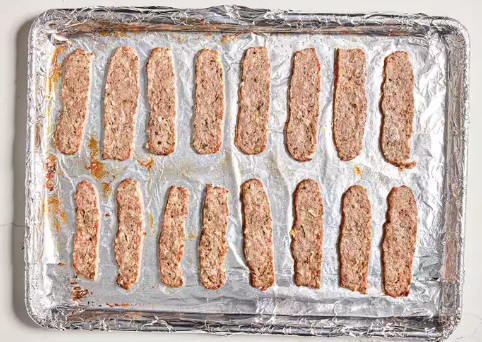
Adjust broiler rack to highest position (about 1 1/2 to 2 inches from broiler element) and preheat broiler. Slice loaf crosswise into 1/8 to 1/4-inch strips (each strip should be about 5-inches long and 1 1/2-inches wide). Lay strips on rimmed baking sheet lined with aluminum foil and broil until edges are brown and crispy, about 2 minutes. Tent with aluminum foil. Warm bread by placing on rimmed baking sheet and broiling until soft and pliant, about 45 seconds per side.
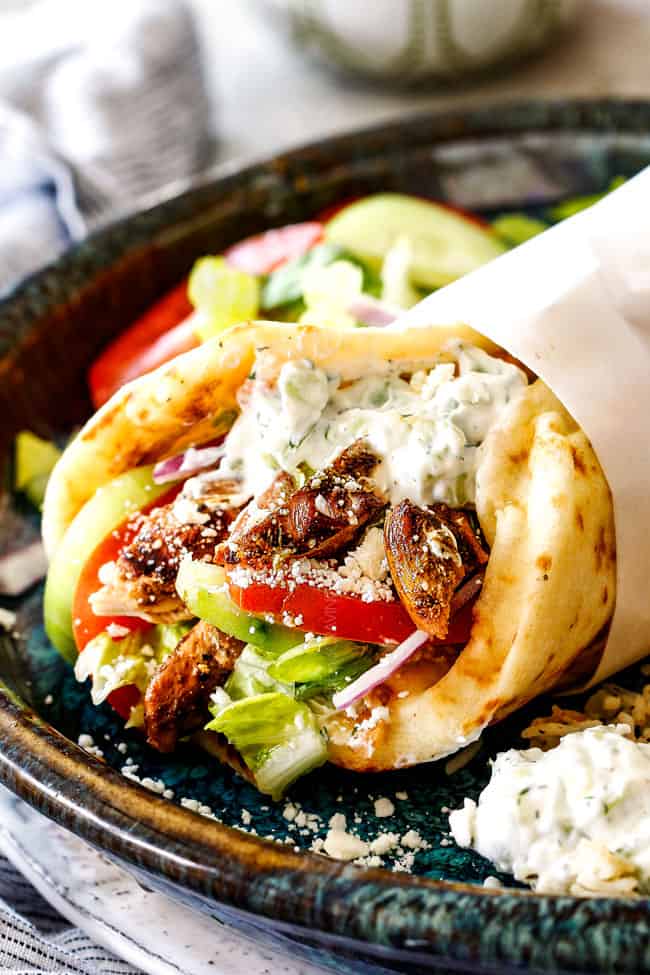
Spread some sauce over each piece of bread. Divide meat evenly between sandwiches. Top as desired, wrap with paper or foil, and serve. Some places serve with French fry but I’m a traditionalist those go on the side or maybe a Greek salad instead
Lyn texted me that this look good, so I took a look and said to myself how could I not.
Thanks to The modern Nonna for the inspiration. Chicken Gyros and I actually go way back. Although I am Bulgarian 🇧🇬, my family and I lived on the Island of Crete for many years following my Dad’s Olympic career in water polo. While living there, I experienced true Greek 🇬🇷 home cooking. My mom learned how to make authentic Greek dishes from the women in Greece, which inspired most of the Greek dishes I cook and share on my page.
Me again: Many years ago while I lived in Chicago there was a restaurant down the street that introduced me to Gyros in fact one Thanksgiving he treated me to one since I was stuck alone in town.
The word “gyro” (as in the Greek dish) is typically pronounced “YEE-roh” or “YEE-rohs” (with the “s” indicating plural), while the word “gyro” (as in a gyroscope) is pronounced “JAHY-roh (This is the way most sub shops pronounce it here, so I quickly change to this when I get the puzzled look.)
What is a Gyro?
A Greek Gyro, or simply “Gyro,” is a popular Greek 🇬🇷 dish made of seasoned meat (often beef, lamb, pork, or chicken) cooked on a vertical rotisserie. The meat is then thinly sliced and served wrapped in warm pita bread, with toppings such as tomato 🍅, onion, and tzatziki sauce – a creamy yogurt and cucumber sauce. Sometimes, Gyros also include lettuce, French fries 🍟, or other veggies.
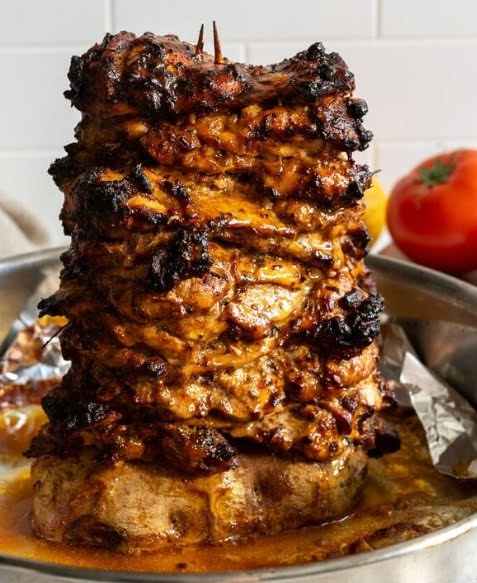
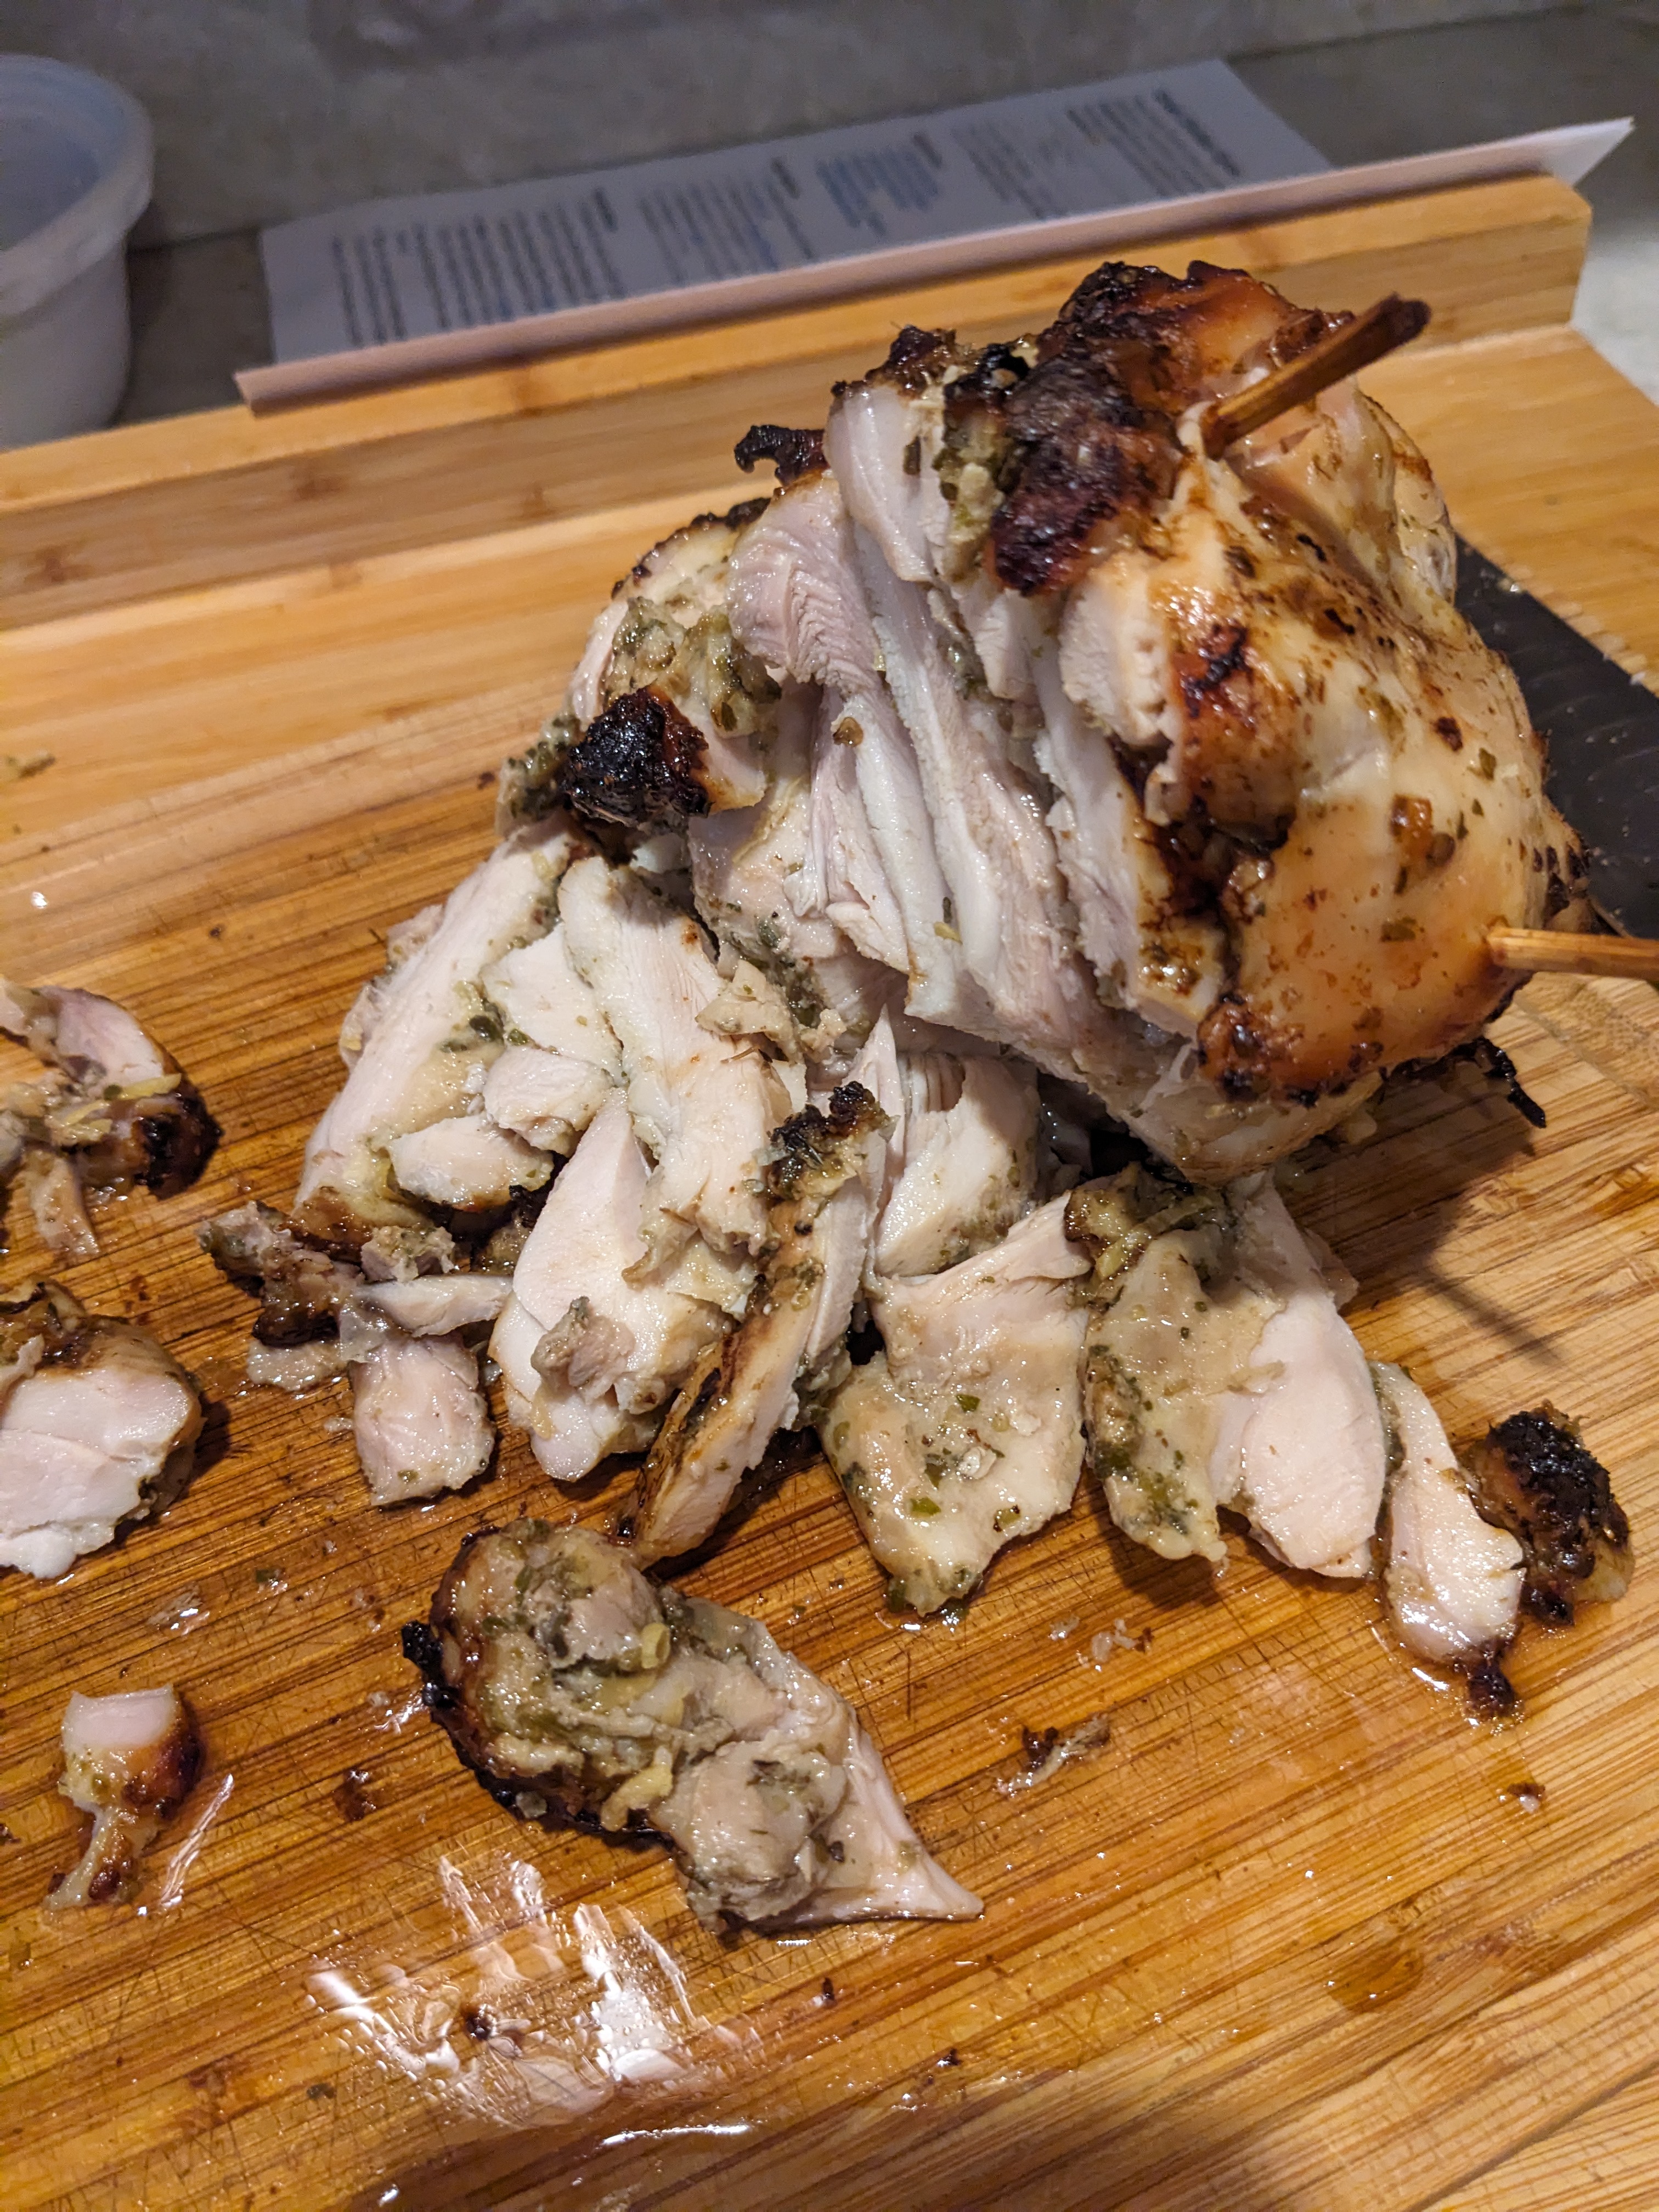
I did not have a Gyro pan so I used the onion trick- it fell over towards the end but I got it to stand up again.
Why You’ll Love Greek Chicken Gyros
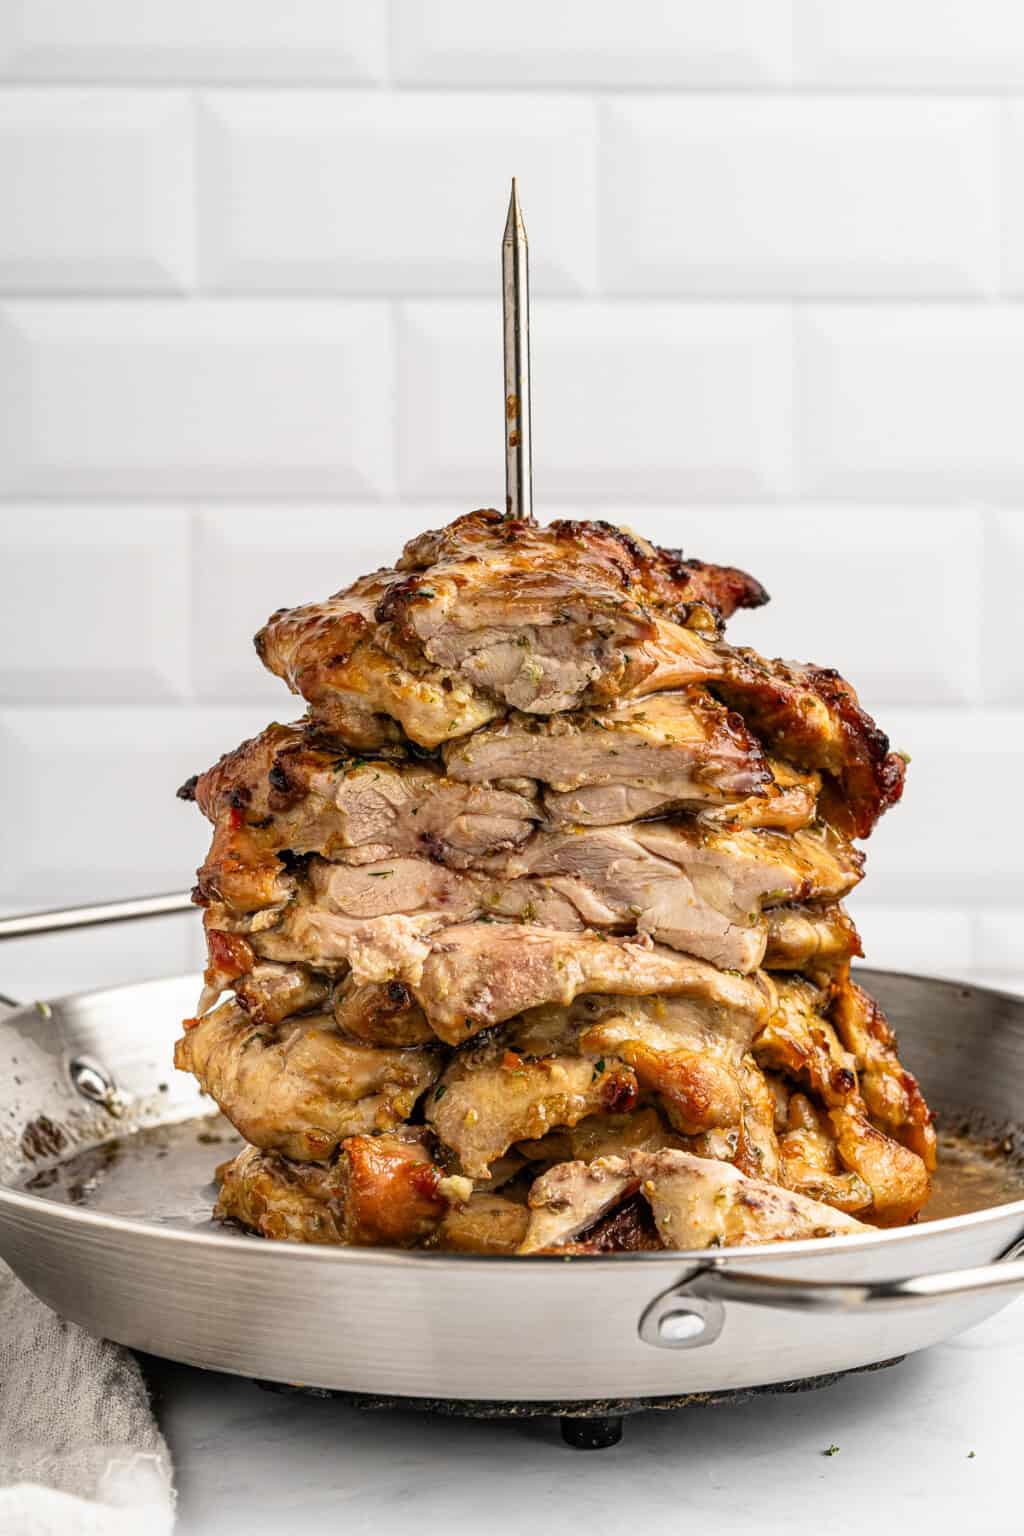
Nonna: When I say this is the juiciest 💦 chicken that will ever grace your mouth, I mean it! Juicer than girl’s night gossip, these Greek Chicken Gyros are meticulously seasoned and roasted to perfection. The chicken is marinated in a combination of savory, tangy and herbaceous flavors, stacked on a spit and slow-roasted until the exterior develops a slight caramelized char while the inside remains tender and succulent 🤤. Serve this Greek Chicken Gyro on a warm pita with creamy tzatziki or on top of a salad or bowl – I promise you, you’ll never want to make chicken thighs any other way!
Ingredients 1 serving (I did 1/2 of this but a little more than 1/2 of sauce)
½ tablespoon salt, you may need less if using regular table salt
dry oregano, to taste
1 cup water, or stock (for the bottom of the pan)
Instructions
Preheat the oven to 425F (220C).
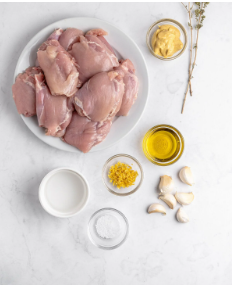
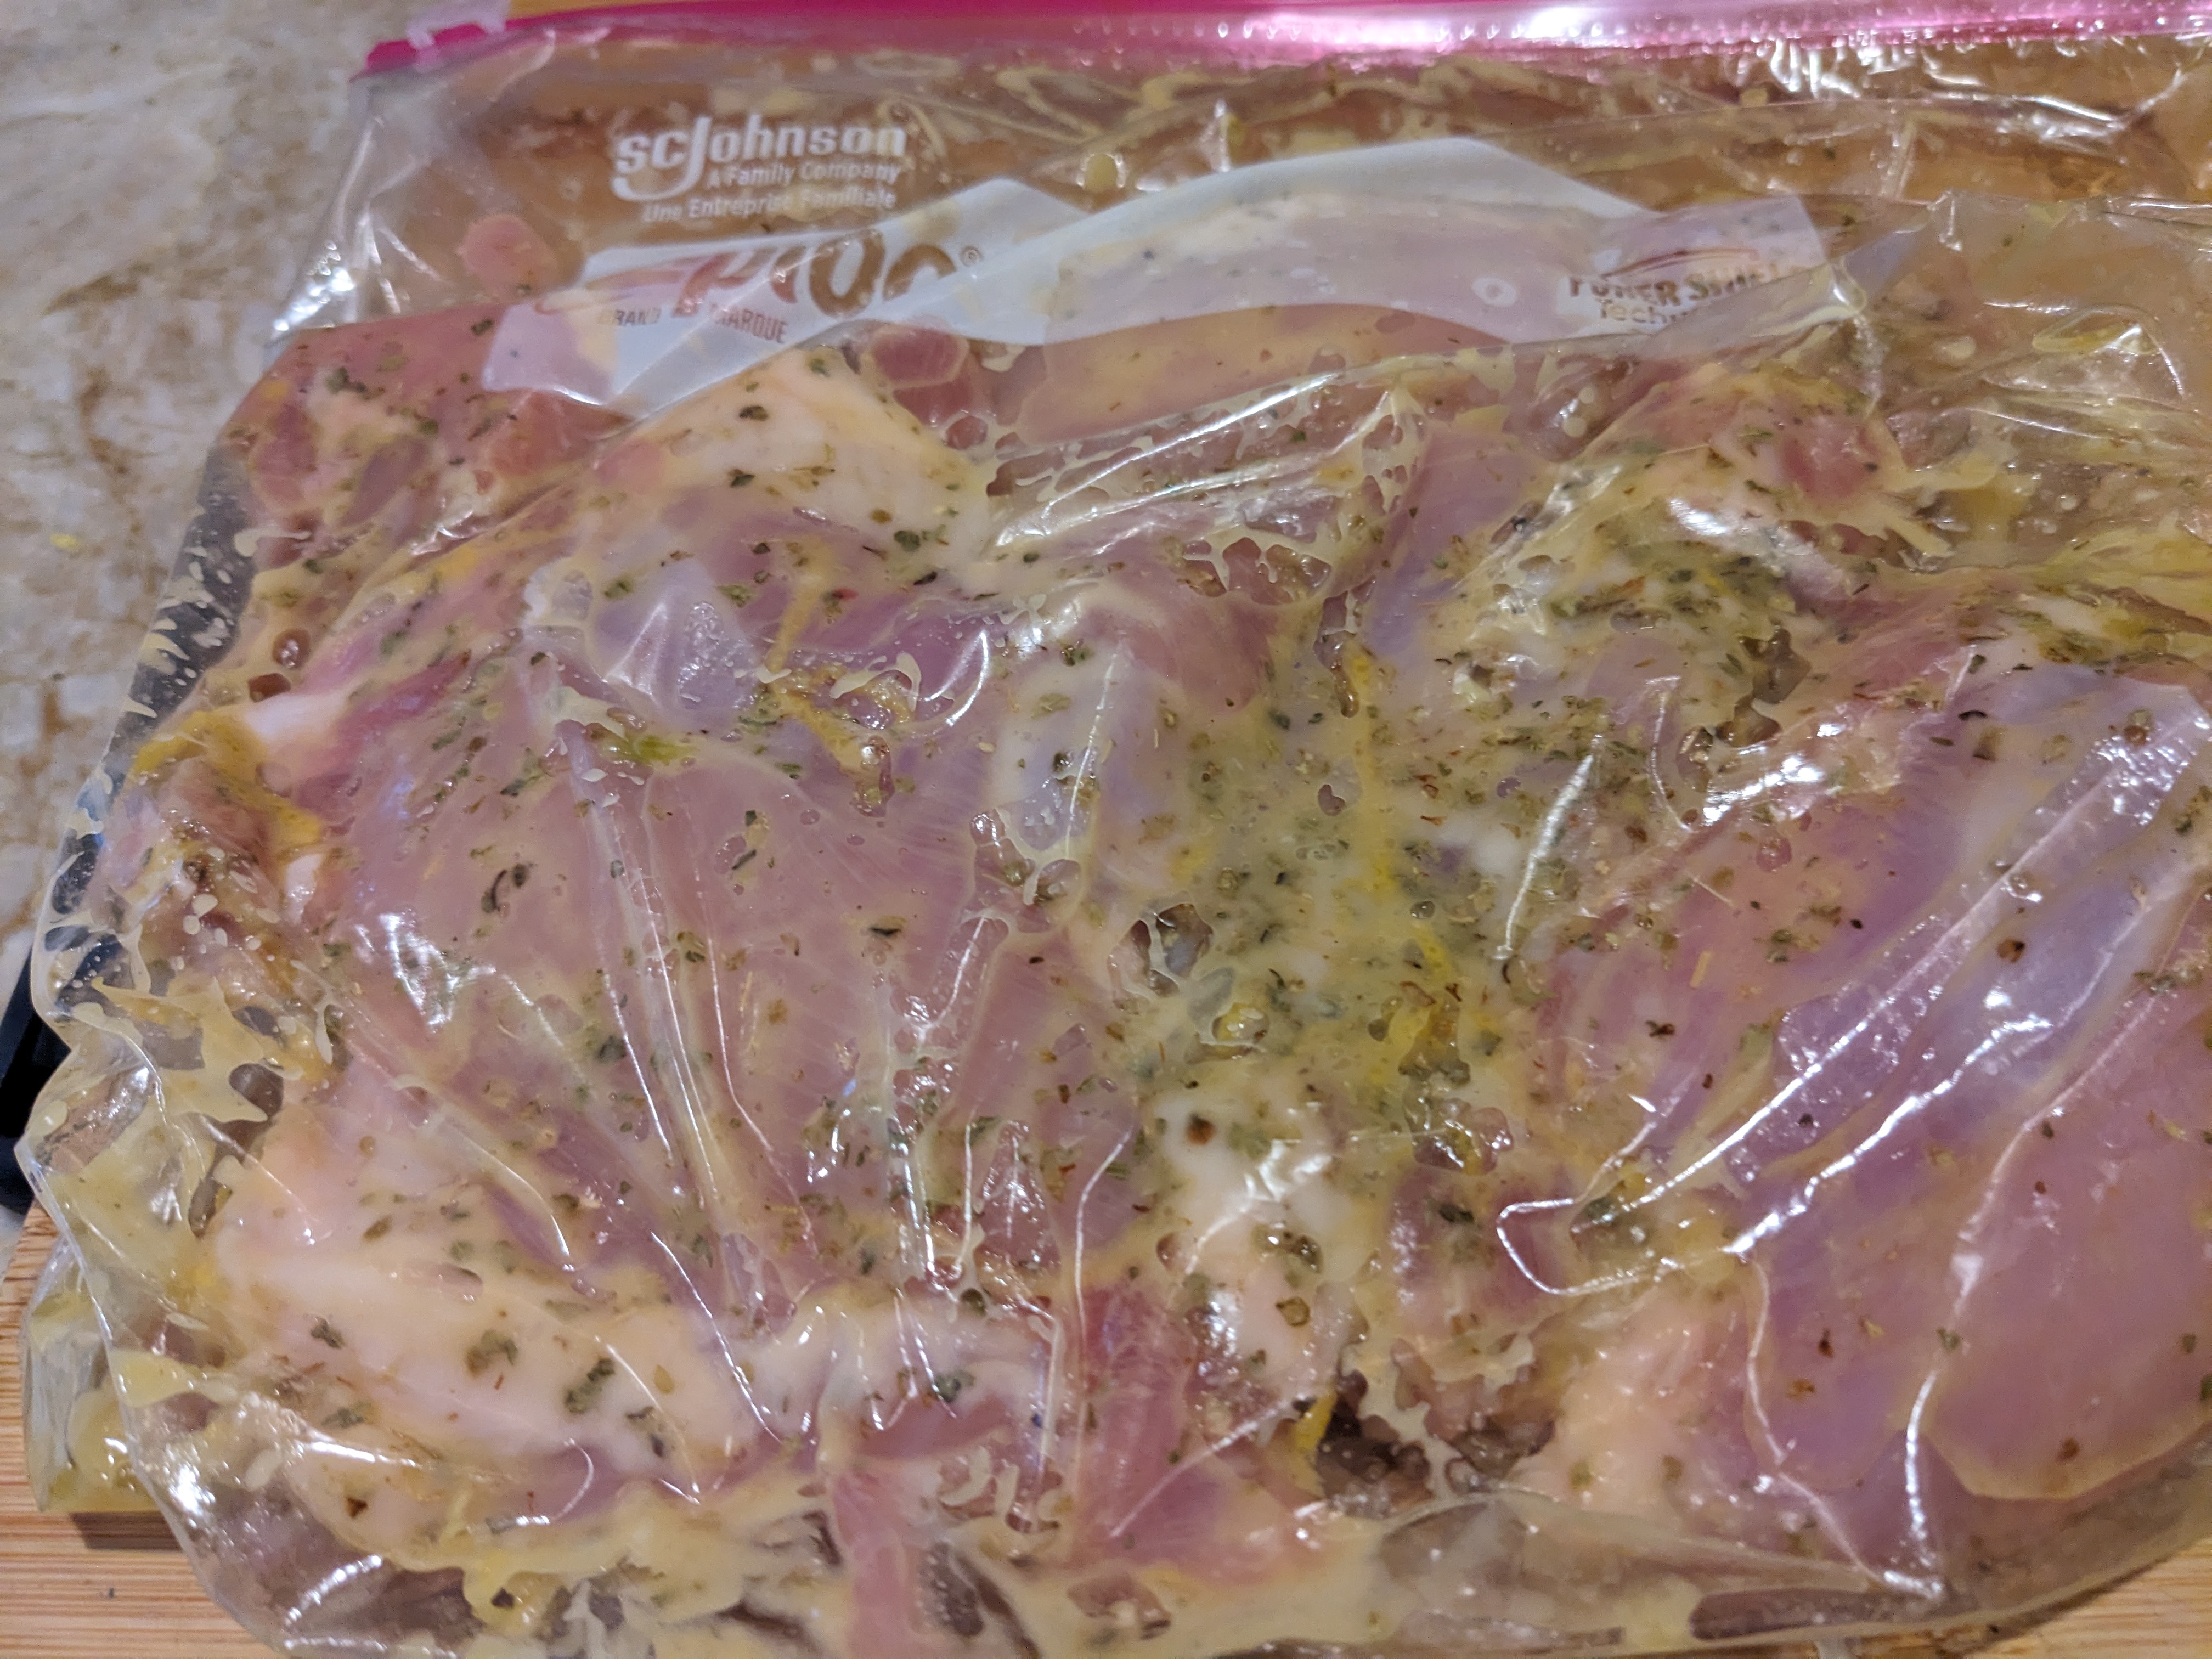
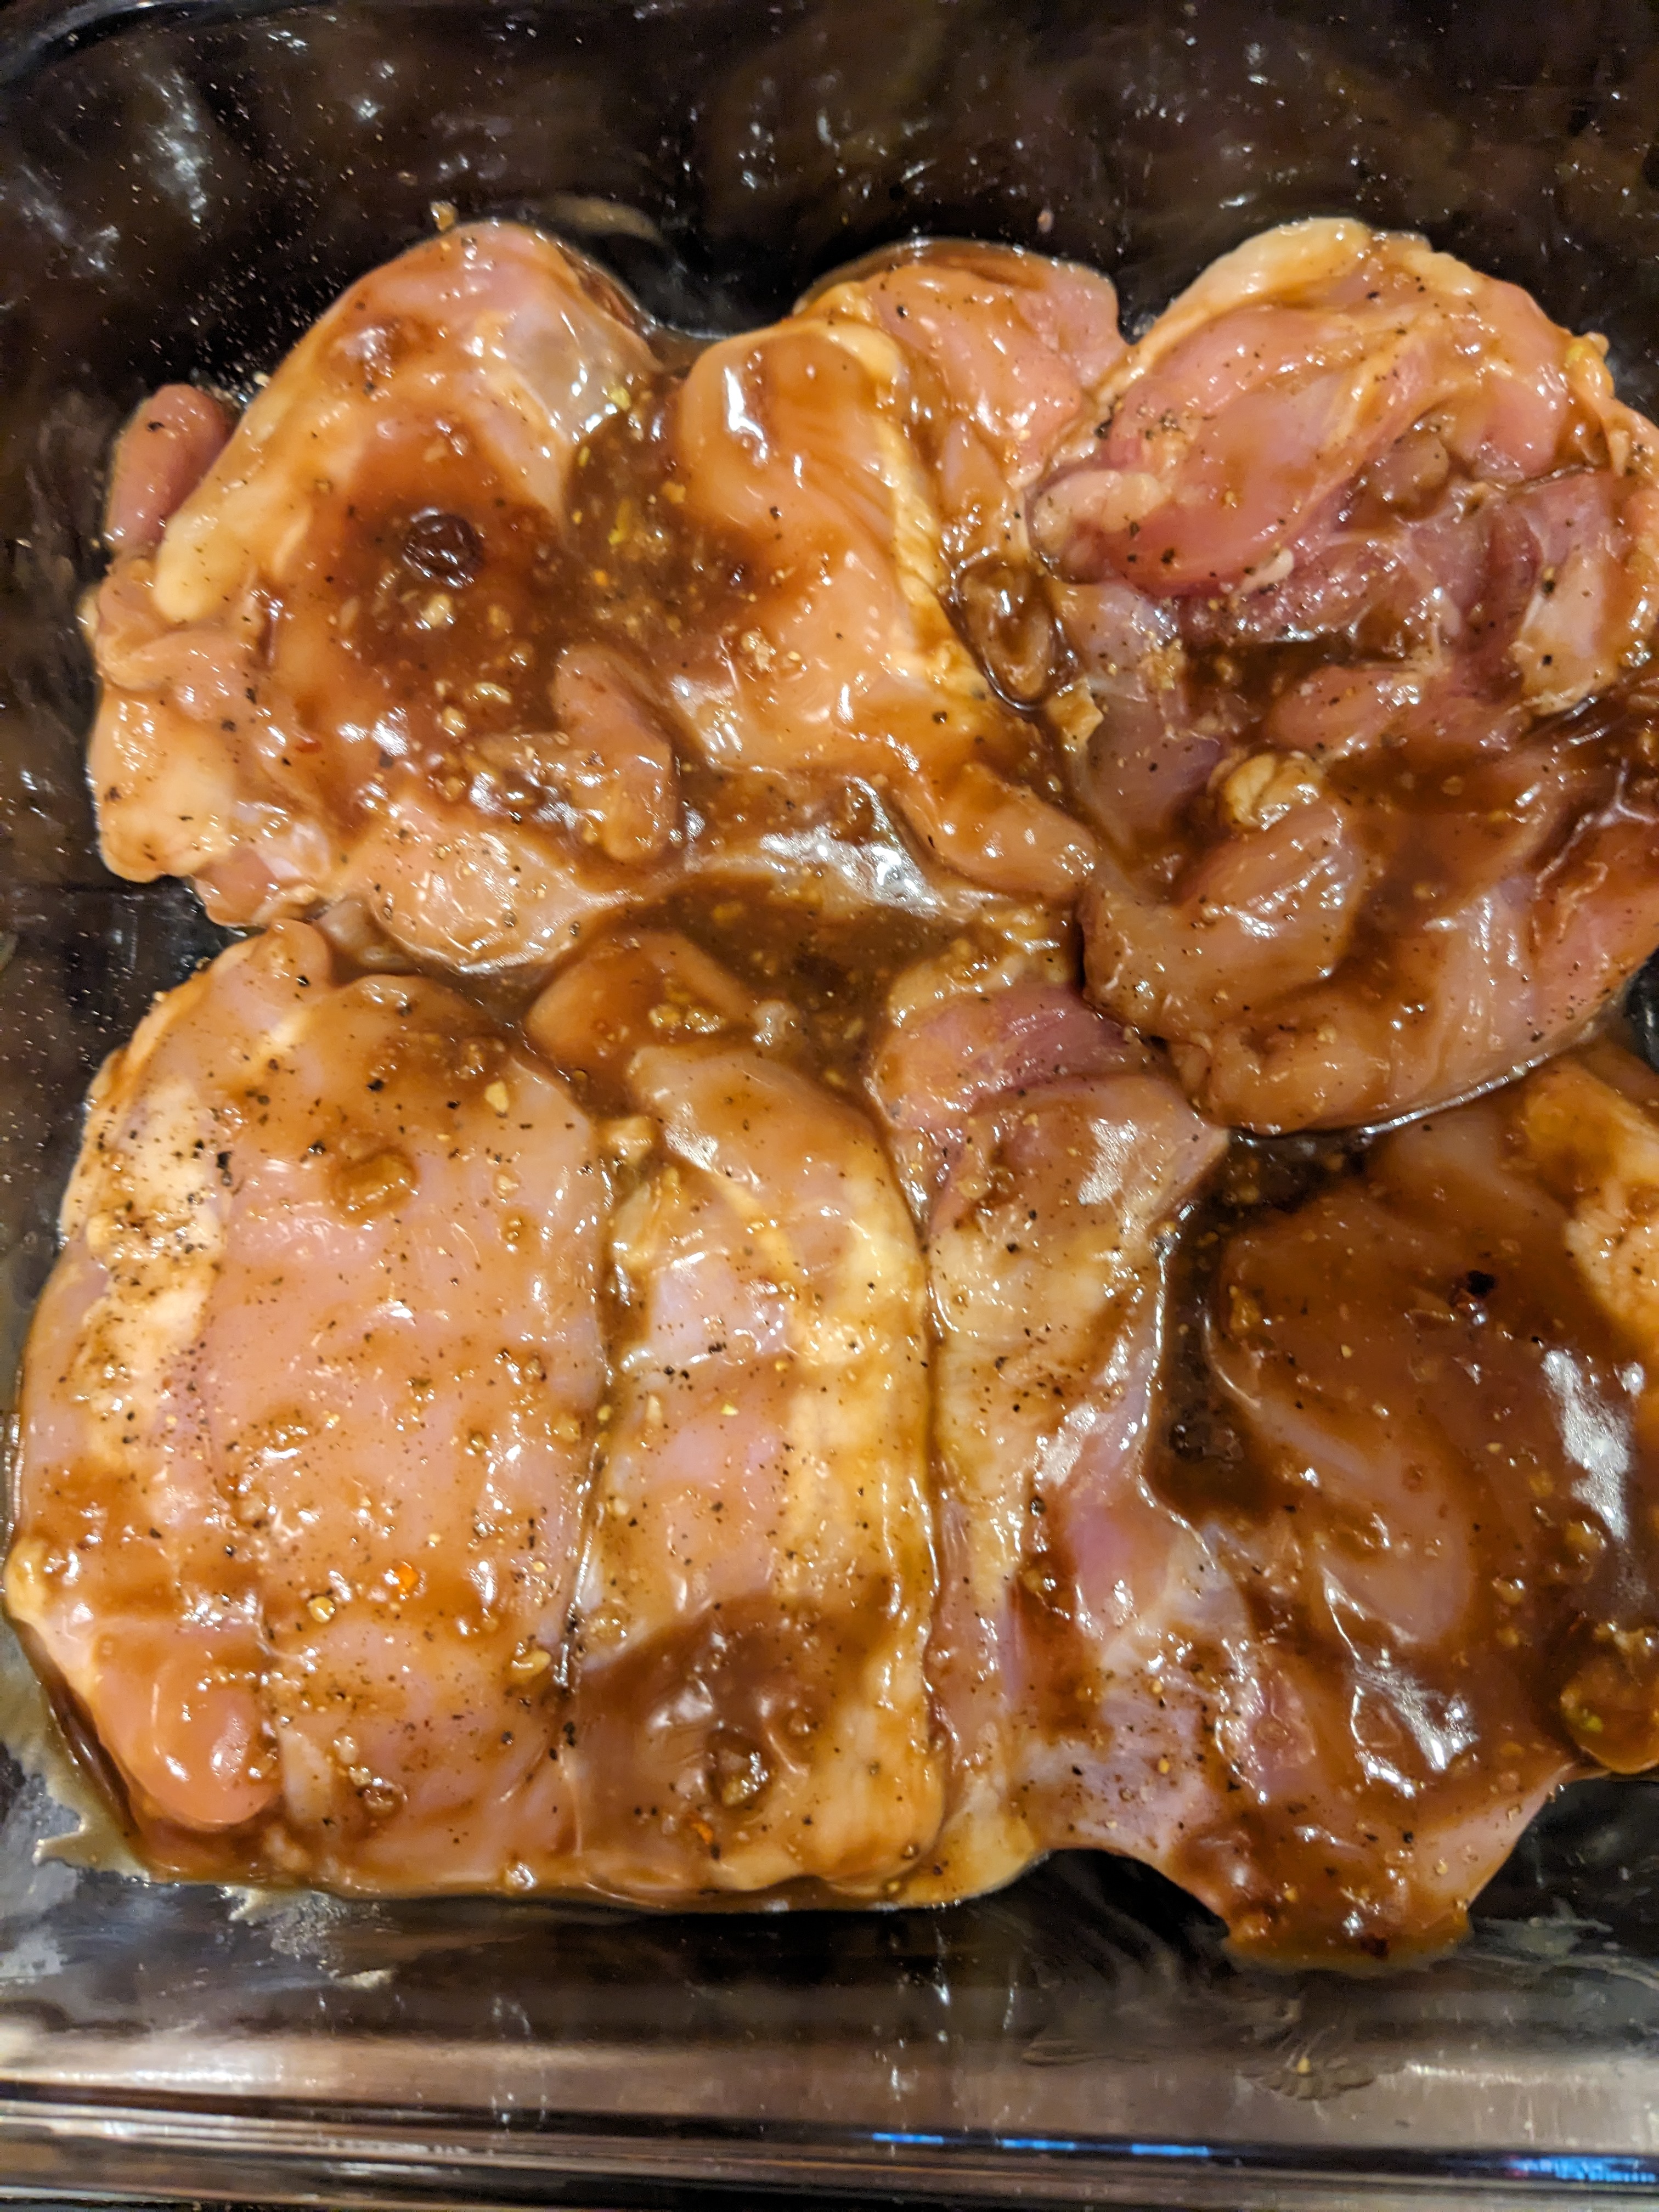
In a bowl add the chicken, olive oil, honey Dijon mustard, garlic, salt, lemon zest, and oregano. Mix well. You can marinate for a minimum of one hour (even overnight for best results).
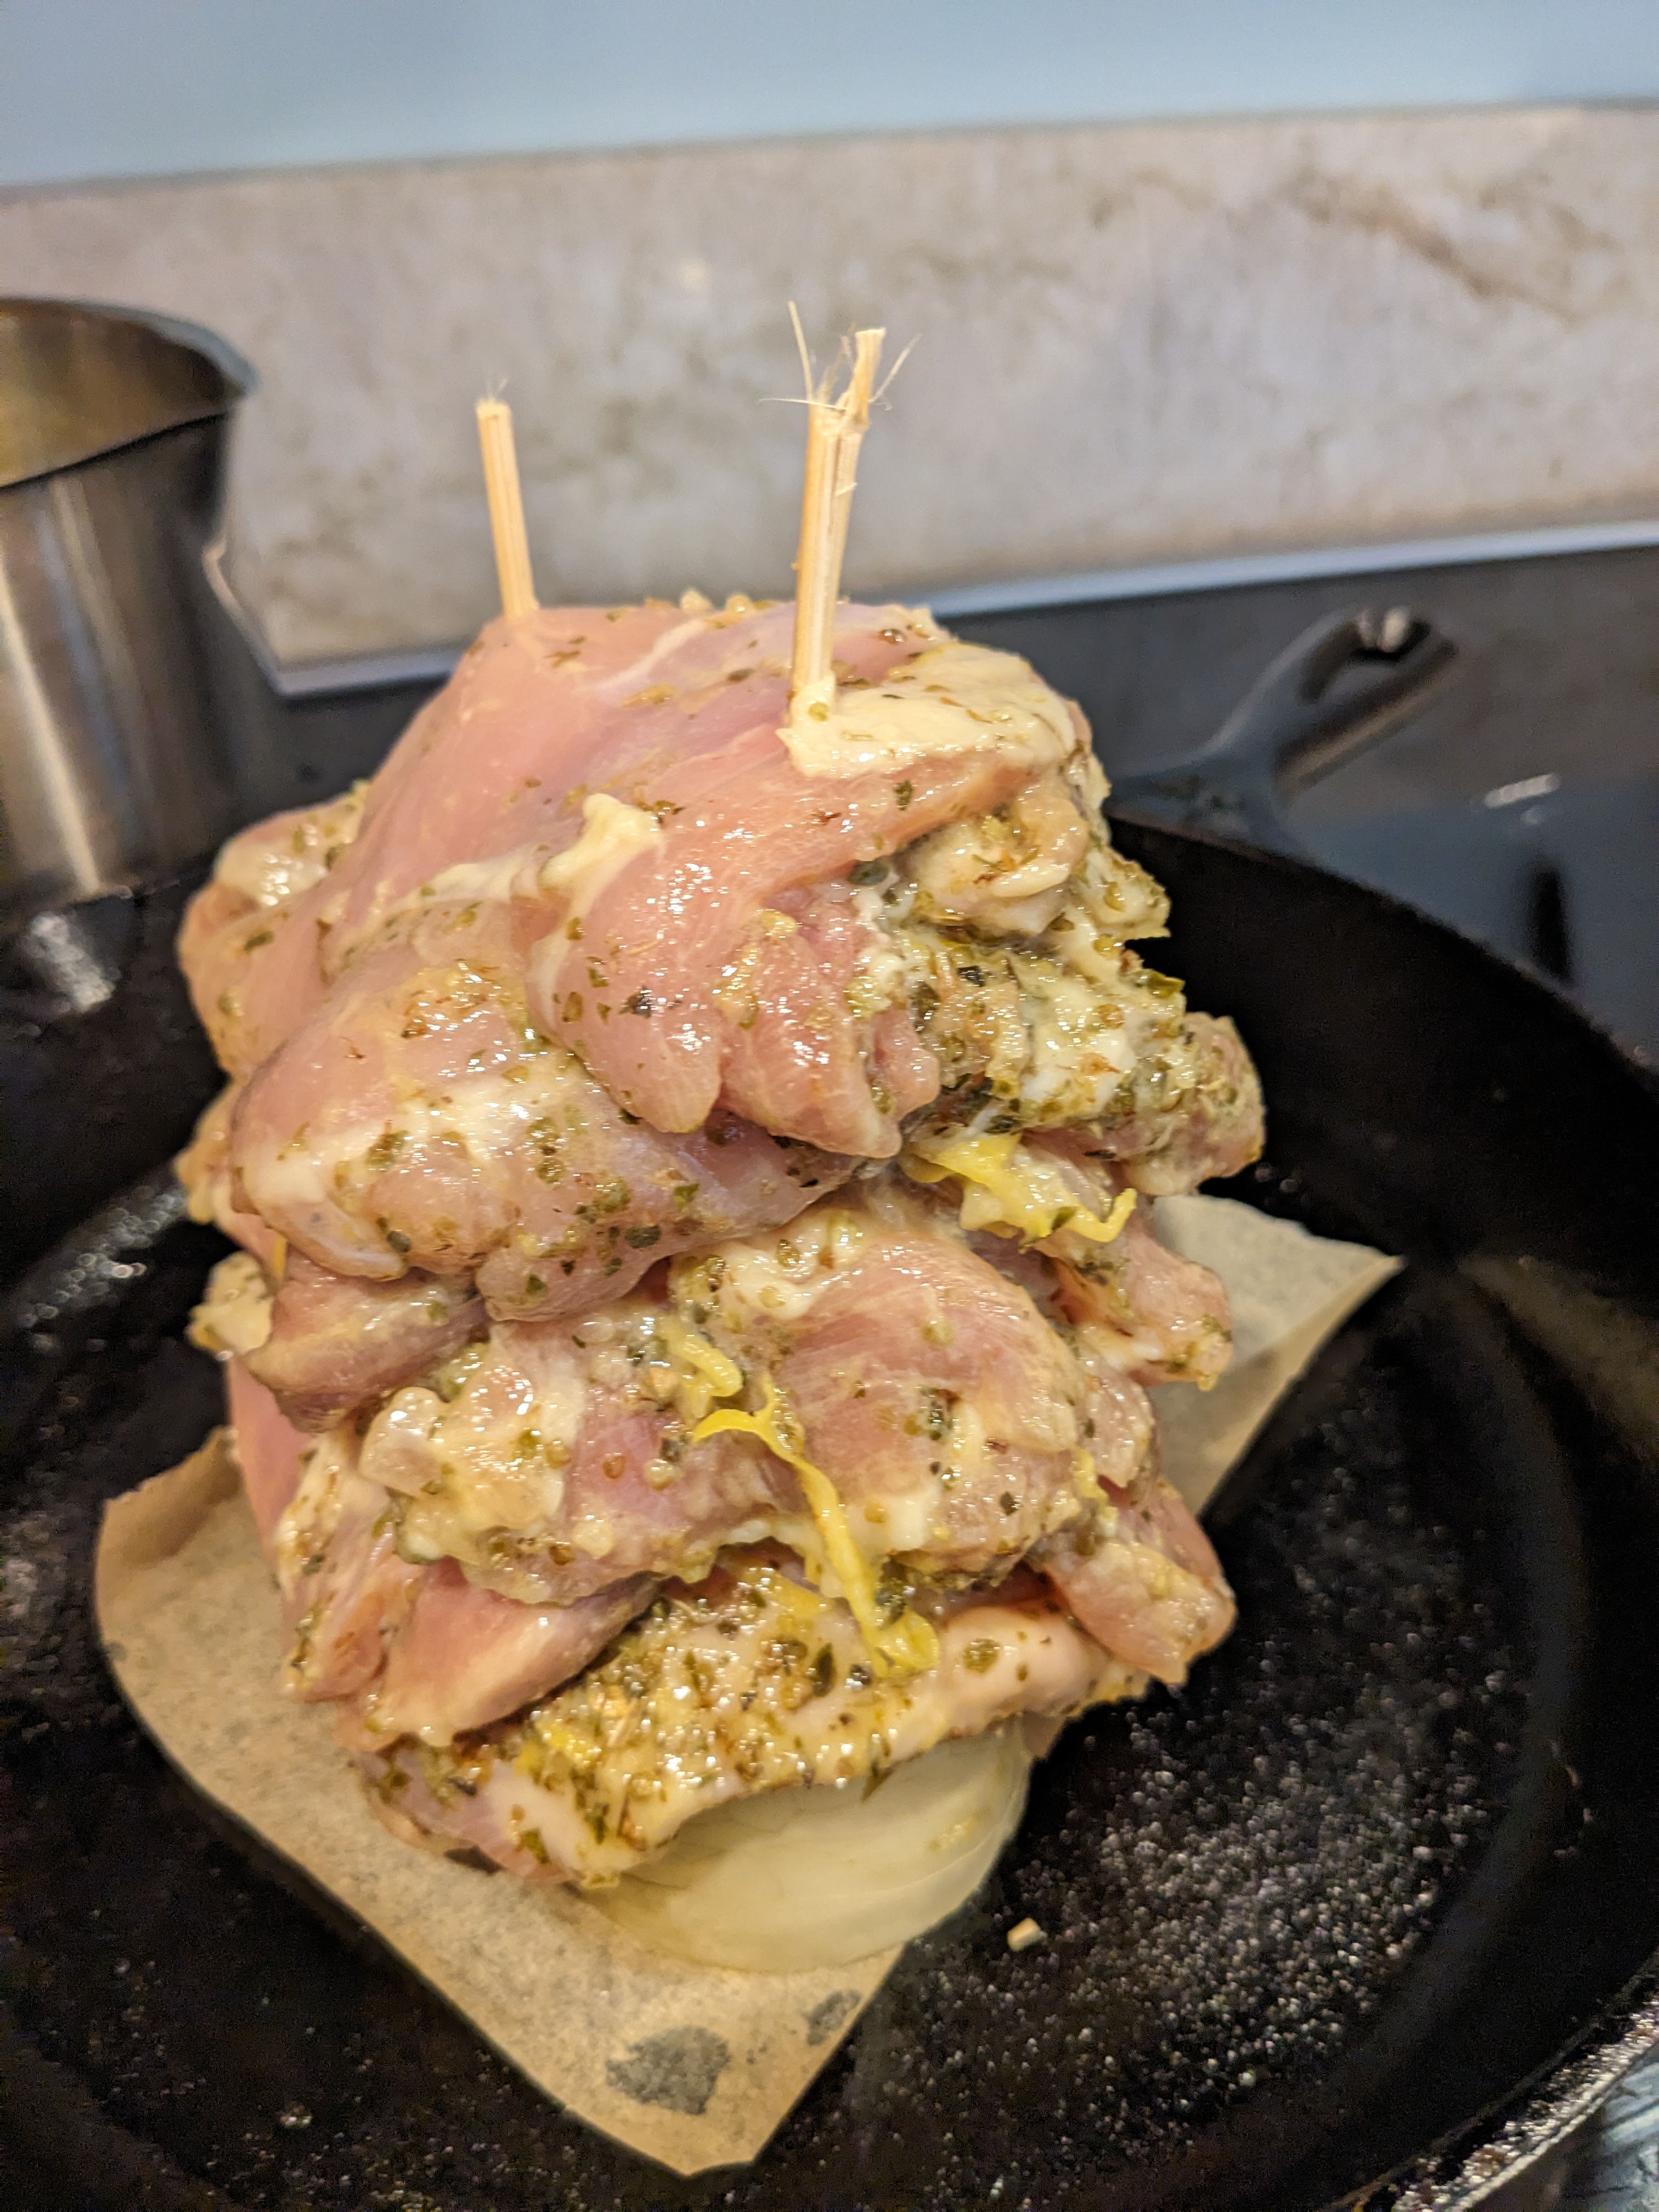
Once marinated, take the Vertical Gyro Spit Plate and thread the chicken thighs making sure to rotate each one opposite from the last.
Note: if you don’t have a Vertical Gyro Oven Plate, cut an onion in half, place it on a baking sheet lined with parchment (or foil) and position two wooden skewers vertically into the onion and voila, you made your own spit and don’t need to buy one!
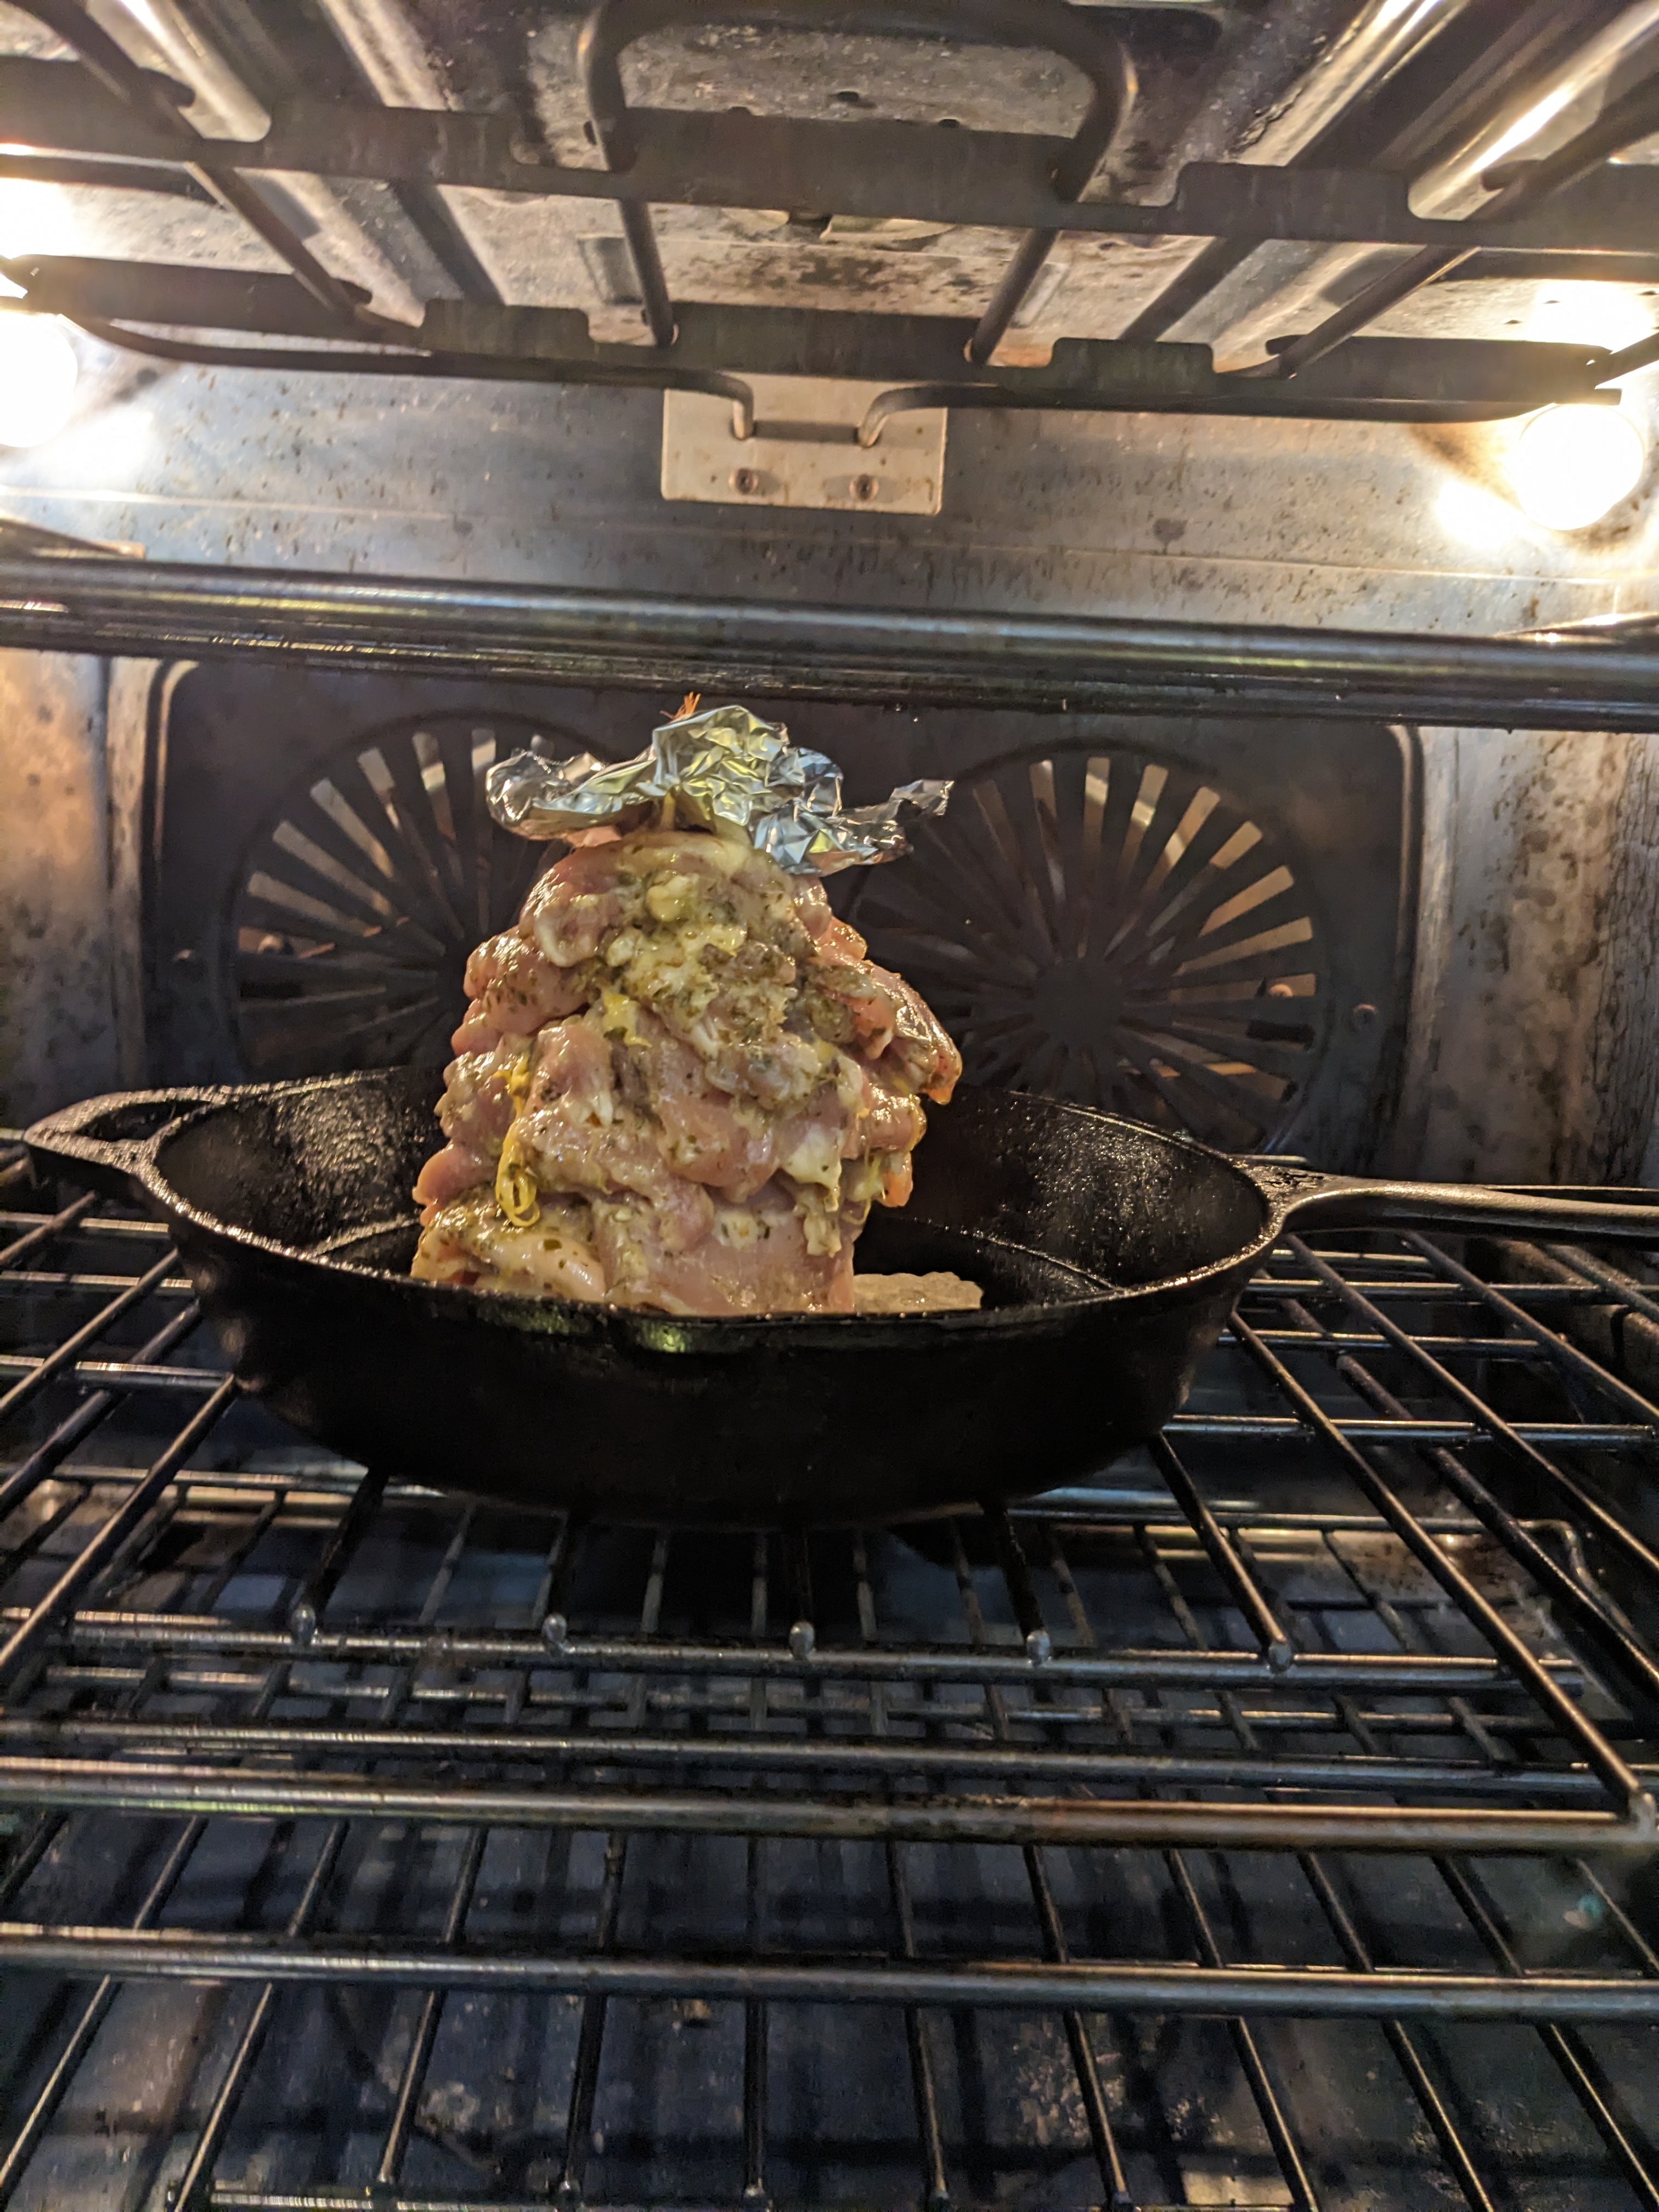
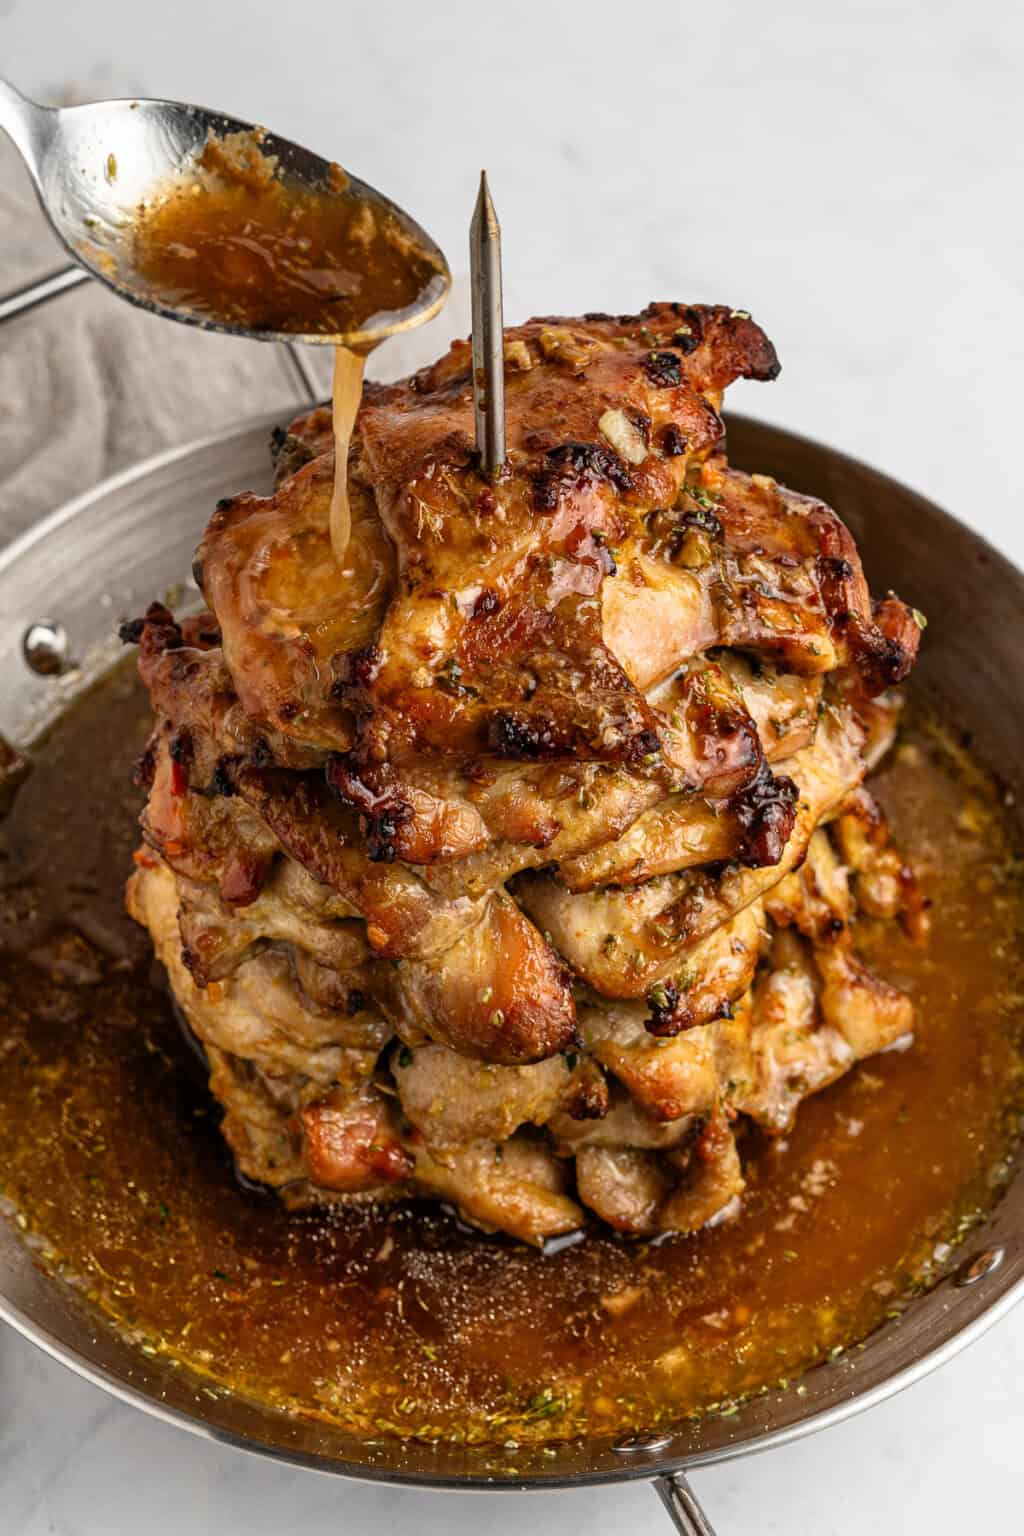
Now, place the gyro in the oven and add 1 cup of water or stock to the base (which will create our sauce).
Tip: you can pierce a small piece of foil making sure to cover the top chicken thigh as it will start to burn first on the top as it bakes.
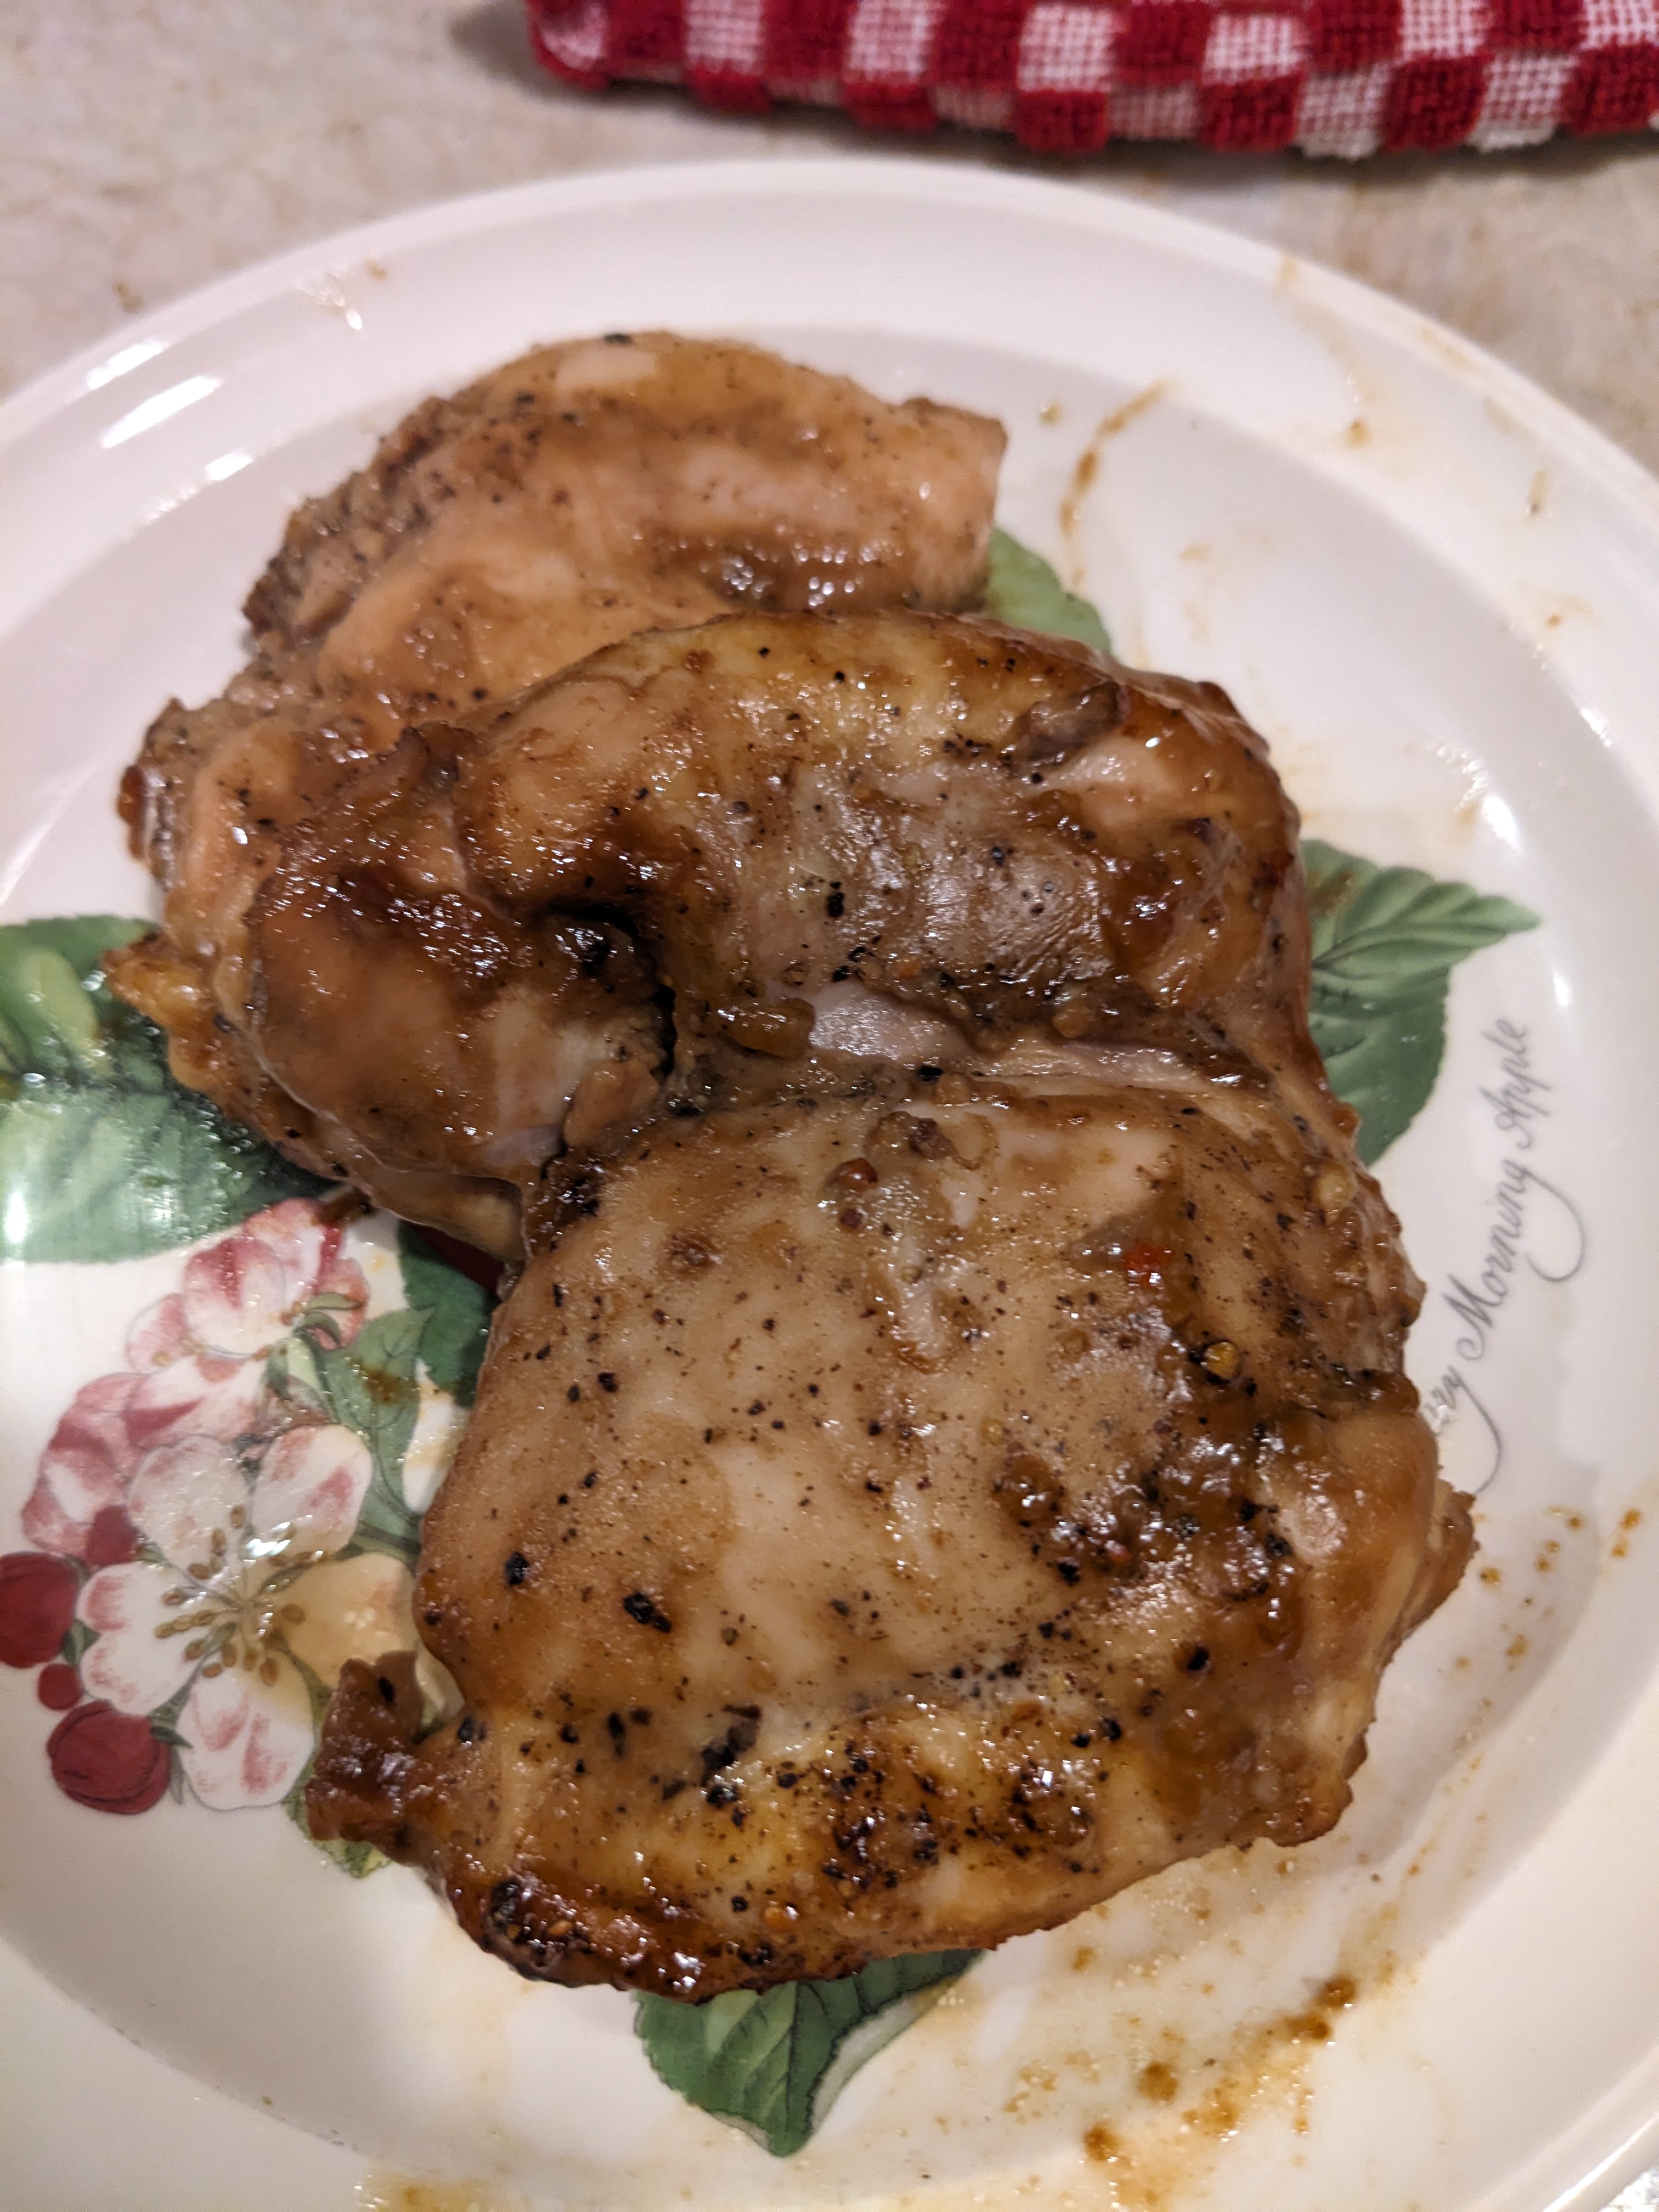
Bake for 75-90 minutes or until fully cooked. Mine took exactly 1.5 hours.
Take it out of the oven, let it rest and cut! You can enjoy this chicken gyro with loaded Greek fries, on pita with tzatziki, on a Greek Salad and so much more!
My Note: My mistake was using cast iron pan the water evaporated to quickly
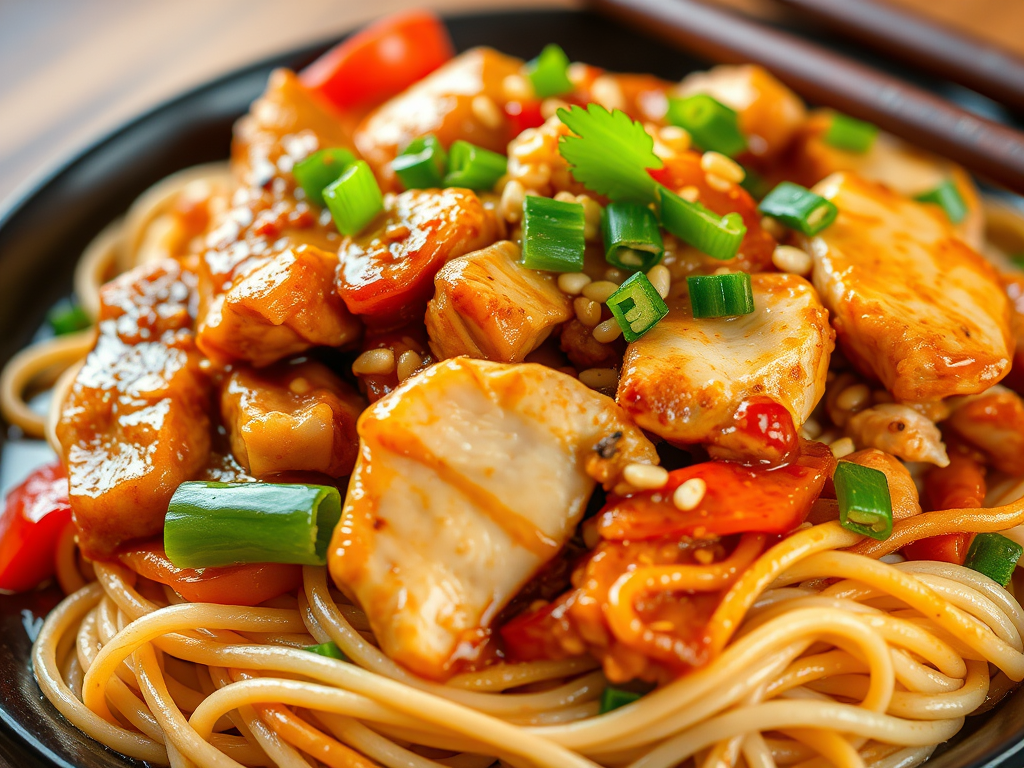
A spicy noodle stir-fry with chicken and a homemade sesame sauce. This dish comes together in just 15 minutes and delivers all the flavors of your favorite takeout. I made this for the two of us. Thanks to allthenoodles.com for the inspiration this was based off their recipe
It was quick easy and pretty tasty and went ell with the scallion pancake as a side
Ingredients
1 pound chicken breast cut into bite-size pieces
½ teaspoon kosher salt
½ teaspoon black pepper freshly ground
1 tablespoon sesame oil
3 ounces fresh ramen noodles or noodle of your choiceall work
Sauce
⅔ cups soy sauce
1 tablespoon sesame paste
1 tablespoon rice vinegar
1 tablespoons chili paste – I went mild on spice
2 tablespoons brown sugar
¼ teaspoon ginger minced
Crushed peanuts
Scallion slice – most people tend to use mostly green but I love them so it all goes in
Optional a little cornstarch and water to thicken I prefer a thicker sauce
How
Heat a large skillet with oil over medium-high heat. Sauté the chicken chunks with salt and pepper for about 4 minutes until browned.
Cook noodles according to directions
Mix all the sauce ingredients in a small bowl. I like to do before so the flavors combine, not sure if this is true or not but it does make cooking easier.
Add the noodles to the skillet with the chicken, then pour the sauce over the top. Stir everything together and stir-fry for 2 minutes.
Add cornstarch to thicken
Remove from heat, garnish with crushed peanuts and green onions, and serve immediately.
This is quick and easy you could use bone in and skin on but I had the thighs without.
Ingredients
1 lb chicken (thighs boneless and skinless)
Kosher salt
Freshly ground black pepper
Olive oil
For the sauce (optional):
4 cloves garlic, minced
2 tablespoons olive oil
1 tablespoon Dijon mustard
1 tablespoon balsamic vinegar
1 teaspoon packed brown sugar
1 pinch red pepper flakes
Arrange a rack in the middle of the oven and heat the oven to 425°F. Place 1 pound boneless, skinless chicken thighs in a bowl and season with salt and pepper. The most basic seasoning that this meat really needs is salt and pepper. At this point, if I’m not adding another sauce, I drizzle a little bit of olive oil over the meat too, to help it brown well in the oven.
If using the sauce, place 4 minced garlic cloves, 2 tablespoons olive oil, 1 tablespoon Dijon mustard, 1 tablespoon balsamic vinegar, and 1 teaspoon packed brown sugar in a medium bowl. Whisk until combined. Pour the sauce over the chicken and toss to combine.
Place the chicken in a single layer in an 8- or 9-inch baking dish. No need to grease the dish, just lay the chicken inside.
Boneless, skinless thighs cook quickly. Roast until the chicken has an internal temperature of 165°F, about 20 minutes. If they are not ready, continue roasting and checking the temperature every 5 minutes.
Remove the baking dish from the oven, cover with aluminum foil, and let the chicken rest for 10 minutes. This will help it be more tender. Eat and enjoy!
I’m a huge fan of the orange-flavored chicken at Trader Joe’s—it’s my go-to bachelor night meal when Lyn is out having dinner with the girls. The other day, I saw it in the store but passed it up, forgetting about her night out. So, I decided to check out a few recipes online and give it a shot myself. I have to say, it turned out pretty darn good!
Ingredients
1/2 lb skinless boneless chicken thighs
¼ cup cornstarch or sub with potato starch
⅓ cup vegetable oil or any neutral tasting oil (if you’re Air Frying, sub with 2 tablespoon of oil)
Orange Chicken Sauce:
Note: I have to say when it comes to sauces etc. I usually go with full recipe amounts figure more sauce is better. This was the case since I only had 2 chicken thighs
1 cup freshly squeezed orange juice pulp strained (about 4-5 medium sized oranges)
In a small bowl, combine sauce ingredients. Mix well and set aside.
Dice chicken thighs into bite size pieces, about 1.5-inch pieces (about 6-8 pcs per thigh, depending on size). Do not pat chicken thighs dry, some moisture is needed so the starch can adhere to the chicken.
Transfer pieces of chicken into a large bowl, followed by cornstarch. Mix to coat each piece evenly with tongs. I let sit uncovered in frig for about 4 hours
Heat vegetable oil in a large pan on medium-high heat. Carefully lower coated chicken into the oil and quickly spread apart. Allow the chicken pieces to sear and form a golden crust, about 4-6 minutes on each side and let them sit avoid stir-frying them. Flip chicken over and cook on the other side until golden brown.
Remove and transfer fried chicken onto a plate lined with paper towels to drain off excess oil. Pour out any excess oil from pan.
In the same pan set over medium high heat, pour sauce in. Stirring consistently until the sauce bubbles and thickens, about 2-3 minutes.
Toss in fried chicken until pieces are coated in sauce. Garnish with orange zest, sesame seeds and green onions, peanuts, whatever.
Serve with rice now you know why I like extra sauce!
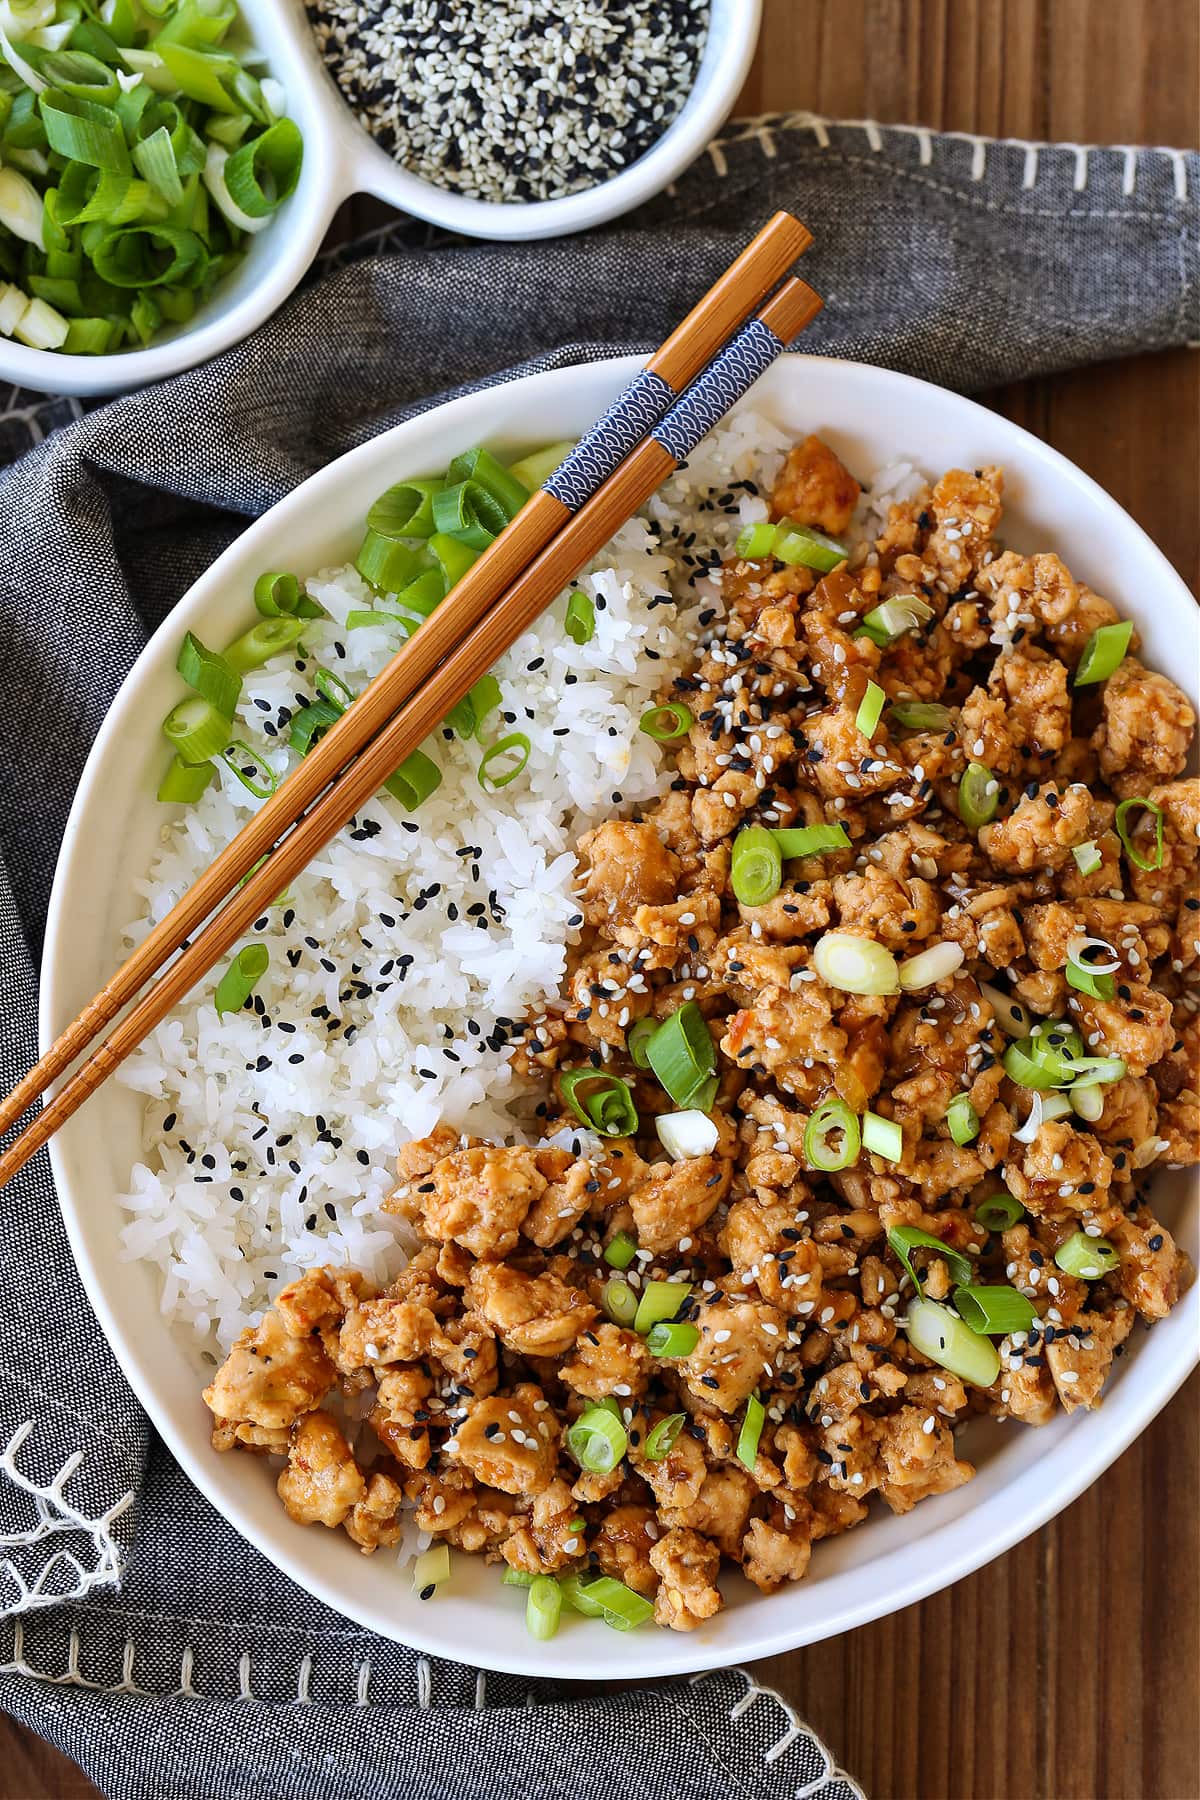
I had a pound of ground chicken from Butcher Box wondering what to do for supper tonight. I found a great quick recipe which we will do again. I might add some green beans or frozen/fresh peas next time.
I only had a pound so the recipe below is half of their 2 pound published recipe.
1 tablespoon cornstarch mixed in with sauce before adding to pan
Chopped scallions and sesame seeds for garnish ( they used black seasme I ony had white which I toasted)
Instructions
Add the olive oil to a skillet over medium heat. Cook the onion for 3-4 minutes until softened, then add the garlic and cook a minute longer.
Add the ground chicken to the skillet and cook while breaking up into small pieces until the chicken is cooked through. Drain any drippings from the skillet. Season the chicken with salt and pepper.
Mix the chili garlic sauce, soy sauce, brown sugar, sesame oil and chicken broth together in a bowl. Pour over the ground chicken and stir to combine. Bring to a simmer while stirring. Simmer the chicken until the sauce is thickened, taste for seasonings and serve with scallions and sesame seeds.
Maria came up last month to pick up most of her stuff we had been storing for her after she moved back to Maryland. she loved ginger ale and we loved watching her drink it. Odd ya but she would take a sip and it would take her breath away, I mean really take her breath away. I’m not sure if it that sensation or the taste of it that she loved so much but either way it was fun for us. We had all this ginger ale left over from her last visit and with the 4th coming up I’m planning of gas BBQ smoke ribs, along with steaks , hot dogs and whatever anyone wants. So I asked Chat GPT for recipe and it came up with this.
Here’s a simple and delicious BBQ sauce recipe using ginger ale:
Ginger Ale BBQ Sauce Recipe
Ingredients:
1 can (12 oz) ginger ale
1 cup ketchup
1/2 cup brown sugar
1/4 cup apple cider vinegar
2 tablespoons Worcestershire sauce
2 tablespoons soy sauce
1 tablespoon mustard (Dijon or yellow)
1 teaspoon garlic powder
1 teaspoon onion powder
1/2 teaspoon smoked paprika
1/4 teaspoon black pepper
1/4 teaspoon cayenne pepper (optional, for heat)
Instructions:
Combine Ingredients:
In a medium saucepan, combine the ginger ale, ketchup, brown sugar, apple cider vinegar, Worcestershire sauce, soy sauce, and mustard. Stir well to combine.
Add Spices:
Add the garlic powder, onion powder, smoked paprika, black pepper, and cayenne pepper (if using). Mix thoroughly.
Simmer:
Place the saucepan over medium heat. Bring the mixture to a boil, then reduce the heat to low and let it simmer. Stir occasionally to prevent sticking.
Reduce and Thicken:
Allow the sauce to simmer for about 30-40 minutes, or until it has thickened to your desired consistency. Keep an eye on it and stir regularly.
Cool and Store:
Once the sauce has thickened, remove it from the heat and let it cool. Transfer the sauce to a jar or airtight container. It can be stored in the refrigerator for up to two weeks.
Use:
Use your ginger ale BBQ sauce to baste grilled meats, as a dipping sauce, or in any recipe that calls for BBQ sauce.
I thought everyone could use a reminder or hint, could be may age showing but I’m constantly looking this up, only to say Geesh I knew that.
Nailing a perfectly cooked, juicy chicken breast can often feel like a fluke and a reason to celebrate. However, achieving chef-level chicken every time is easier than you think and it all comes down to temperatures. A meat thermometer is your best friend when it comes to cooking chicken. An accurate measure of the internal temperature of the meat is the only surefire way to judge doneness.
The USDA recommends cooking chicken to a minimum internal temperature of 165°F. However, a single target temperature doesn’t reign supreme — white meat and dark meat should actually be cooked to different temperatures. Plus, home cooks often don’t take into account carryover cooking, which is likely the culprit of many dry chicken breasts. Here’s how to cook juicy chicken every time.
What is carryover cooking?
Carryover cooking takes place when a meat is resting before cutting or serving it. In addition to allowing the juices time to redistribute, resting the meat also plays a part in doneness. Even though the meat has been removed from the heat source, the internal temperature continues to climb. This occurs because as the exterior of the meat cools, it releases heat in two directions — both externally and internally. As heat is released internally, the center of the meat gets warmer. It’s important to take carryover cooking into account since it can cause 5 to 10 degree increase in temperature which could be the difference between juicy and dry chicken.
What temperature should white meat chicken be cooked to?
Cook lean white meat, such as breasts and wings, to an internal temperature of 155°F. Let the meat rest for 5 to 10 minutes to allow carryover cooking to bring the internal temperature to 165°F. While bone-in chicken takes longer to cook than boneless chicken, it’s more forgiving and less likely to dry out if you accidentally overcook it by a few degrees.
What temperature should dark meat chicken be cooked to?
Dark meat, such as legs and thighs, contains more connective tissue and fat than white meat and can withstand, actually benefit from, cooking to a higher internal temperature. Connective tissue starts to break down around 150°F and continues to soften and melt as long as the temperature stays above this point. While it’s completely safe to eat dark meat chicken that’s been cooked to 165°F, the meat is actually more tender and juicy if it’s cooked to 170°F and allowed to rise to 180°F with carryover cooking.
What temperature should a whole chicken be cooked to?
Cooking a whole chicken, whether on the grill or in the oven, can be a little more tricky because it contains both white and dark meat. Position the chicken with the legs pointed towards the hottest part of the grill or the back of the oven. Cook the chicken until a meat thermometer inserted in the thickest part of the thigh registers 155°F. Thighs typically take the longest to come up to temperature, so by this time, the breast will be above 160°F. Let the chicken rest for about 10 minutes and carryover cooking will bring the thigh temperature to 165°F. Cooking a whole chicken requires compromise — in order for the dark meat to be cooked through, the white meat will have to cook a little longer than necessary.
How to use a meat thermometer?
When measuring the internal temperature of chicken, insert an instant read meat thermometer into the thickest portion of meat. Be sure the thermometer probe is not touching a bone which can cause an inaccurate reading.
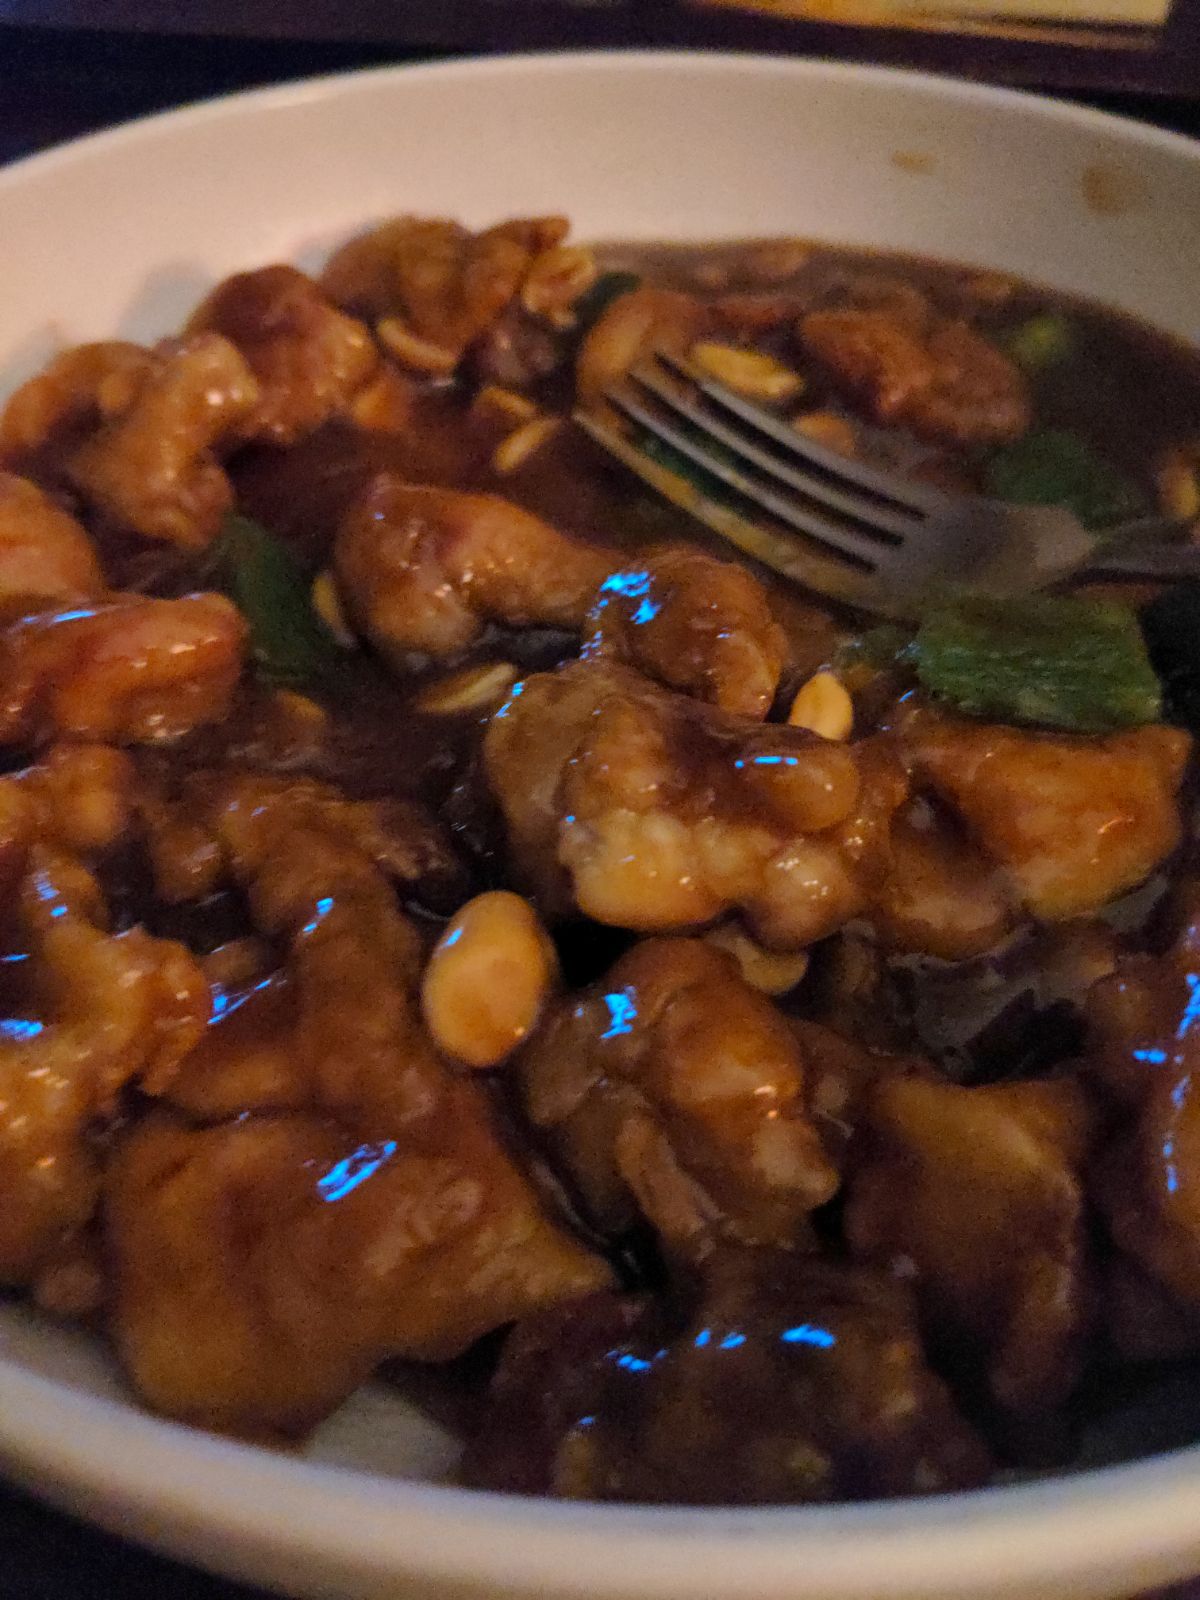
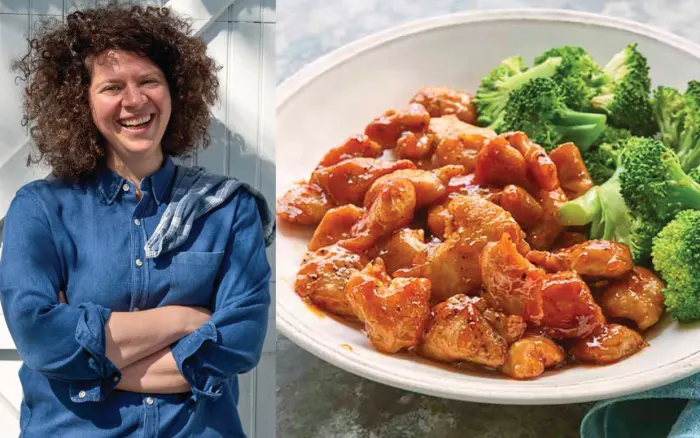
Lyn gave me this to make and I’ll never pass up a stir fry recipe it was good.
Ingredients
2 Tbsp water
1 tsp cornstarch
¼ cup ketchup
3 Tbsp honey
3 Tbsp soy sauce
1 Tbsp chili garlic sauce (such as sambal oelek) or your favorite hot sauce (optional)
4 cloves garlic, minced
2 Tbsp canola oil, plus more as needed
1½ lb skinless boneless chicken breasts or thighs, cut into bite-size pieces
Kosher salt and freshly ground black pepper, to taste
Preparation
In a small bowl, stir water and cornstarch until well combined. Stir in ketchup, honey, soy sauce, chili garlic sauce (if using) and garlic.
In a large nonstick skillet over medium-high, heat oil. Add half of chicken; season generously with salt and pepper. Cook 5 minutes, stirring occasionally, or until browned all over; transfer to a plate. If needed, add another tablespoon oil to pan. Cook remaining chicken, salt and pepper. Return first batch chicken to pan along with sauce. Bring to a boil. Reduce heat to low; simmer 5 minutes or until sauce is thick and coats chicken, stirring occasionally
My Suggestions: Add peanuts or cashews, maybe pineapple chunks