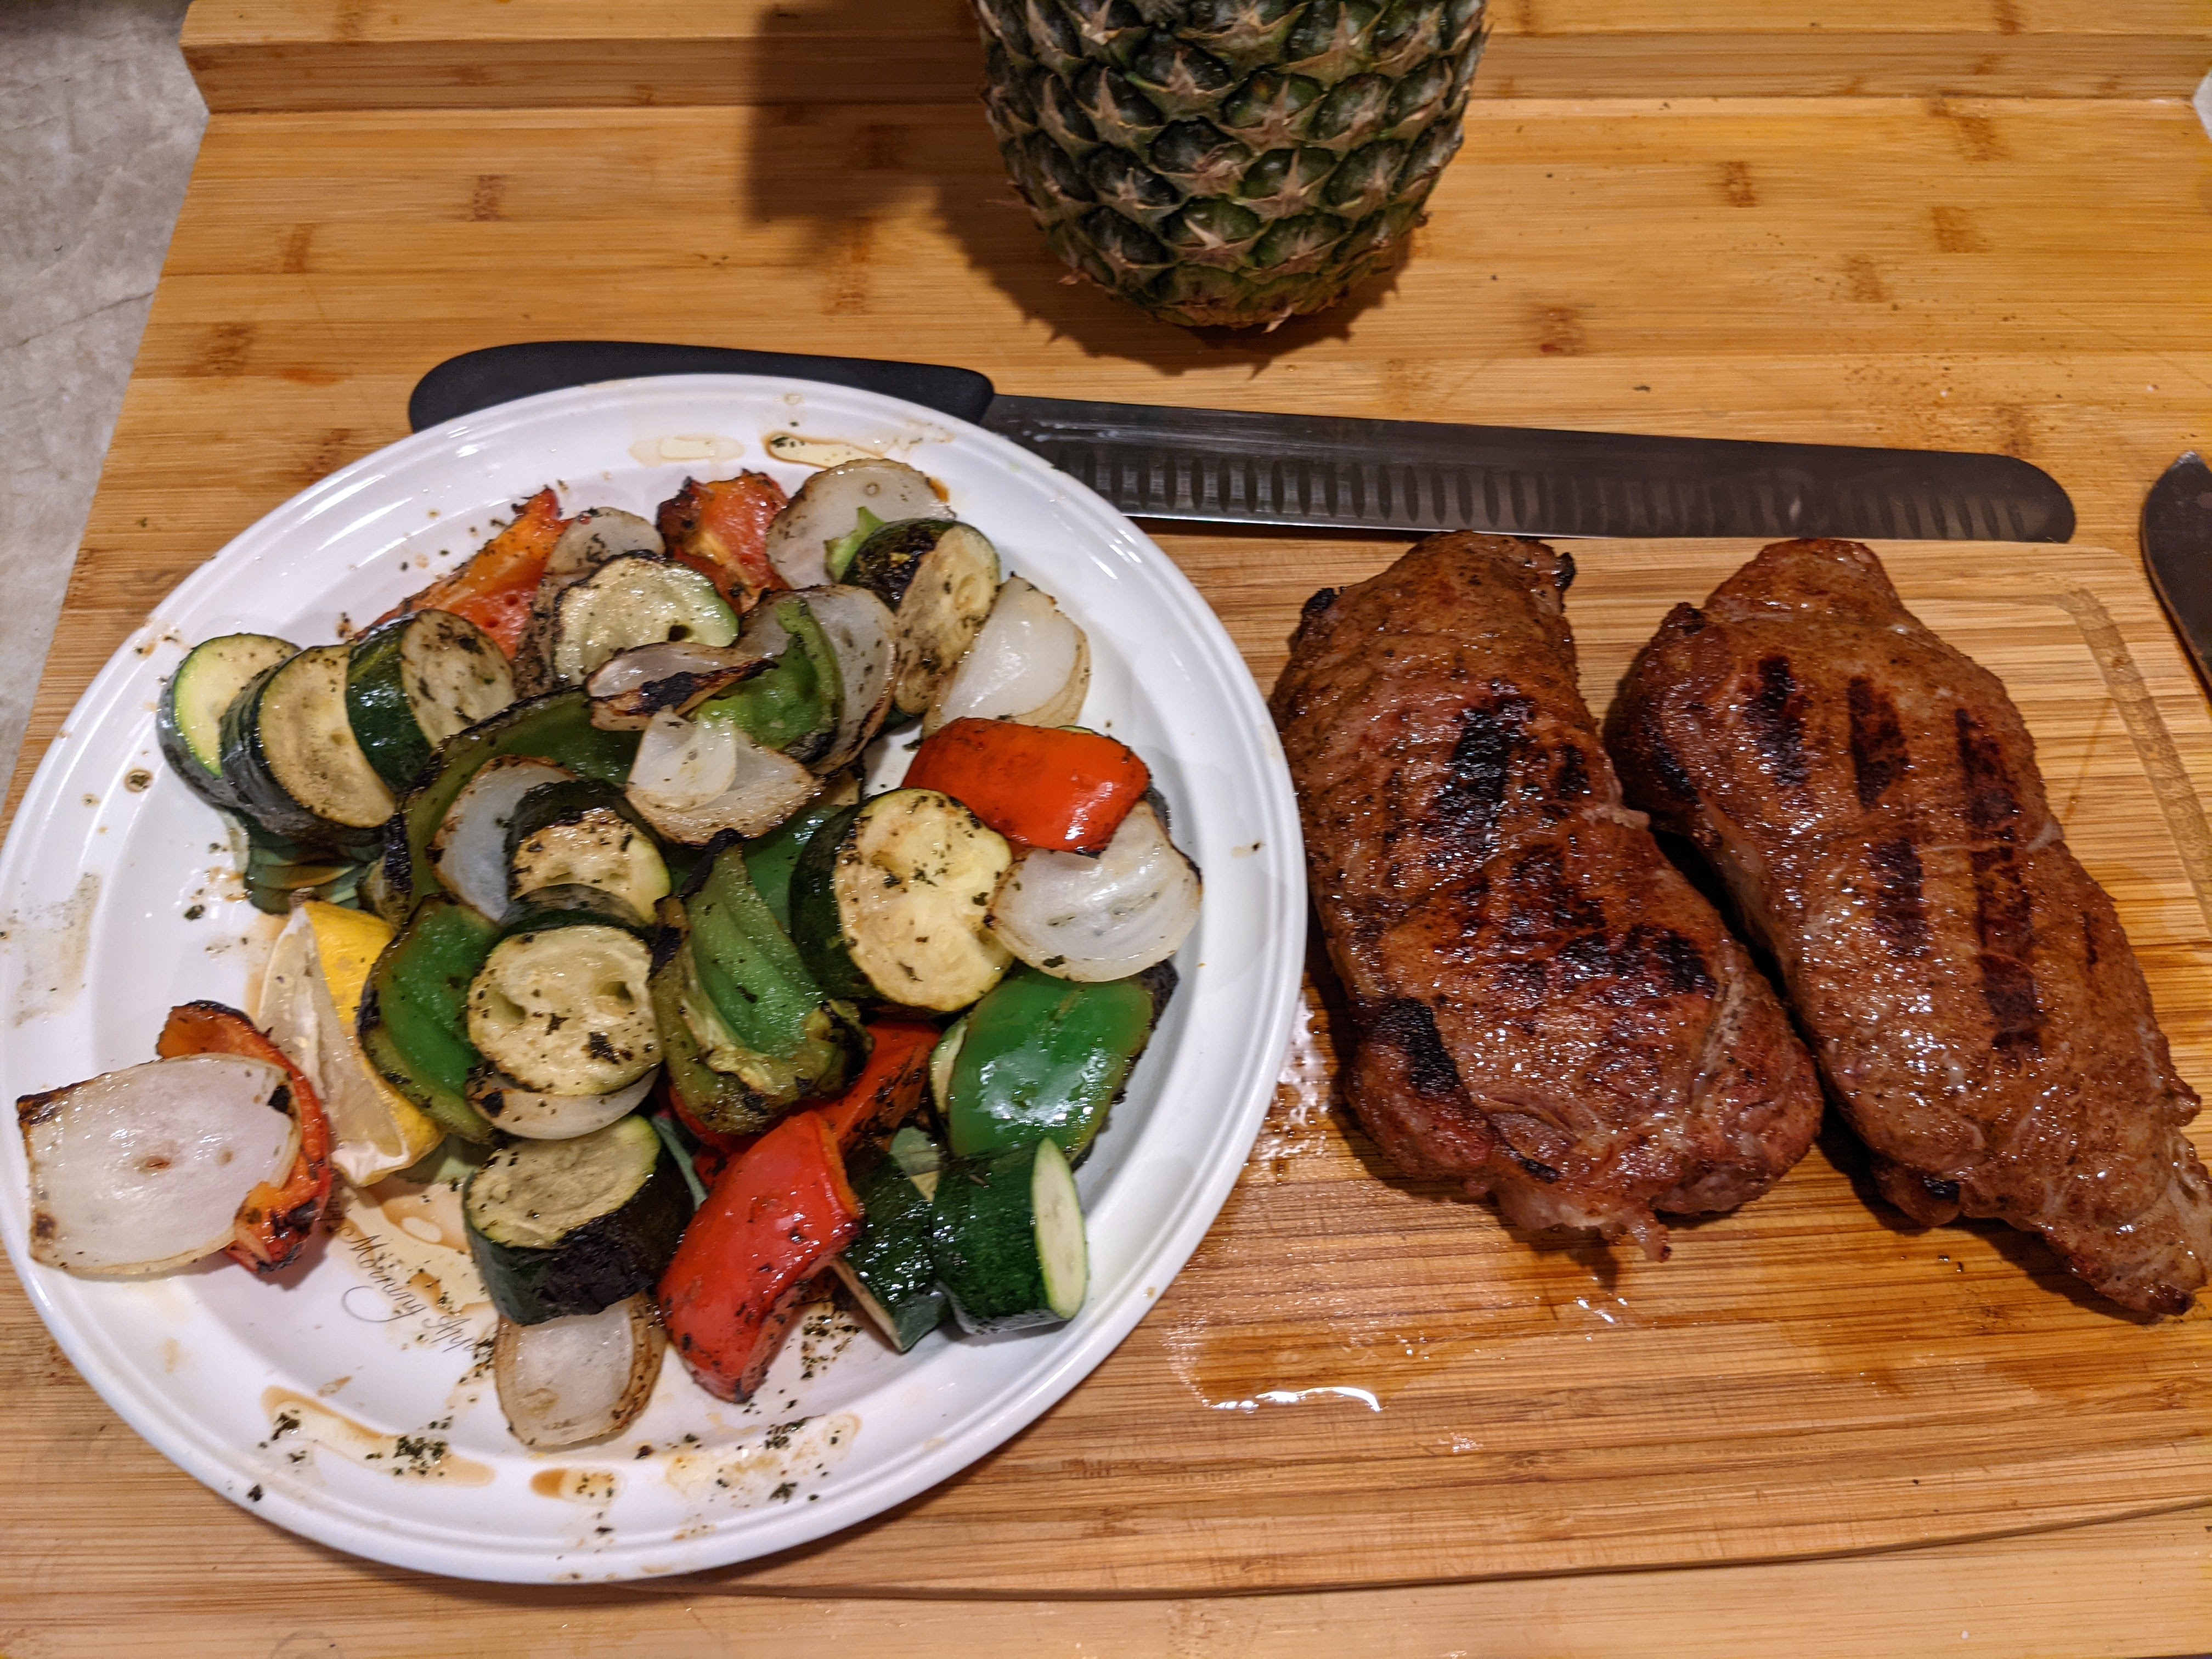
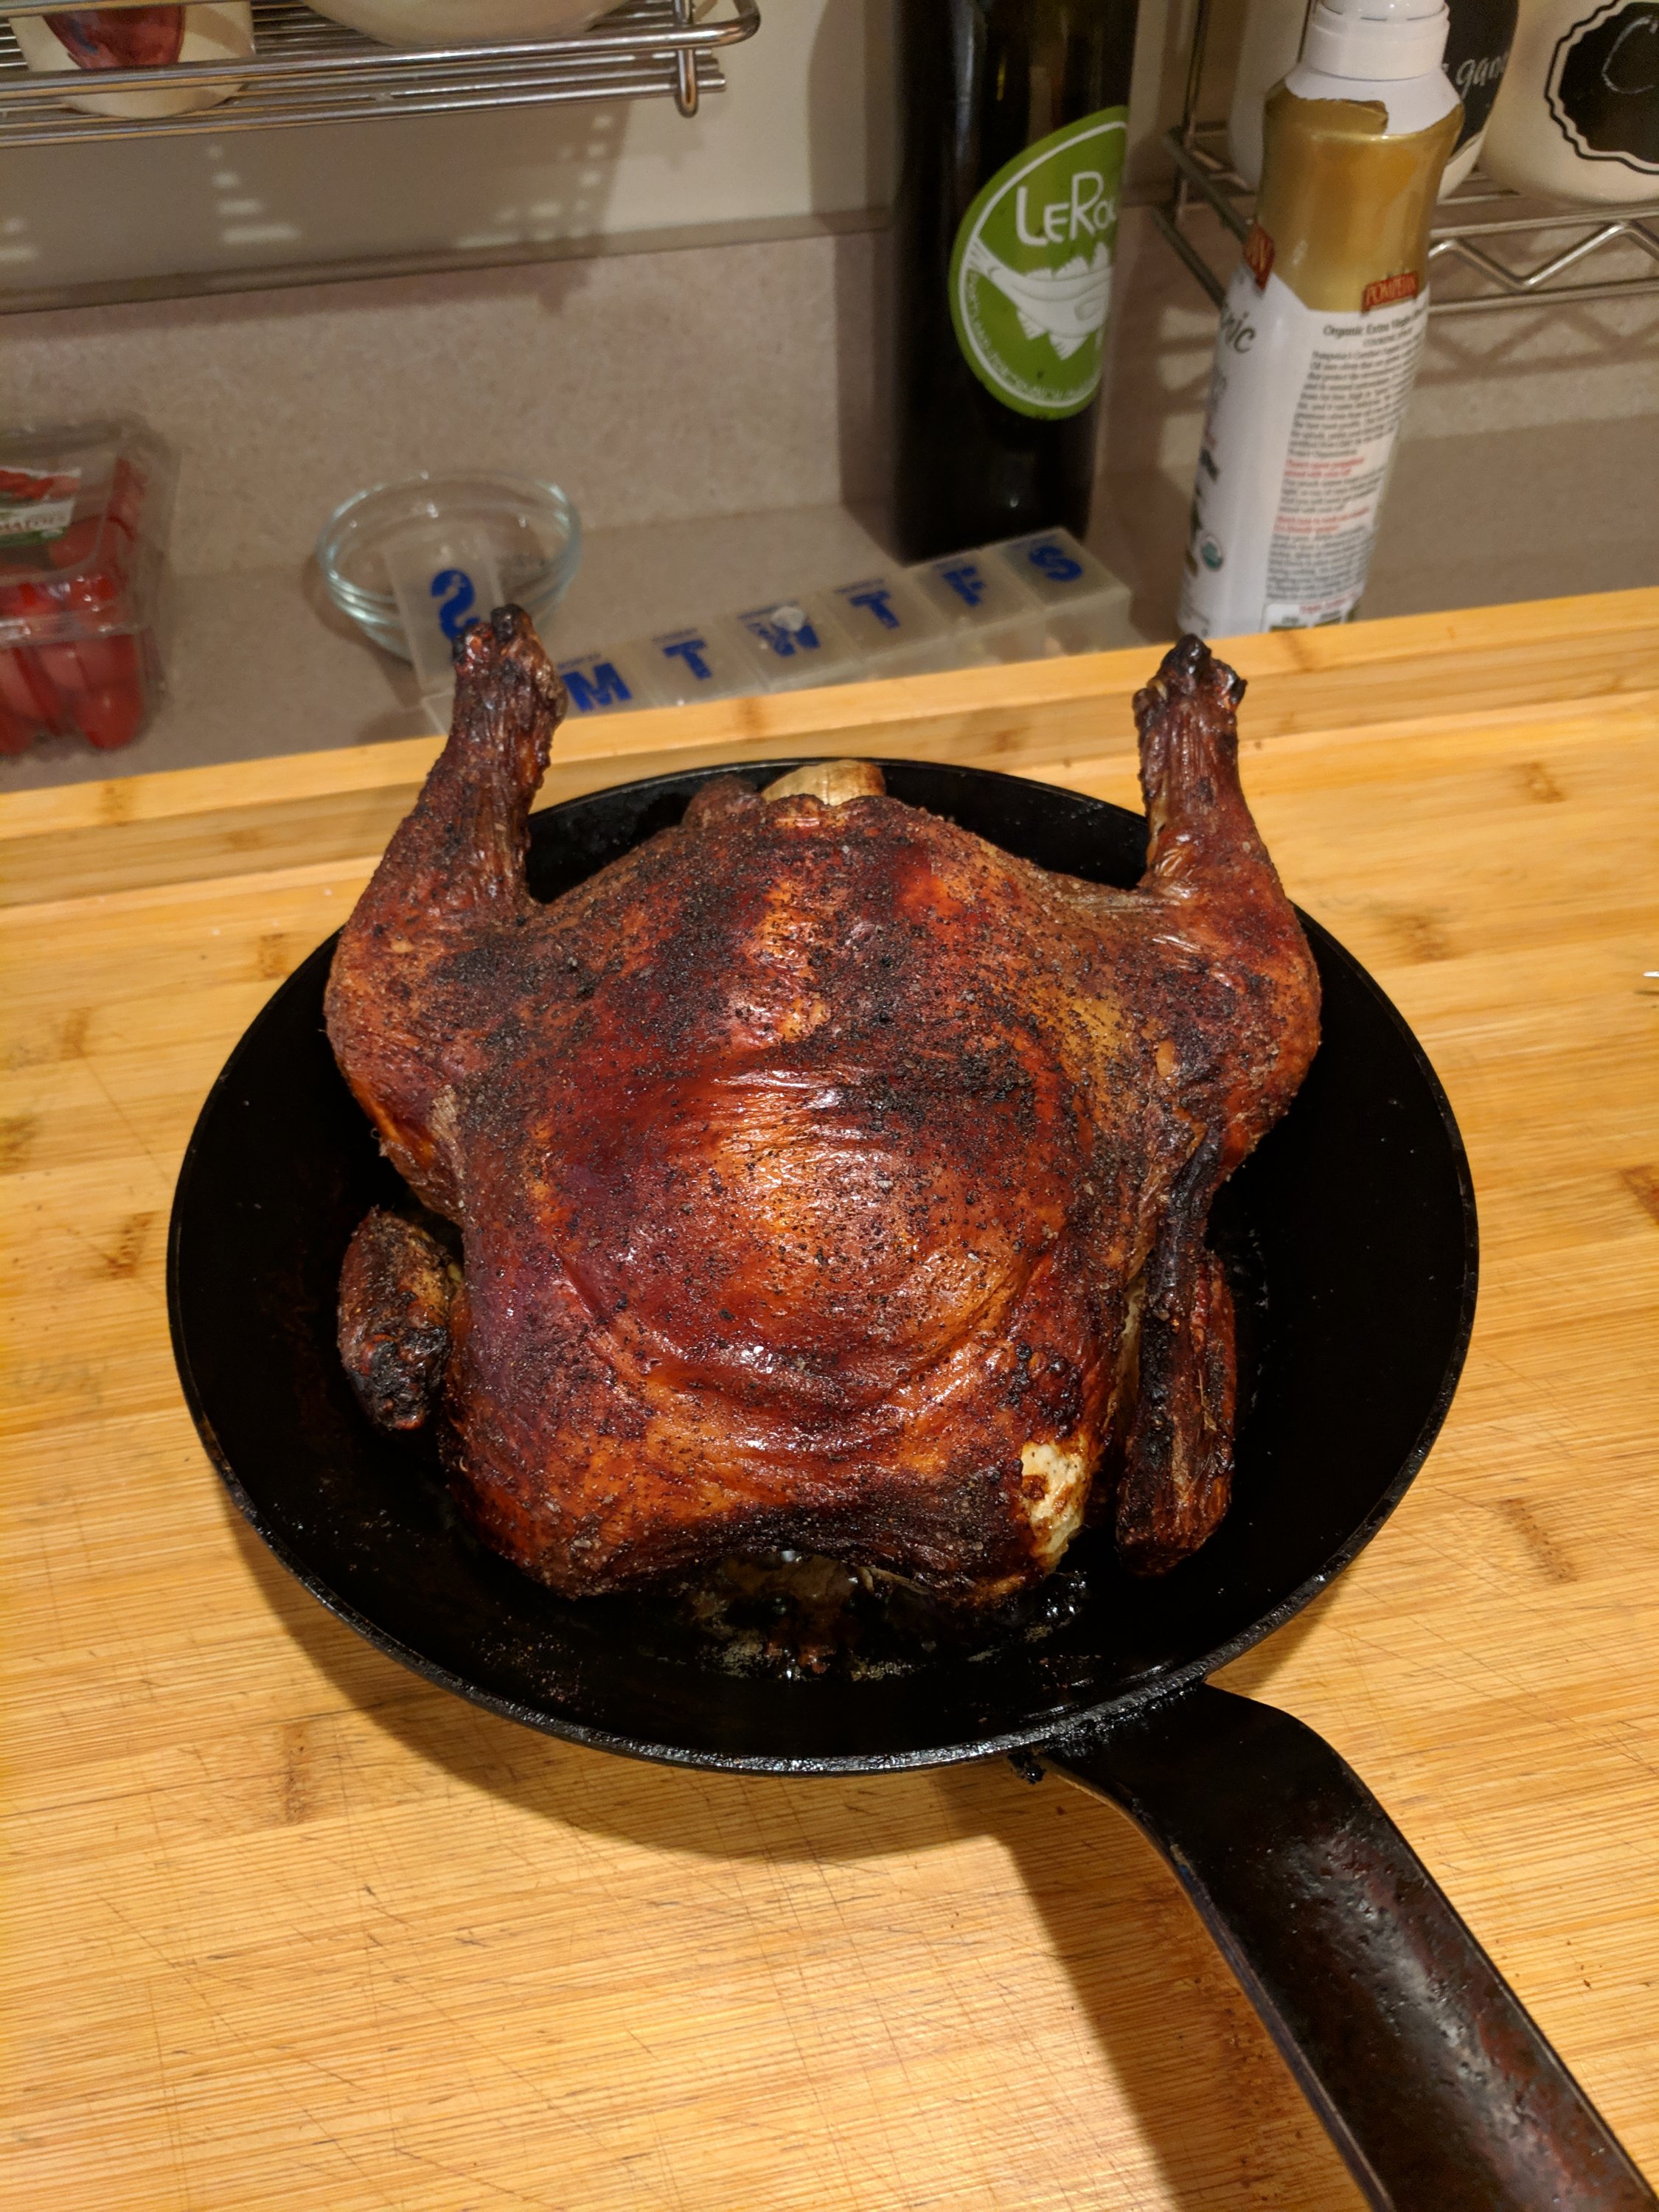
I love roasted veggies and have a lot of post about them her is just another twist grilled on the BBQ
Fantastic, flavorful dishes that just happen to be gluten free.
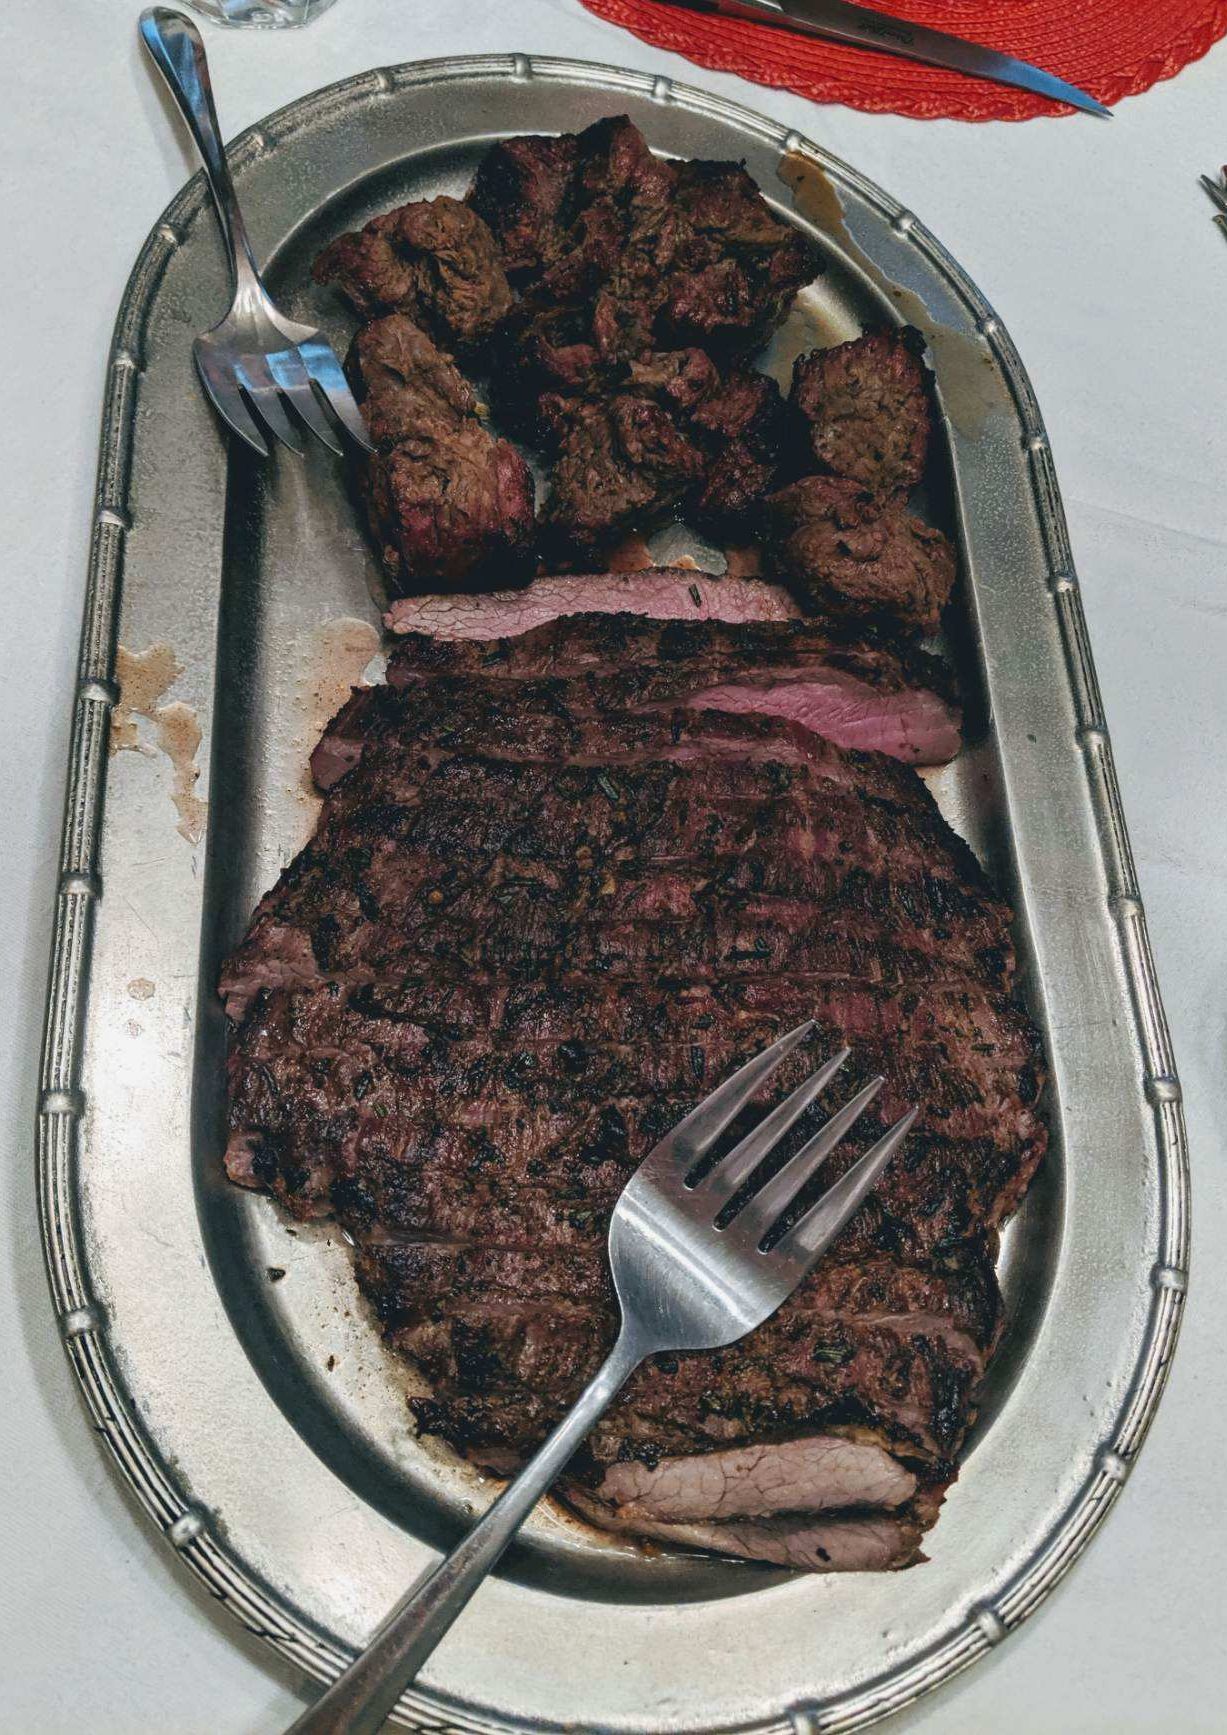
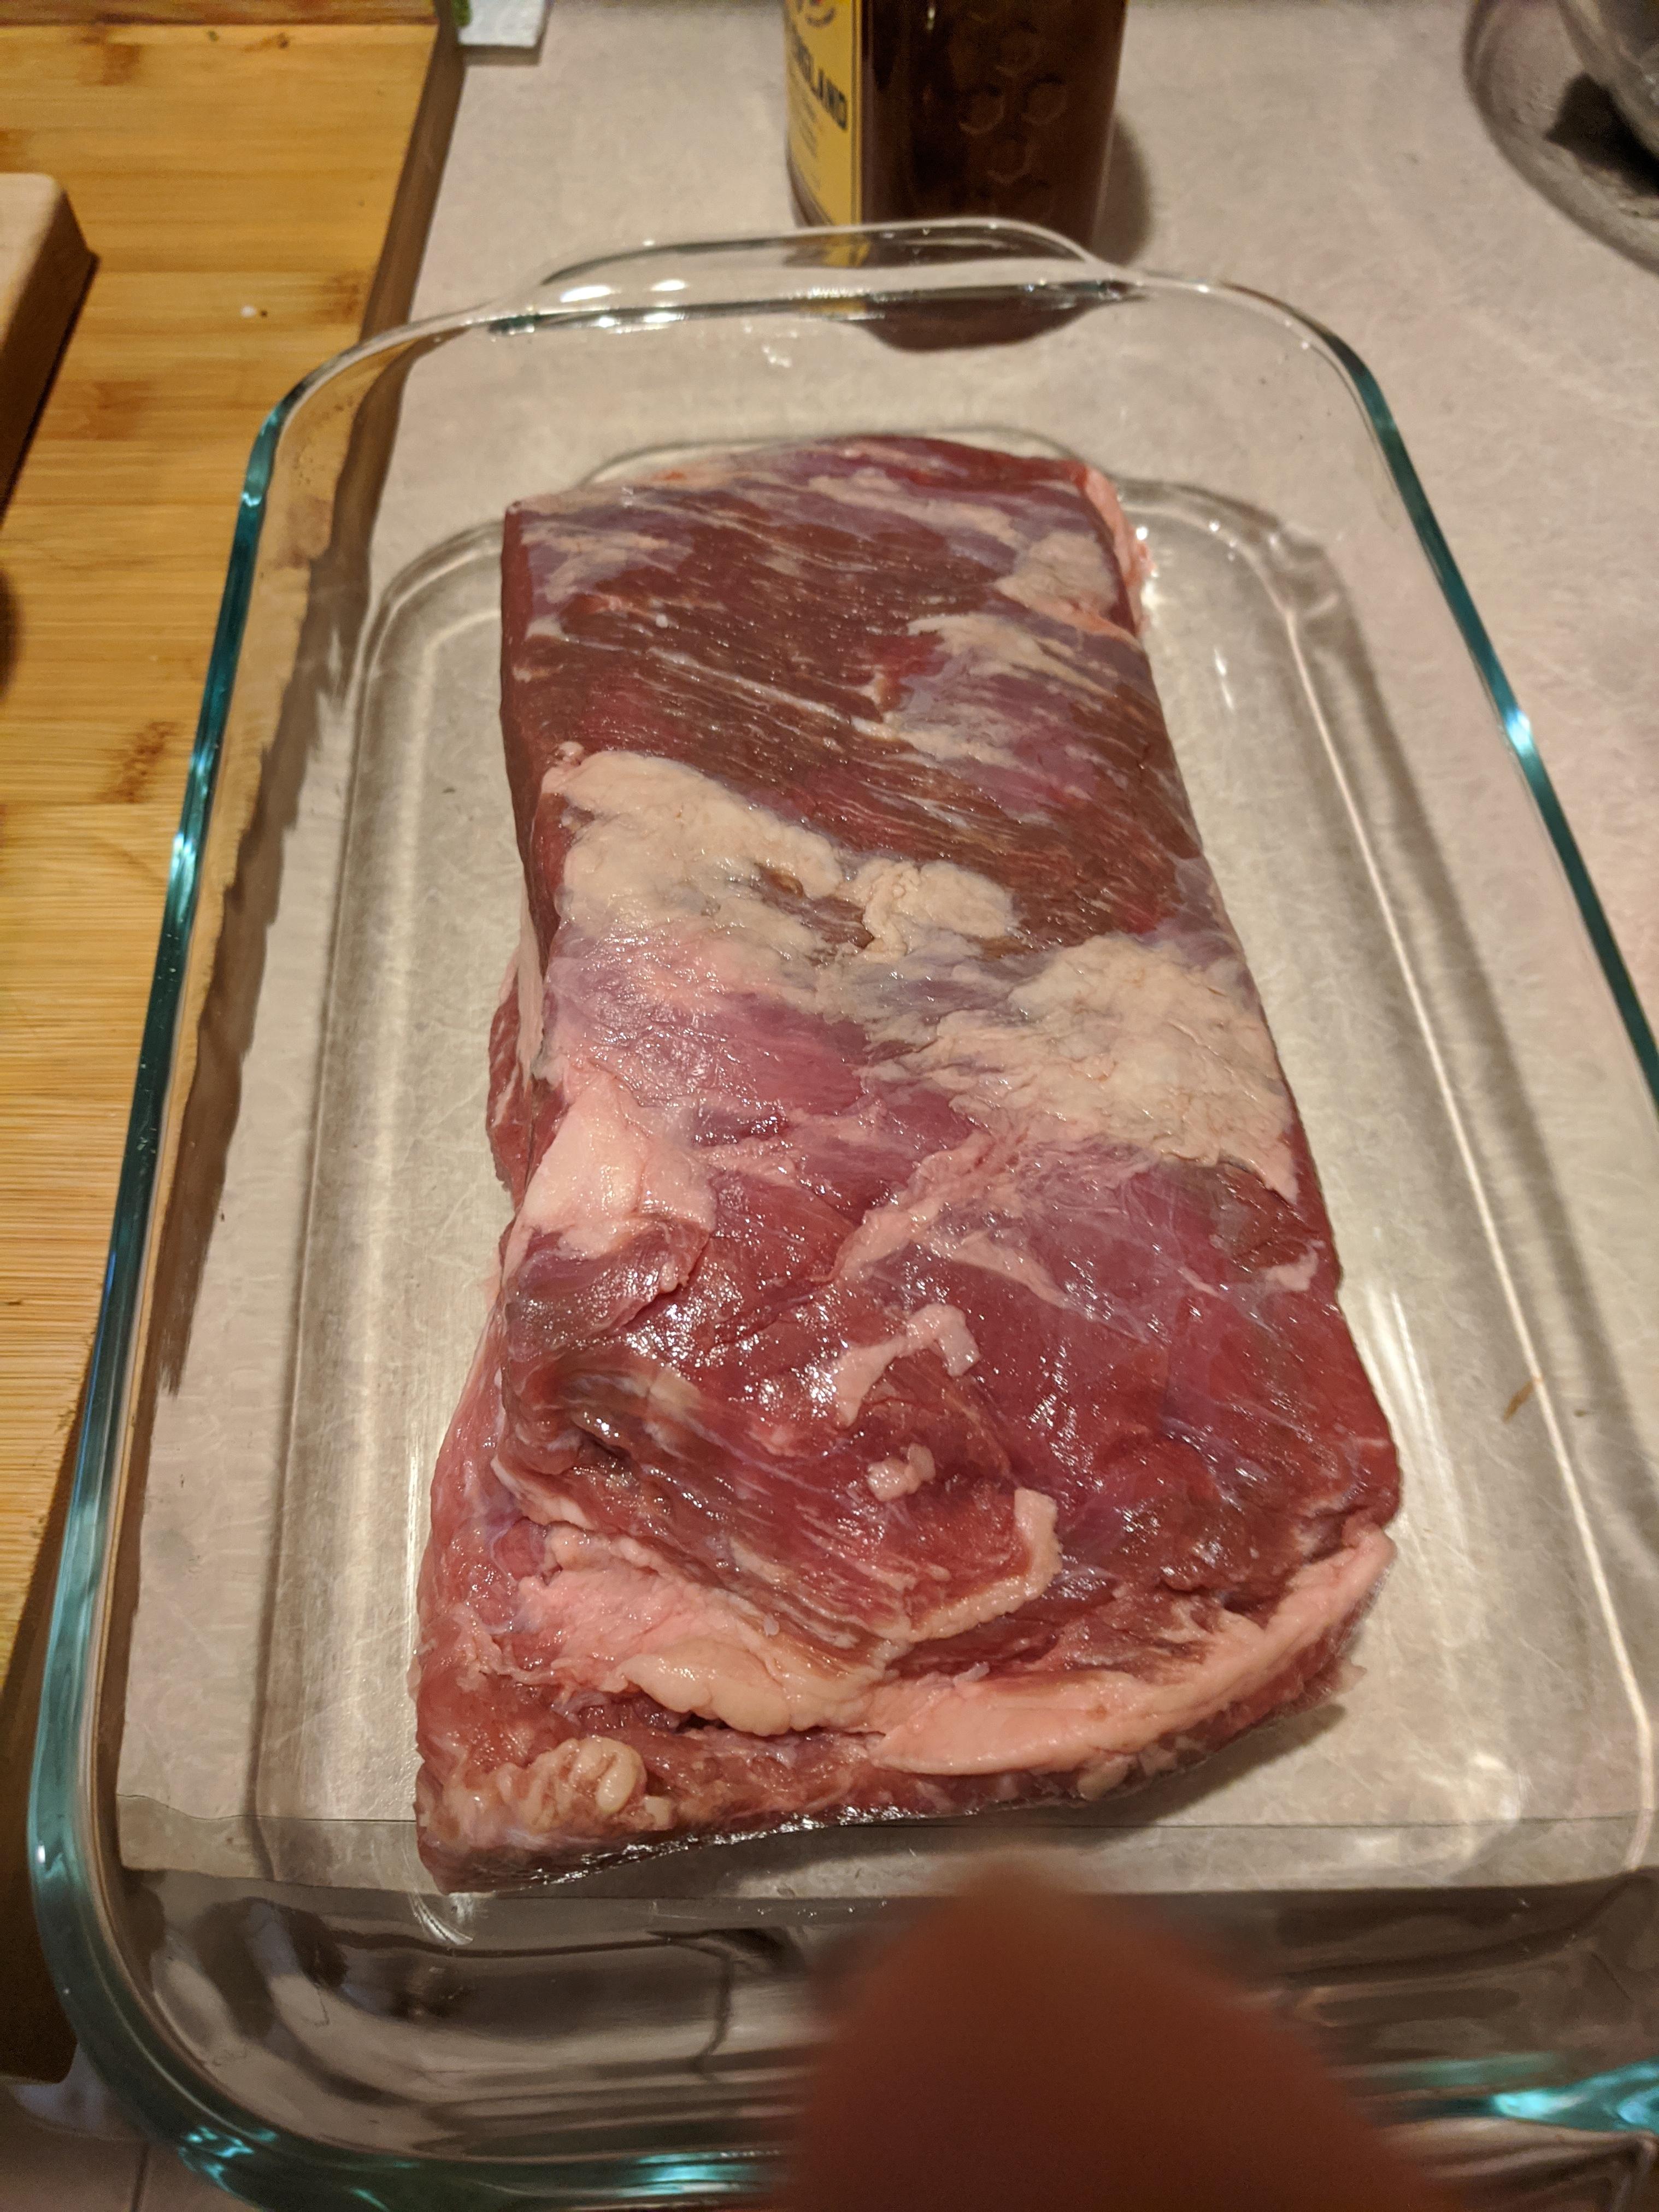
- Thai Beef Salad with Grilled Sirloin Steak, Chinese Cabbage, Red Peppers and Cilantro
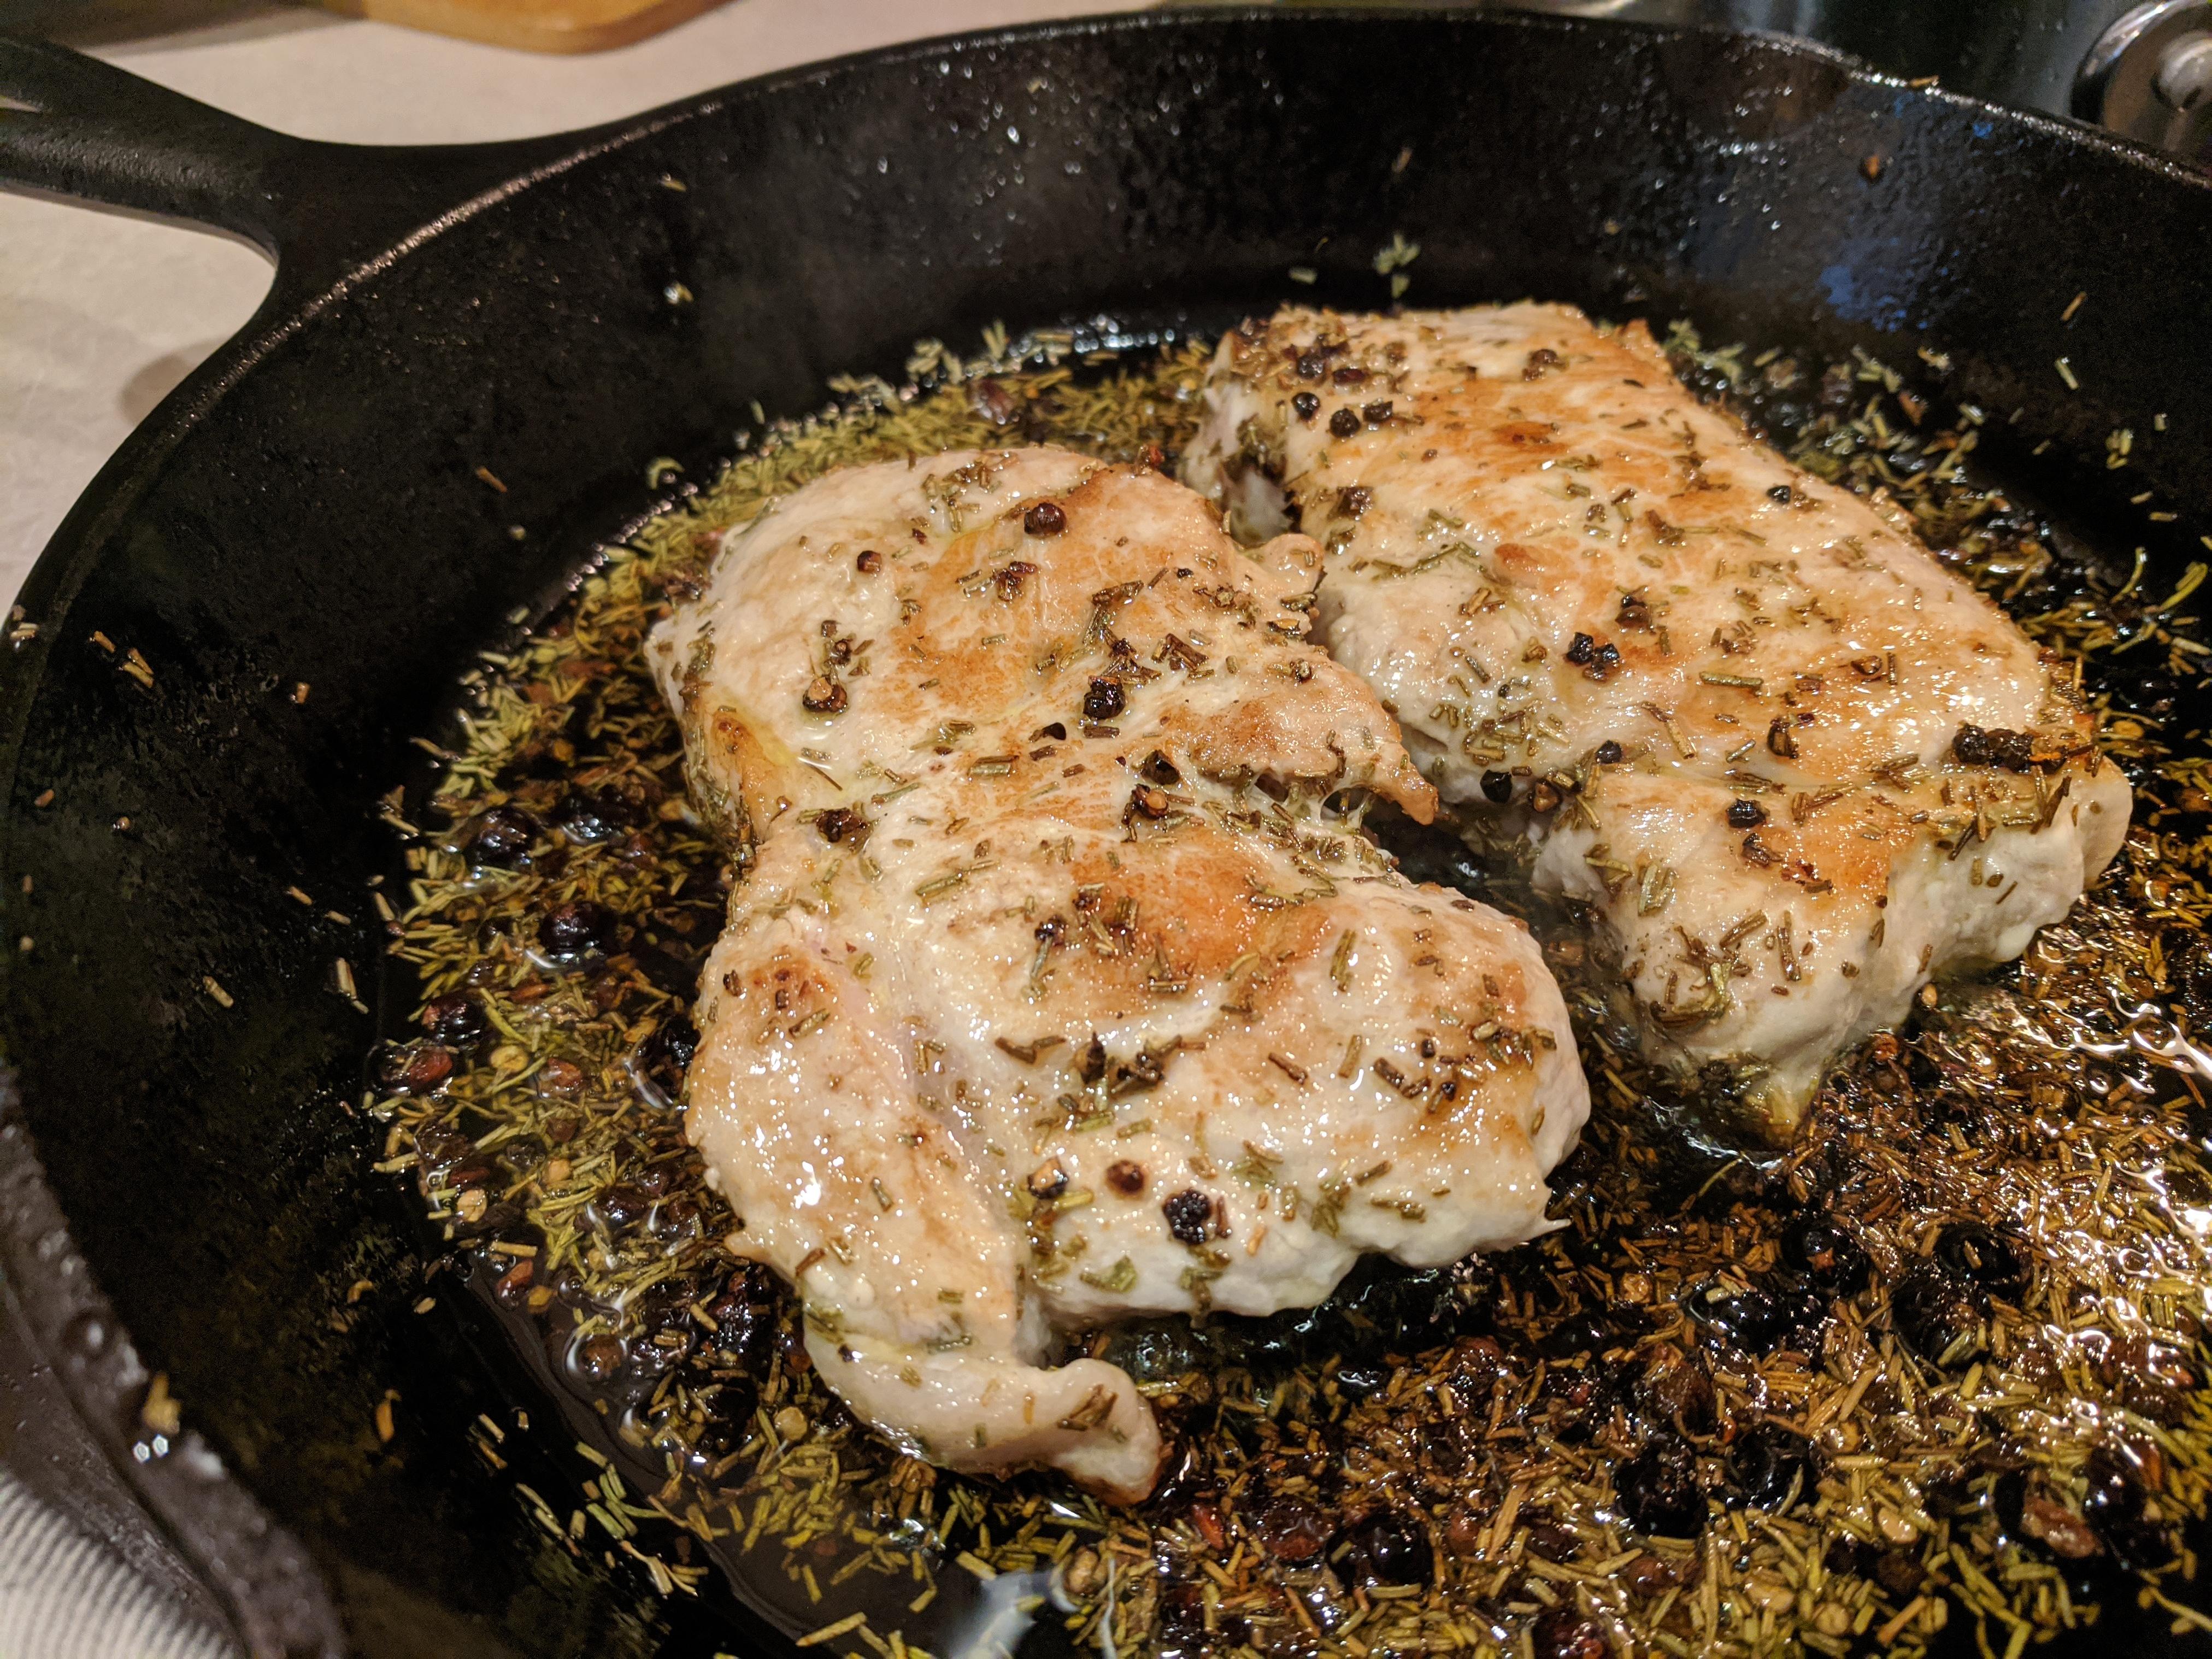
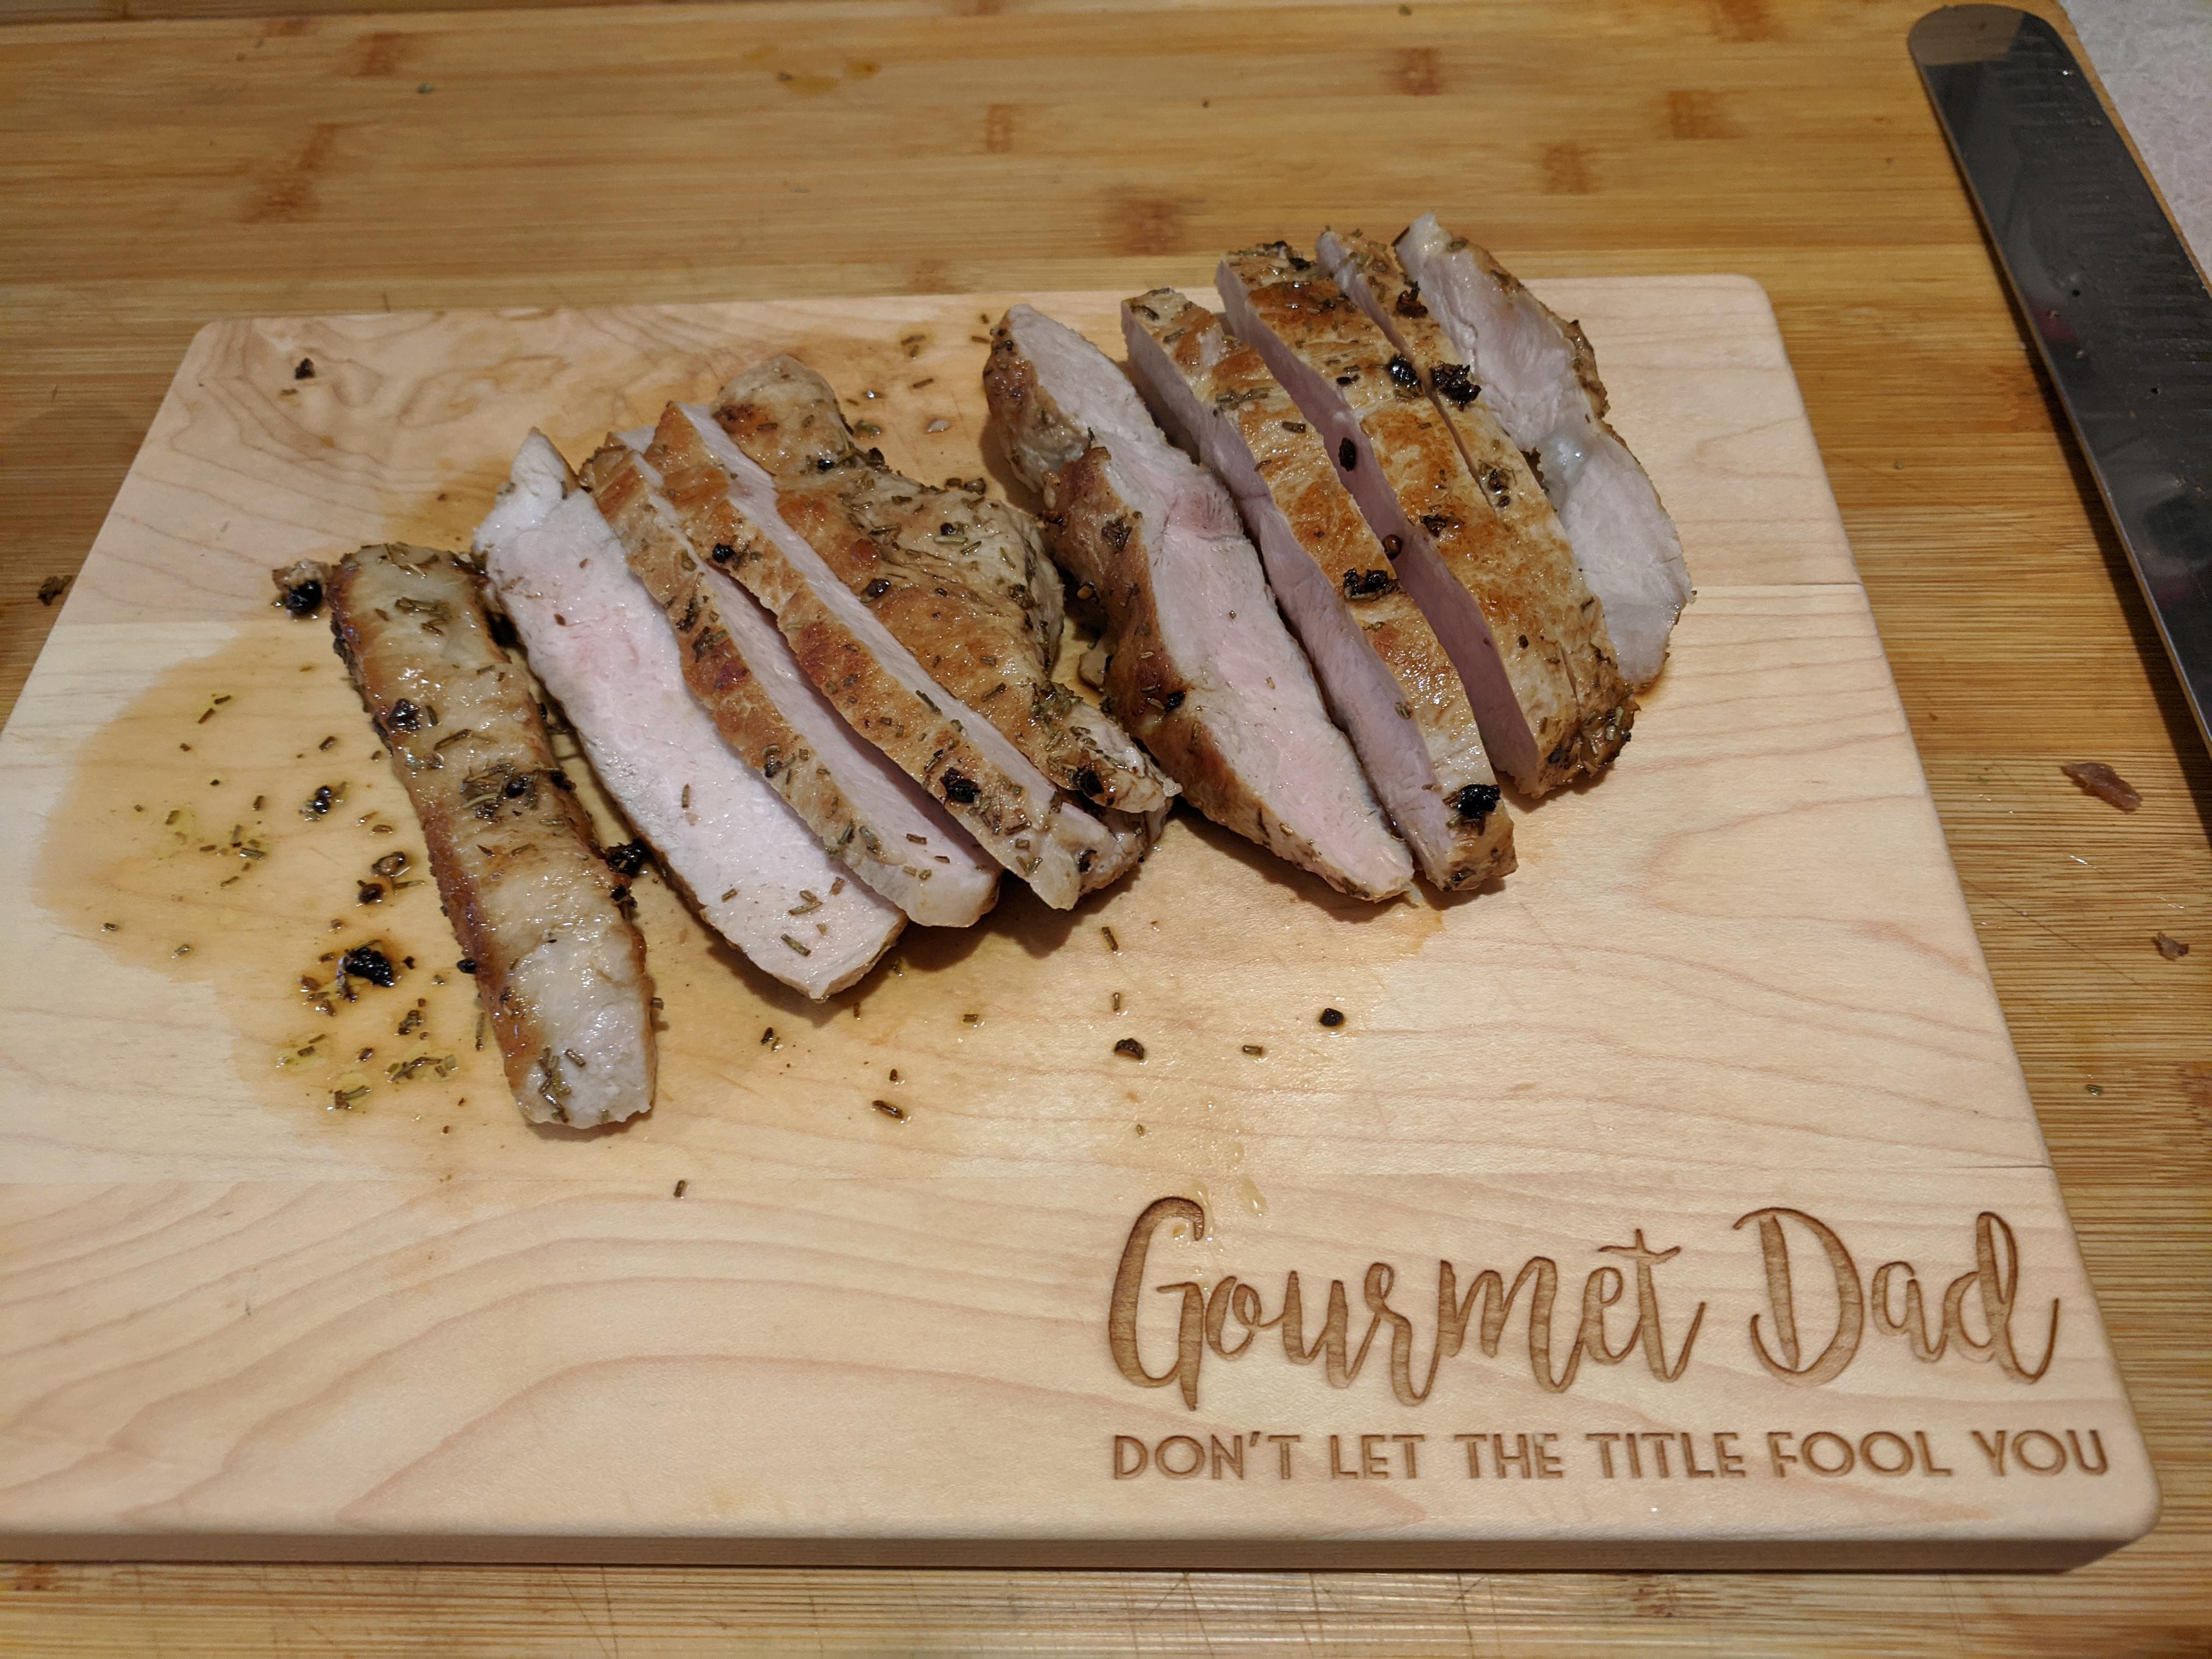
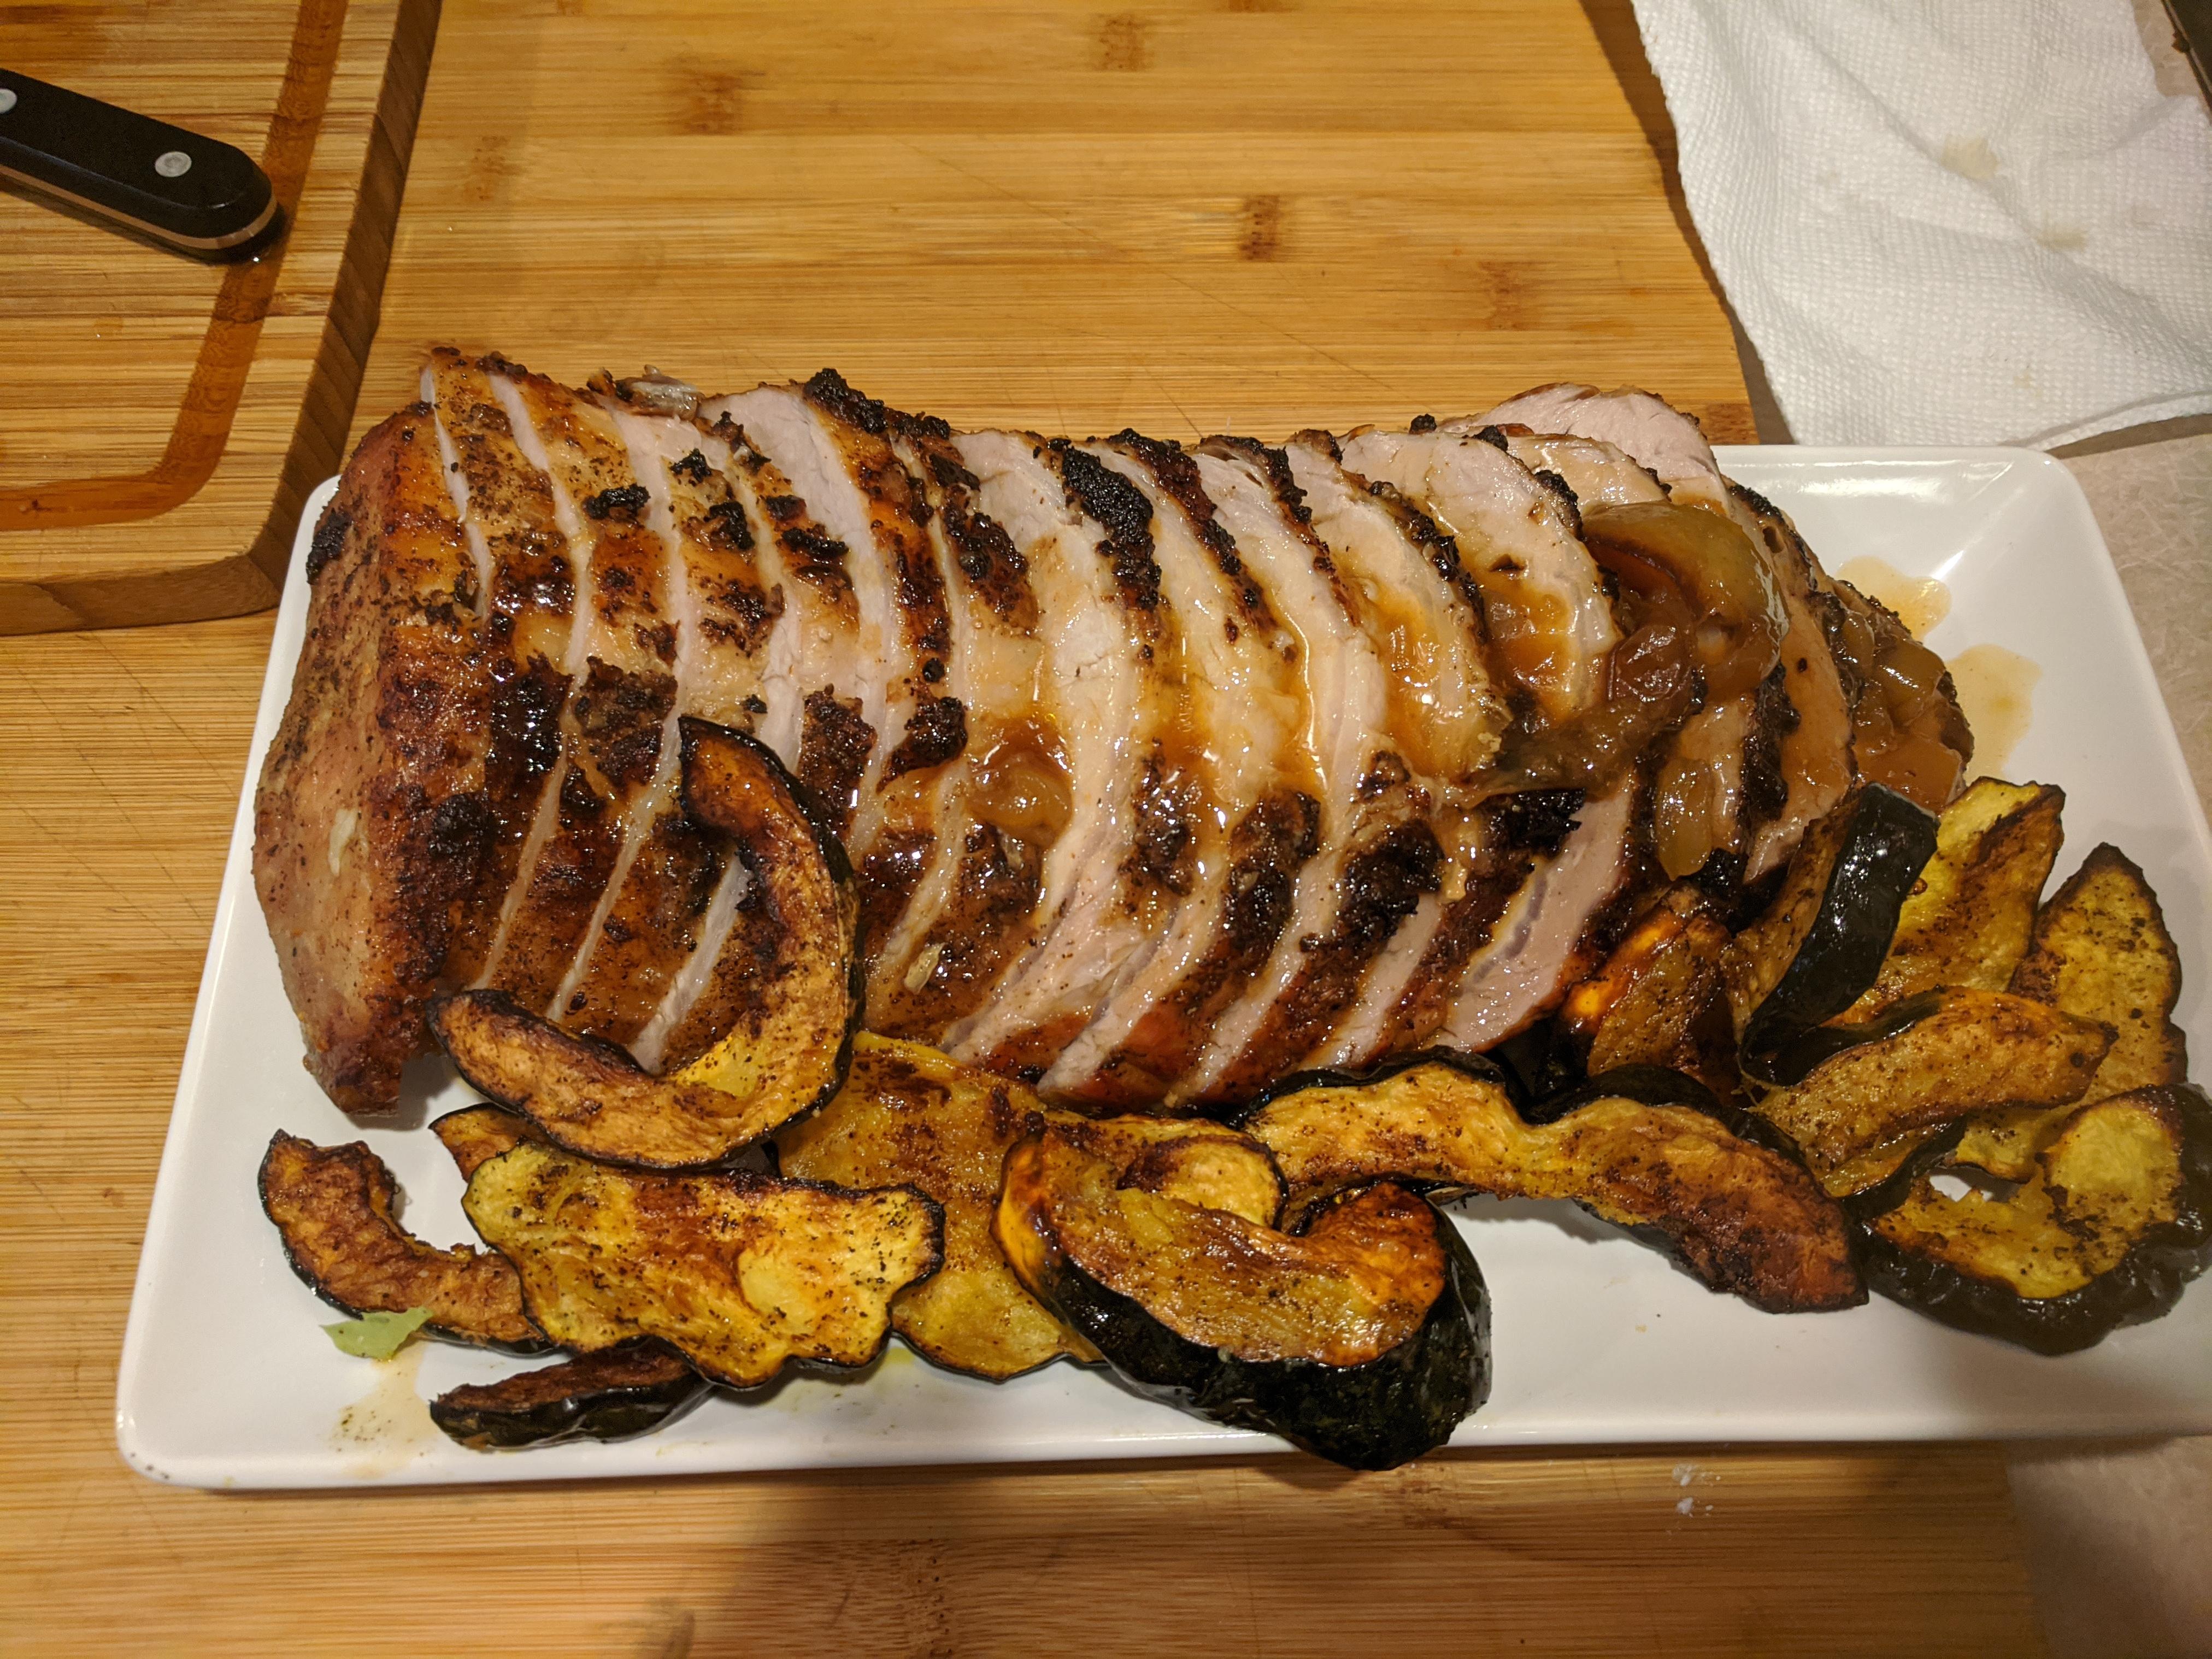
- Marinated Pork Tenderloin in Maple Tamari Sauce Served with Steamed Rice
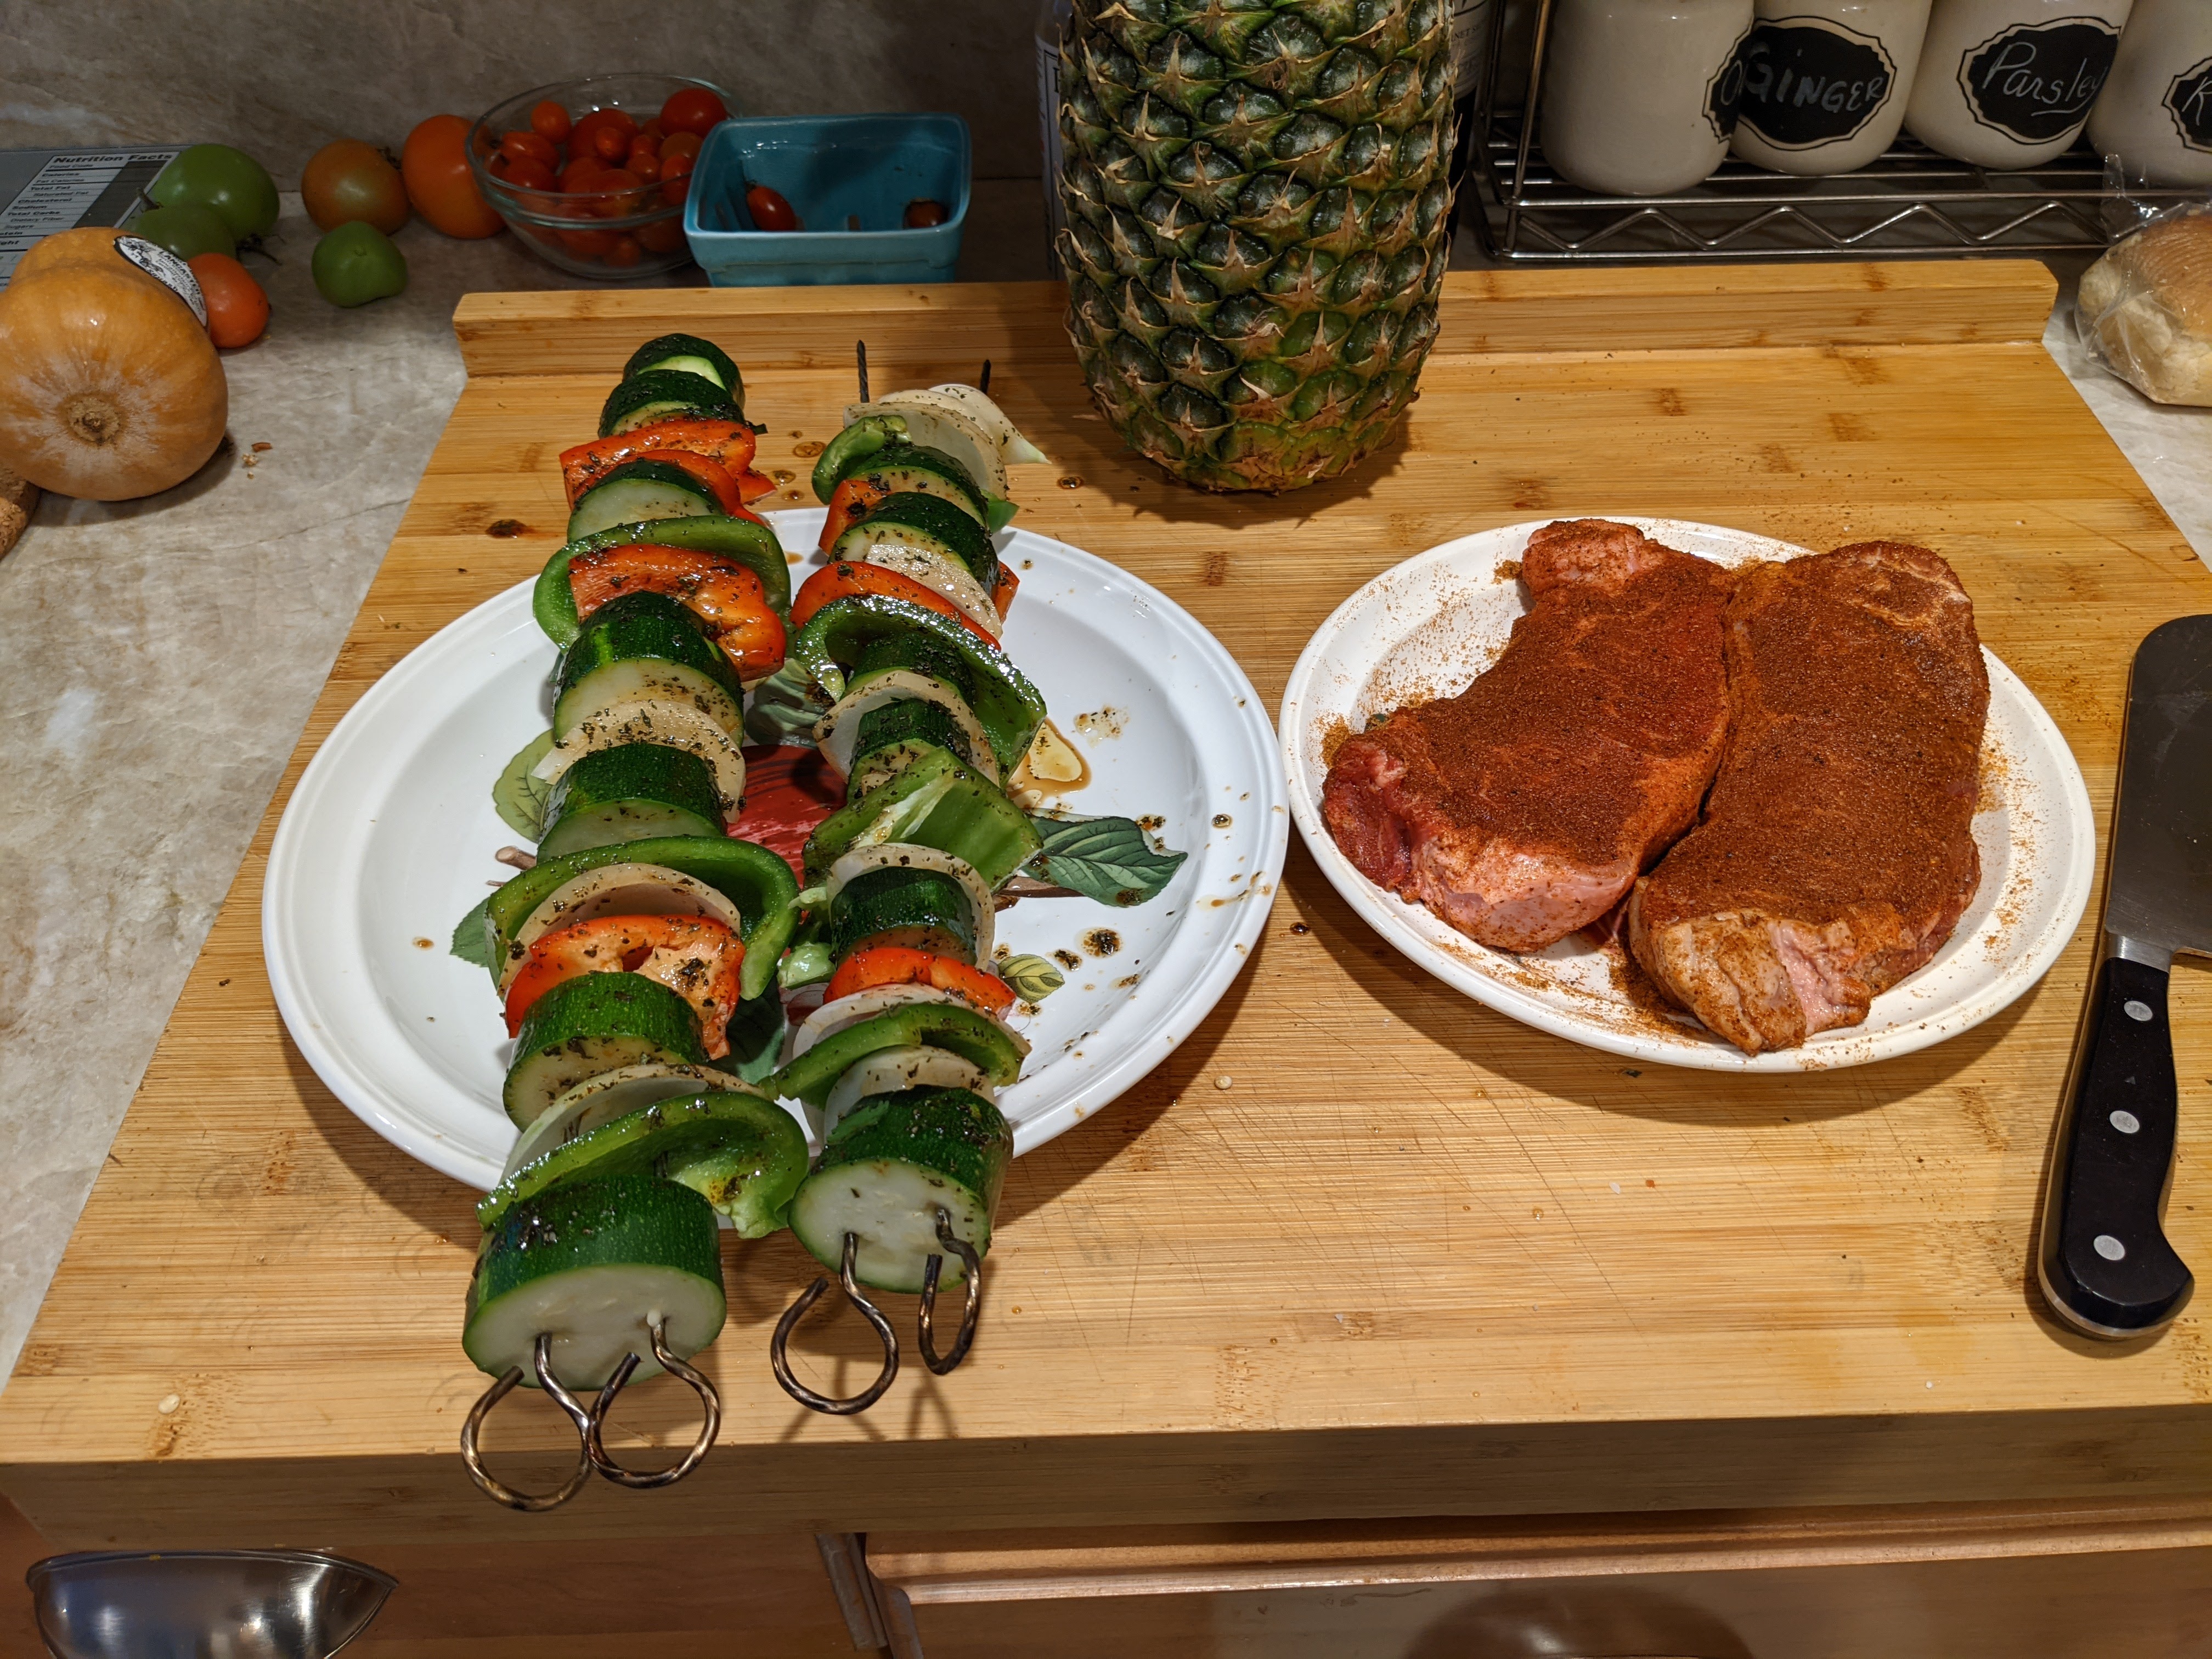
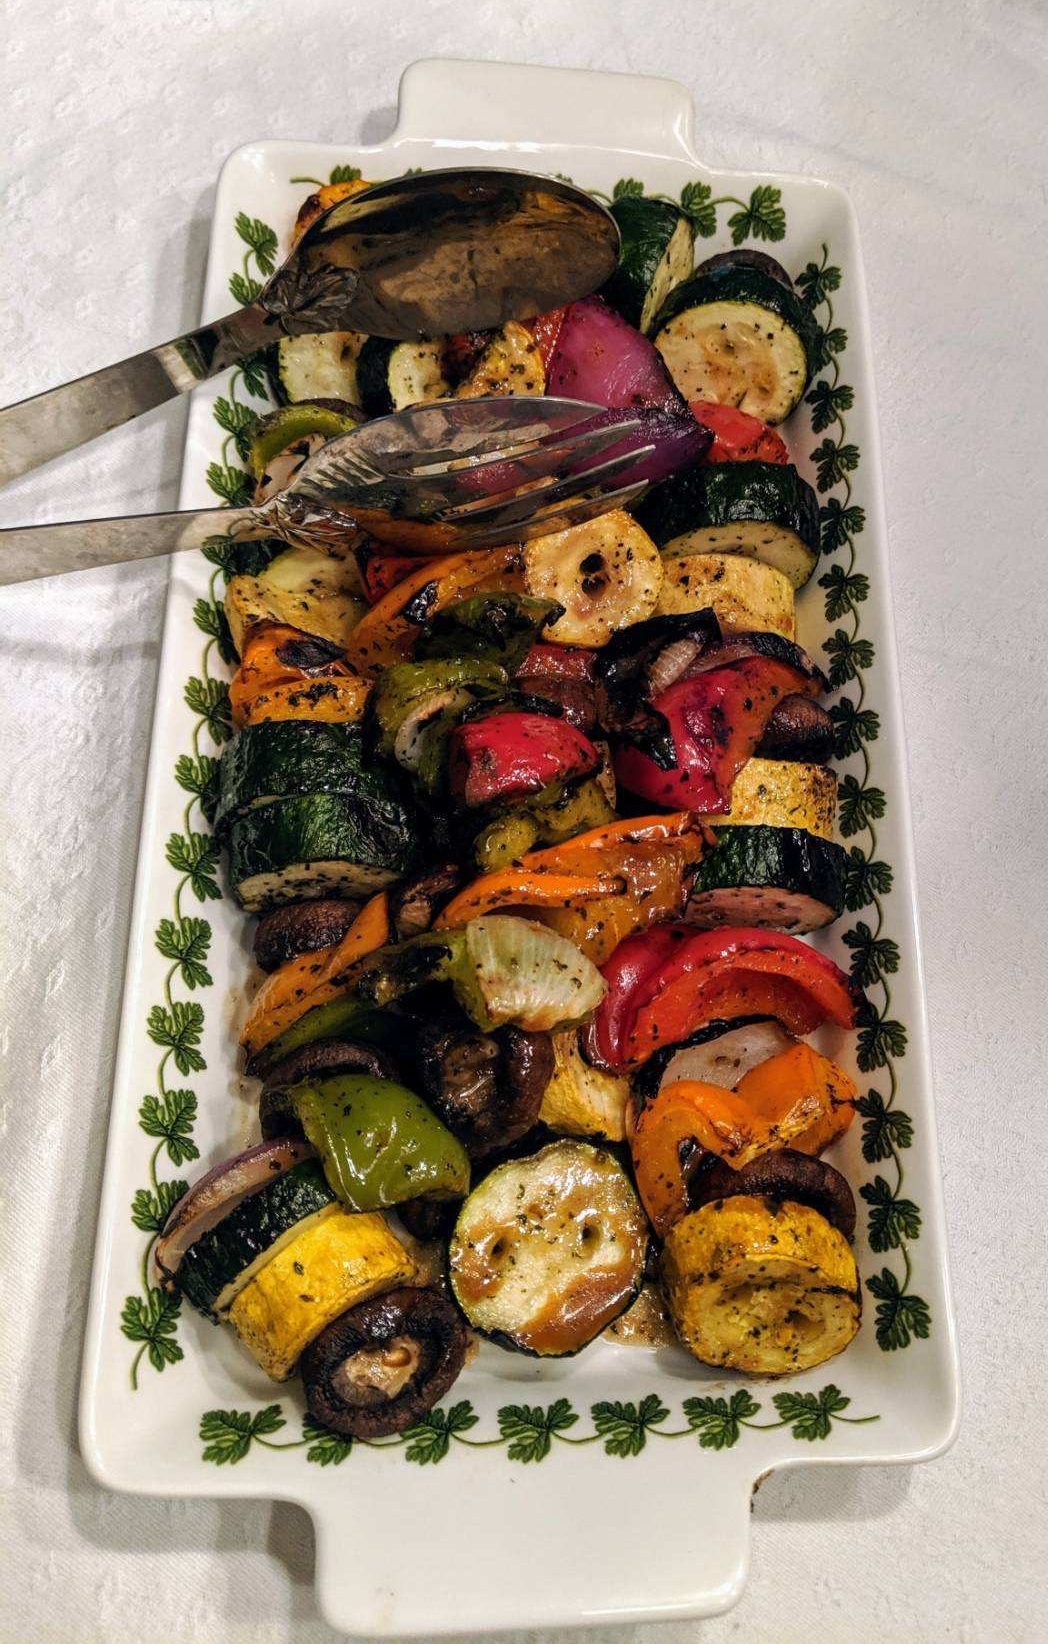
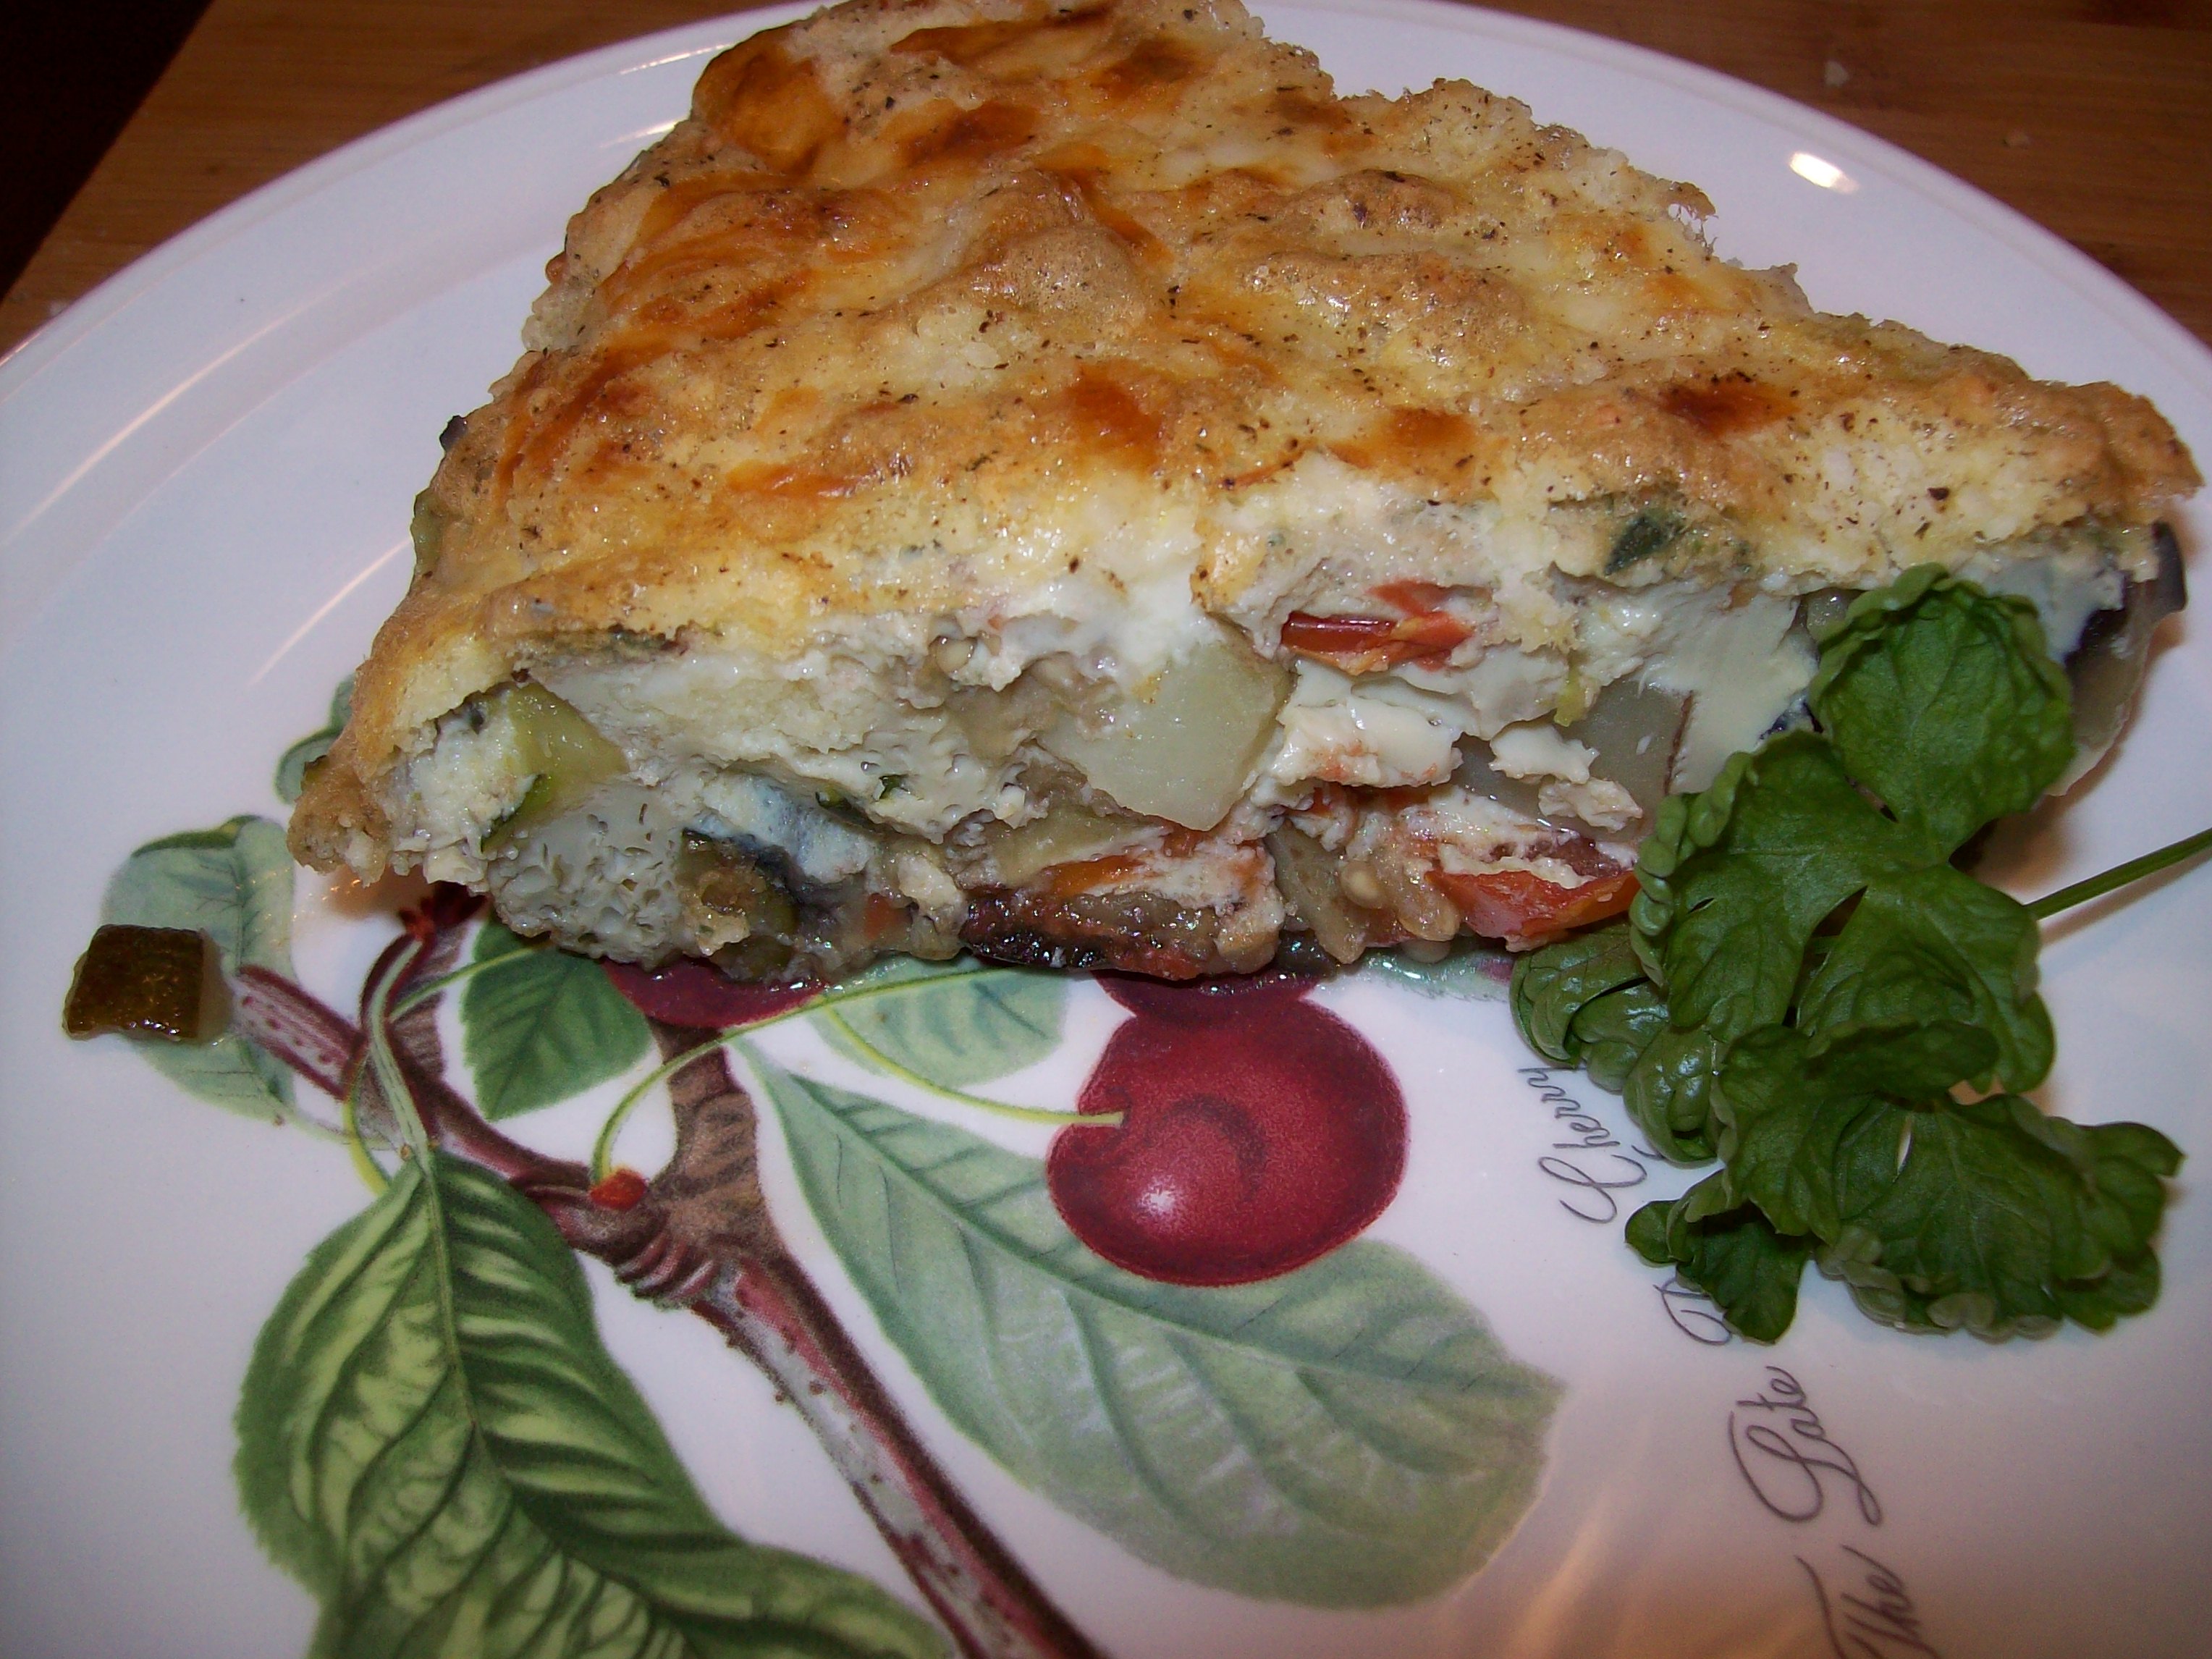
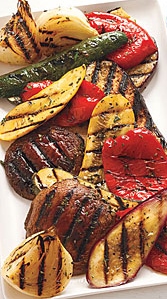
- Marinated Grilled Summer Veggies
- Orange Almond Cake with Fresh Oranges in Toffee Syrup
Marinated Grilled Summer Veggies – Stonewall Kitchen
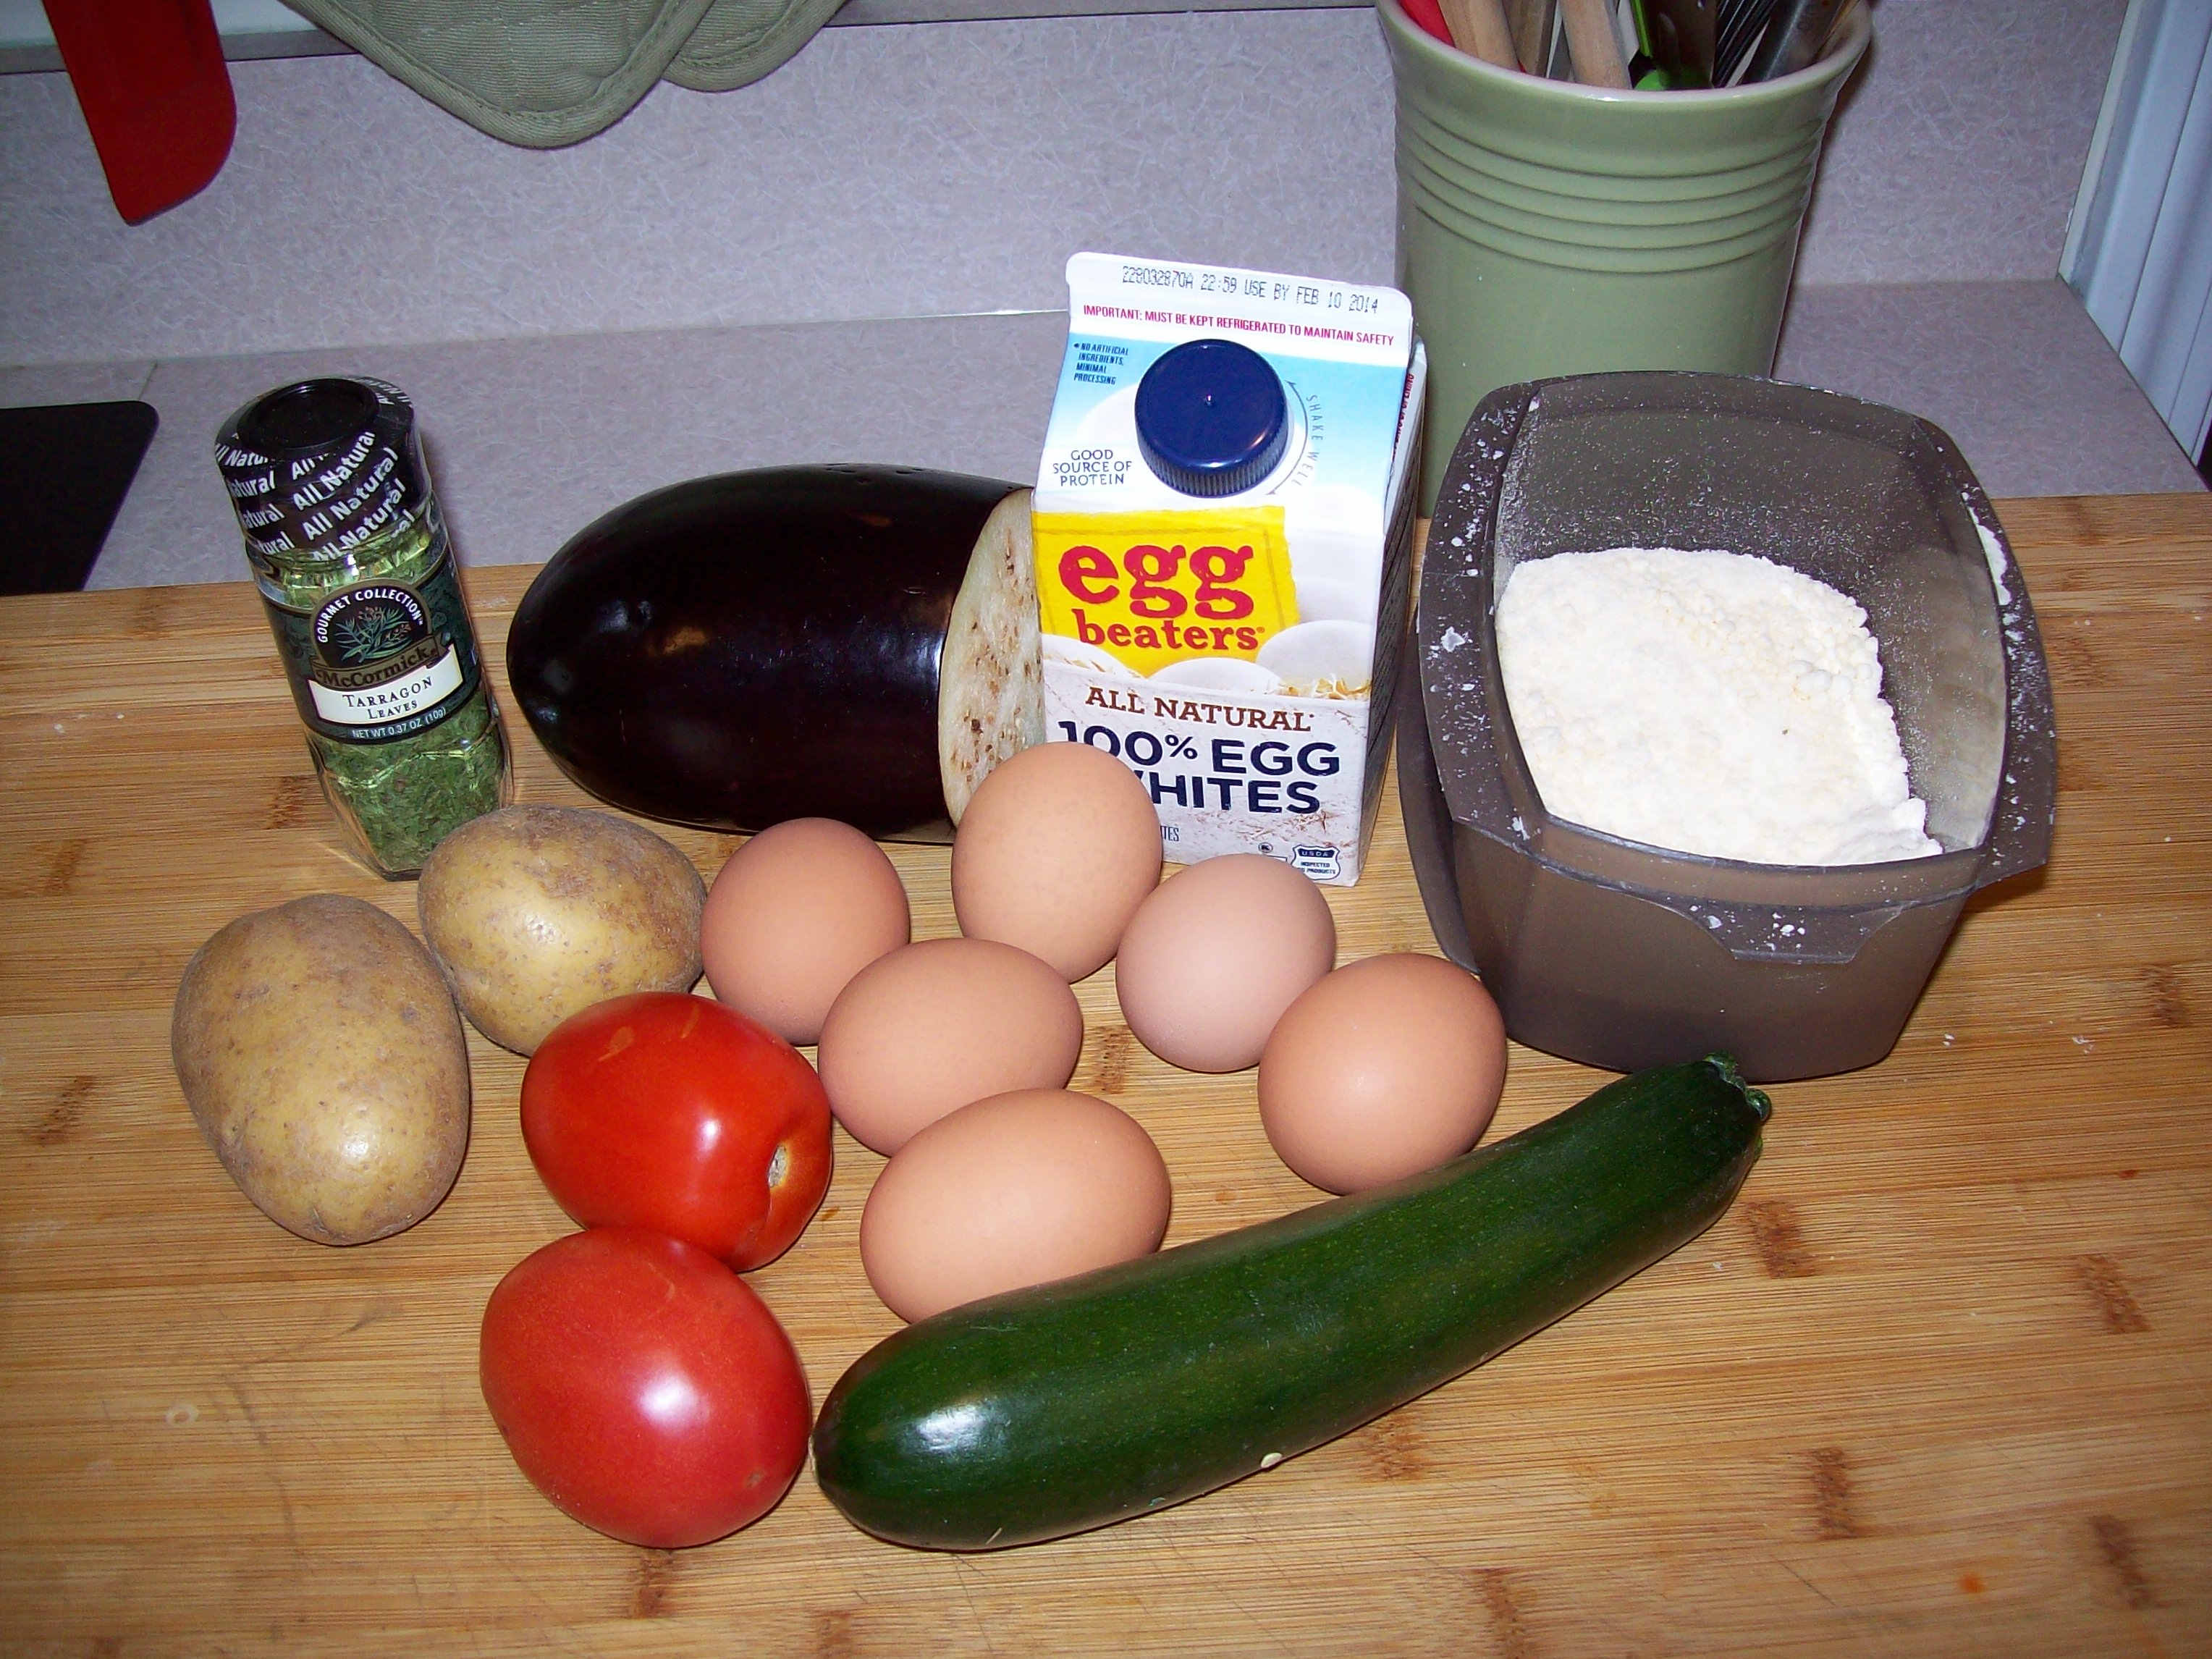
Ingredients
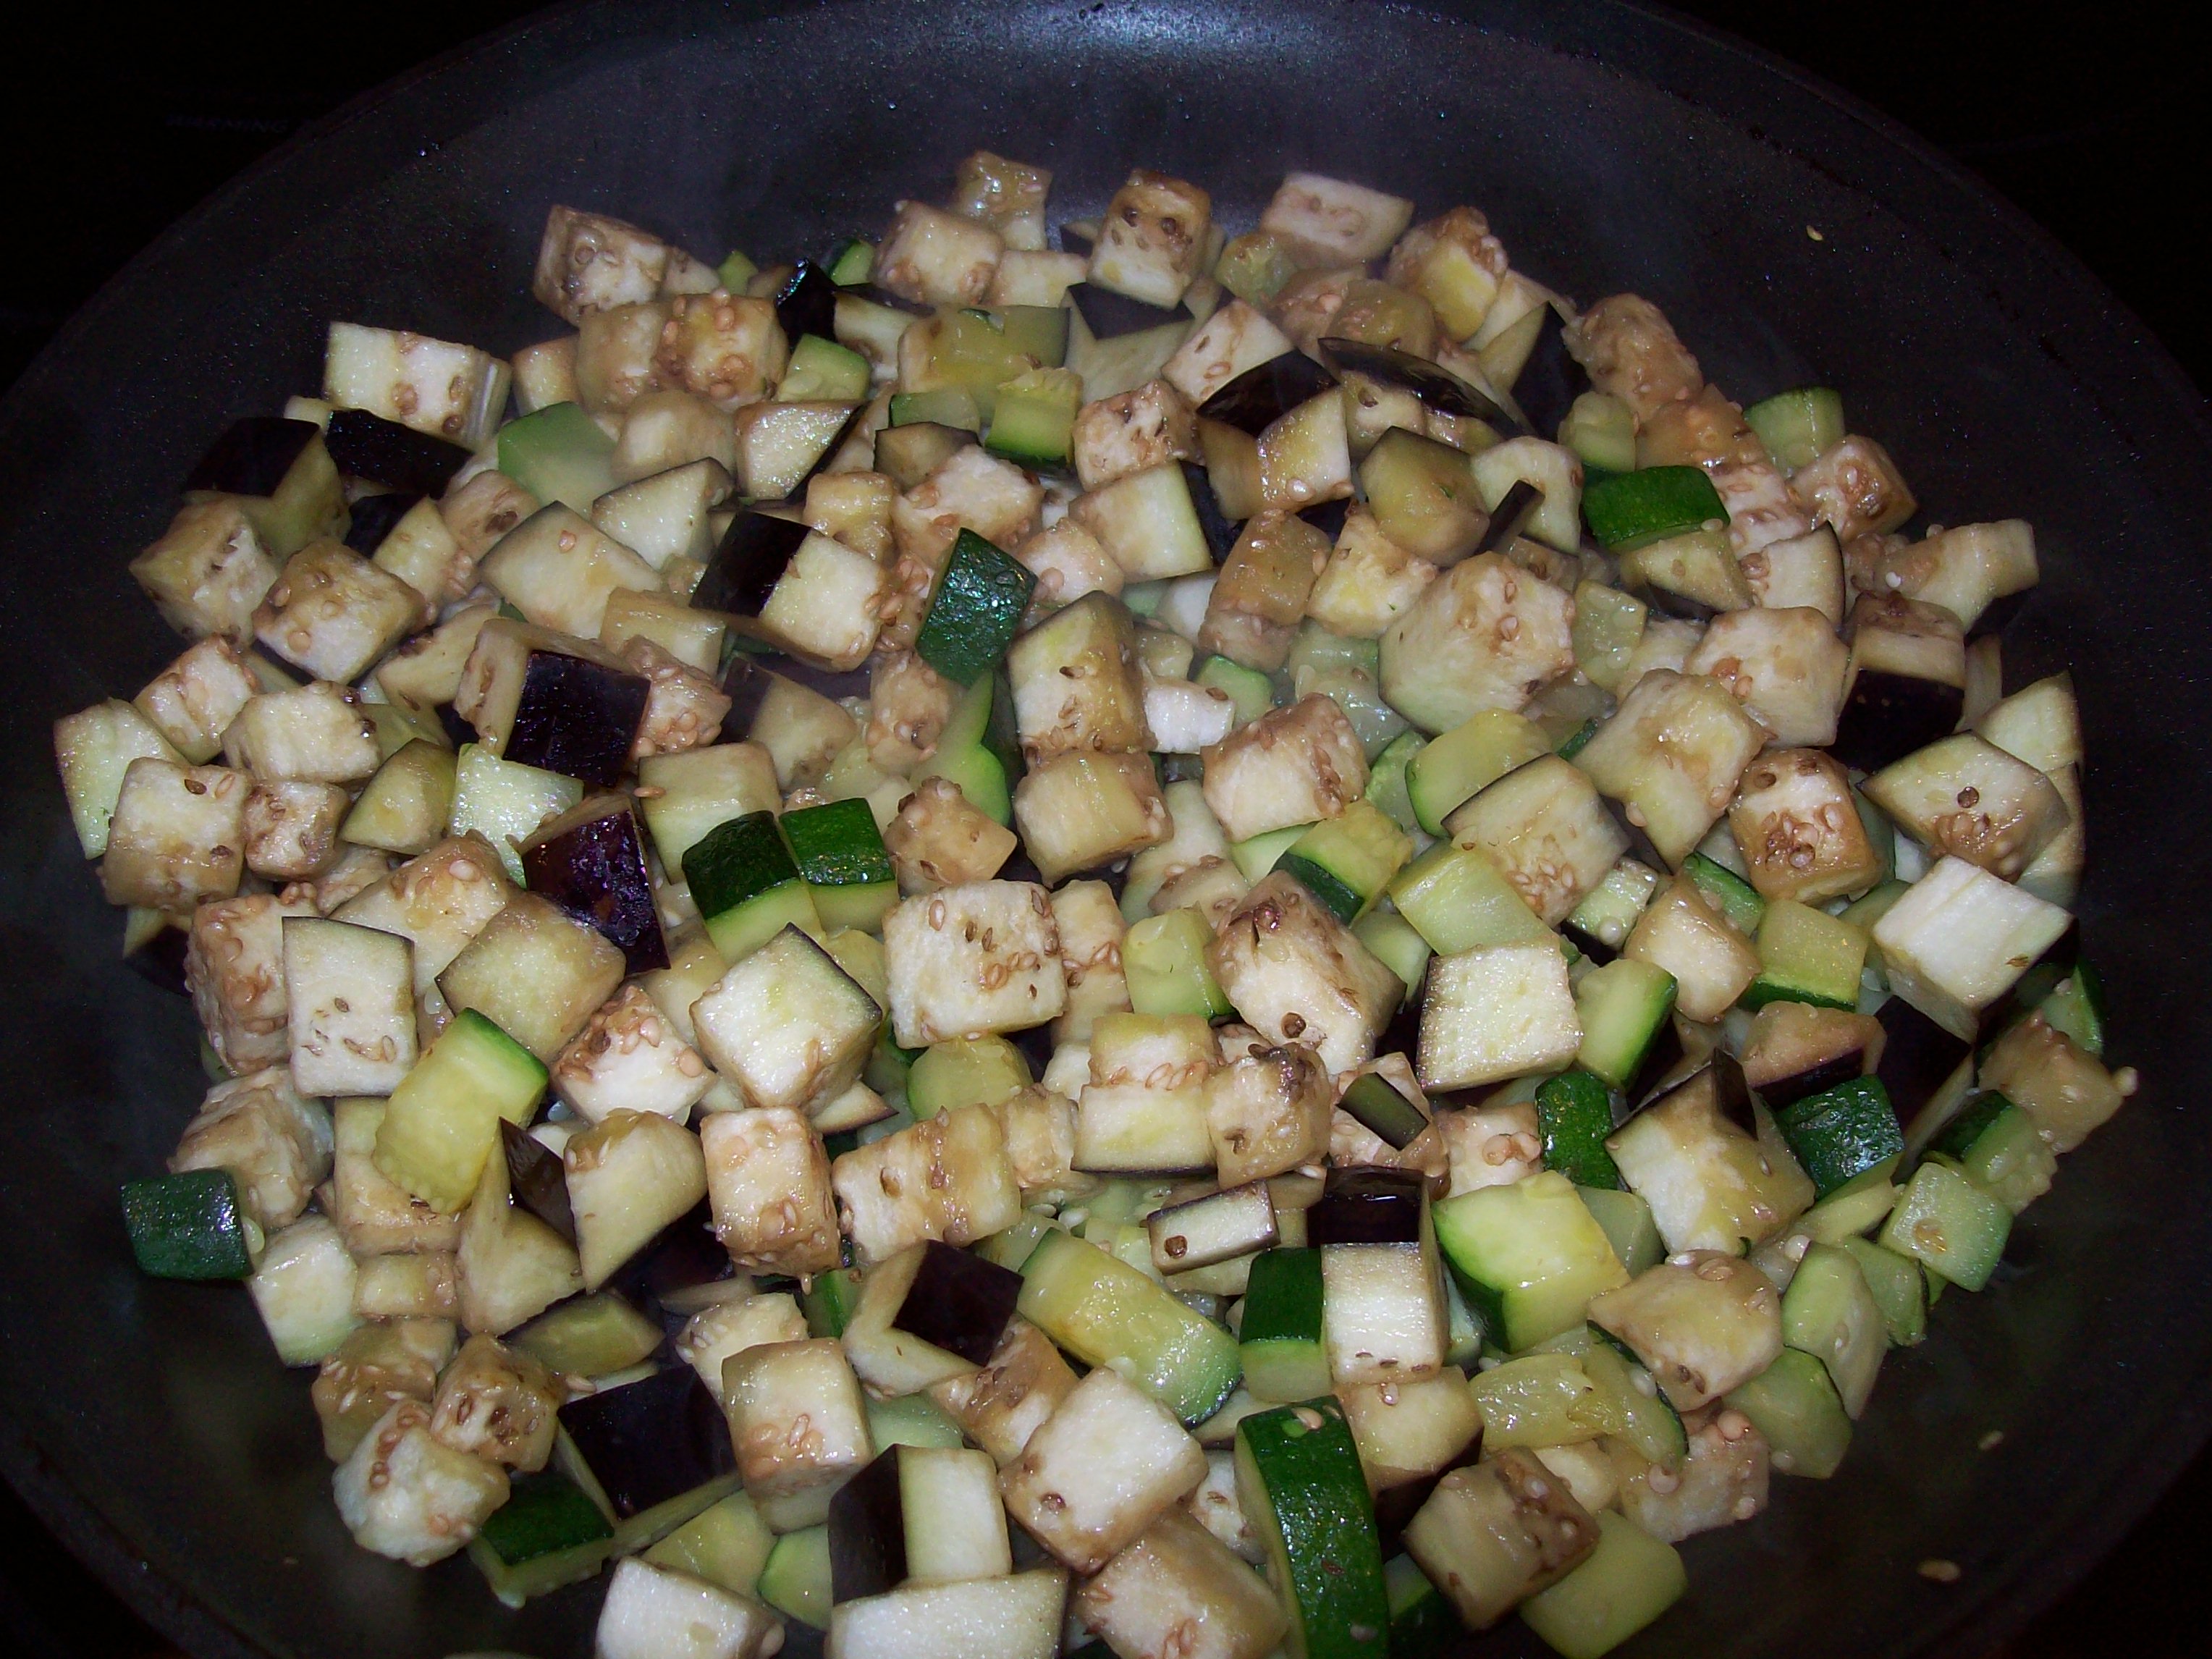
1 eggplant, sliced into 2” rounds
2 summer squash, cut into 2” thick slices lengthwise
2 zucchini, cut into 2” thick slices lengthwise
2 portabella mushrooms – de-finned
2 yellow bell pepper, seeded, deveined, cut into 2” wide slices lengthwise
2 red bell pepper, seeded, deveined, cut into 2” wide slices lengthwise
1 medium red onion, peeled and sliced into ½” rounds
Marinade
1 Tbsp. kosher salt
1/3 cup red wine
1/3 cup olive oil
2 cloves minced garlic
1 Tbsp. grated orange rind
½ cup minced sage leaves
½ cup coarsely chopped basil
¼ cup minced fresh rosemary
1 Tbsp. Fresh black pepper
How
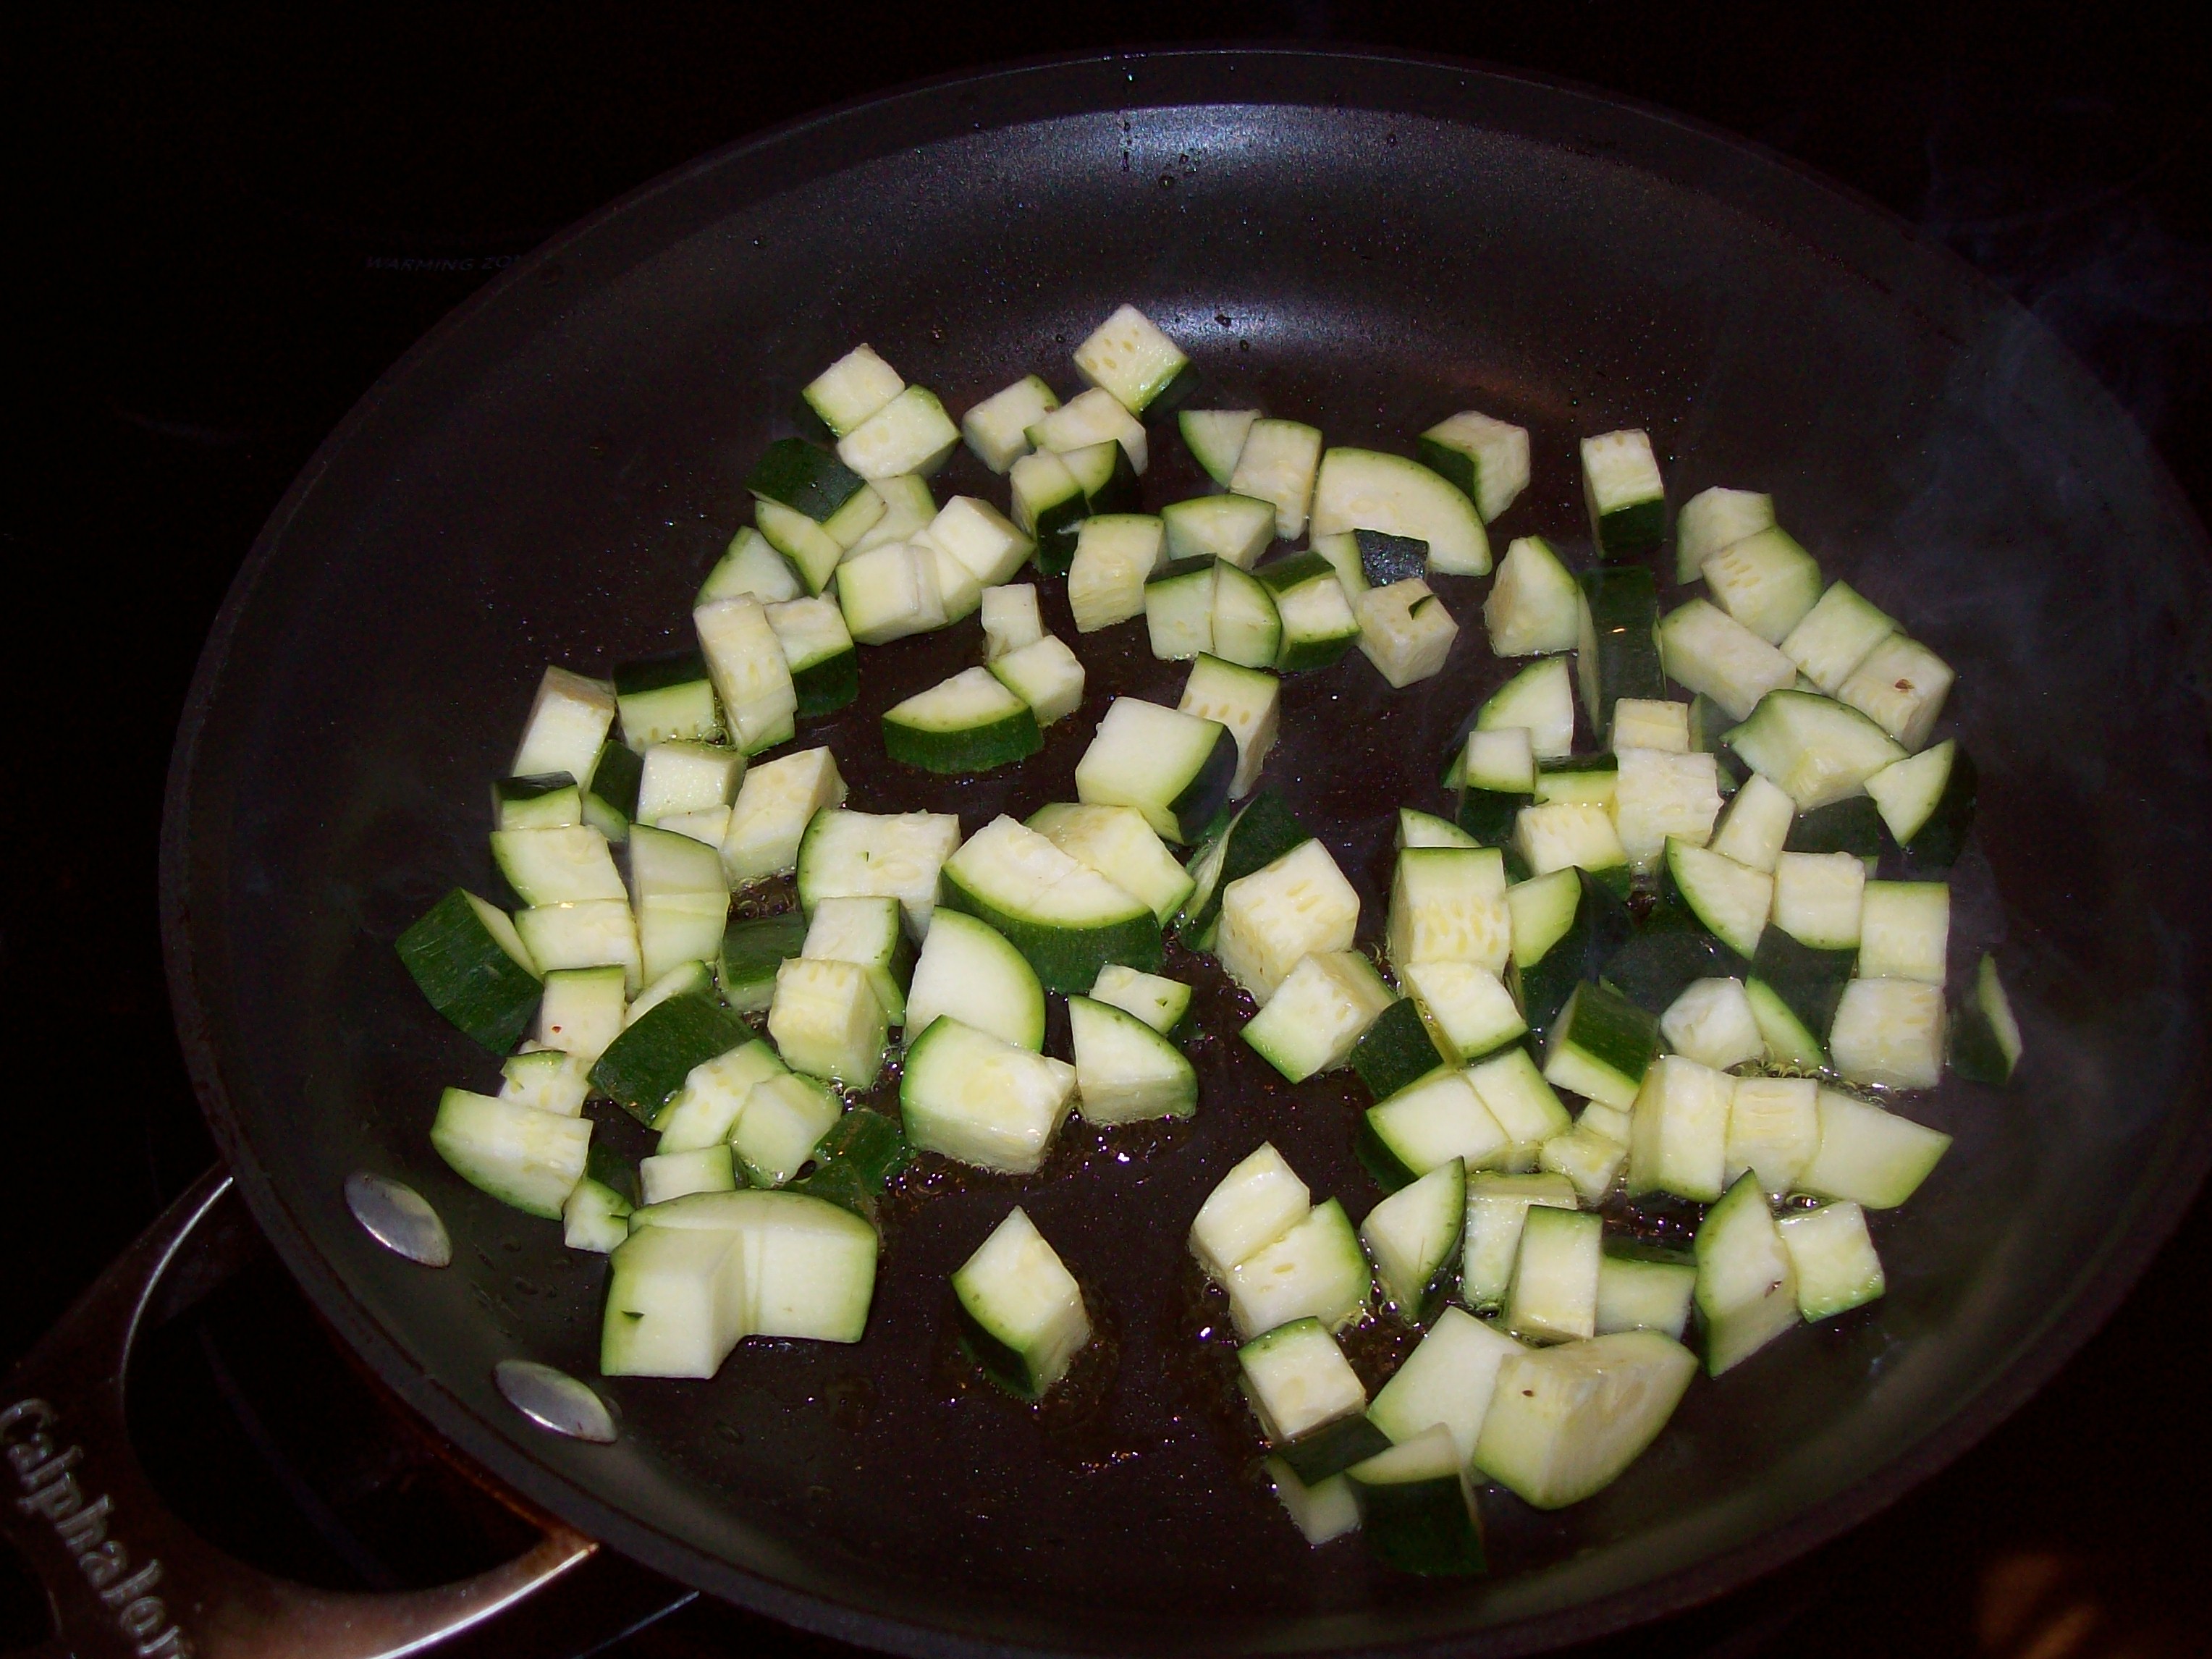
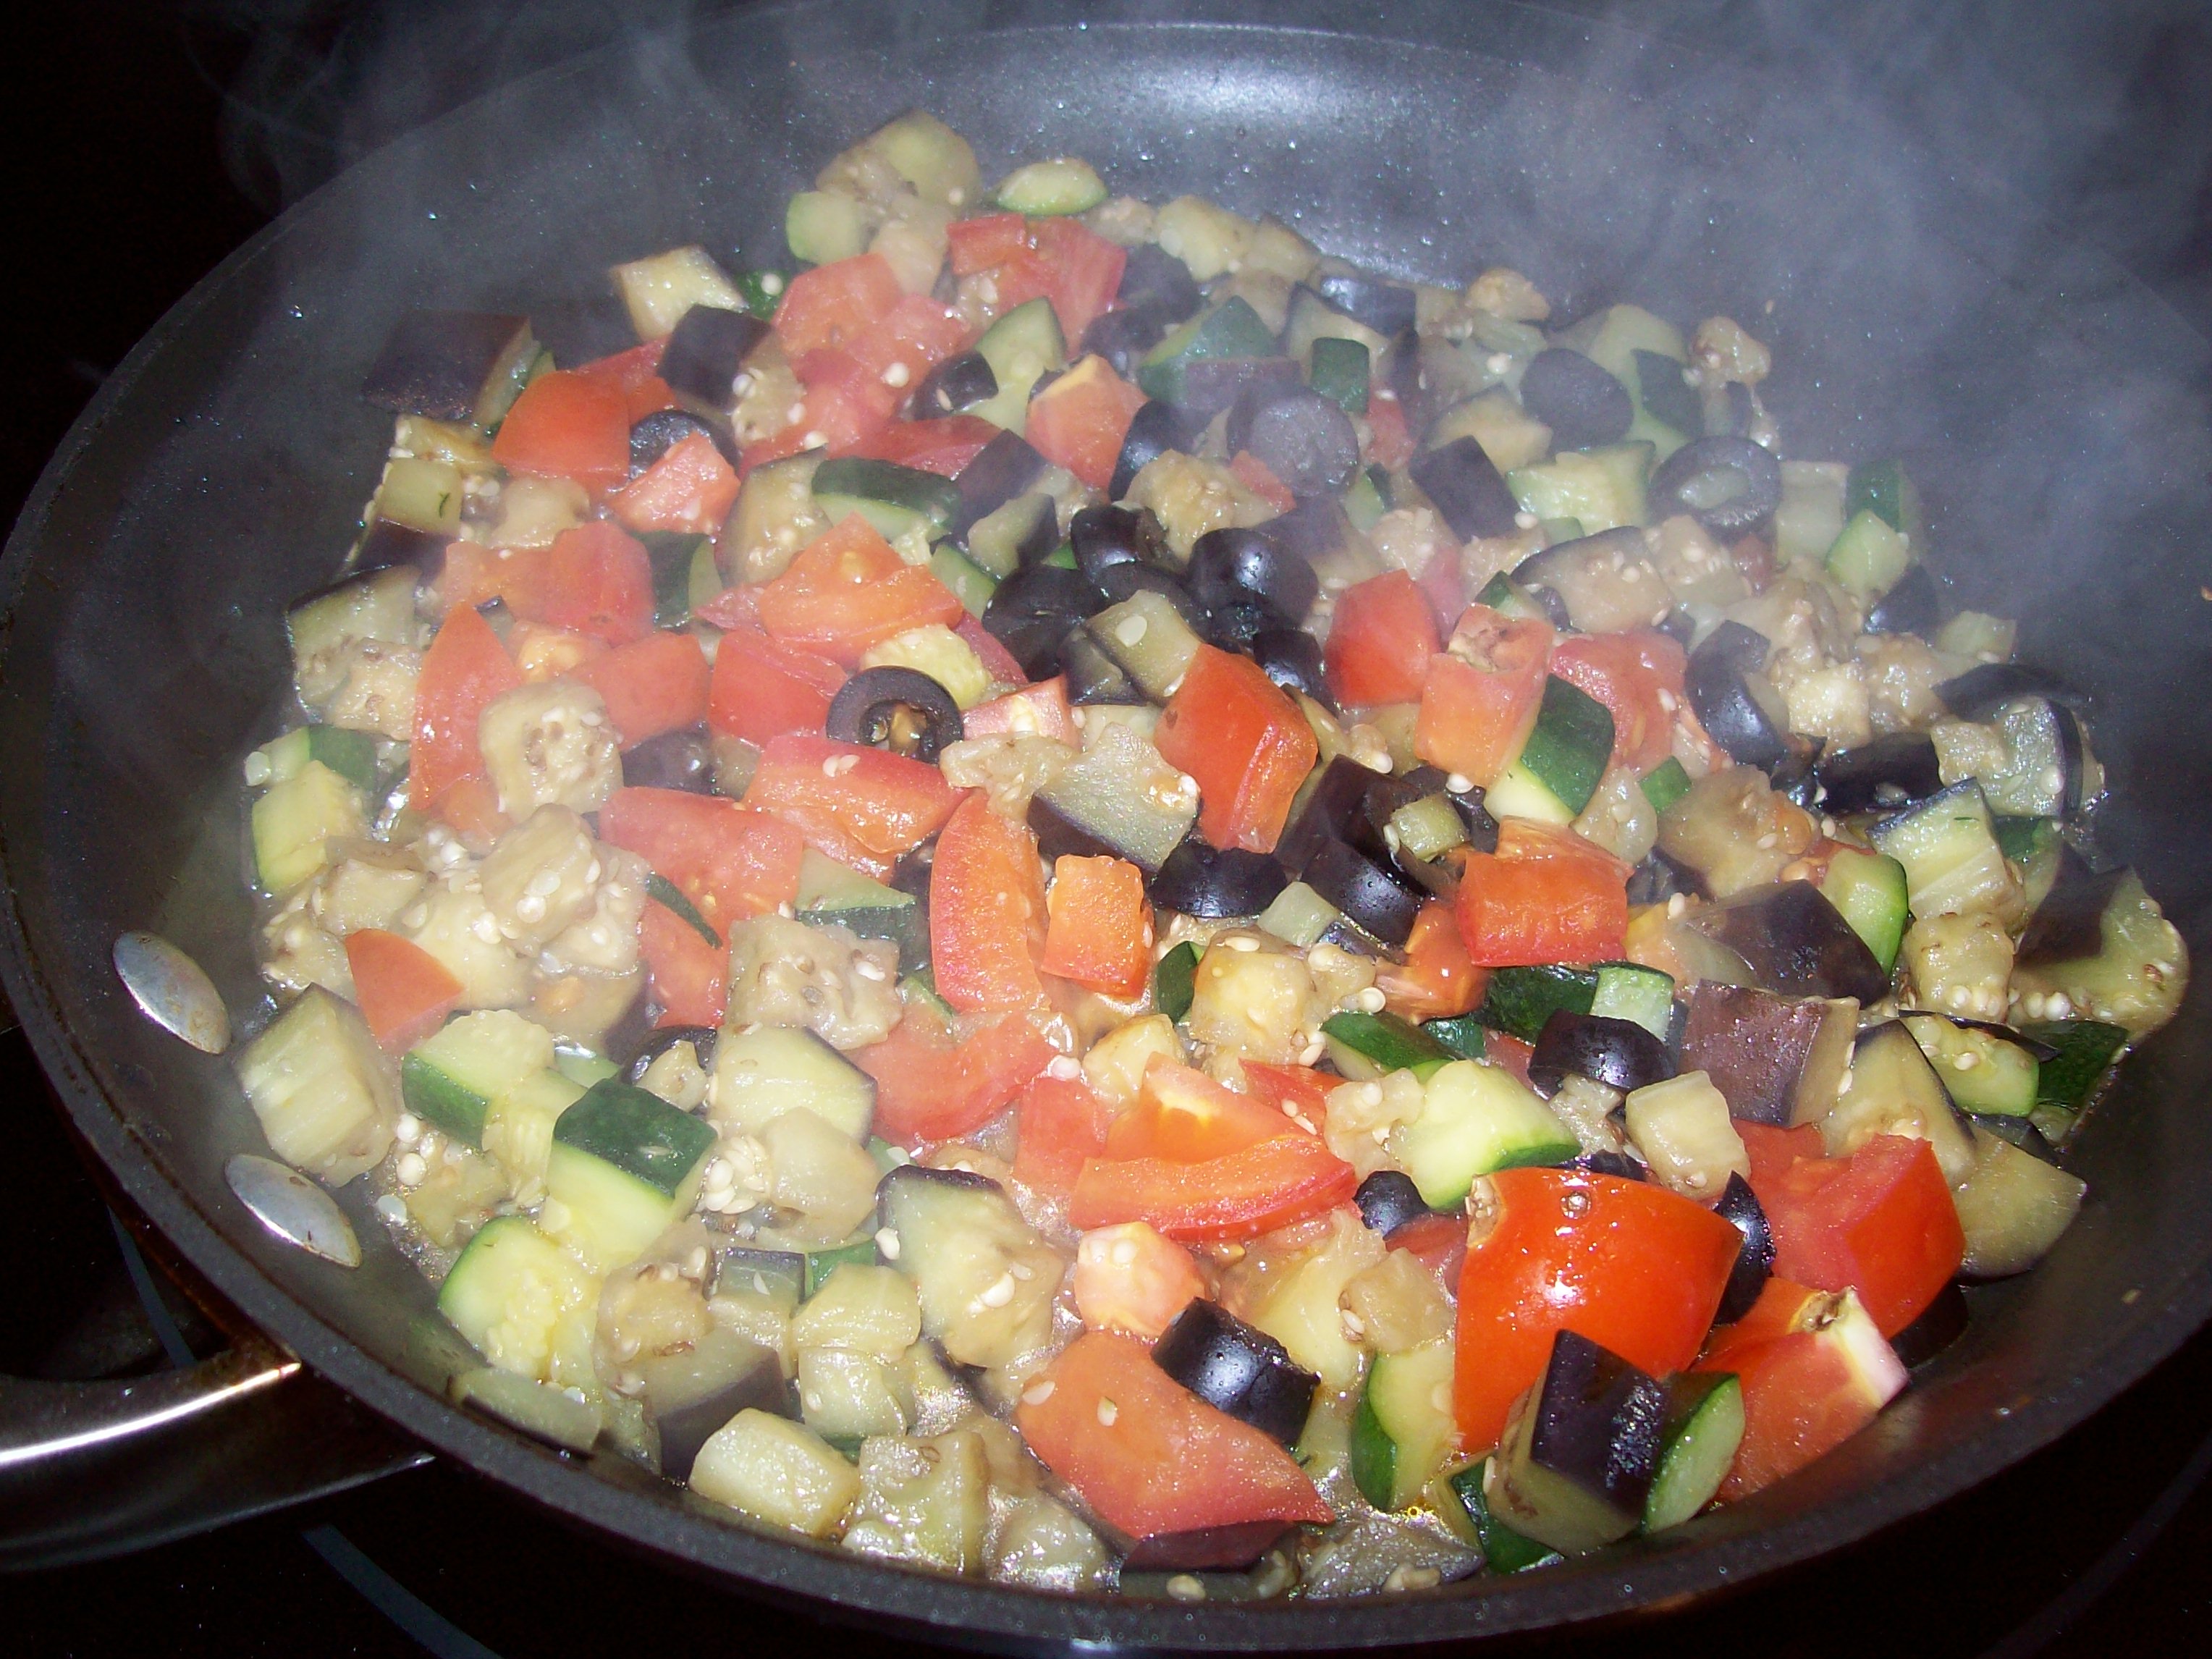
Combine cut veggies and mixed marinade for 1-4 hours, drain and paced on medium high grill turning frequently. About 6-8 minutes
Did you know that when buying portabella mushrooms you want it to be tighter to the stem that is why they always sell packaged steam side down so you can’t see this. Wide open mushrooms are father along.
A portobello mushroom is nothing more than a fully mature cultivated white mushroom. Most people think it’s an exotic mushroom, but it’s just the regular white supermarket variety that’s been allowed to grow to maturity.
Back in the 80s, a clever marketing campaign coined the name “Portobello” to bestow a little more cache to the oft-overlooked grown-up creminis, and boost their popularity. Portobellos are actually creminis, which are the cultivated brown mushrooms you see in the supermarket.
The difference between the three mushrooms is the maturity. The white button is the youngest and most mild tasting. If not harvested, it grows into a cremini, which is pretty similar to the white button in terms of size and taste, although it has a brown cap and is slightly deeper in flavor. Further growing of the cremini will yield the fully mature portobello, which has the most complex flavor.
With this in mind, you simply choose portobellos the same way you’d choose any cultivated mushroom. Here’s a few tips:
* Choose firm mushrooms. Avoid any that have withered. It’s okay if they’ve slightly dried — that only intensifies their flavor, but look to make sure they’re not entirely soft/wrinkly and in the process of collapsing.
* Avoid any that are slimy or bruised, or have other surface blemishes — like pits or gouges.
*Smell it: it should smell earthy. If there’s any hint of ammonia, or other off odors, then you know the mushroom has spoiled.
How you store your mushrooms is very important. If you’ve bagged them in plastic at the store, it’s imperative that you remove them from the bag when you get home. Plastic traps moisture, which will cause the mushrooms to rot. You want to strike a happy medium: not too dry, not too moist. I prefer to spread them out in a single layer on a parchment covered baking sheet, and then cover them with a linen or cotton dishtowel loosely draped on top, and then place the tray on a refrigerator shelf. They stay nice and fresh like this for a few days.
To clean them, you can use a soft brush, like a pastry brush, or a damp paper towel. Most people caution against soaking mushrooms to clean them because they absorb so much water that they can become waterlogged and mushy; however, I have had no trouble immersing them for a quick dunk and swirling them around to dislodge any dirt. I drain them in a colander and give them a good shake, and then turn them out onto paper towels to dry. I think it’s best to store them unwashed, and then clean them shortly before use.
Share my babble with a friend: