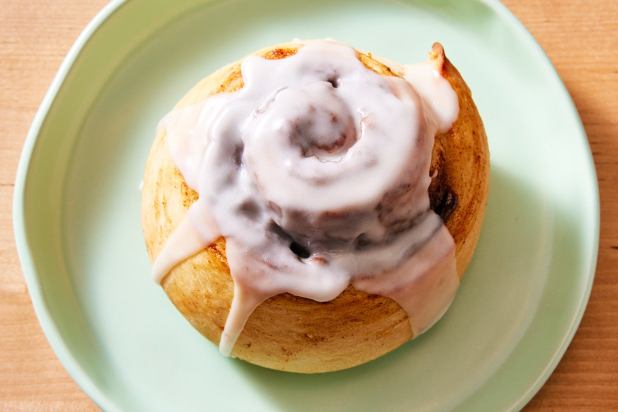
King Arthur Small-Batch Cinnamon Rolls

King Arthur Small-Batch Cinnamon Rolls

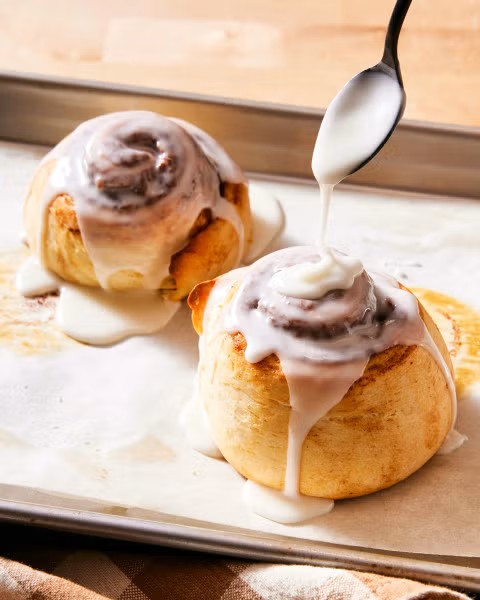
Soft, tender, and brimming with cinnamon flavor, these small-batch cinnamon rolls are ideal for small households. With a yield of just two cinnamon rolls, there’s lots of flexibility to use whatever pan you have: a quarter-sized baking sheet, a loaf pan, a round cake pan, or a square pan. These cinnamon rolls also fit perfectly in a countertop oven, providing another easy way to bake no matter the size of your kitchen.

Hands-on 20 mins

Bake 15 to 18 mins

Total Time 2 hrs 30 mins

Yield 2 cinnamon rolls

Ingredients

Dough

Filling

*Use the lesser amount for stronger cinnamons, like Vietnamese (Saigon); the larger amount for milder cinnamons, like Indonesian/Ceylon.

Icing

  • 1/2 cup (57g) confectioners’ sugar, sifted if lumpy
  • 2 to 3 teaspoons milk

Instructions

  1. To make the dough: For best results, weigh your ingredients; in small-batch recipes, it’s important that ingredient quantities are precise. However, if you prefer to work with volume measurements, please be sure to measure your flour the King Arthur way: gently spoon the flour into a cup, then sweep off any excess.
  2. In a small bowl, mix together all of the dough ingredients then transfer it to a floured surface and knead by hand to form a smooth, soft dough.  

  3. Shape the dough into a ball, place it in a bowl, cover, and let it rise until puffy but not necessarily doubled in bulk, 45 to 60 minutes (depending on the warmth of your kitchen).
  4. To make the filling: While the dough is rising, use a fork to whisk together the brown sugar, flour, cinnamon, and salt. Set aside.
  5. Prepare the pan of your choice: Line a quarter- or half-sheet pan with parchment, or lightly grease a loaf pan, 8″ or 9″ square pan, or round pan.
  6. To assemble the small-batch cinnamon rolls: Transfer the dough to a lightly floured work surface and press it into a 4″ x 10″ rectangle.
  7. Brush the surface of the dough generously with milk and then sprinkle the filling on top, covering all but a 1/2″ strip along one short side. Press the filling gently to adhere.
  8. Cut the dough in half lengthwise using a bench knife. You will now have two rectangles, approximately 2″ x 10″.
  9. Starting with the filling-covered short end, roll one piece of dough into a log. To prevent the cinnamon roll from unraveling while it rises and bakes, tuck the end of the spiral underneath the bottom so that it’s held in place. Stand the log up, exposing the swirl, and press down to create a shorter cinnamon roll. Transfer it to the prepared pan and repeat with the remaining piece of dough.
  10. Cover the pan and let the rolls rise for 45 to 60 minutes. The dough will be puffy and shouldn’t bounce back immediately when gently pressed. While the small-batch cinnamon rolls are rising, preheat the oven to 375°F.
  11. Bake the rolls for 15 to 18 minutes, until a digital thermometer inserted into the center of one roll reads 190°F. Rolls baked on a baking sheet will be golden brown in color, while rolls baked in a pan with higher sides will remain pale. Allow the small-batch cinnamon rolls to cool while you make the icing.
  12. To make the icing: In a small bowl, combine the confectioners’ sugar and milk until you reach your desired consistency.
  13. Spread the icing evenly over the cinnamon rolls. Serve warm or at room temperature.
  14. Storage information: Store any leftovers, covered, at room temperature for several days.

Tips from our Bakers

  • Want fresh-baked, oven-warm buns in the morning? Prepare the buns up until the rise in the pan (through step 9). Cover the pan and refrigerate overnight. Next day, allow the buns to rest at room temperature for 15 minutes before uncovering and baking; you may need to increase the baking time by a few minutes.
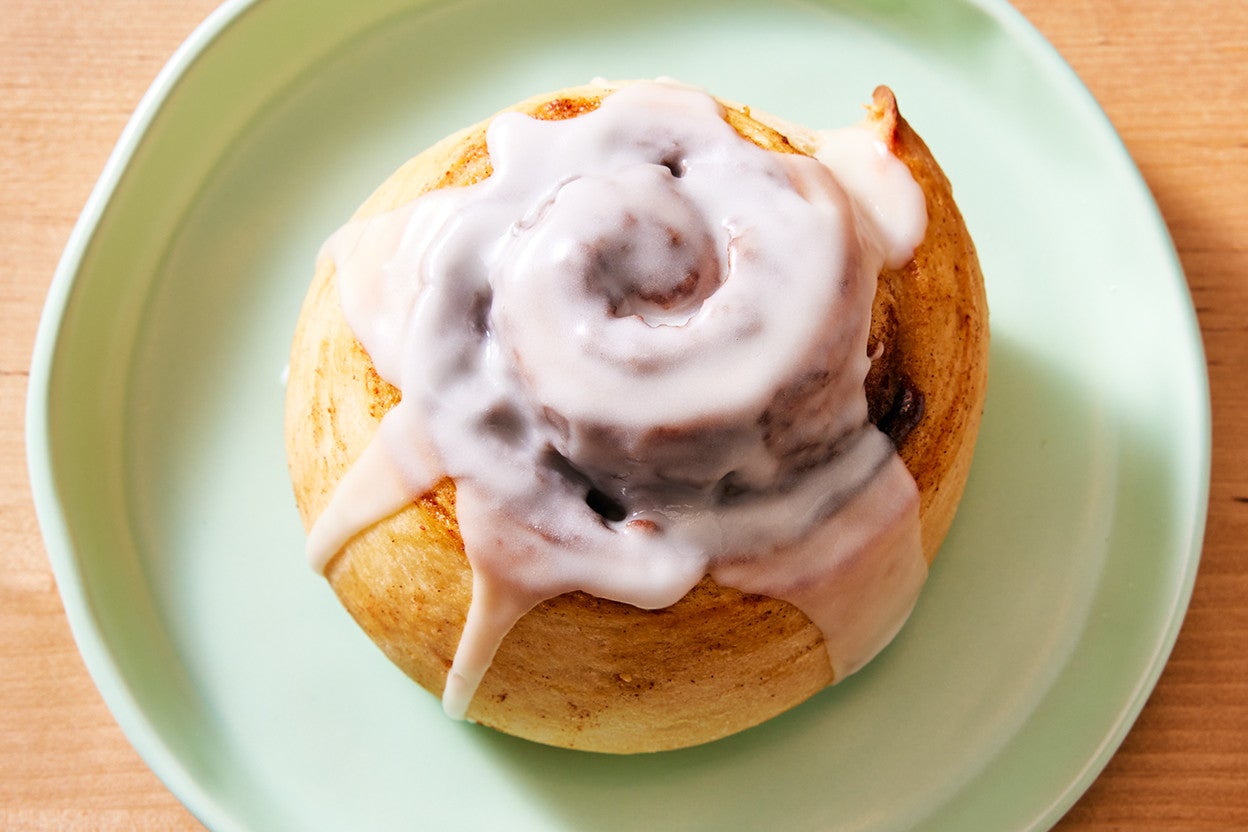
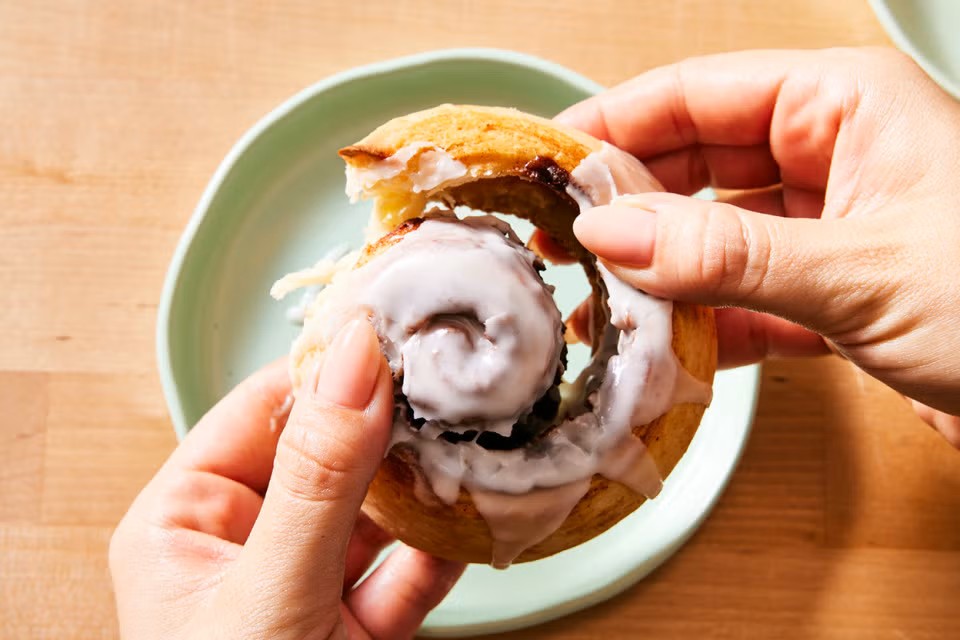
King Arthur Cinnamon Rolls

King Arthur Cinnamon Rolls

Warm cinnamon rolls are available at every airport, every mall, and many fast-food outlets. So why make your own? Because YOU control what’s in them, using your own butter, sugar, flour, cinnamon, and other natural (not chemical-laden) ingredients. And besides, there’s nothing like pulling warm rolls right out of your own oven!

Ingredients

Dough

*Use the lesser amount in summer (or in a humid environment), the greater amount in winter (or in a dry climate), and somewhere in between the rest of the year, or if your house is climate controlled.

Filling

Glaze

  • 1 1/4 cups (142g) confectioners’ sugar
  • 1/2 teaspoon King Arthur Pure Vanilla Extract
  • 4 to 5 tablespoons (57g to 71g) heavy cream or 2 to 3 tablespoons (28g to 43g) milk, enough to make a soft, spreadable icing

Instructions

  1. To make the dough: Weigh your flour; or measure it by gently spooning it into a cup, then sweeping off any excess. Combine the flour, dry milk, potato flour, sugar, salt, and yeast in a large mixing bowl. Add the butter and lesser amount of water then mix and knead everything together—by hand, mixer or bread machine set on the dough cycle—to form a smooth, elastic dough, adding more water if necessary. If you’re kneading in a stand mixer, it should take 7 to 10 minutes at second speed, and the dough should barely clean the sides of the bowl, perhaps sticking a bit at the bottom. In a bread machine (or by hand), it should form a smooth ball.
  2. Place the dough in a lightly greased bowl. Cover the bowl, and allow the dough to rise, at room temperature, until it’s nearly doubled in bulk, about 1 to 2 hours. Rising may take longer, especially if you’ve kneaded by hand or if your kitchen is cool. Give it enough time to become quite puffy.
  3. While the dough is rising, lightly grease two 9″ round cake pans.
  4. Transfer the risen dough to a lightly greased work surface, and pat or roll it into a 16″x12″ rectangle. It’s a nice, soft dough, and pats out easily.
  5. To make the filling: Combine the sugar, cinnamon, and flour.
  6. To assemble the rolls: Brush the dough lightly with milk. Sprinkle the filling evenly over the dough, covering the entire surface
  7. Roll the dough into a log the long way; it’ll stretch to about 20″ long as you roll. Using a bench knife or a serrated knife, cut the log into 16 slices.
  8. Space eight rolls in each of the prepared pans. Cover the pans and let the rolls rise until they’re noticeably puffy, about 1 to 2 hours; they should spread out and start to crowd one another.
  9. While the rolls are rising, preheat the oven to 375°F.
  10. Bake the rolls until they’re brown around the edges and beginning to turn golden brown across the center, about 20 minutes.
  11. Remove the rolls from the oven and place the pans on a rack. Wait 5 minutes, then transfer the rolls from the pans to a rack.
  12. To make the glaze: When you’re ready to serve the rolls, combine the sugar, vanilla, and enough cream or milk to make a spreadable glaze.
  13. Spread the glaze on top of the warm rolls and serve immediately.
  14. Store rolls, well wrapped, at room temperature for a couple of days; freeze for longer storage.

Tips from our Bakers

  • When making anything with yeast, including these rolls, let the dough rise to the point the recipe says it should, e.g., “Let the dough rise until it’s doubled in bulk.” Rising times are only a guide; there are so many variables in yeast baking (how you knead the dough; what kind of yeast you use) that it’s impossible to say that bread dough will ALWAYS double in bulk in a specific amount of time.
  • You can also bake these rolls in a 9″ x 13″ pan. Prepare the recipe as instructed through step 7. Divide the log into 12 equal slices, and arrange them in the lightly greased pan. Let the rolls rise as instructed, then bake in a preheated 375°F oven for about 20 minutes. Finish the rolls as instructed.
  • Want to prepare these rolls ahead of time, freeze or refrigerate them (unbaked), then bake fresh? To freeze, see our blog post, Freeze! Time-savers for the holidays. To prepare the night before, place the shaped buns in the pan, cover the pan, and refrigerate overnight. Next morning, let the buns warm at room temperature for about an hour, covered. Uncover and bake as directed.
  • Want to bake the rolls, but serve them later in the day (or within a few days)? Allow the unglazed rolls to cool completely, then wrap in plastic wrap and store at room temperature for up to three days. Fifteen minutes before you’re ready to serve the rolls, preheat the oven to 350°F. Unwrap the rolls, place them on an ungreased baking sheet, and tent lightly with aluminum foil. Bake the rolls for 10 to 15 minutes, until they’re nicely warmed; make the glaze while the rolls are warming. Spread the glaze on the rolls when they come out of the oven.

I Just Love the taste of Rhubarb

Strawberry Rhubarb Crisp

spring has come and almost gone and to me it seems that the Rhubarb is late to the shelfs this year but the other day we hit it right he went in the back and made a package for us. Wholefoods had some strawberries on sale so everything worked out and via Barefoot Contessa we had our I just Love the taste of Rhubarb

  • 4 cups fresh rhubarb, 1-inch diced (4 to 5 stalks)
  • 4 cups fresh strawberries, hulled and halved, if large
  • 1¼ cups granulated sugar, divided
  • 1½ teaspoons grated orange zest
  • 1 tablespoon cornstarch
  • ½ cup freshly squeezed orange juice
  • 1 cup all-purpose flour (see note for gluten-free)
  • ½ cup light brown sugar, lightly packed
  • ½ teaspoon kosher salt
  • 1 cup quick-cooking (not instant) oatmeal, such as McCann’s (see note for gluten-free)
  • 12 tablespoons (1½ sticks) cold unsalted butter, diced
  • Vanilla ice cream, for serving

Preheat the oven to 350 degrees

For the fruit, toss the rhubarb, strawberries, ¾ cup granulated sugar, and the orange zest together in a large bowl. In a measuring cup, dissolve the cornstarch in the orange juice and then mix it into the fruit. Pour the mixture into an 8 × 11-inch baking dish and place it on a sheet pan lined with parchment paper.

For the topping, in the bowl of an electric mixer fitted with the paddle attachment, combine the flour, the remaining ½ cup granulated sugar, the brown sugar, salt, and oatmeal. With the mixer on low speed, add the butter and mix until the dry ingredients are moist and the mixture is in crumbles. Sprinkle the topping over the fruit, covering it completely, and bake for 1 hour, until the fruit is bubbling and the topping is golden brown. Serve warm with ice cream.
Note: To make this recipe gluten-free, substitute 1 cup Cup4Cup all-purpose gluten-free flour for the 1 cup all-purpose flour and use gluten-free oatmeal, such as Bob’s Red Mill, for the quick-cooking oatmeal.

Copyright 2010, Barefoot Contessa How Easy is That? by Ina Garten, Clarkson Potter/Publishers, All Rights Reserved

Blueberry Walnut Energy Balls

Blueberry Walnut Energy Balls

Lyn likes these and I like Lyn so I gladly make them when requested. It always takes me for ever to fine the recipe, in fact she had to find it again so I decided to put on the site. This really takes no time at all. The original is from Eating Well magazine.

Ingredients

3/4 cup walnuts

1/2 cup pitted dates

1/4 cup dried blueberries

3/4 cup old fashion oats

2 TBS pure maple syrup

1 Teaspoon grated lemon zest

1 Teaspoon lemon Juice

How

Add walnuts, dates and blueberries to a food processor and process until chopped and combined – 7-10 seconds or pulses

Add Oats, maple syrup and lemon juice. Continue processing until a smooth, thick past forms 20-630 seconds.
Transfer the past to a small bowl: add lemon zest and mix to combine.
With your hands , form and roll the mixture into 18 small balls.

Will keep in airtight container in frig u[ to 2 weeks.

Nice desert

It mother’s day and Gail made us a beautiful dessert when we got back from this very nice Italian restaurant Brelundi, Waltham MA.

Todd’s Winter Squash

Todd’s Winter Squash

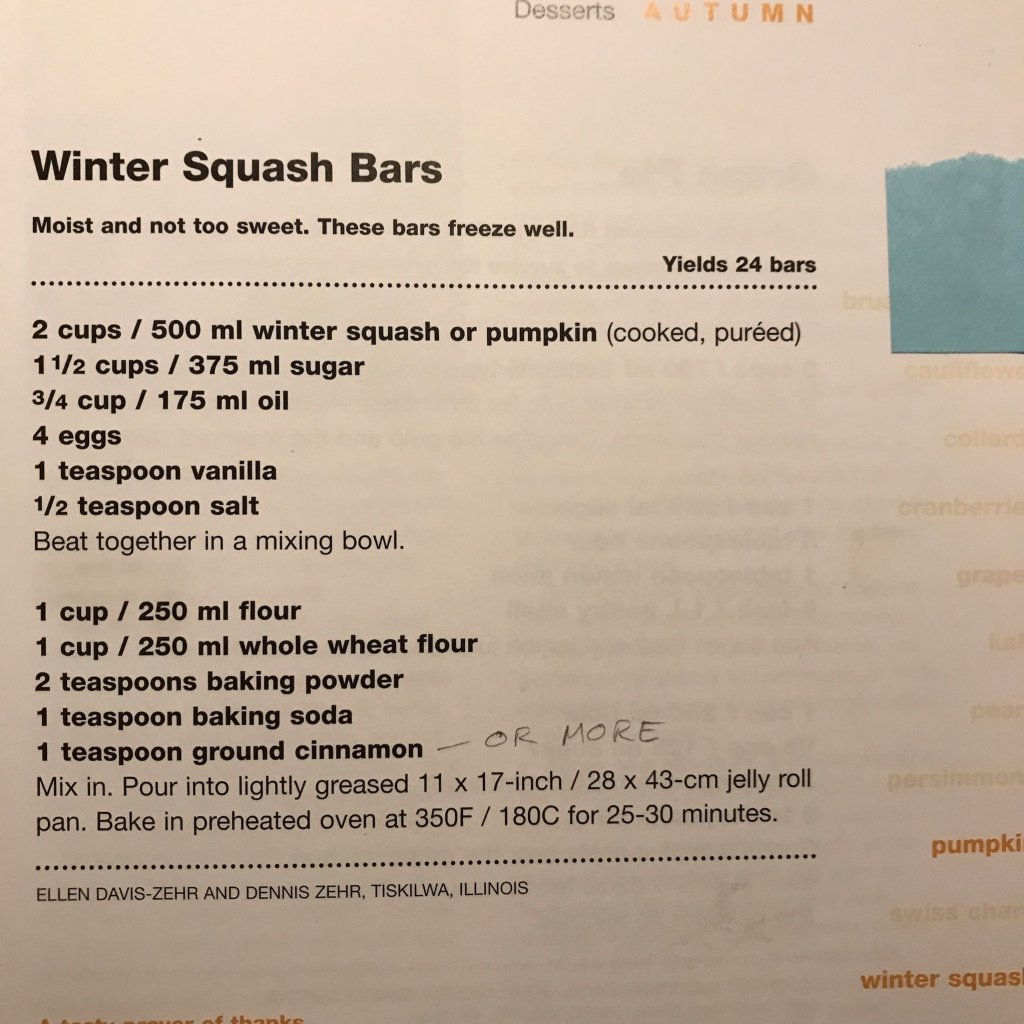
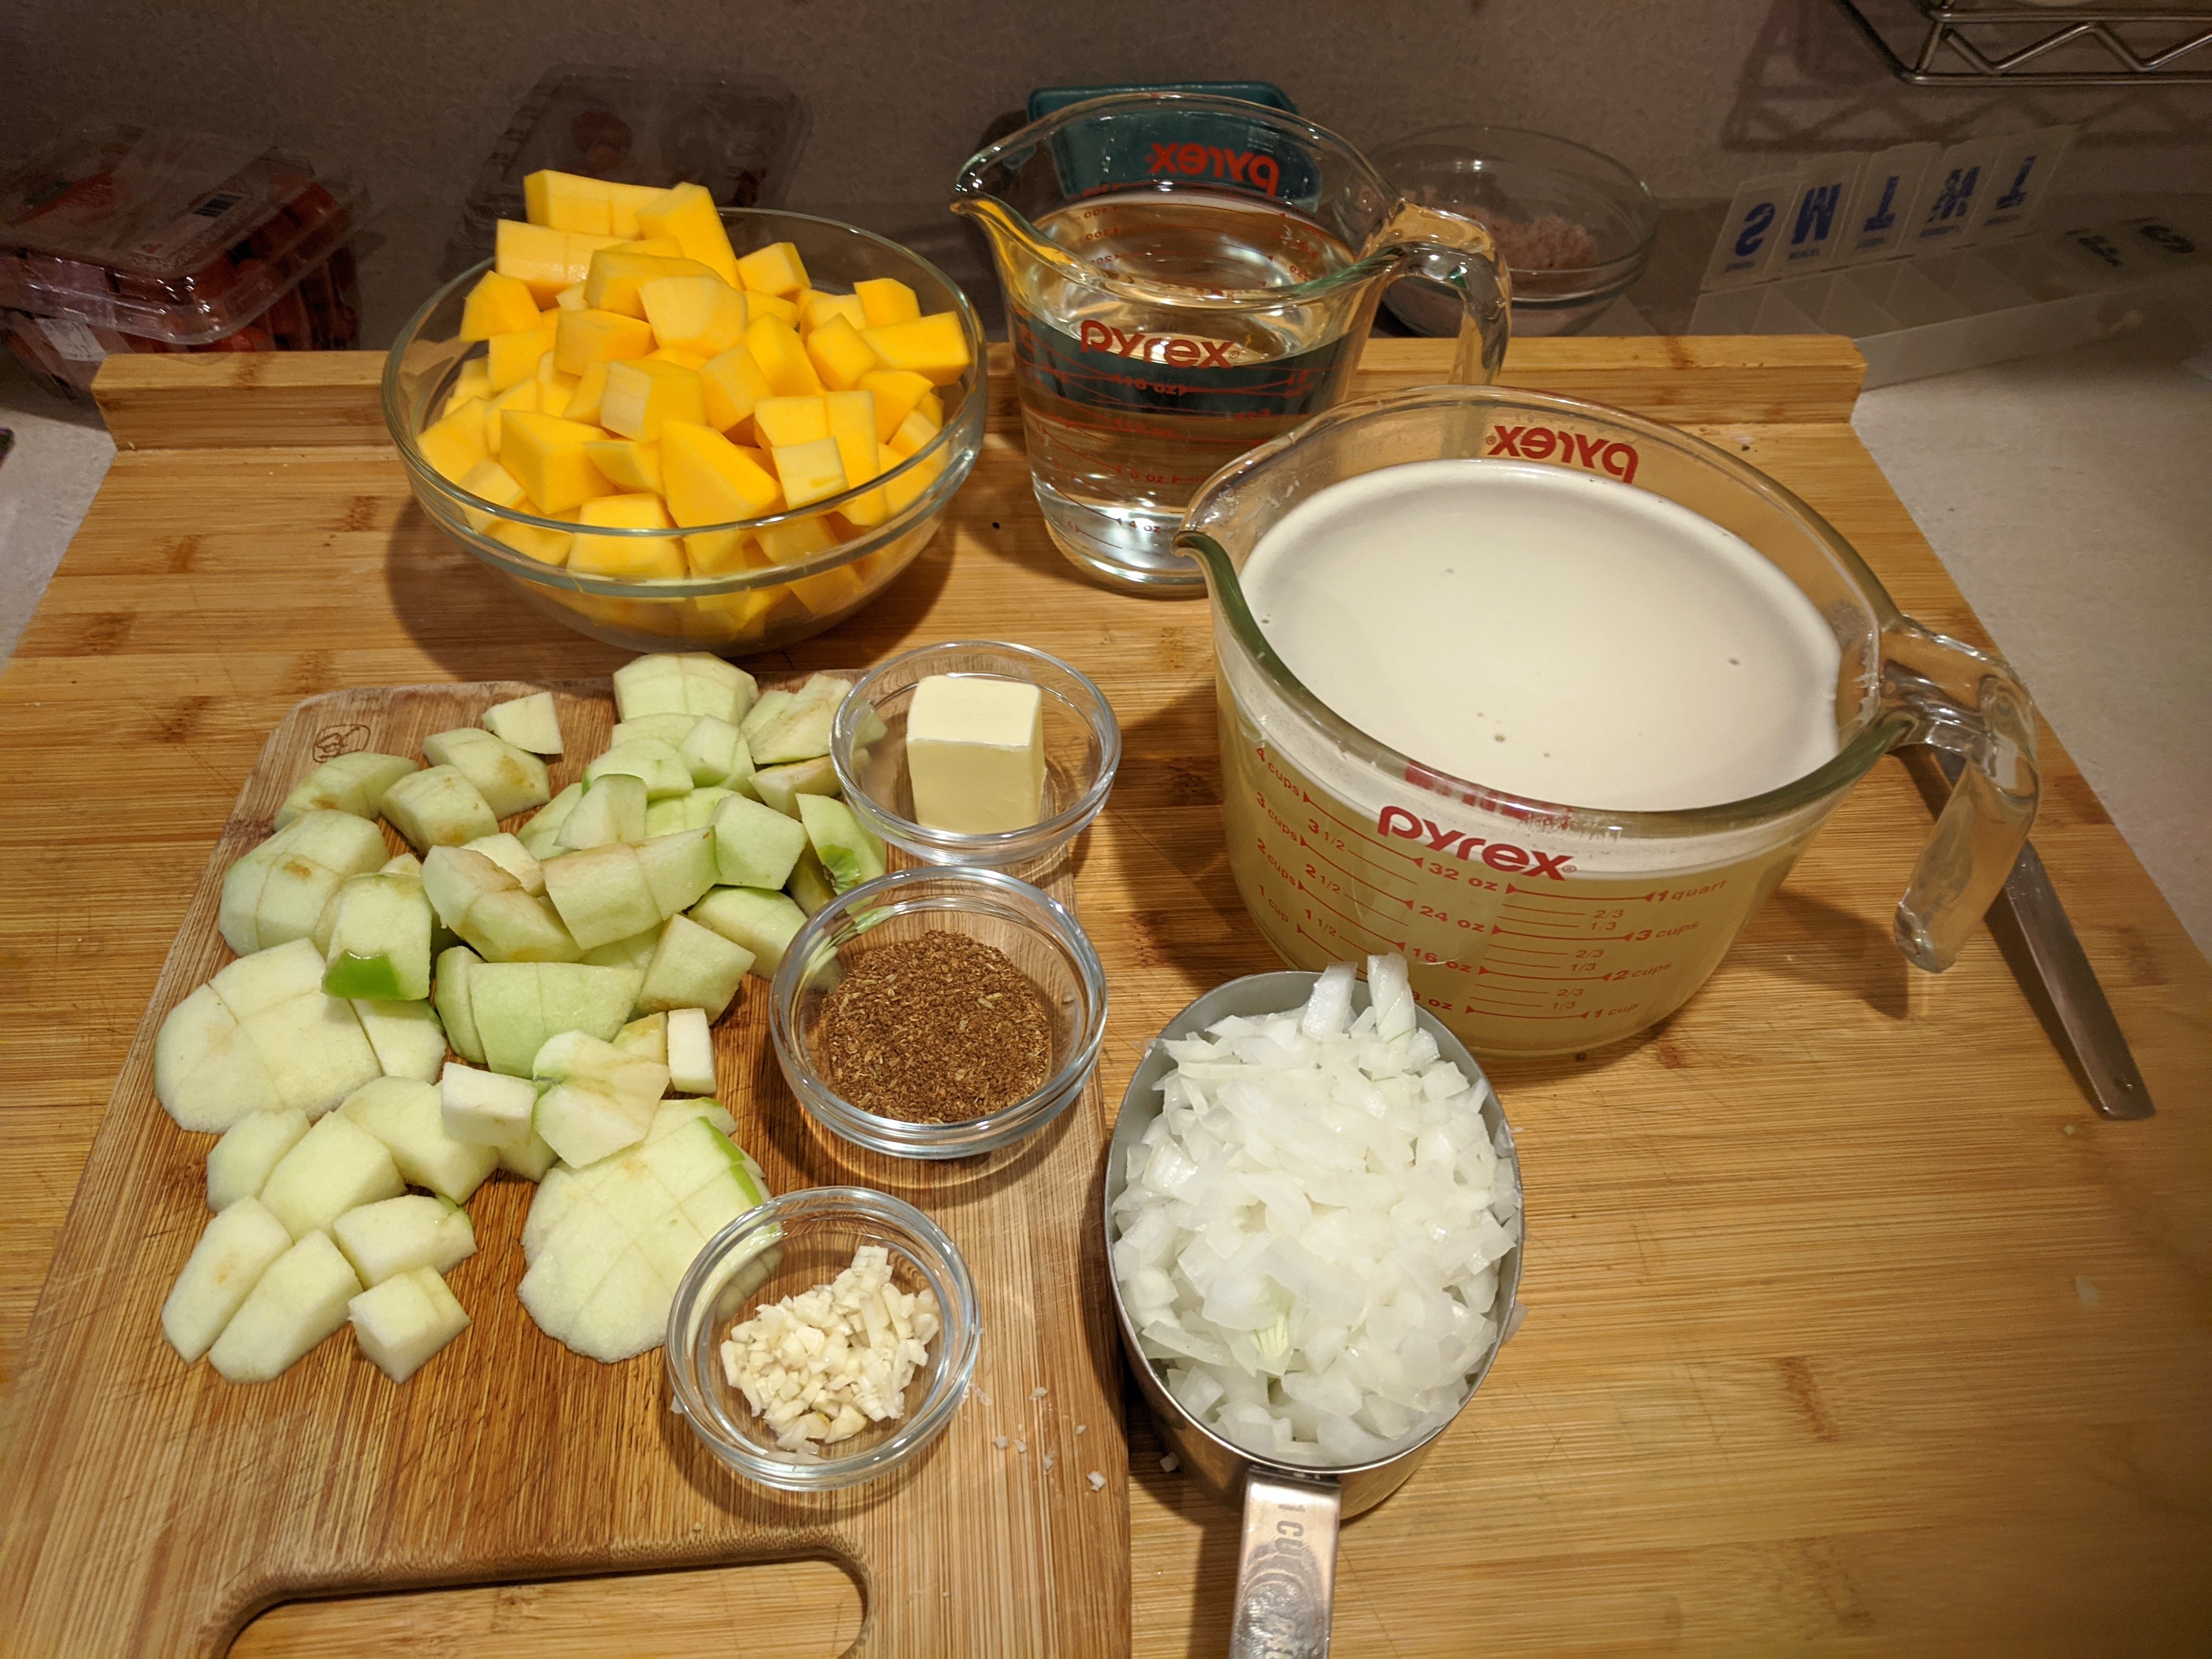
I’m taking a class at the senior center called Mindful Steps, we start of with some meditation and then walk when the winter weather is to cold or the path has not been plowed we do laps around the inside of the building and exercise in between each lap. Anyway my friend Todd brought in some of the squash bars he talked about last week and they were really good, no great! He used butternut squash on this batch.

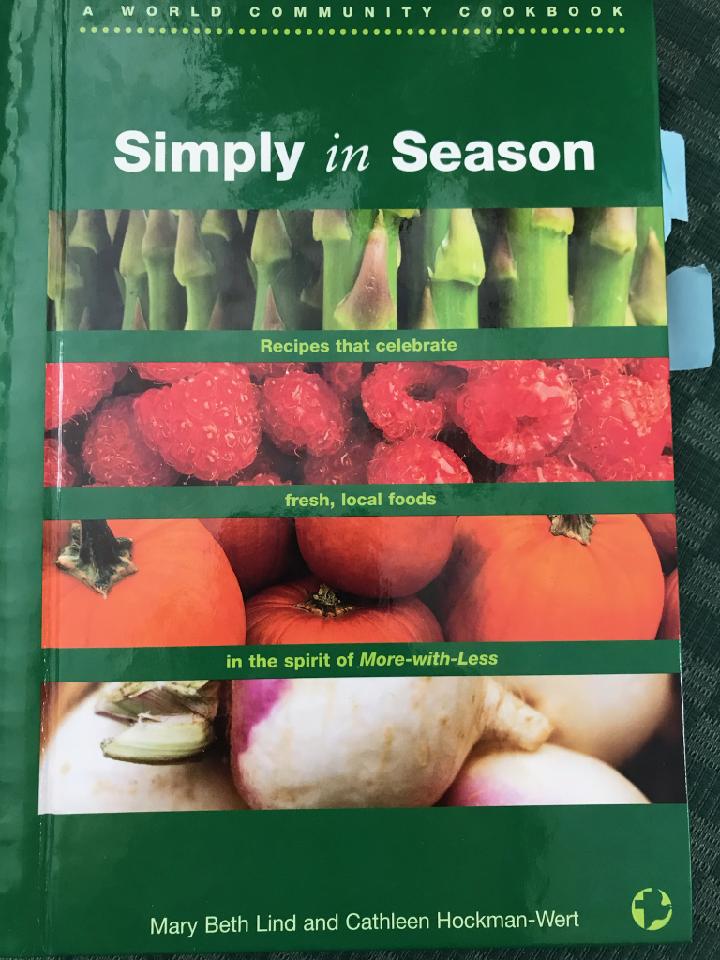
Todd wanted to give credit where credit is due.

Fruit anyone?

https://www.instagram.com/p/CM2HL9SnPng/?igshid=8kmn9kjvkkk9

Other things I’ve been making

Other things I’ve been making

Much Simpler menu this year, only Lyn and Me.

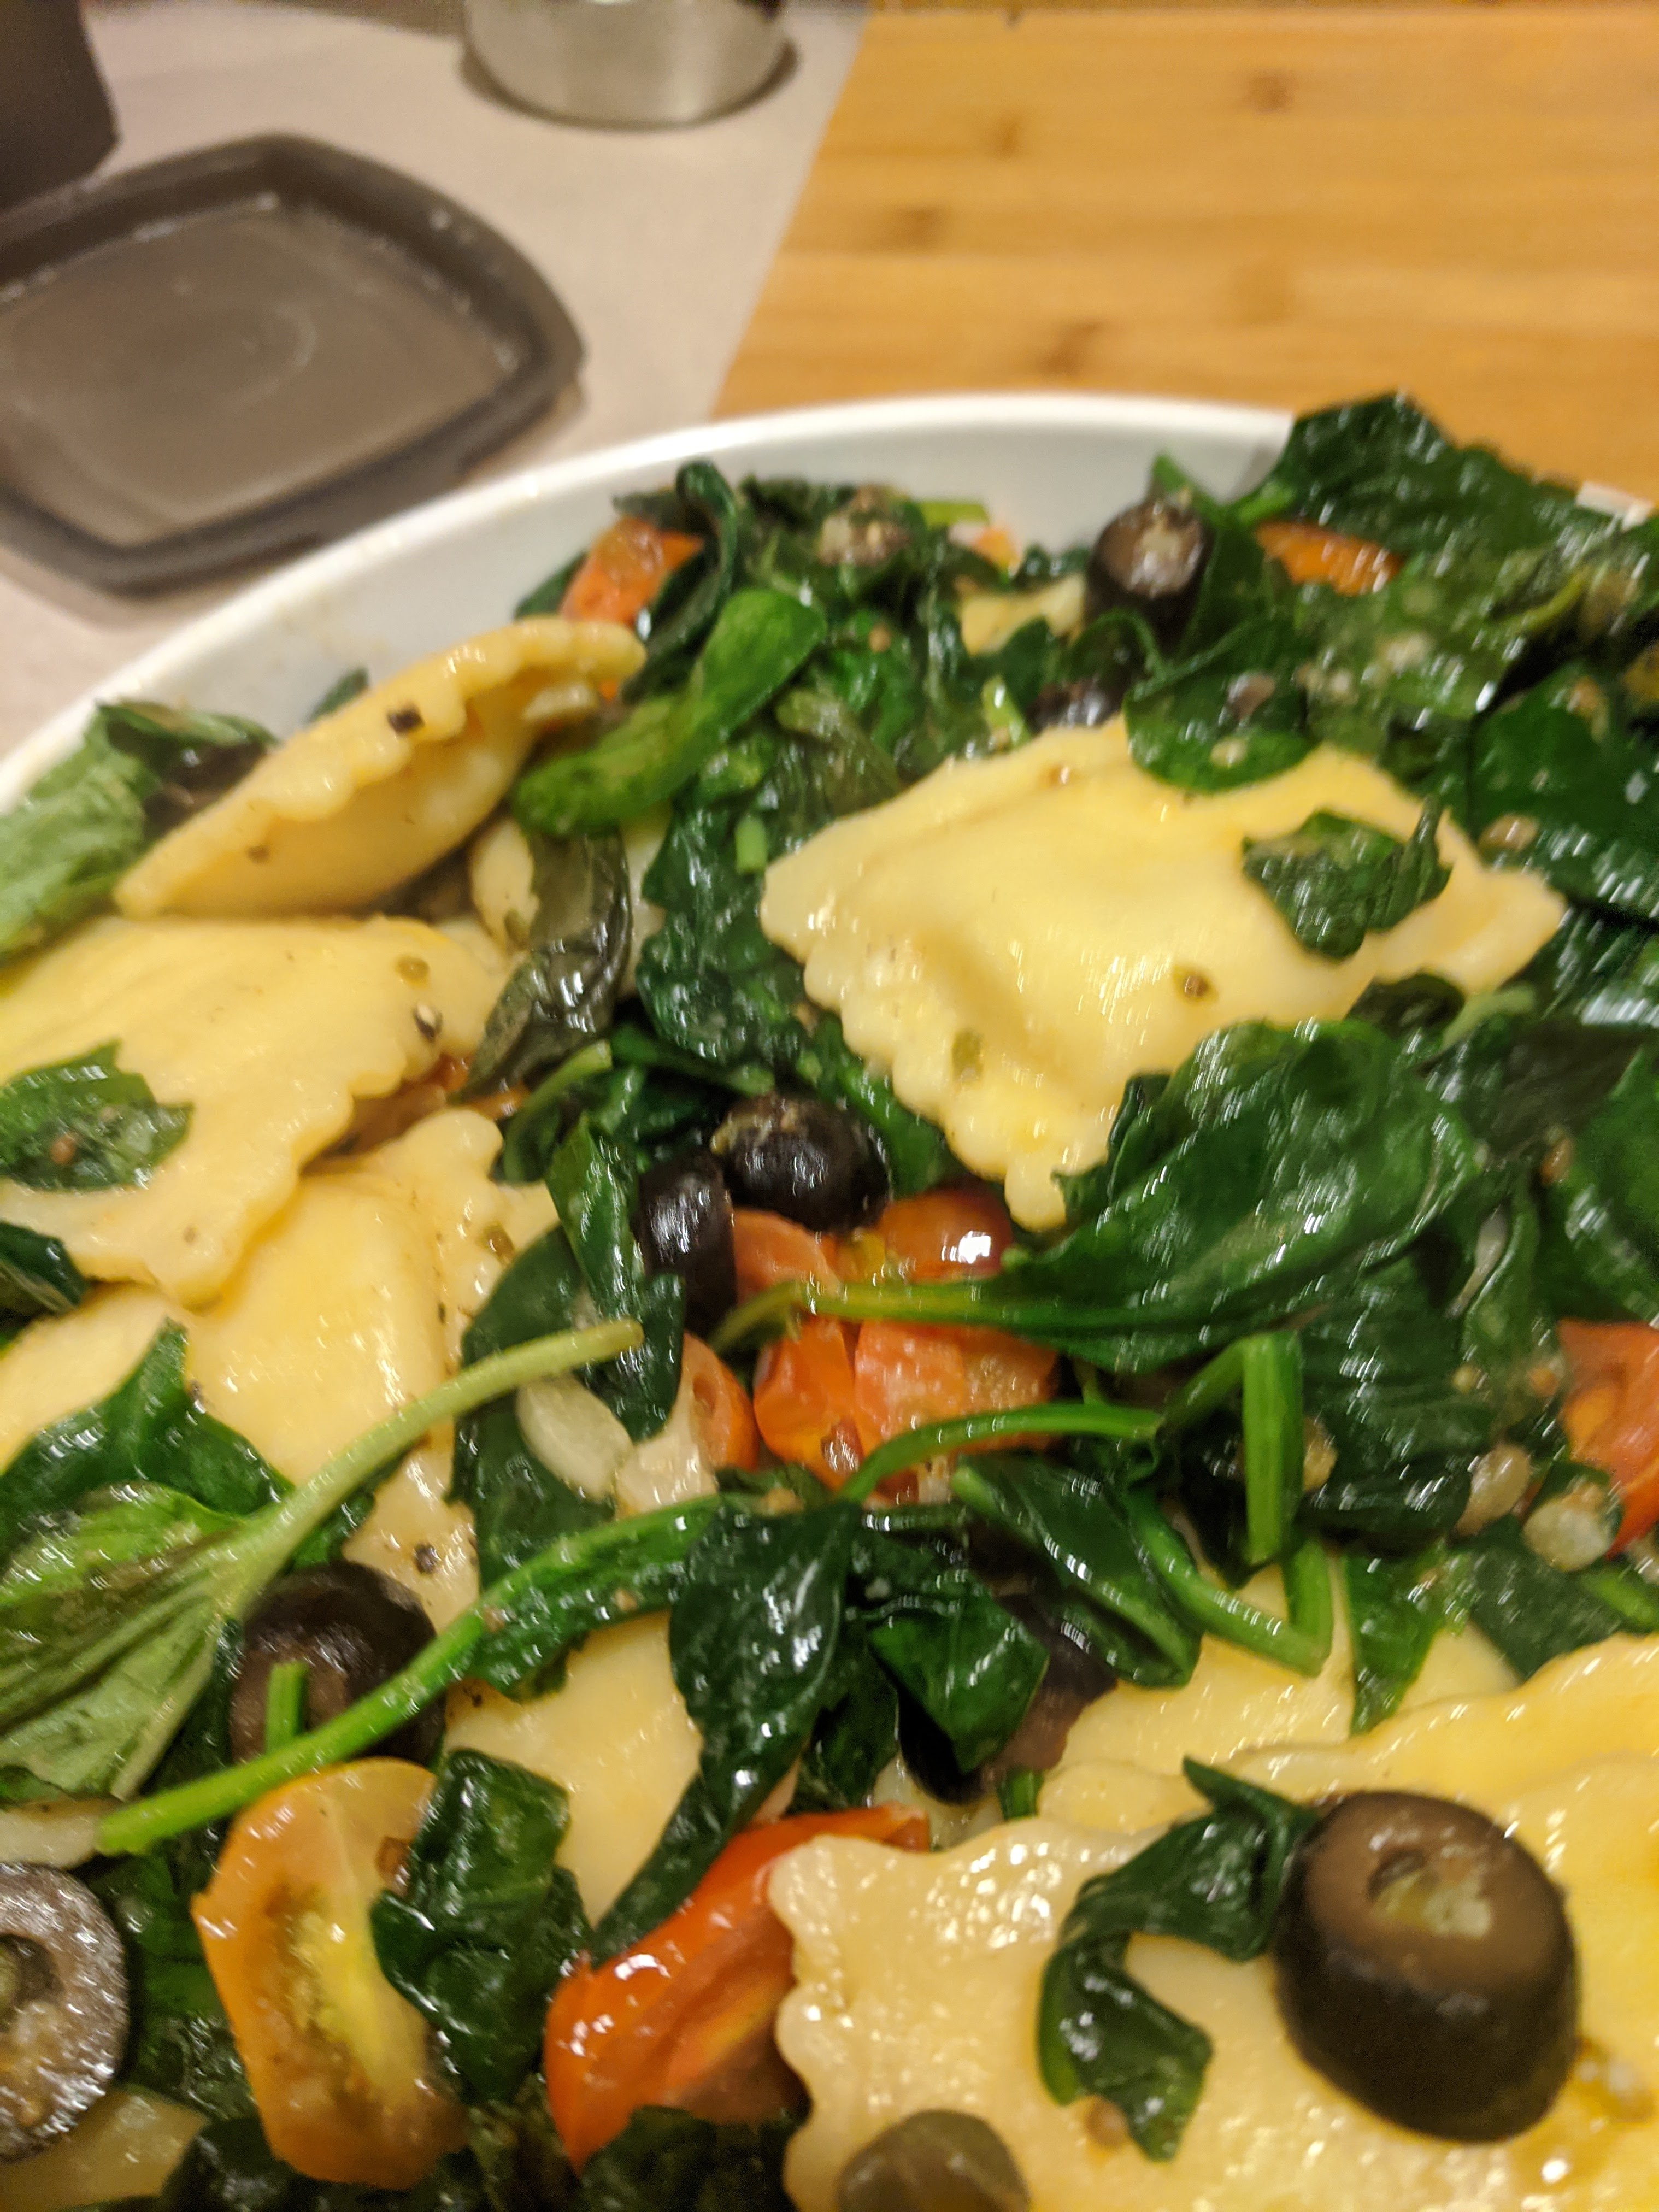
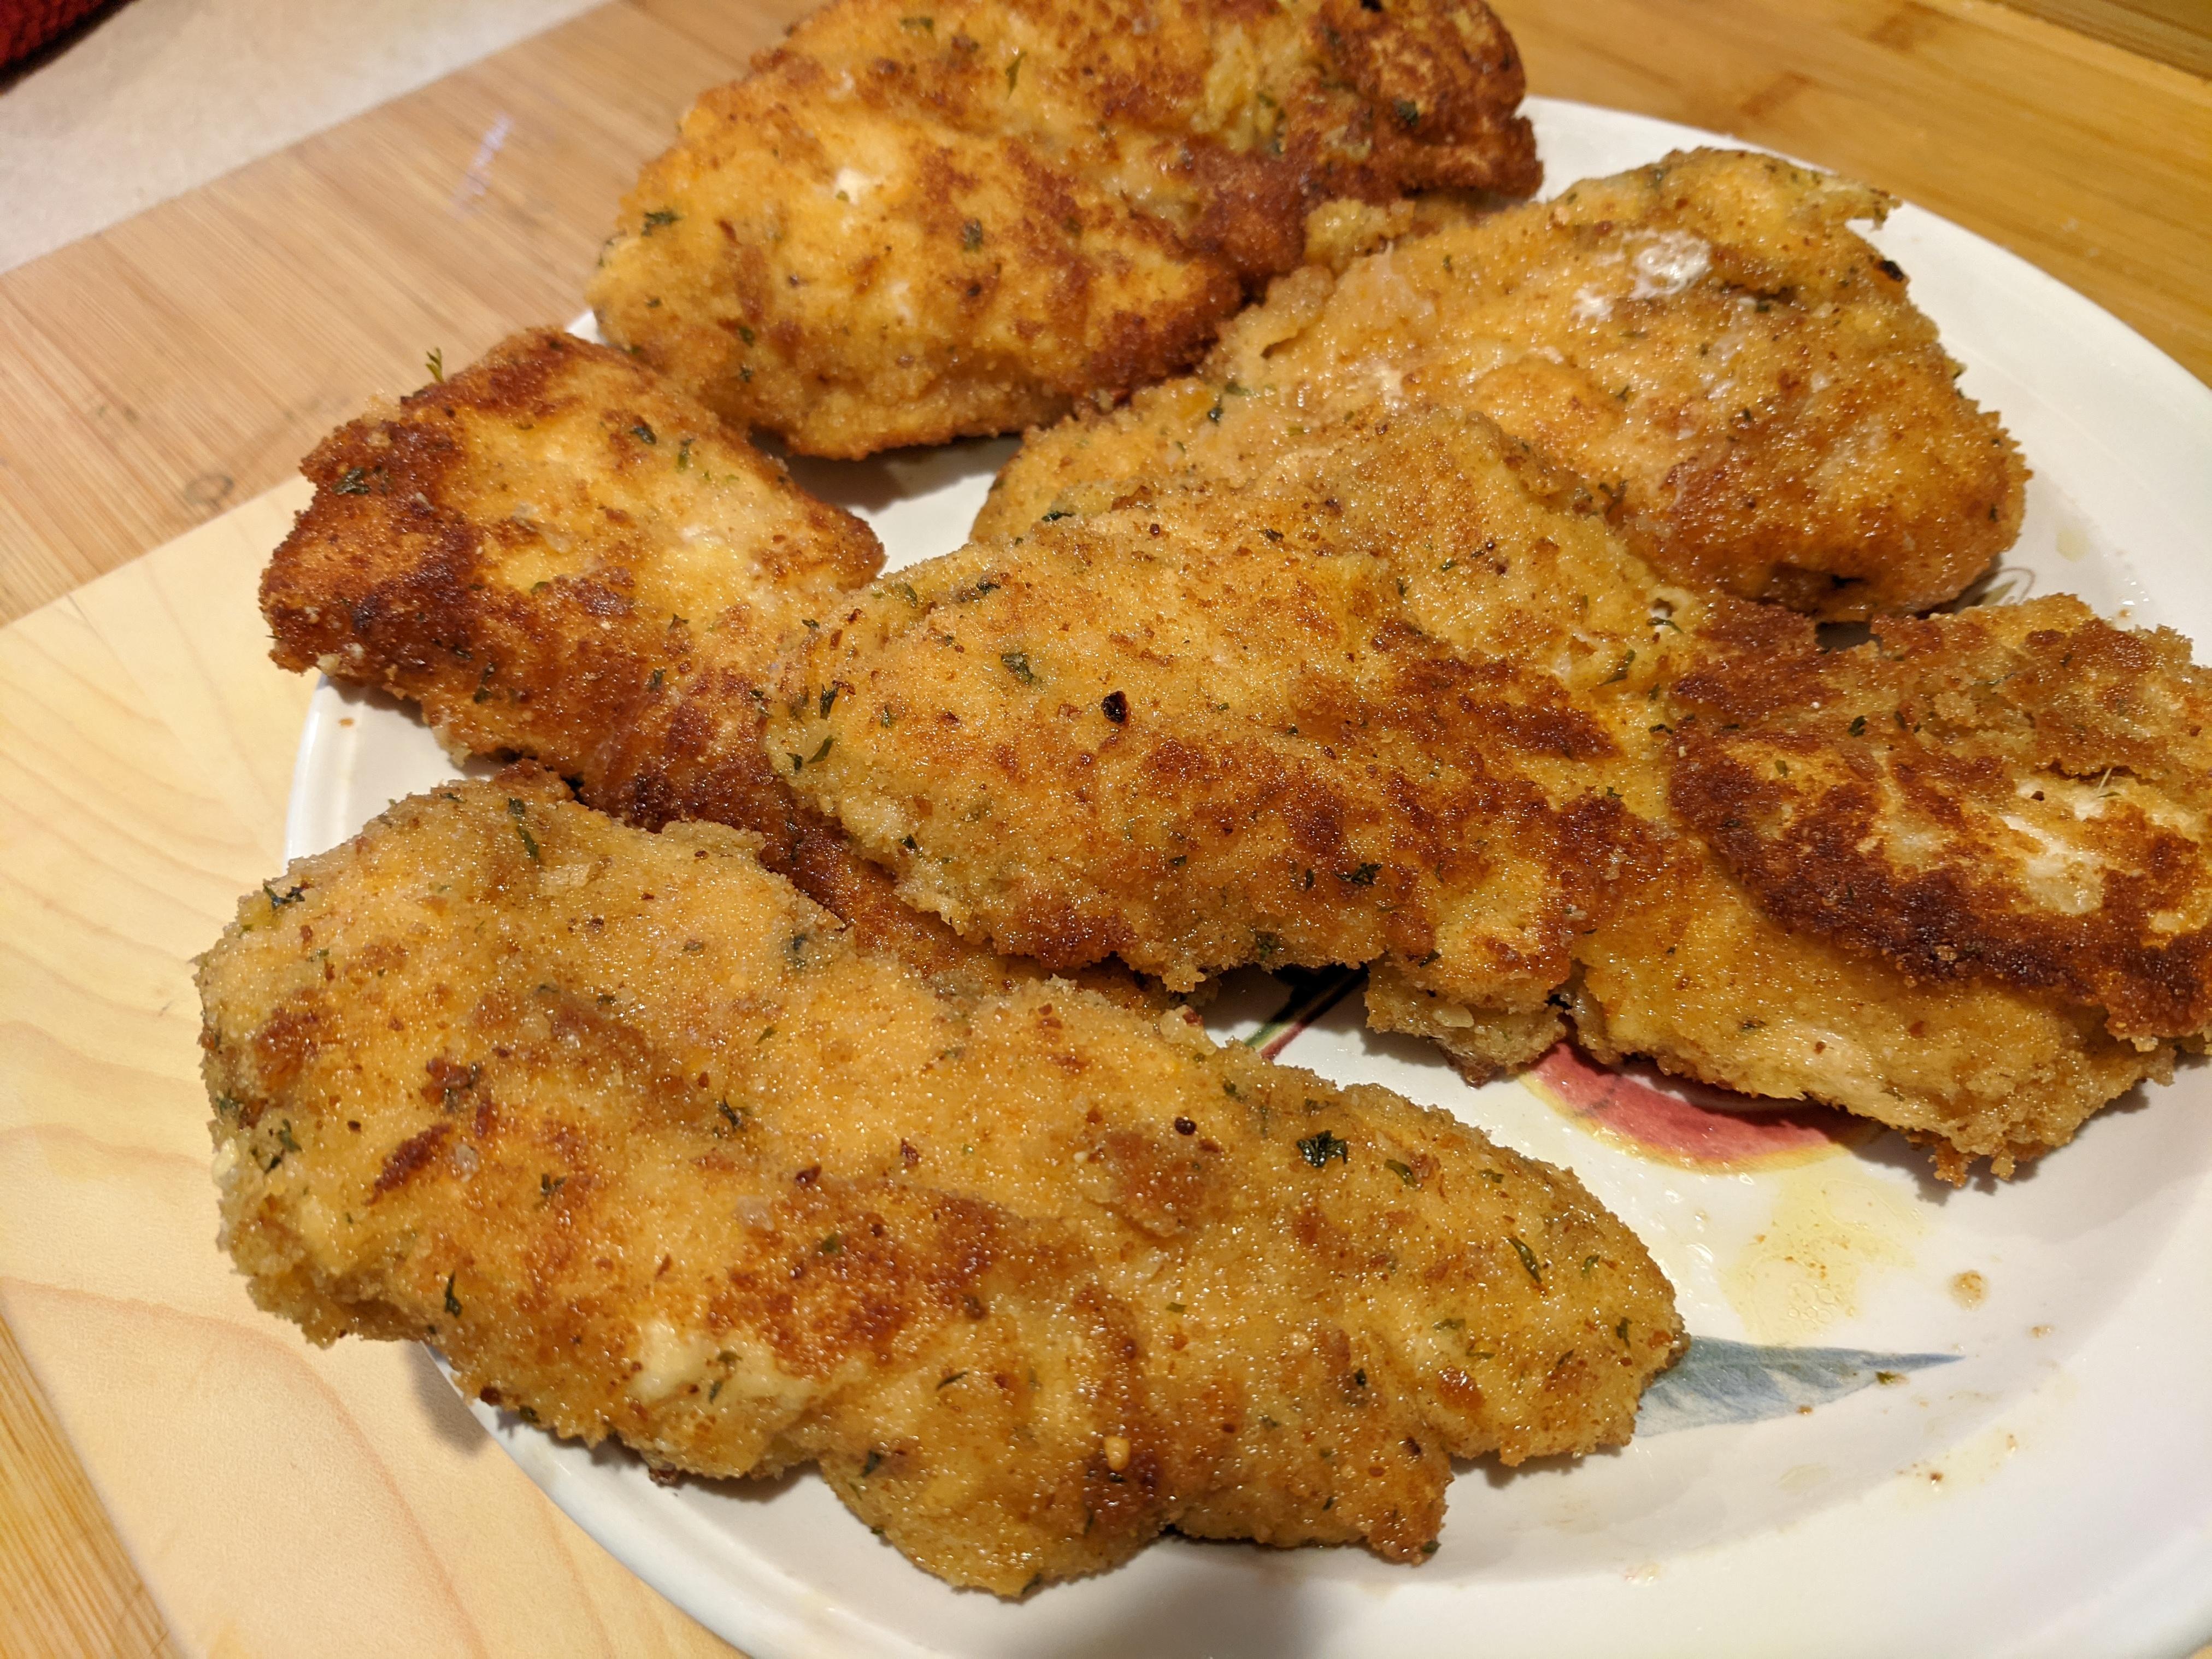
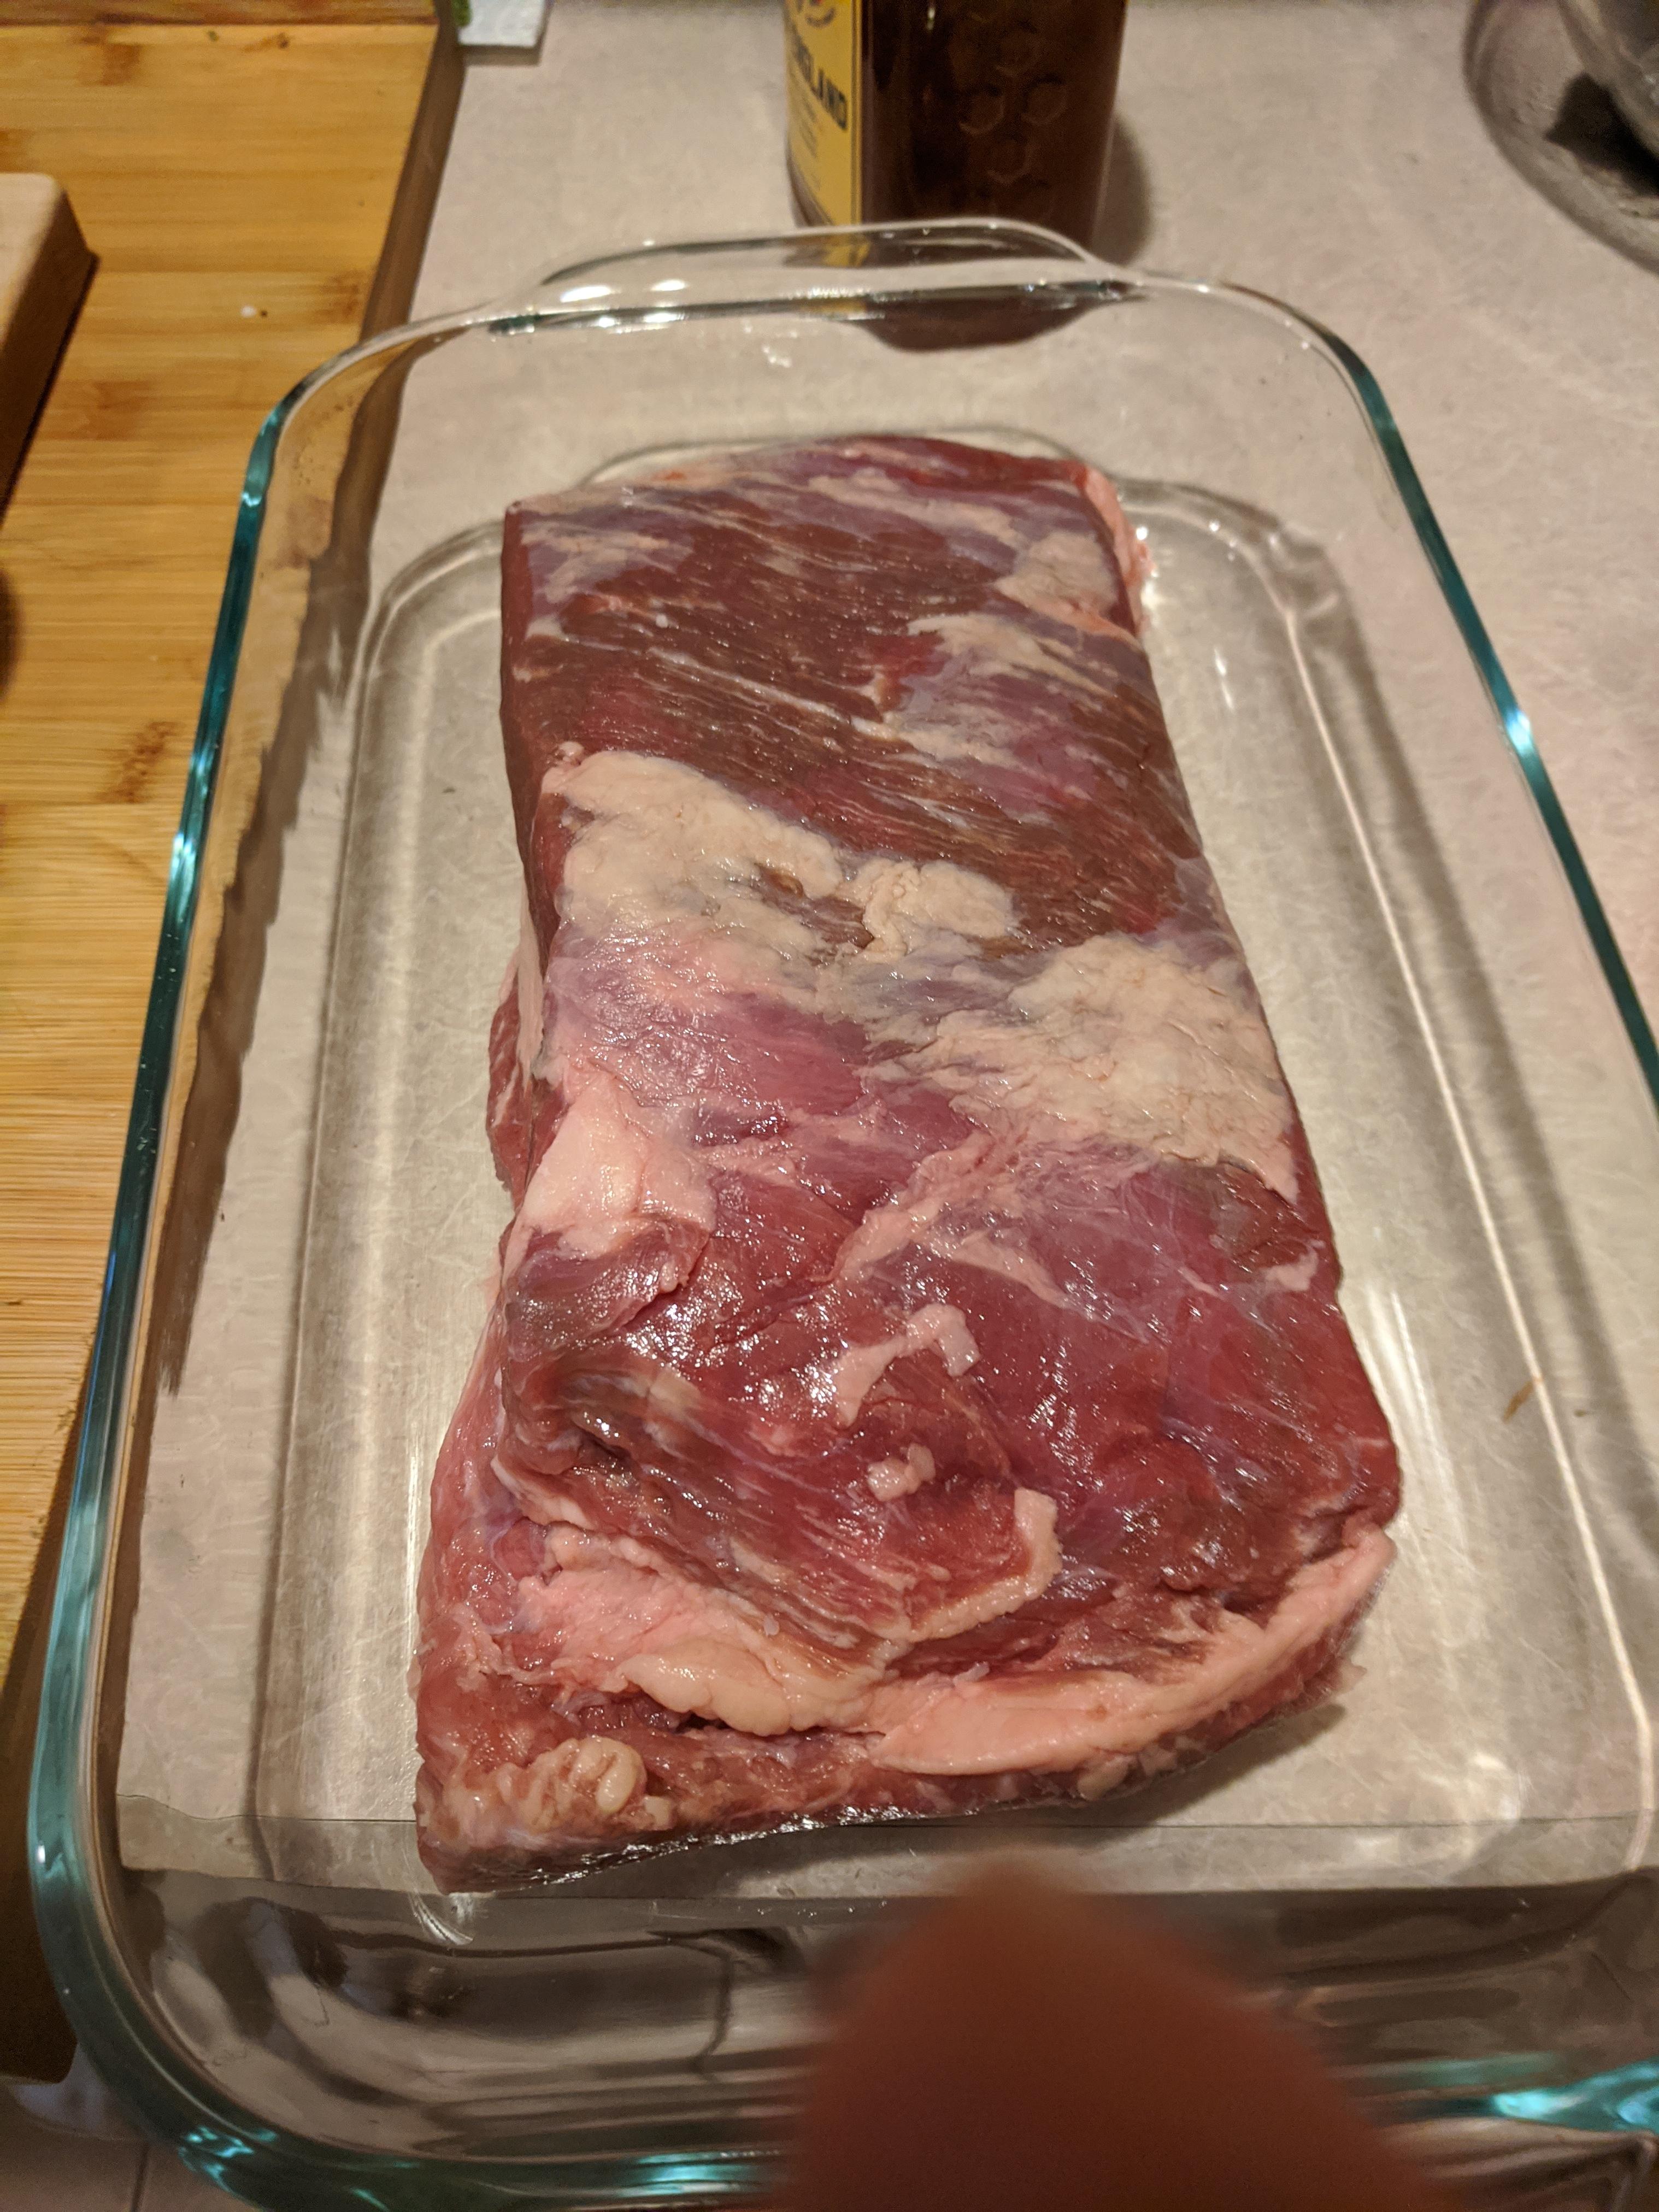
Normally we host about 20 friends and family but with the way things are this year it was just Lyn and I so as the title mentions was much easier than usual on me. We decided on Ravioli Puttanesca and Lyn made lemon meringue without the pie crust. both were great. Usually we would make soup, brisket, lasagna, ravs, chicken cutlets, chicken piccata, pasta, meatballs and sauce, and other stuff.

Other things I cooked during the stay in place orders

I love cooking and trying new things and being ordered shelter in place i’ve done a lot more. I’m trying to keep it interesting for Lyn but as I am sure you all we have both gained a little weight. Even with my almost daily 3-4 mile walks through the woods it’s been tough.

Baked potato tops with cheese, avocado and chilli, yes the potato is under there somewhere
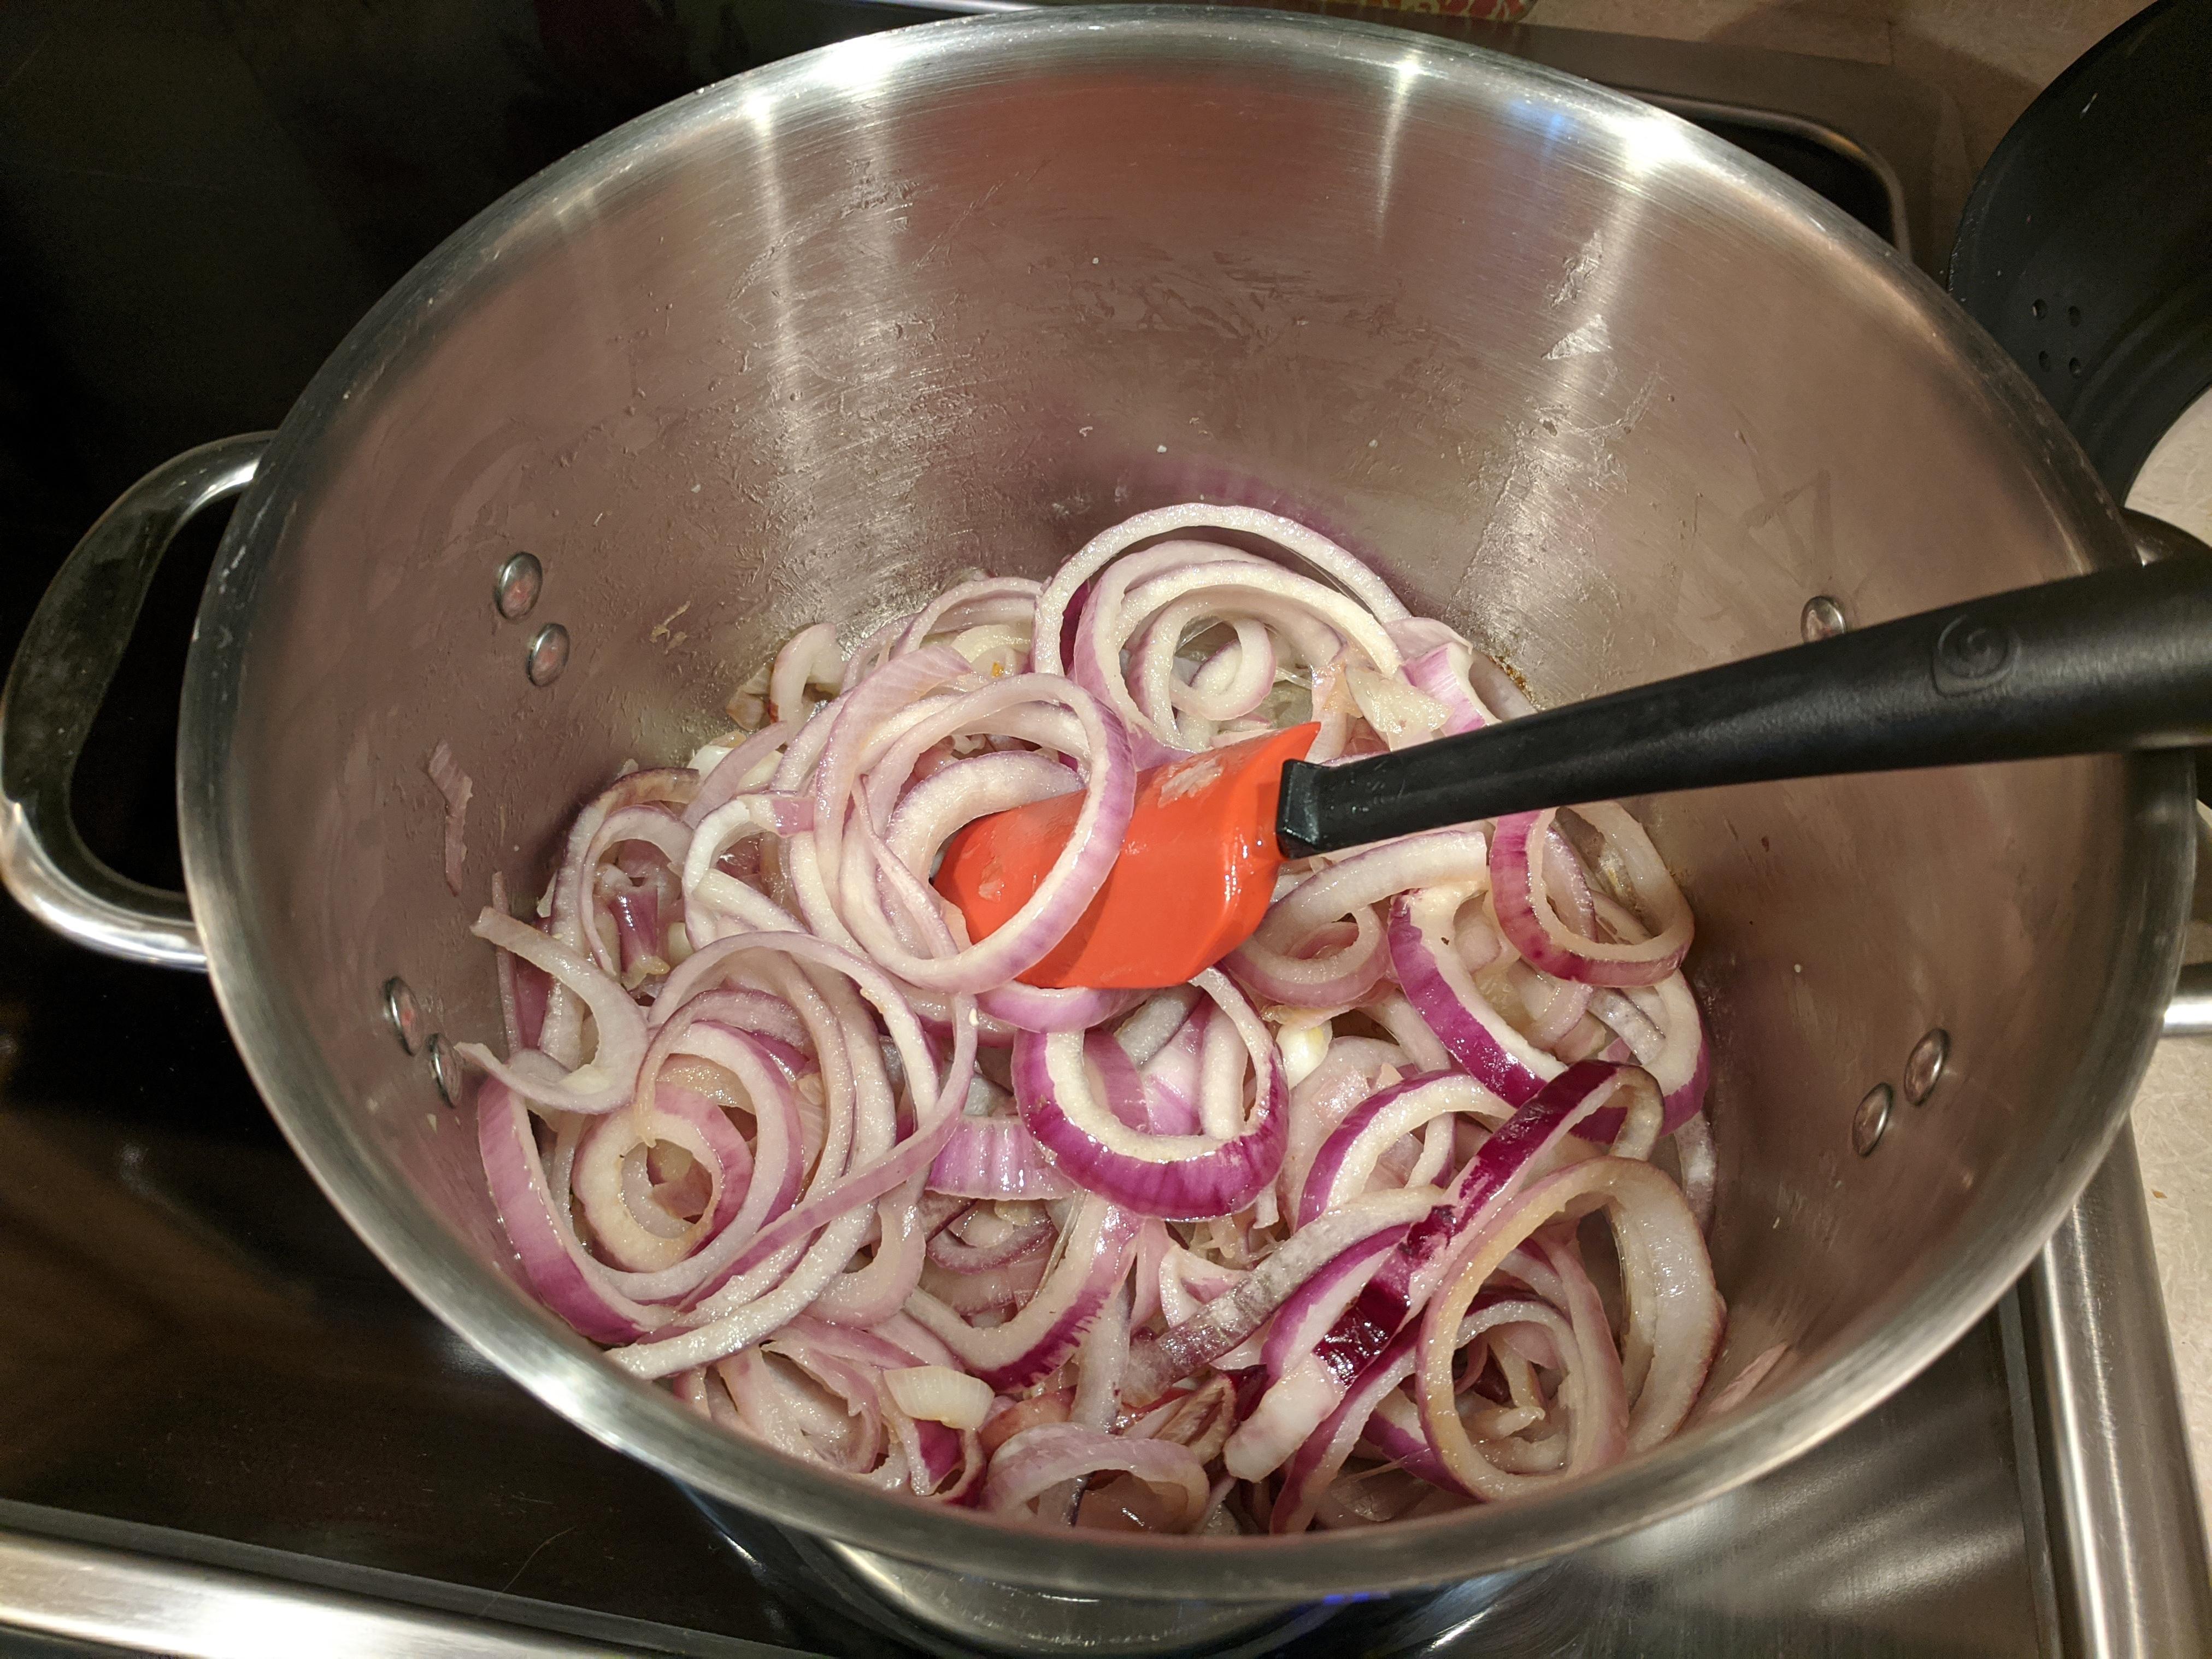
Red Onion Relish
Veggie broth made from scraps good for soup base
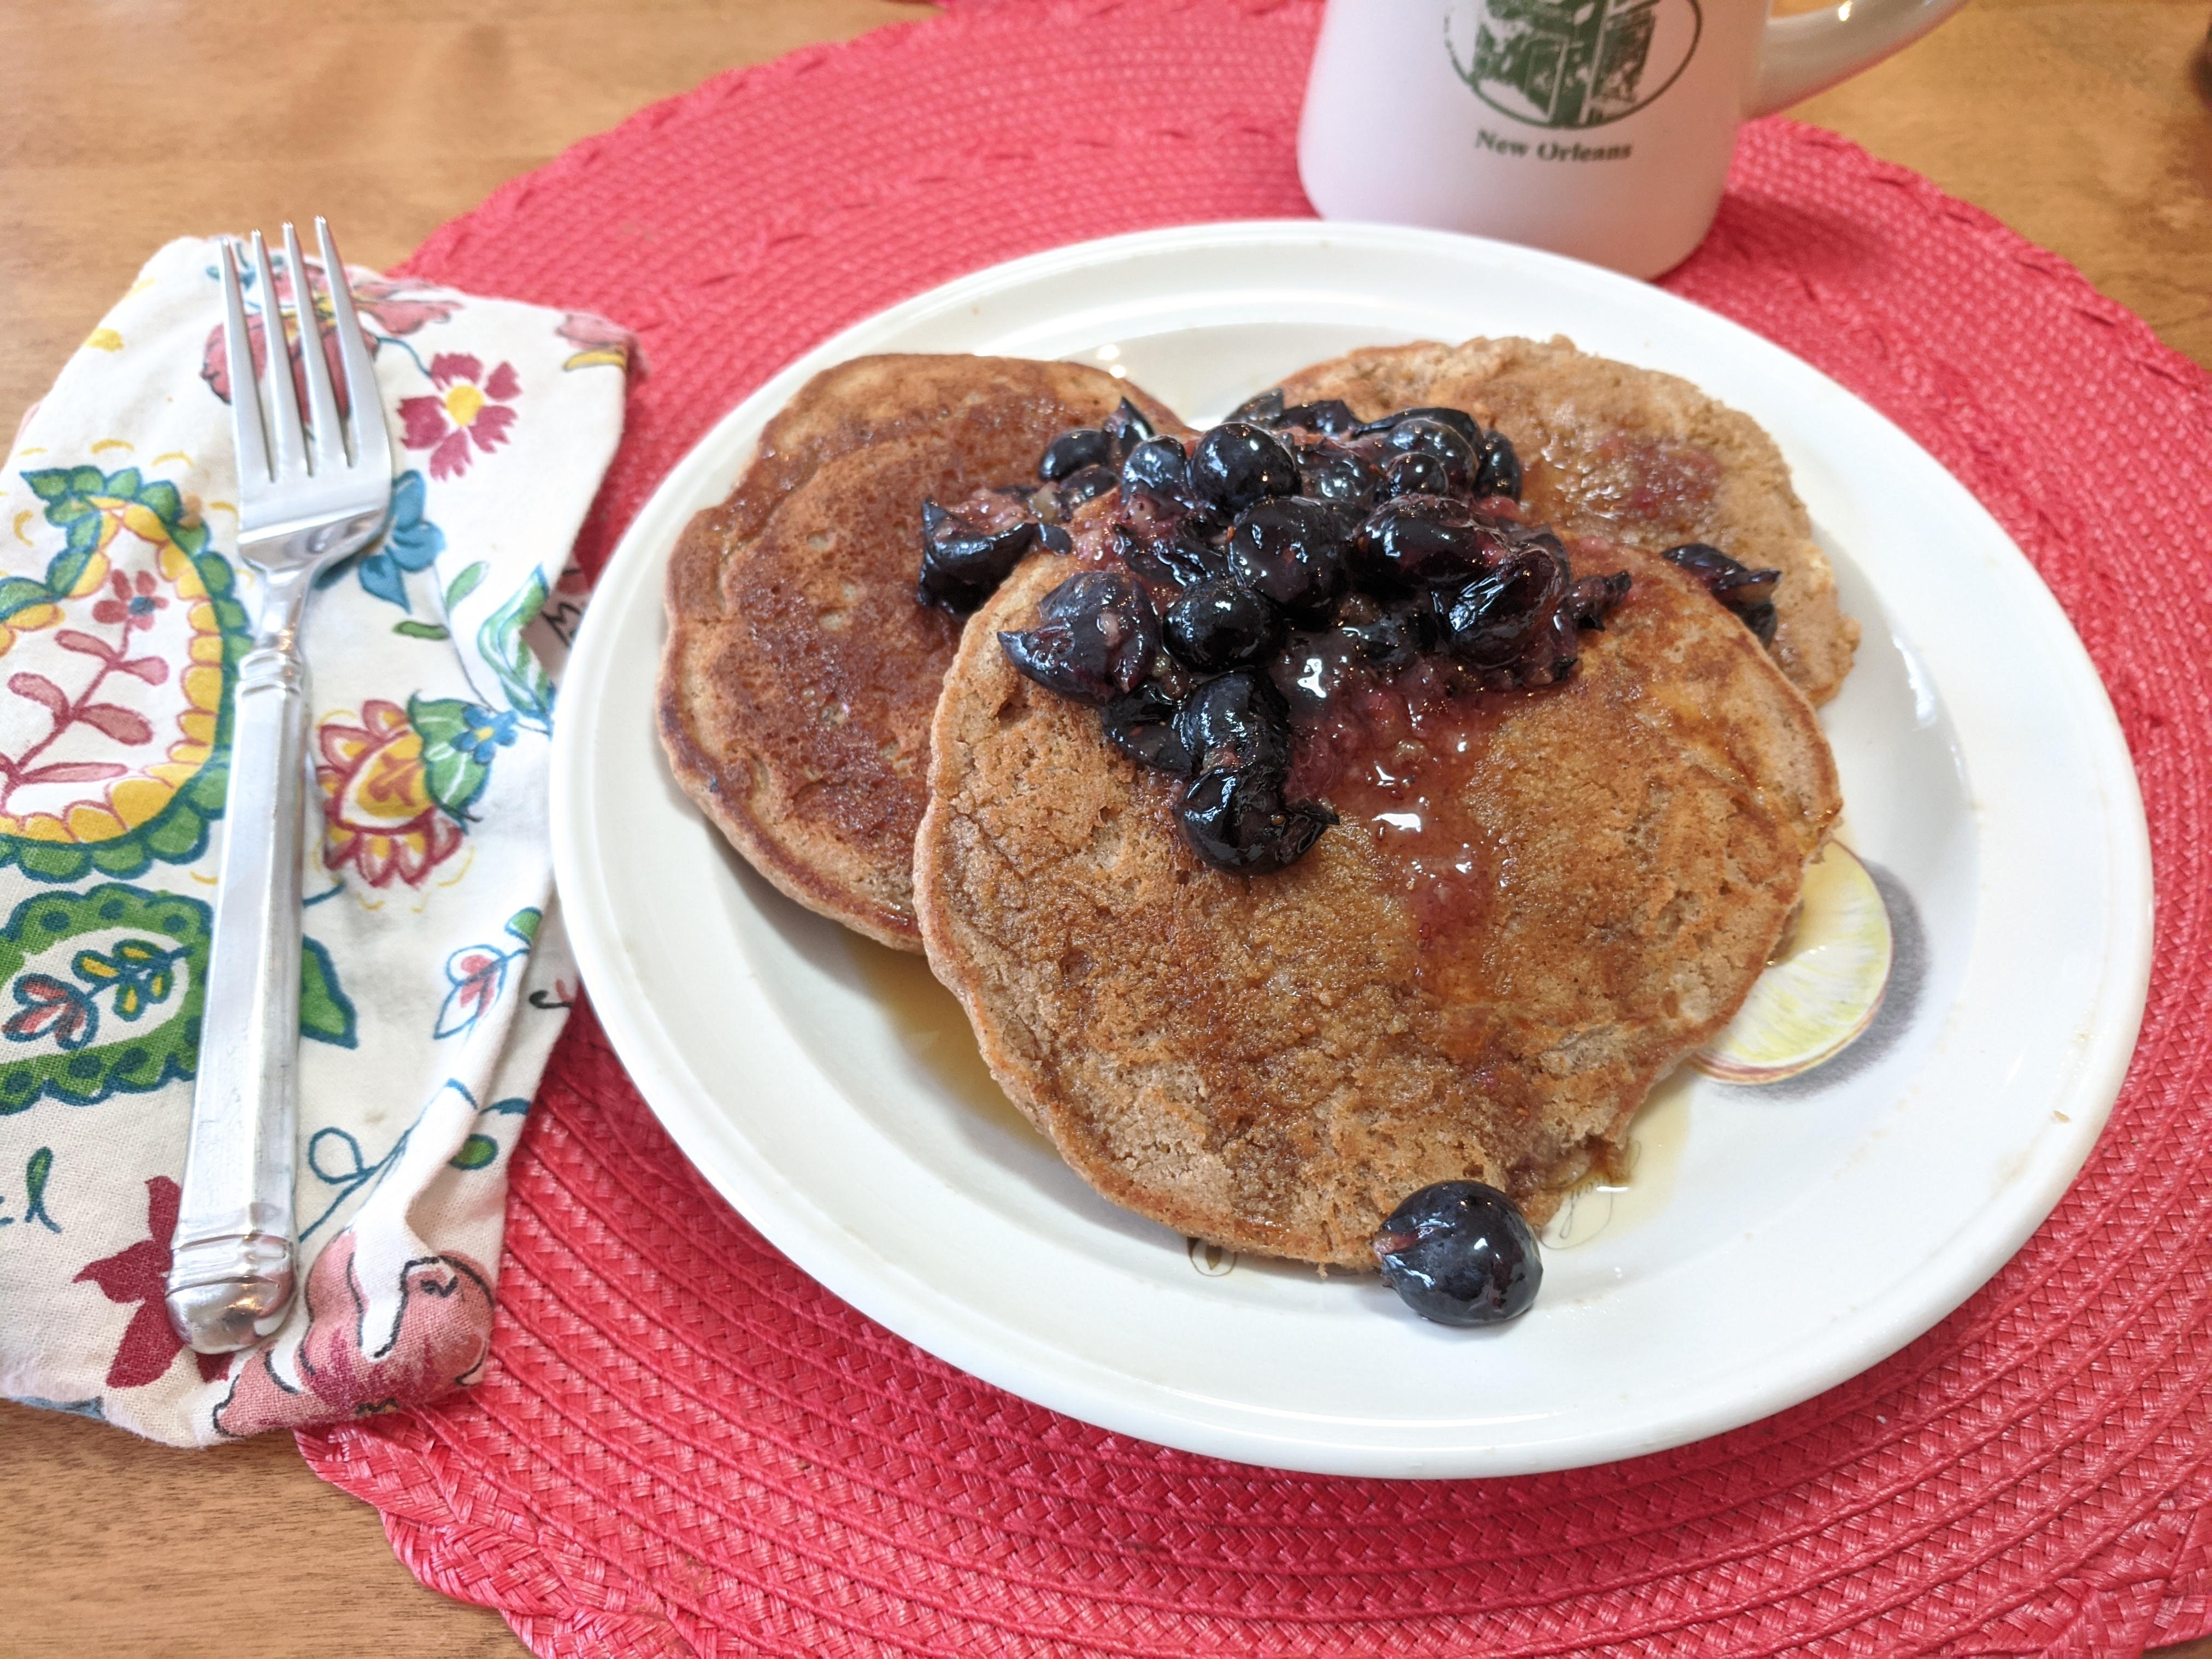
Breakfast for supper
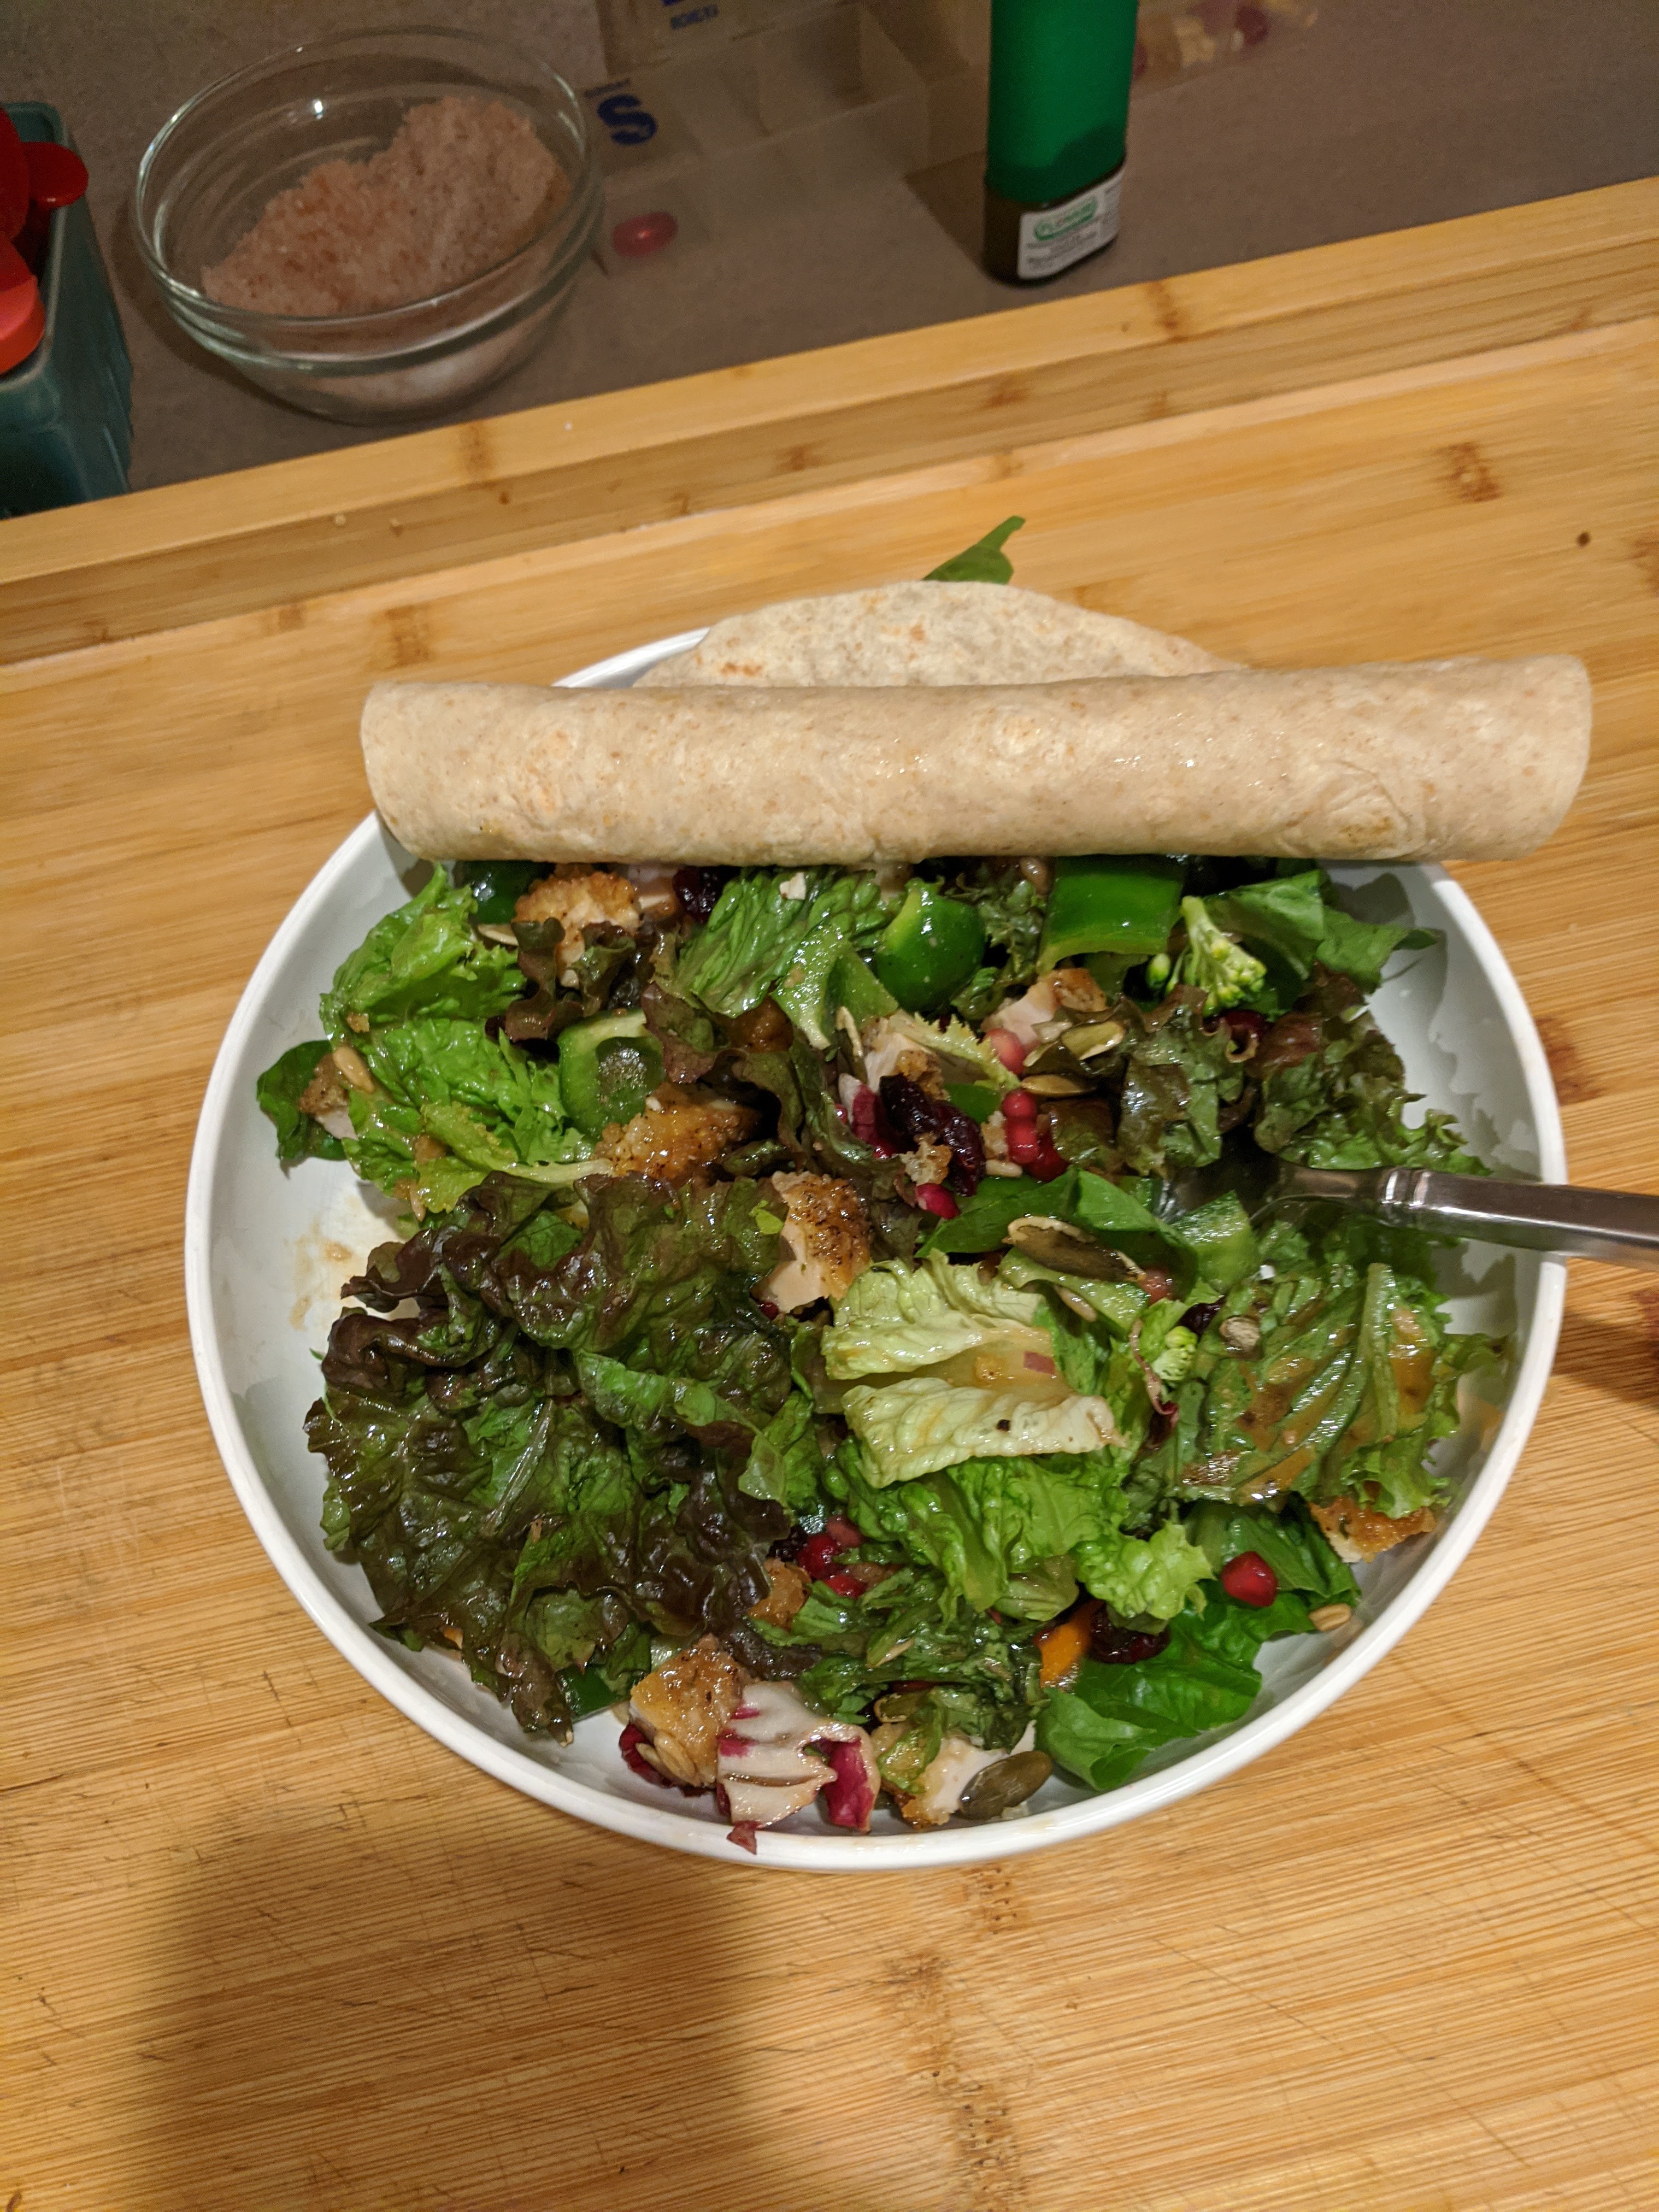
Salad for lunches with any leftover proteins or not
Lots of this
Salad and cauliflower crust pizza
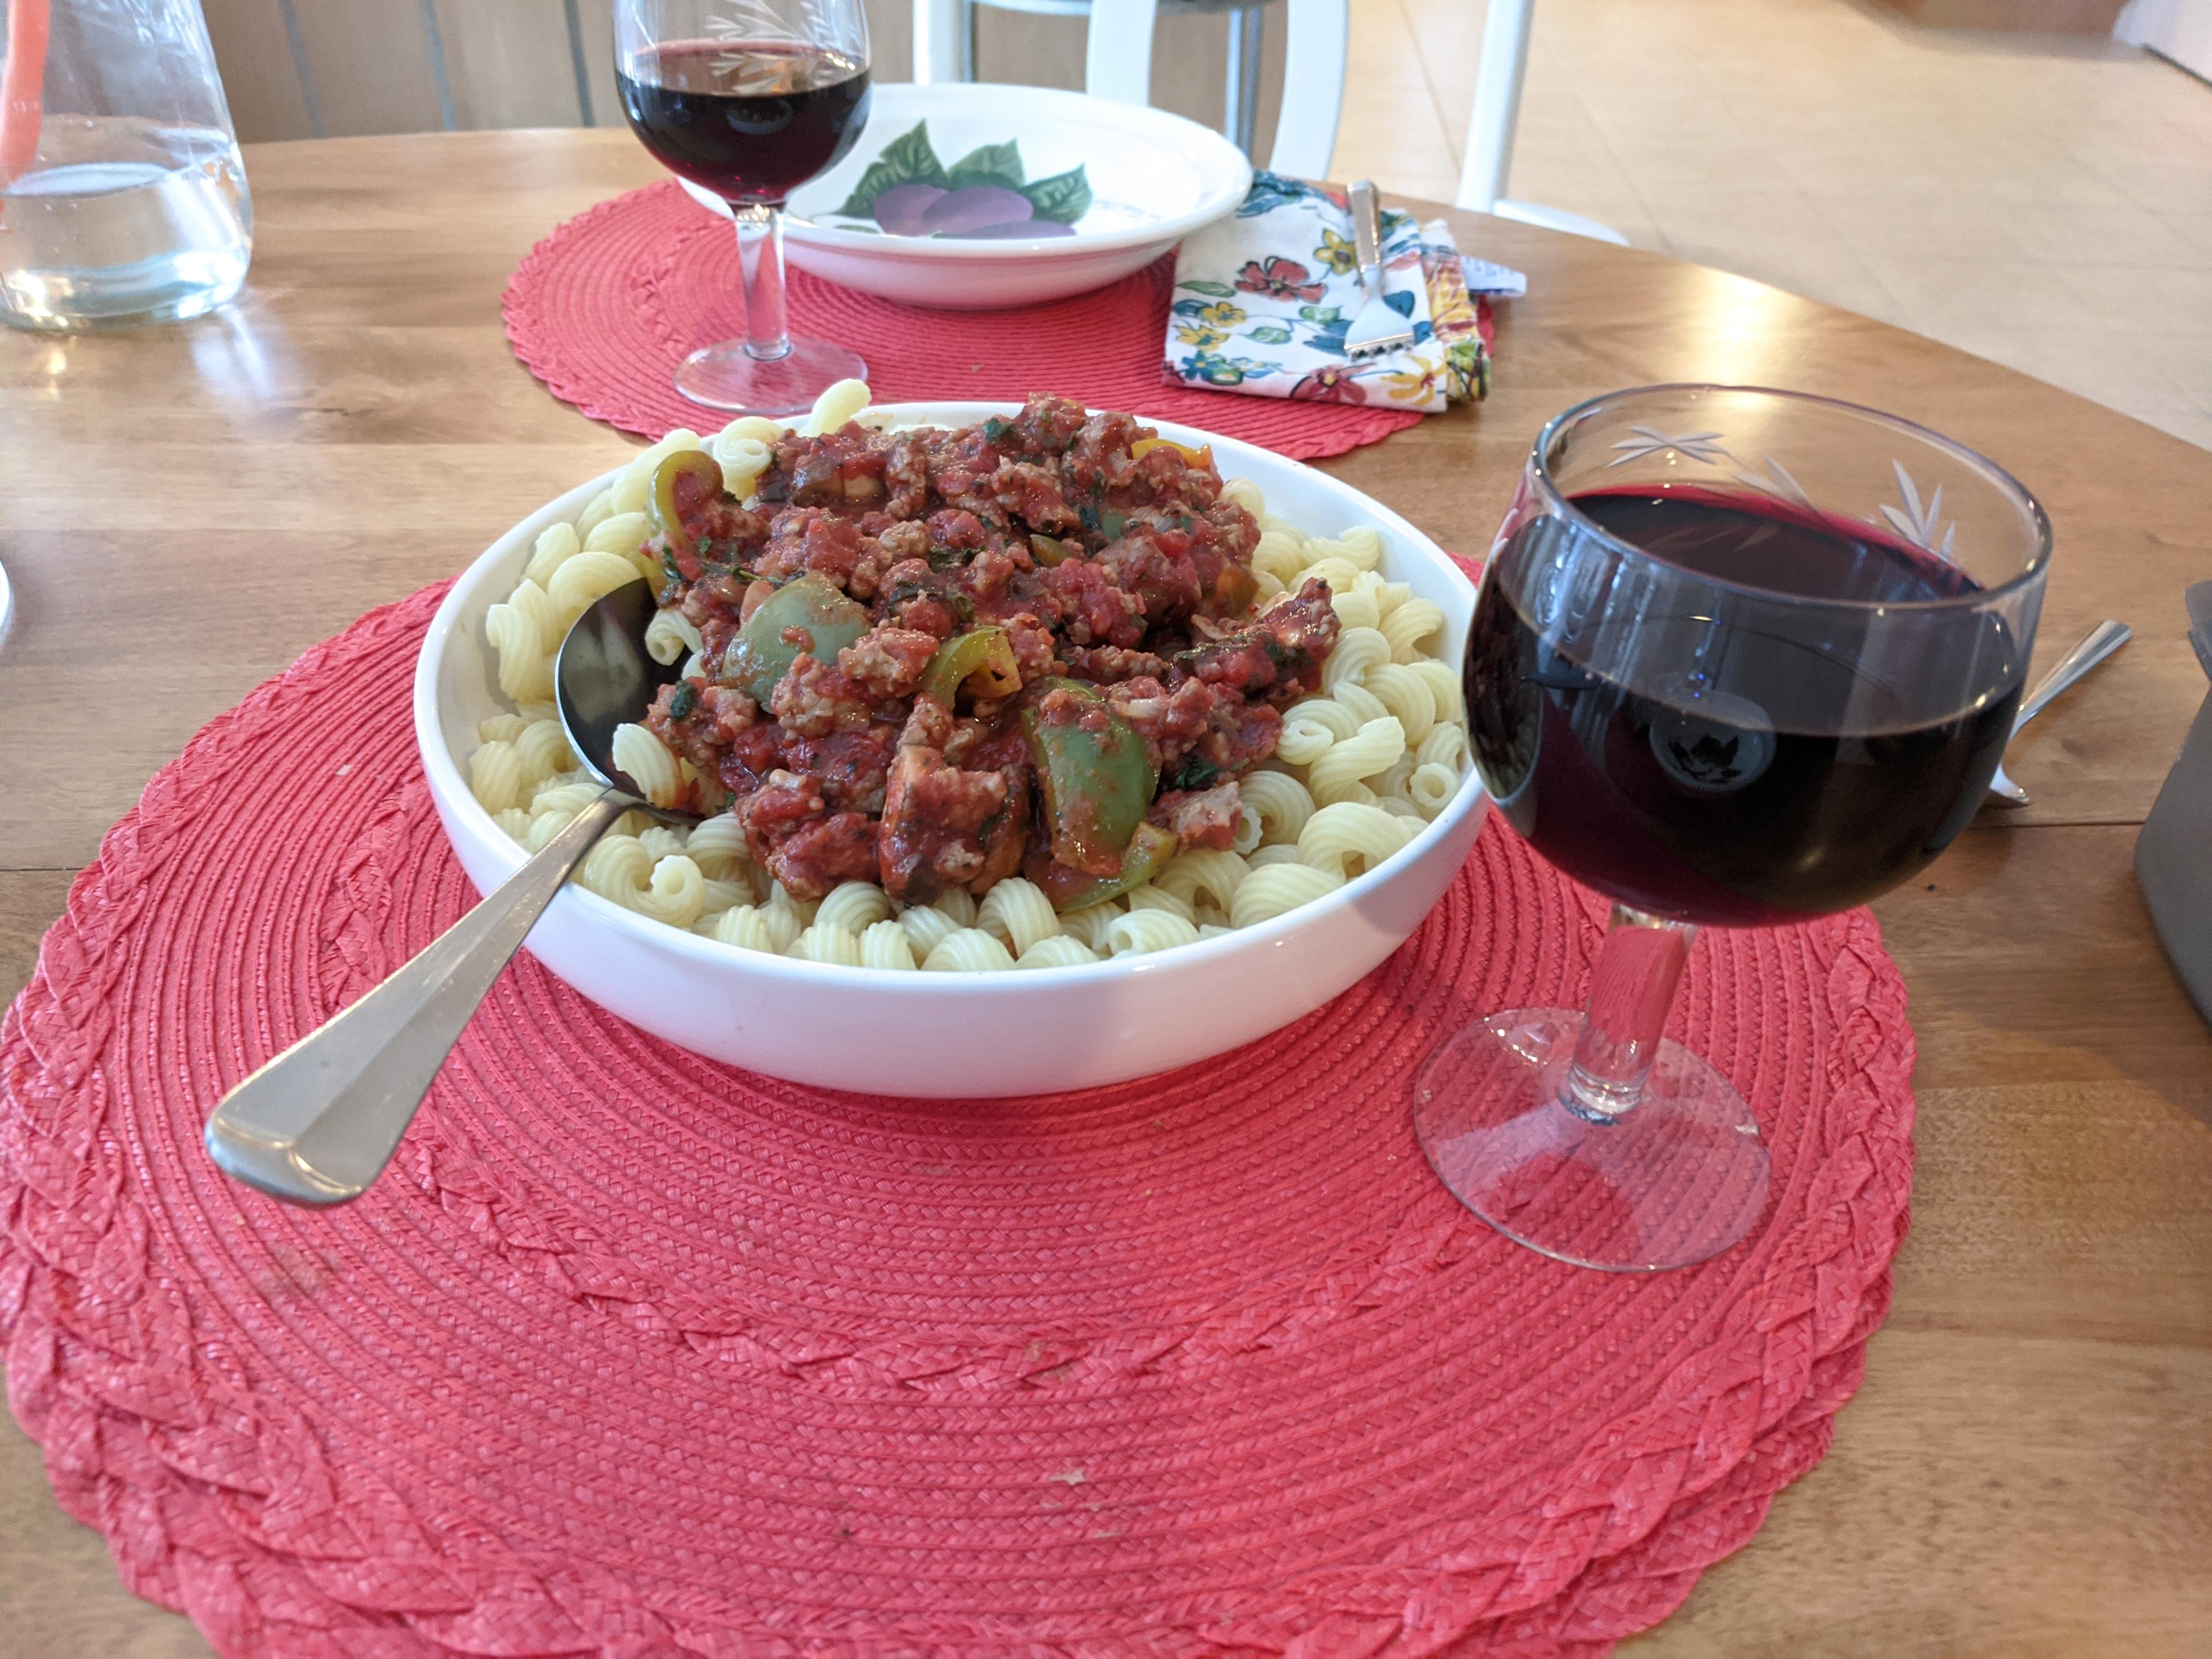
Chicken cacciatore sort of with lentil pasta , got to use what you have
spaghetti and meatballs
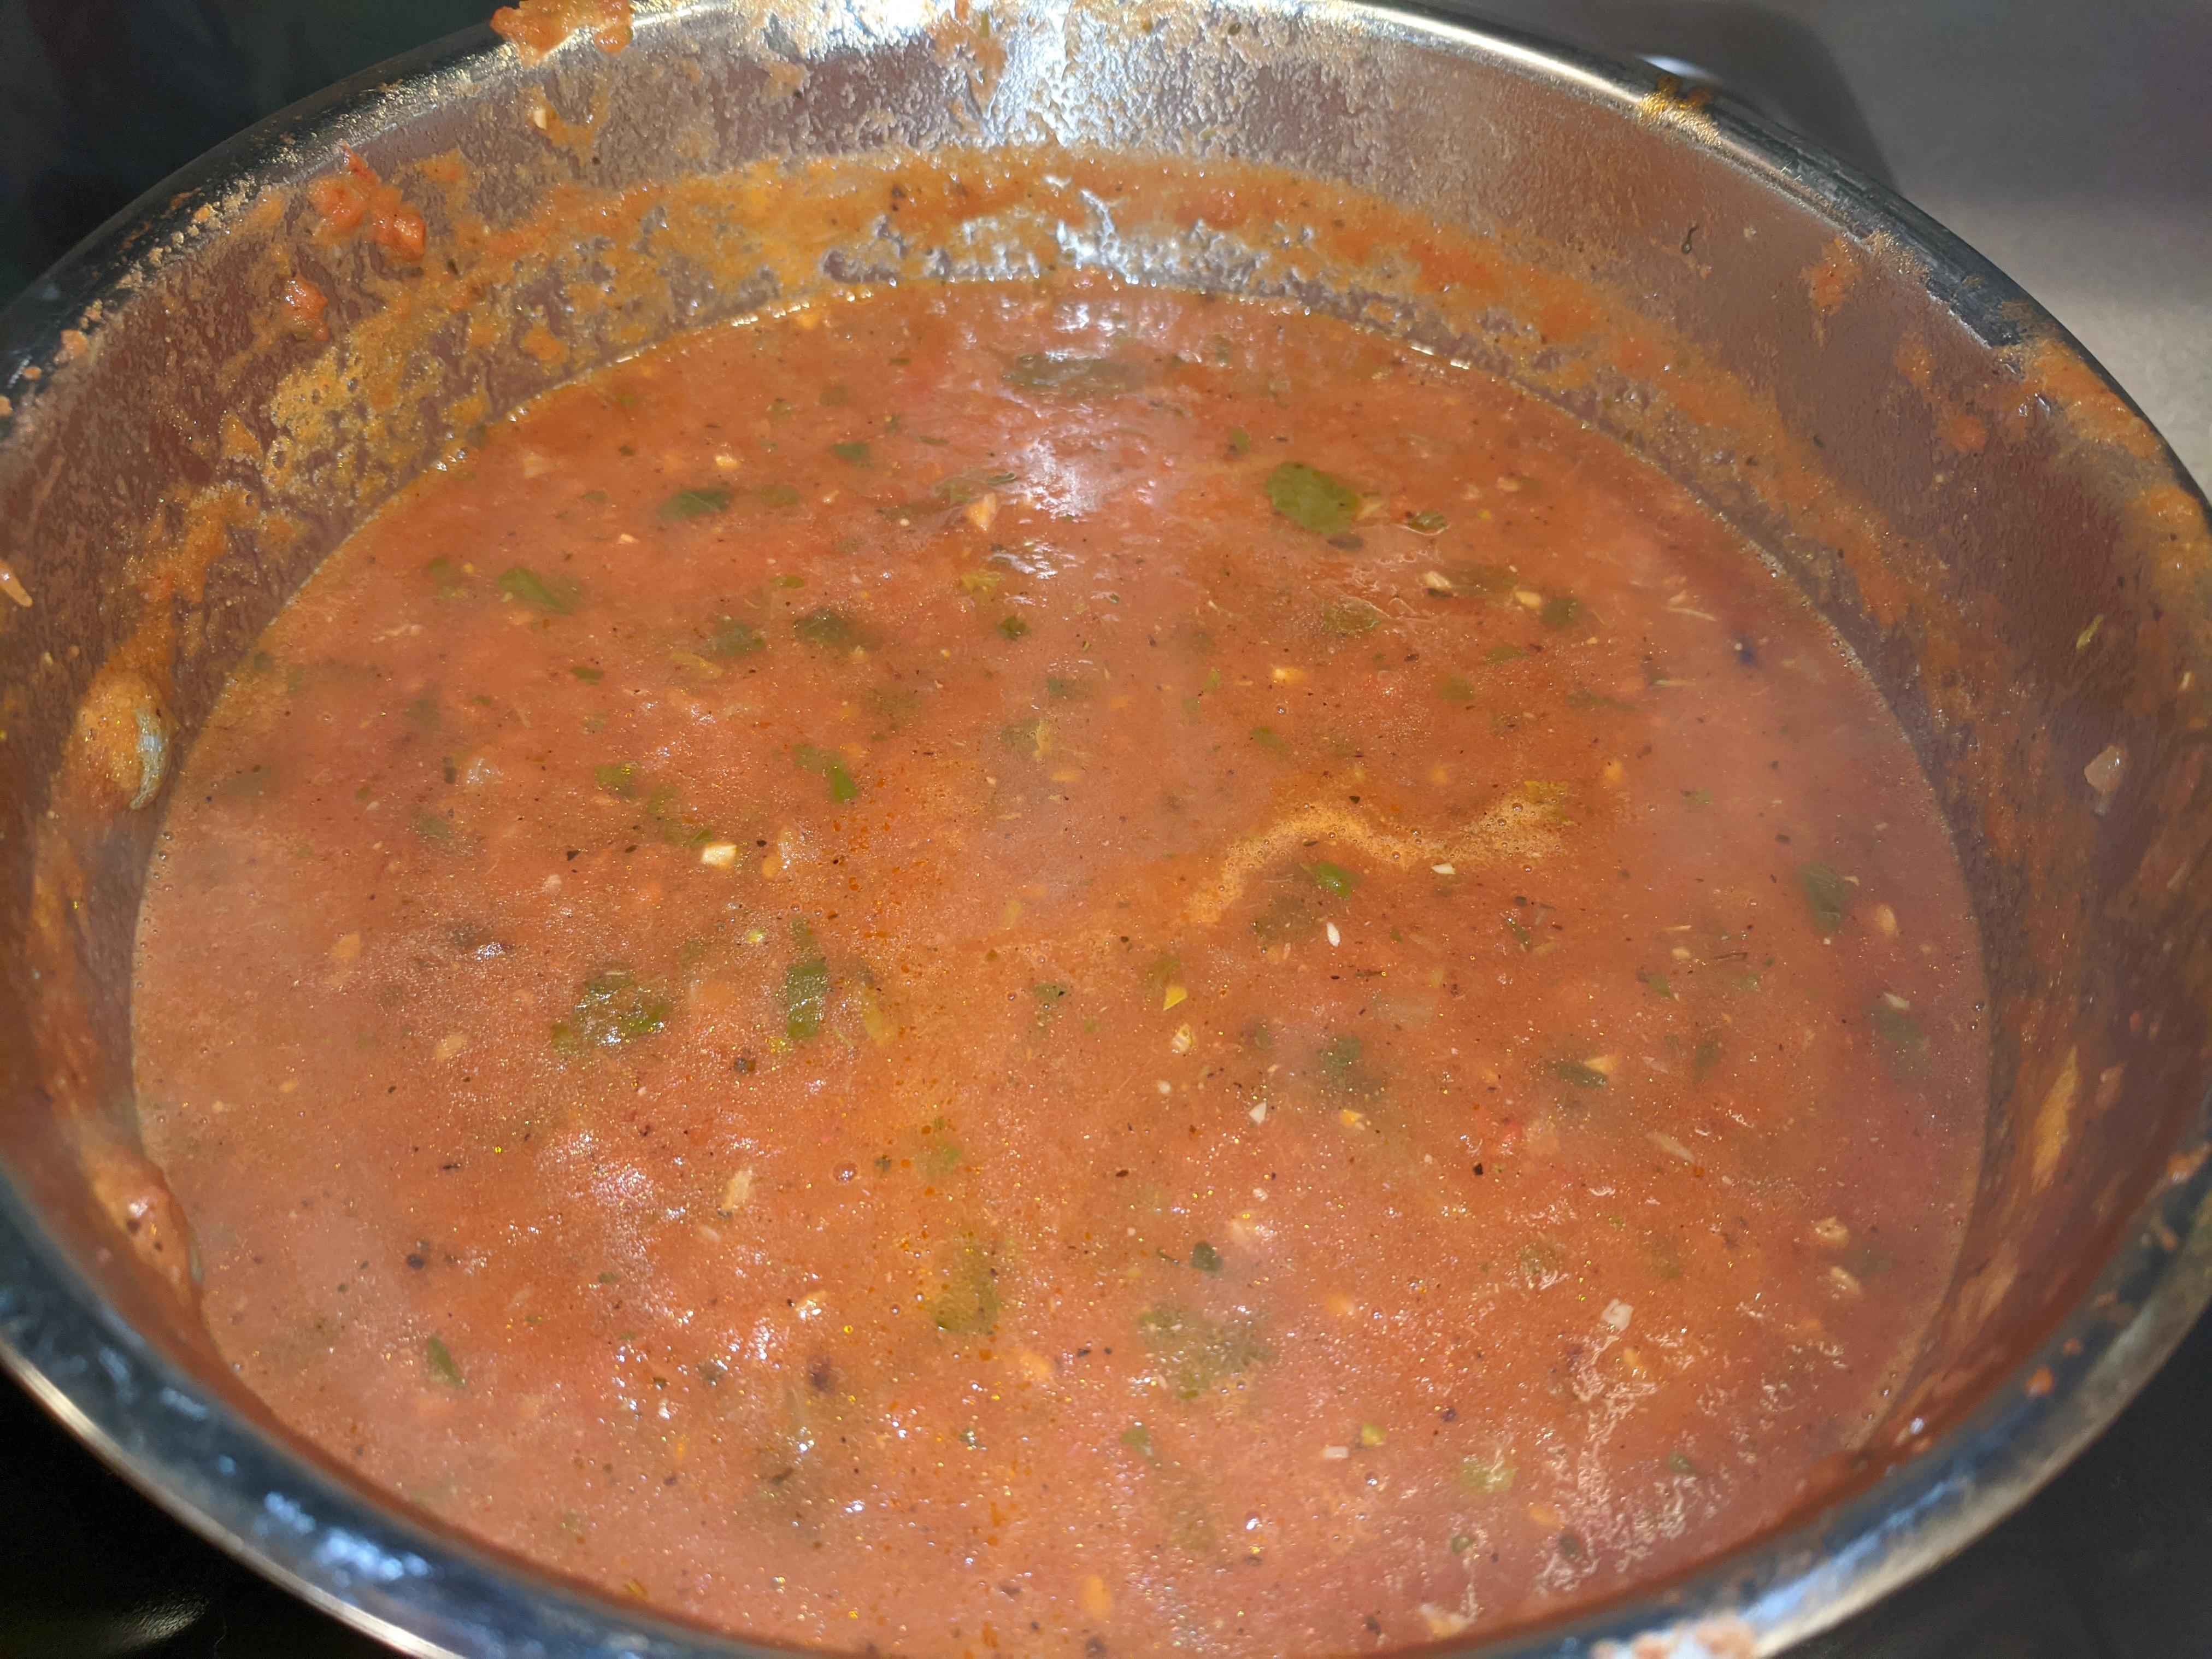
Ravioli Puttanesca but added sundried tomatoes good addition
Roasted Veggies
Boredom
A very bland recipe for lettuce wraps not to be repeated
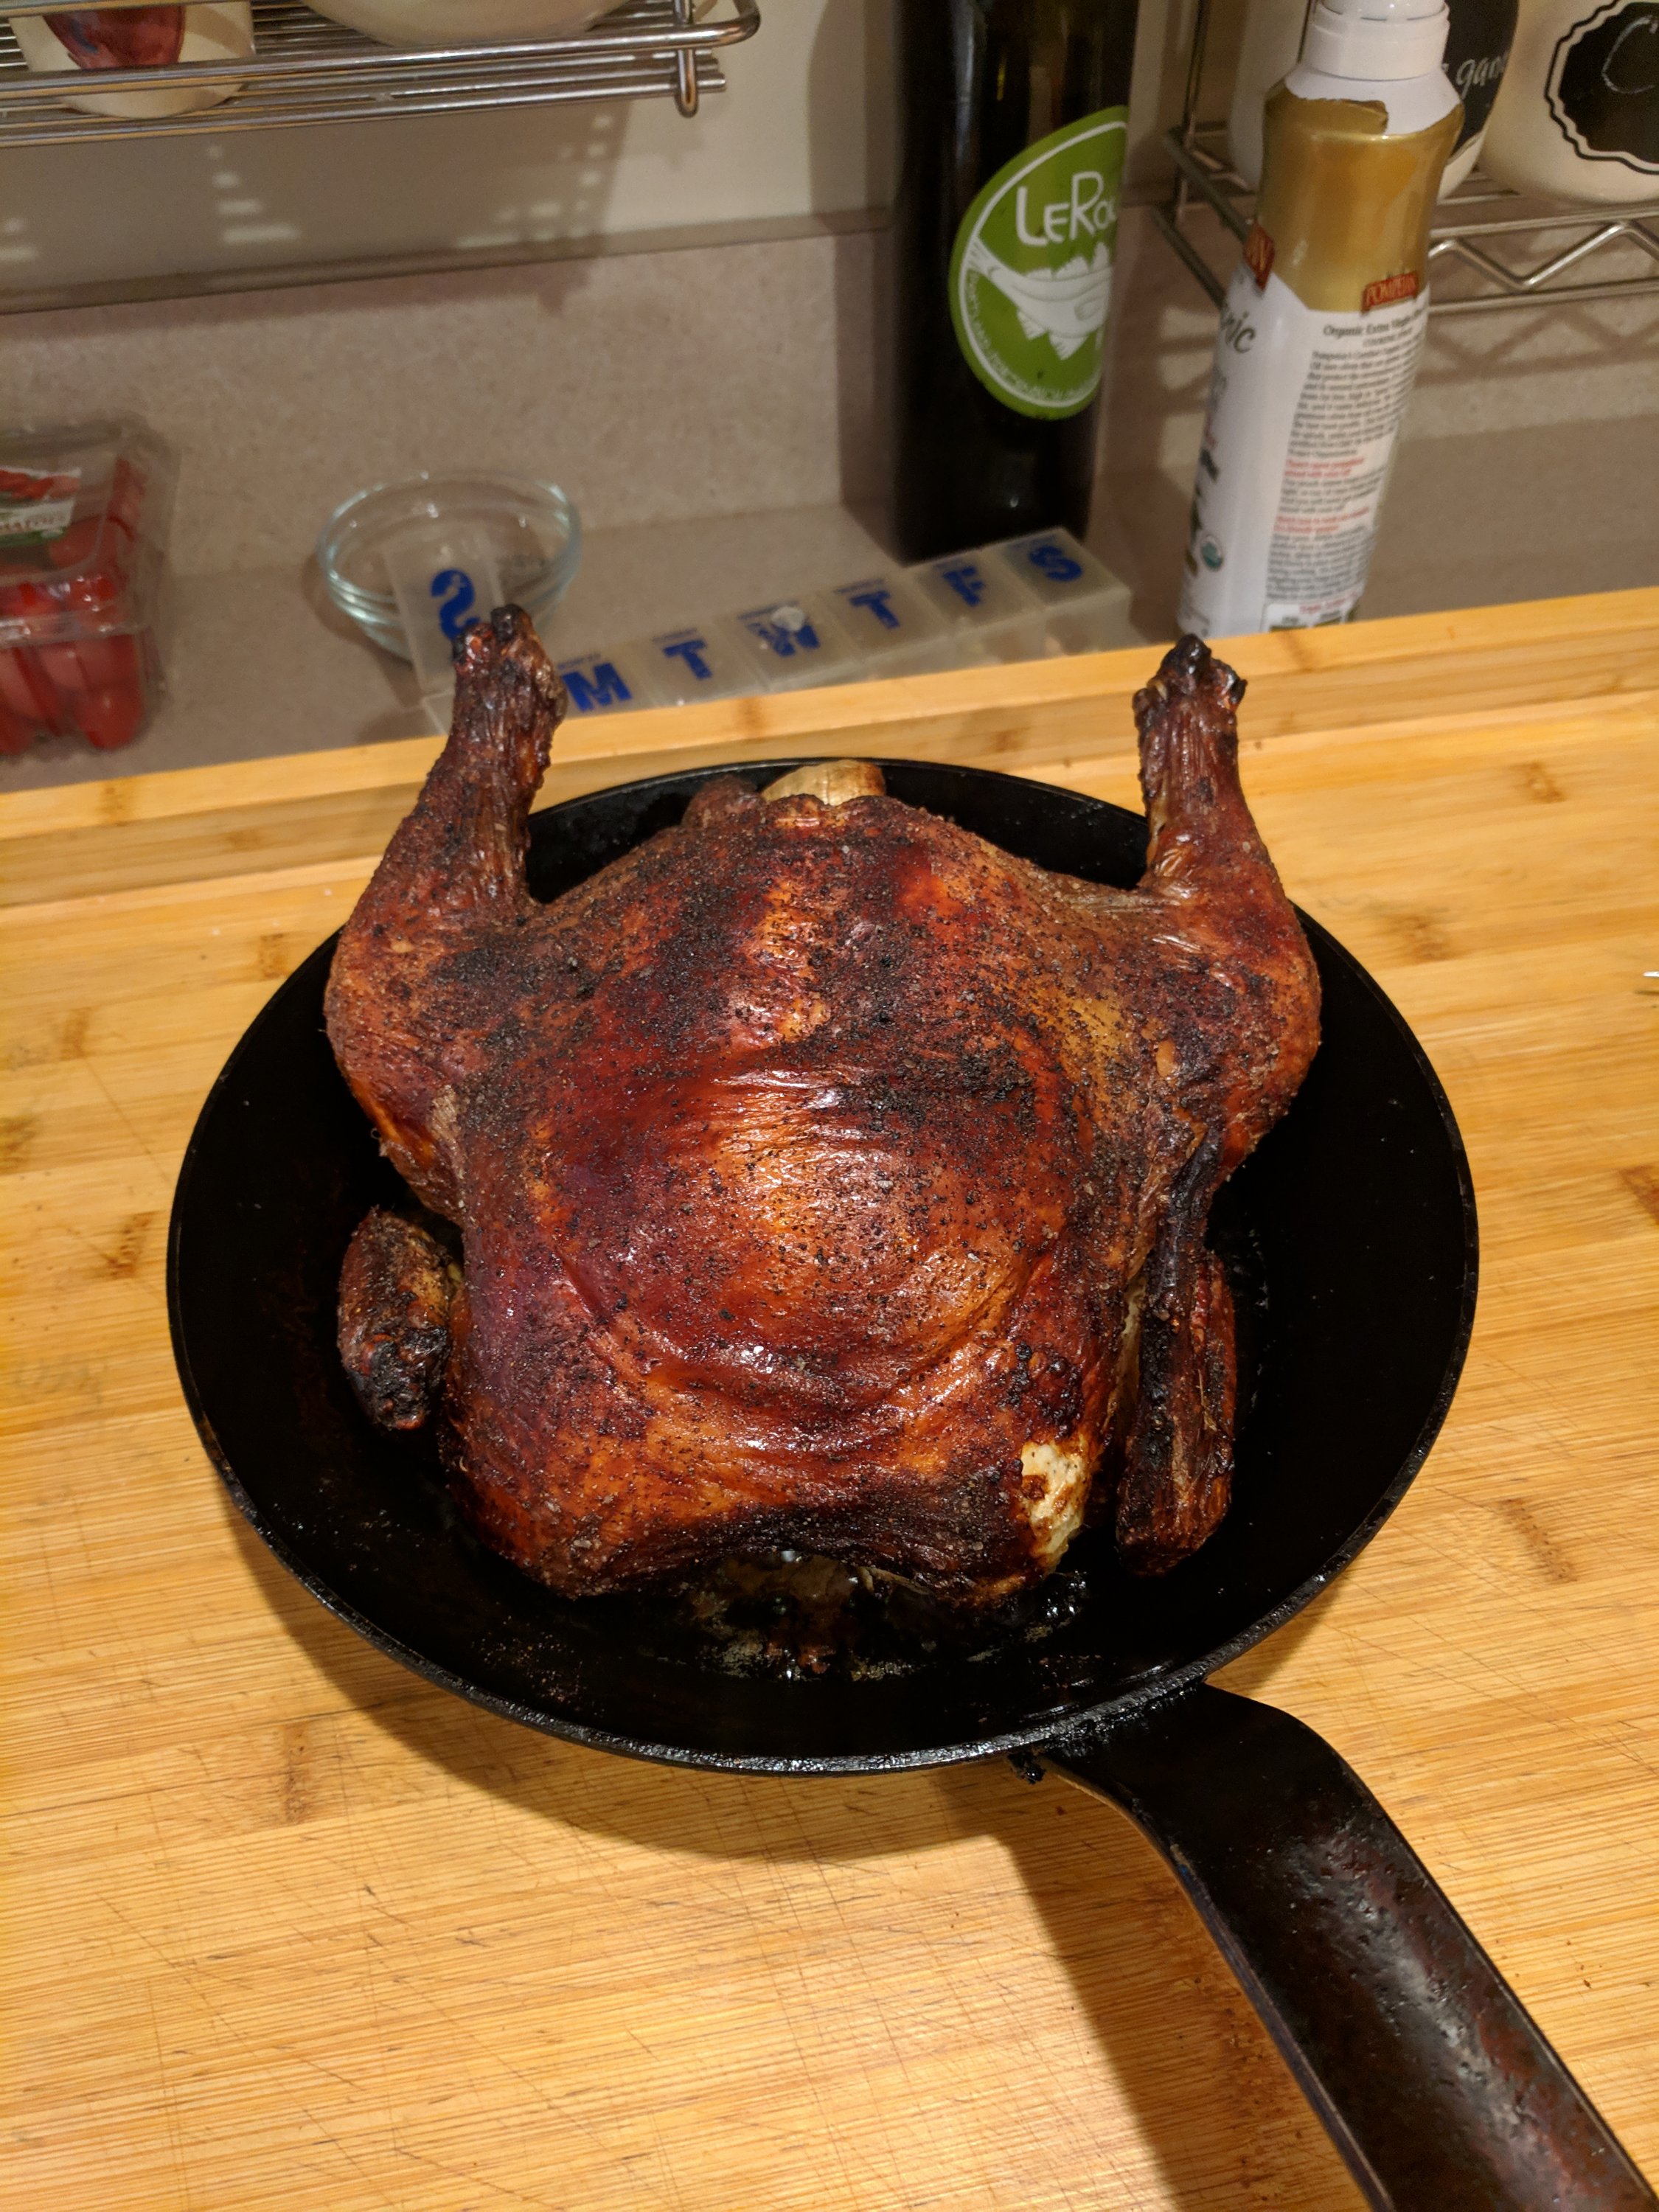
air fryer chicken
American Goulash
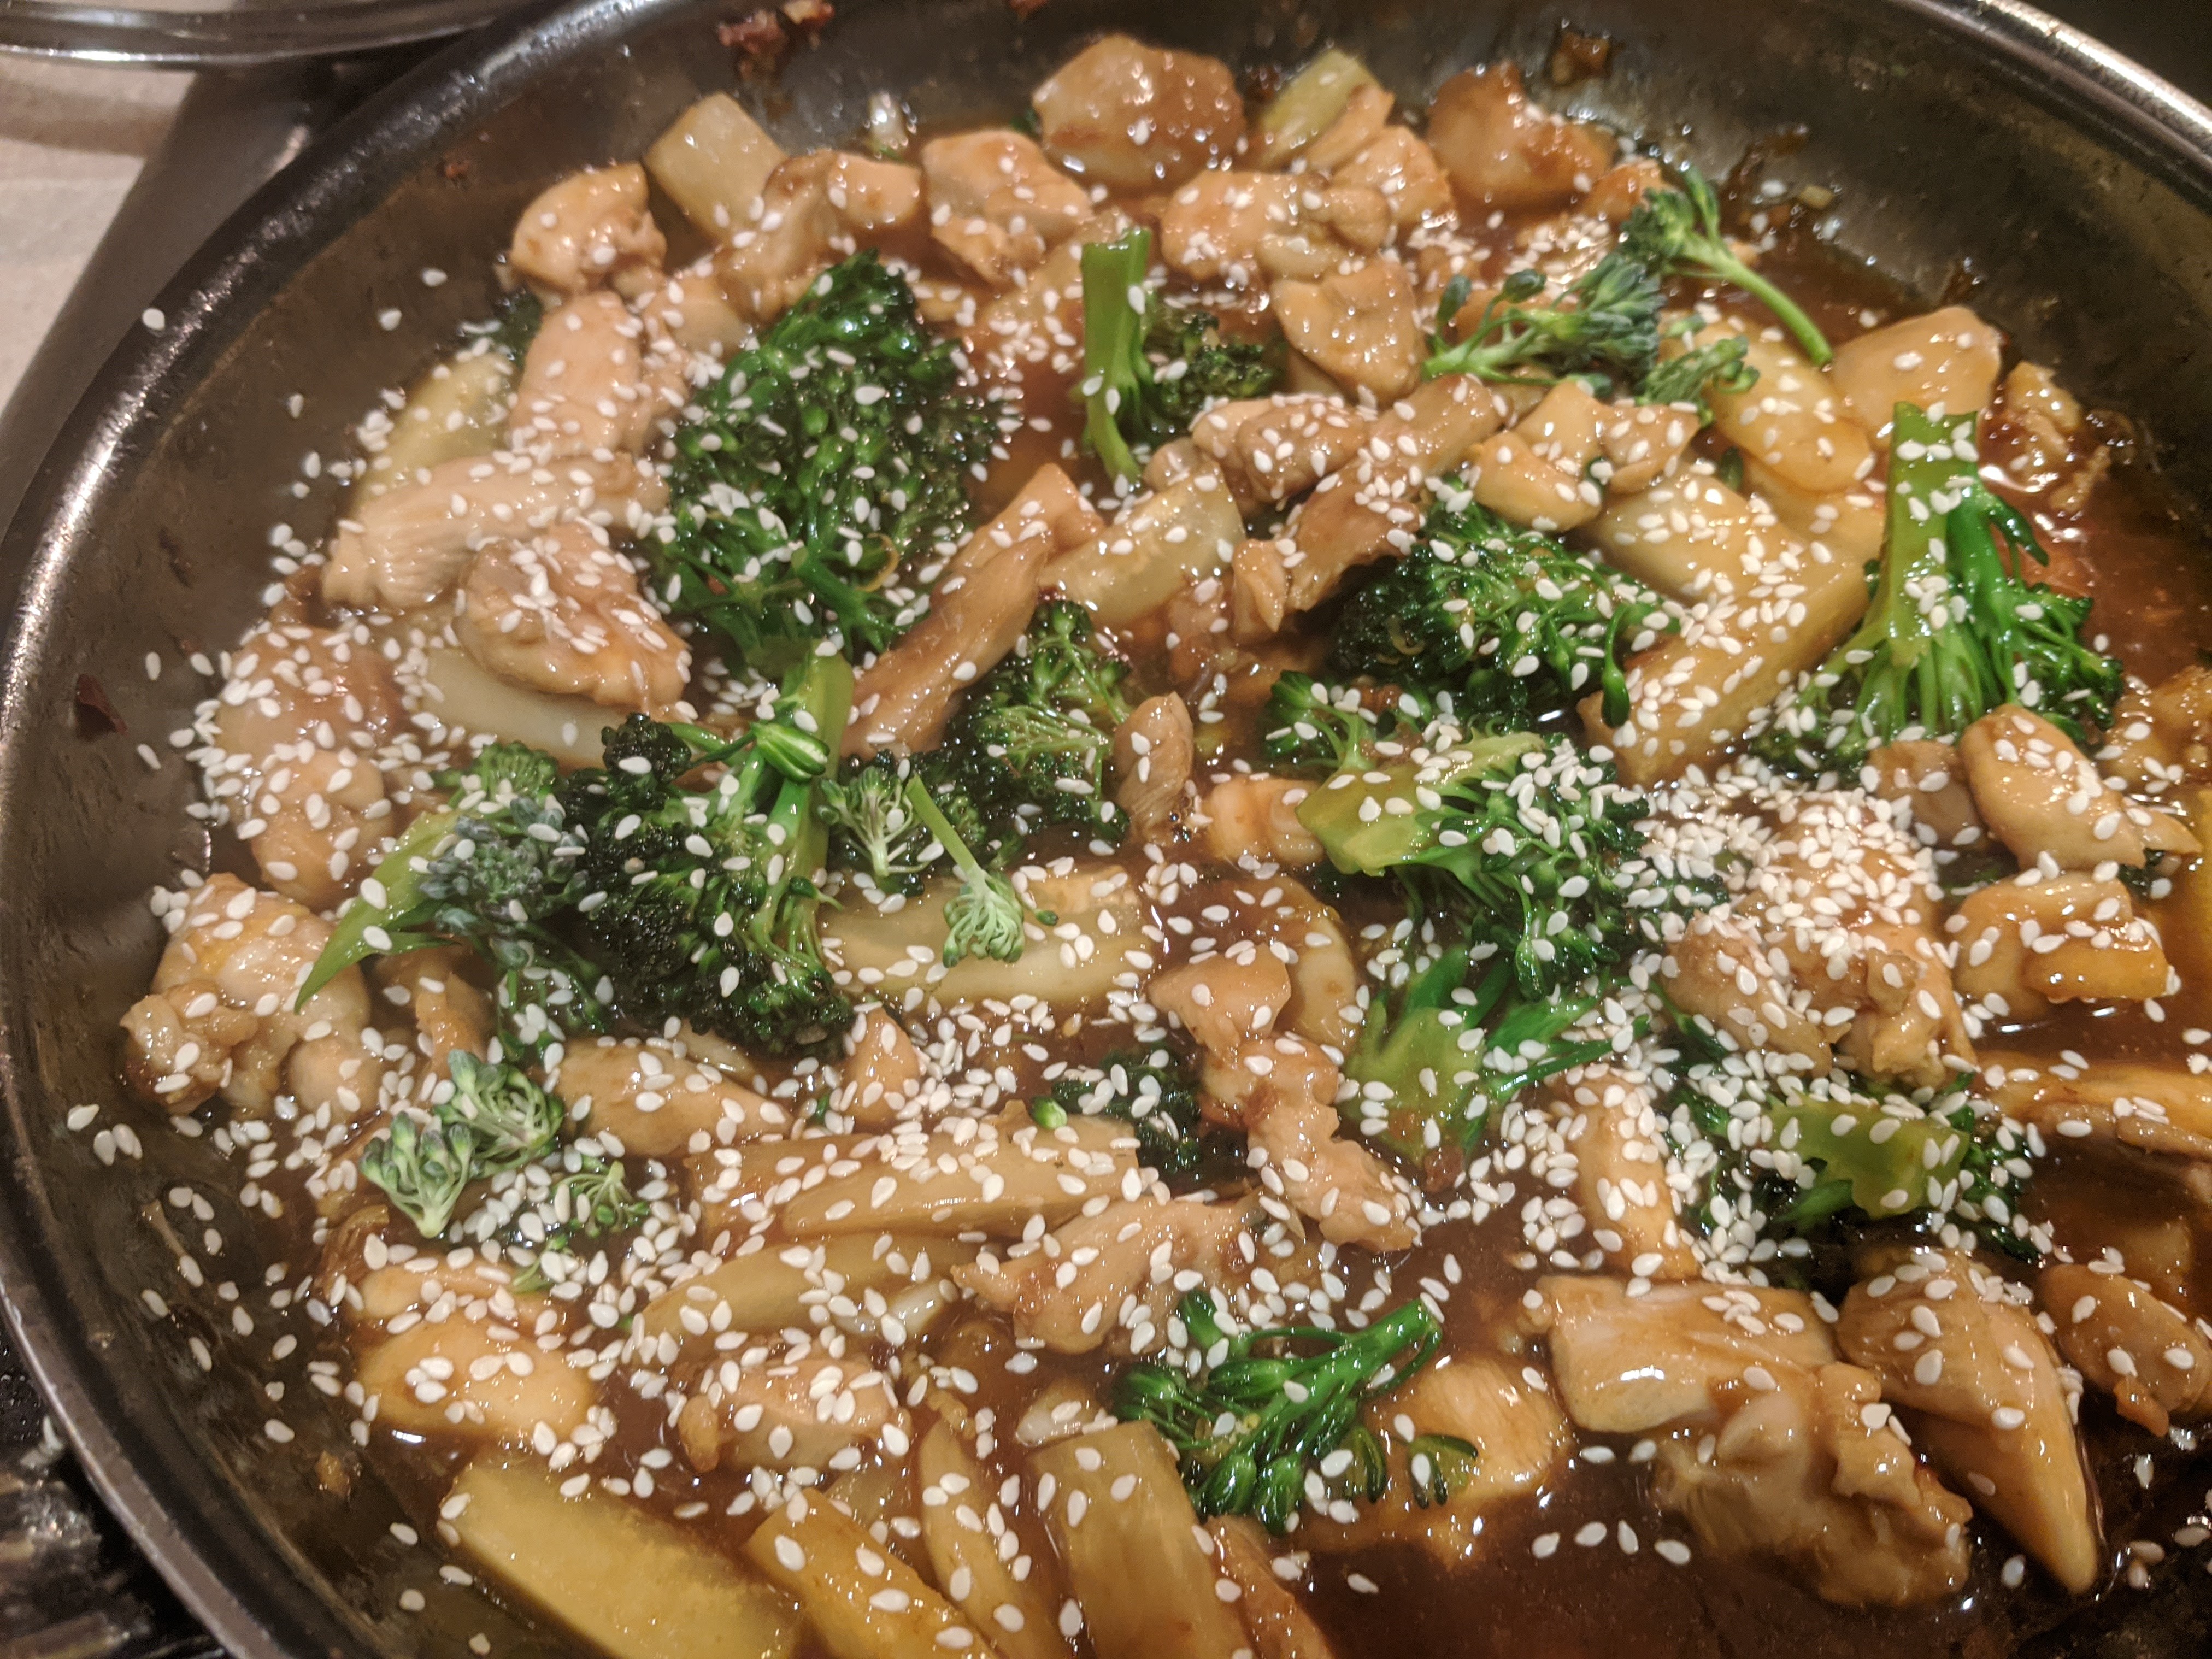
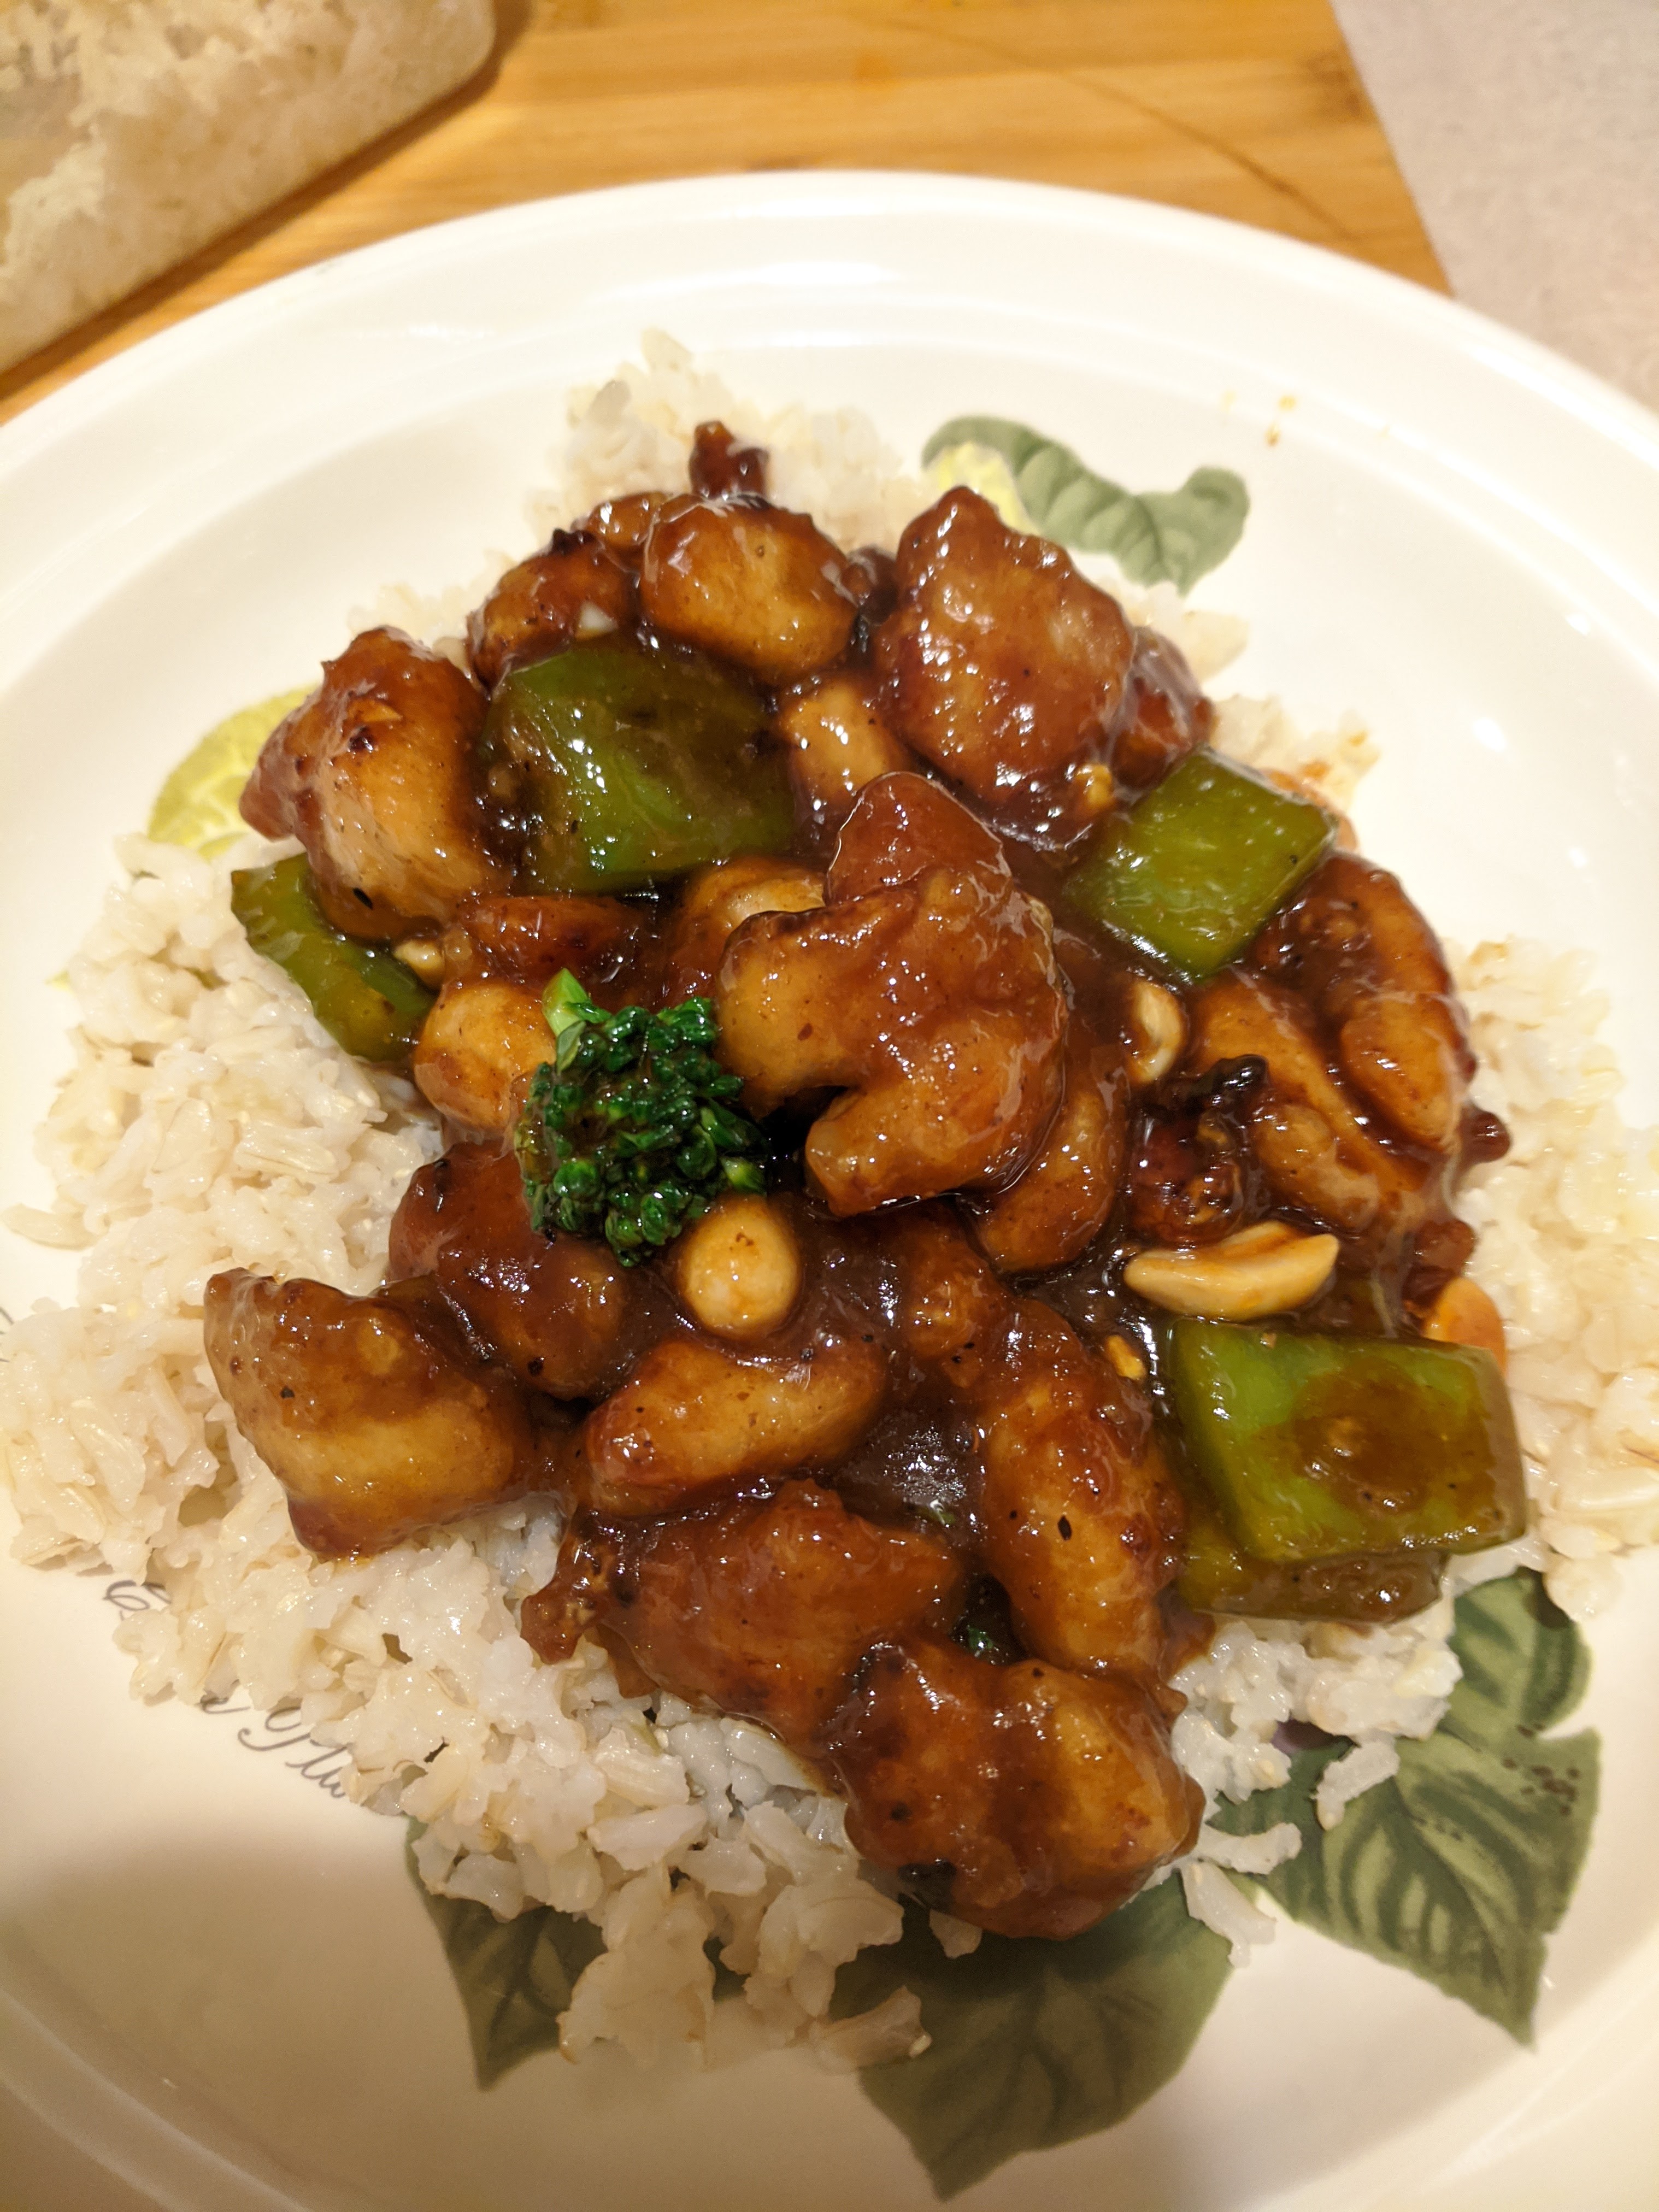
A much better lettuce wrap chicken cooked from the gut

And more……tonight Broiled BBQ-Spiced Rubbed Salmon

Thank Goodness we have a freezer for Butcher Box and Misfit Market

Stay safe and go wash your hands

Lyn and Steve