King Arthur Small-Batch Cinnamon Rolls

King Arthur Small-Batch Cinnamon Rolls

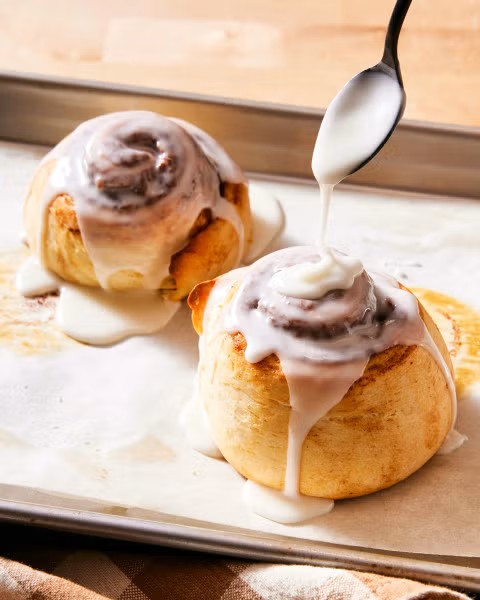
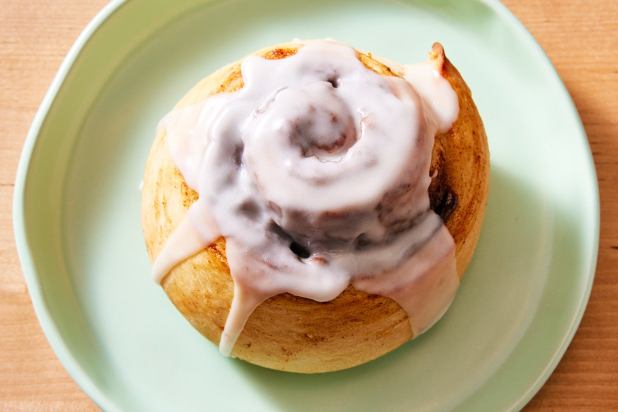
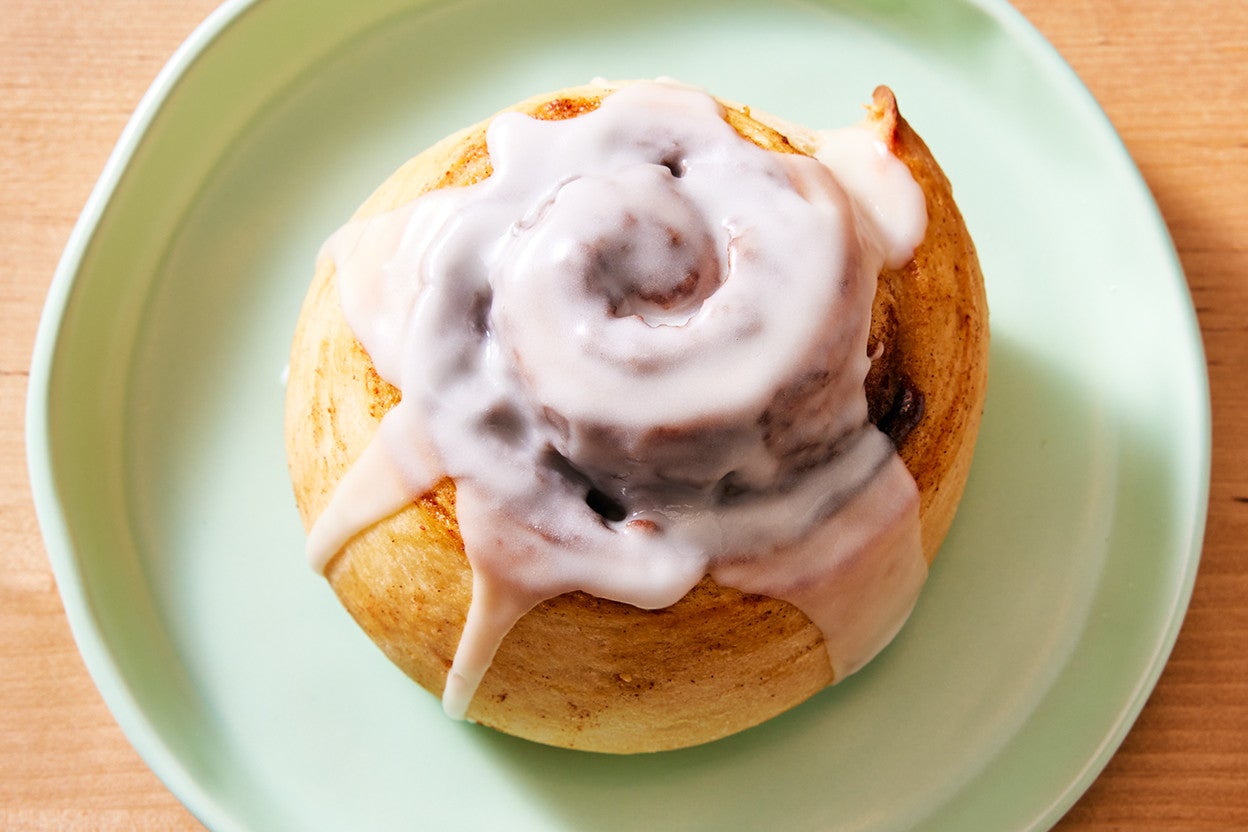
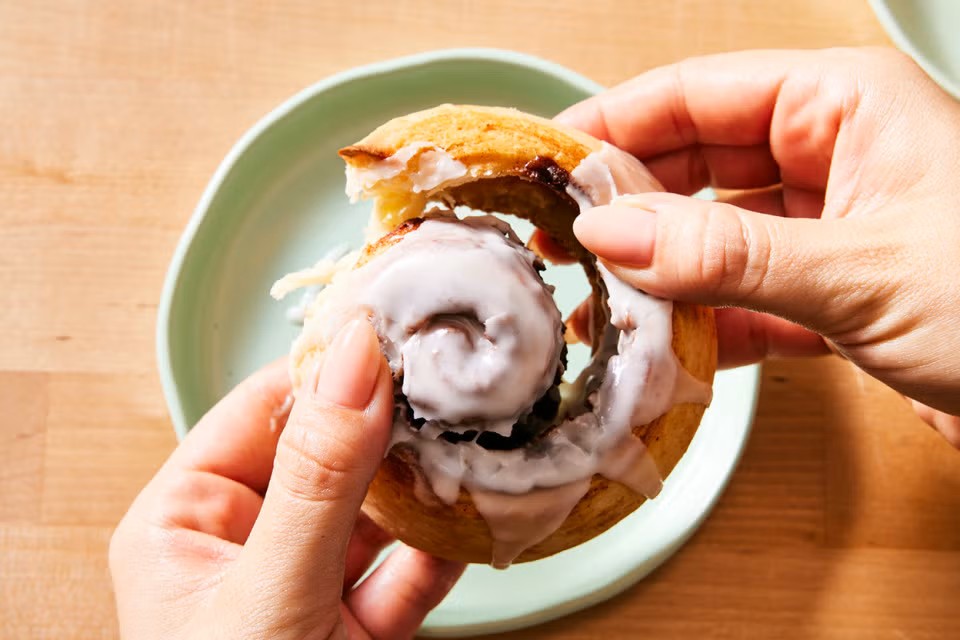
Soft, tender, and brimming with cinnamon flavor, these small-batch cinnamon rolls are ideal for small households. With a yield of just two cinnamon rolls, there’s lots of flexibility to use whatever pan you have: a quarter-sized baking sheet, a loaf pan, a round cake pan, or a square pan. These cinnamon rolls also fit perfectly in a countertop oven, providing another easy way to bake no matter the size of your kitchen.

Hands-on 20 mins

Bake 15 to 18 mins

Total Time 2 hrs 30 mins

Yield 2 cinnamon rolls

Ingredients

Dough

Filling

*Use the lesser amount for stronger cinnamons, like Vietnamese (Saigon); the larger amount for milder cinnamons, like Indonesian/Ceylon.

Icing

  • 1/2 cup (57g) confectioners’ sugar, sifted if lumpy
  • 2 to 3 teaspoons milk

Instructions

  1. To make the dough: For best results, weigh your ingredients; in small-batch recipes, it’s important that ingredient quantities are precise. However, if you prefer to work with volume measurements, please be sure to measure your flour the King Arthur way: gently spoon the flour into a cup, then sweep off any excess.
  2. In a small bowl, mix together all of the dough ingredients then transfer it to a floured surface and knead by hand to form a smooth, soft dough.  

  3. Shape the dough into a ball, place it in a bowl, cover, and let it rise until puffy but not necessarily doubled in bulk, 45 to 60 minutes (depending on the warmth of your kitchen).
  4. To make the filling: While the dough is rising, use a fork to whisk together the brown sugar, flour, cinnamon, and salt. Set aside.
  5. Prepare the pan of your choice: Line a quarter- or half-sheet pan with parchment, or lightly grease a loaf pan, 8″ or 9″ square pan, or round pan.
  6. To assemble the small-batch cinnamon rolls: Transfer the dough to a lightly floured work surface and press it into a 4″ x 10″ rectangle.
  7. Brush the surface of the dough generously with milk and then sprinkle the filling on top, covering all but a 1/2″ strip along one short side. Press the filling gently to adhere.
  8. Cut the dough in half lengthwise using a bench knife. You will now have two rectangles, approximately 2″ x 10″.
  9. Starting with the filling-covered short end, roll one piece of dough into a log. To prevent the cinnamon roll from unraveling while it rises and bakes, tuck the end of the spiral underneath the bottom so that it’s held in place. Stand the log up, exposing the swirl, and press down to create a shorter cinnamon roll. Transfer it to the prepared pan and repeat with the remaining piece of dough.
  10. Cover the pan and let the rolls rise for 45 to 60 minutes. The dough will be puffy and shouldn’t bounce back immediately when gently pressed. While the small-batch cinnamon rolls are rising, preheat the oven to 375°F.
  11. Bake the rolls for 15 to 18 minutes, until a digital thermometer inserted into the center of one roll reads 190°F. Rolls baked on a baking sheet will be golden brown in color, while rolls baked in a pan with higher sides will remain pale. Allow the small-batch cinnamon rolls to cool while you make the icing.
  12. To make the icing: In a small bowl, combine the confectioners’ sugar and milk until you reach your desired consistency.
  13. Spread the icing evenly over the cinnamon rolls. Serve warm or at room temperature.
  14. Storage information: Store any leftovers, covered, at room temperature for several days.

Tips from our Bakers

  • Want fresh-baked, oven-warm buns in the morning? Prepare the buns up until the rise in the pan (through step 9). Cover the pan and refrigerate overnight. Next day, allow the buns to rest at room temperature for 15 minutes before uncovering and baking; you may need to increase the baking time by a few minutes.
I Just Love the taste of Rhubarb

Strawberry Rhubarb Crisp

spring has come and almost gone and to me it seems that the Rhubarb is late to the shelfs this year but the other day we hit it right he went in the back and made a package for us. Wholefoods had some strawberries on sale so everything worked out and via Barefoot Contessa we had our I just Love the taste of Rhubarb

  • 4 cups fresh rhubarb, 1-inch diced (4 to 5 stalks)
  • 4 cups fresh strawberries, hulled and halved, if large
  • 1¼ cups granulated sugar, divided
  • 1½ teaspoons grated orange zest
  • 1 tablespoon cornstarch
  • ½ cup freshly squeezed orange juice
  • 1 cup all-purpose flour (see note for gluten-free)
  • ½ cup light brown sugar, lightly packed
  • ½ teaspoon kosher salt
  • 1 cup quick-cooking (not instant) oatmeal, such as McCann’s (see note for gluten-free)
  • 12 tablespoons (1½ sticks) cold unsalted butter, diced
  • Vanilla ice cream, for serving

Preheat the oven to 350 degrees

For the fruit, toss the rhubarb, strawberries, ¾ cup granulated sugar, and the orange zest together in a large bowl. In a measuring cup, dissolve the cornstarch in the orange juice and then mix it into the fruit. Pour the mixture into an 8 × 11-inch baking dish and place it on a sheet pan lined with parchment paper.

For the topping, in the bowl of an electric mixer fitted with the paddle attachment, combine the flour, the remaining ½ cup granulated sugar, the brown sugar, salt, and oatmeal. With the mixer on low speed, add the butter and mix until the dry ingredients are moist and the mixture is in crumbles. Sprinkle the topping over the fruit, covering it completely, and bake for 1 hour, until the fruit is bubbling and the topping is golden brown. Serve warm with ice cream.

Note: To make this recipe gluten-free, substitute 1 cup Cup4Cup all-purpose gluten-free flour for the 1 cup all-purpose flour and use gluten-free oatmeal, such as Bob’s Red Mill, for the quick-cooking oatmeal.

Copyright 2010, Barefoot Contessa How Easy is That? by Ina Garten, Clarkson Potter/Publishers, All Rights Reserved

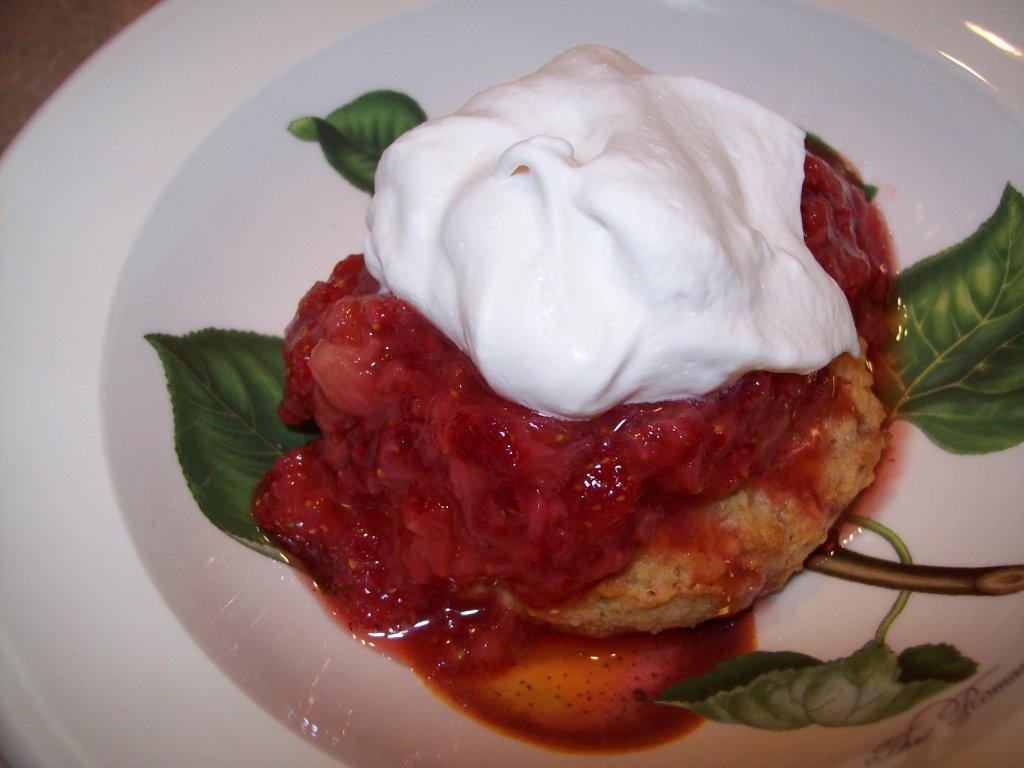
Almond-Oat Strawberry Shortcakes

Almond-Oat Strawberry Shortcakes

I love cooking but I love it even more when Lyn and I are both cooking together doesn’t matter the same dish or different, cooking in the kitchen with my honey is one of my favorite things to do.

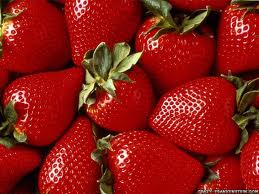
Lyn and I are big on good quality meats and organic fruits and vegetables, usually it pays off with taste but the other day we got some organic strawberries that just were not that sweet. Not sure if it was a bad batch or just the end of the season but there we were with a huge pile of strawberries. Normally we grab a bowl full and munch on for a satisfying desert or snack, Lyn makes smoothies too much air in that for my liking you know what air in the belly gives you. Anyway what to do?

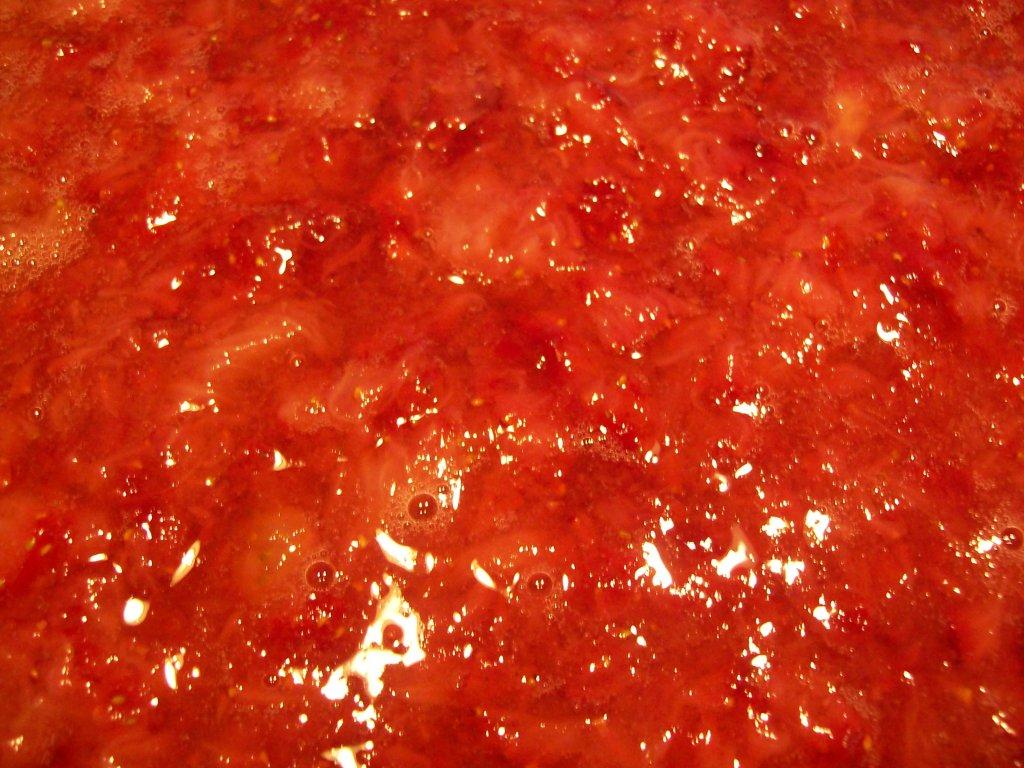
We divided in half and I was given the task of maceration, as Lyn called it. She had bought a new fancy dancy potato masher Fancy Dancy Potato Masher(I can hear Laurel in my mind oooohhhhhh, she just loves cooking stuff) but it was not working on the strawberries. I grabbed the old faithful and squashed, as I call it, away. Meanwhile Lyn went to work on the shortcakes. Soon the smell filled the house and the tummies were grumbling.

Influenced by Bon Appétit

Ingredients

  • 1 cup all-purpose flour
    • Substitute with gluten-free flour and it’s a gluten-free desert, just a little more crumbly!
  • 1/2 cup old-fashioned oats
  • 1/3 cup slivered almonds
  • 1/3 cup plus 2 tablespoons maple sugar, divided.
  • 2 teaspoons baking powder
  • 1/2 teaspoon kosher salt
  • 6 tablespoons (3/4 stick) chilled unsalted butter, cut into 1/2″ cubes
  • 1 cup chilled butter milk, divided, plus more for brushing
  • 1 1/2 teaspoons vanilla extract, divided
  • 4 cups fresh strawberries, hulled, sliced
  • 1 tablespoon Grand Marnier or other orange liqueur (optional)

How

Shortcakes

Preheat oven to 375°F. Line a baking sheet with parchment paper. Pulse flour, oats, almonds, 1/3 cup maple sugar, baking powder, and salt in a food processor until finely ground. Add butter; pulse until only pea-size pieces remain. Add 1/2 cup butter milk and 1 teaspoon vanilla; pulse until large moist clumps form. Transfer to a work surface.

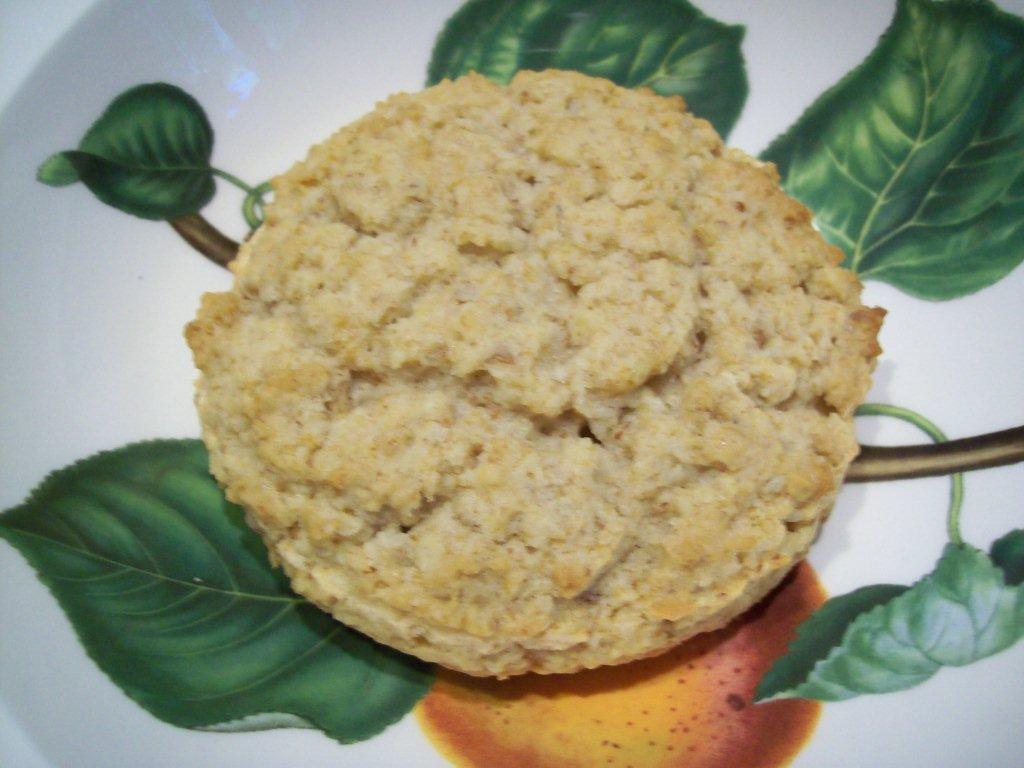
Knead until dough comes together, about 4 turns. Pat into a 4×6″ rectangle. Halve lengthwise, then crosswise into thirds. Round each biscuit if you want and arrange on prepared baking sheet. Brush with butter milk; sprinkle with 1/2 tablespoon maple sugar.

Bake, rotating sheet halfway through cooking, until golden brown around edges and a tester inserted into center comes out clean, about 20 minutes. Set biscuits on a wire rack; let cool.

Strawberries

Meanwhile, combine strawberries (my job), 1 tablespoon maple sugar, and Grand Marnier, if using, in a large bowl. Toss to coat. Let strawberries sit, tossing often, until juices release.

Whipped Cream

Whisk 1/2 cup Cool Whip or Cool Whip lite, 1/2 tablespoon maple sugar, and 1/2 teaspoon vanilla in a small bowl until peaks form.

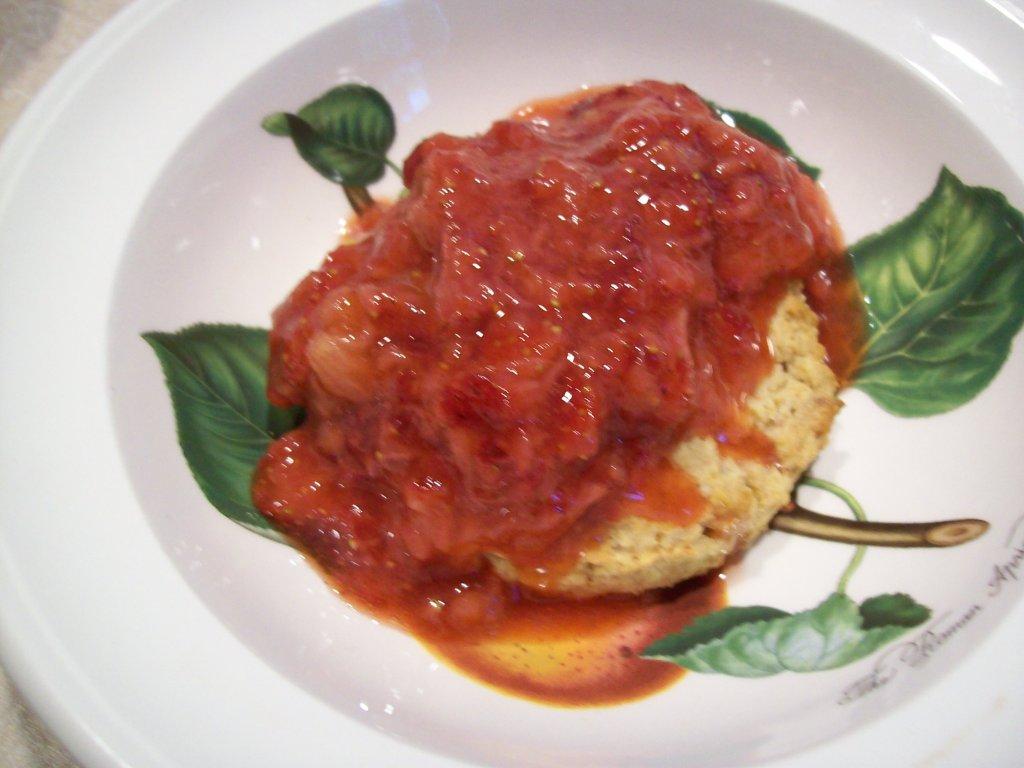
Place shortcake on plates. Divide Cool Whip mixture and strawberries over. You could probably cut the shortcake in half, build as above and then top with top of shortcake and a dollop of strawberry and cream.

Reality check

Reality check

I am trying to see how I am doing, so far just a few comments not that I expected hundreds this early on or ever, and I am just overwhelmed that I have 67 followers between Facebook and my blog I could not imagine when I began that anyone would be interested in what I cook or write about.

I am learning things everyday about writing recipes, taking pictures, cropping pictures the list goes on….

I need your help.

What I am looking for is how am I doing, any suggestions, what might you like to see, what improvements would you suggests, what should I stop doing? I have so many recipes that I don’t prepare any more but they were/are good, should I share those? I could go on but I won’t….

I am asking is that if possible, would you could you make the comments on the blog site not Facebook, I know it’s an extra click and wait but hey it’s for a friend right. Use the comment section at bottom of recipe and let me know what you think. Exchange ideas to try. Rate the dish if you tried it, there is the “Rate this” section below the Title then others might think to try.

But most importantly I encourage you to enjoy cooking and eating and watching for that smile on someone’s face when they take the first bite and shake their head.

Thanks so much!