Fried chicken thighs

Fried chicken thighs

My brother told me the other day that he gave into an urge and went to KFC. He said it was good, I still won’t go back I know it won’t hit the taste buds like my mind remembers. Once on our yearly trip to visit our sister in MN while looking for something to eat we found The coop restaurant if I remember correctly it was a small 2 or 3 tables on the corner restaurant that said they had the best fried chicken. We were very excited as was my sister. We got there went in and strolled up the the counter and ordered, the first thing they asked us was did you call the order in? Thought at was odd but they took our order and we sat down. Susan who was the most excited about the chicken ordered a burger. Soon our food came and a line started to form. We didn’t think anything of it but by the time we were done eating and heading out the line at the counter was out the front door and around the corner. We understood why it was great chicken, pressure cook then fried up juicy and delicious.

Anyway Lyn was fasting so I grabbed some boneless chicken thighs and the Air fryer.

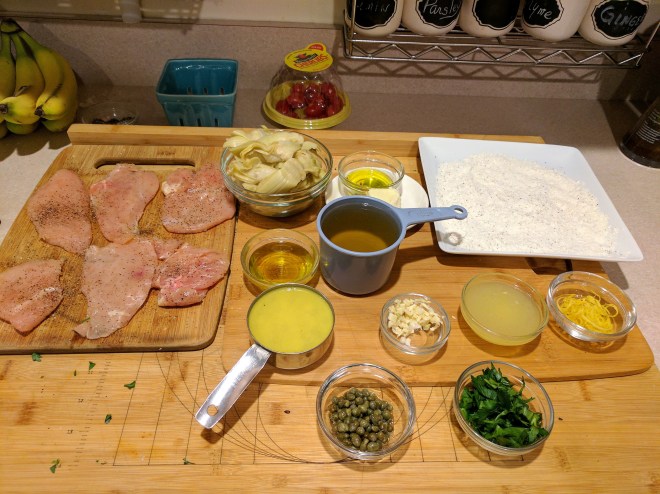
I put flour in one bowl, beat an egg with some hot sauce in another, then gluten free panko bread crumbs in the last, you can make this all gluten free on not at all.

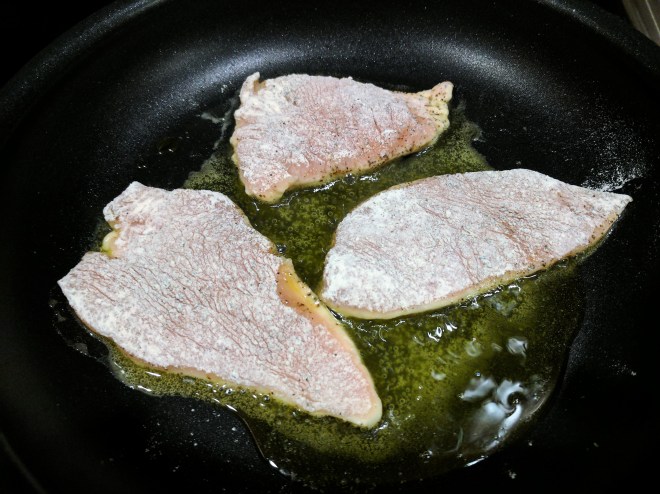
After dredging the chicken in flour

Coat with egg

Then into the breadcrumbs.

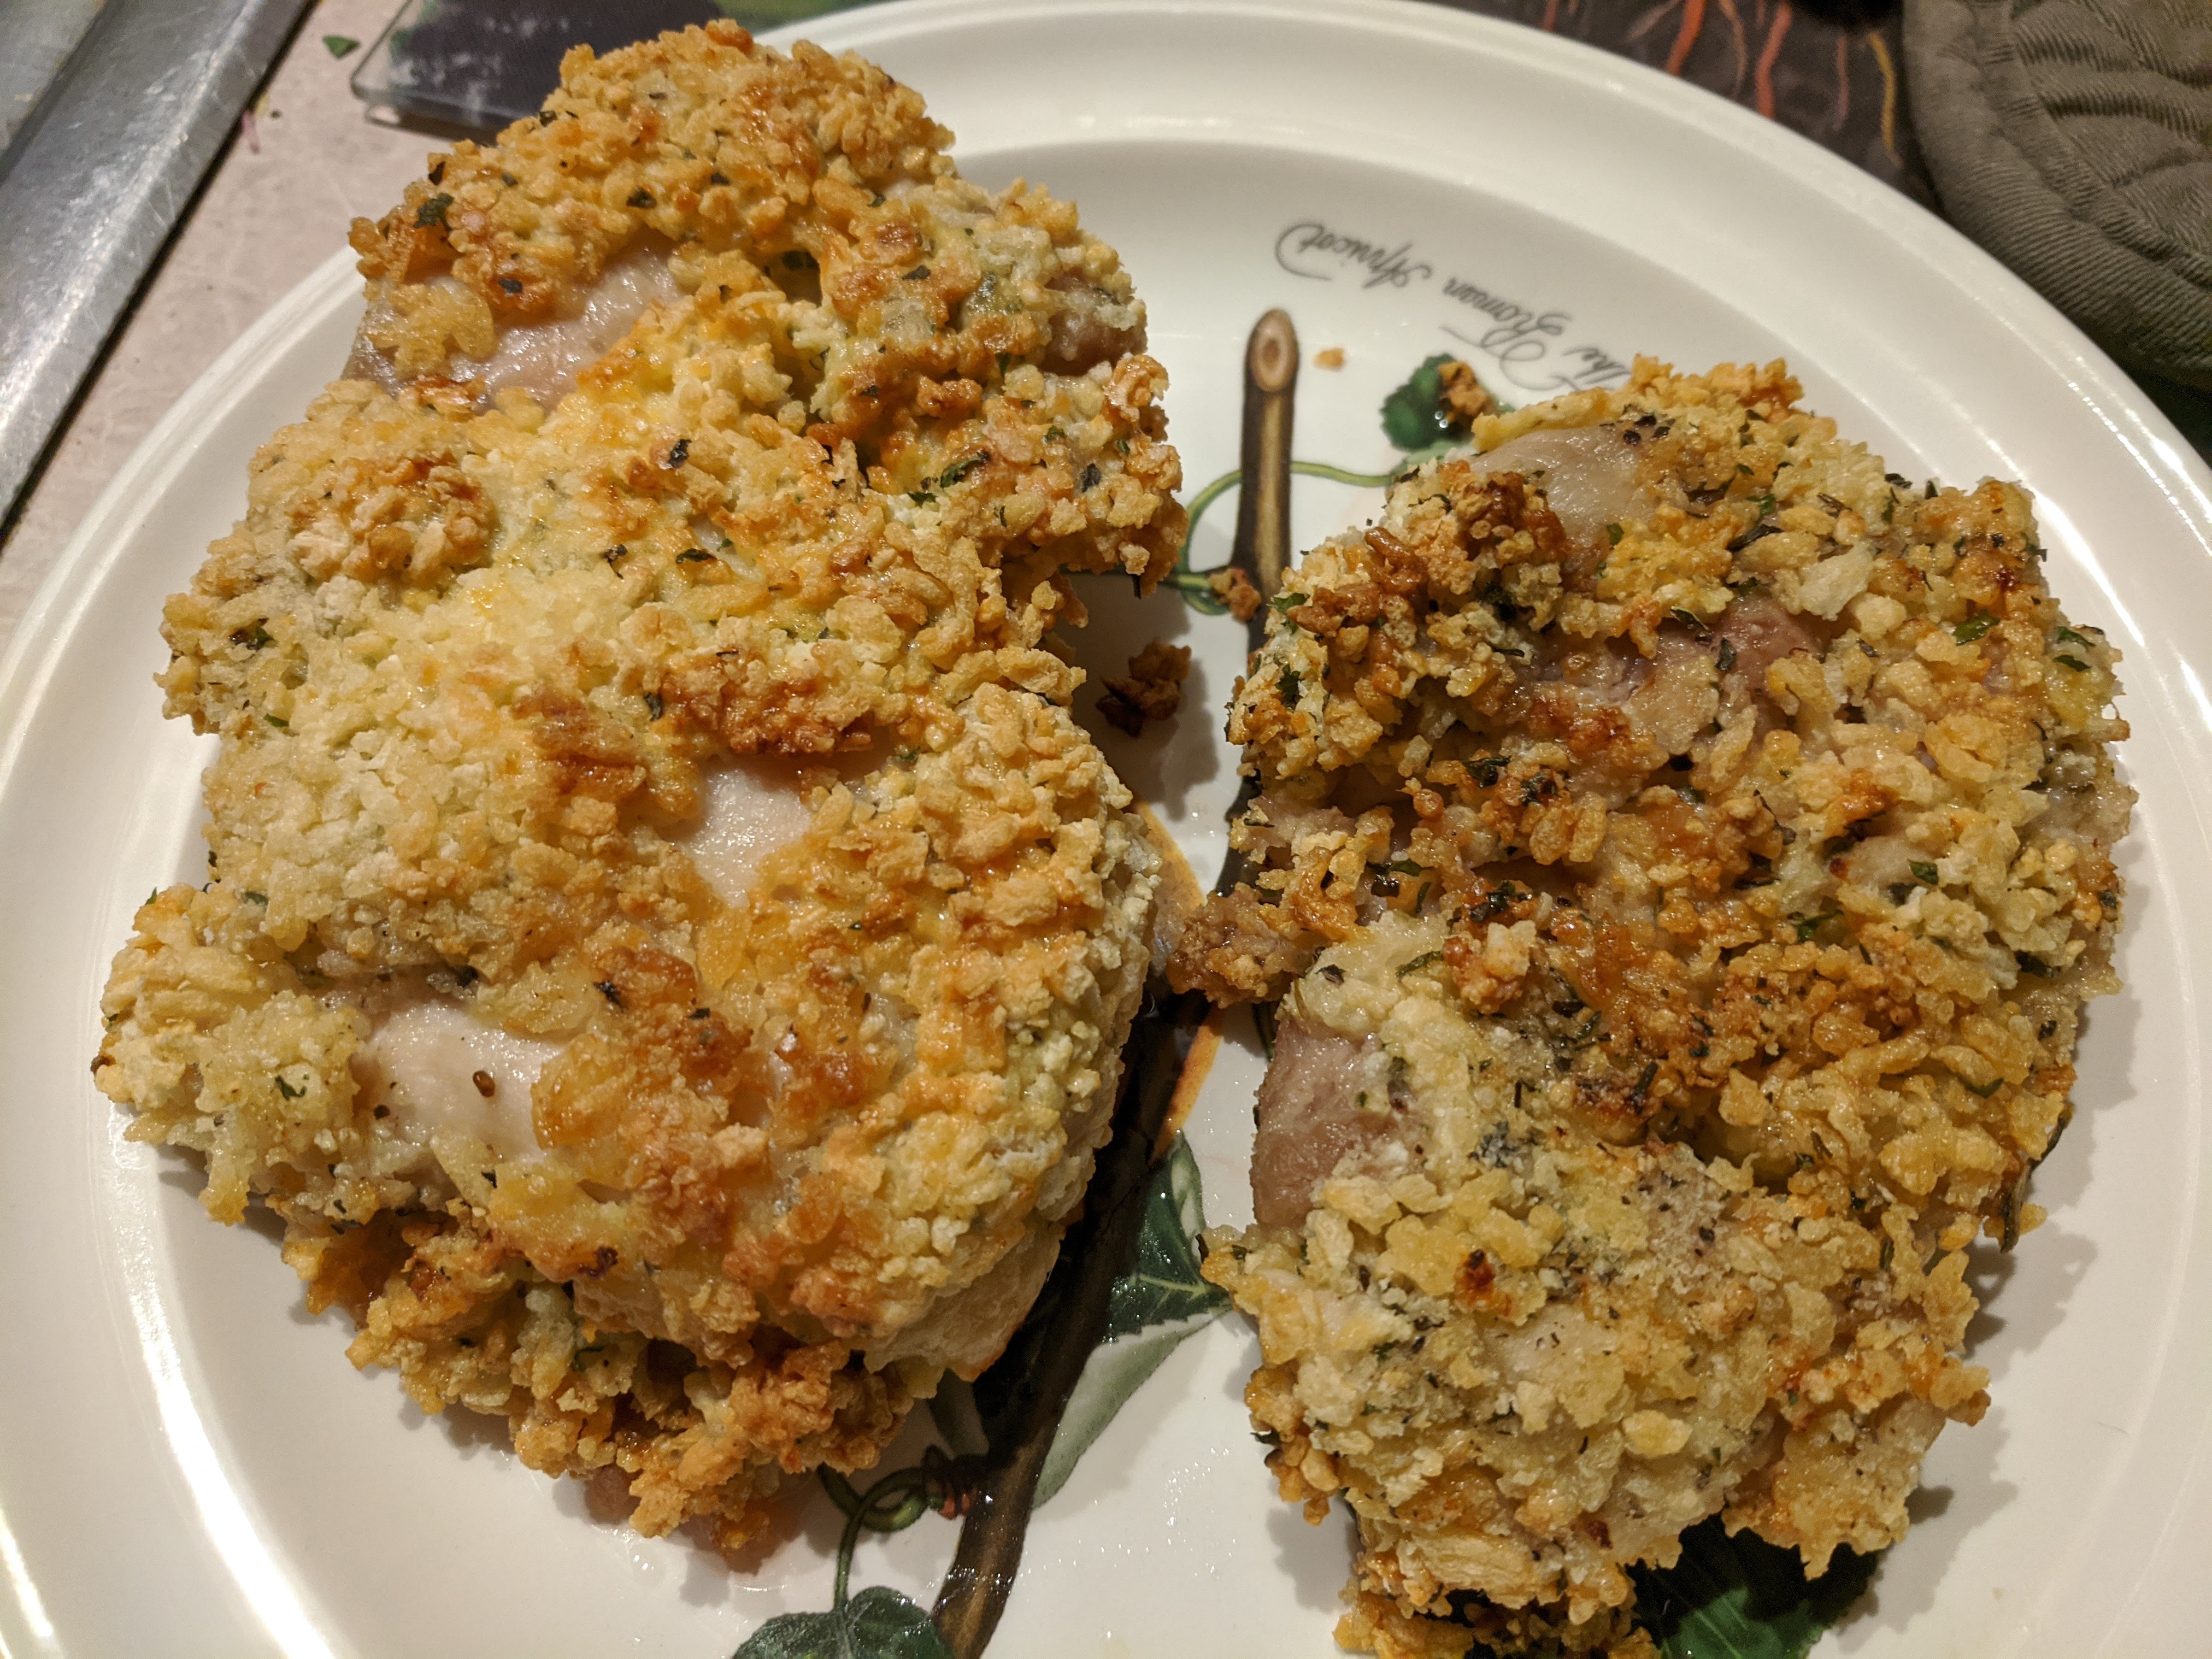
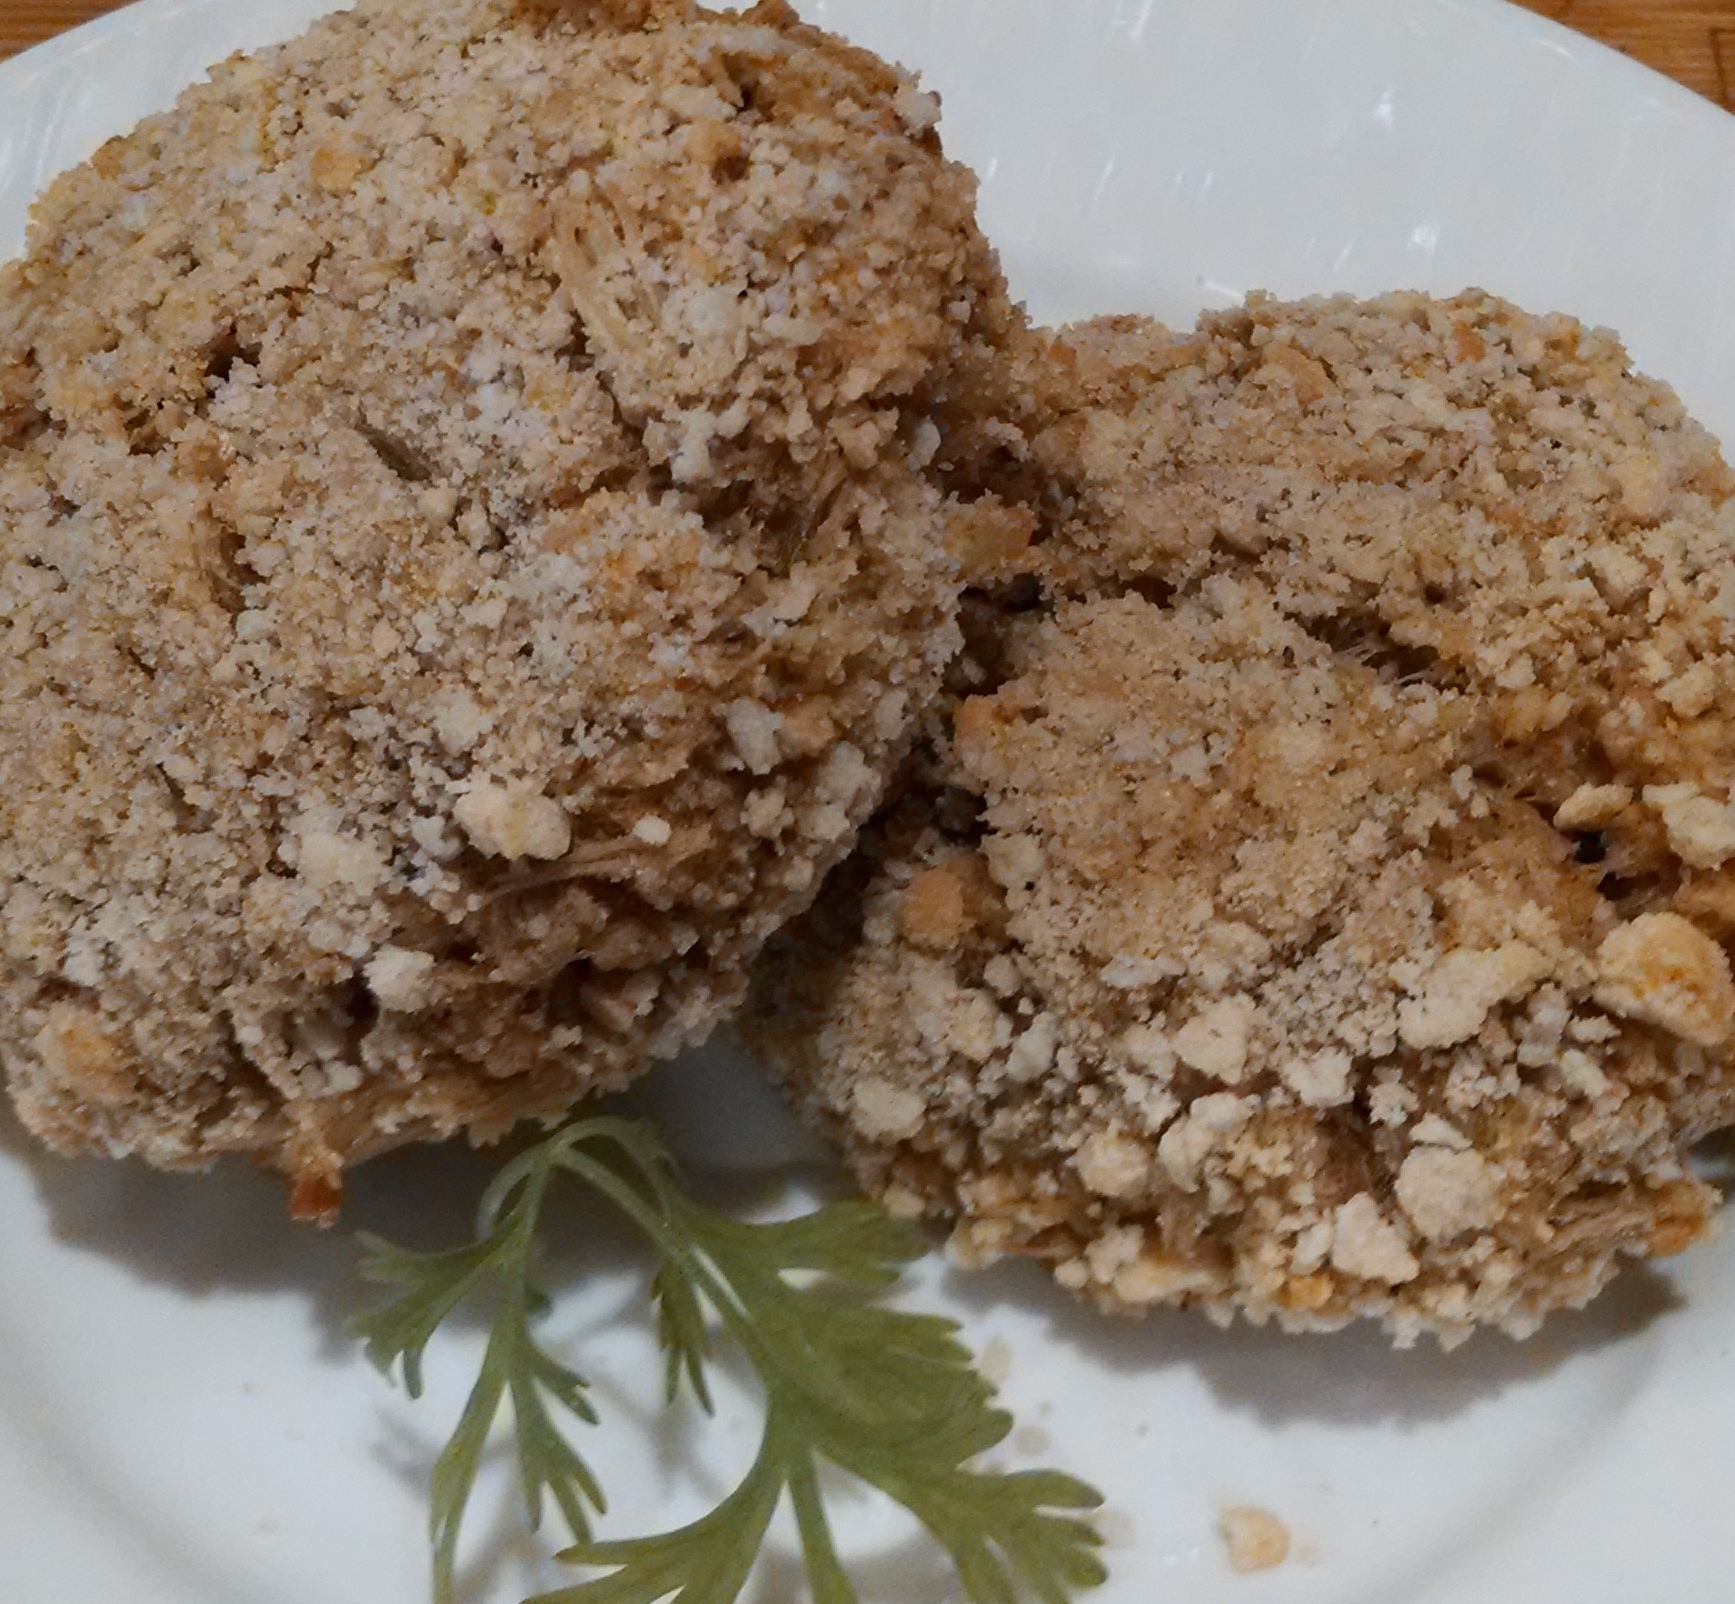
I had preheated the air fryer to 400 and before putting chicken in I did quick spray of oil placed the chicken in and then another quick spray.

Set the temp to 400 and 10 minutes.

Turned the chicken over 1/2 through and check with instant thermometer it was done 162 degree let sit the temp would rise to 165ish

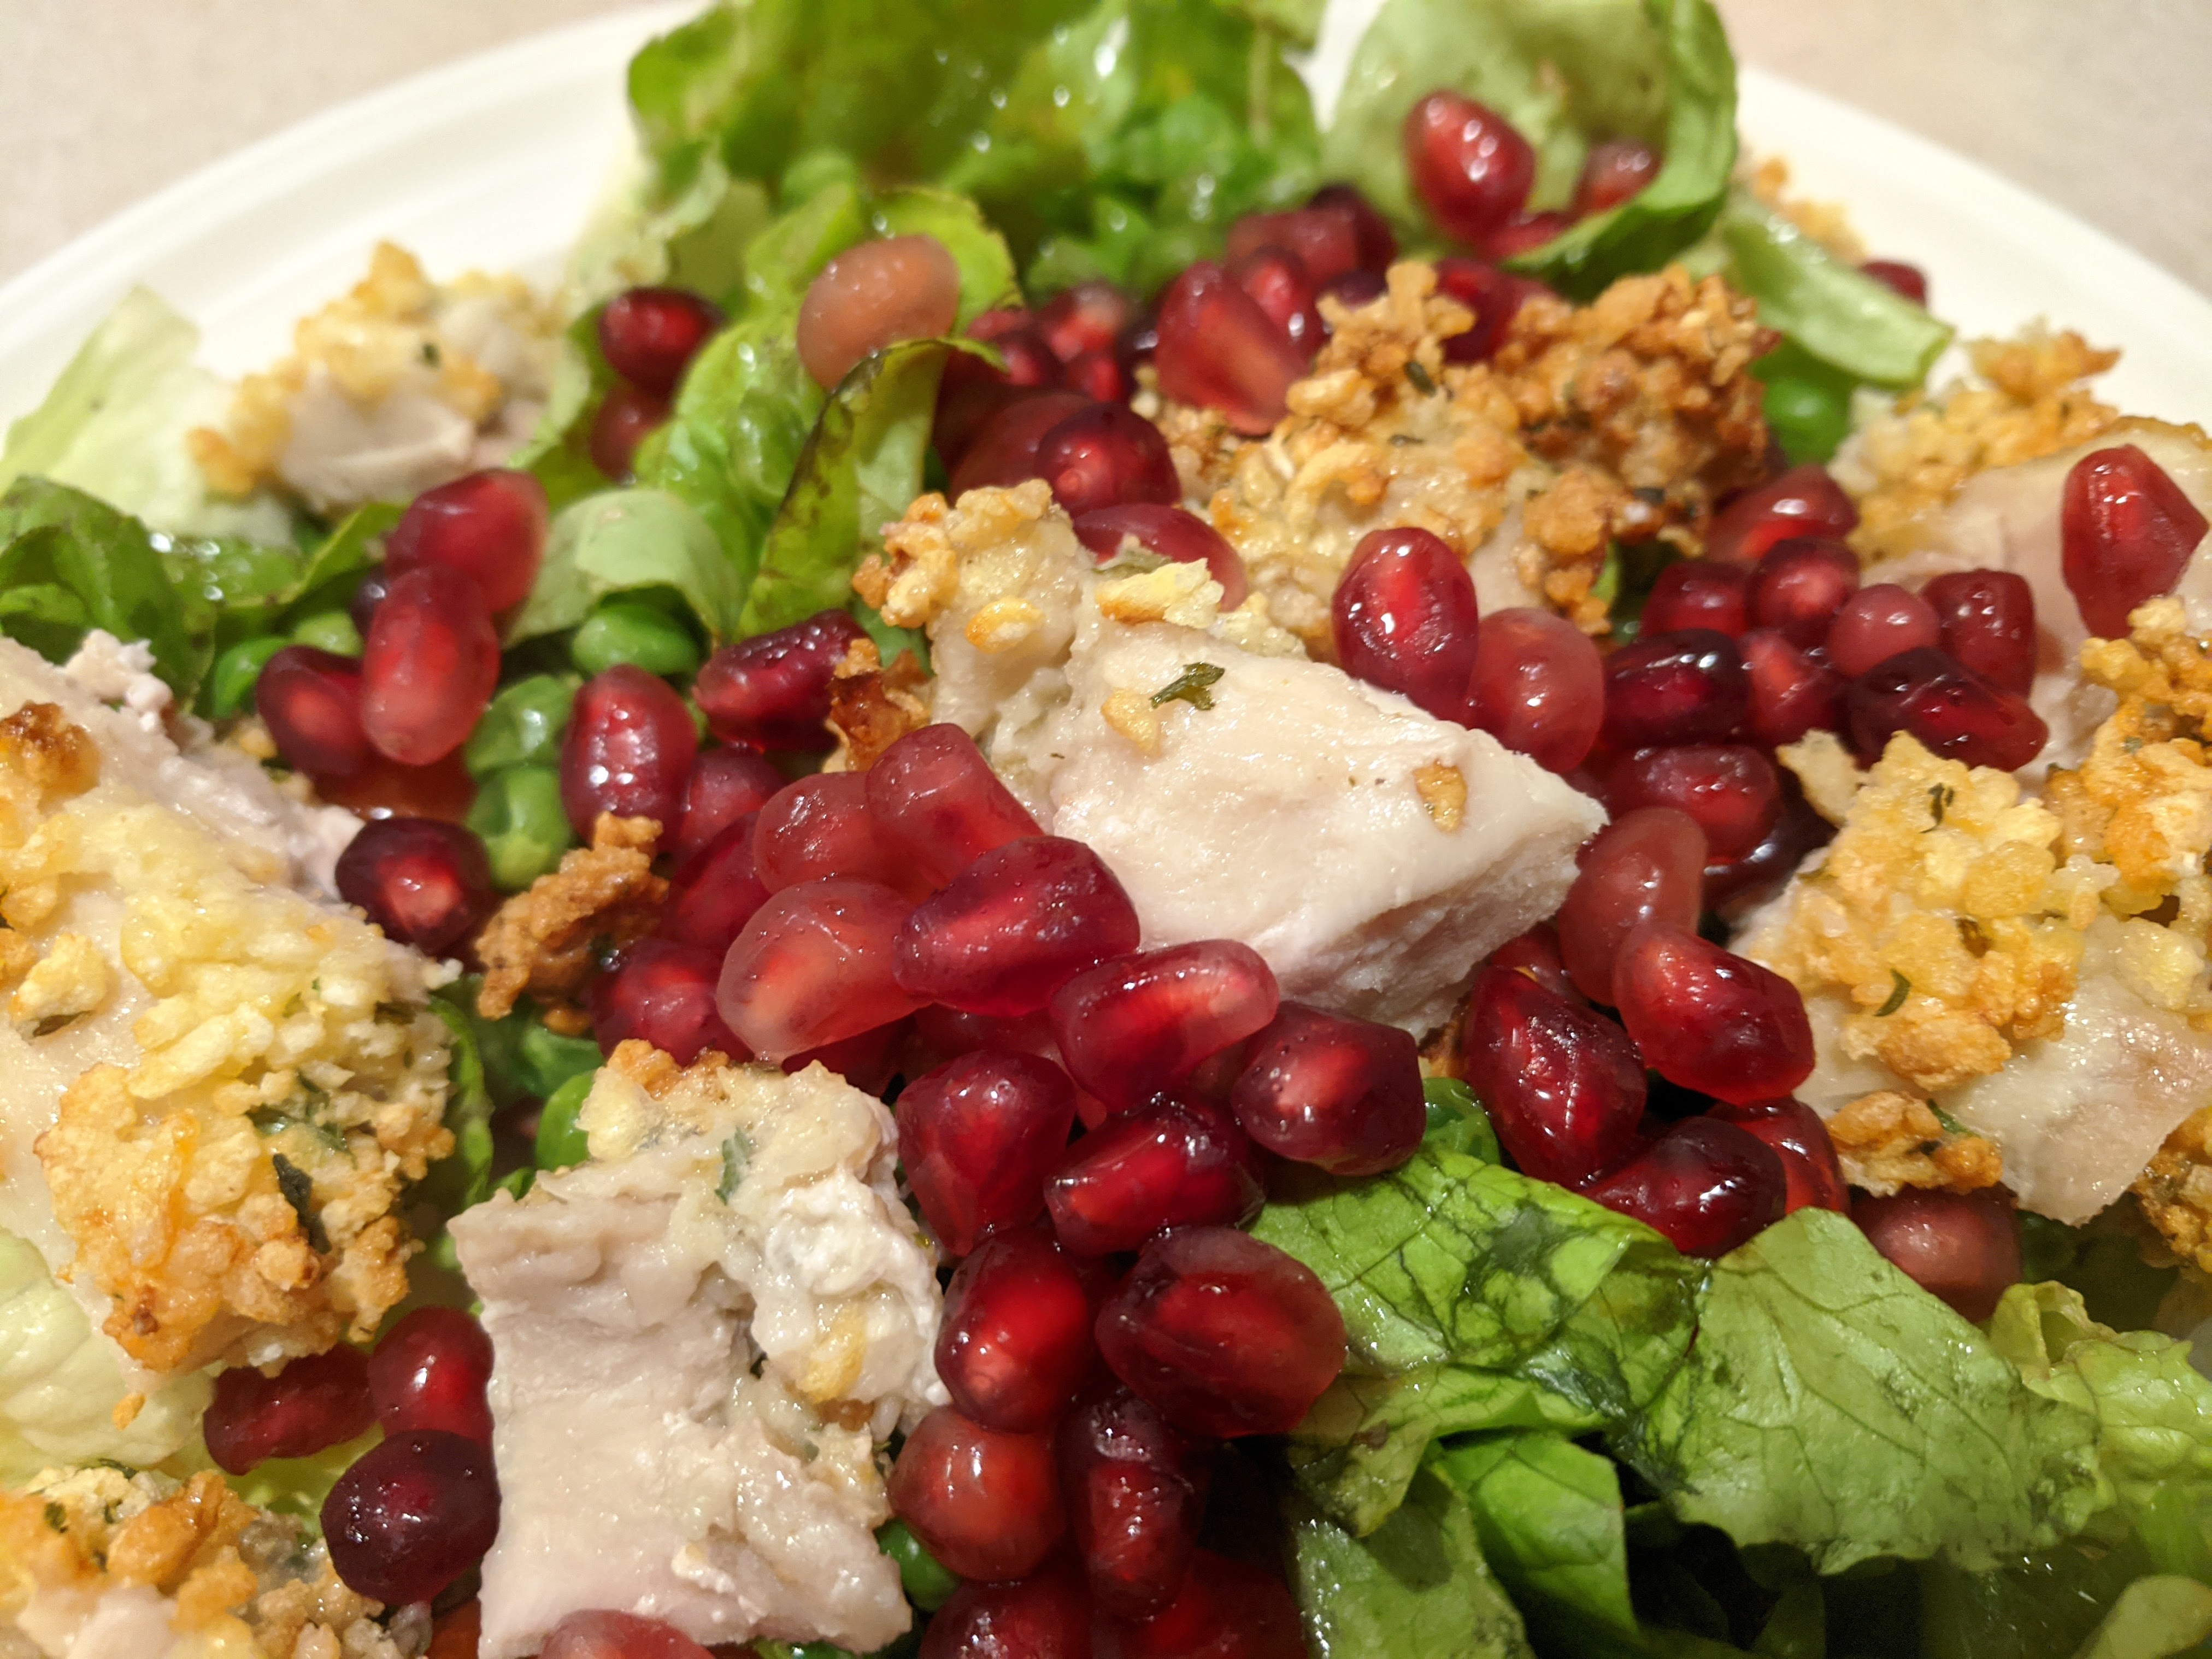
I diced one piece an put in a salad as protein.

Advertisement
Chicken Piccata with Artichokes – Gluten Free substitute cornstarch for flour

Chicken Piccata with Artichokes – Gluten Free substitute cornstarch for flour


Love the flavor of this sauce dish is so simple and always brings a smile to my tummy.

Lyn loves artichokes and it something that I should but don’t prepare often enough.

We both saw the add and approached each other almost the same day. What do you think bout making…… well yesterday we did.

I adapted ever so slightly from their recipe and after dinner we decided that this was going to be one of the dishes, although gluten free, for our annual Russo Easter dinner 2017 at our house.


Ingredients:

img_20170225_163508

  • 2 boneless, skinless chicken breasts
  • About 1/2 cup (2 1/2 oz./75 g) all-purpose flour or cornstarch if making Gluten free
  • Kosher salt and freshly ground pepper
  • 3 Tbs. olive oil
  • 2 Tbs. unsalted butter, at room temperature
  • 2 garlic cloves, chopped
  • 1 jar (6 oz./185 g) artichoke hearts, rinsed, drained and quartered
  • 1 cup (8 fl. oz./250 ml) dry white wine
  • 1/2 cup (4 fl. oz./125 ml) low-sodium chicken broth
  • Juice of 1 lemon
  • 2 Tbs. capers, rinsed and drained
  • 1 Tbs. chopped fresh flat-leaf parsley
  • Zest from 1 lemon (I don’t think this is traditional but I like the added flavor)
  • Cornstarch solution to thicken sauce if needed.


Directions:

Butterfly the chicken breasts and cut them in half. Working with one chicken breast half at a time, place the chicken between 2 pieces of plastic wrap and, using a meat pounder or other heavy, flat object, gently pound to an even thickness of about 1/4 inch (6 mm).

Pour the flour onto a large plate and season it well with salt and pepper. Dredge the chicken in the seasoned flour, shaking off the excess. In a large fry pan over medium-high heat, warm 2 Tbs. of the olive oil until very hot but not smoking. Working in batches as needed to avoid crowding, add the chicken and cook, turning once, until golden brown on both sides and opaque throughout, about 4 minutes per side. Transfer to a plate and set aside.

img_20170225_164035

Return the pan to medium-high heat; do not wipe the pan clean. Melt 1 Tbs. of the butter with the remaining 1 Tbs. olive oil. Add the garlic and artichoke hearts and sauté just until the garlic is soft, about 1 minute. Stir in the wine, scraping up any browned bits on the bottom of the pan. Bring to a simmer and cook until the liquid is reduced by half, about 3 minutes. Stir in the broth, lemon juice and capers. Reduce the heat to medium, bring to a gentle simmer and whisk in the remaining 1 Tbs. butter. Cook, stirring occasionally, until the sauce thickens slightly, about 5 minutes more. Stir in the parsley and lemon zest. Taste and adjust the seasoning.

img_20170225_165417 img_20170225_170009

Return the chicken to the pan and turn to coat each piece with the sauce. Cook just until the chicken is warmed through, about 2 minutes. Serve immediately. Serves 6.

Adapted from Williams-Sonoma Chicken Night, by Kate McMillan (Weldon Owen, 2014)

img_20170225_170834

Gluten-Free Baked Maryland Crab Cakes – First for Women’s magazine

Gluten-Free Baked Maryland Crab Cakes – First for Women’s magazine

Gluten-Free Baked Maryland Crab Cakes – First for Women’s magazine

IMG_20140706_090313016
Ingredients

½ cup canned white beans, drained

2 large eggs

2 Tbs. seafood seasoning, like Old Bay

1 Tbs. Dijon Mustard

1 lb. lumped crabmeat- drained

1 lemon, zested and juiced

1 Cup Gluten-free panko bread crumbs, divided.


Using the panko breadcrumbs instead of regular ones gives these patties and extra crisp coating and there is no need to fry them in oil.


How

In processor, puree the first 4 ingredients: transfer to bowl. Stir in the crab, w 2 Tbs. lemon juice, 2 tsp. lemon zest and ½ cup panko crumbs, Shape into 8 patties.


Heat oven to 400, Coat the cakes with remaining panko; place on a greased baking sheet, Coat with cooking spray. Bake 12 minutes or until done, turning once and coating again with cooking spray.


Dairy Free- Pumpkin Coconut Pie – coud have been Gluten-Free

Dairy Free- Pumpkin Coconut Pie – coud have been Gluten-Free

I’ve mentioned before that I don’t bake too exact of a science for me but it was a snowy day and I got cabin fever so I gave this a shot.  Glad I did!

From www.LivingWithout.com

This delicious pumpkin pie is a classic family favorite re-created with your special dietary needs in mind. Coconut flour is an aromatic gluten-free option that adds extra nutrition and fiber. Don’t like coconut? Use the substitution provided. This recipe can be made with egg replacement with good results.

Crust – I used Mrs. Smiths frozen pie crust (not gluten free hence could have been in title) but if you like to make crust here ya go. Remember I don’t bake that is Lyn’s thing.

1¼ cups gluten-free all-purpose flour blend of choice ¼ cup coconut flour*** 1 teaspoon xanthan gum ¾ teaspoon salt 1 tablespoon sugar ½ teaspoon baking powder 1 teaspoon agar powder*, optional 6 tablespoons cold butter or non-dairy substitute,     cut into small pieces 3 tablespoons shortening 3-4 tablespoons cold water, divided 1 teaspoon cider vinegar 1. To make crust, place the first 7 ingredients in the bowl of a food processor fitted with the steel blade. Pulse to combine. (If you don’t use agar powder, increase xanthan gum to 2 teaspoons.) 2. Add the butter and shortening and pulse until mixture resembles coarse meal. 3. Add half the water and all the vinegar and process. Add remaining water, a little at a time, until dough forms into a ball. 4. Remove dough from the bowl and pat it into a disk between two sheets of plastic wrap. Roll it into a 12-inch circle. Remove the top sheet of plastic wrap and gently turn the crust over onto a lightly greased 9-inch pie pan. It may crack or break in places but it will easily pat back into place. Form and press the dough into a pie shell and crimp the edges so that they are slightly higher than the pan. To bolster the height of the crust and to prevent over-browning, make a collar around the pie rim with aluminum foil. Prick the bottom of the crust several times with a fork. Freeze the crust for 15 minutes while preheating the oven to 375 degrees. 5. Line a baking sheet with aluminum foil. Set the pie crust on the baking sheet and bake in preheated oven for 15 minutes. Remove from the oven and increase temperature to 425 degrees to bake the pie.

Filling

Ingredients

  • ¾ cup light brown sugar, packed
  • 1 tablespoon cornstarch or potato starch
  • ½ teaspoon salt
  • 1½ teaspoons ground cinnamon
  • ½ teaspoon ground ginger
  • ¼ teaspoon ground cloves
  • 3 large eggs**
  • 1 (14 ounce) can coconut milk***
  • 1 (15 ounce) can pumpkin puree
  • ½ cup sweetened flaked coconut***, lightly toasted, coarsely chopped in a food processor ( I did not use this)

To make filling,

  • Combine sugar, cornstarch, salt and spices.
  • In a separate bowl, beat together eggs and coconut milk. Add pumpkin and beat well
  • Add sugar mixture to pumpkin mixture and beat to combine.
  • Sprinkle all but 1 tablespoon flaked coconut over the bottom of the par-baked crust.
  • Pour the pumpkin mixture into the pie shell.
  • Bake the pie in preheated 425-degree oven for 15 minutes.
  • Lower the temperature to 350 degrees and bake an additional 40 to 50 minutes or until a knife inserted in the center comes out clean.
  • Remove the pie from the oven and sprinkle remaining coconut over the top. Let cool on a wire rack for 2 hours. Serve or refrigerate for later use.

spice micture

liquid ingredients

GLutenfree dairy freee pUmkin coconut pie

100_2646

This was after 2 hours it was great but after it was refrigerated it was much better I liked the consistency and texture much better.

*TIP Agar, also called agar agar, is available in flake and powder form at natural food stores. Use agar powder for this recipe. **TIP For egg-free filling, replace the eggs with ¾ cup pureed silken tofu (about 7 ounces or half a package); increase the cornstarch to 2 tablespoons and reduce the coconut milk by ¼ cup. Proceed with the recipe as instructed.                                 ***TIP Don’t like coconut? Use 1¾ cups heavy cream or milk of choice (soy, rice, nut) in place of the coconut milk and omit the toasted coconut. Omit the coconut flour in the crust and increase all-purpose gluten-free flour blend by ¼ cup.

Lyn’s Gluten Free Zucchini Bread

Lyn’s Gluten Free Zucchini Bread

Comfort foods are a good thing they make you feel warm inside especially on a snowy. I have to nick name this one as “hide it from me” or maybe “step away from the bread” it was so good that “Gone in 60 seconds” would work for a name also. I think you get the idea I kind of like this one. As we munched we started naming things that might go good with this, almond flour, pistachios, maybe orange rind….

Ingredients

  • full cup of grated zucchini (from about 1 medium zucchini)
  • 1 1/4 cup – cup for cup gluten-free flour blend
    • If does not included xanthan gum in flour then add ¾ teaspoon
  • 2 teaspoons baking powder
  • 1/2 teaspoon baking soda
  • 1/2 teaspoon fine sea salt
  •  2 teaspoons cinnamon
  • 1 cup brown sugar
  • 1/3 cup canola oil (or other light oil)
  • 2 extra-large eggs
  • 1/4 cup lactose free yogurt
  • 1 teaspoon fresh lemon juice
  • 1 tablespoon pure vanilla extract
  • 1/3 cup chopped or pecans

Ingredients

How

Preheat your oven to 350 degrees. Spray standard 9-inch loaf pan and set aside.

Place the shredded zucchini into some paper towels and gently squeeze out any moisture. Fluff the zucchini with a fork and set aside.

Put the all-purpose gluten-free flour, baking powder, baking soda, salt and cinnamon in a medium bowl and whisk to blend

In another large bowl add the brown sugar, canola oil, eggs, yogurt, lemon juice and pecans. Whisk thoroughly until smooth.

mix wet

Add the dry ingredients to the wet and beat until combined. Fold in the grated zucchini and the nuts.

add the dry

  • Reserve just a little zucchini to sprinkle over the tops of the loaves

Pour into the pan, sprinkle over the reserved zucchini

pour into pan and sprinkle zuchinni

Bake for 35-40 minutes, or until a toothpick inserted in the center of a loaf comes out clean.

bake 35-40 minutes

Cool for 5 minutes in the pan, then carefully turn out to
cool completely on a rack.

let cool and serve - we could not wait

We could not wait for the completely cool part. Tip if you want skinny slices wait until completely cool.

Almond-Oat Strawberry Shortcakes

Almond-Oat Strawberry Shortcakes

I love cooking but I love it even more when Lyn and I are both cooking together doesn’t matter the same dish or different, cooking in the kitchen with my honey is one of my favorite things to do.

Lyn and I are big on good quality meats and organic fruits and vegetables, usually it pays off with taste but the other day we got some organic strawberries that just were not that sweet. Not sure if it was a bad batch or just the end of the season but there we were with a huge pile of strawberries. Normally we grab a bowl full and munch on for a satisfying desert or snack, Lyn makes smoothies too much air in that for my liking you know what air in the belly gives you. Anyway what to do?

We divided in half and I was given the task of maceration, as Lyn called it. She had bought a new fancy dancy potato masher Fancy Dancy Potato Masher(I can hear Laurel in my mind oooohhhhhh, she just loves cooking stuff) but it was not working on the strawberries. I grabbed the old faithful and squashed, as I call it, away. Meanwhile Lyn went to work on the shortcakes. Soon the smell filled the house and the tummies were grumbling.

Influenced by Bon Appétit

Ingredients

  • 1 cup all-purpose flour
    • Substitute with gluten-free flour and it’s a gluten-free desert, just a little more crumbly!
  • 1/2 cup old-fashioned oats
  • 1/3 cup slivered almonds
  • 1/3 cup plus 2 tablespoons maple sugar, divided.
  • 2 teaspoons baking powder
  • 1/2 teaspoon kosher salt
  • 6 tablespoons (3/4 stick) chilled unsalted butter, cut into 1/2″ cubes
  • 1 cup chilled butter milk, divided, plus more for brushing
  • 1 1/2 teaspoons vanilla extract, divided
  • 4 cups fresh strawberries, hulled, sliced
  • 1 tablespoon Grand Marnier or other orange liqueur (optional)

How

Shortcakes

Preheat oven to 375°F. Line a baking sheet with parchment paper. Pulse flour, oats, almonds, 1/3 cup maple sugar, baking powder, and salt in a food processor until finely ground. Add butter; pulse until only pea-size pieces remain. Add 1/2 cup butter milk and 1 teaspoon vanilla; pulse until large moist clumps form. Transfer to a work surface.

Knead until dough comes together, about 4 turns. Pat into a 4×6″ rectangle. Halve lengthwise, then crosswise into thirds. Round each biscuit if you want and arrange on prepared baking sheet. Brush with butter milk; sprinkle with 1/2 tablespoon maple sugar.

Bake, rotating sheet halfway through cooking, until golden brown around edges and a tester inserted into center comes out clean, about 20 minutes. Set biscuits on a wire rack; let cool.

Strawberries

Meanwhile, combine strawberries (my job), 1 tablespoon maple sugar, and Grand Marnier, if using, in a large bowl. Toss to coat. Let strawberries sit, tossing often, until juices release.

Whipped Cream

Whisk 1/2 cup Cool Whip or Cool Whip lite, 1/2 tablespoon maple sugar, and 1/2 teaspoon vanilla in a small bowl until peaks form.

Place shortcake on plates. Divide Cool Whip mixture and strawberries over. You could probably cut the shortcake in half, build as above and then top with top of shortcake and a dollop of strawberry and cream.

Reality check

Reality check

I am trying to see how I am doing, so far just a few comments not that I expected hundreds this early on or ever, and I am just overwhelmed that I have 67 followers between Facebook and my blog I could not imagine when I began that anyone would be interested in what I cook or write about.

I am learning things everyday about writing recipes, taking pictures, cropping pictures the list goes on….

I need your help.

What I am looking for is how am I doing, any suggestions, what might you like to see, what improvements would you suggests, what should I stop doing? I have so many recipes that I don’t prepare any more but they were/are good, should I share those? I could go on but I won’t….

I am asking is that if possible, would you could you make the comments on the blog site not Facebook, I know it’s an extra click and wait but hey it’s for a friend right. Use the comment section at bottom of recipe and let me know what you think. Exchange ideas to try. Rate the dish if you tried it, there is the “Rate this” section below the Title then others might think to try.

But most importantly I encourage you to enjoy cooking and eating and watching for that smile on someone’s face when they take the first bite and shake their head.

Thanks so much!