Homemade Chinese Dumplings ala Chef Gail

Homemade Chinese Dumplings ala Chef Gail

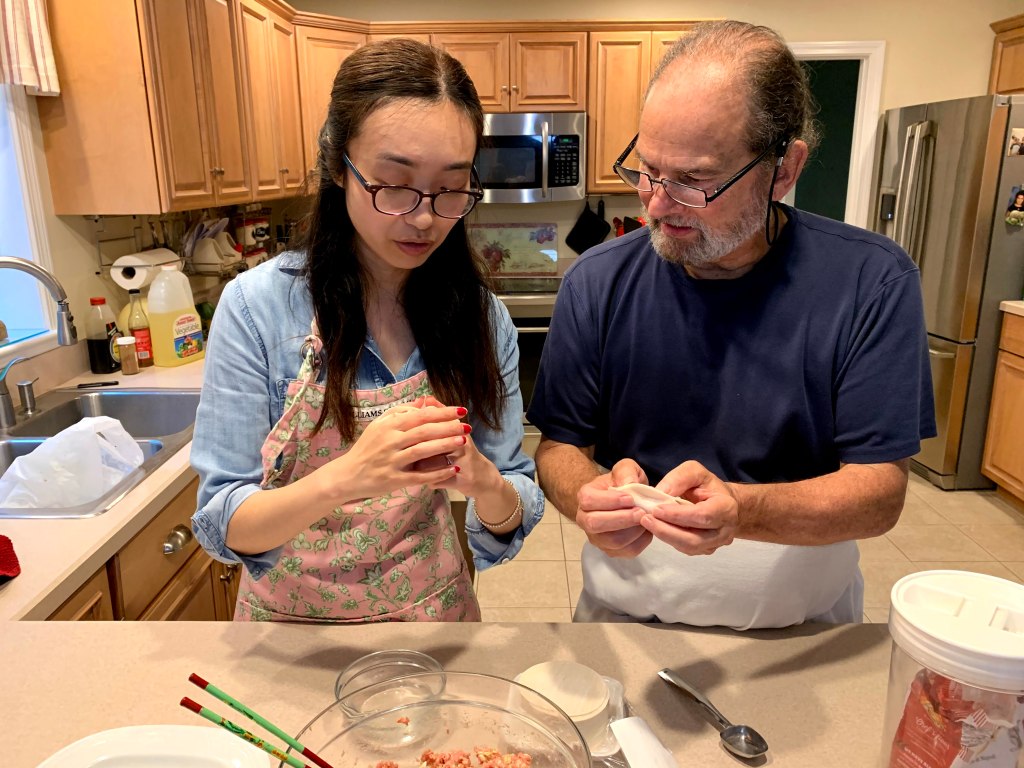
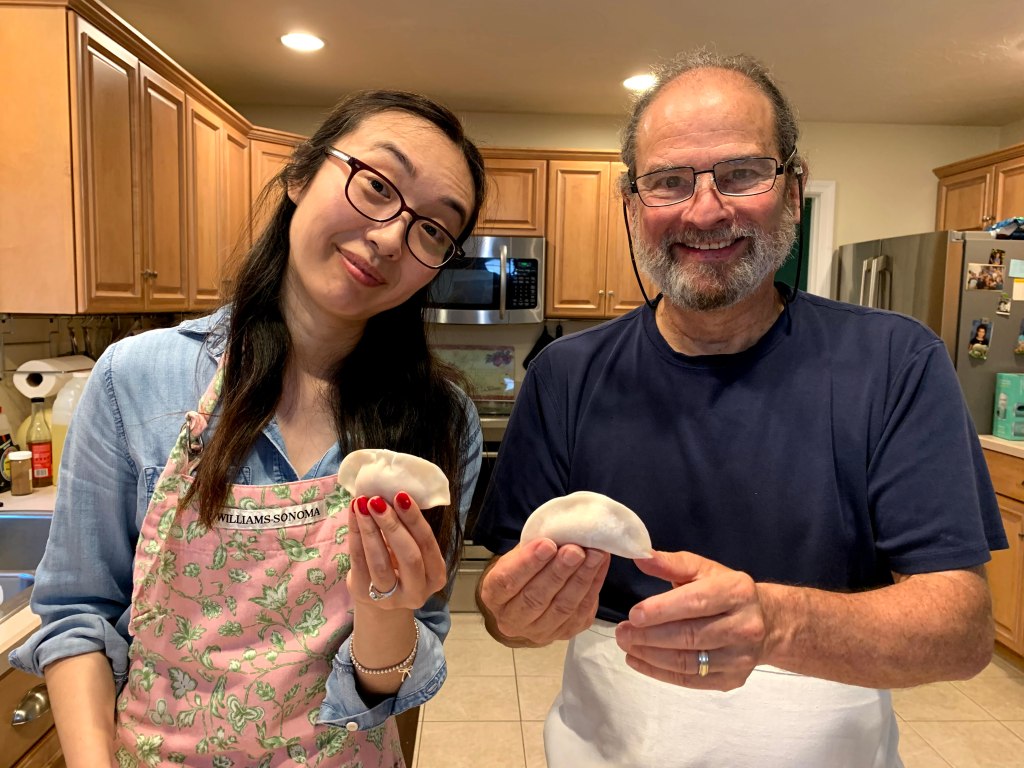
I love what they call Peking Ravioli and have bought from restaurants, and frozen. My fondest memories are when I used to commute into Boston via the train, a there was a group of us and maybe once a month take turns going into China Town and buying a huge box of frozen ravs. On the way back we would split them up and distribute to our coolers. Many good meals were had. Well our Son Mike’s is married to a wonderful woman, Gail, who happens to be from China. I innocently (ya right) ask if she ever made them. Her mom had visited recently and left her with a freezer full. She said yes and she would show me how. I jokingly called Chef Gail and it stuck at least while she was here.

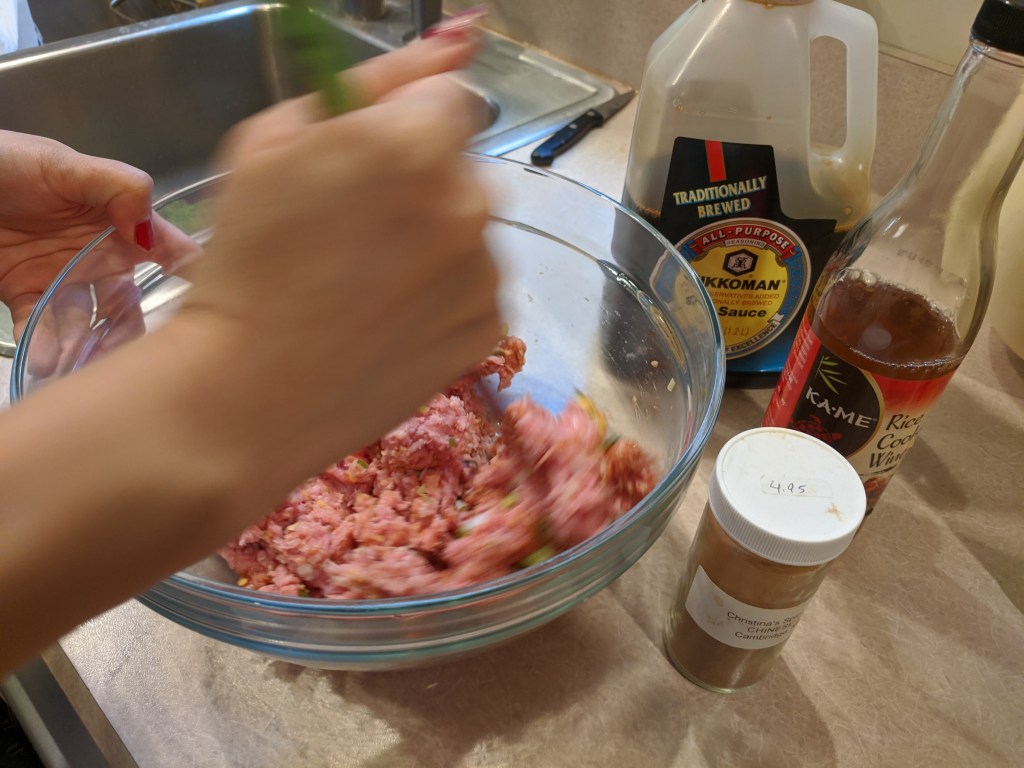
It was like getting a recipe from your mom, a little of this, a handful of that a splash of rice vinegar and she went by smell. When she felt it smelt right, we were ready to start making the dumplings. Now that I think about it that makes sense there are dishes, I make that I’ll know it is correct and ready to cook by the smell, I just never thought about it that way.

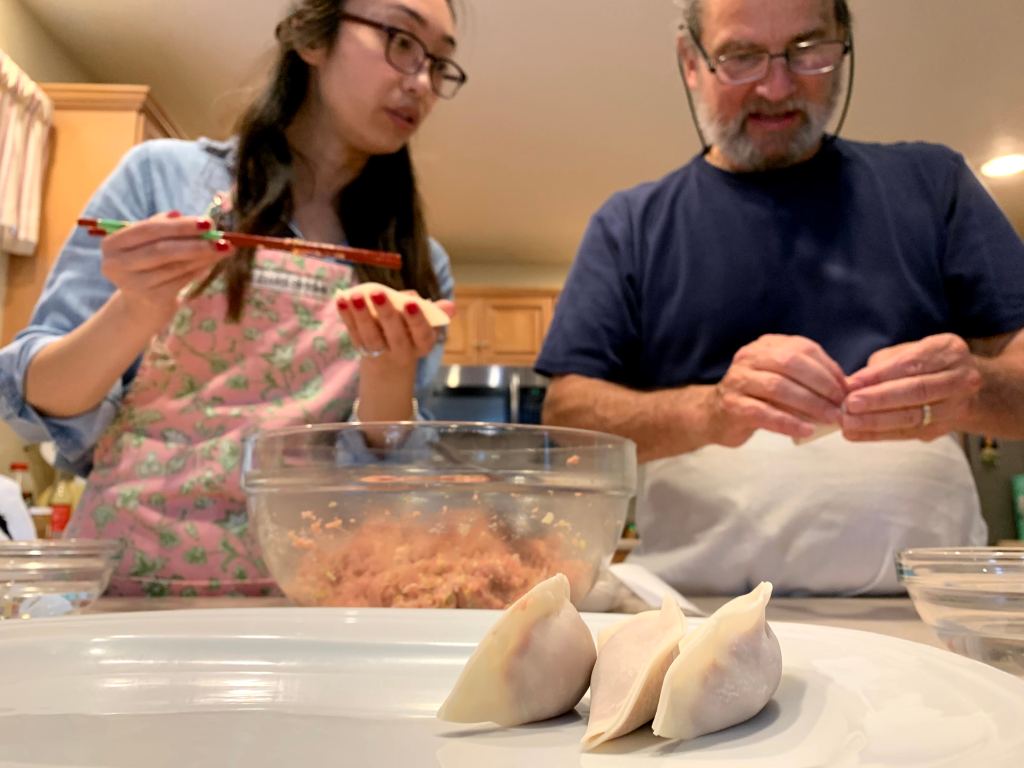
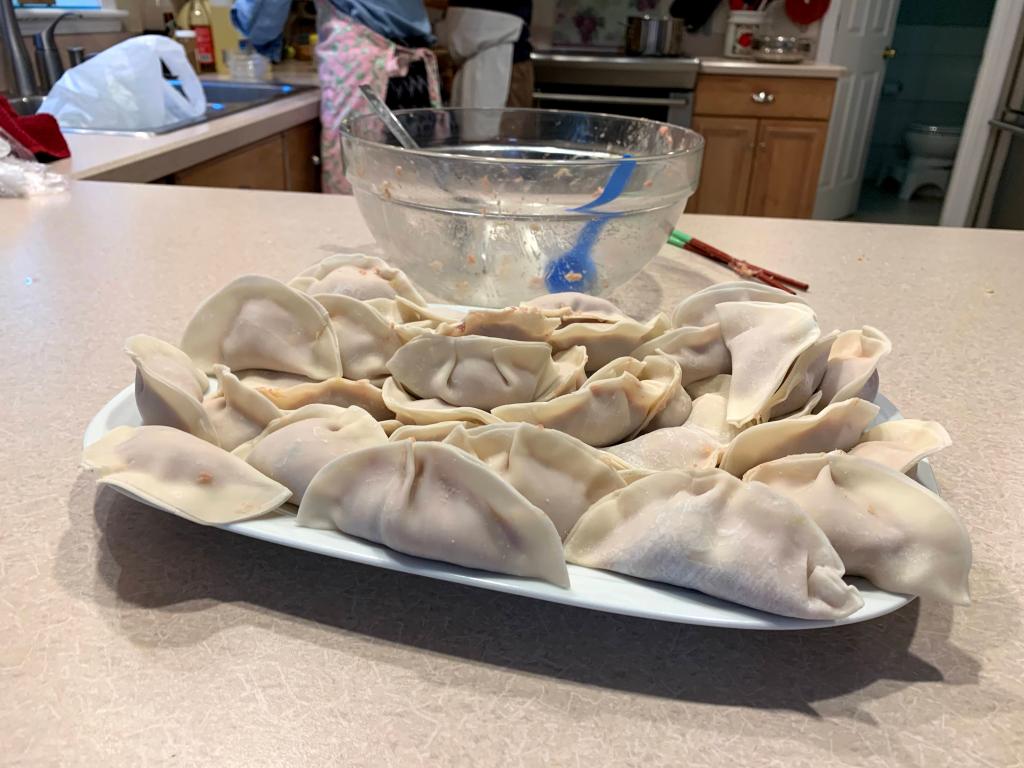
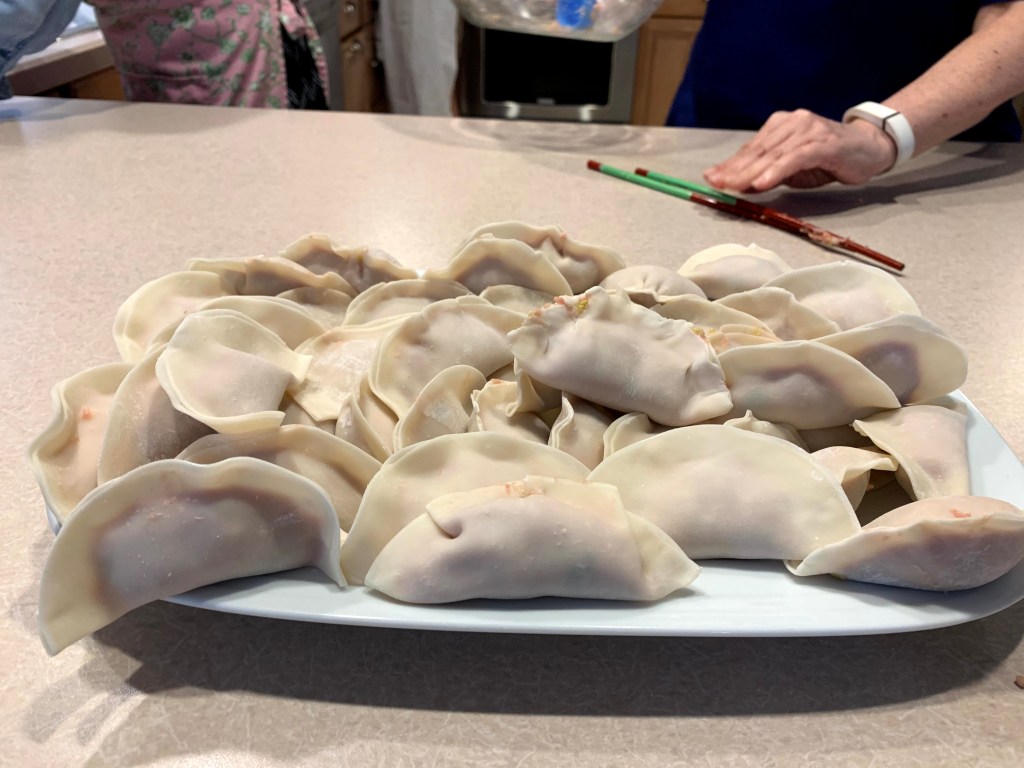
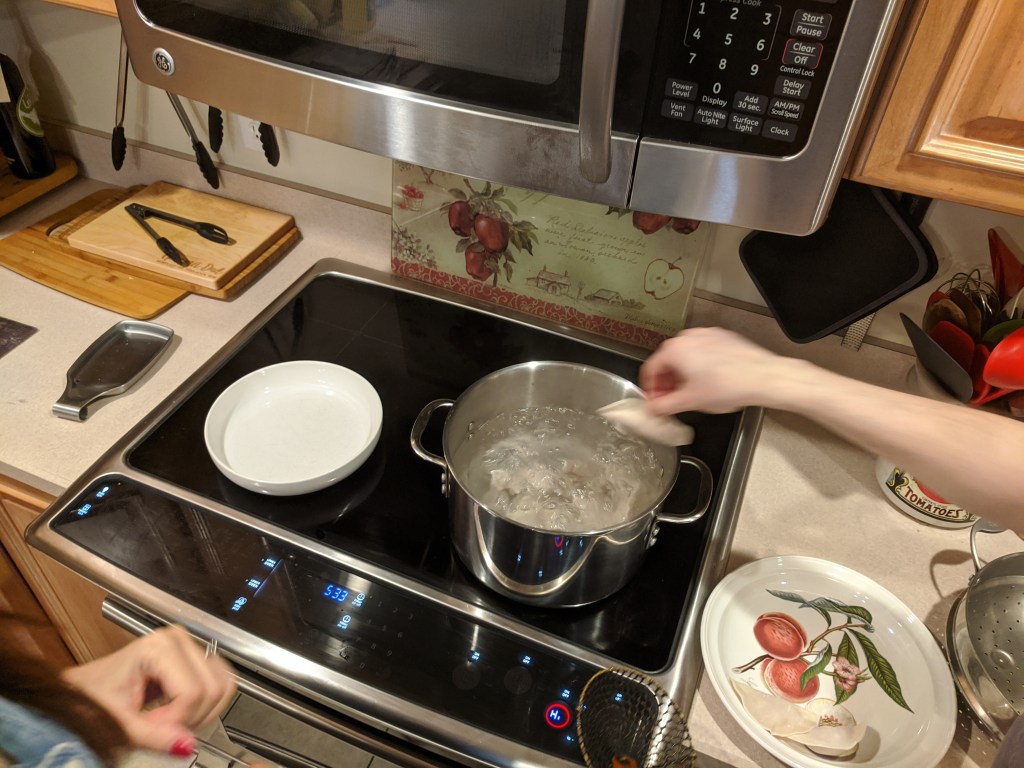
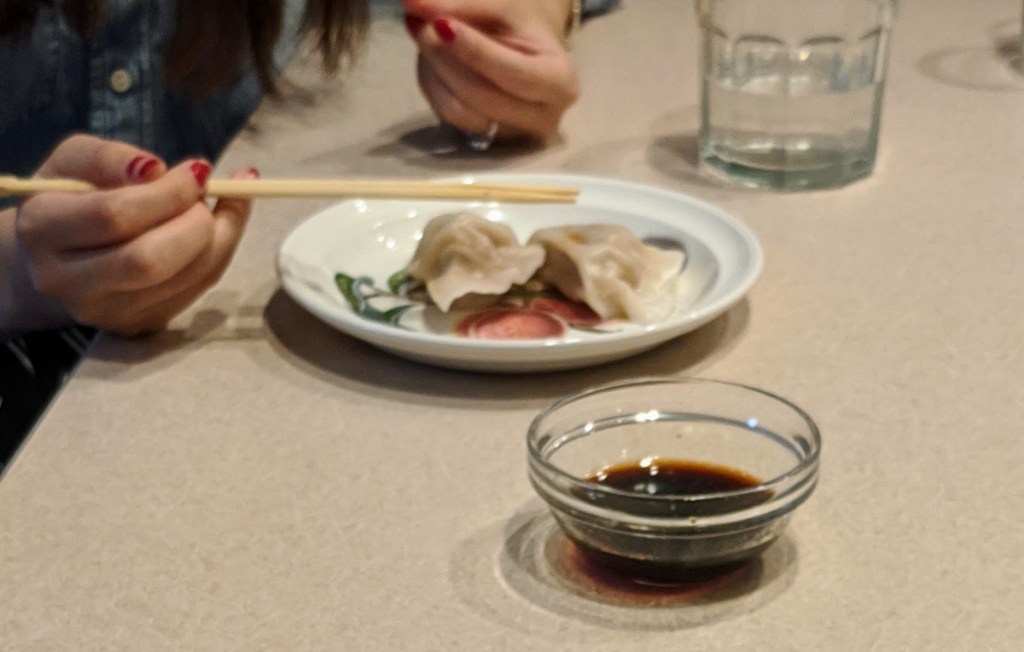
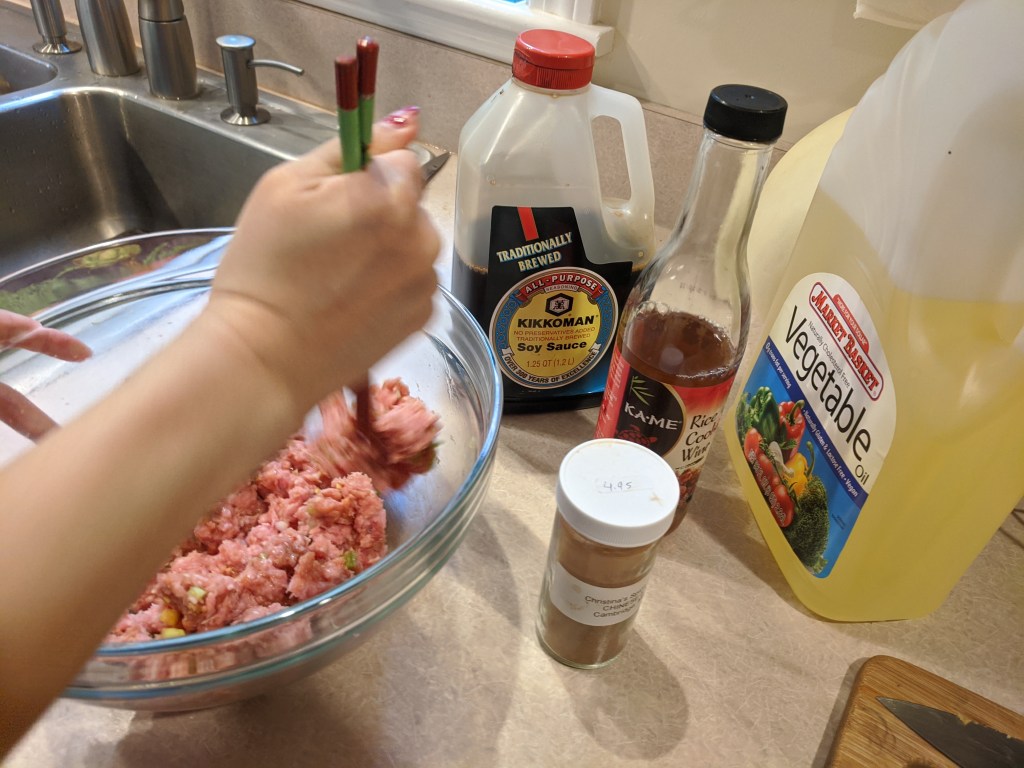
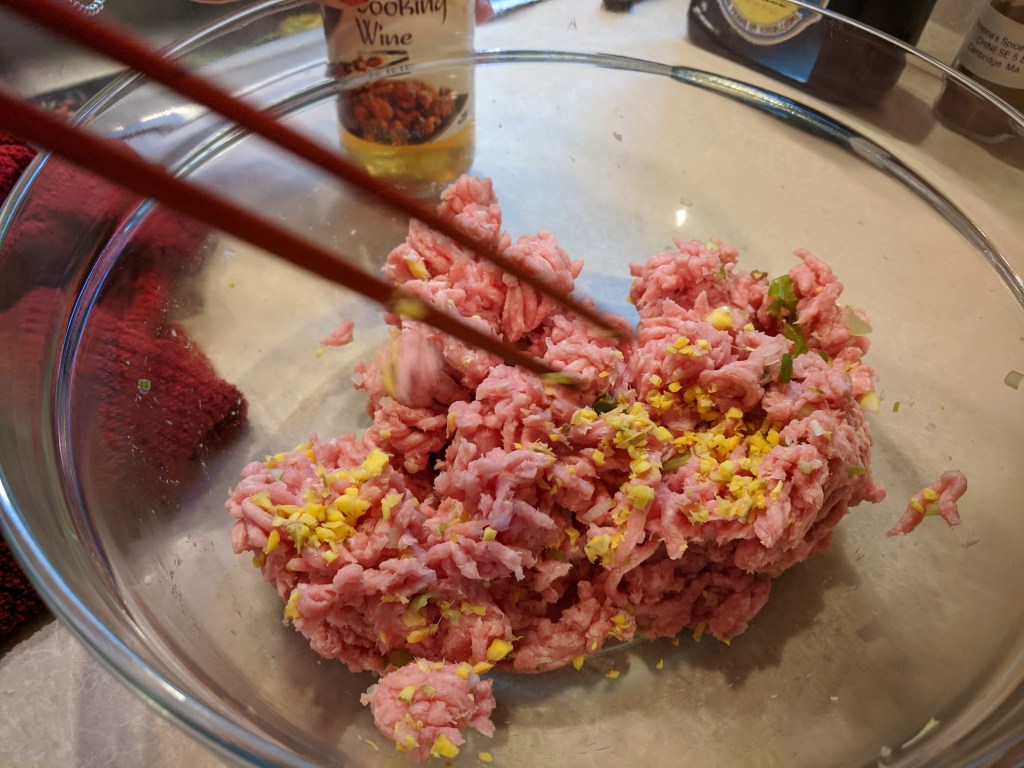
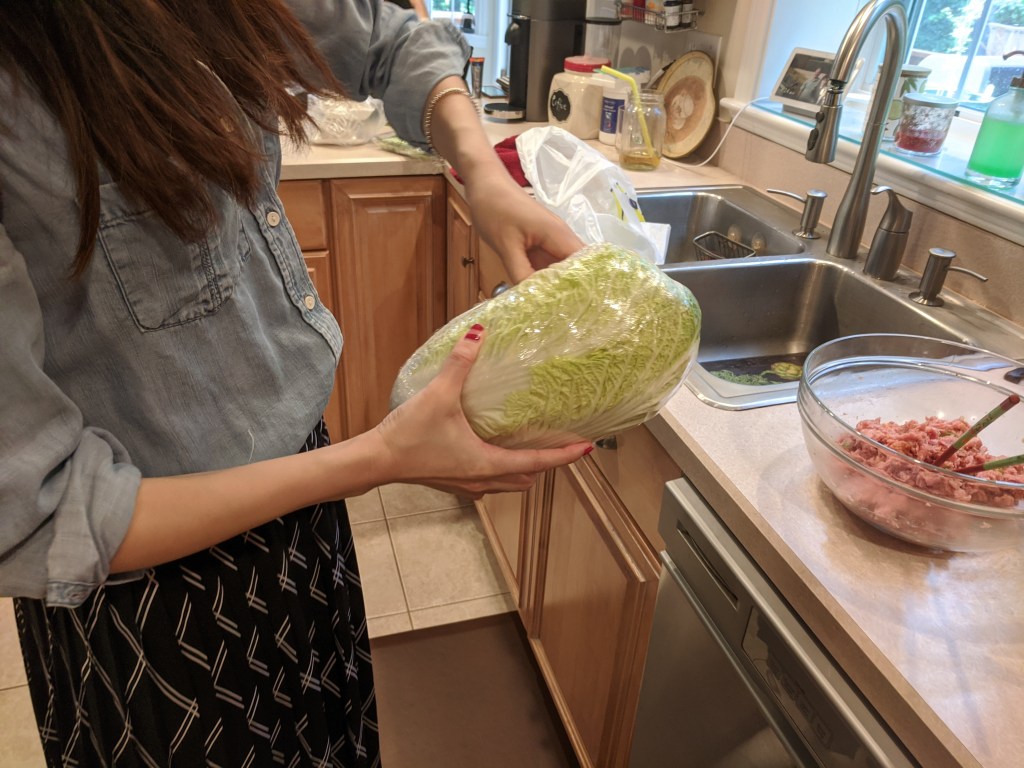
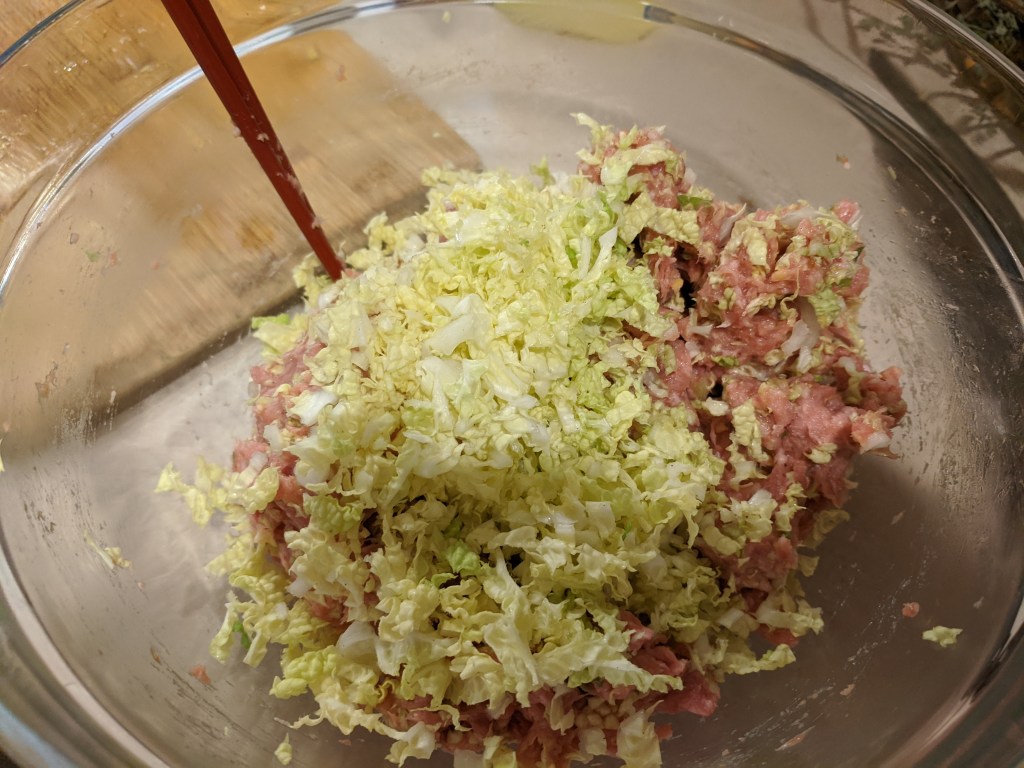
The frozen dumplings I’ve made I would pan fried and then add water cover and steam until done. Gail said the authentic way is to boil them (at least the ones you have on the Chinese New Year). So, we made the stuffing (pork) added scallions, napa cabbage, ginger, five spice, canola oil, soy sauce then mix and then stuffed. using chopsticks mix stirring in only one direction (this way the filling becomes very sticky and absorbs more water to bring the juicy flavor). She showed me her way of sealing the wrappers and I soon got the hang of it. Lyn and Mike joined in and before we knew it the pound of pork was gone. Into some lightly salted boiling water and this is where we used her mom’s trick. You bring water to boil then boil for a few minutes add a little less than a cup of cold water and bring to a boil again and repeat. Essentially boiling three times. Drain and eat with dipping sauce.

Now my challenge is to figure out the measurements (double checked with Gail).

Stuffing: Keep in mind these are estimated amounts so you have to use your judgment

  • 1 lb. ground pork (>20% fat is ideal)
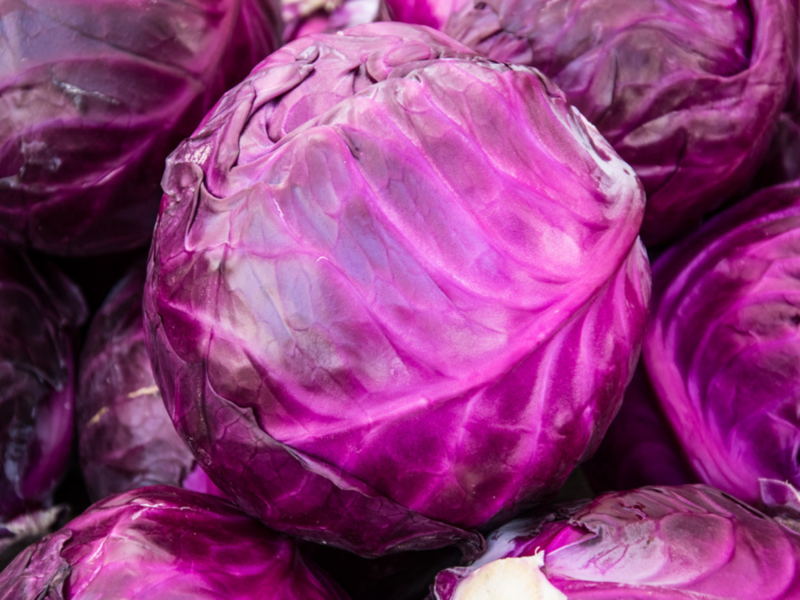
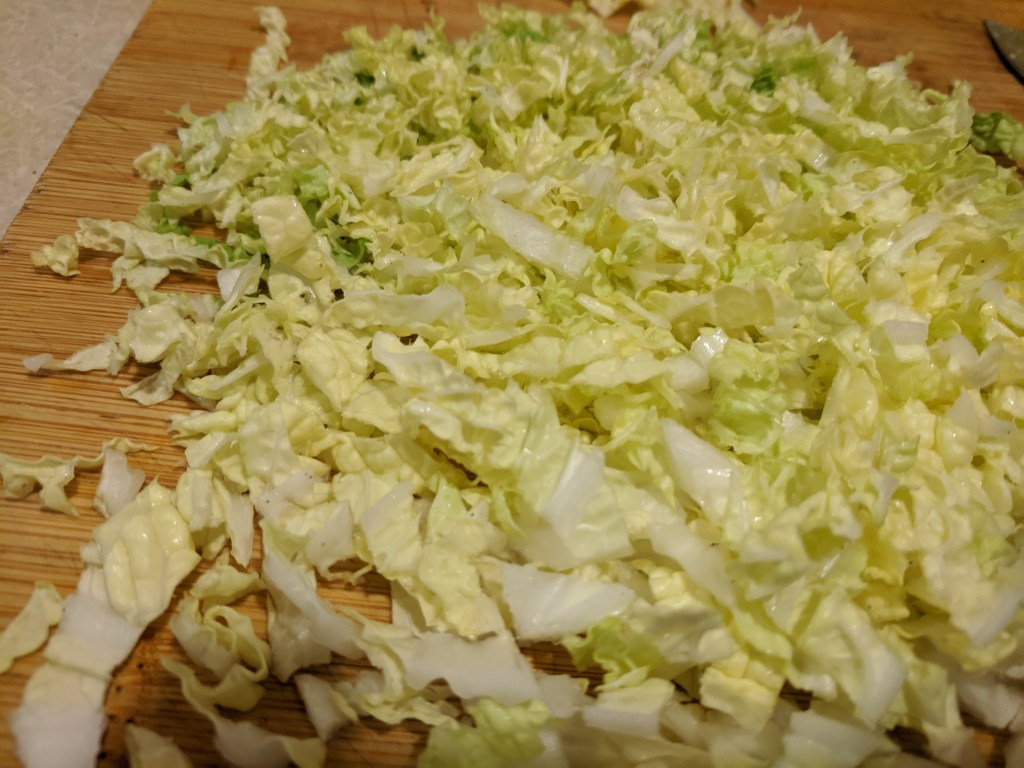
  • 2 cups of Napa cabbage copped finely
  • About 3/4 inch of ginger, finely chopped or grated
  • 4 scallions, finely chopped
  • 2-3 tbsp soy sauce (I like low sodium)
  • 1 tsp 5 spice powder
  • 2 tbs canola/vegetable oil …add more if the stuffing turned out too dry
  • 1/3 tsp salt


Dipping Sauce:
• 4 tbsp soy sauce
• 1/2 cup water
• 2 tsp sugar (optional for sweet)
• dash rice vinegar
• dash sesame oil
• pinch garlic powder
• two dashes hot pepper flakes

Scoop about 1 tablespoon (or less, so you can easily fold the dumpling) of dumpling filling and place it in the center of the wrapper. Rub the edge of dumpling with water (acts like glue) Hold the dumpling with one hand and start sealing the edges with the other hand (refer to the video to see how to fold a dumpling). Be careful, when you press the edges together to seal the dumpling, do not let filling touch the sealing area (the dumpling will fall apart if you do). After folding, press edge again to seal well. You don’t need to fold beautiful dumplings here, that will come with time, your goal is to make the dumplings hold their shape during boiling.

How

  • Bring a large pot of water to a boil.
  • Carefully add dumplings one at a time into the water. Use a big ladle to stir the water gently, until the water starts to boil again, so the dumplings don’t stick to the bottom, for about 1 minute. Adjust the heat so the water is at boiling point but isn’t bubbling too fiercely.
  • When the dumplings float to the surface, add about 3/4 cup cold water bring to a boil add another 3/4 cup cold water continue boiling until the dumplings are filledwith air and swollen and the dough starts to become transparent, about 1 minute or 2 (time may vary depending on temp, size of dumplings etc)
    • Gail note: I only see dumplings made from commercial wraps filled with air, the ones my parents made from home-made dough didn’t fill with air,
  • Remove and place aside and cook the next batch.
  • For the dumpling already boiled, the pan-fried left-over also great:)

Easy Italian Purple Cabbage Rolls

Easy Italian Purple Cabbage Rolls

I got a red cabbage with my Misfits Market order thinking it would be a small head that I could add to my salads, but it turned out to be huge. I like stuffed cabbage and figure why not.  If your interested in trying Misfits use my code (COOKWME-FG1DCQ) that way we can both save some $$. This is a quick, easy and pretty good. I have made other recipes like sweet and sour but I kind of like this one.

Ingredients

  • 1 large head purple cabbage
  • 3 cups water or unsalted chicken broth
  • 1 cup brown rice, cooked and cooled
  • 1 ¼ pounds ground sirloin
  • 1 egg beaten
  • 1 tablespoon garlic powder
  • ½ cup chopped onion
  • 1 green bell pepper, seeded and diced
  • 2 teaspoons ground sage
  • 2 teaspoons Italian seasoning (optional)
  • Sea salt and black pepper
  • 2 ½ cups low-sodium marinara sauce (my mother in-law used to use tomato soup)

How

Carefully cut or remove 6 large leaves from a head of cabbage—the bigger, the better; they are your vessels in this recipe. Bring a pot of water to a boil, then drop in the leaves. Cook for 2 to 3 minutes, until soft and malleable.

Bring the 3 cups water or broth to a boil, then add the rice. Cover and cook until the farro has softened and can be fluffed with a fork, about 30 minutes. Set aside to cool.

Preheat oven to 400˚F.

In a large bowl, mix turkey, egg, garlic powder, onion, bell pepper, sage, Italian seasoning (if using), salt, black pepper, 2 tablespoons marinara sauce, and rice.

In a baking dish, spread 1 cup marinara sauce over the bottom.

Take a scoop of the meat mixture ( I used my medium ice cream scoop) and roll into a cylinder or ball. Place at the bottom of a cabbage leaf; roll up the bottom, fold in the sides, then continue rolling the leaf to seal. Repeat. Depending on the size of the leaf, I had some left over so I just made small meatballs with leftover and placed in pan. I think they are called porcupine balls, I call it chef’s treat.

Place the rolls side by side on top of the sauce in the baking dish. Pour the remaining sauce over the rolls Cover the baking dish with tin foil and bake at 400˚F for 55 minutes. 

You could also use this for stuffed peppers, acorn squash

Info

Hearty Lentil Soup with Kale + Potatoes

Hearty Lentil Soup with Kale + Potatoes

I don’t think that this recipe needs more than what my wife texted to our son and new daughter “I made this soup and it is really good!”. They are both avid soup lovers and Gail’s favorite restaurant is a hot pot place I think it was Spring Shabu-Shabu.

Who doesn’t love a good lentil soup? This one came from

a blog by Kate Scarlata RDN, FODMAP & IBS Expert
https://blog.katescarlata.com/2020/11/09/all-about-lentils-the-low-fodmap-diet-a-hearty-lentil-soup-recipe/

I borrowed picture from her site.

Ingredients

  • 2 tablespoons olive oil
  • 3 large carrots, chopped
  • 1 medium celery stalk, chopped
  • 1 large potato (white), peeled and chopped into bite size pieces
  • 4 teaspoons Fody Foods vegetable soup base dissolved in 4 cups of boiled water (or 4 cups of Low FODMAP vegetable broth)
  • 3 cups canned lentils, rinsed and drained (about 2, 14 ounce cans, you may have a little lentils leftover, this can vary depending on the product you use.)
  • 1, 14 ounce can diced tomatoes, not drained
  • 3 cups kale, stemmed and chopped
  • 1 tablespoon tomato paste
  • ¼ teaspoon coriander
  • ½ teaspoon cumin
  • ½ teaspoon cayenne
  • 1 teaspoon oregano
  • Salt and pepper to taste
  • 2 teaspoons lemon juice
  • 1/2 cup parsley, washed and chopped, for garnish

Instructions

  1. In a large stockpot, add olive oil.
  2. Over medium-high heat, sauté carrots, celery and potato in olive oil for about 10-12 minutes or until soft.
  3. Add soup broth and cook for 5 minutes.
  4. Then, lower heat to medium, and continue to cook the vegetables for 15 minutes.
  5. Next, add the lentils, diced tomatoes, kale, tomato paste, coriander, cumin, cayenne, oregano, salt and pepper, to taste.
  6. Let soup simmer on medium-low heat for about 12 minutes, then stir in the lemon juice.
  7. Garnish with parsley and serve!

About Lentils

Lentils are particularly high in protein, fiber, folate, iron, zinc and magnesium! Let’s talk a bit about these important nutritions. 

Lentils contain 6 grams of protein in a 1/2 cup canned portion.

For those following a vegan or vegetarian diet, lentils make a great protein option. For those of us who do consume meat, they’re still a tasty, fiber rich, protein rich and nutrient dense ingredient!

Fiber is key for digestive health. One serving of Delallo canned lentils provides 6 grams of fiber; that’s about 25% of your daily requirement!

Lentils provide a great source of folate, a water-soluble B vitamin. While folate is crucial for all (it helps the body make healthy new cells), it is particularly important for women of reproductive age. Adequate folate intake can prevent birth defects of the baby’s brain, making it an important nutrient for those planning to conceive and during pregnancy.

Lentils provide a nice dose of plant-based iron too. 

There are two types of iron – heme and non-heme – with heme iron being found in meat, poultry and fish, and non-heme iron being found in plant foods (whole grains, legumes, nuts, seeds and leafy greens). Non-heme iron is less readily absorbed in the gut, but pairing it with foods high in Vitamin C has been shown to increase absorption.

In my lentil recipe, we’ll be using lemon juice, tomato paste and kale as sources of Vitamin C, but some other foods high in Vitamin C include: bell peppers, strawberries, oranges and broccoli. 

Lentils contain a good amount of zinc.

Zinc levels have been shown to be low in some GI conditions, such as chronic diarrhea, inflammatory bowel disease and celiac disease. Boost your zinc intake with lentils, or other zinc rich foods such as oyster, pork, or pumpkin seeds. For more information on zinc click here!

Lentils contain magnesium too!

Did you know that most of us don’t get enough magnesium?

Magnesium is an important mineral that helps regulate blood pressure and blood glucose, among a plethora of other crucial bodily functions. Lentils are a good source of magnesium. Pumpkin seeds, almonds, spinach, peanuts and avocados are some other food sources of magnesium.

Now that we know lentils can fit into the low FODMAP diet, let’s get to the fun part – cooking! 

Lentils can be cooked in advance and kept in the fridge to be reused throughout the week, or you can opt to buy some of the canned varieties when on a low FODMAP diet. Whether you decide to sprinkle some over your salad or stir some into your soup, you’ll be adding a nutrient-dense ingredient to any dish.

Fried chicken thighs

Fried chicken thighs

My brother told me the other day that he gave into an urge and went to KFC. He said it was good, I still won’t go back I know it won’t hit the taste buds like my mind remembers. Once on our yearly trip to visit our sister in MN while looking for something to eat we found The coop restaurant if I remember correctly it was a small 2 or 3 tables on the corner restaurant that said they had the best fried chicken. We were very excited as was my sister. We got there went in and strolled up the the counter and ordered, the first thing they asked us was did you call the order in? Thought at was odd but they took our order and we sat down. Susan who was the most excited about the chicken ordered a burger. Soon our food came and a line started to form. We didn’t think anything of it but by the time we were done eating and heading out the line at the counter was out the front door and around the corner. We understood why it was great chicken, pressure cook then fried up juicy and delicious.

Anyway Lyn was fasting so I grabbed some boneless chicken thighs and the Air fryer.

I put flour in one bowl, beat an egg with some hot sauce in another, then gluten free panko bread crumbs in the last, you can make this all gluten free on not at all.

After dredging the chicken in flour

Coat with egg

Then into the breadcrumbs.

I had preheated the air fryer to 400 and before putting chicken in I did quick spray of oil placed the chicken in and then another quick spray.

Set the temp to 400 and 10 minutes.

Turned the chicken over 1/2 through and check with instant thermometer it was done 162 degree let sit the temp would rise to 165ish

I diced one piece an put in a salad as protein.

Some asked me why I have not been posting

A couple of reasons I’ve been very busy campaigning since I retired in January and I do cook a lot of duplicates and like to try out new recipes until I either perfect my way or like it. Like you I’ve tried things, that remind me of that commercial where they make a disgusting face as they taste.

But I’m back and my cooking of new things is starting up again. Next is authentic Chinese style Ravs / dumplings thanks to my new daughter Gail.

Other things I’ve been making

Other things I’ve been making

Fusilli and Meatball Puttanesca

Fusilli and Meatball Puttanesca

Lyn and I were looking for something for dinner and we came up with making Ravioli Puttanesca but use some of my meatballs chopped up and some Fusilli instead of raviolis. It’s the same basic recipe but I chopped up two meatballs and added some sundried tomatoes to the sliced cherry tomatoes.

I really like the results and will duplicate in future.

Recipe

Meatballs optional

Steve’s Meatballs

Steve’s Meatballs

What was a Sunday dinner at Rose’s without meatballs?  This is a dish that a pinch of and a handful of that really comes to play. A dish that my side of the family would kill for, a plate of pasta topped with some of Rose’s meatballs.  You really have to make these every week so you get it down. But then I would be 900 lbs. Quick easy but soooooo good.

This is my take of her recipe.

Ingredients

  • 2 lbs. of ground sirloin I used 93% lean
  • 3-4 eggs – 2 per lbs
  • About 1.5 handfuls of seasons bread crumbs and 1.5 handful of oat bran, each handful was about 1/4 cup
  • splash of milk maybe around 1/4 cup
  • Heaping tablespoon or dried parsley 
  • About 1/3 cup grated parmigiana Reggiano cheese
  • Heaping tablespoon of dried basil 
  • A couple of teaspoon of garlic powder
  • About a tablespoon of onion powder
  • 1 tsp. Salt and fresh ground pepper if you want a spicy meatball either use more pepper or add 1/4 teaspoon of red pepper flakes

How:

Preheat oven to 350◦

Line a backing sheet with high sides with tin foil and drizzle with then and spread olive oil

in large bowl mix  bread crumb and oat bran with milk let sit for 3-5 minutes

now mix all other ingredients together thoroughly. Using a medium ice cream scoop, scoop out and shape into 2” balls. (Approximately) and line the pan with meatballs leaving a little space between each.

Hint: I always have a small bowl with some olive oil in it to keep dipping my hand in it for when I form the meatballs

Convection Bake for about 15-30 minutes, checking after 20 minutes. The will be firm but not too firm. You can place sauce until ready to serve. if you want check with instant thermometer temp 138ish

Note: I think when going to serve that putting in sauce and let them simmer with the sauce make them come out very moist and as Lyn said melted in your mouth. 


Roast Semi Boneless Leg of Lamb

I had not made a leg of lamb in a long time it is a fatty meat, and my now older stomach lets me know when I have had a little too much fat. Mike and Gail were coming over for Xmas dinner wearing mask and all. Lyn and Gail both get tested for COVID at least once a month Mike and I figure if they do not have it then we are safe. So far, all checks have been negative. I have my basic recipe but always check others for any good ideas. I found one that broiled each side about 5 minutes before roasting, like the idea so what the heck I tried.  Not a bad idea, thanks Kitchn your recipe was very close to mine.

INGREDIENTS

1 (5 to 7 pound) bone-in leg of lamb (whole food had semi boneless)

3 tablespoons olive oil

Kosher salt

Freshly ground black pepper

6 cloves garlic, thinly sliced.

Leaves from 3 fresh rosemary sprigs, coarsely chopped (about 1 tablespoon)

1 Lemon sliced (I draped over the lamb while roasting ) also rubbed the lamb with lemon juice after putting slices of garlic in

What you need

Roasting pan with rack

Aluminum foil

Sharp chef’s knife or carving knife, for carving

Instant-read thermometer

How

Take the leg of lamb out of the refrigerator about an hour before cooking so it comes closer to room temperature. This promotes faster, more even cooking.

Slice garlic thinly and using a paring knife make slits and insert garlic slices all over the lamb. Mince any left over

Rub the lamb with lemon juice .

Set the lamb in a rack inside a roasting pan. Drizzle with the olive oil and rub all over into the fat and meat. Season generously all over with salt and pepper. Position the lamb so that it is fat-side down.

Broil for 5 minutes. Arrange an oven rack so that the top of the lamb is a few inches from the broiler element. Heat the broiler. Broil until the surface of the lamb looks seared and browned, about 5 minutes.

Flip the lamb over and broil the other side. Flip the leg over and put back under the broiler until the other side is seared, about 5 minutes more.

Take the lamb out of the oven. Top with minced garlic, rosemary, and lemon slices. Turn off the broiler and set the oven temperature to 325°F. Reposition the oven rack to the middle of the oven. Rub the top of the lamb with the garlic and rosemary then top with lemon slices.

Cover the lamb loosely with foil and roast 40-1 hour. (Mine took 45 minutes see below for instant Thermometer temp guides) Tent the pan loosely with aluminum foil to keep the garlic and rosemary from burning.

Uncover and take the temperature. Uncover the lamb. Take its temperature with an instant-read thermometer in the thickest part not touching bone. The lamb is ready when the temperature is 135°F or above. At 135°F the lamb is cooked to rare, but it will continue cooking as it rests, so we recommend taking it out of the oven at 135°F for medium-rare to medium. (Refer to the cooking chart above for general roasting times.)

If the lamb is not ready, continue cooking uncovered until it reaches your desired internal temperature, checking the temperature every 20 minutes.

Figure out where to carve. Let the lamb rest for at least 15 minutes before carving. Transfer the lamb to a clean cutting board. The bone runs through the meat at an angle, giving you two fairly big pieces of meat on either side of the bone. Start with the side of meat that feels most accessible to you.

Cut the meat into slices across the grain. Make straight, parallel cuts straight down through the thickest part of the meat until you hit the bone. You should be cutting perpendicular to the bone, across the grain of the meat. The slices will still be attached where they meet the bone.

Cut the slices off the bone. Turn your knife so that it’s now parallel to the bone instead of perpendicular. Starting at the end of the bone furthest from you, cut through the slices where they attach to the bone. Keep your knife close to the bone as possible. I got to chew the bone after dinner, chef’s treat.

Transfer the slices to a serving platter. Place the slices on a serving platter. Tent the platter with foil to keep the meat warm.

Recommend serving the lamb with mint jelly. I roasted some potatoes, carrots and Daikon radish (*that is another story) and a side salad.

*The other story I used misfits Market and choose a Daikon radish which I had not knowingly had before. It was huge about 1 foot and a half long. I gave half to Mike and Gail.

Gail and I had been working on a Legos project which we usually do when we go to their apartment.