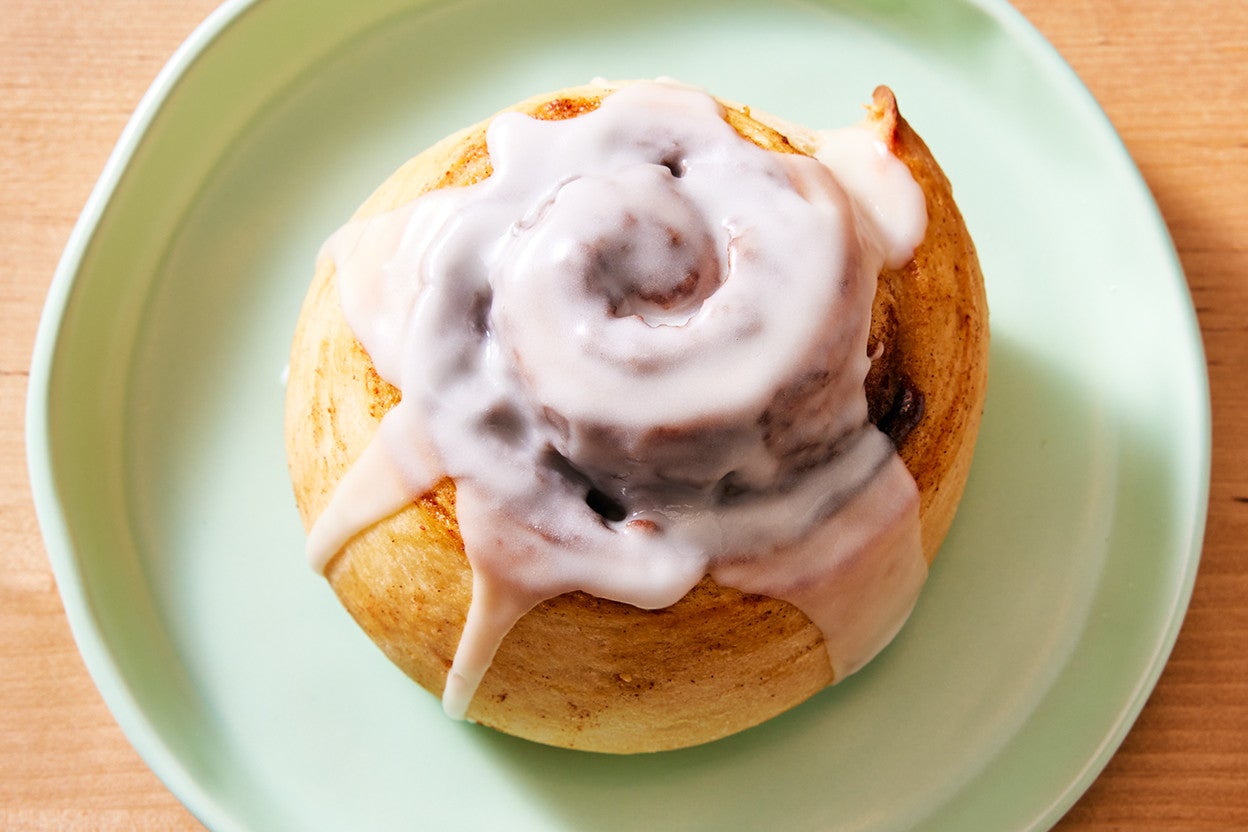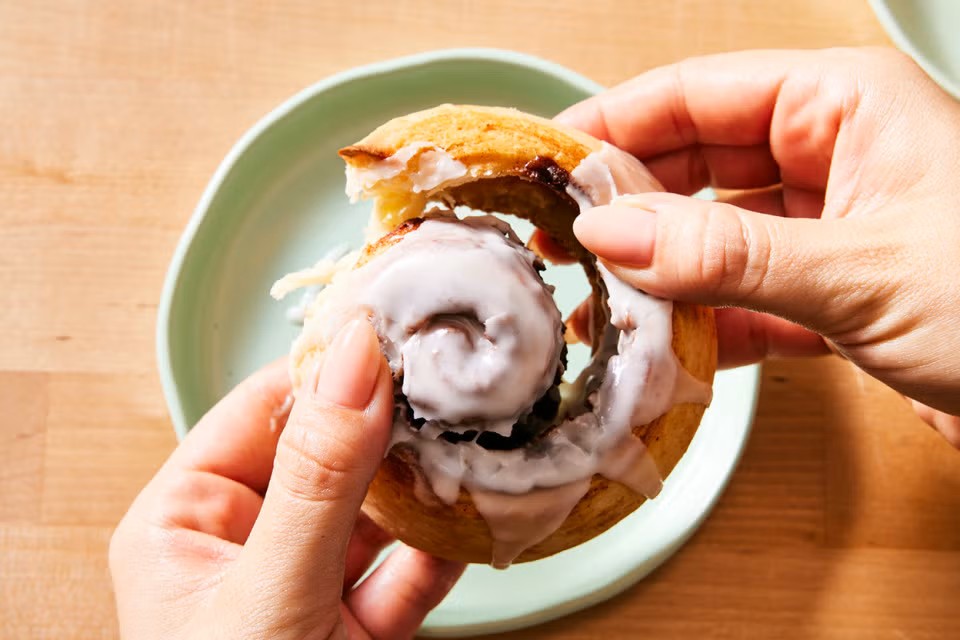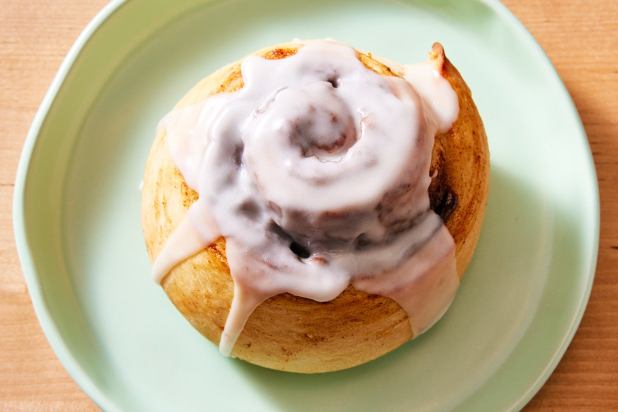
Soft, tender, and brimming with cinnamon flavor, these small-batch cinnamon rolls are ideal for small households. With a yield of just two cinnamon rolls, there’s lots of flexibility to use whatever pan you have: a quarter-sized baking sheet, a loaf pan, a round cake pan, or a square pan. These cinnamon rolls also fit perfectly in a countertop oven, providing another easy way to bake no matter the size of your kitchen.
Hands-on 20 mins
Bake 15 to 18 mins
Total Time 2 hrs 30 mins
Yield 2 cinnamon rolls
Ingredients
Dough
- 1 cup (120g) King Arthur Unbleached All-Purpose Flour
- 1 tablespoon granulated sugar
- 1 teaspoon instant yeast
- 1/2 teaspoon table salt
- 1/3 cup (76g) milk, warm
- 2 tablespoons (28g) unsalted butter, at room temperature
- 1/2 teaspoon King Arthur Pure Vanilla Extract
Filling
- 3 tablespoons (40g) light brown sugar or dark brown sugar, packed
- 2 teaspoons King Arthur Unbleached All-Purpose Flour
- 1/2 to 3/4 teaspoon ground cinnamon*
- pinch of table salt
- 1 to 2 tablespoons (14g to 28g) milk
*Use the lesser amount for stronger cinnamons, like Vietnamese (Saigon); the larger amount for milder cinnamons, like Indonesian/Ceylon.
Icing
- 1/2 cup (57g) confectioners’ sugar, sifted if lumpy
- 2 to 3 teaspoons milk
Instructions
- To make the dough: For best results, weigh your ingredients; in small-batch recipes, it’s important that ingredient quantities are precise. However, if you prefer to work with volume measurements, please be sure to measure your flour the King Arthur way: gently spoon the flour into a cup, then sweep off any excess.
- In a small bowl, mix together all of the dough ingredients then transfer it to a floured surface and knead by hand to form a smooth, soft dough.
- Shape the dough into a ball, place it in a bowl, cover, and let it rise until puffy but not necessarily doubled in bulk, 45 to 60 minutes (depending on the warmth of your kitchen).
- To make the filling: While the dough is rising, use a fork to whisk together the brown sugar, flour, cinnamon, and salt. Set aside.
- Prepare the pan of your choice: Line a quarter- or half-sheet pan with parchment, or lightly grease a loaf pan, 8″ or 9″ square pan, or round pan.
- To assemble the small-batch cinnamon rolls: Transfer the dough to a lightly floured work surface and press it into a 4″ x 10″ rectangle.
- Brush the surface of the dough generously with milk and then sprinkle the filling on top, covering all but a 1/2″ strip along one short side. Press the filling gently to adhere.
- Cut the dough in half lengthwise using a bench knife. You will now have two rectangles, approximately 2″ x 10″.
- Starting with the filling-covered short end, roll one piece of dough into a log. To prevent the cinnamon roll from unraveling while it rises and bakes, tuck the end of the spiral underneath the bottom so that it’s held in place. Stand the log up, exposing the swirl, and press down to create a shorter cinnamon roll. Transfer it to the prepared pan and repeat with the remaining piece of dough.
- Cover the pan and let the rolls rise for 45 to 60 minutes. The dough will be puffy and shouldn’t bounce back immediately when gently pressed. While the small-batch cinnamon rolls are rising, preheat the oven to 375°F.
- Bake the rolls for 15 to 18 minutes, until a digital thermometer inserted into the center of one roll reads 190°F. Rolls baked on a baking sheet will be golden brown in color, while rolls baked in a pan with higher sides will remain pale. Allow the small-batch cinnamon rolls to cool while you make the icing.
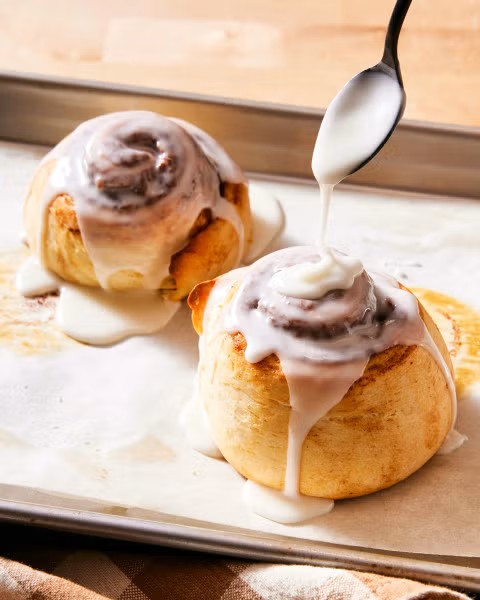
- To make the icing: In a small bowl, combine the confectioners’ sugar and milk until you reach your desired consistency.
- Spread the icing evenly over the cinnamon rolls. Serve warm or at room temperature.
- Storage information: Store any leftovers, covered, at room temperature for several days.
Tips from our Bakers
- Want fresh-baked, oven-warm buns in the morning? Prepare the buns up until the rise in the pan (through step 9). Cover the pan and refrigerate overnight. Next day, allow the buns to rest at room temperature for 15 minutes before uncovering and baking; you may need to increase the baking time by a few minutes.