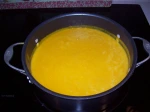
Finally the price has come down to 99 cents per lbs. and that is my signal to start making some of my favorite fall delights. I even saw it for 79 cents at Market Basket the other day. Anyway I made some Butternut and Apple Soup which takes a little effort but well worth it. This is one of those soups you take a taste and you say mmmm at least we did.
Also made some Black Bean and Butternut Squash Burritos which are great to freeze for a quick veggie meal

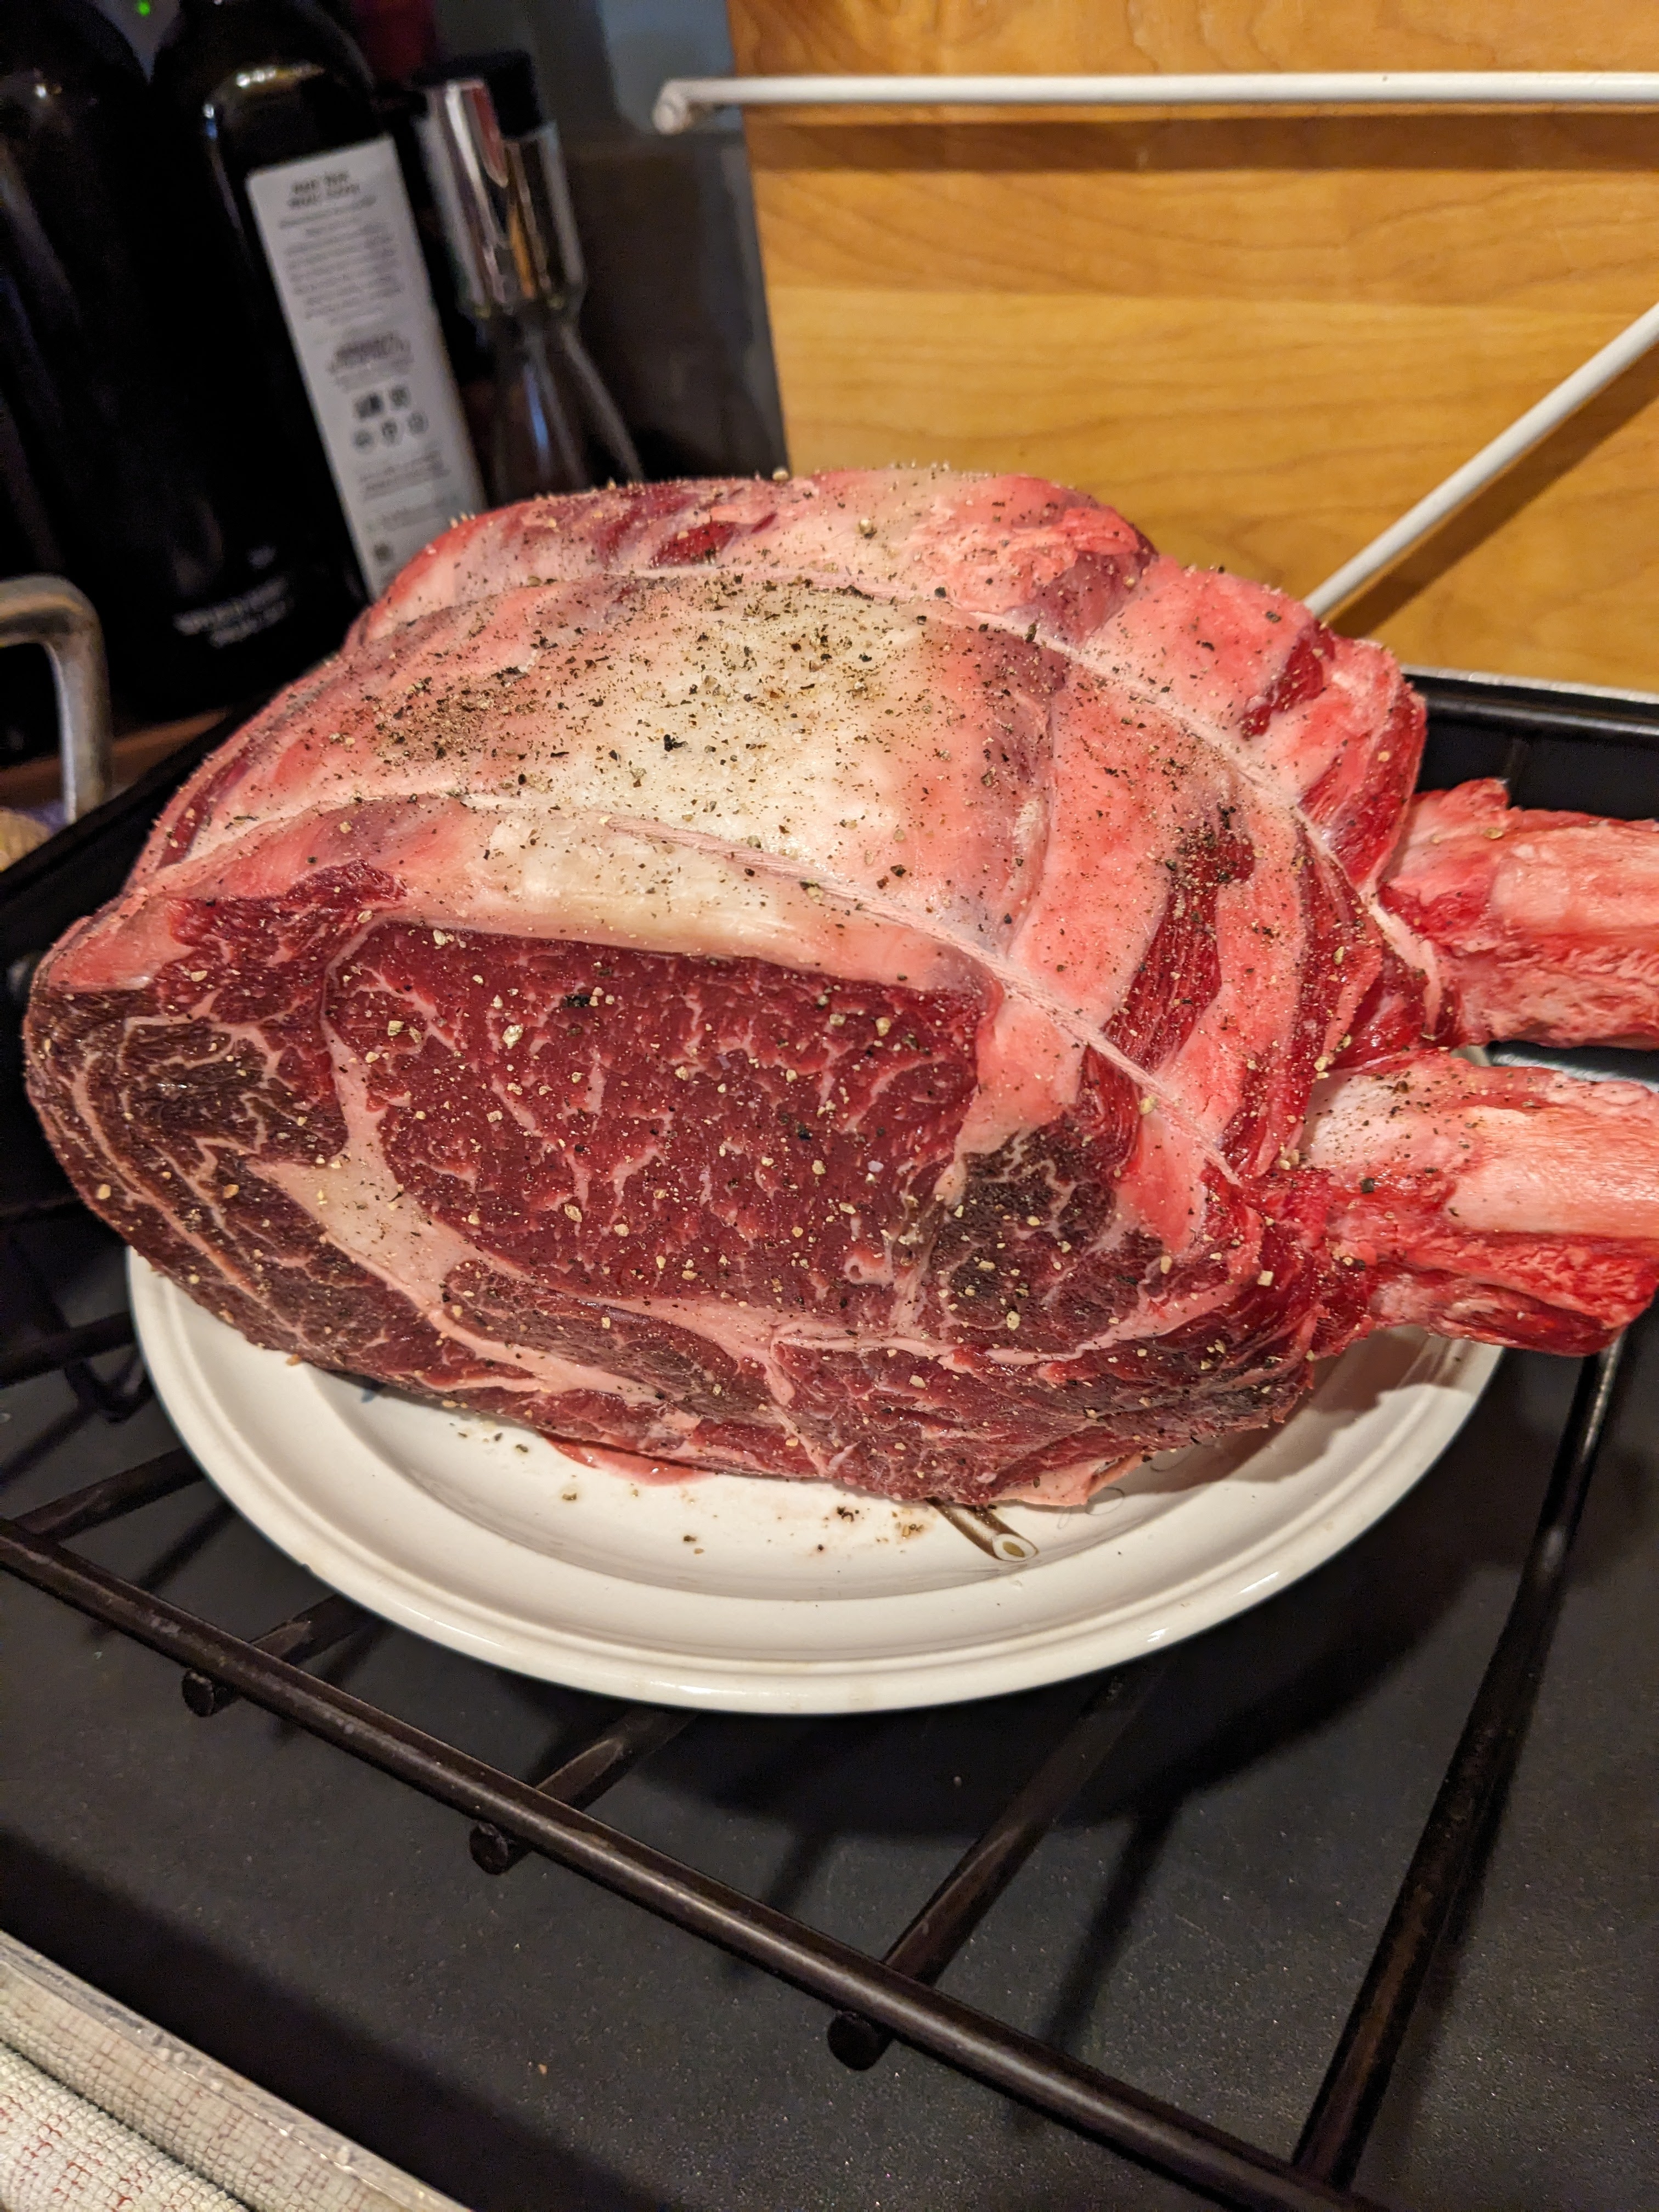
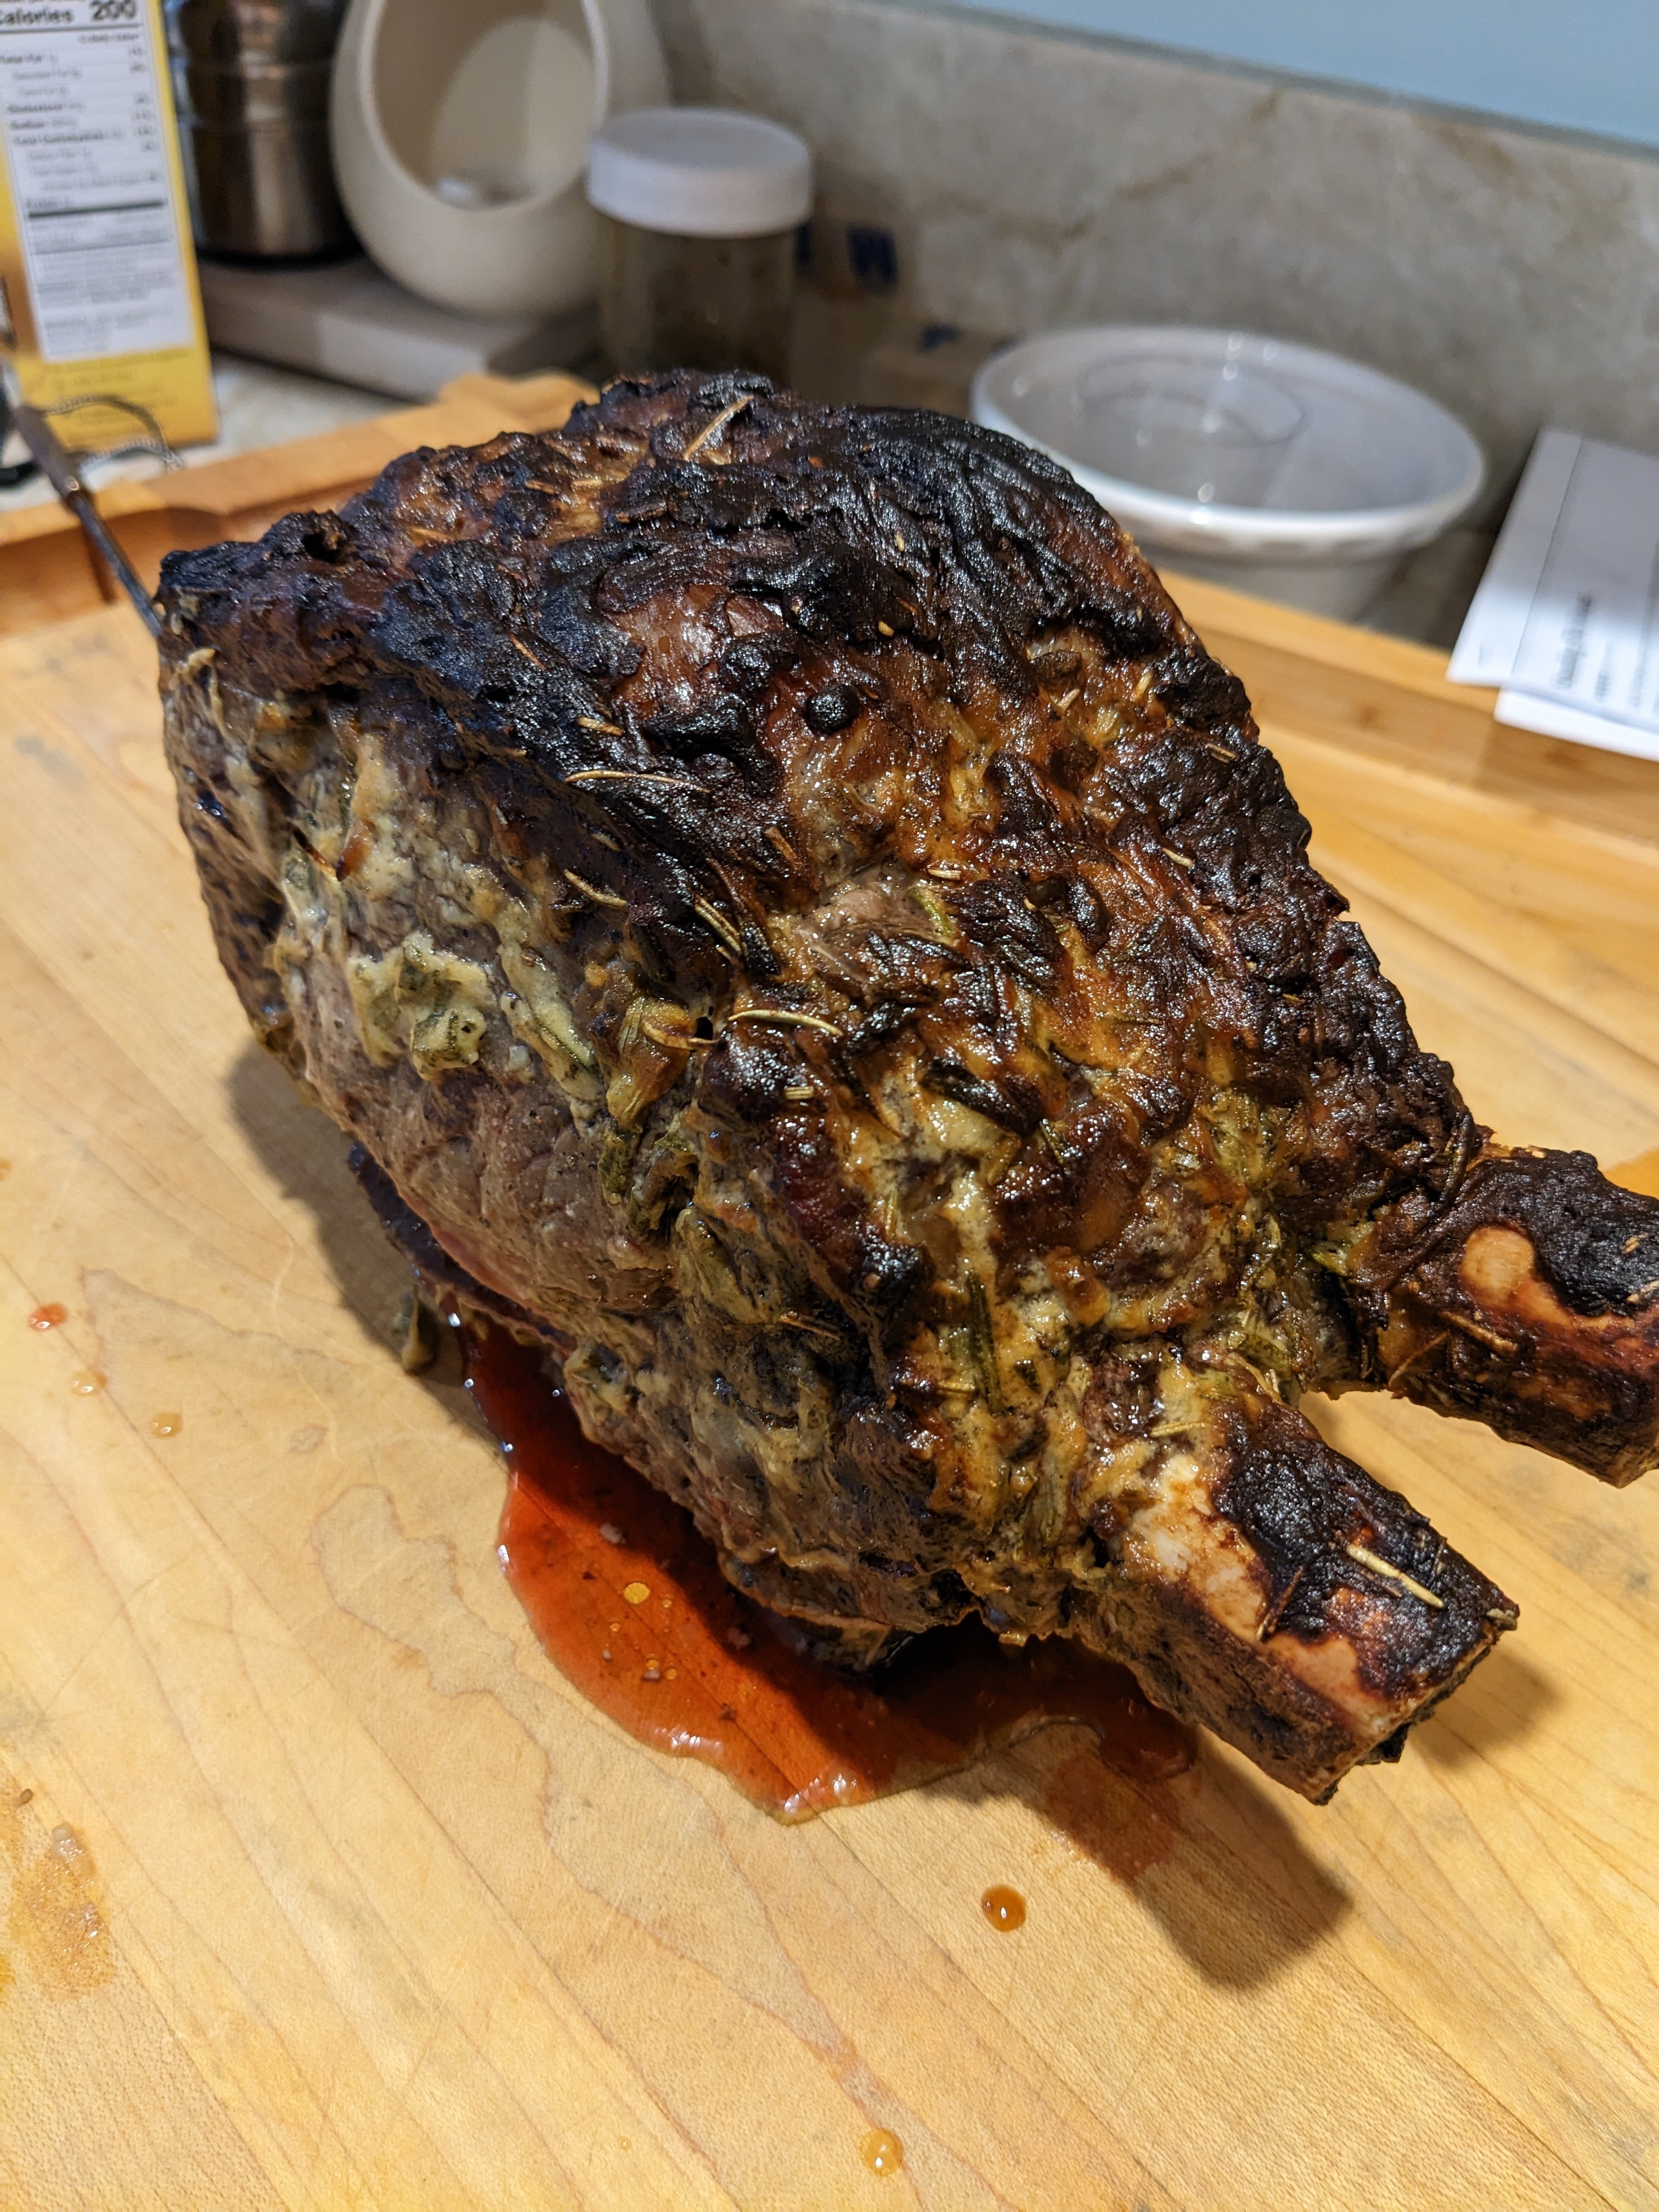
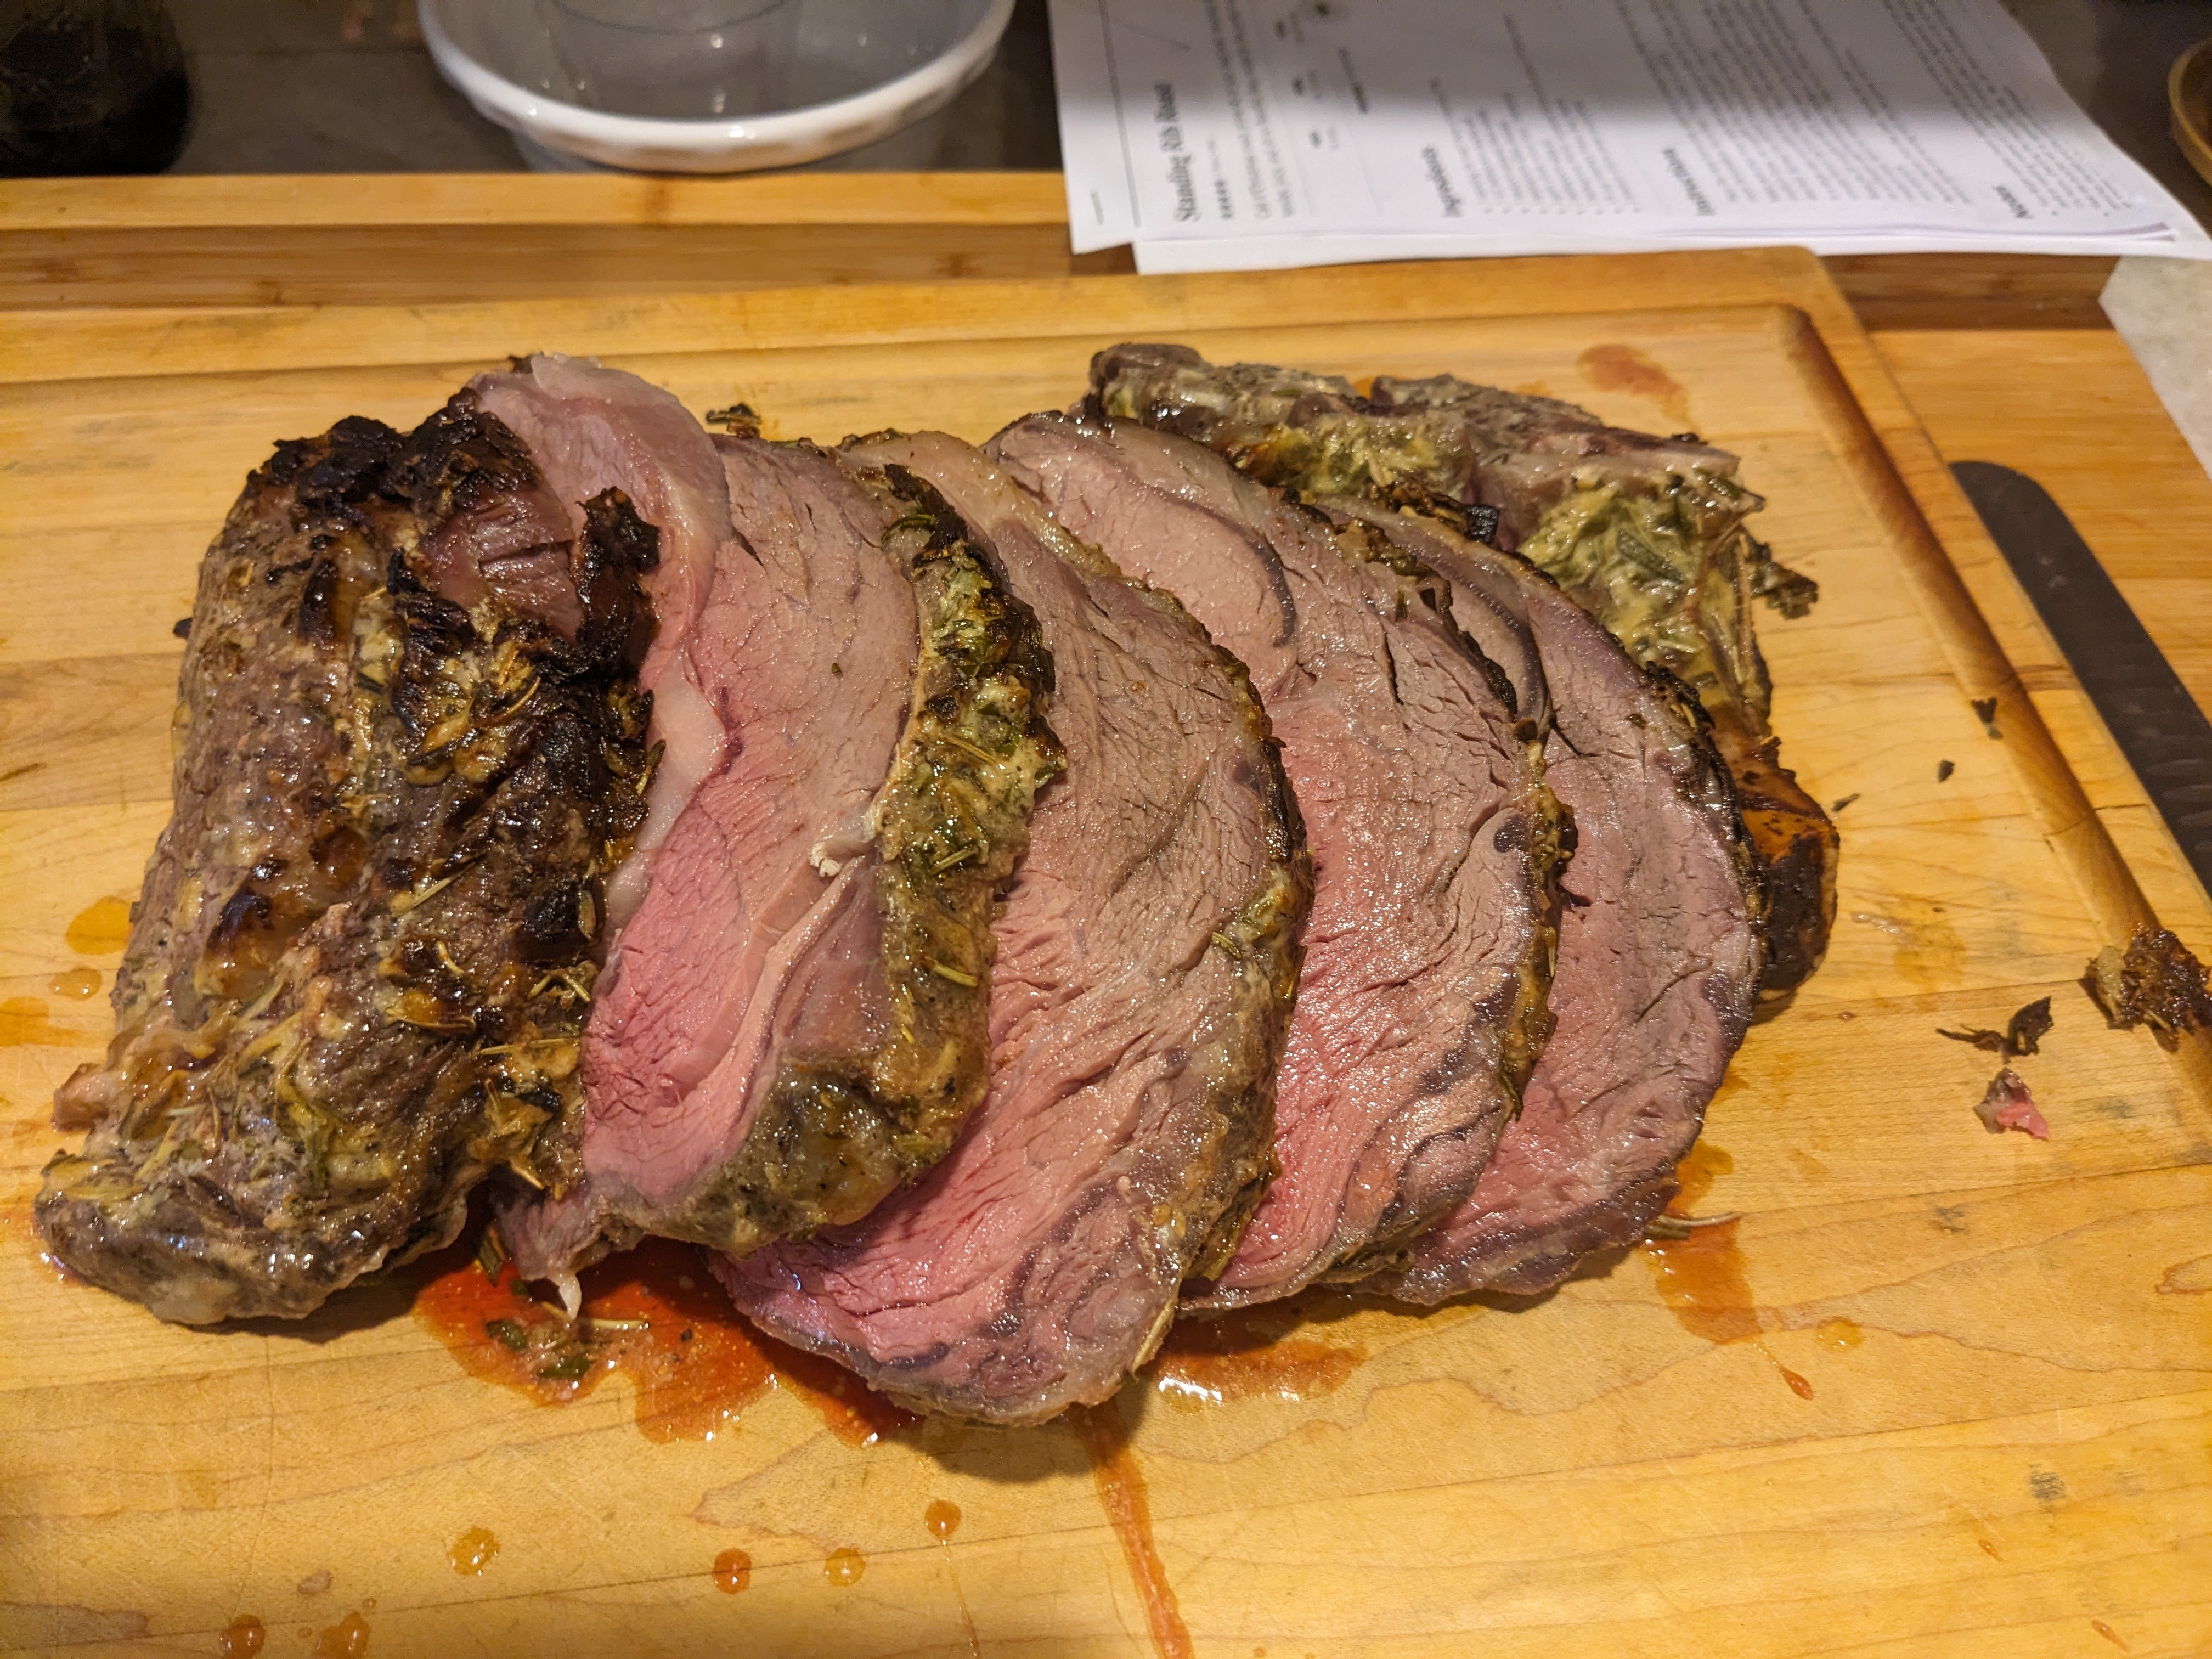
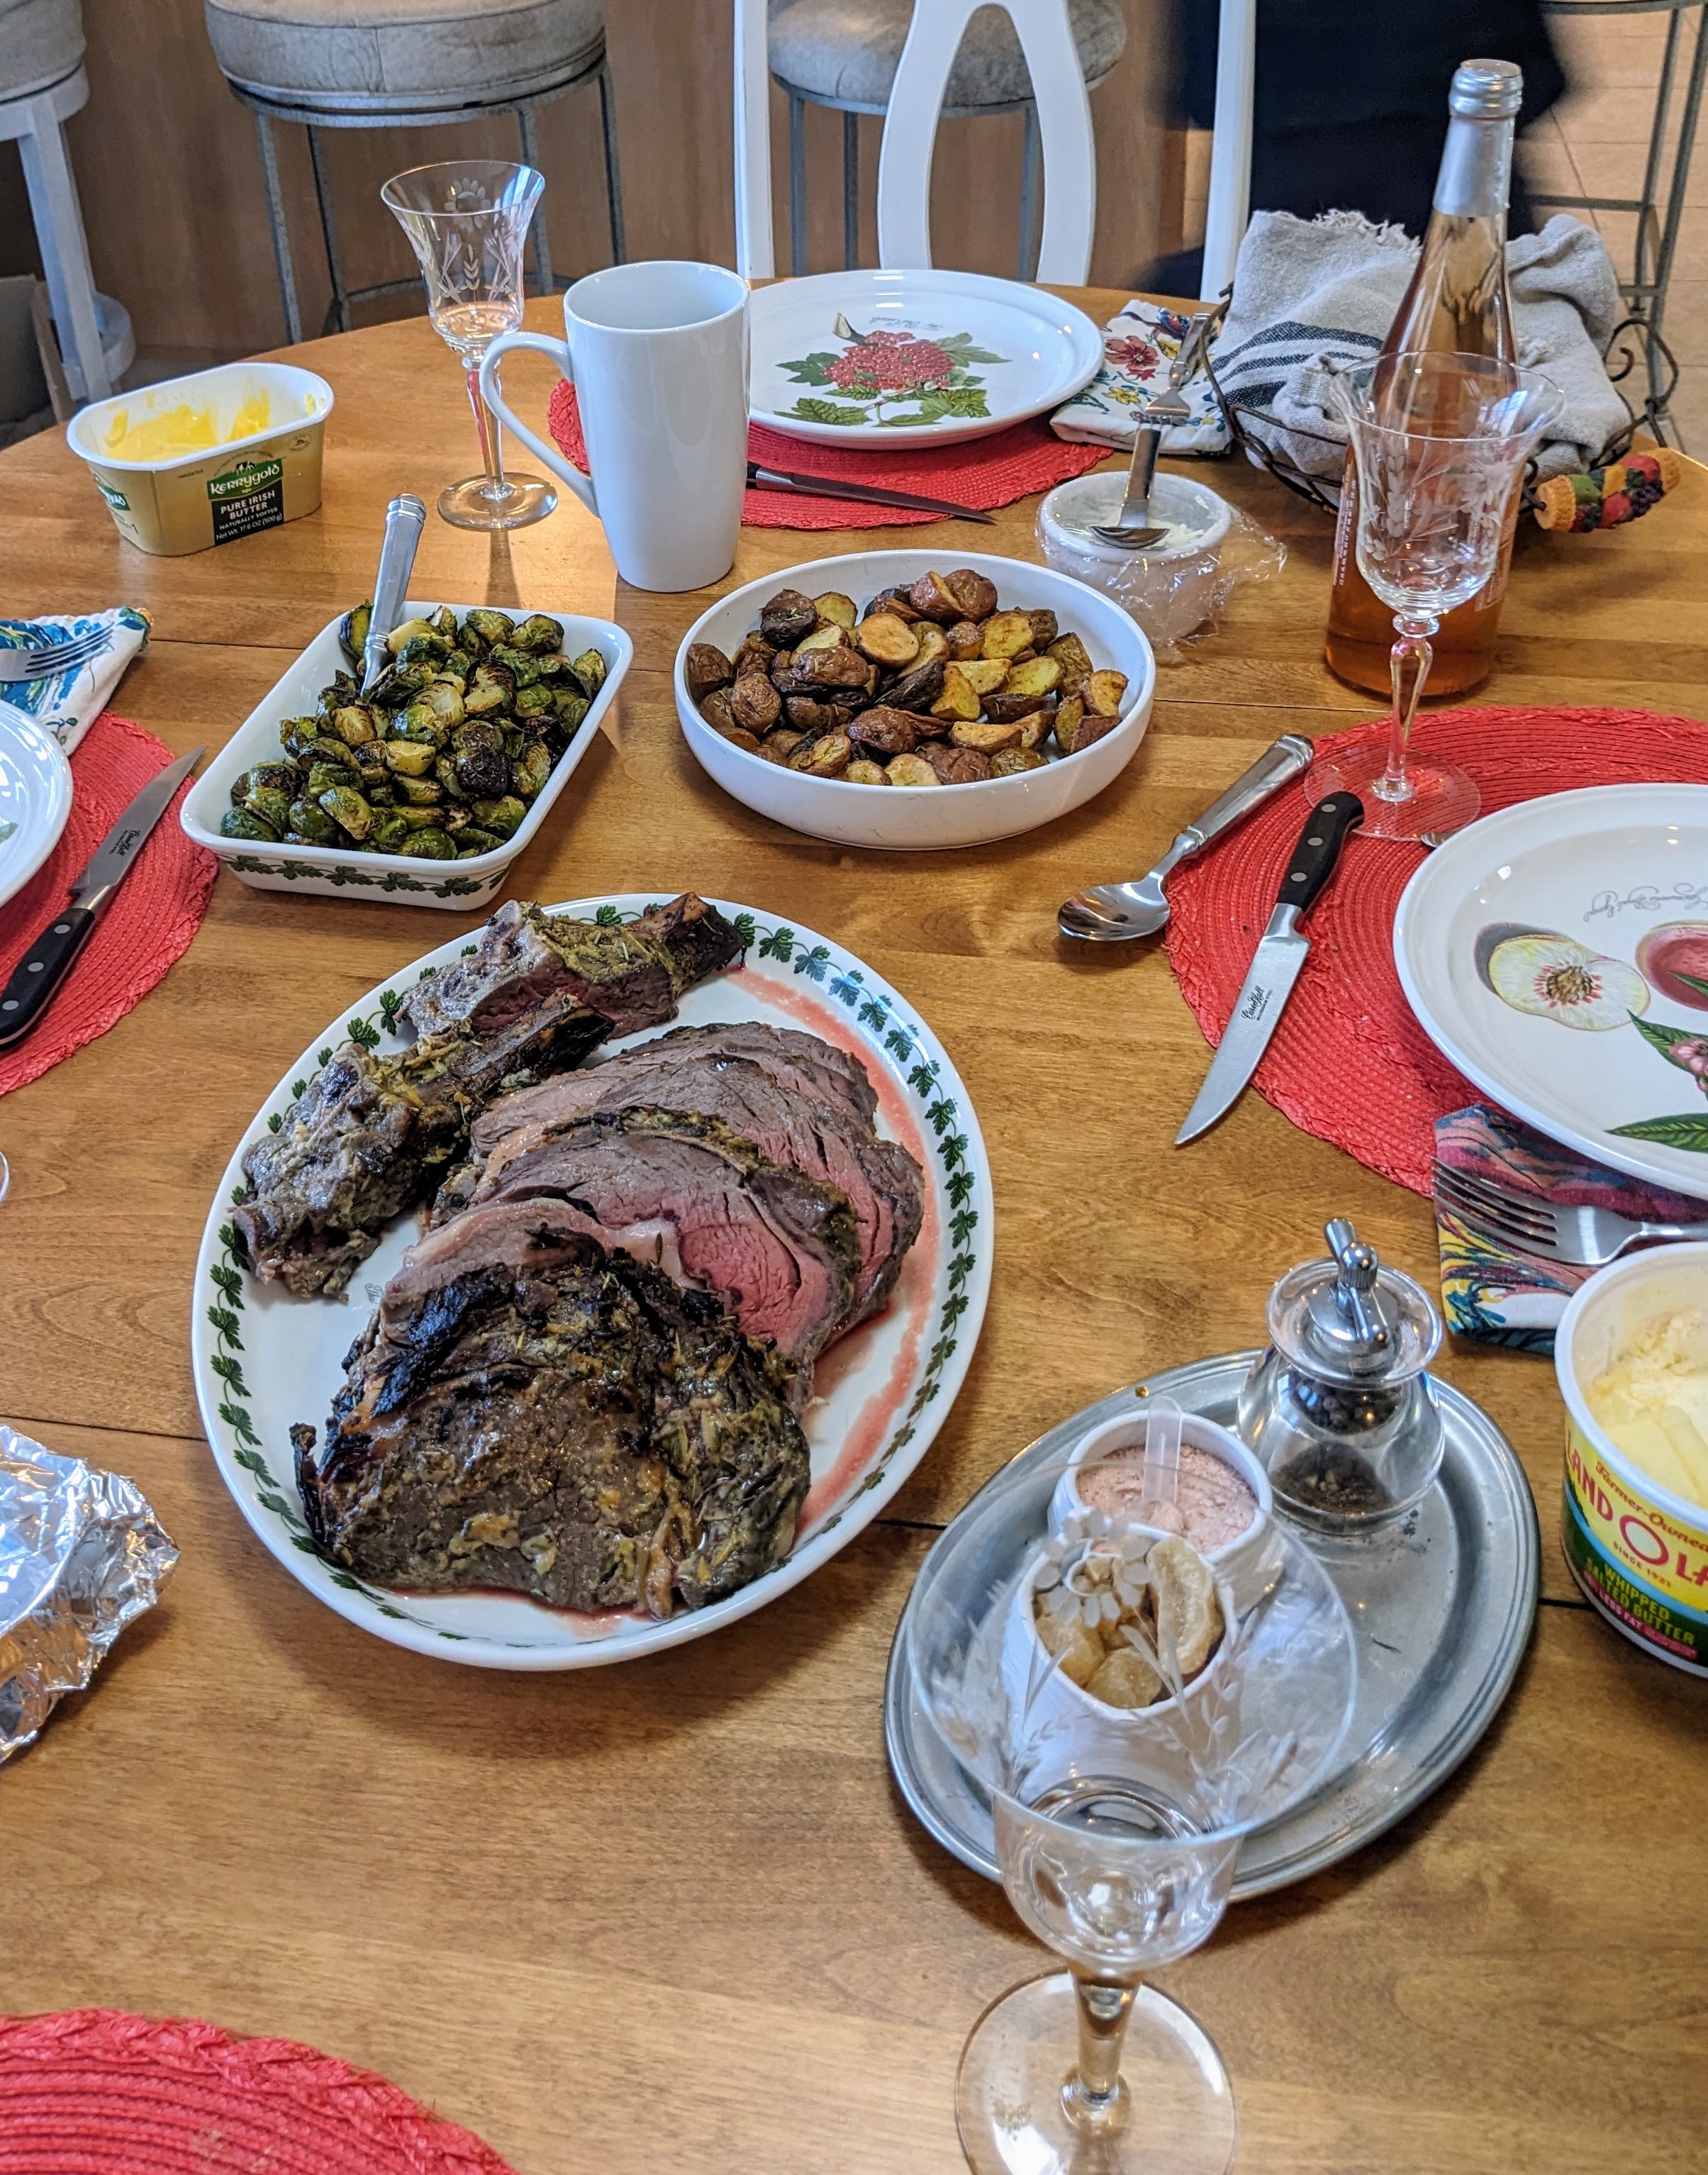
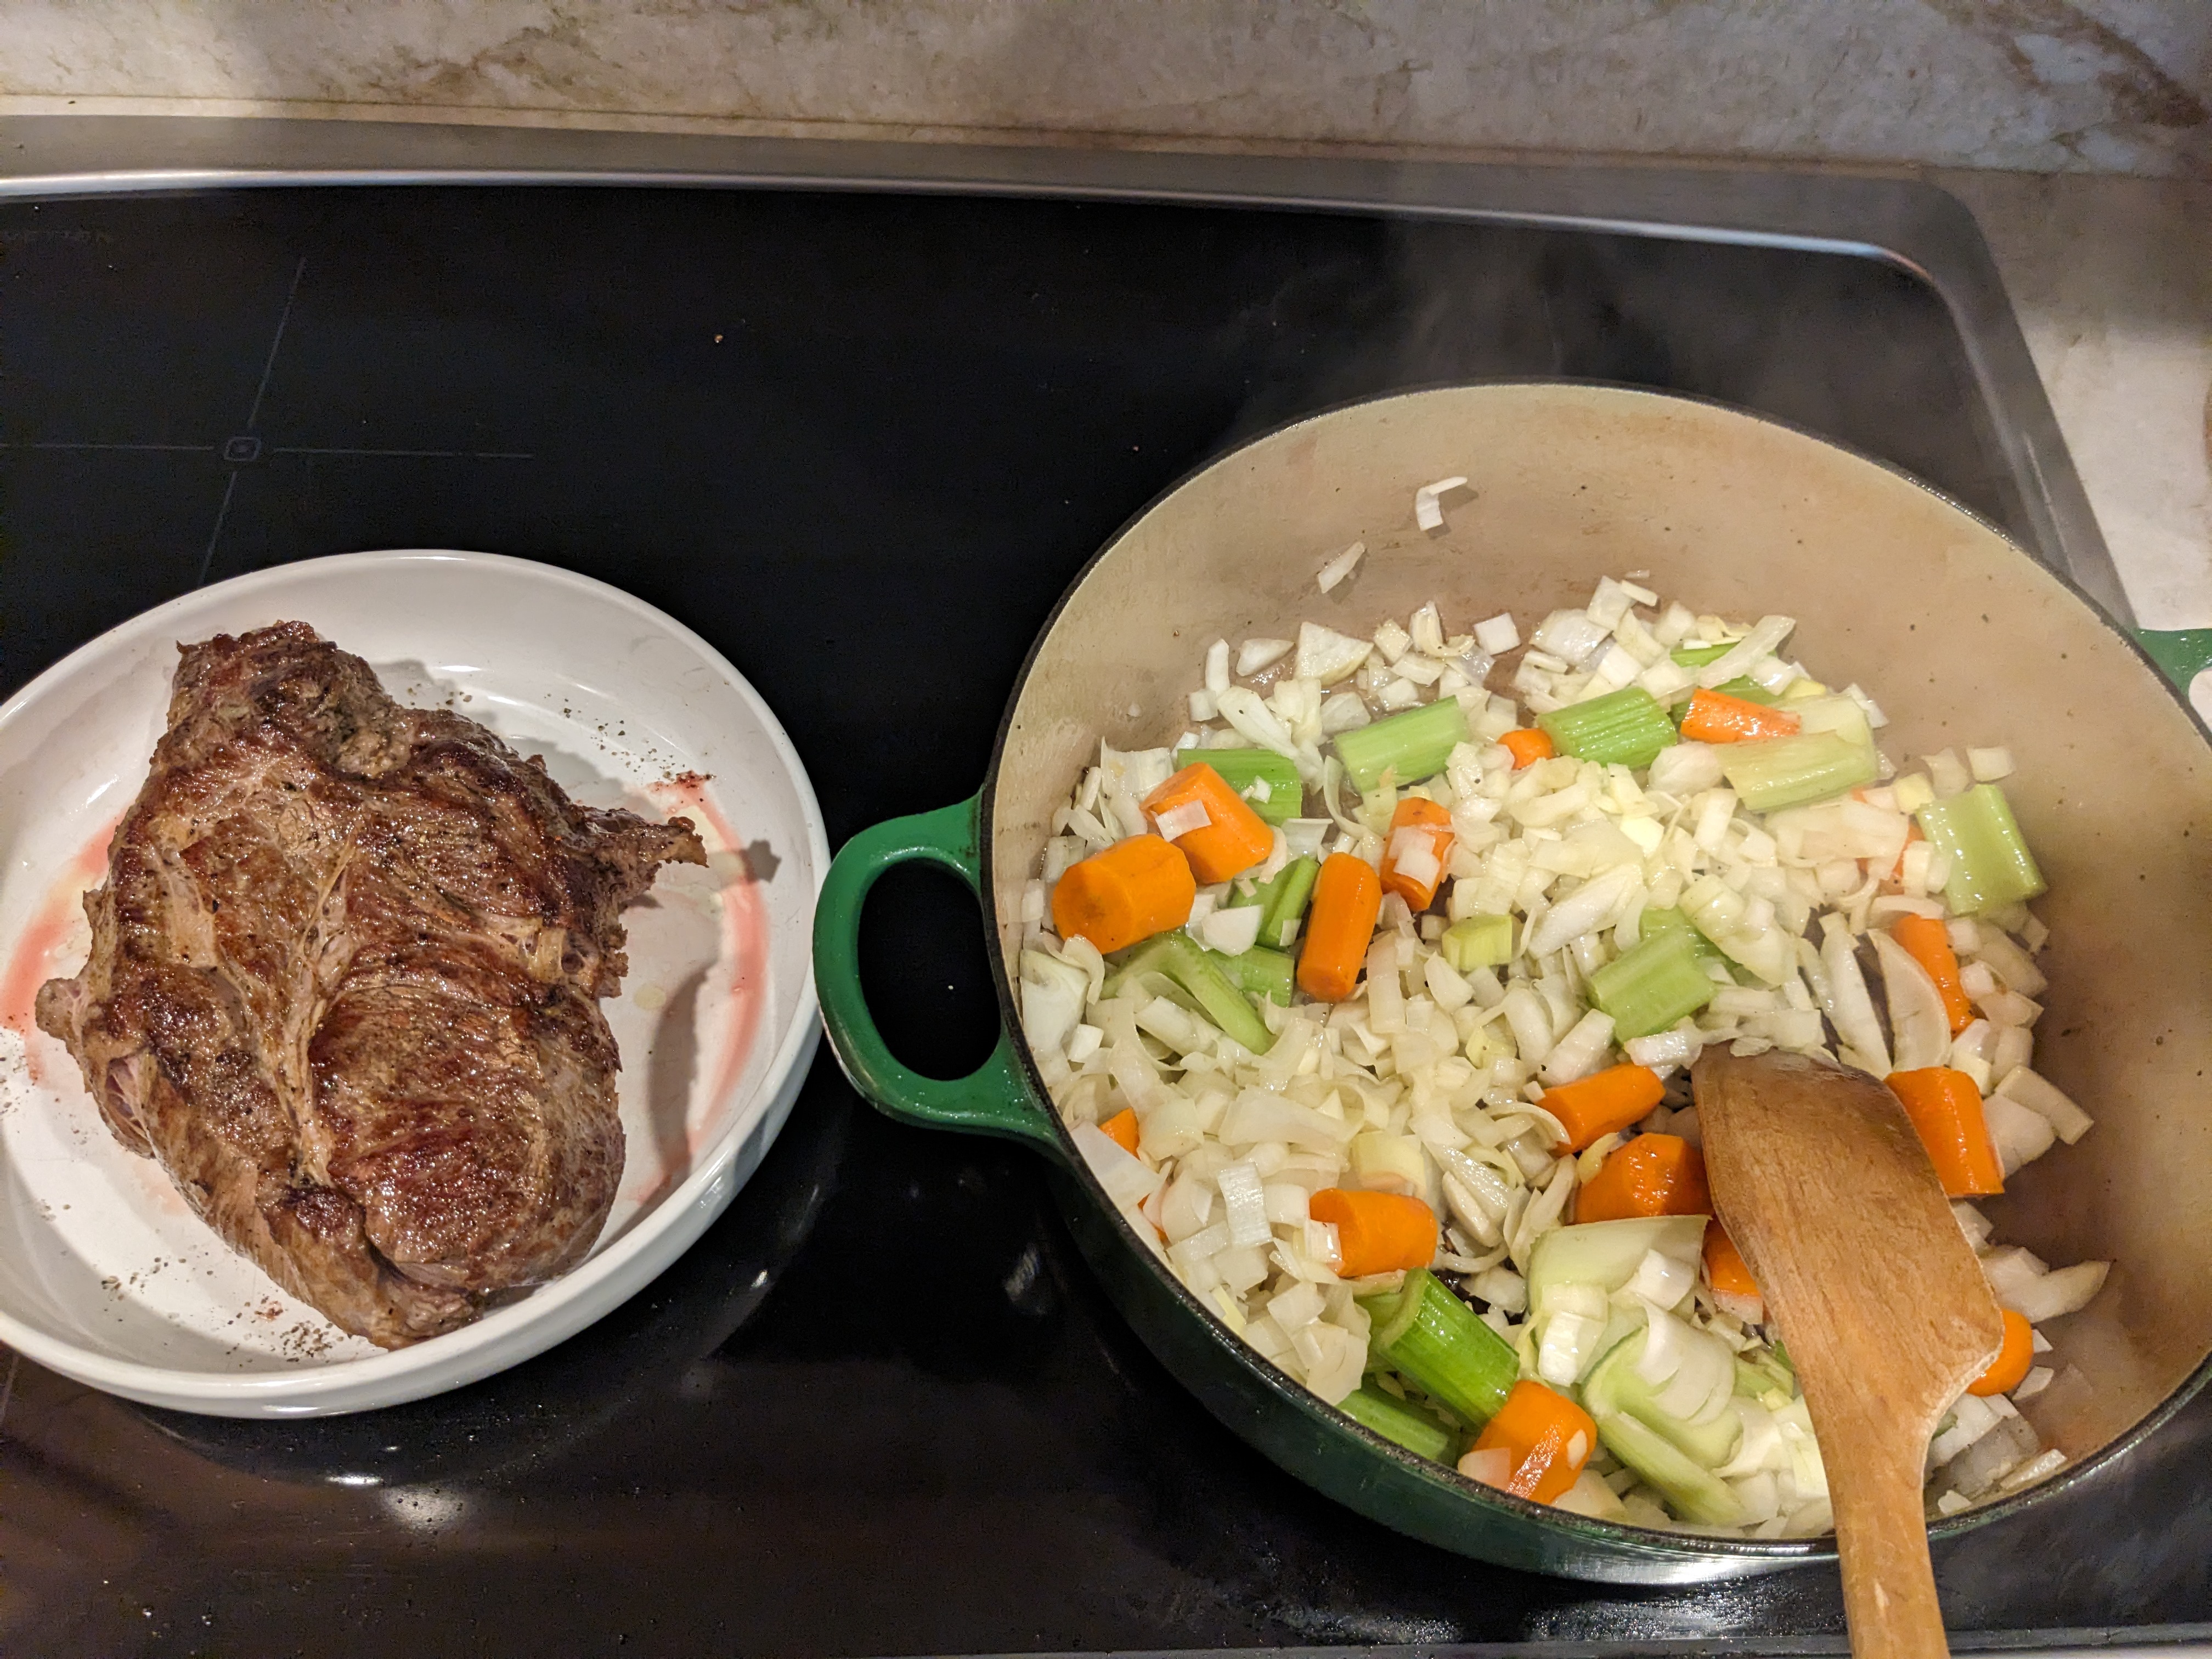
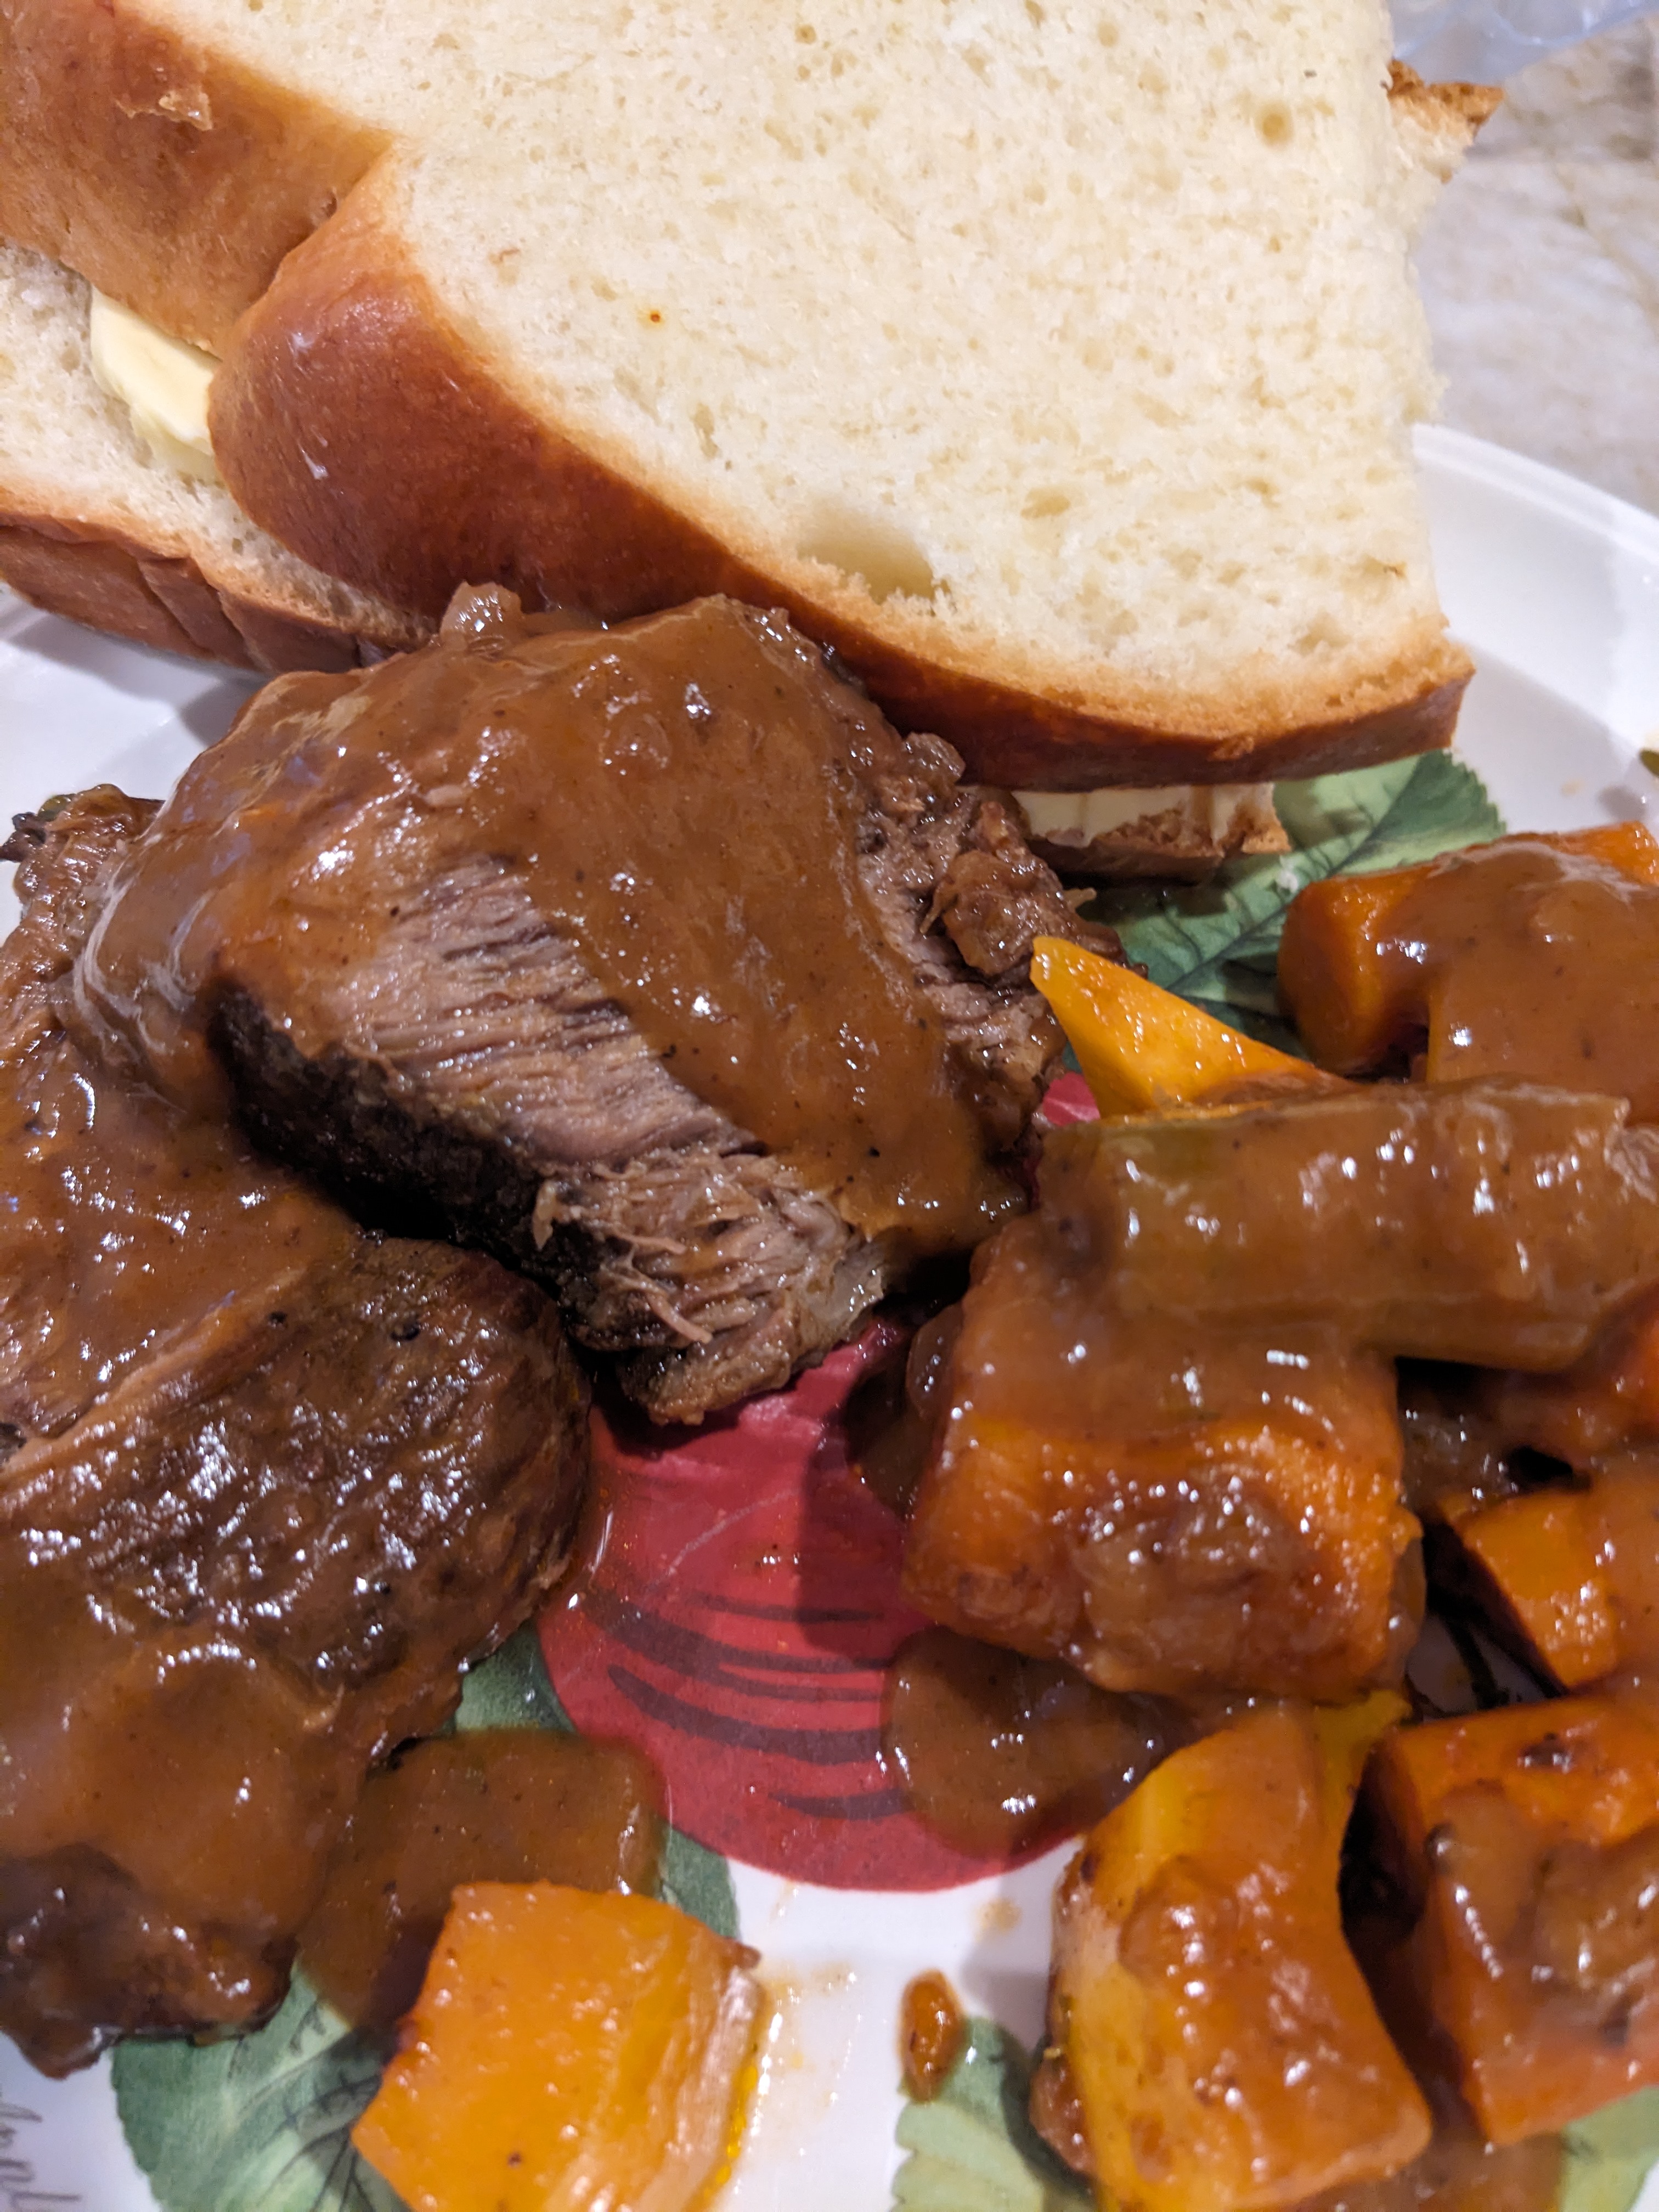
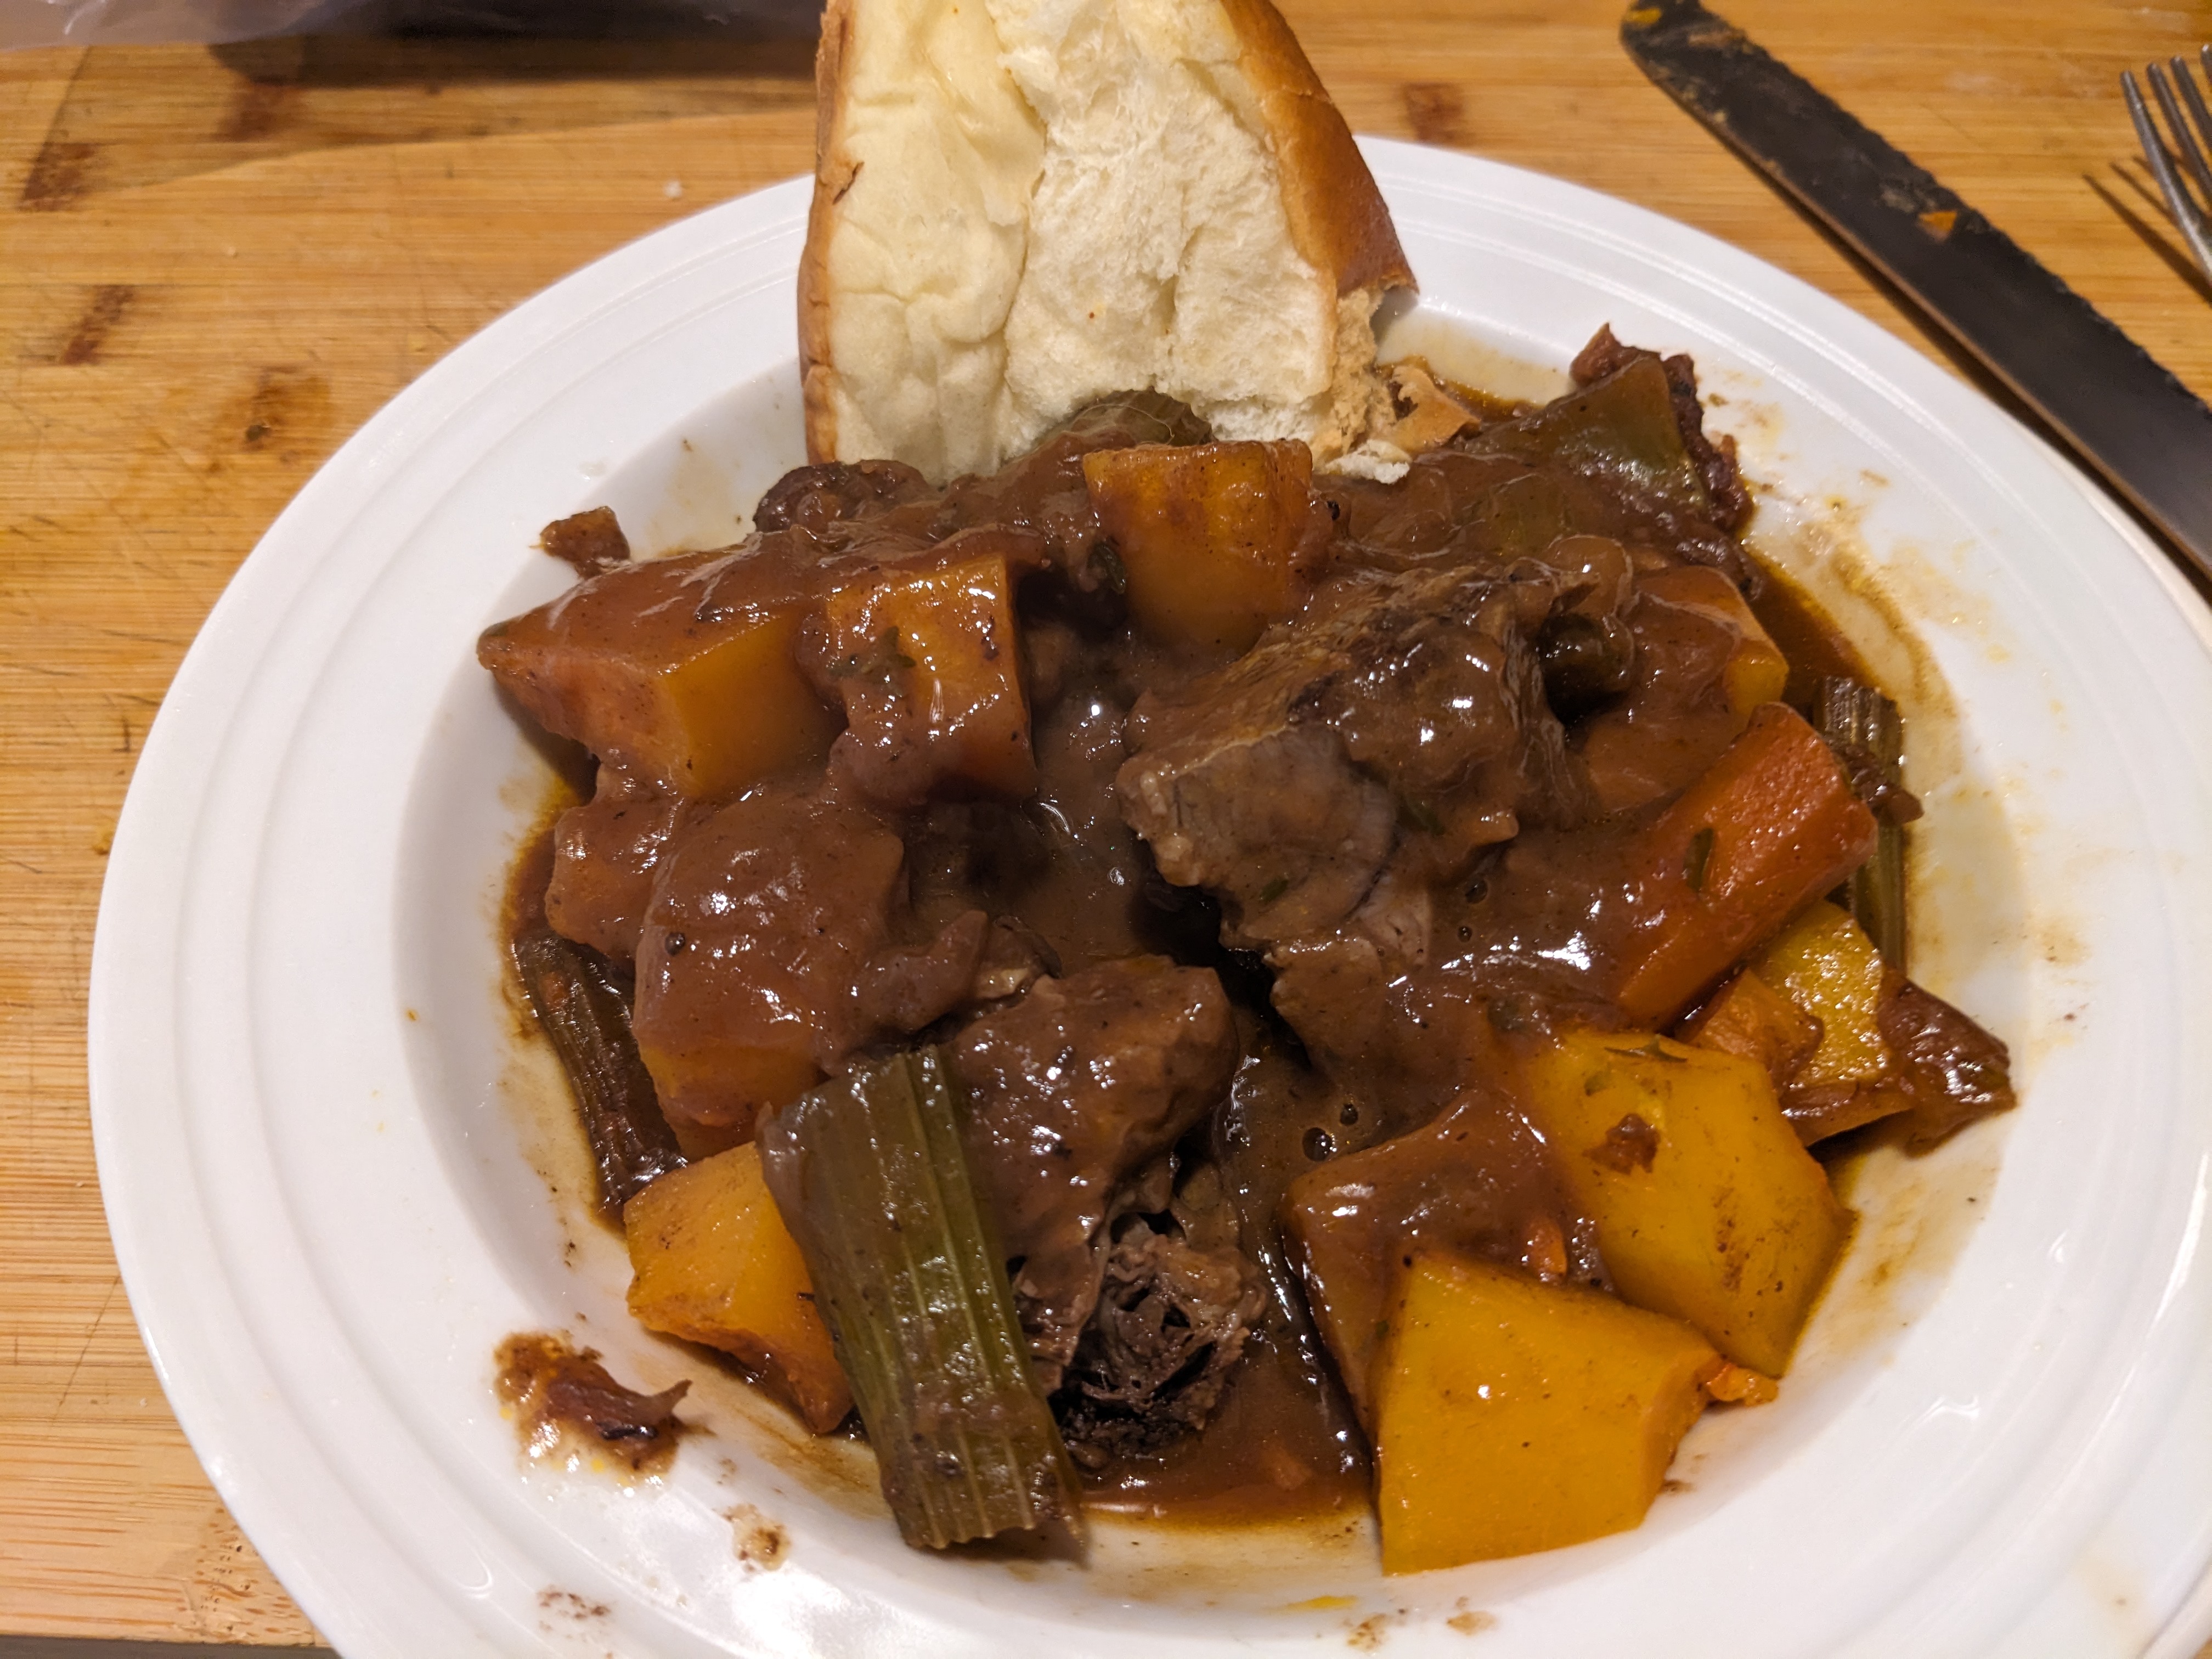
I had ordered a chuck roast from butcher box wo make something Lyn had found but it called for to many recipes so I just made a delicious pot roast. here is is.
Slight adaption of Art Smith’s recipe Simple Sunday Dinner
Ingredients
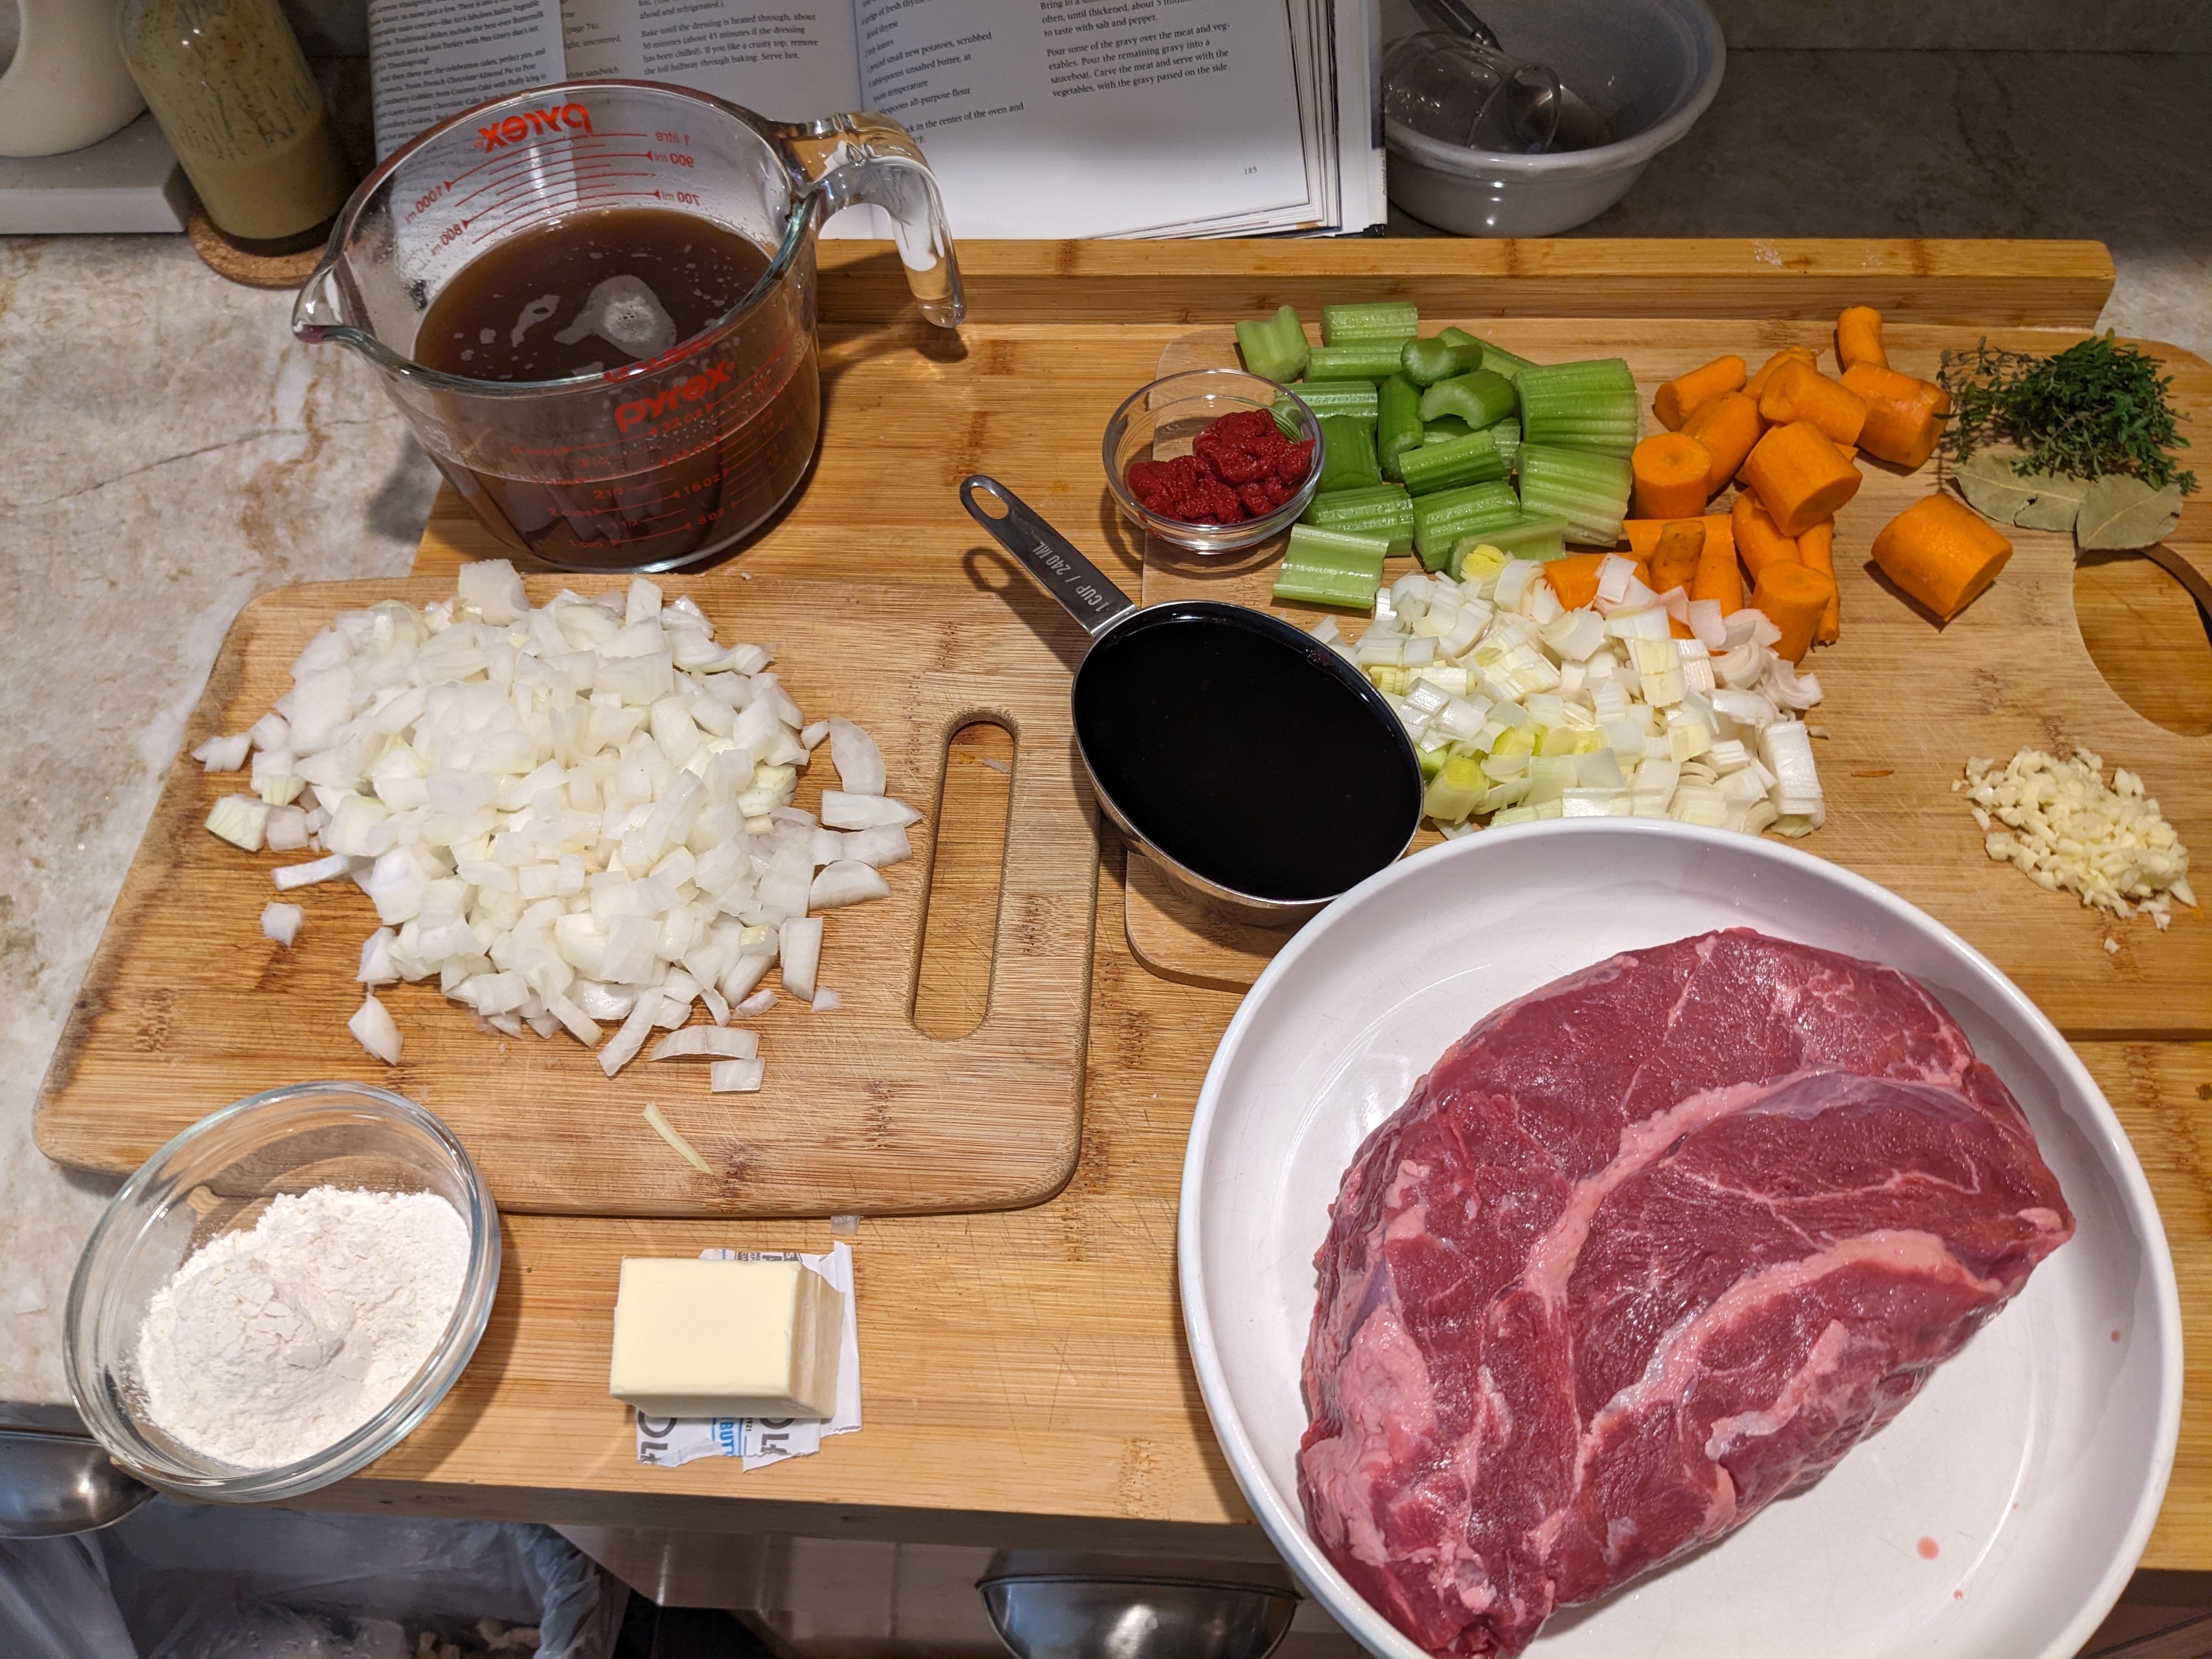
4 TBS olive oil
3-4 pound boneless beef pot roast (salt and pepper for seasoning meat)
1 large onion, coarsely chopped
1 large leek, white part only, coarsely chopped
3 medium carrots, cut in 1 inch pieces
3 celery ribs, cut into 1 inch pieces
2 cloves garlic, minced
1 cup hearty dry red wine
2 TBS tomato paste
3 cups beef broth
4 sprigs fresh thyme or ½ tsp dried
2 bay leaves
3 TBS unsalted butter
3 TBS flour
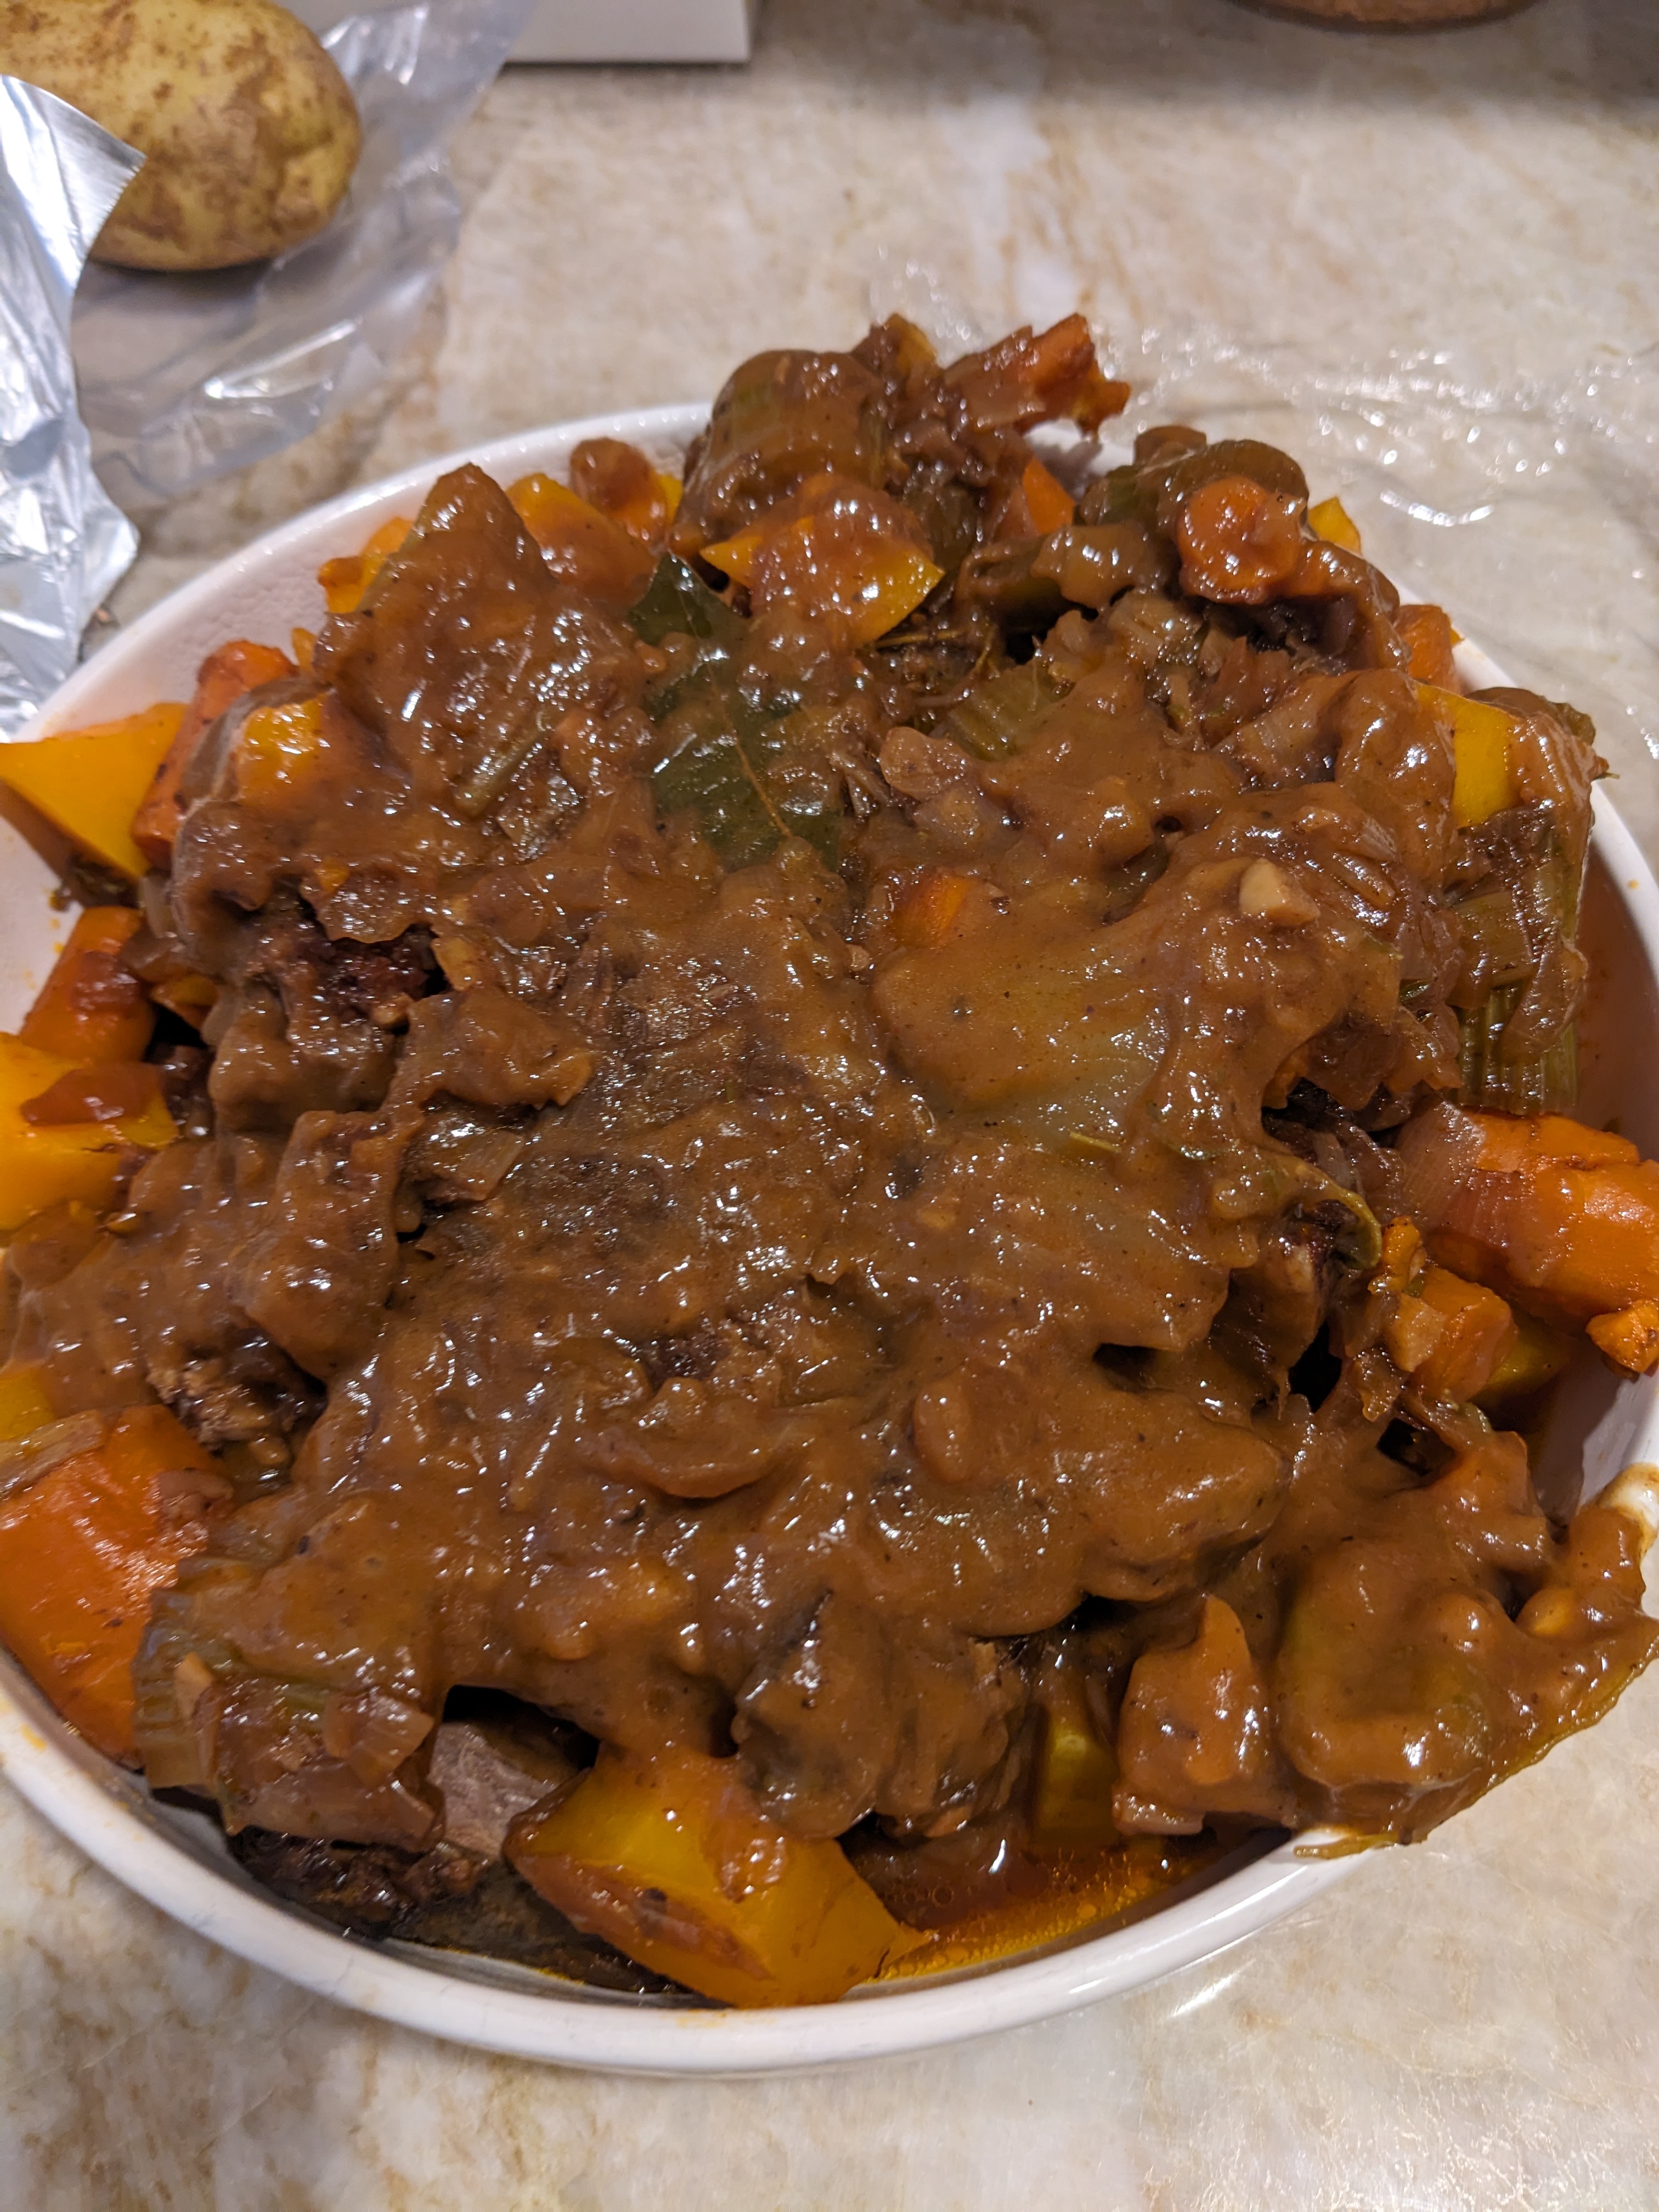
1 lbs small potatoes or I used cubed butternut squash
Cooking Directions
1. Position a rack in the center of the oven and preheat to 325F.
2. Heat 2 tablespoons of the oil in a Dutch oven over medium high heat. Season the beef with salt and pepper to taste. Cook in the pot, turning on all sides, until browned. Transfer to plate.
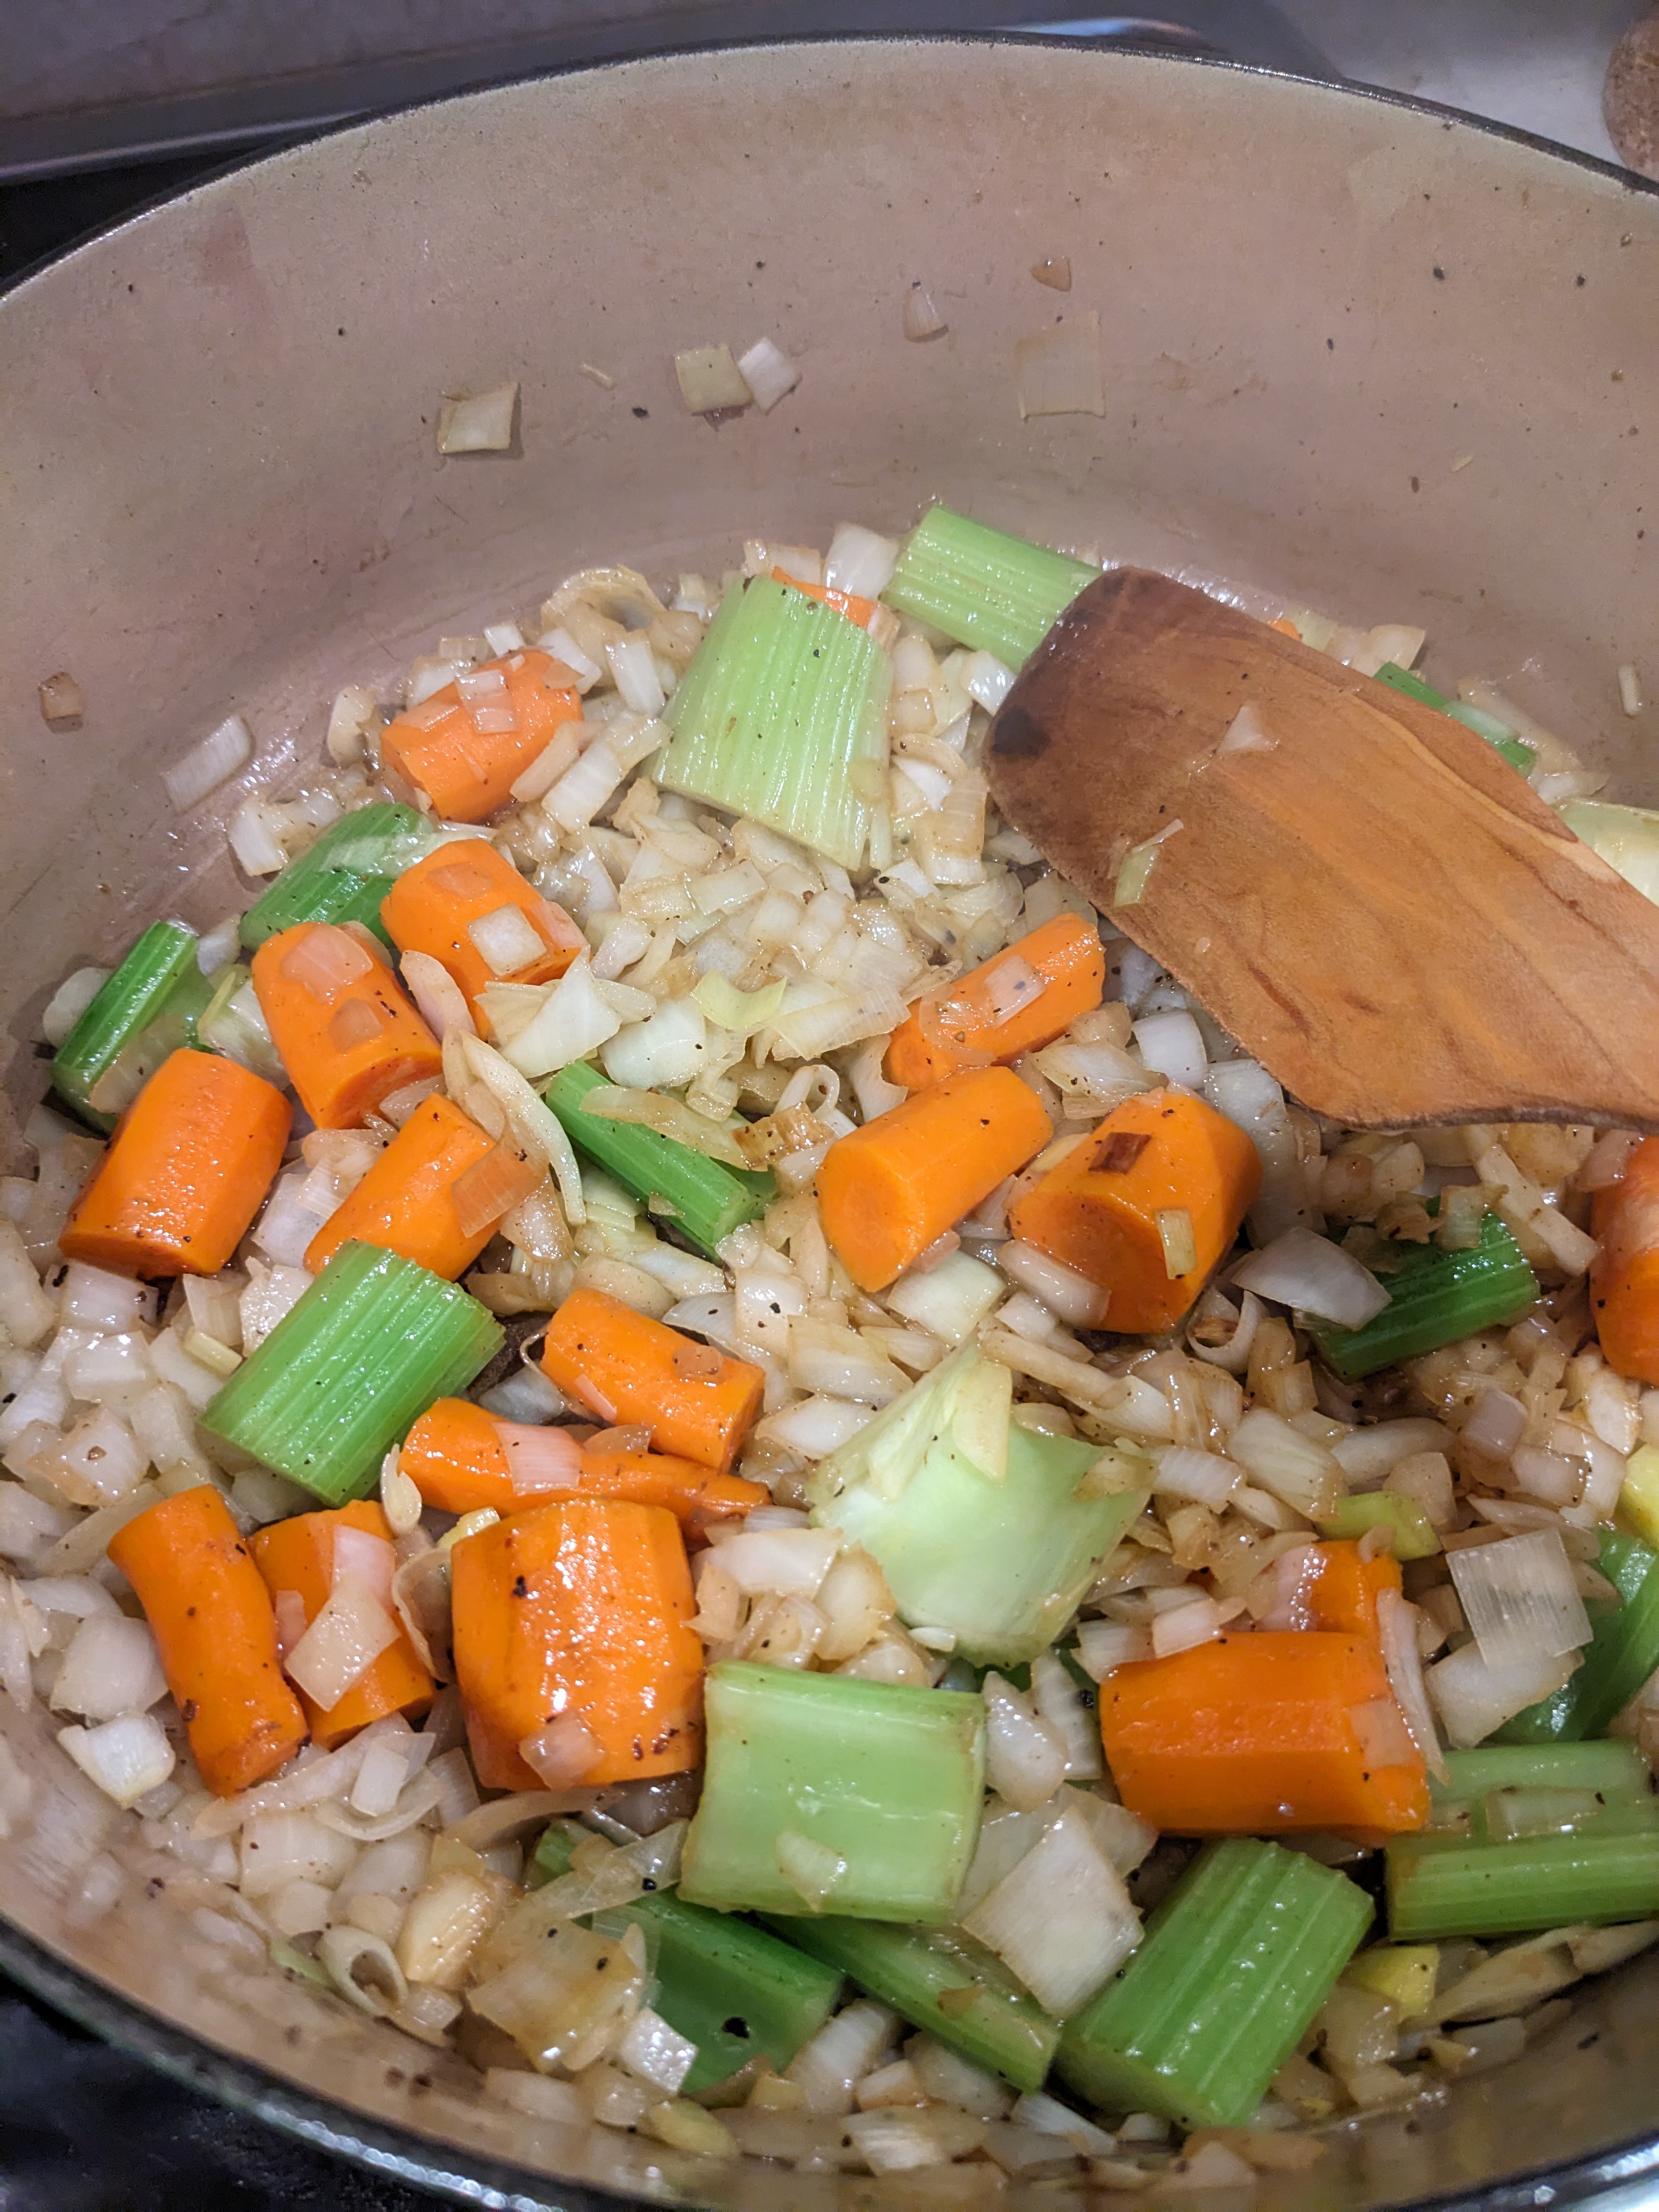
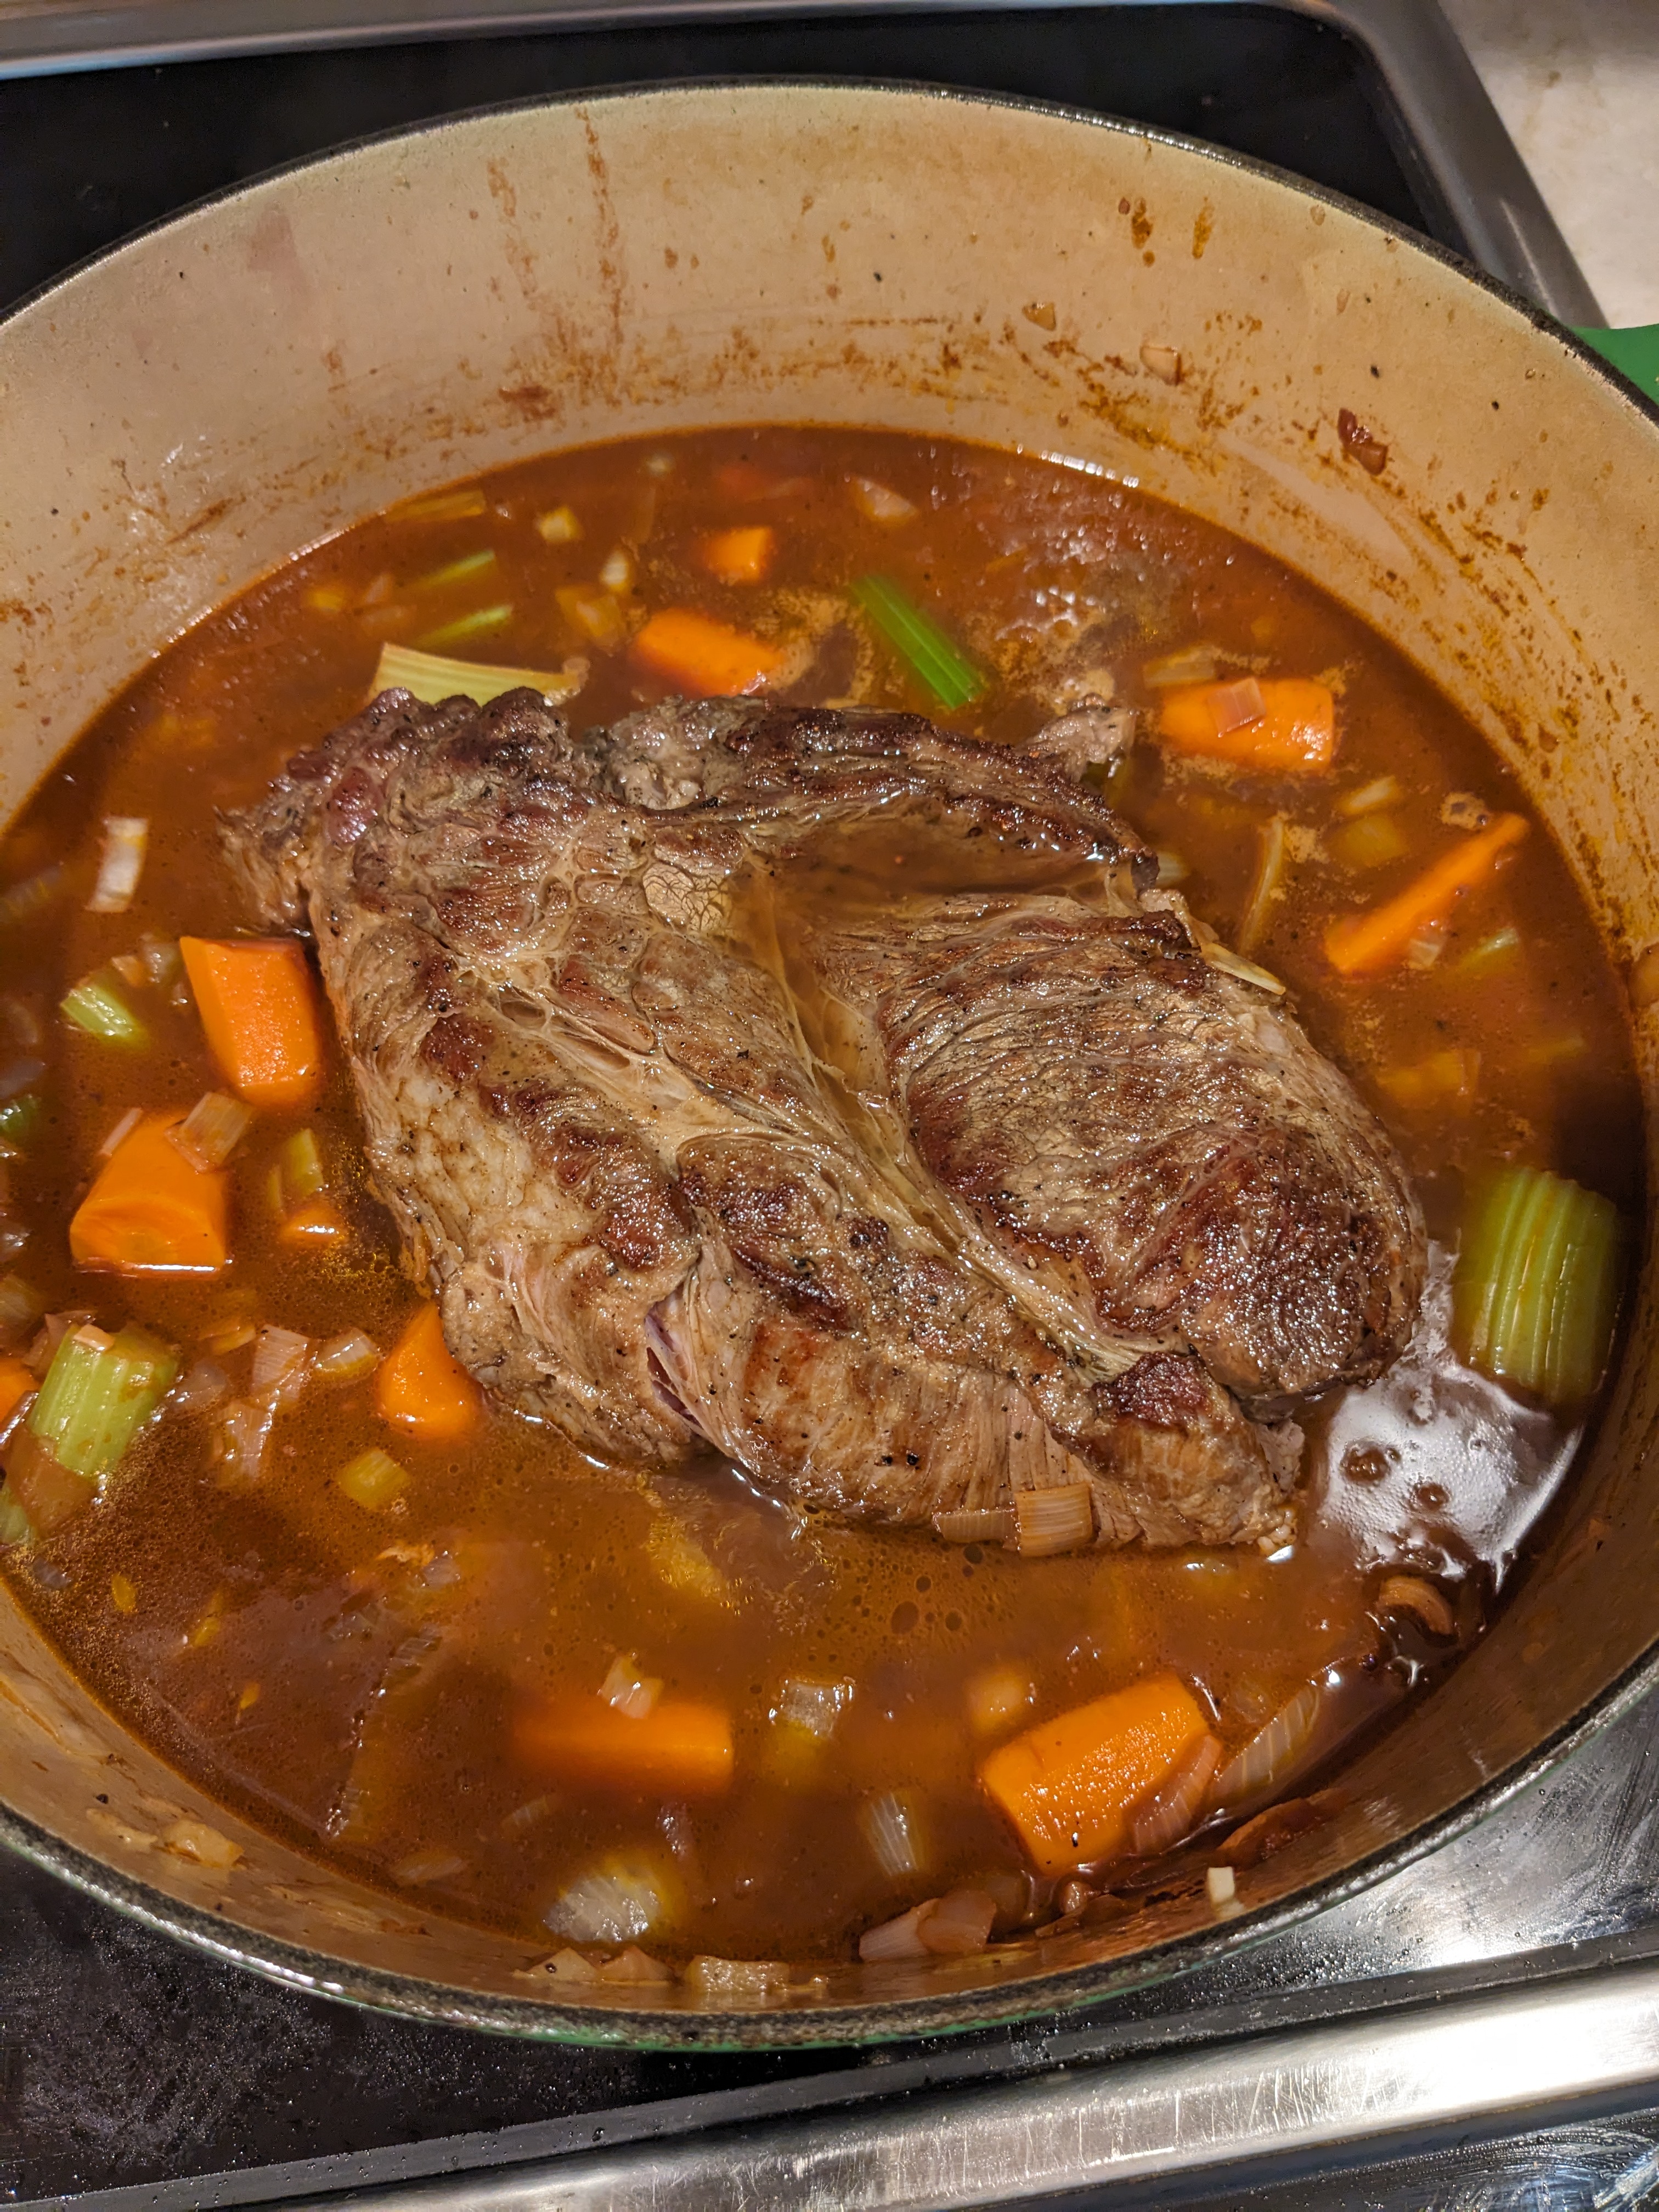
3. Add remaining olive oil to the pot and heat. Add the onion, carrots and celery and cook, until softened, about 5 minutes. Add the garlic and cook for 1 minute. Stir in the wine and tomato paste. Cook until reduced in half, about 3 minutes. Return the meat to the pot and add the broth. Bring to a boil. Add thyme and rosemary. I would add flipping the roast at this time.
4. Cover and bake until the meat is fork tender about 2 – 2 1/2 hours. Add squash, cover and cook about 30 minutes longer until fork tender
5. Transfer the meat to a deep platter, then use slotted spoon to remove the vegetables and place on platter.
6. Mix the flour and butter in a small bowl to form a paste. Add to a saucepan and gradually whisk in 1 cup of the cooking liquid in. Bring to a simmer over medium heat, stirring often, until thickened, about 5 minutes. Season to taste with salt and pepper.
7. Carve the meat and served with the vegetable, with the gravy passed on the side.


")