Twas the Saturday before Xmas the gifts were all wrapped.
The son was coming home and the wife was all smiles.
Yet there was still a big problem, no meal was in play.
All factors were weighed out, all cost taken in to account.
She’s was breaking her strict diet the choice was too hard to make.
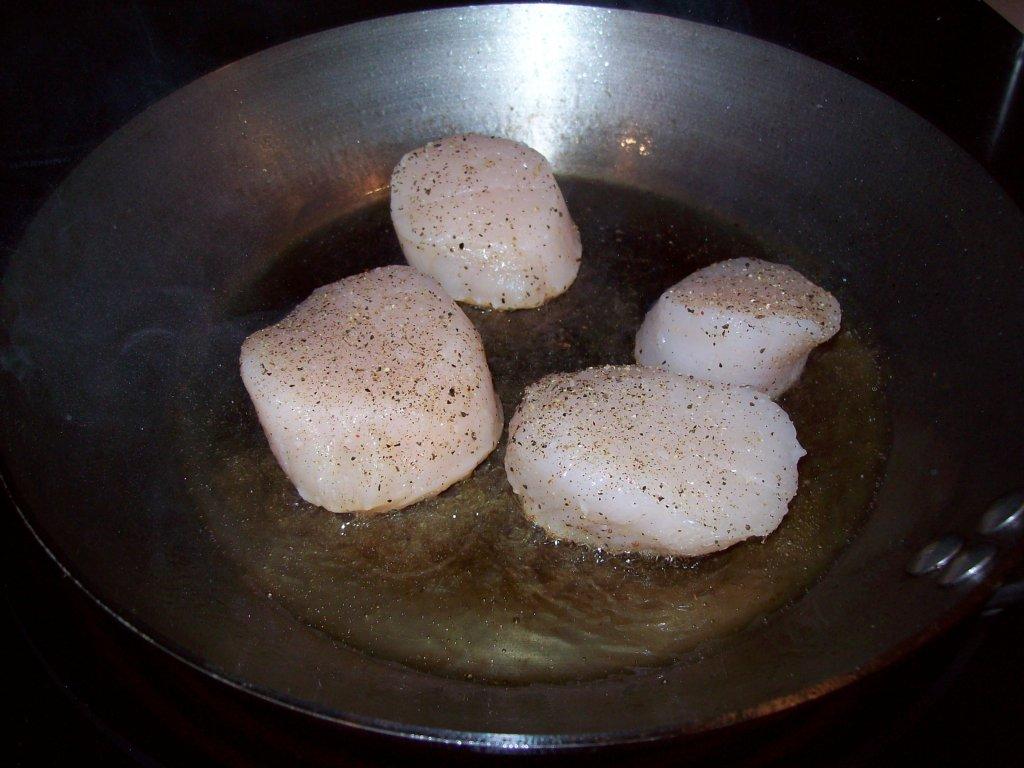
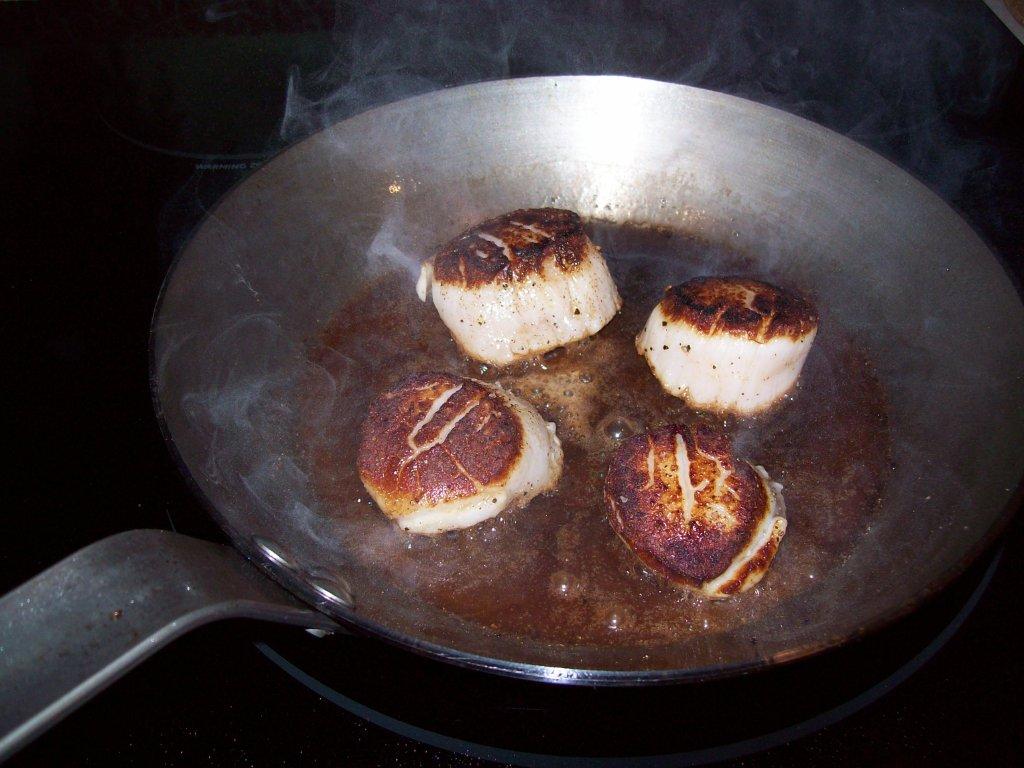
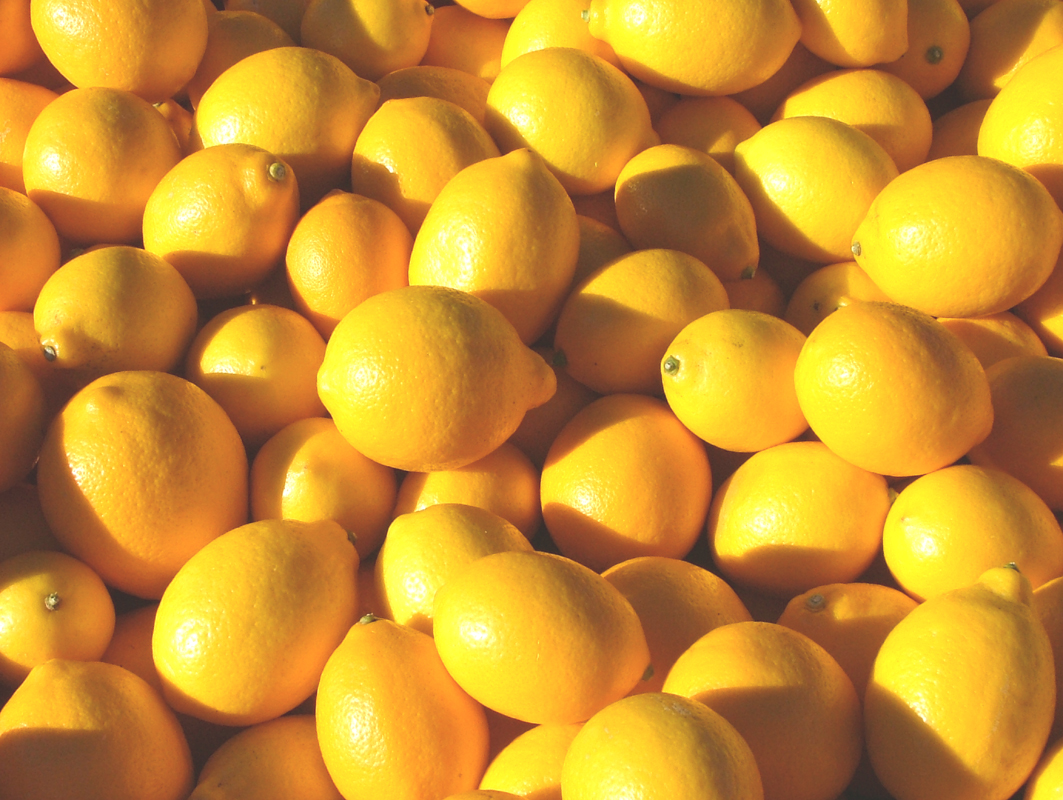
There was Meyer Lemon Brisket or Pan Seared Filets or Tenderloin Roast or Almond-Crusted Salmon.
The process has now taken over a week.
Her head was spinning what would she have me make?
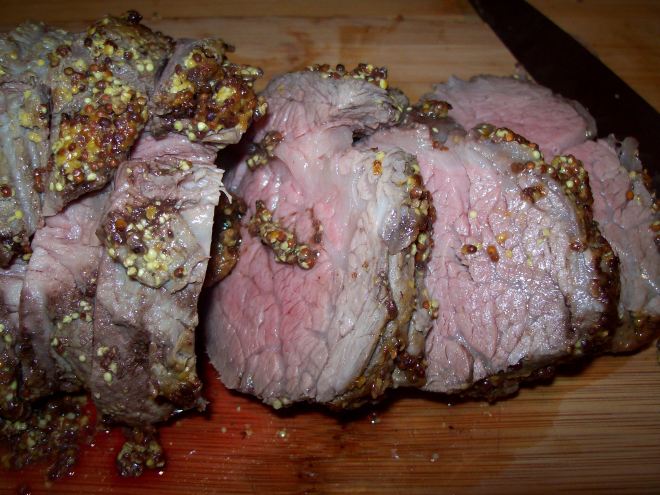
I looked at a lot of recipes to get the idea how to cook this meal in the end I went with my gut almost simple but added a twist when I saw the jar of Trader Joe’s whole grain mustard in the pantry. I grew up with a roast beef that had silvers of garlic inserted in the layer of fat on top and was covered with yellow mustard then roasted, I think Paul of Paul’s Market (used to be in north Falmouth MA) taught her how giving away his trade secrets to her warm smile. Anyway these days I have gotten more adventurous but found that back to the basic with this cut of meat works best. We by passed Wholefoods and went to Wegman’s they have pretty good quality and the prices seem lower. I hate shopping there just too many people all pushing and shoving, but every once in a while won’t hurt me. We still have to try the 6 AM shopping time we hear the aisles are pretty open at that time. Anyway….
Ingredients:
- 2 lbs. center cut tenderloin roast
- 1 jar of Trader Joe’s whole grain mustard – opened
- Kosher salt, black pepper and olive oil
How:
Preheat the oven to 425 degree with rack in middle. I used convection cooking this time it affected my cooking time
Rinse and paper towel dry the meat
Season liberally with salt and pepper let and bring to room temp or there about
Pat dry again
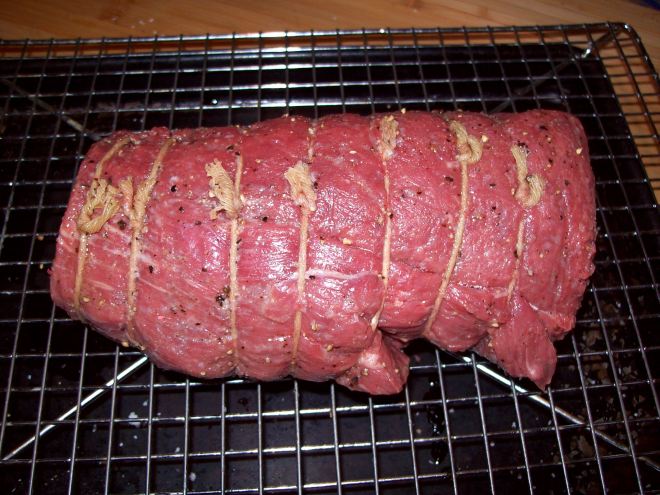
Tie with twin every ½” or so to keep the roast evenly shaped for even cooking.
Don’t tell them but I trimmed the skinny side off the roast and stuck in freezer and will make a pan seared oven roasted filet meal at a later date for me, only for me just for me!!
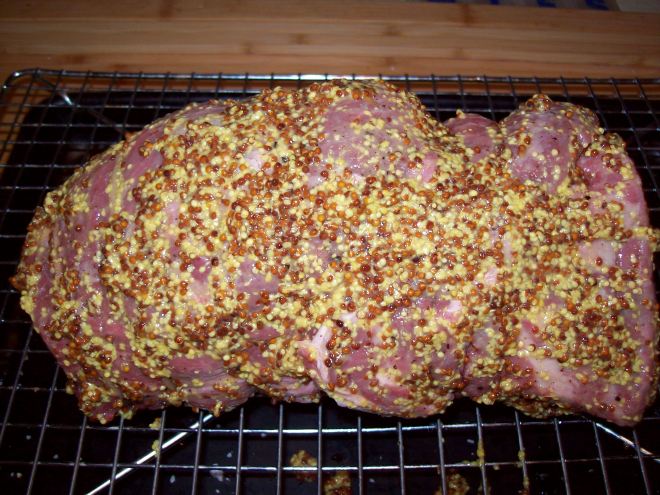
Rub olive oil all over the meat and then season again with some salt and pepper
Spoon the mustard on roast and rub to cover liberally using as much as is required. I think I used about 1/4 to 1/3 cup
Bring meat to room temperature or there about
Place meat on rack in shallow pan if convention or roasting pan if not
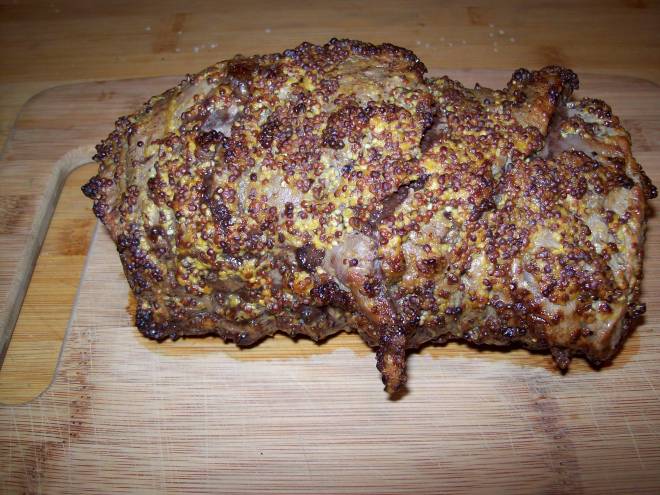
Roast until temp is 120 degree for rare 125 degree for medium rare
Most of the recipes I saw said cook for 25 minutes but it took me about 40-45 minutes in convection oven. Lyn says maybe because it cooks from inside out in convection.
Remove and let sit for 15-20 minutes uncovered.
Slice in ½ inch slices
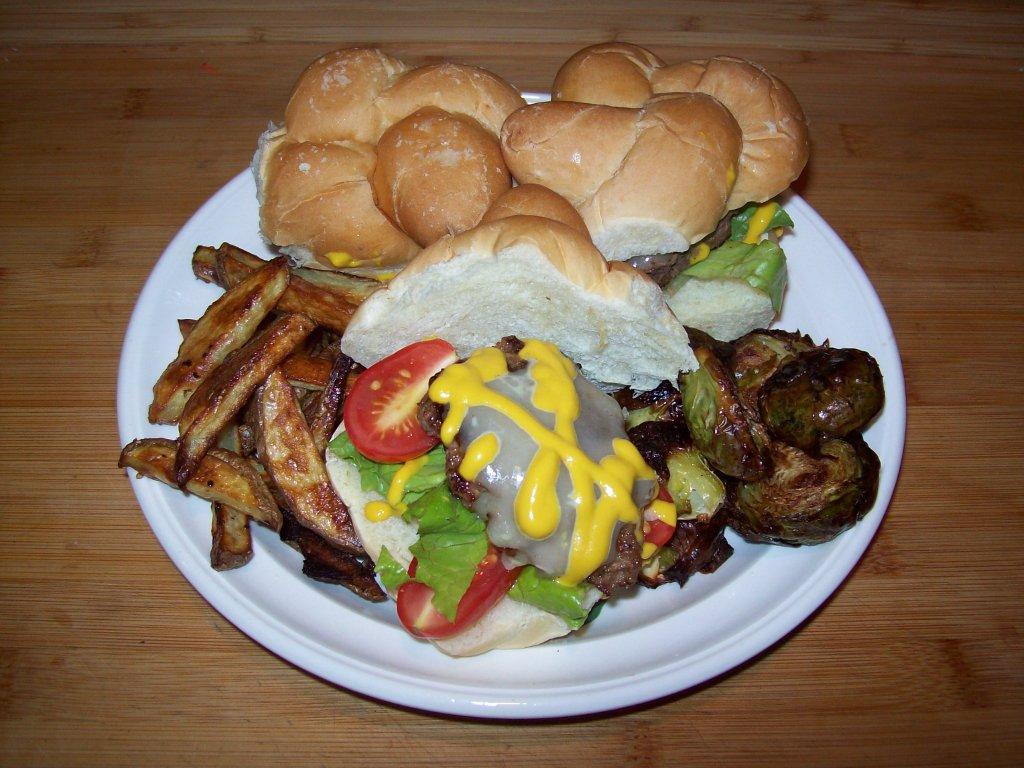
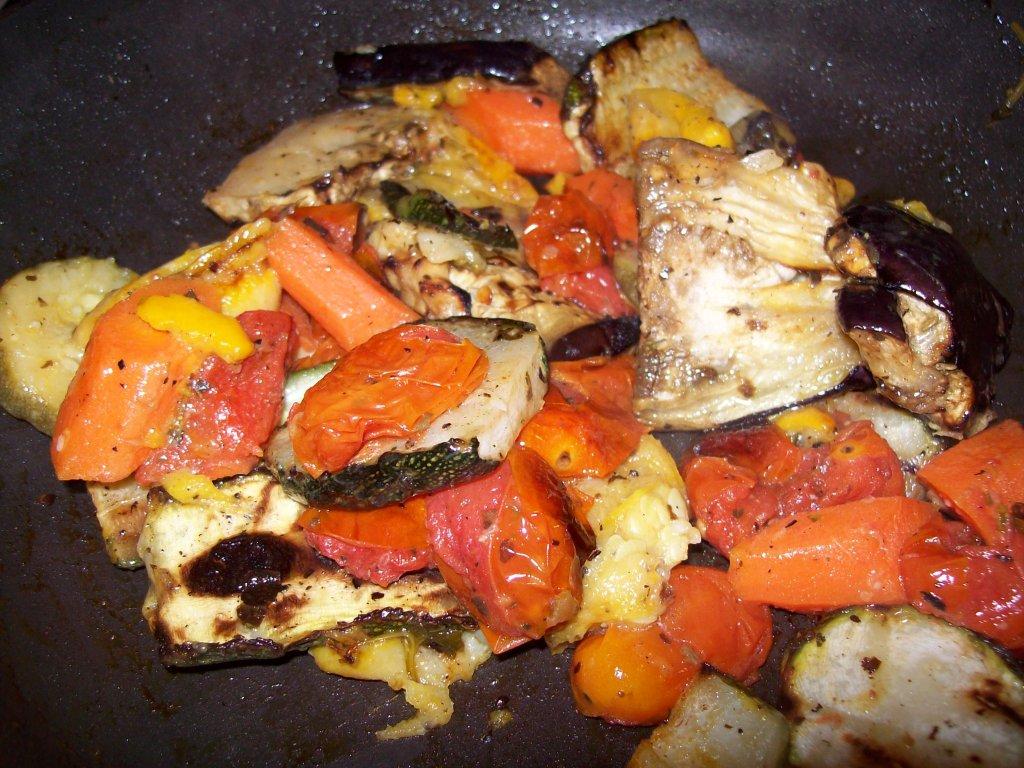
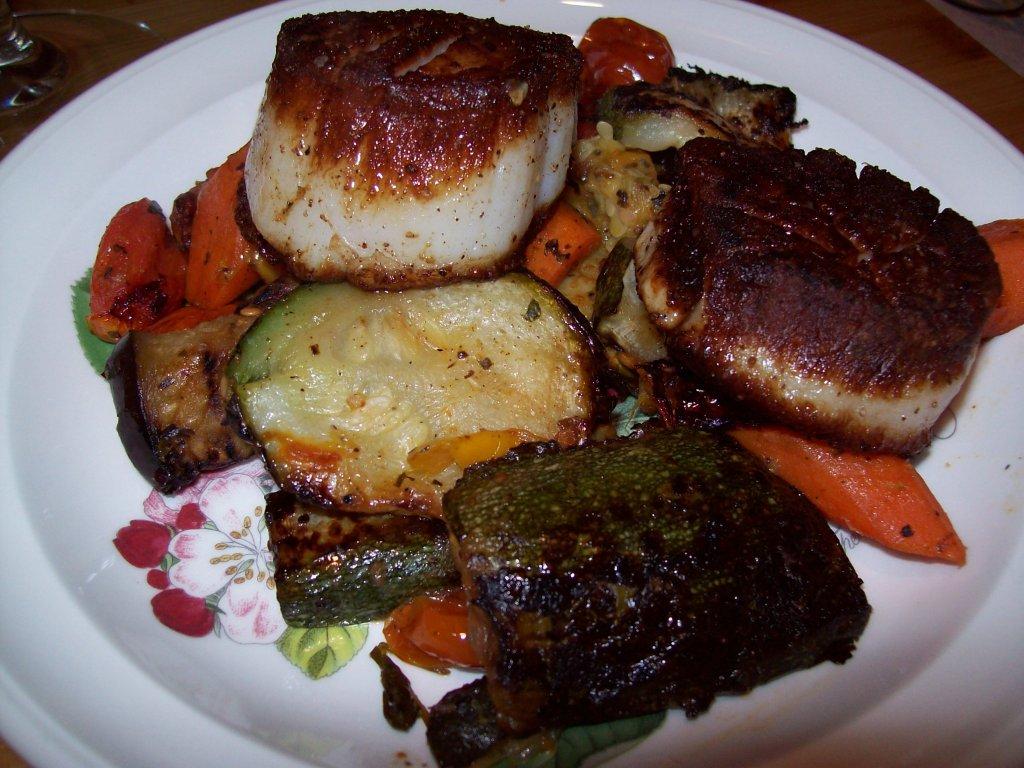
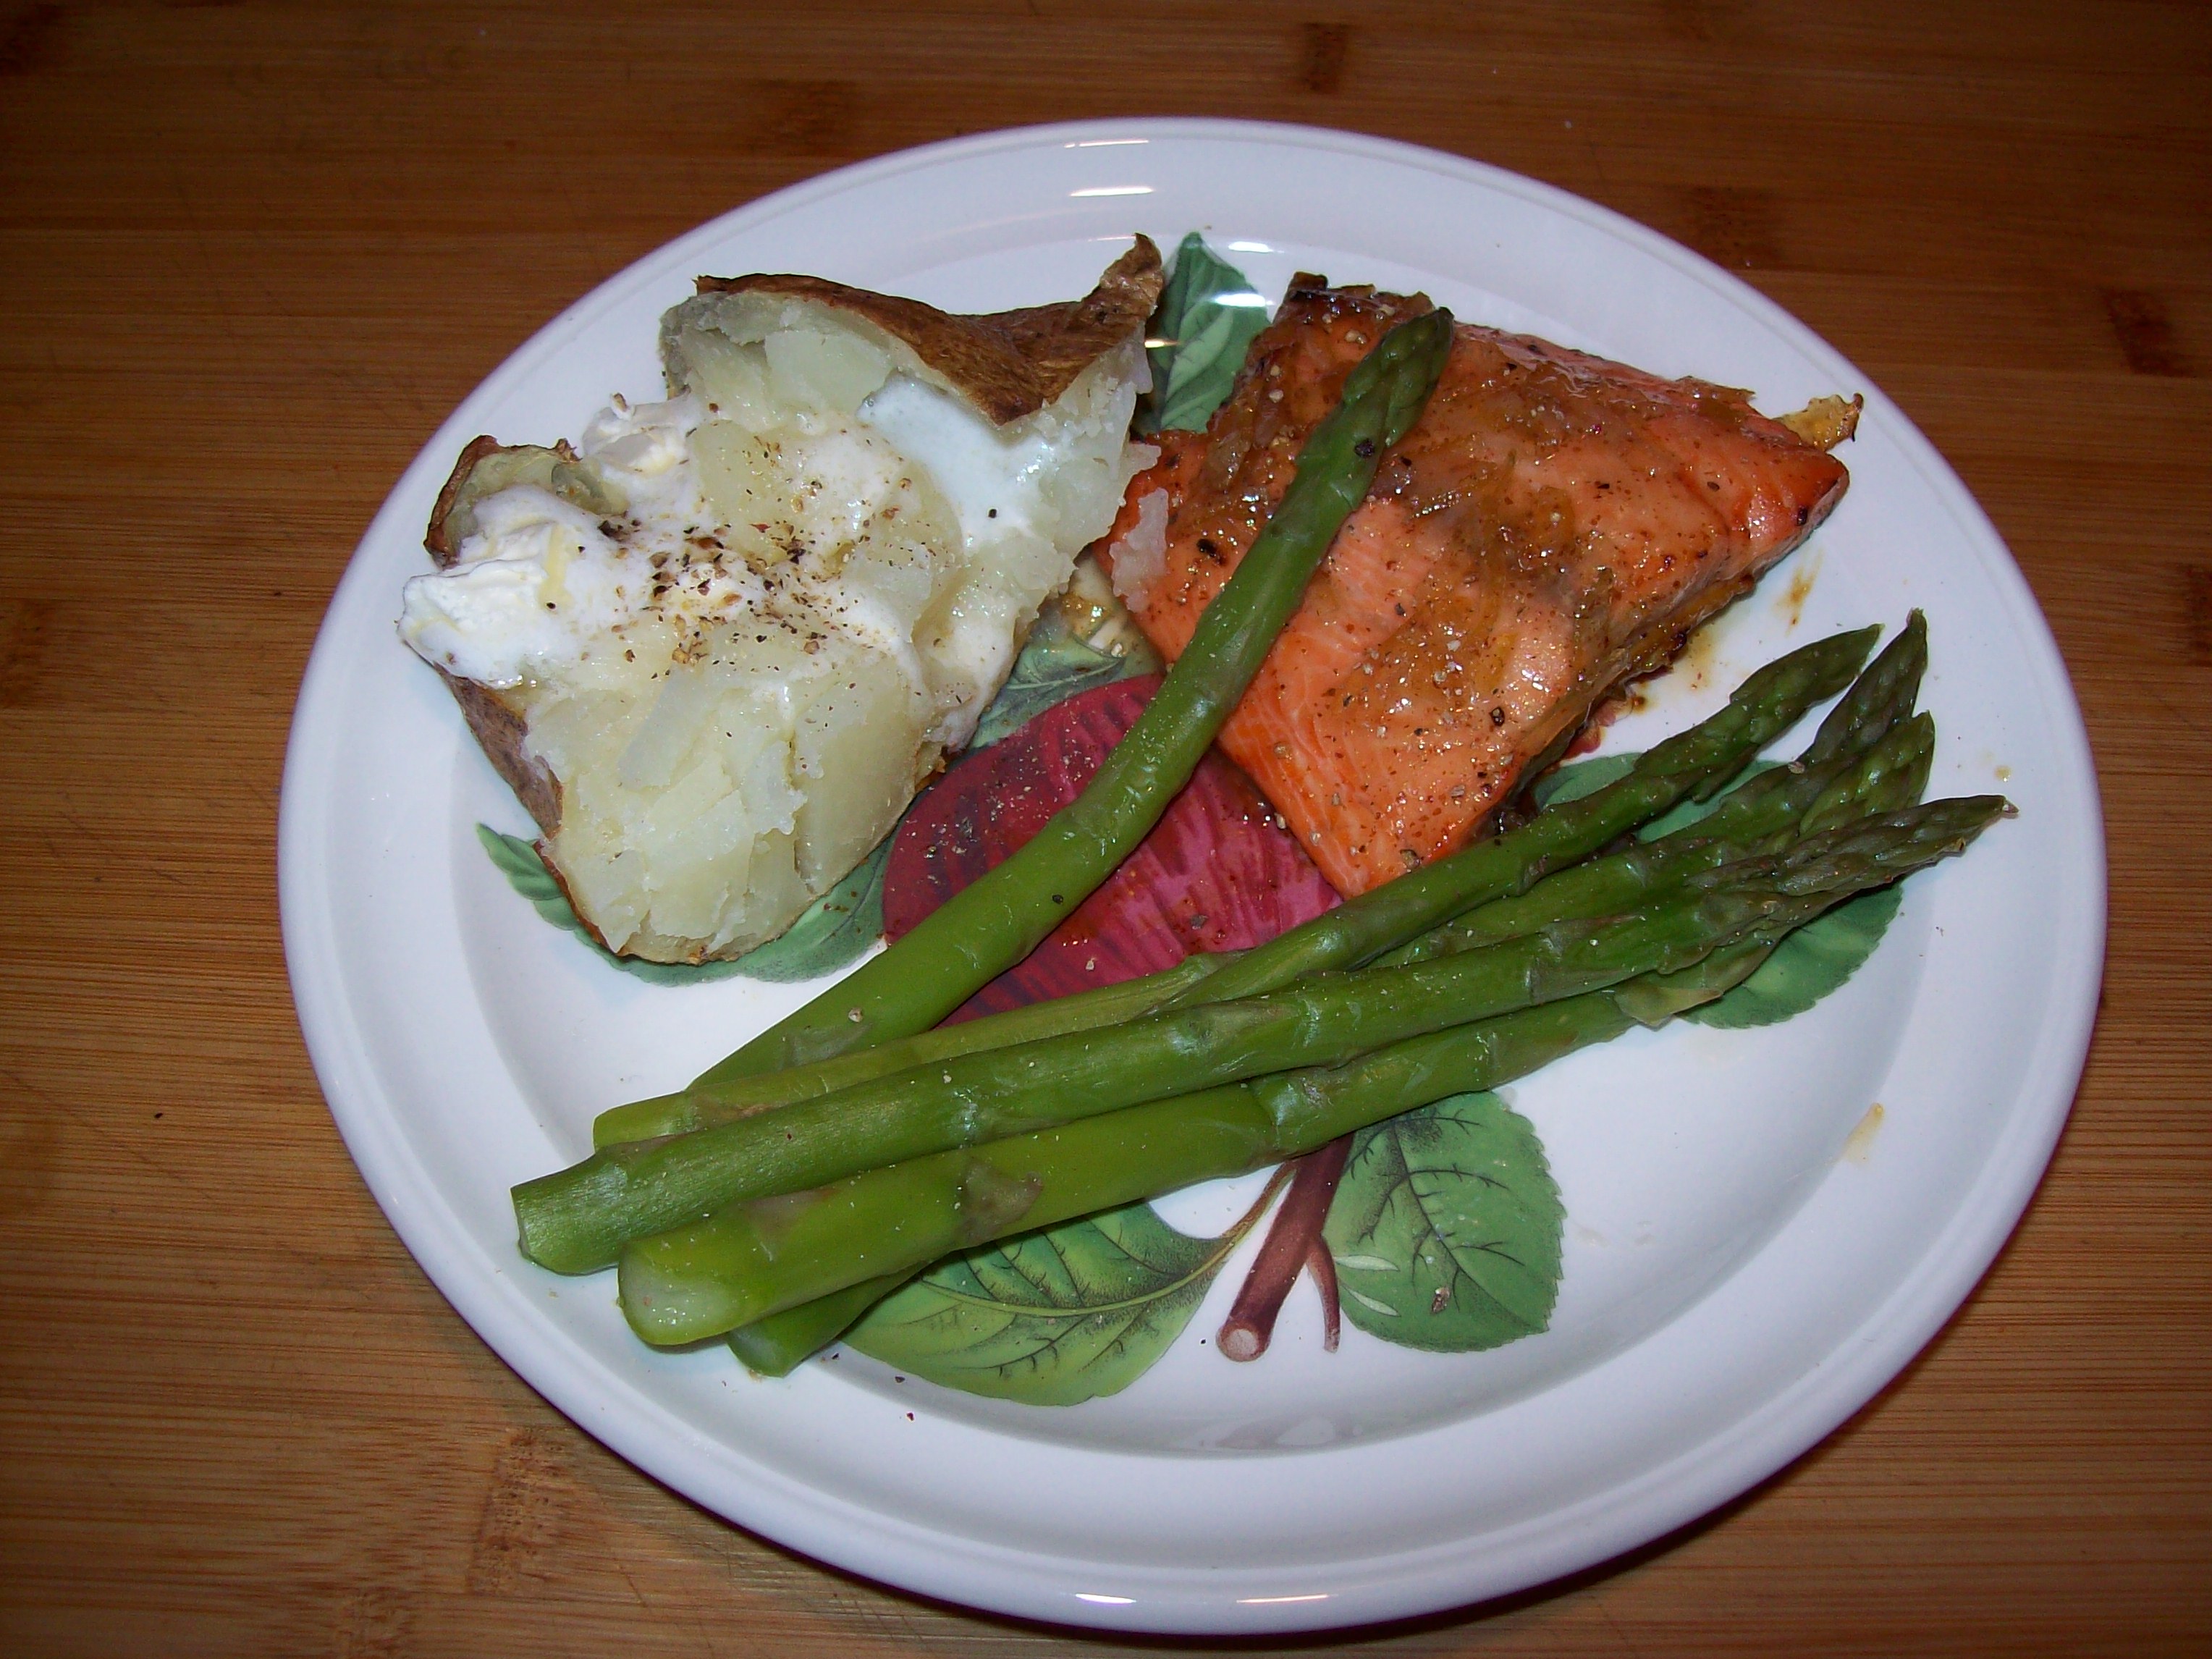
While this is cooking you can prepare your sides, in this case smashed garlic mashed potatoes and mixed vegetable in a butter sauce. Oh I had put the mashed potatoes in the turned off oven to keep warm and forgot to leave a pot holder on the handle when I took back out to put in serving dish. OW! Cooking battle scars are so much fun.
This was surprisingly easy to prepare and the roast melted in your mouth this got the three heads bobbing approval since Mike was here to share.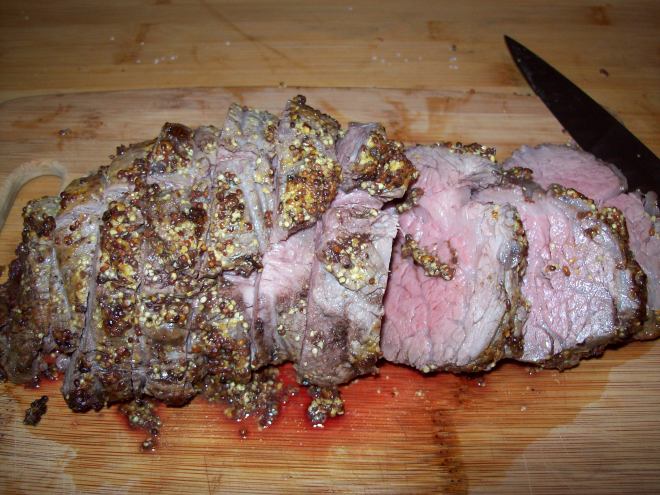
Passes Mustard from Trader Joe’s archives

In the world of mustard, you’ll find everything from mild yellow to fiery hot brown, as well as varieties with added herbs and spices to enhance the flavor. What you won’t find anywhere other than Trader Joe’s is a mustard quite like our Whole Grain Dijon Mustard.
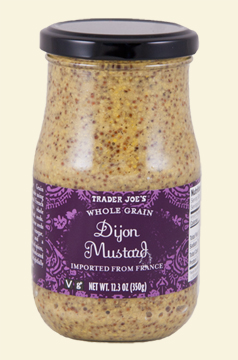
Trader Joe’s Whole Grain Dijon Mustard is made in the countryside just outside the city of Dijon, ancestral home of this style of mustard. We work with a mustard maker (moutardier) that’s been crafting quality Dijon mustard since 1840, and while the production techniques have been modernized over the years, the recipe is centuries old – so old, in fact, that it’s classified as à l’ancienne, or ancient. The ancients apparently knew how to make mustard. It’s made with carefully selected, all natural ingredients like brown mustard grains and just the right amount of white wine. Rather than completely grinding the mustard, as is common, the seeds are left whole in this version, giving the condiment a little crunch to go along with its pungent-yet-smooth flavor. Excellent on sandwiches, it’s also a rousing addition to salad dressings and sauces for chicken or pork. We’re selling each 12.3 ounce jar for the excellent price of $1.79, every day.
Culinary Curiosity: While associated with the French city of Dijon, Dijon mustard is not a protected designation under EU rules. Thus, many a mustard is called “Dijon” or “Dijon-style” when in fact it may be made elsewhere. Our Whole Grain Dijon? True to its name and historical origins, it’s made in Dijon, the historical capital of Burgundy.
Share my babble with a friend:


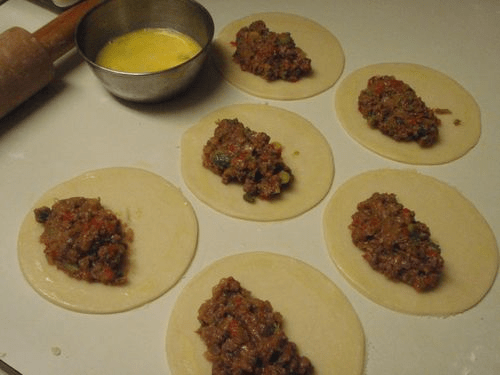
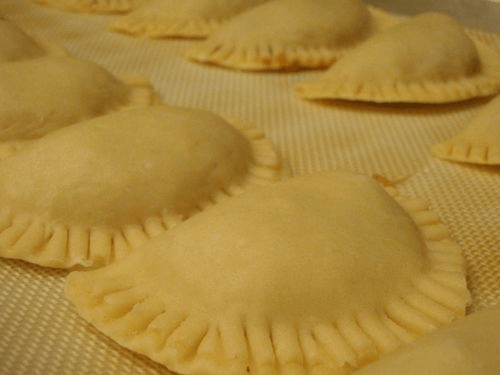
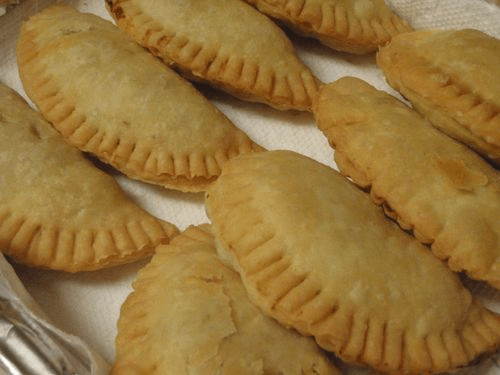
 for you younger ones out there. She must have a larger 16- 20 cups one) I find it easier to cut out all the circles for the pies and place them on a cookie sheet, separated by wax paper.