")
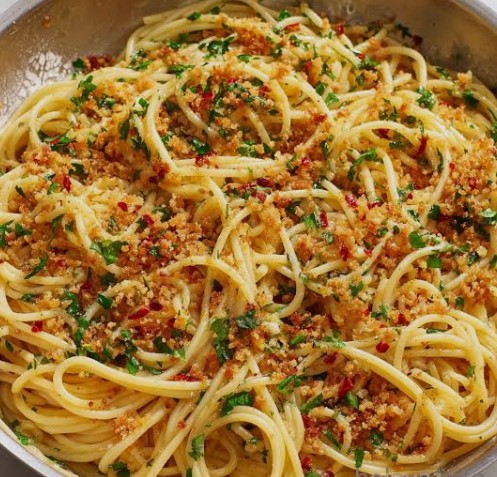
Want a quick meal that tastes great with or without the anchovy. I saw similar on Milk Street so I decided to give it a try but I had no anchovy. The pasta was the longest cooking in this recipe.
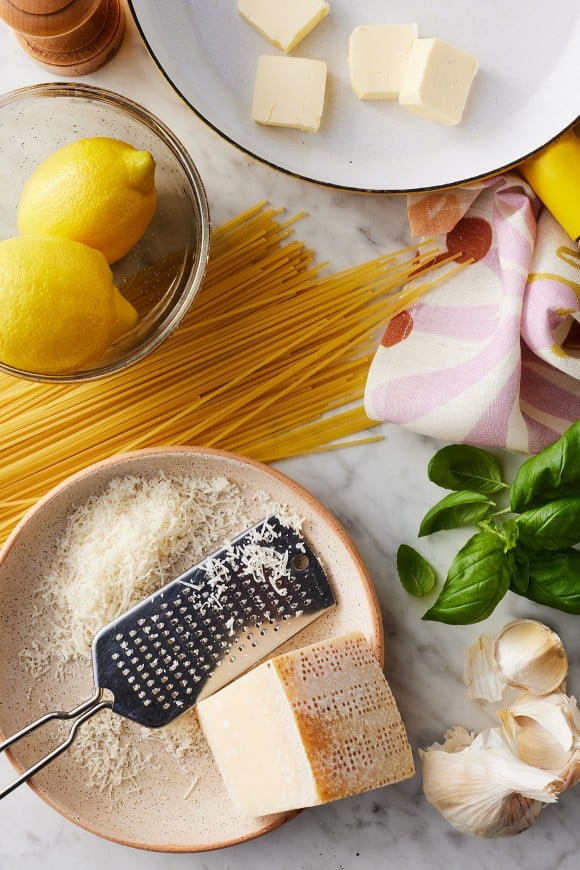
Ingredients
- 1 lb (500g) Spaghetti or Linguine
- ½ cup to 1 cup walnuts, roughly chopped
- ½ cup panko or rustic breadcrumbs (fresh is best)
- ½ cup extra virgin olive oil, divided
- 1-6 garlic cloves, minced
- ¼ cup chopped fresh flat-leaf parsley
- ¼ -½ tsp red pepper flakes (optional, for heat)
- ½ lemon, zested and juiced (optional)
- ½ cup grated Parmesan or Pecorino Romano cheese
- A few chopped sun dried tomatoes (I soaked in the lemon juice)
- Salt and black pepper to taste
- Top with some more fresh grated cheese
Instructions
- Toast the Walnuts and Breadcrumbs: In a large skillet or frying pan, heat 2 tablespoons of olive oil over medium heat. Add the breadcrumbs and chopped walnuts. Toast, stirring frequently, until the breadcrumbs are golden brown and the walnuts are fragrant (about 3-4 minutes). Remove from the pan and set aside in a small bowl.
- Cook the Pasta: Meanwhile, bring a large pot of salted water to a boil. Add the spaghetti and cook according to package directions until al dente (usually 1-2 minutes less than the package says).
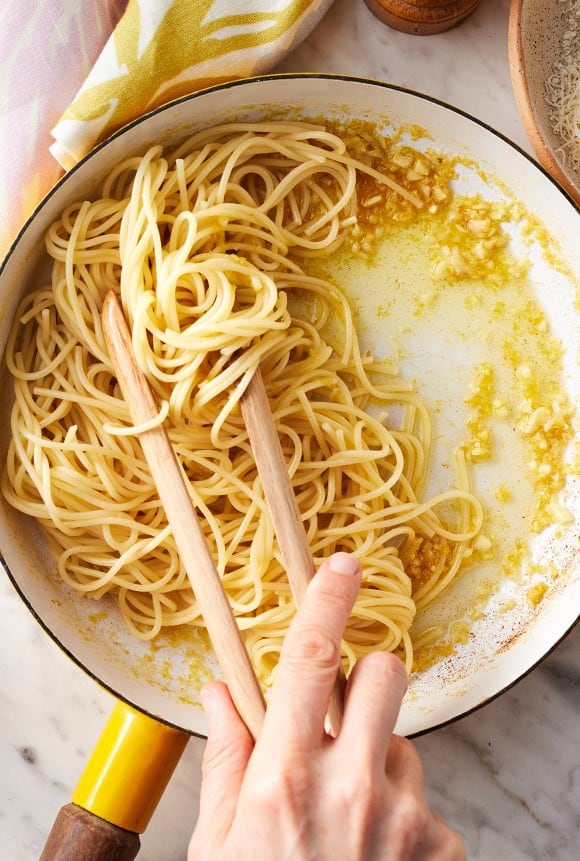
- Create the Sauce: In the same skillet used for the nuts, add the remaining olive oil, minced garlic, and red pepper flakes. Sauté over low-medium heat for about 1 minute until the garlic is fragrant but not browned.
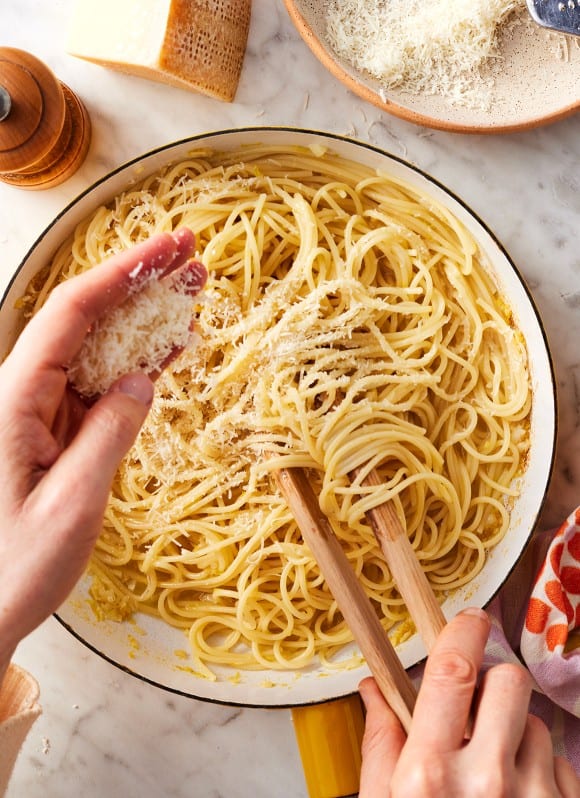
- Combine: Before draining the pasta, reserve about 1 cup of the starchy pasta water. Add the cooked spaghetti directly to the skillet with the garlic oil.
- Finish the Dish: Add half of the walnut-breadcrumb mixture, the lemon zest/juice (if using), and a splash of pasta water. Toss everything over medium heat, allowing the water and oil to emulsify into a light sauce that coats the pasta. Add more pasta water if it seems dry.
- Serve: Turn off the heat and stir in the parsley and Parmesan cheese. Top with the remaining toasted walnut-breadcrumb mixture for extra crunch.
Serve: Turn off the heat and stir in the parsley and Parmesan cheese. Top with the remaining toasted walnut-breadcrumb mixture for extra crunch.