Greek-American Lamb Gyros Recipe

Greek-American Lamb Gyros Recipe

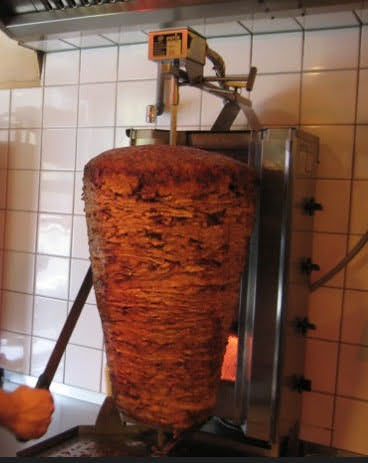
I got turned onto Gyros when i lived in Chicago, thinly sliced meat that was flame broiled on a screwier.

I bought a Gyros pan pictured on left. I’ve done it with chicken and beef and both came out pretty good. The chicken was a killer smelling it while it cooked.

Ingredients

For the Meat:

  • 1 pound ground lamb (Lean is preferred)
  • 2 teaspoons kosher salt (or 1 teaspoon table salt)
  • 1/2 teaspoon freshly ground black pepper
  • 1/2 teaspoon dried or 2 tablespoons fresh oregano leaves
  • 1/2 medium onion, cut into 1-inch chunks
  • 1 clove garlic, sliced

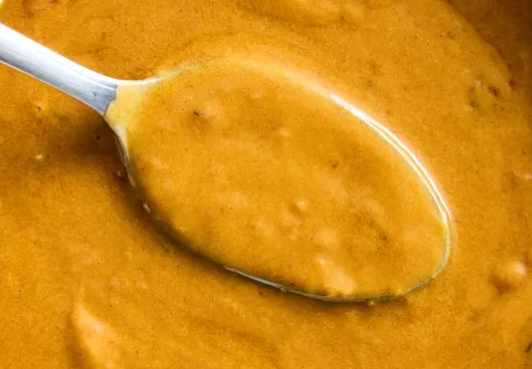
For the Yogurt Sauce:

  • 3/4 cup plain, unsweetened yogurt
  • Peeled seeded cucumber, minced
  • 1 clove garlic minced or through press
  • 2 teaspoons juice from 1 lemon
  • 2 tablespoons chopped parsley or mint or dill
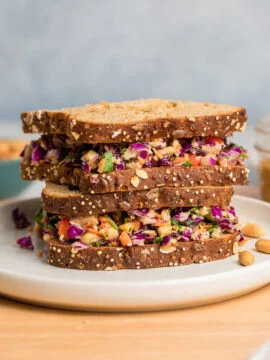
To Serve:

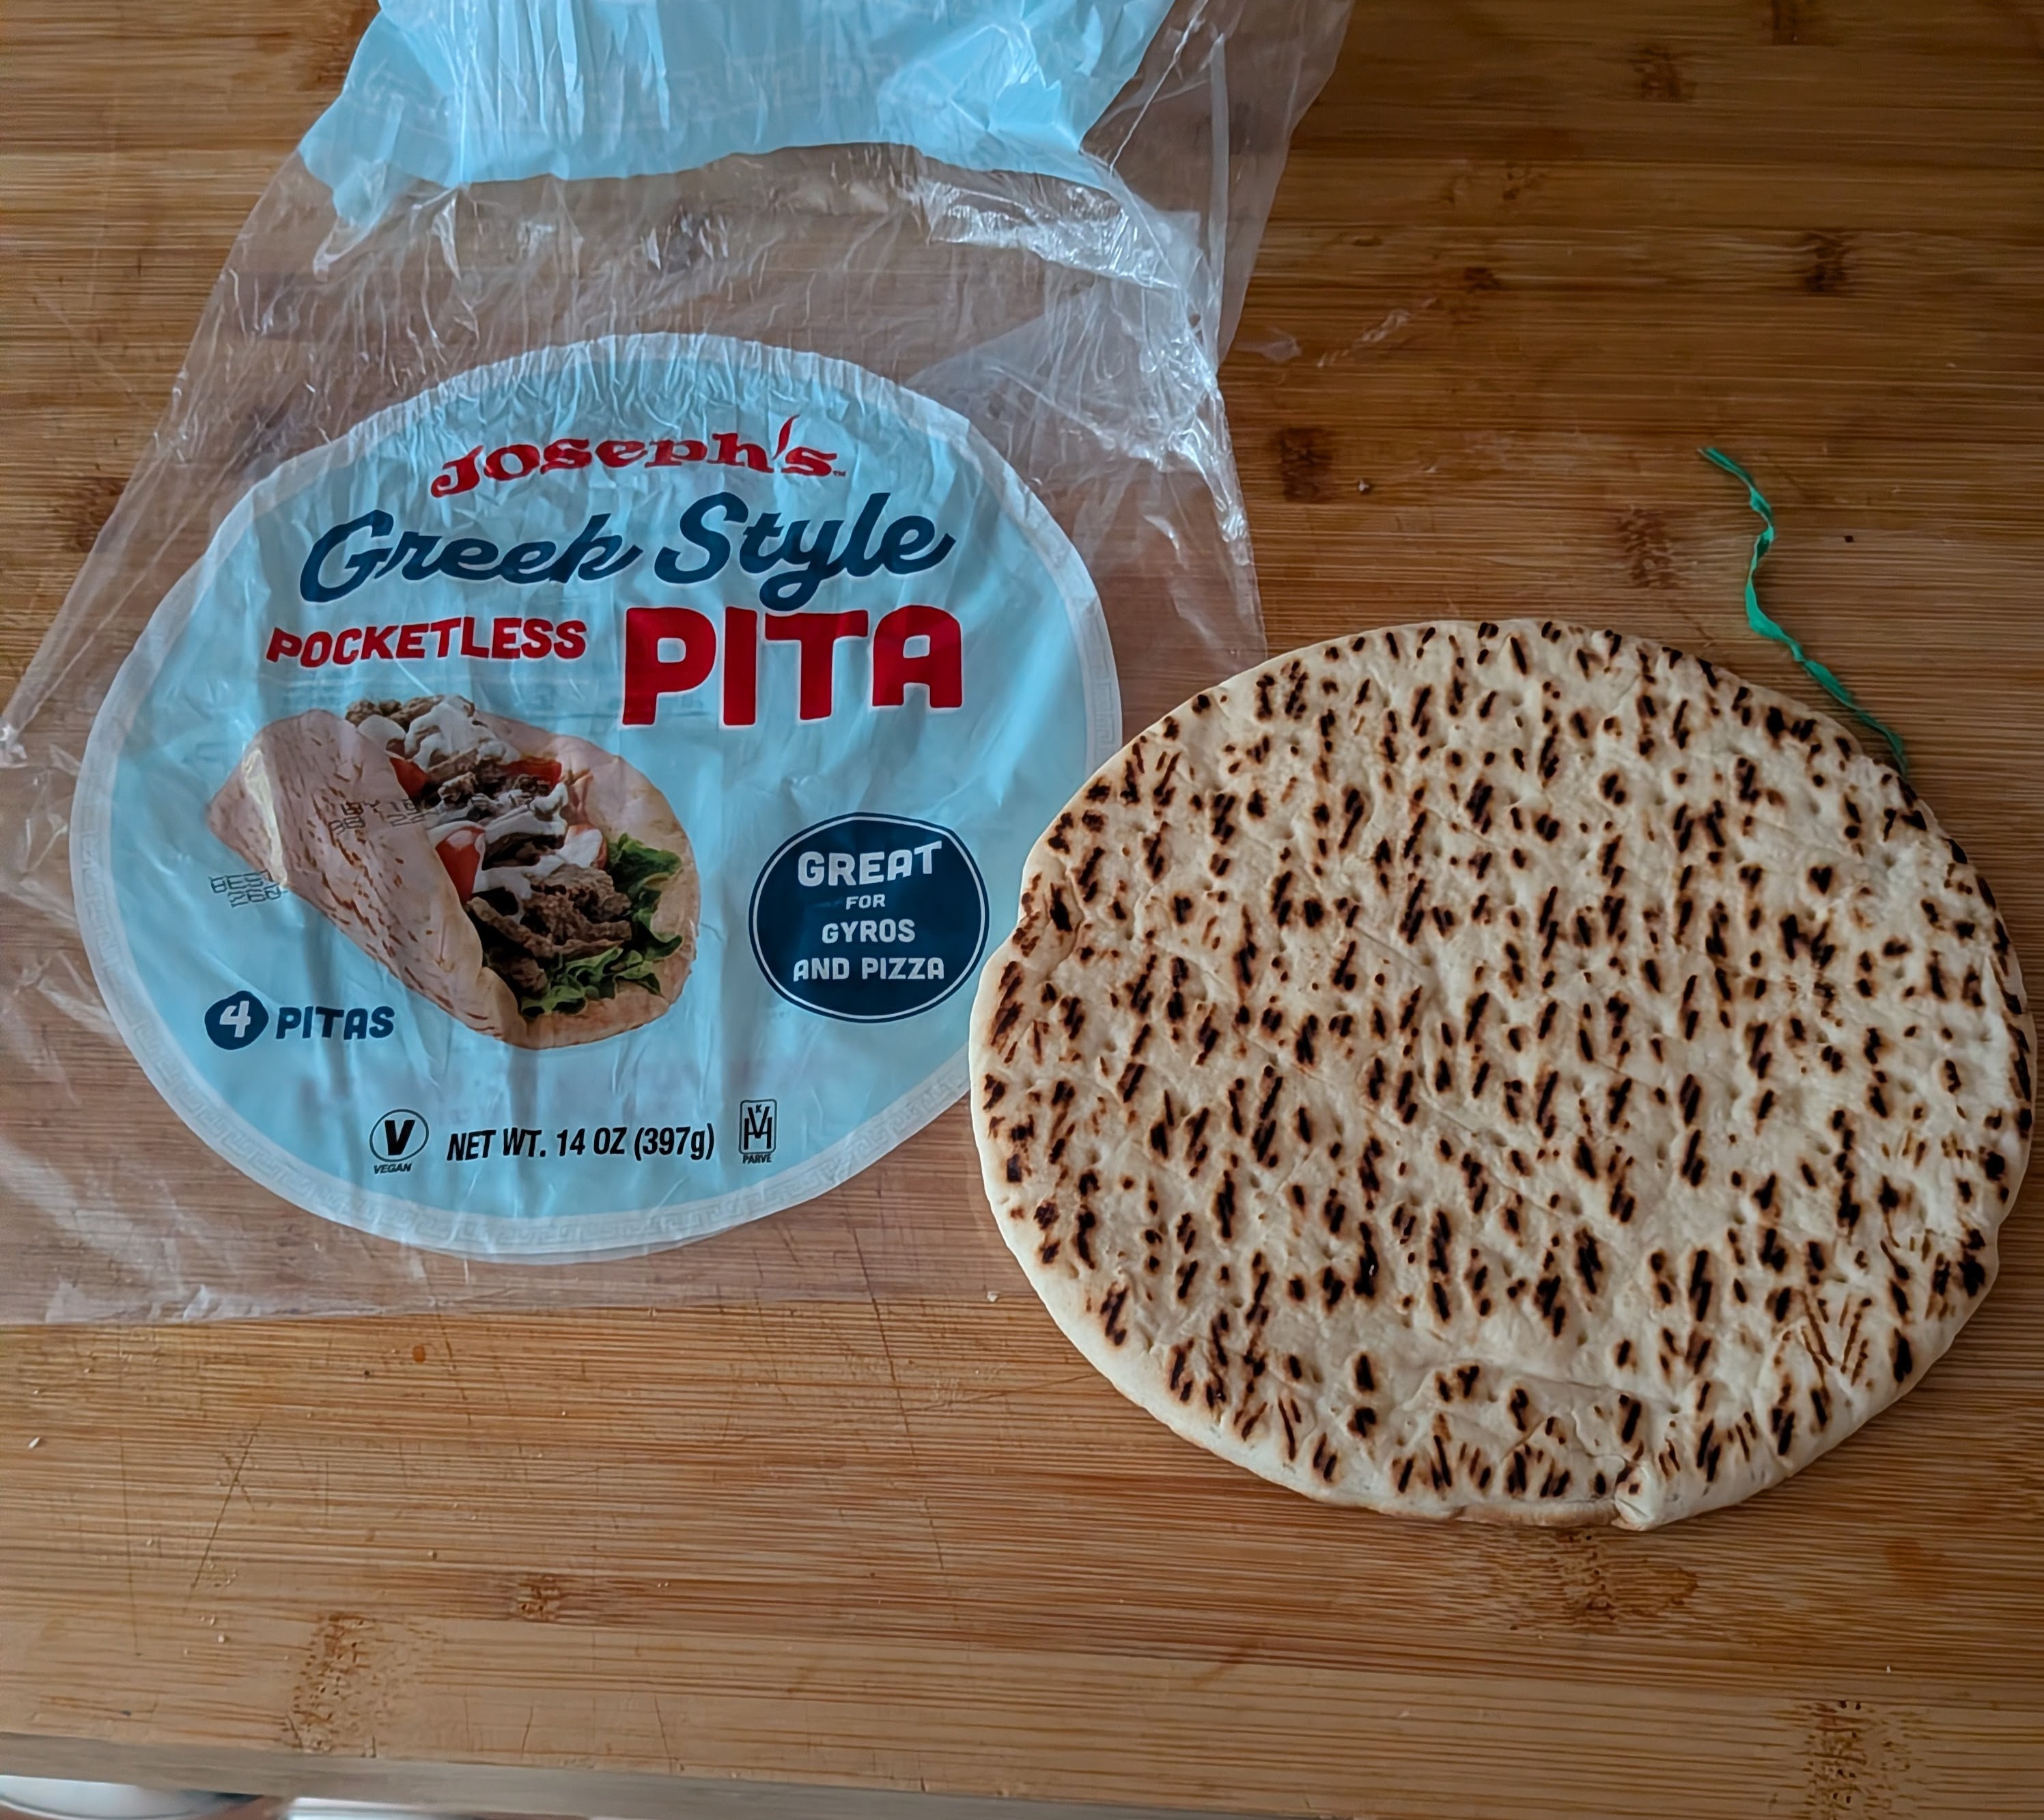
  • 4 pieces soft, Joseph Greek Style pocketless pita)
  • Chopped fresh tomato
  • Finely sliced onion
  • Cubed peeled seeded cucumber
  • Shredded lettuce

Directions

  1. Combine lamb, salt, pepper, and oregano in a medium bowl. Mix with hands until homogeneous. Cover and refrigerate at least 1 hour or up to overnight. Meanwhile, place yogurt in a fine-mesh strainer set over a small bowl. Allow to drain in refrigerator for 1 hour. Adjust oven rack to middle position and preheat oven to 300°F (150°C). Place cold lamb mixture in bowl of food processor with onion, garlic, and bacon. Process until smooth a purée is formed, about 1 minute total, scraping down sides with rubber spatula as necessary.
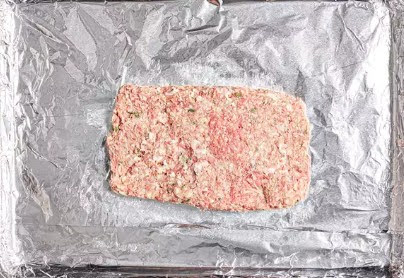
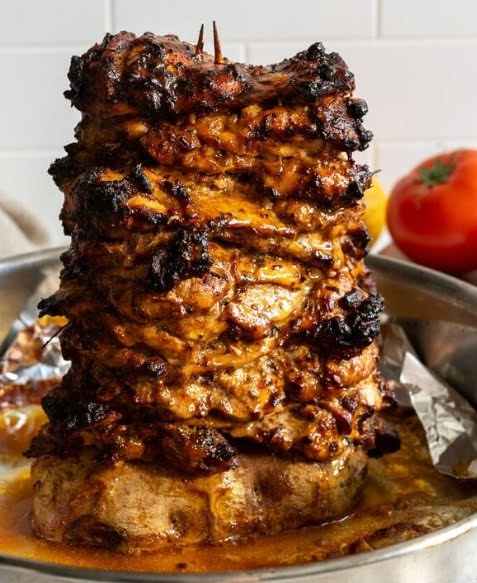
  2. Line rimmed baking sheet with aluminum foil. With moist hands, form meat mixture into rectangles about 1 1/2-inches high, 8-inches long, and 5-inches wide. Bake until center of loaf reads 155°F (68°C) on an instant-read thermometer, about 30 minutes. Allow loaf to rest at room temperature for 15 minutes (or refrigerate for up to a week, see notes).
  3. Meanwhile, make the sauce. Combine strained yogurt, mayonnaise, garlic, lemon juice, and parsley and stir to combine. Season to taste with salt. Refrigerate, covered, until ready to use.
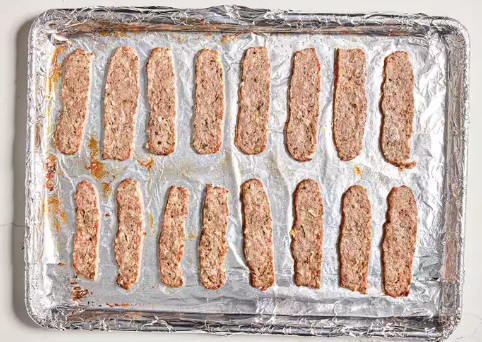
  4. Adjust broiler rack to highest position (about 1 1/2 to 2 inches from broiler element) and preheat broiler. Slice loaf crosswise into 1/8 to 1/4-inch strips (each strip should be about 5-inches long and 1 1/2-inches wide). Lay strips on rimmed baking sheet lined with aluminum foil and broil until edges are brown and crispy, about 2 minutes. Tent with aluminum foil. Warm bread by placing on rimmed baking sheet and broiling until soft and pliant, about 45 seconds per side.
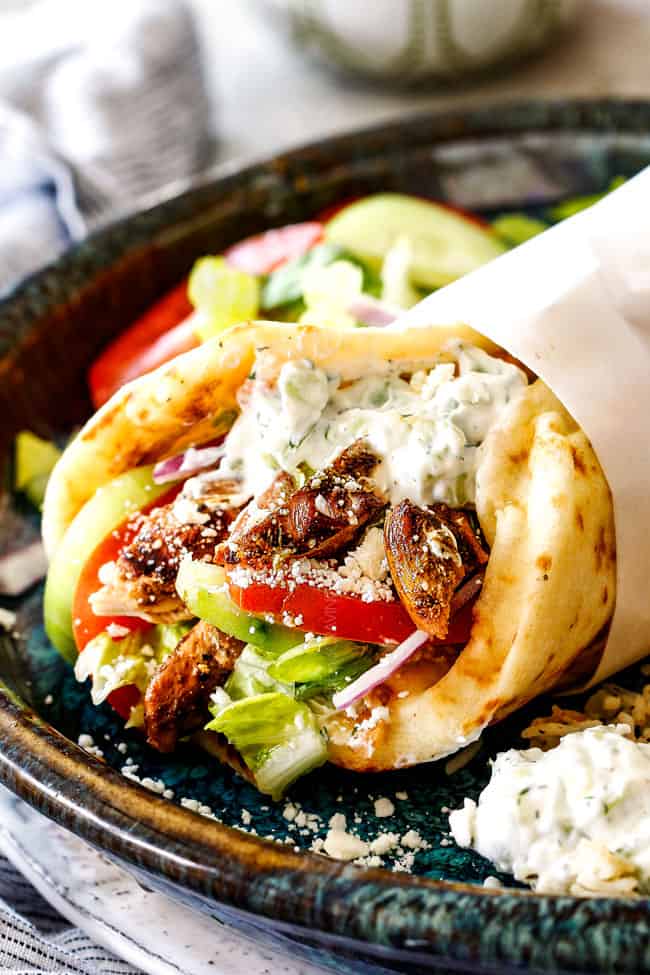
  5. Spread some sauce over each piece of bread. Divide meat evenly between sandwiches. Top as desired, wrap with paper or foil, and serve. Some places serve with French fry but I’m a traditionalist those go on the side or maybe a Greek salad instead
BBQ Brisket in the Oven

BBQ Brisket in the Oven

I got a Grass-fed brisket from ButcherBox because Lyn got me a Brisket spice rub for my birthday.

I decide to bypass the liquid smoke and Worcester sauce since the last time I did that it took forever for the smoke aroma to go away. So remember this won’t have that smoked taste unless you use the liquid smoke.

If you are looking for an easy way to make BBQ brisket in the oven but you don’t want to spend all day and night doing it, then this recipe is great !

Ingredients
5 lb Flat cut Beef Brisket Note: I had a 2.5 lbs
1 recipe BBQ Dry Rub
BBQ Sauce
1 tablespoon Liquid Smoke (optional)
1 tablespoon Worcestershire Sauce (optional)

Instructions
1.        Preheat oven to 300 degrees. Note: I did 275 degrees since I had a class at the center so I cooked longer

2.        Liberally season the brisket on all sides with BBQ Dry Rub. The brisket can sit in the fridge overnight to let flavor penetrate (highly suggest), or it can be cooked right away.

3.        Set brisket on a large strip of foil, fat cap up, and add liquid smoke and Worcestershire sauce, then wrap the foil around the brisket, sealing tightly.

4.        Bake in the oven for 3-4 hours, or until the brisket is perfectly tender. The brisket is done when it can be pierced with a fork with little resistance, and the meat separates when the fork is twisted. Note: I did 4 hours because of lower temperature and only half the weight

5.        Remove brisket from oven, unwrap from foil, and turn the broiler on high.

6.        Set brisket under the broiler and broil the fat cap until it begins to crisp. Watch carefully so it does not burn. Note( I also broiled all sides, fat cap longer) to get a good bark on it.

7.        Remove brisket from the oven and paint liberally with BBQ sauce, then set under the broiler again to allow the BBQ sauce to thicken into a jam-like consistency. The sauce will burn quickly, so keep your eye on it.

8.        Note( I also broiled all sides, fat cap longer) to get a good bark on it.

9.        Remove from oven, let brisket rest for 10 minutes and serve

Quick Stir-Fry Sauce

I’ve used for chicken, beef, or just a big pile of veggies. most recently for stir fried chick tenders and stir fried veggies,

The tenders were left over the veggies frozen.

  • Base: 1/2 cup low-sodium soy sauce (or Tamari for gluten-free)
  • Sweet: 1–2 tbsp brown sugar or honey  
  • Aromatics: 2 cloves garlic (minced) and 1 tsp fresh ginger (grated)
  • Thickener: 1 tbsp cornstarch
  • Depth: 1 tsp toasted sesame oil
  • Optional Liquid: 1/4 cup chicken or vegetable broth (if you want more volume) 1  

Peanut Sauce

(makes about 1 cup)

  •  cup creamy peanut butter, softened
  • 2 tablespoons reduced-sodium soy sauce, or tamari
  • 1 tablespoon rice vinegar
  • 1 ½ tablespoons honey, or maple syrup
  • 1 ½ teaspoons ground ginger
  • ¼ teaspoon garlic powder
  • 3 tablespoons water, add more, a teaspoon at a time, if needed
  • Sriracha, optional—but a must for spice lovers!
  • Salt to taste, start with a pinch and add more if needed

Thai Chicken Salad Sandwich with Creamy Peanut Sauce

Finely chopped chicken, crunchy cabbage, crisp veggies, and fresh herbs get tossed in a creamy Thai-inspired peanut dressing… then piled onto whole-grain bread for a crave-worthy sandwich!

Ingredients

 Chopped Chicken Salad

  • 2 cups shredded cabbage, green, purple, or a mix; or coleslaw blend
  • ½ cup shredded or matchstick carrots
  • ½ red bell pepper, thinly sliced
  • 1 to 2 scallions, chopped
  • ¼ cup chopped cilantro, optional
  • ¼ cup chopped peanuts, or cashews
  • 1 cooked chicken breast, finely chopped (about 1 to 1 ¼ cups)
  • ½ cup shelled edamame, thawed (optional)

Peanut Sauce (makes about 1 cup)

  •  cup creamy peanut butter, softened
  • 2 tablespoons reduced-sodium soy sauce, or tamari
  • 1 tablespoon rice vinegar
  • 1 ½ tablespoons honey, or maple syrup
  • 1 ½ teaspoons ground ginger
  • ¼ teaspoon garlic powder
  • 3 tablespoons water, add more, a teaspoon at a time, if needed
  • ▢Sriracha, optional—but a must for spice lovers!
  • ▢Salt to taste, start with a pinch and add more if needed

For Serving

  • 8 slices whole-grain bread

Instructions

  • Build the chopped base. Add the cabbage, carrots, bell pepper, scallions, cilantro, nuts, chopped chicken, and optional edamame to a large cutting board. Chop, chop, chop until everything is finely chopped and well combined—think classic chicken-salad texture.
  • Make the peanut sauce. In a small bowl, stir together the peanut butter, soy sauce, rice vinegar, honey, ginger, and garlic powder until smooth. Add the water to create a creamy, spoonable sauce. Stir in Sriracha and salt to taste.
  • Dress it. Pour ¾ of the dressing over the chopped salad and toss until everything is evenly coated, cohesive, and scoopable. Add more dressing until you reach the perfect consistency.
  • Chill (optional). Let the mixture rest in the fridge for 10–15 minutes so the flavors can meld and lightly chill.
  • Assemble the sandwiches. Spoon about ½ to ¾ cup filling per sandwich onto bread. Press gently, slice, and enjoy.