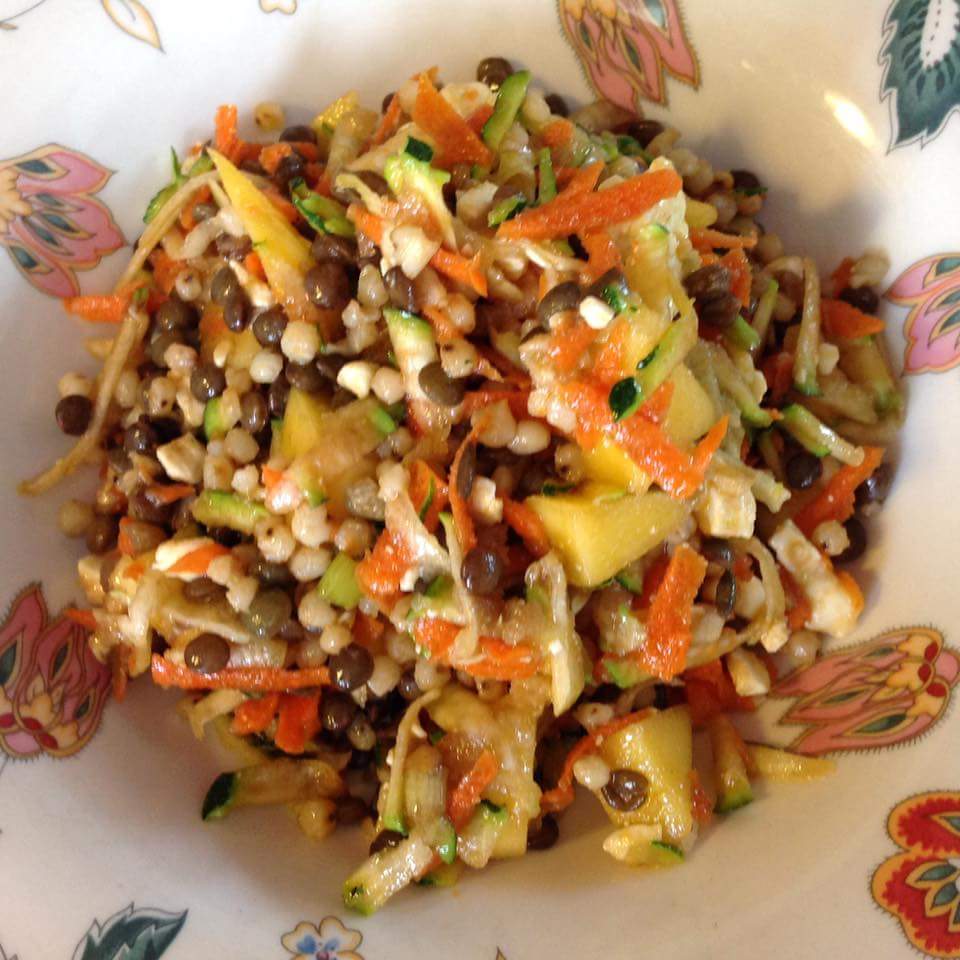
We both finished a bowl looked at each other and said I would make this again with smiles on our faces. Some how probably because I clicked follow I started getting Facebook post for Simply Sophisticated Cooking she always has the best pictures and pretty darn good recipe, so I pinned for later reference. The only thing we did not have were the Poblanos peppers but we grabbed a couple on our next grocery trip. This was a fairly simple well worth trying.
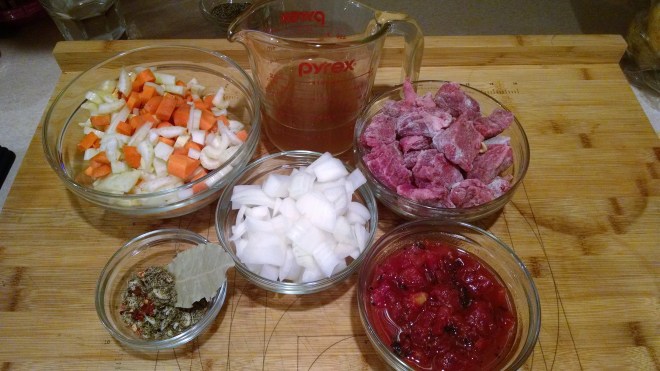
Ingredients
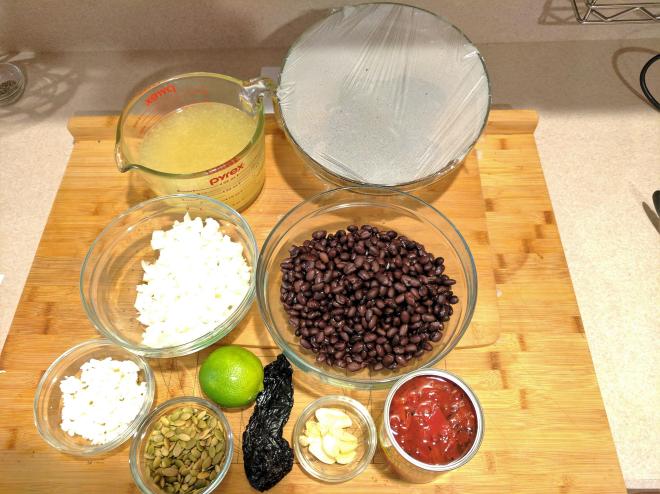
- 2 fresh poblano chiles
- 2 TBS olive oil
- 1 medium onion, peeled and finely chopped
- 4 cloves garlic, peeled and crushed
- 1 large dried ancho chile
- One 14.5 oz can of fire-roasted diced tomatoes
- 3 c. chicken or vegetable broth
- 3 c. cooked black beans (about two 14.5 oz cans, rinsed and drained)
- kosher salt to taste
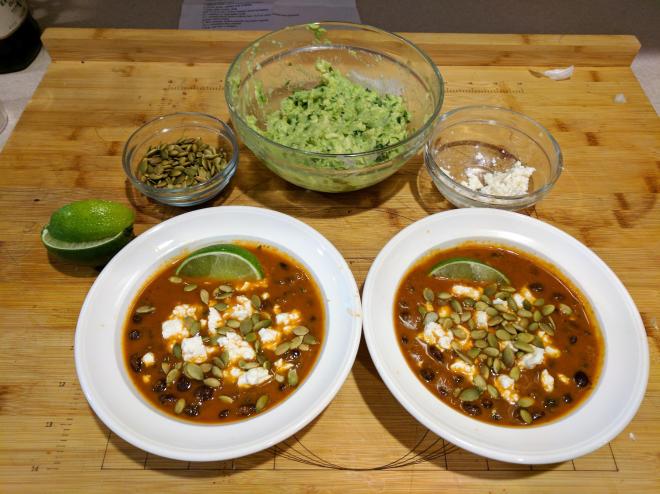
- 4 TBS roasted, salted pepitas (pumpkin seeds) – we alwasy have raw on hand so I just pan toasted these
- 1/2 c. crumbled feta cheese
- 1 lime, cut into 4 wedges
How
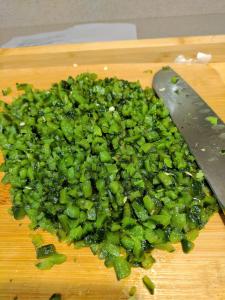
Preheat the broiler. Place the poblanos on a foil-lined baking tray, and broil for 8-12 minutes, turning every few minutes with tongs, until the peppers are blackened all over. Remove the peppers from the oven, and place them in a bowl, covering the bowl immediately with plastic wrap. Let the peppers steam under the plastic wrap for 15 minutes, then peel off and discard their skins, remove and discard the seeds and stems, and finely dice the pepper flesh.

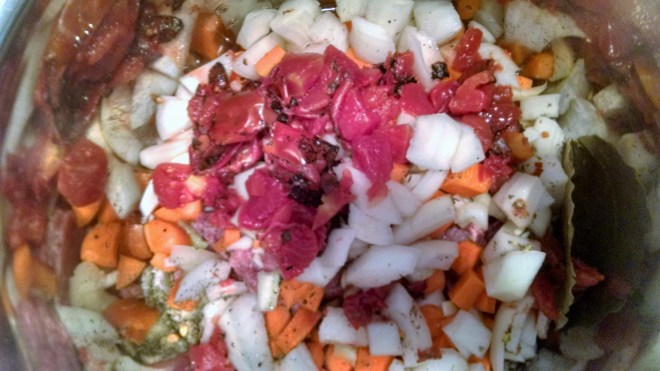
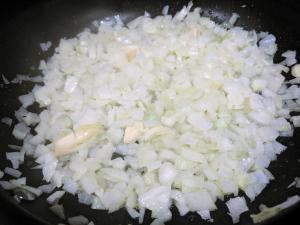
Heat the olive oil in a large saucepan over medium heat. Add the chopped onion and crushed garlic cloves and sauté until onion is golden brown, about 8-10 minutes.
Remove the seeds and stem from the dried ancho chile and discard. Place the ancho chile in the pan with the garlic and onion and cook, stirring, until chile has softened and become pliable, about 1-2 minutes.
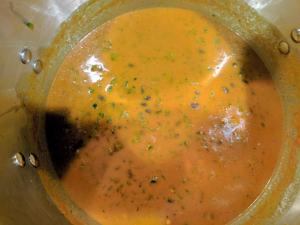
Add the garlic, onion, ancho chile, and tomatoes to a blender and puree until smooth, then return the puree to the saucepan.

Stir in the broth, then bring to a boil. Reduce heat to a simmer, and simmer until the soup is thickened, about 10-15 minutes. Stir in the beans and the diced poblanos and cook until heated through, about 3-5 minutes. Season to taste with salt.


Divide the soup between 3 or 4 bowls, topping each with 1 TBS of pumpkin seeds, 2 TBS of crumbled feta cheese, and a squeeze of lime juice. Serve immediately.
Share my babble with a friend:


 Step 1: Set the turkey breast side up. Cross the legs and loop a piece of kitchen twine over, around and under the crossed legs several times, tying securely.
 Step 2: Tuck the first joint of each wing under the body of the bird.