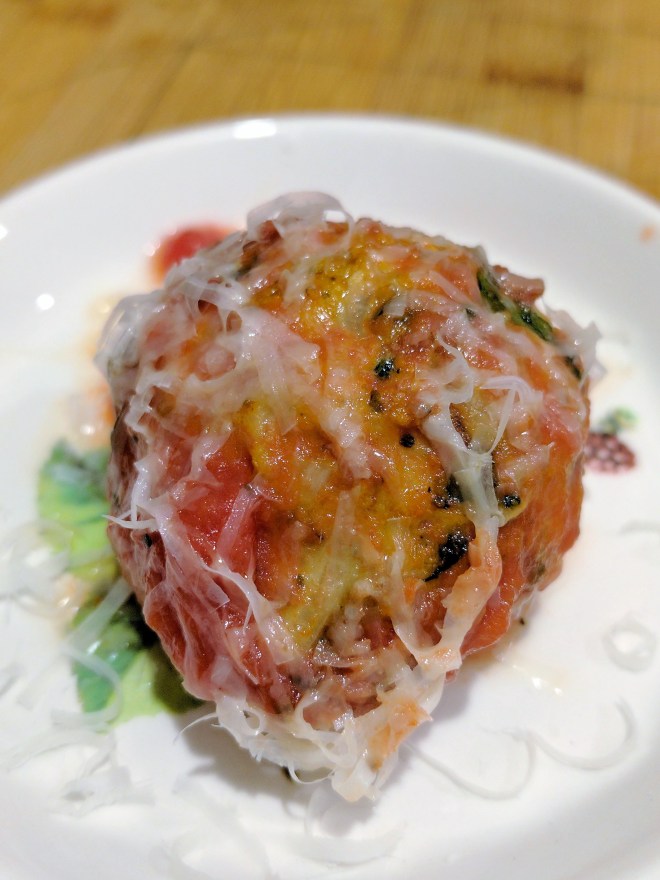
Gluten-Free Italian Baked Turkey Meatballs

Gluten-Free Italian Baked Turkey Meatballs

Another simple recipe that was pretty good.


Prep Time: 10 minutes

Cook Time: 30 minutes

Total Time: 40 minutes

Yield: 12 balls

Serving Size: 4

This healthy gluten-free version of baked turkey meatballs uses oats instead of breadcrumbs. It’s a great easy spin on a classic Italian meatball recipe.

Ingredients
glutenfree-meatballs-2

  • 1 1/4 pound ground dark meat turkey or chicken
  • 1 extra large egg, beaten
  • 2 tablespoons tomato paste
  • 2 tablespoons extra virgin olive oil
  • ¼ cup finely chopped parsley
  • 2 garlic cloves, minced
  • 1 large shallot, minced
  • 1 teaspoon sea salt
  • ½ teaspoon smoked paprika
  • ½ teaspoon red chili flakes
  • 1/3 cup grated aged parmesan cheese
  • ½ cup gluten-free oats
  • 2 cups tomato sauce (preferably homemade, oh Lyn could you make up a batch of your sauce?)

Instructions

Preheat the oven to 400 degrees F.

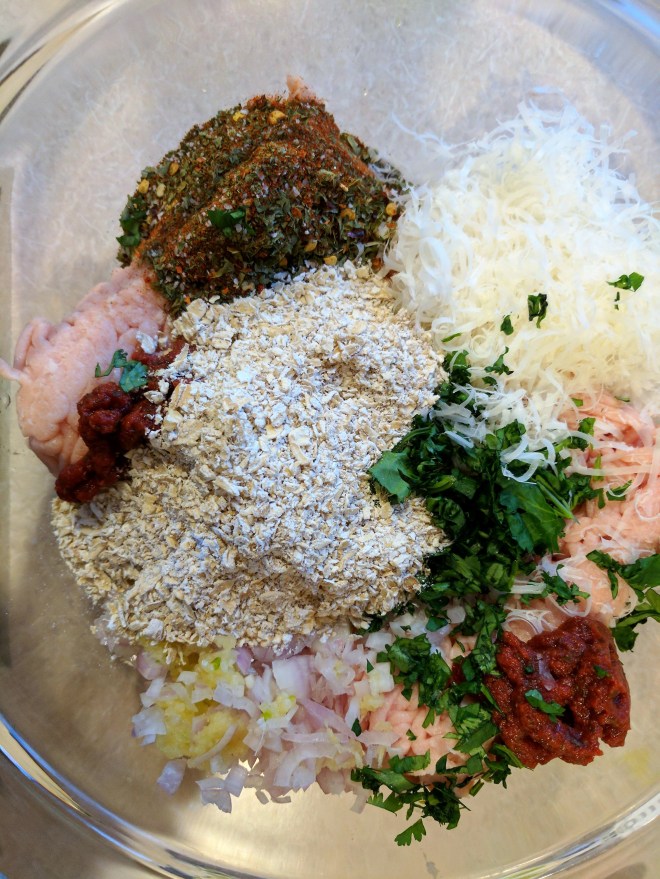
In a large bowl, combine the ground turkey or turkey, egg, tomato paste, olive oil, parsley, garlic, shallot, salt, paprika, chili flakes, and Parmesan.

In a small food processor, pulse the oats until coarsely ground. Add to the bowl. With clean hands, mix the turkey with the other ingredients until loosely combined. You don’t want to overly break up the meat.
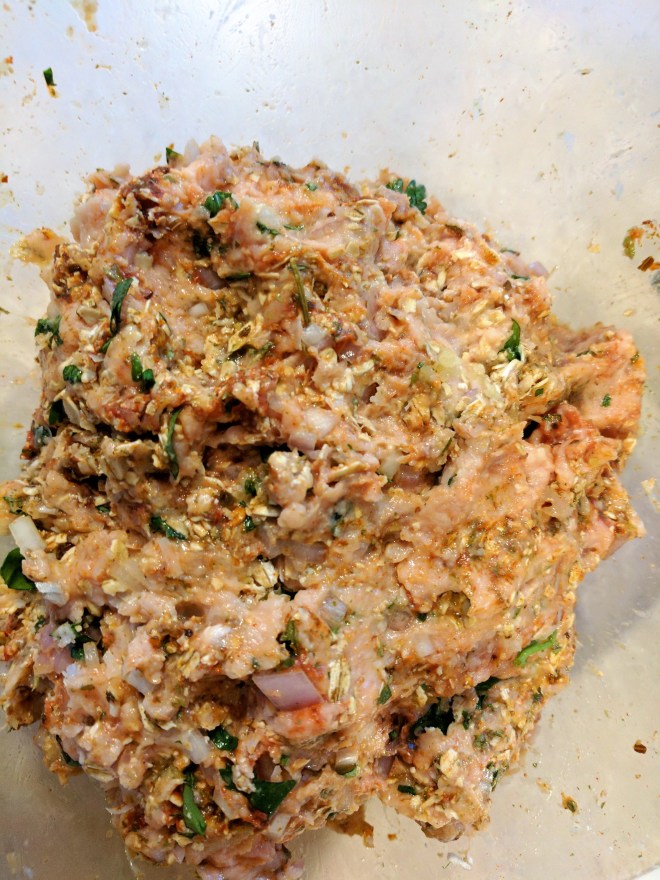
glutenfree-meatballs-3

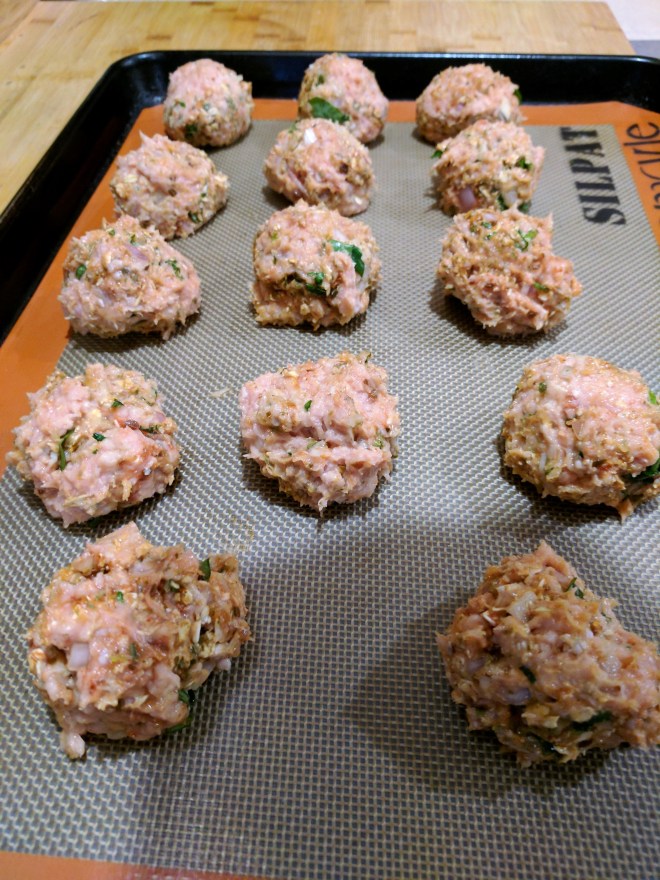
Form the turkey into 2-inch balls (an ice cream scoop works well for portioning) and roll in your hands until round and smooth. Arrange the balls on a parchment-lined baking sheet and bake in the oven until cooked through and beginning to brown on the bottom, about 20-25 minutes.
glutenfree-meatballs-4

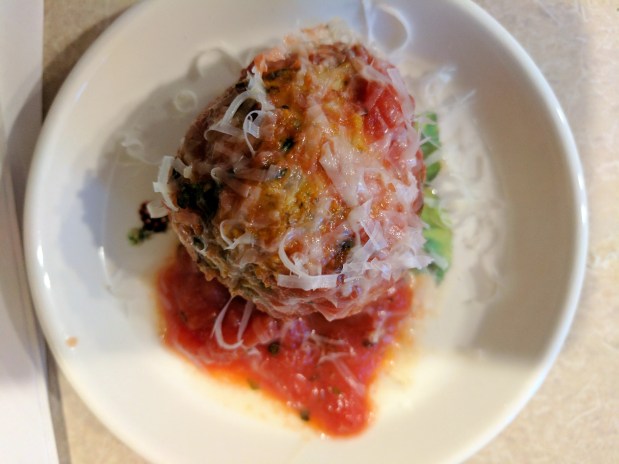
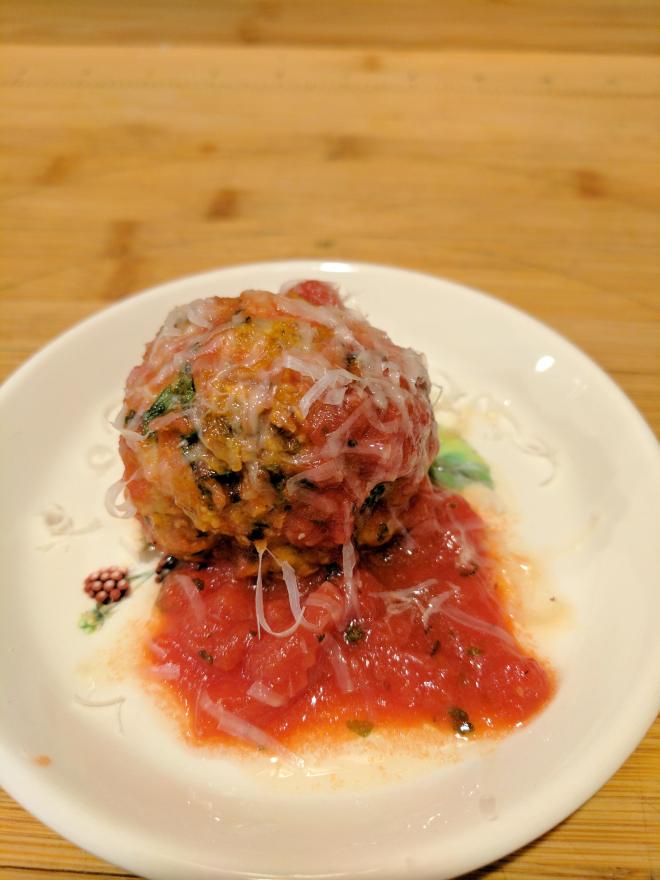
Toss the meatballs with your favorite tomato sauce and serve immediately.


glutenfree-meatballs-11

You gets no bread with one meatball

glutenfree-meatballs-9

Trussing the Turkey

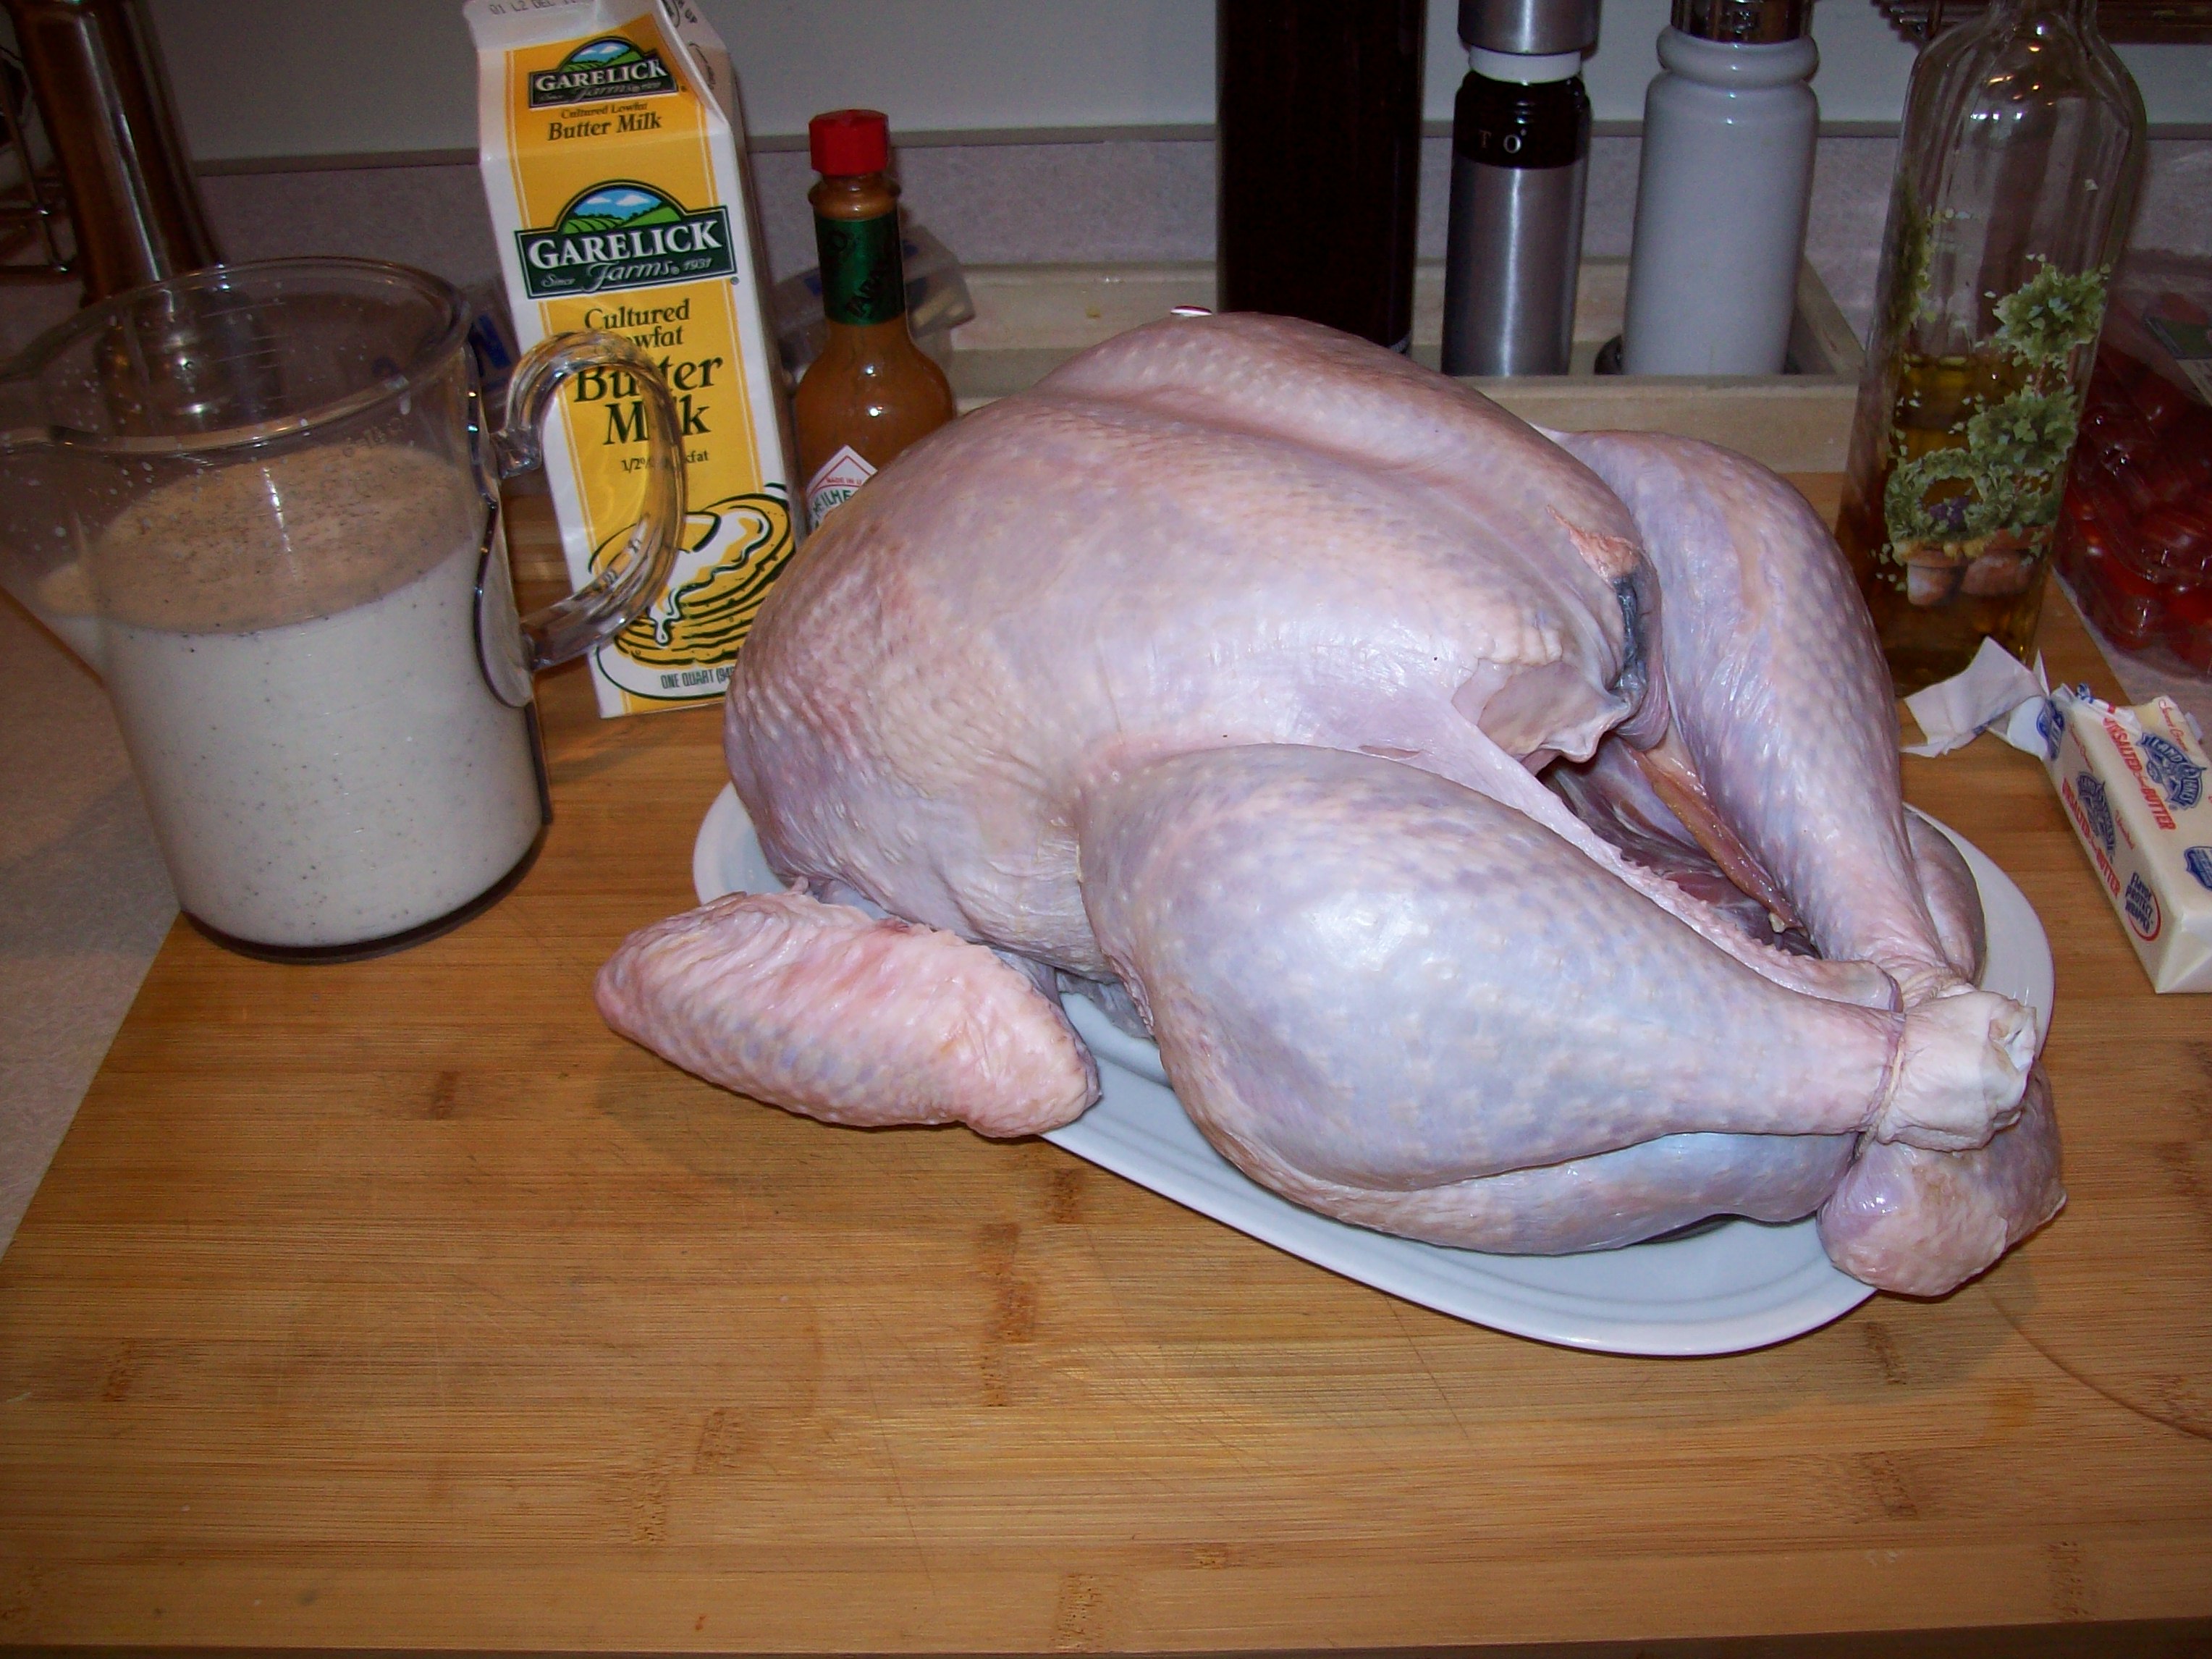
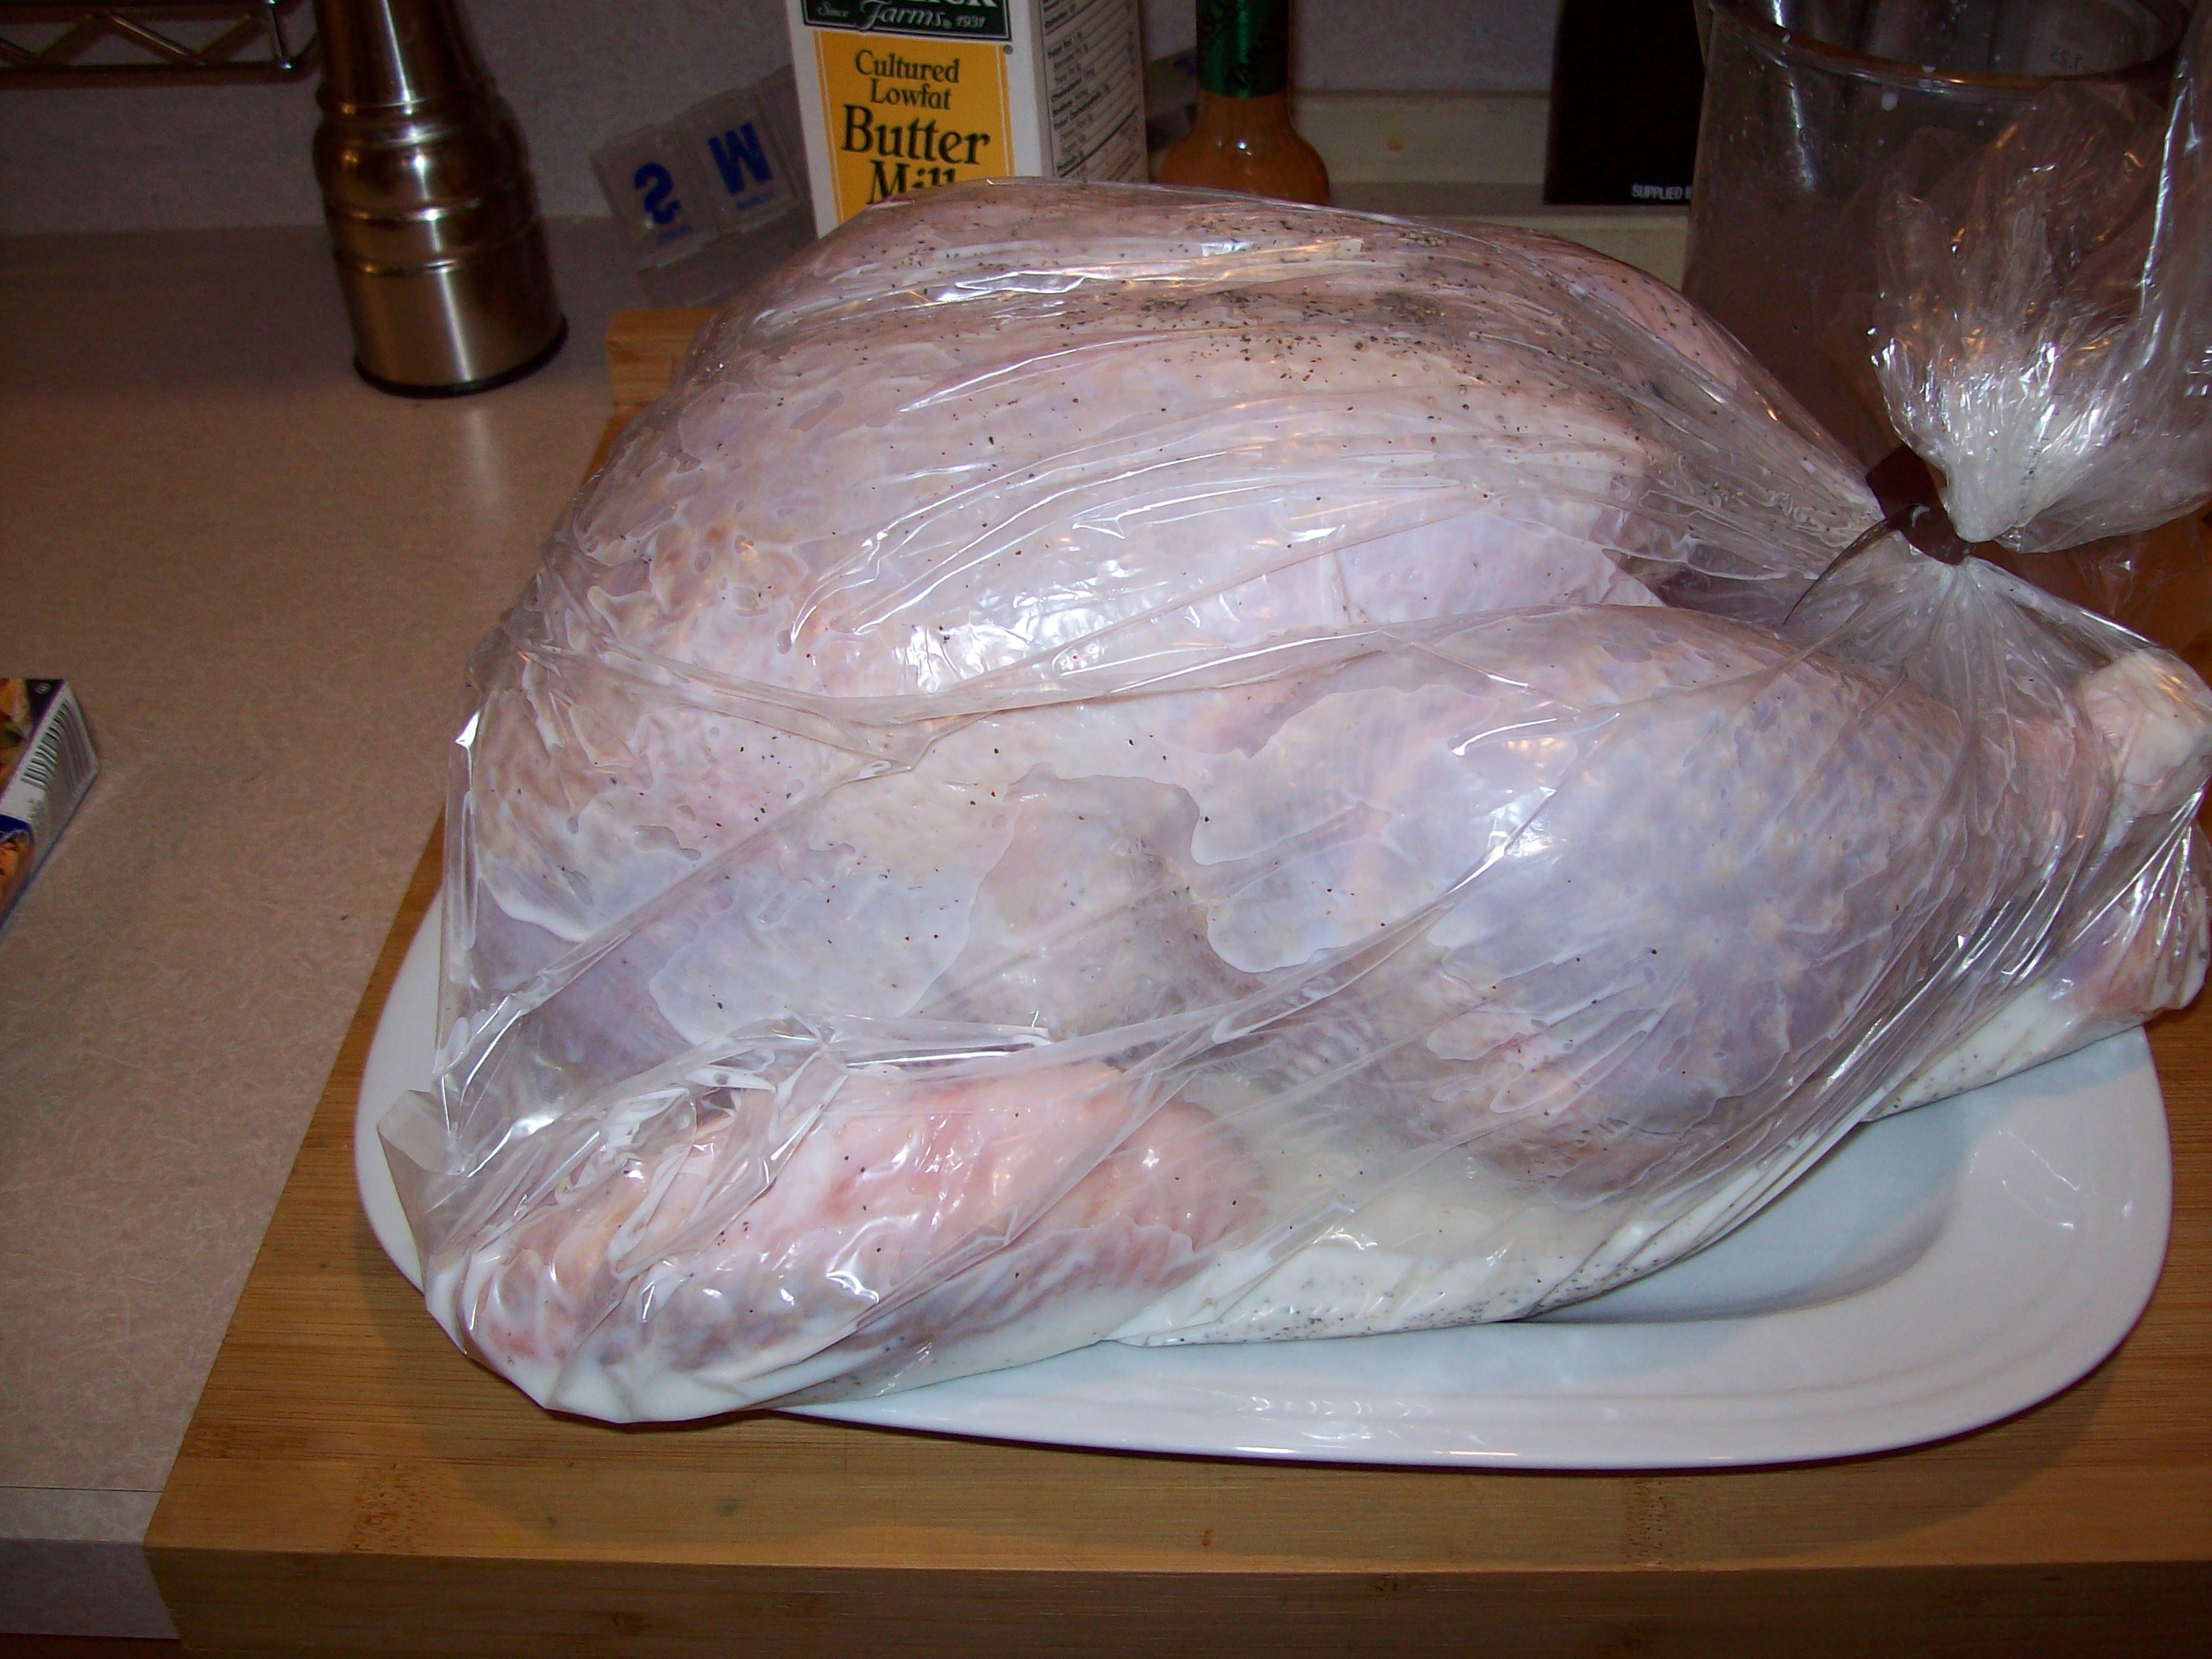
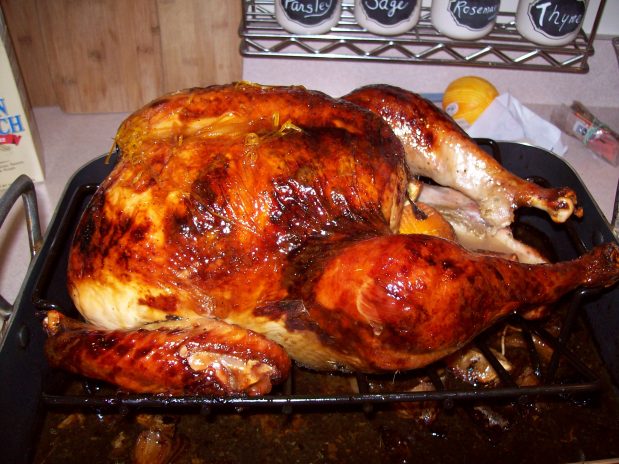
Trussing the Turkey not sure about you but I always forget exactly how to do this, its not hard or rocket science but the memory fails!s these days. Martha had a different way, over under and around. She made it look simple but I can never remember how. I think I posted here or Pinterest last year. So much for my online cookbook LOL the actual reason for this blog. I might think about trussing the wings flat agianst the sides rather than tucking under but then again maybe not.  Anyway Happy Thanksgiving to all, probably just me who will read this. Oh yeah this year I’m trying buttermilk brining the Turkey. Lyn suggested we should do it the same way every year so we remember how but heck where’s the fun in that? This year it is going to be another great Silver Springs bird. The first year ever without Mike who is taking a train across country and then off to Hawaii with Reyn.

Trussing an Unstuffed Turkey

  • Trussing the TurkeyStep 1: Set the turkey breast side up. Cross the legs and loop a piece of kitchen twine over, around and under the crossed legs several times, tying securely.
  • Trussing the TurkeyStep 2: Tuck the first joint of each wing under the body of the bird.
  • Trussing the Turkey

    Trussing a Stuffed Turkey
    Just before roasting, fill the body and neck cavities loosely with dressing; do not overfill. Pass trussing pins through the skin on both sides of the body cavity. Starting at the topmost pin, lace a piece of kitchen twine back and forth as you would shoelaces. Pull it snug and tie it securely at the bottom. Pull the neck skin over the dressing and fasten it underneath with trussing pins or sturdy toothpicks. Truss the legs and tuck the wings under as directed for an unstuffed turkey at left.

Roasting a Turkey tips from Williams Sonoma

Roasting a Turkey tips from Williams Sonoma

Roasting the Turkey


I think we’ll do a buttermilk turkey  but try it as a brine this year. got to make space in frig for 24 to 36 hour bath.

The information that follows includes general guidelines for roasting a turkey. If you are using a turkey recipe from one of our Thanksgiving menus, follow the specific techniques described in the recipe.

What Size Turkey to Buy
To ensure ample servings for Thanksgiving dinner as well as generous leftovers, allow for 1 to 1 1/4 lb. of turkey per person.

What Size Pan to Use
For best results, roast your turkey on a wire rack in an open roasting pan. Because of the turkey’s weight, a sturdy pan with good handles is recommended. If you use a foil roasting pan, double it for extra strength and take special care when transferring it into and out of the oven.

Turkey Weight Minimum Pan Size
Up to 12 lb. 14″ x 10″ x 2 3/4″ high (small)
Up to 16 lb. 15 3/4″ x 12″ x 3″ high (medium)
Up to 20 lb. 16″ x 13″ x 3″ high (large)


Remove the turkey from the refrigerator 1 hour before roasting. Do not leave the turkey at room temperature longer than 1 hour.

Roasting an Unstuffed Turkey
The times listed below are calculated for an unstuffed turkey brought to room temperature and roasted at 400°F, breast side down, for the first 45 minutes, then turned breast side up and roasted at 325°F until done.

Turkey Weight Approximate Roasting Time
10 to 12 lb. 2 1/2 to 3 hours
12 to 14 lb. 2 3/4 to 3 1/4 hours
14 to 16 lb. 3 to 3 3/4 hours
16 to 18 lb. 3 1/4 to 4 hours
18 to 20 lb. 3 1/2 to 4 1/4 hours
20+ lb. 3 3/4 to 4 1/2 hours


Roasting a Stuffed Turkey
Stuff the turkey just before putting it in the oven (do not stuff it earlier). Spoon the dressing loosely into the body and neck cavities. Do not overfill, as the dressing will expand during roasting. Truss the turkey (see related tip at left).

To facilitate removing the stuffing, first line the inside of the cavity with a double layer of cheesecloth, allowing it to extend beyond the cavity by a few inches. Then spoon the stuffing inside. After roasting the bird, gently pull the overhanging cheesecloth and the stuffing will slip out easily, neatly tucked inside the cheesecloth.

To ensure that a stuffed turkey cooks evenly, roast the bird slowly, breast side up, at 325°F, covering the breast loosely with foil for the first two-thirds of the roasting time. Using the chart above, add about 30 minutes to the total cooking time for stuffed birds weighing 16 lb. or less, and about 1 hour for birds weighing more than 16 lb.

Additional Tips
1. After taking the turkey out of the oven, let it rest for 20 to 30 minutes. This allows time for some of the juices to be absorbed back into the meat, which makes it easier to carve and more moist.

2. If roasting a stuffed bird, remove all of the stuffing at serving time.

3. After dinner, remove any remaining meat from the bones and refrigerate the leftovers.

SHAWARMA-SPICED GRILLED CHICKEN WITH GARLIC YOGURT

SHAWARMA-SPICED GRILLED CHICKEN WITH GARLIC YOGURT

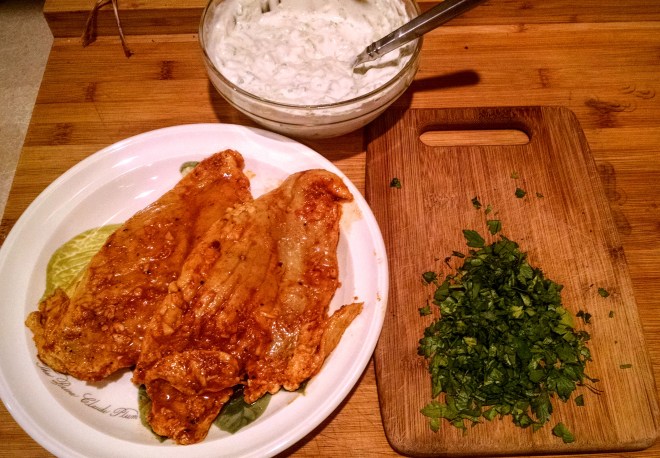
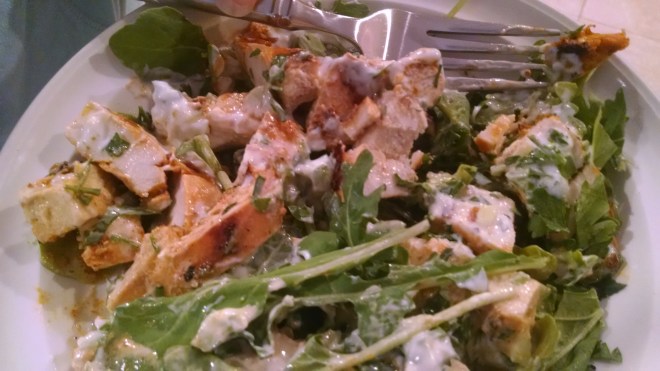
Lyn and I both agreed that the combination of spice was pretty darn good. I added some diced cucumbers in the sauce.  Easy to prepare cooks in no time.


Cook Time: 15 minutes

An easy, grilled chicken version of the classic Turkish street food which is usually cooked on a rotating spit. It is perfect served over couscous with yogurt and cucumbers as I did here, or try it with rice pilaf, or on a pita.  Other sides that would work are tomatoes, tahini, olives, feta, or hummus. Harissa would also work great to add some spice!

INGREDIENTS:

CHICKEN:

  • 1 pound (2) boneless, skinless chicken breasts, cut in half lengthwise
  • 1 tablespoons extra virgin olive oil
  • Juice from 1 medium lemon
  • 3 garlic cloves, minced
  • 1 teaspoon cumin
  • 1 teaspoon smoked paprika
  • ¼ teaspoon turmeric
  • ¼ teaspoon curry powder
  • 1/8 teaspoon cinnamon
  • Pinch red pepper flakes
  • 1 teaspoon kosher salt
  • Freshly ground black pepper, to taste

wp-1464737767428.jpg

GARLIC YOGURT SAUCE:

  • 1 (7-ounce) container 2% Greek yogurt
  • 2 teaspoons lemon juice
  • 2 garlic cloves, finely minced
  • 1/8 tsp kosher salt
  • Chopped parsley (for garnish)

DIRECTIONS:

  • Place the chicken breasts, 1 at a time, in a Ziploc bag.
  • Pound each breast to an even thickness, about ½-inch thick, being careful not to puncture the bag.
  • Place pounded chicken breasts back into bag and set aside.
  • In a medium bowl, combine olive oil and lemon juice.  Whisk until combined.
  • Add the garlic, cumin, paprika, turmeric, curry powder, cinnamon, red pepper, salt and black pepper and whisk again.
  • Pour the marinade into the bag with the chicken, massaging it to evenly coat.
  • Refrigerate and marinate for at least 1 hour, up to overnight.
  • In a small bowl (or right in the container), combine the yogurt, garlic, lemon juice and salt.
  • Stir to combine and refrigerate until ready to use.
  • Over medium-high heat, grill the chicken for 3 minutes or until it no longer sticks to the grill.
  • Turn the chicken and grill an additional 3-4 minutes.
  • Allow the chicken to rest for 5 minutes then slice it thinly, across the grain.
  • Top each breast with 2 tablespoons sauce and a sprinkle of parsley.

Serve.

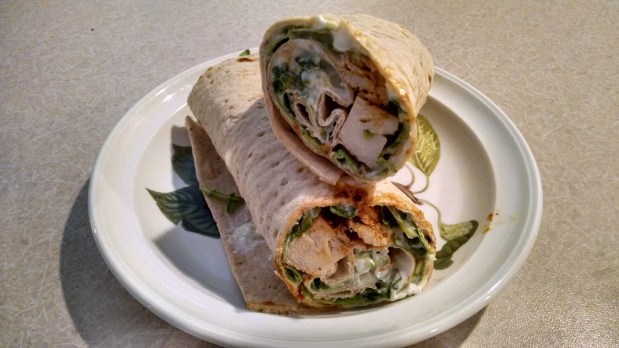
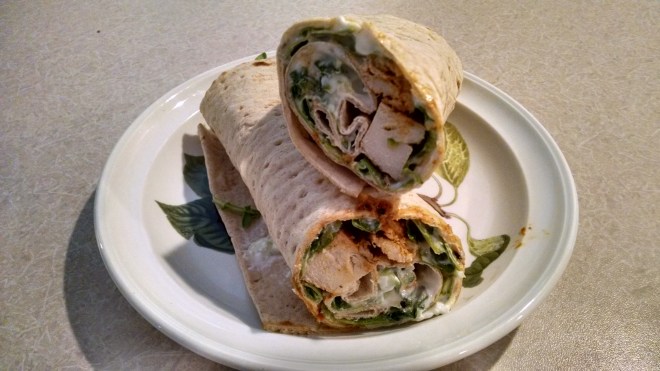
I put mine in a roll up with arugula and Lyn chopped her breast then added to some chopped arugula salad.

it was protein day so no veggies in this, arugula is a spice not a veggie, so on protein day we eat a lot of arugula.

Arugula, also known as salad or garden rocket, is one of the nutritious green-leafy vegetable of Mediterranean origin. It is a small, low growing annual herb featuring dandelion like succulent, elongated, lobular leaves with green-veins.

wp-1464737701090.jpg wp-1464737767426.jpg

Instant Pot Boneless Turkey Breast

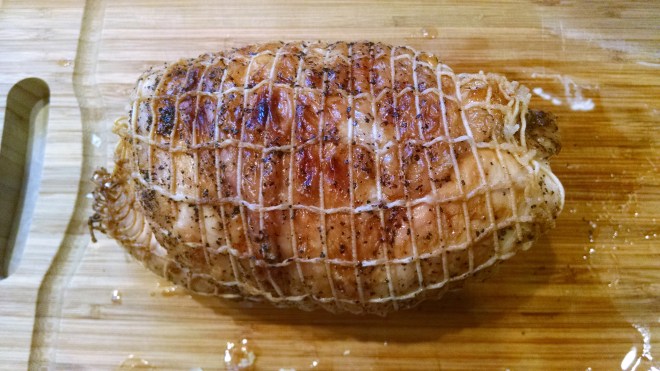
Again Lyn loves the white meat and I love Lyn so when we saw this nice little boneless turkey breast at Whole Foods we grabbed it.

I made a quick brine or smoked seat salt, some natural sugar that Lyn had in pantry and water let it sit for a few hours – I just guessed at this part.

Dried it off and browned all sides under Sautee setting.   I’m still getting used to it but I don’t like this setting don’t think it gets hot enough but you do get those brown bits on the bottom of the pan.

Remember is browning something make sure it has been patted dry or you’ll lower the temperature of the pan or just steam it.

I put the steam rake in and added a cup of broth then put the breast in.

Sealed it and pushed the poultry button.  ( Sorry I can’t remember if I added the time or not.

It came out pretty moist, tender and have to admit pretty good in fact I have some diced in my salad today.


IMG_20160313_154334978


INSTANT POT LEMON GARLIC CHICKEN THIGHS

INSTANT POT LEMON GARLIC CHICKEN THIGHS

INSTANT POT LEMON GARLIC CHICKEN THIGHS

MARCH 17, 2015 BY PREDOMINANTLYPALEO


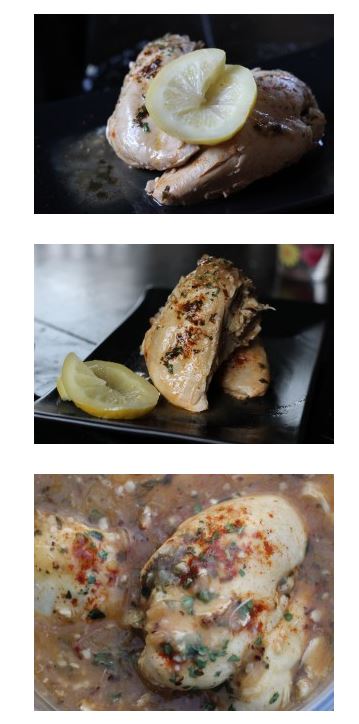
Ok I did not cook this melt in your mouth delicious entre, Lyn did and for the, as she put it, and it only took 15 minutes to cook. Man this was good especially where I am the thigh lover not as crazy about the breast meat, too dry for me although we do eat a fair amount. Also none of my pictures I borrowed Jennifer Robins.


Ingredients:

  • 1-2 pounds chicken breasts or thighs
  • 1 teaspoon sea salt
  • 1 onion, diced
  • 1 tablespoon avocado oil, lard, or ghee
  • 5 garlic cloves, minced
  • 1/2 cup organic chicken broth or homemade
  • 1 teaspoon dried parsley
  • 1/4 teaspoon paprika (omit for AIP)
  • 1/4 cup white cooking wine (omit for AIP)
  • 1 large lemon juiced (or more to taste)
  • 3-4 teaspoons (or more) arrowroot flour
  1. Turn your Instant Pot onto the saute feature and place in the diced onion and cooking fat
  2. Cook the onions for 5-10 minutes or until softened. You can also choose to cook until they start to brown
  3. Add in the remaining ingredients except for the arrowroot flour and secure the lid on your Instant Pot
  4. Select the “Poultry” setting and make sure your steam valve is closed
  5. Allow cook time to complete, release steam valve to vent and then carefully remove lid
  6. At this point you may thicken your sauce by making a slurry. To do this remove about 1/4 cup sauce from the pot, add in the arrowroot flour, and then reintroduce the slurry into the remaining liquid
  7. Stir and serve right away. This also reheats well as leftovers

garlic lemon chicken

Maple Dijon Chicken

Maple Dijon Chicken

I know I have been quiet recently I think it is the cold coupled with the snow it has been storm after storm and bitter cold it just slows one down. You just want to pull the blanket up to the chin and snuggle with your honey, although I snore so snuggling with me can be rough. Anyway I got a new hone and want to try out the camera compared to Lyn’s old 3 Megapixel hand held camera.  She got that camera as a gift I think it was for her 10 year anniversary with Harvard Health this year was 15 and she chose binoculars bird watching will be fun this year if she shares. I hear the spring birds outside every morning it sounds nice even when you walk out there and your nostrils freeze shut. I throw them some seeds, don’t tell Lyn, and they are very appreciative.  So let me know what you think of the pictures I hope to get better when I become more acquainted with my new Motto X. Funny up until a few years ago Mike used to come to me and ask how do you do this and that on a computer and now I feel like my parents asking him stuff all the time. At least it is a good excuse to hear his voice, I like that voice a lot.

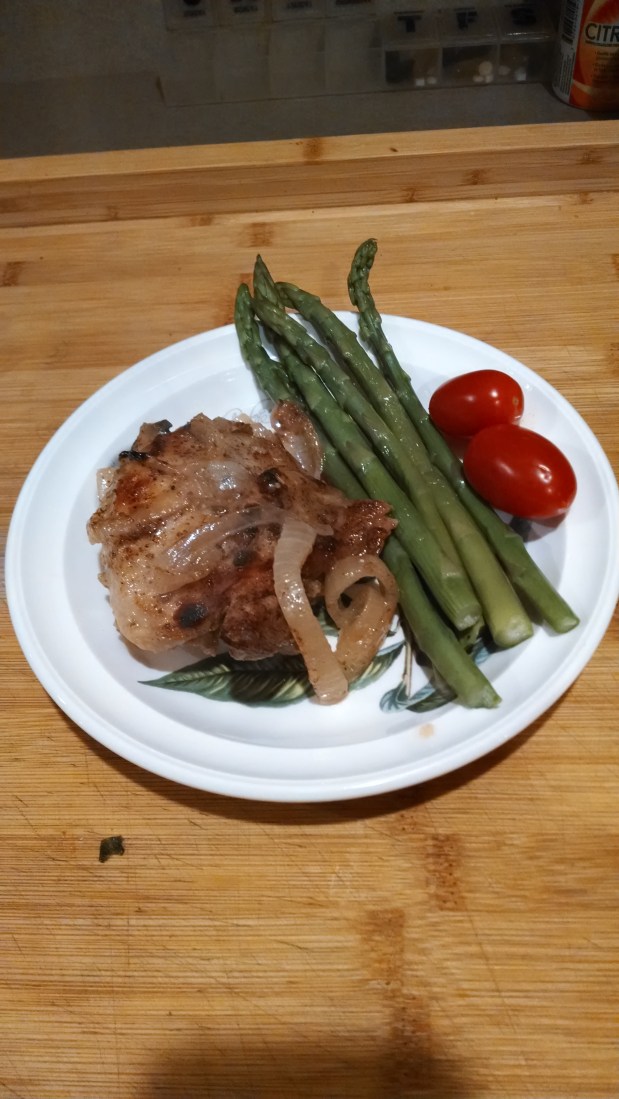
Here is my quick version of the jittery cooks Maple Dijon Chicken I posted last week it was soooooo good. She says 3 minutes and it does take 3 minutes to prepare just a little longer to cook but worth it.

IMG_20140304_170930025

Maple Dijon Chicken 

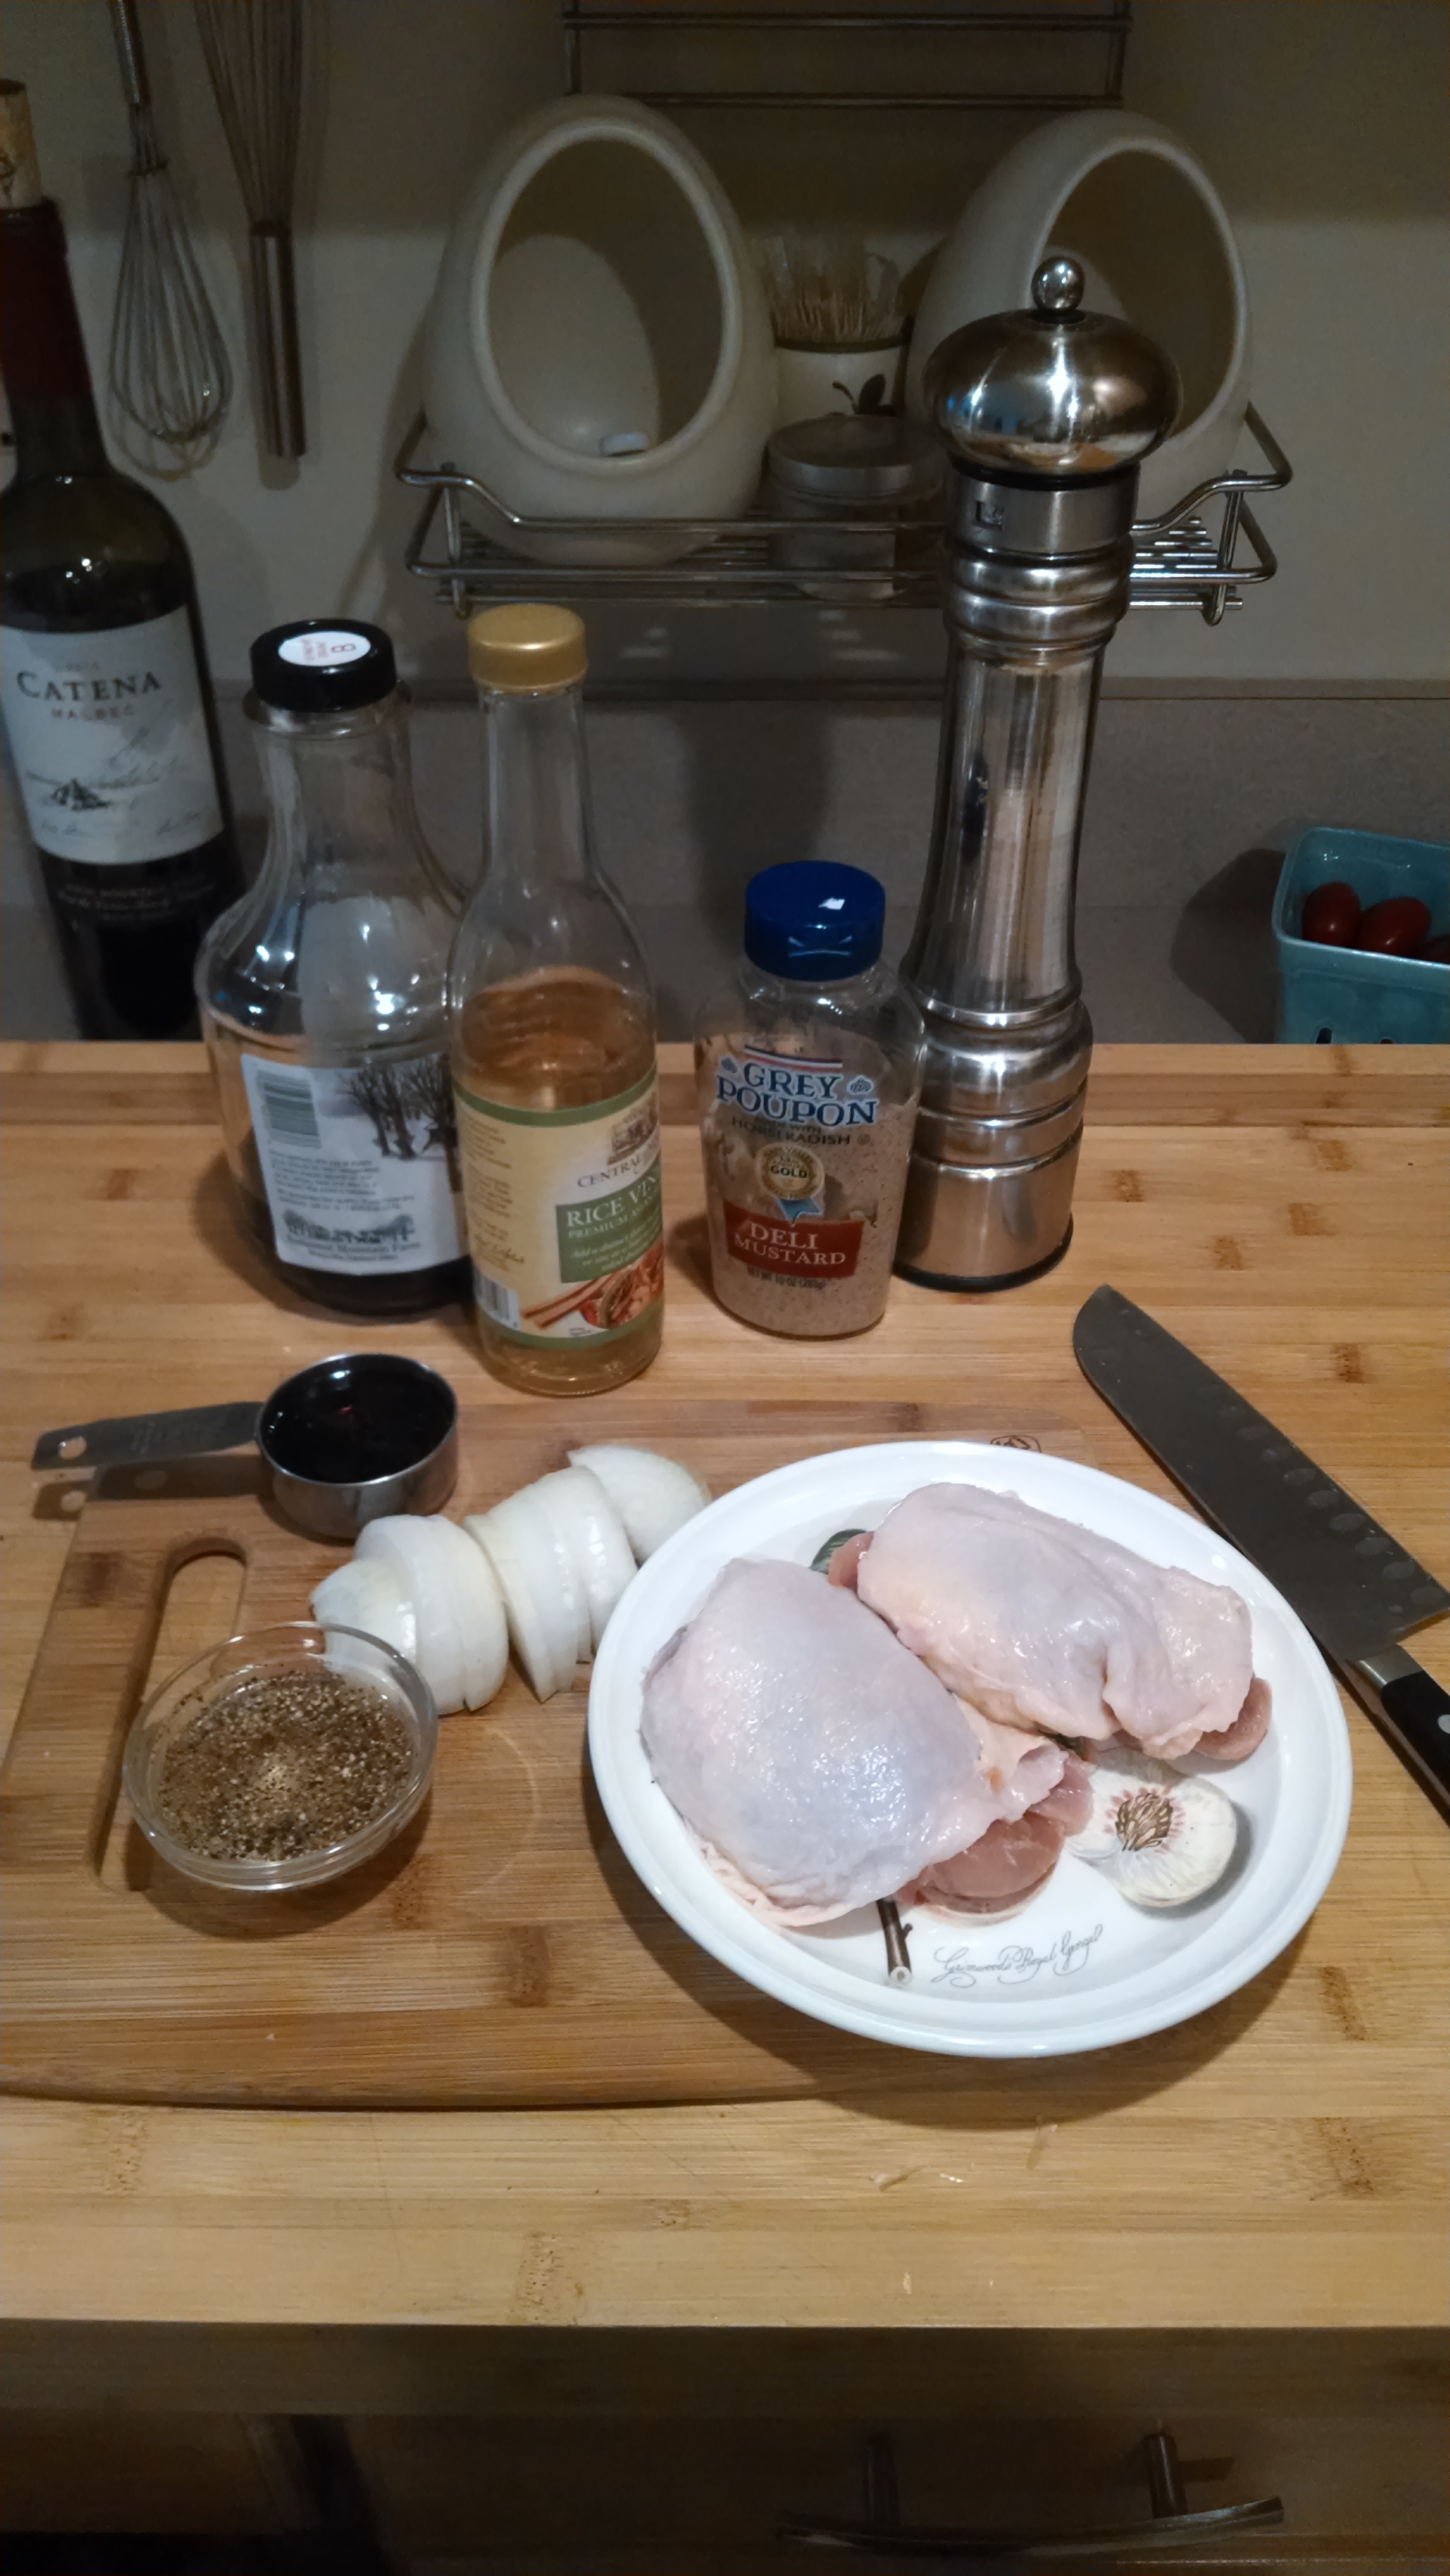
  • 1 whole      chicken, cut into 8 – I only had two thighs
  • 2 onions,      halved, then sliced – I only used only 1

Maple Dijon Sauce

I always make the about same amount of sauce even when I don’t have as much chicken

I also think the sauce would be great on salmon just thicken it up slight

  • 1/2 c      Dijon mustard – I had some deli mustard with horseradish
  • 1/4 c      maple syrup
  • 2 T      unseasoned rice vinegar
  • 1/2 t      kosher salt
  • 1/4 t      freshly ground black pepper

Preheat the oven to 350F.

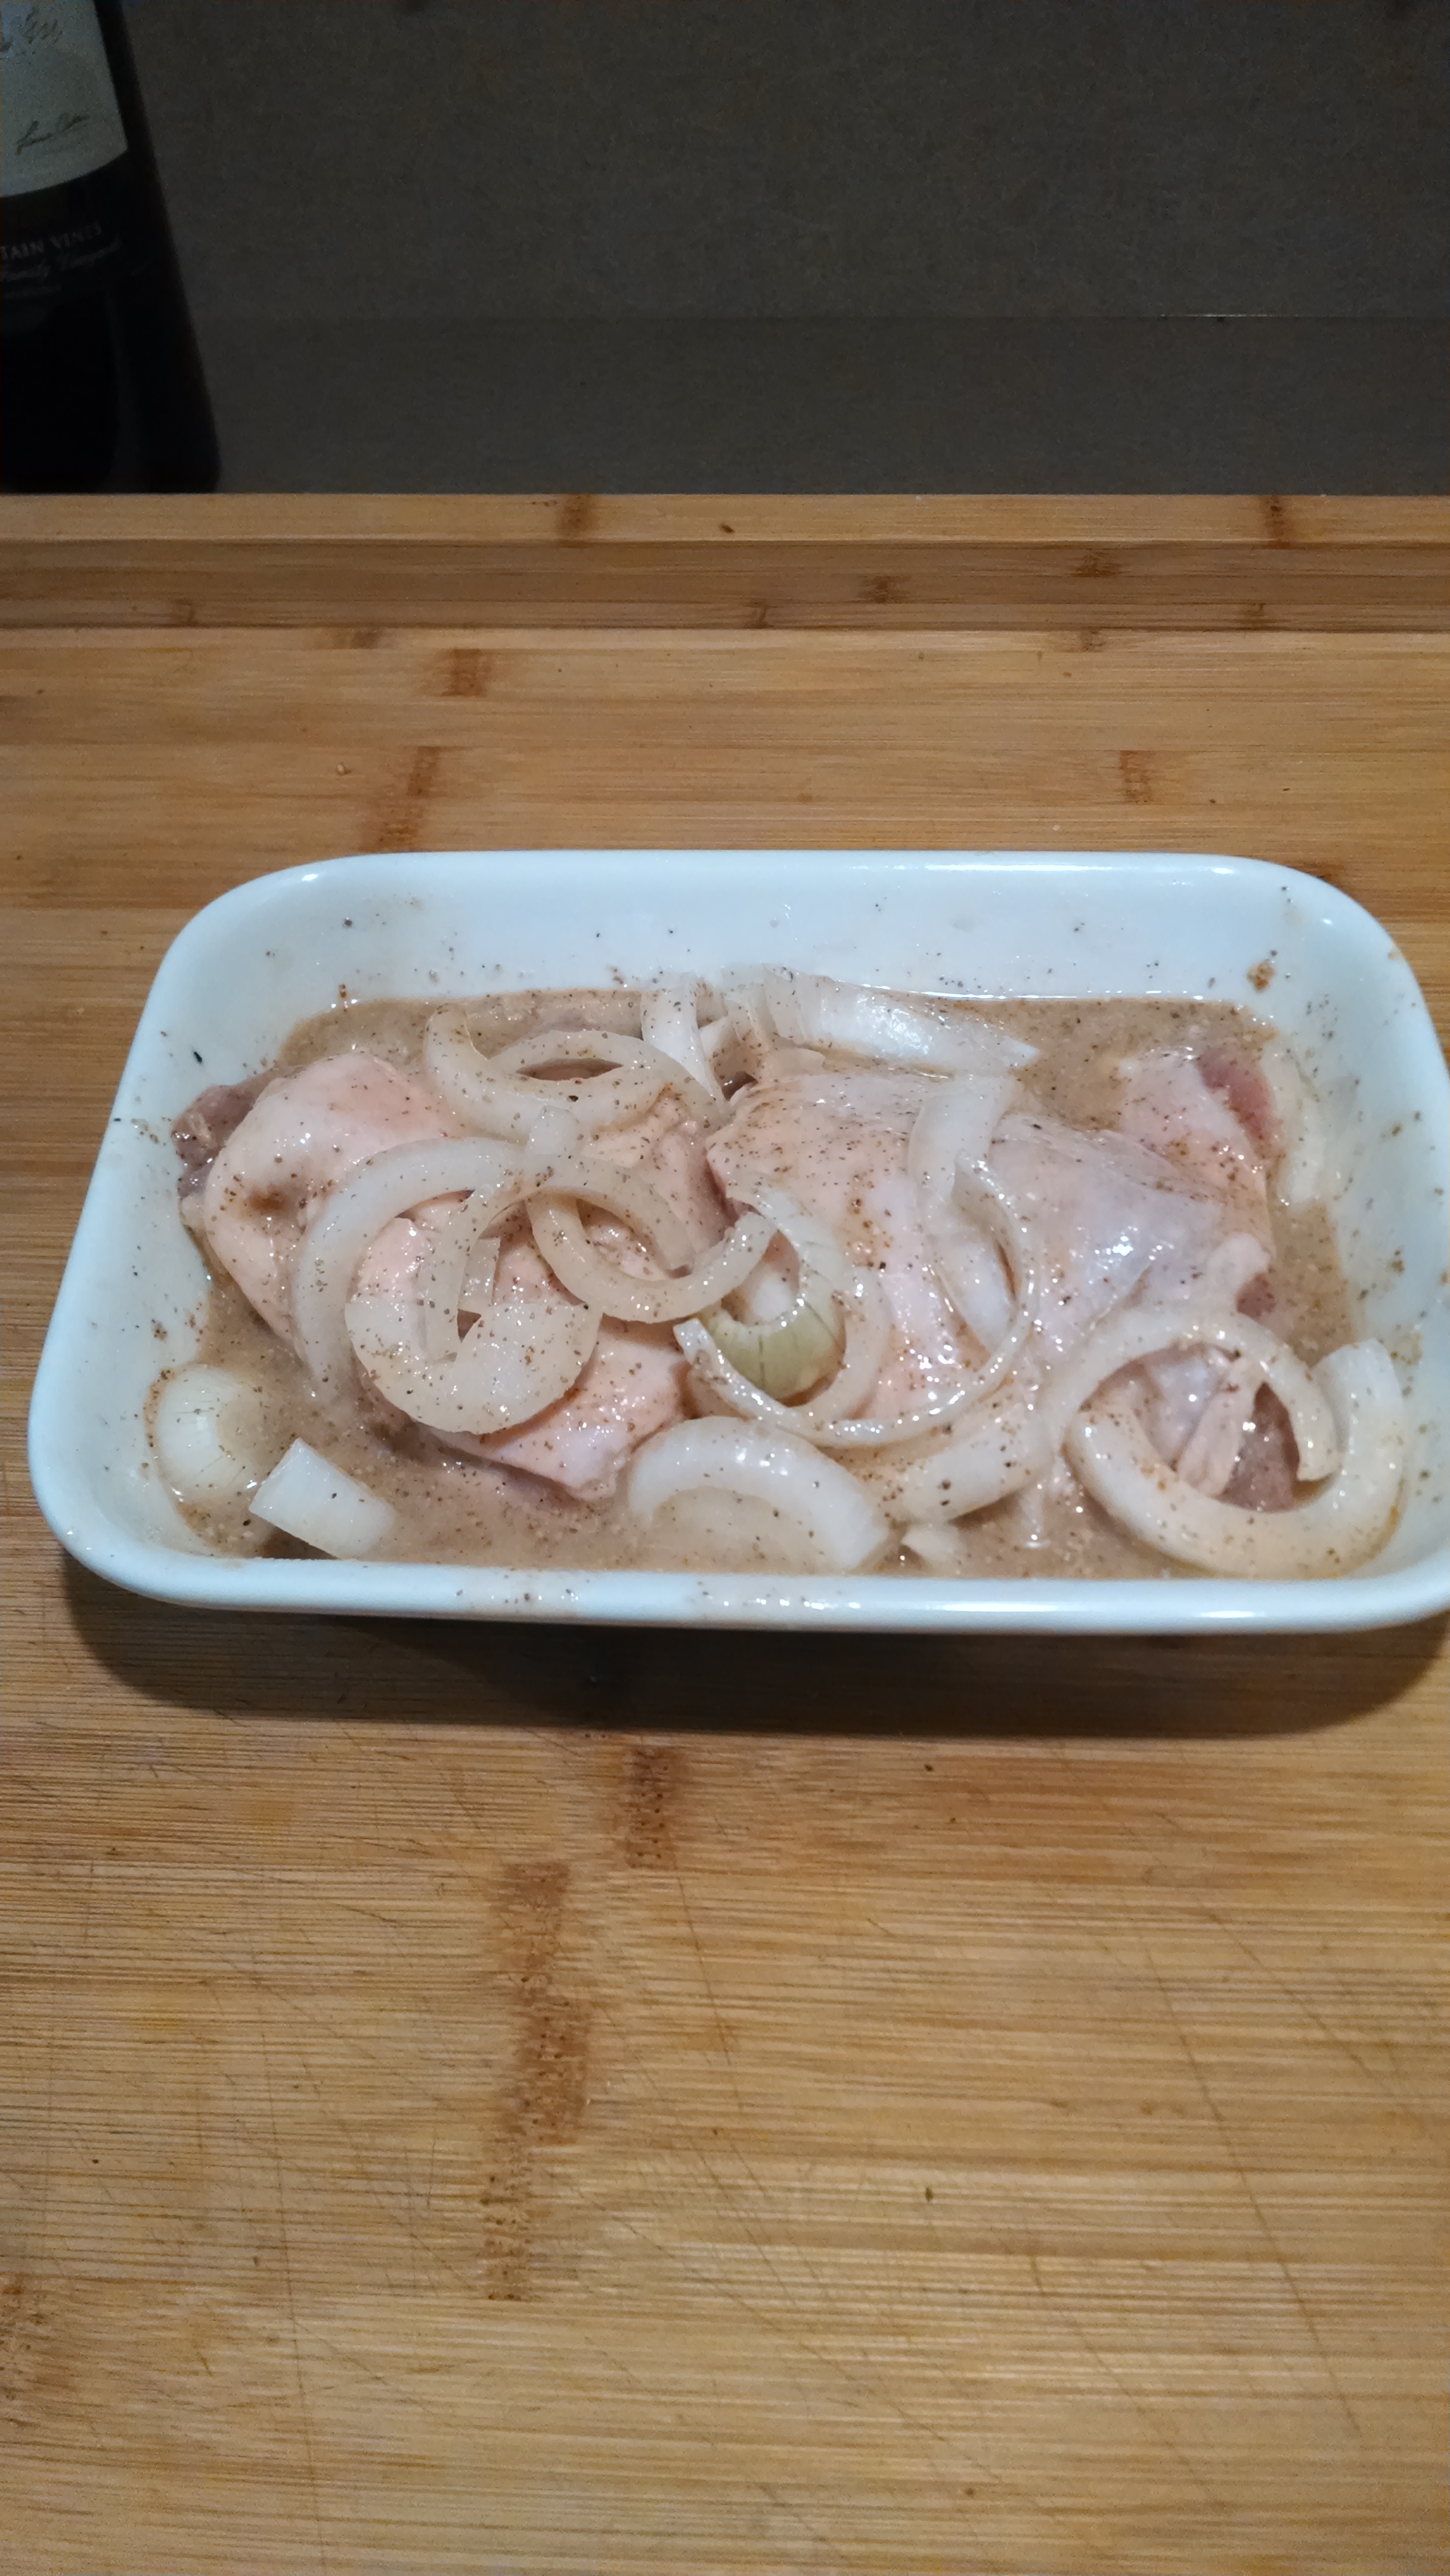
Mix the sauce ingredients in a 9×13-inch baking dish, then coat the chicken and onions very thoroughly in the sauce. IMG_20140304_171346991

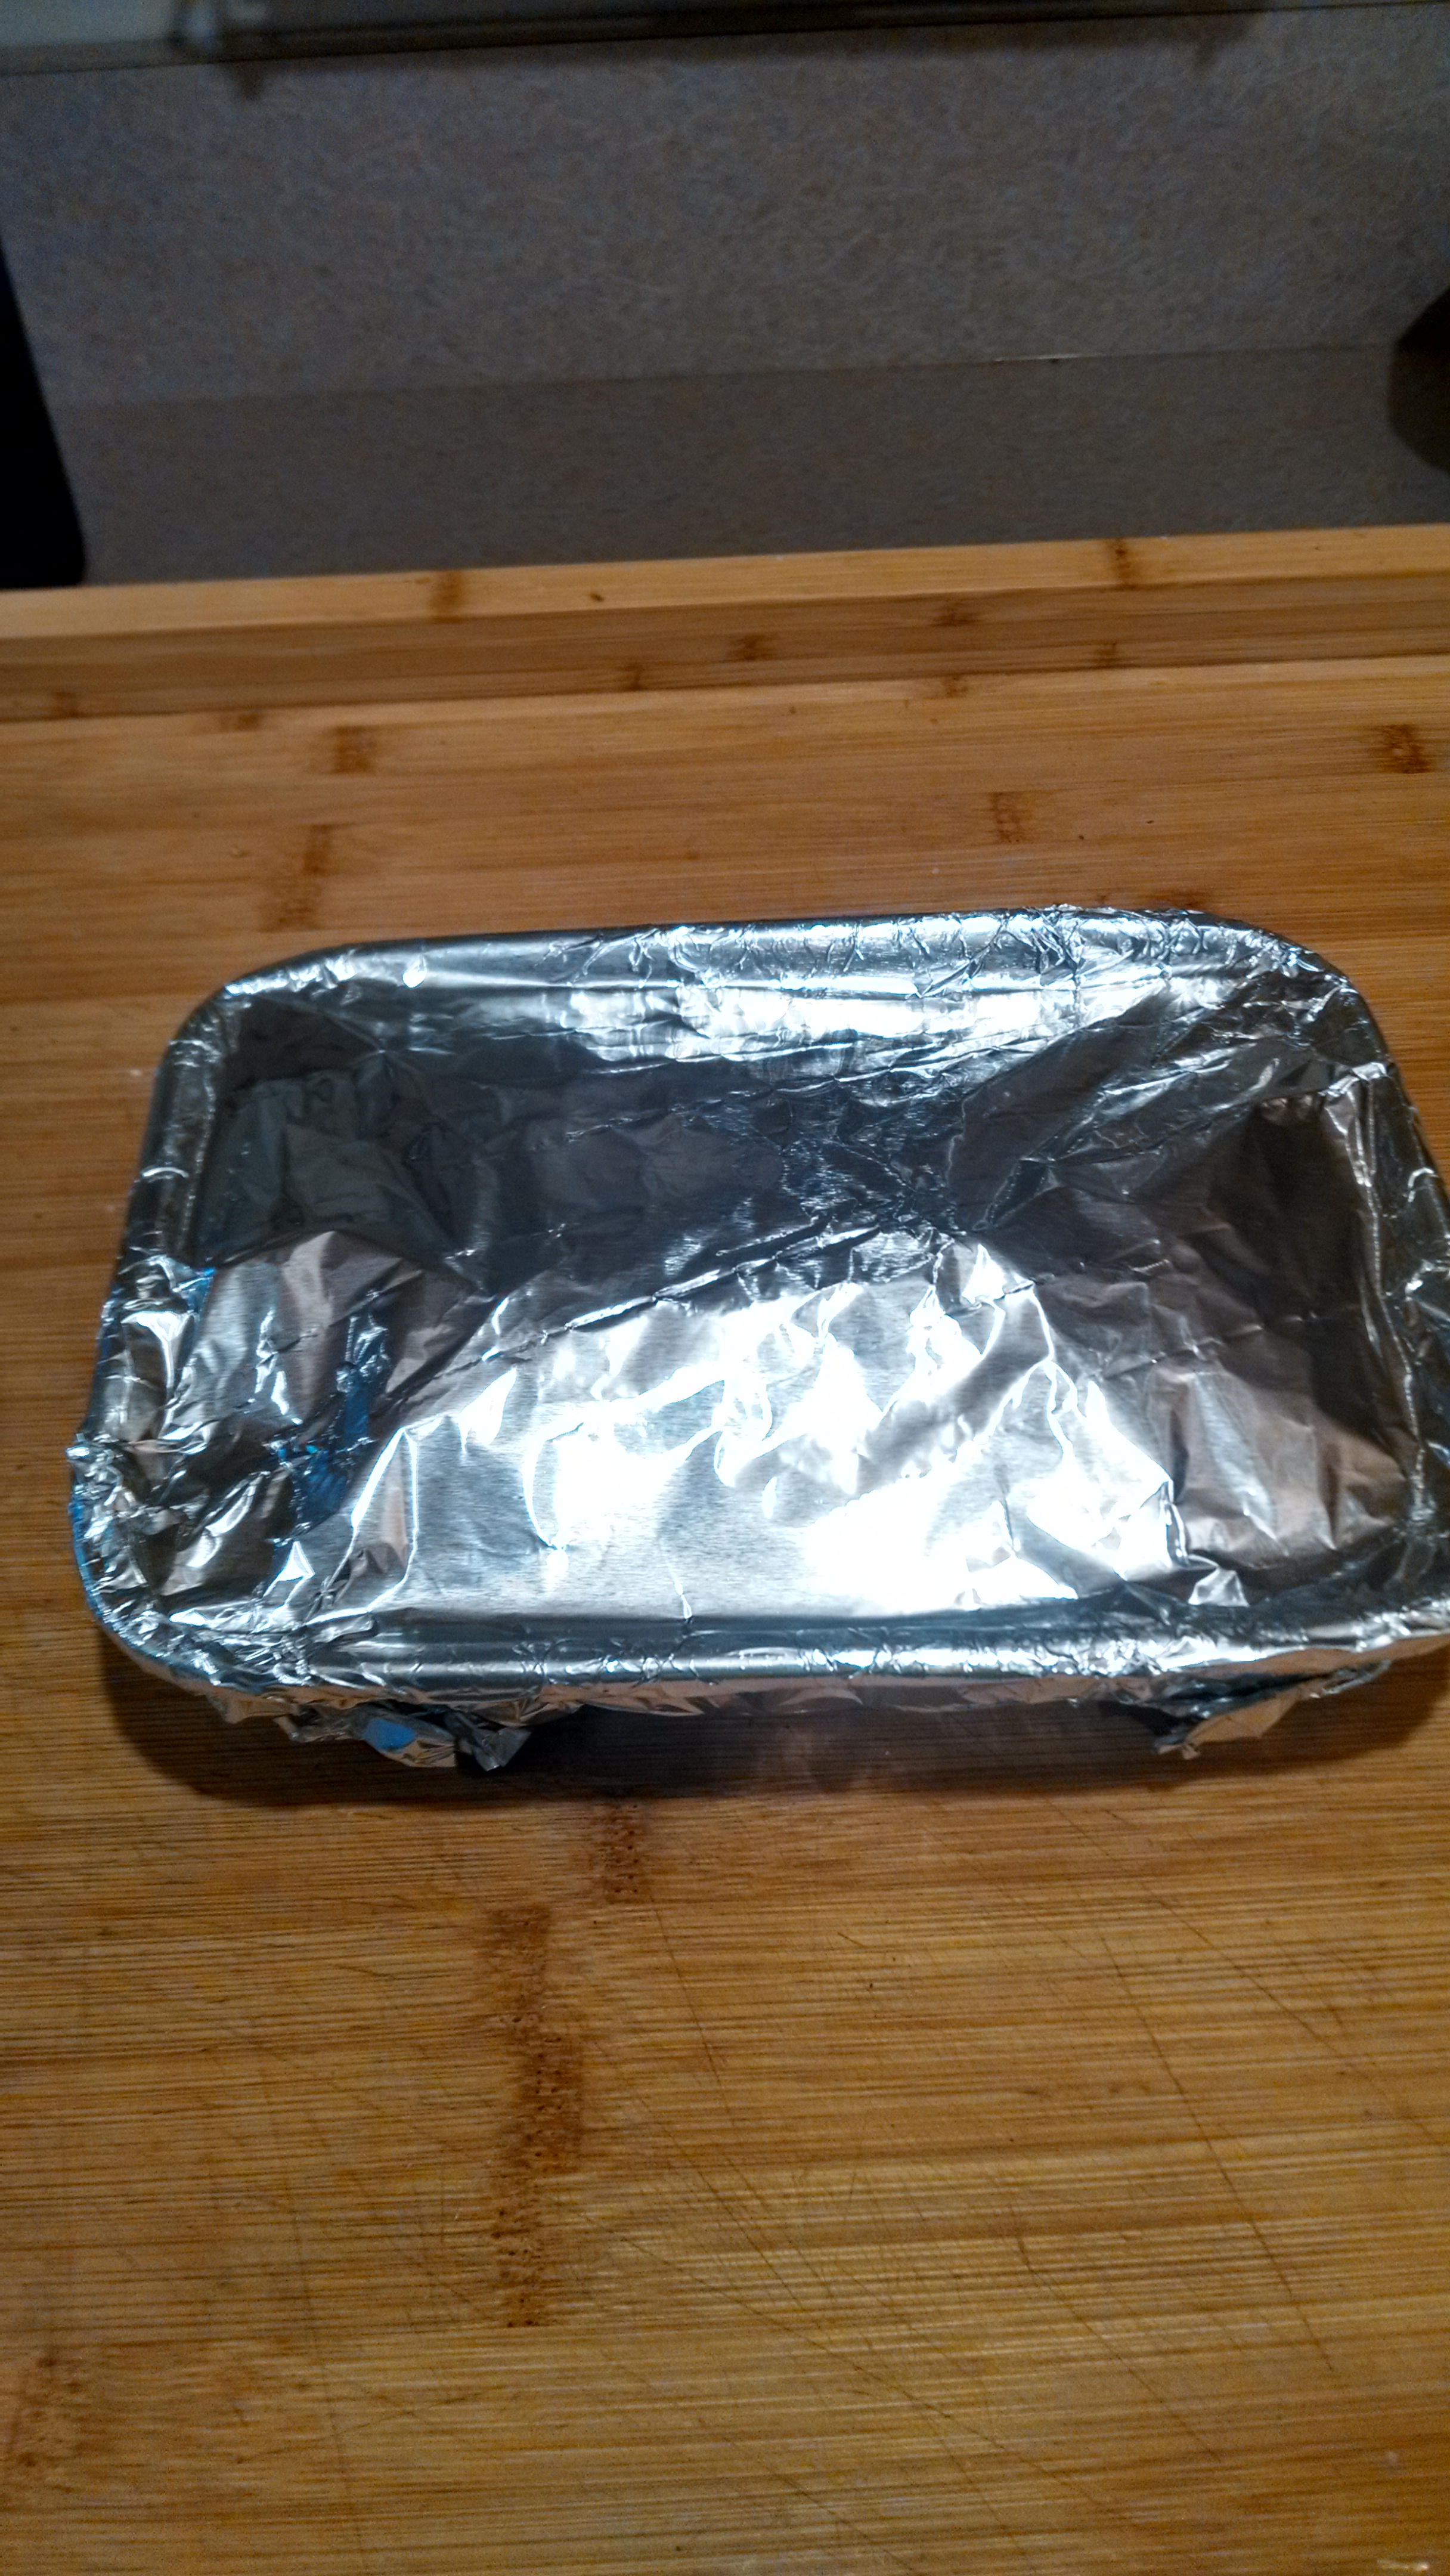
Cook covered for about 60 minutes, then baste and cook uncovered for another 30 or so, until the juices run clear.

IMG_20140304_171438115_HDR

I finished off with the broiler to crisp the skin some more.

IMG_20140304_184004059

IMG_20140305_172644513

Her recipe Serves 4-6. Freezes well.

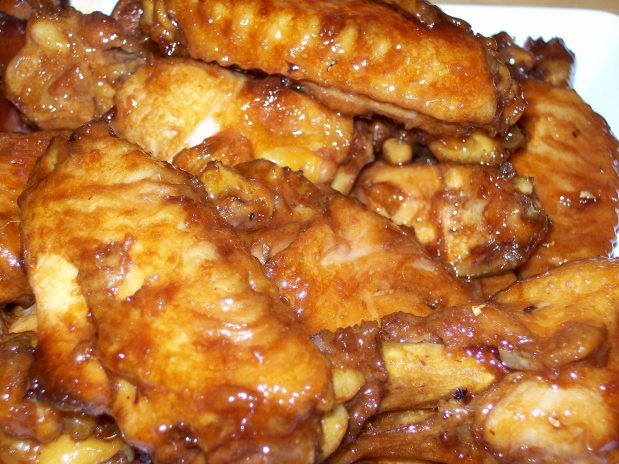
Mut Jup Mun Gai Yik or Honey Soy Braised Chicken Wings

Mut Jup Mun Gai Yik or Honey Soy Braised Chicken Wings

I forgot to add wine to picture

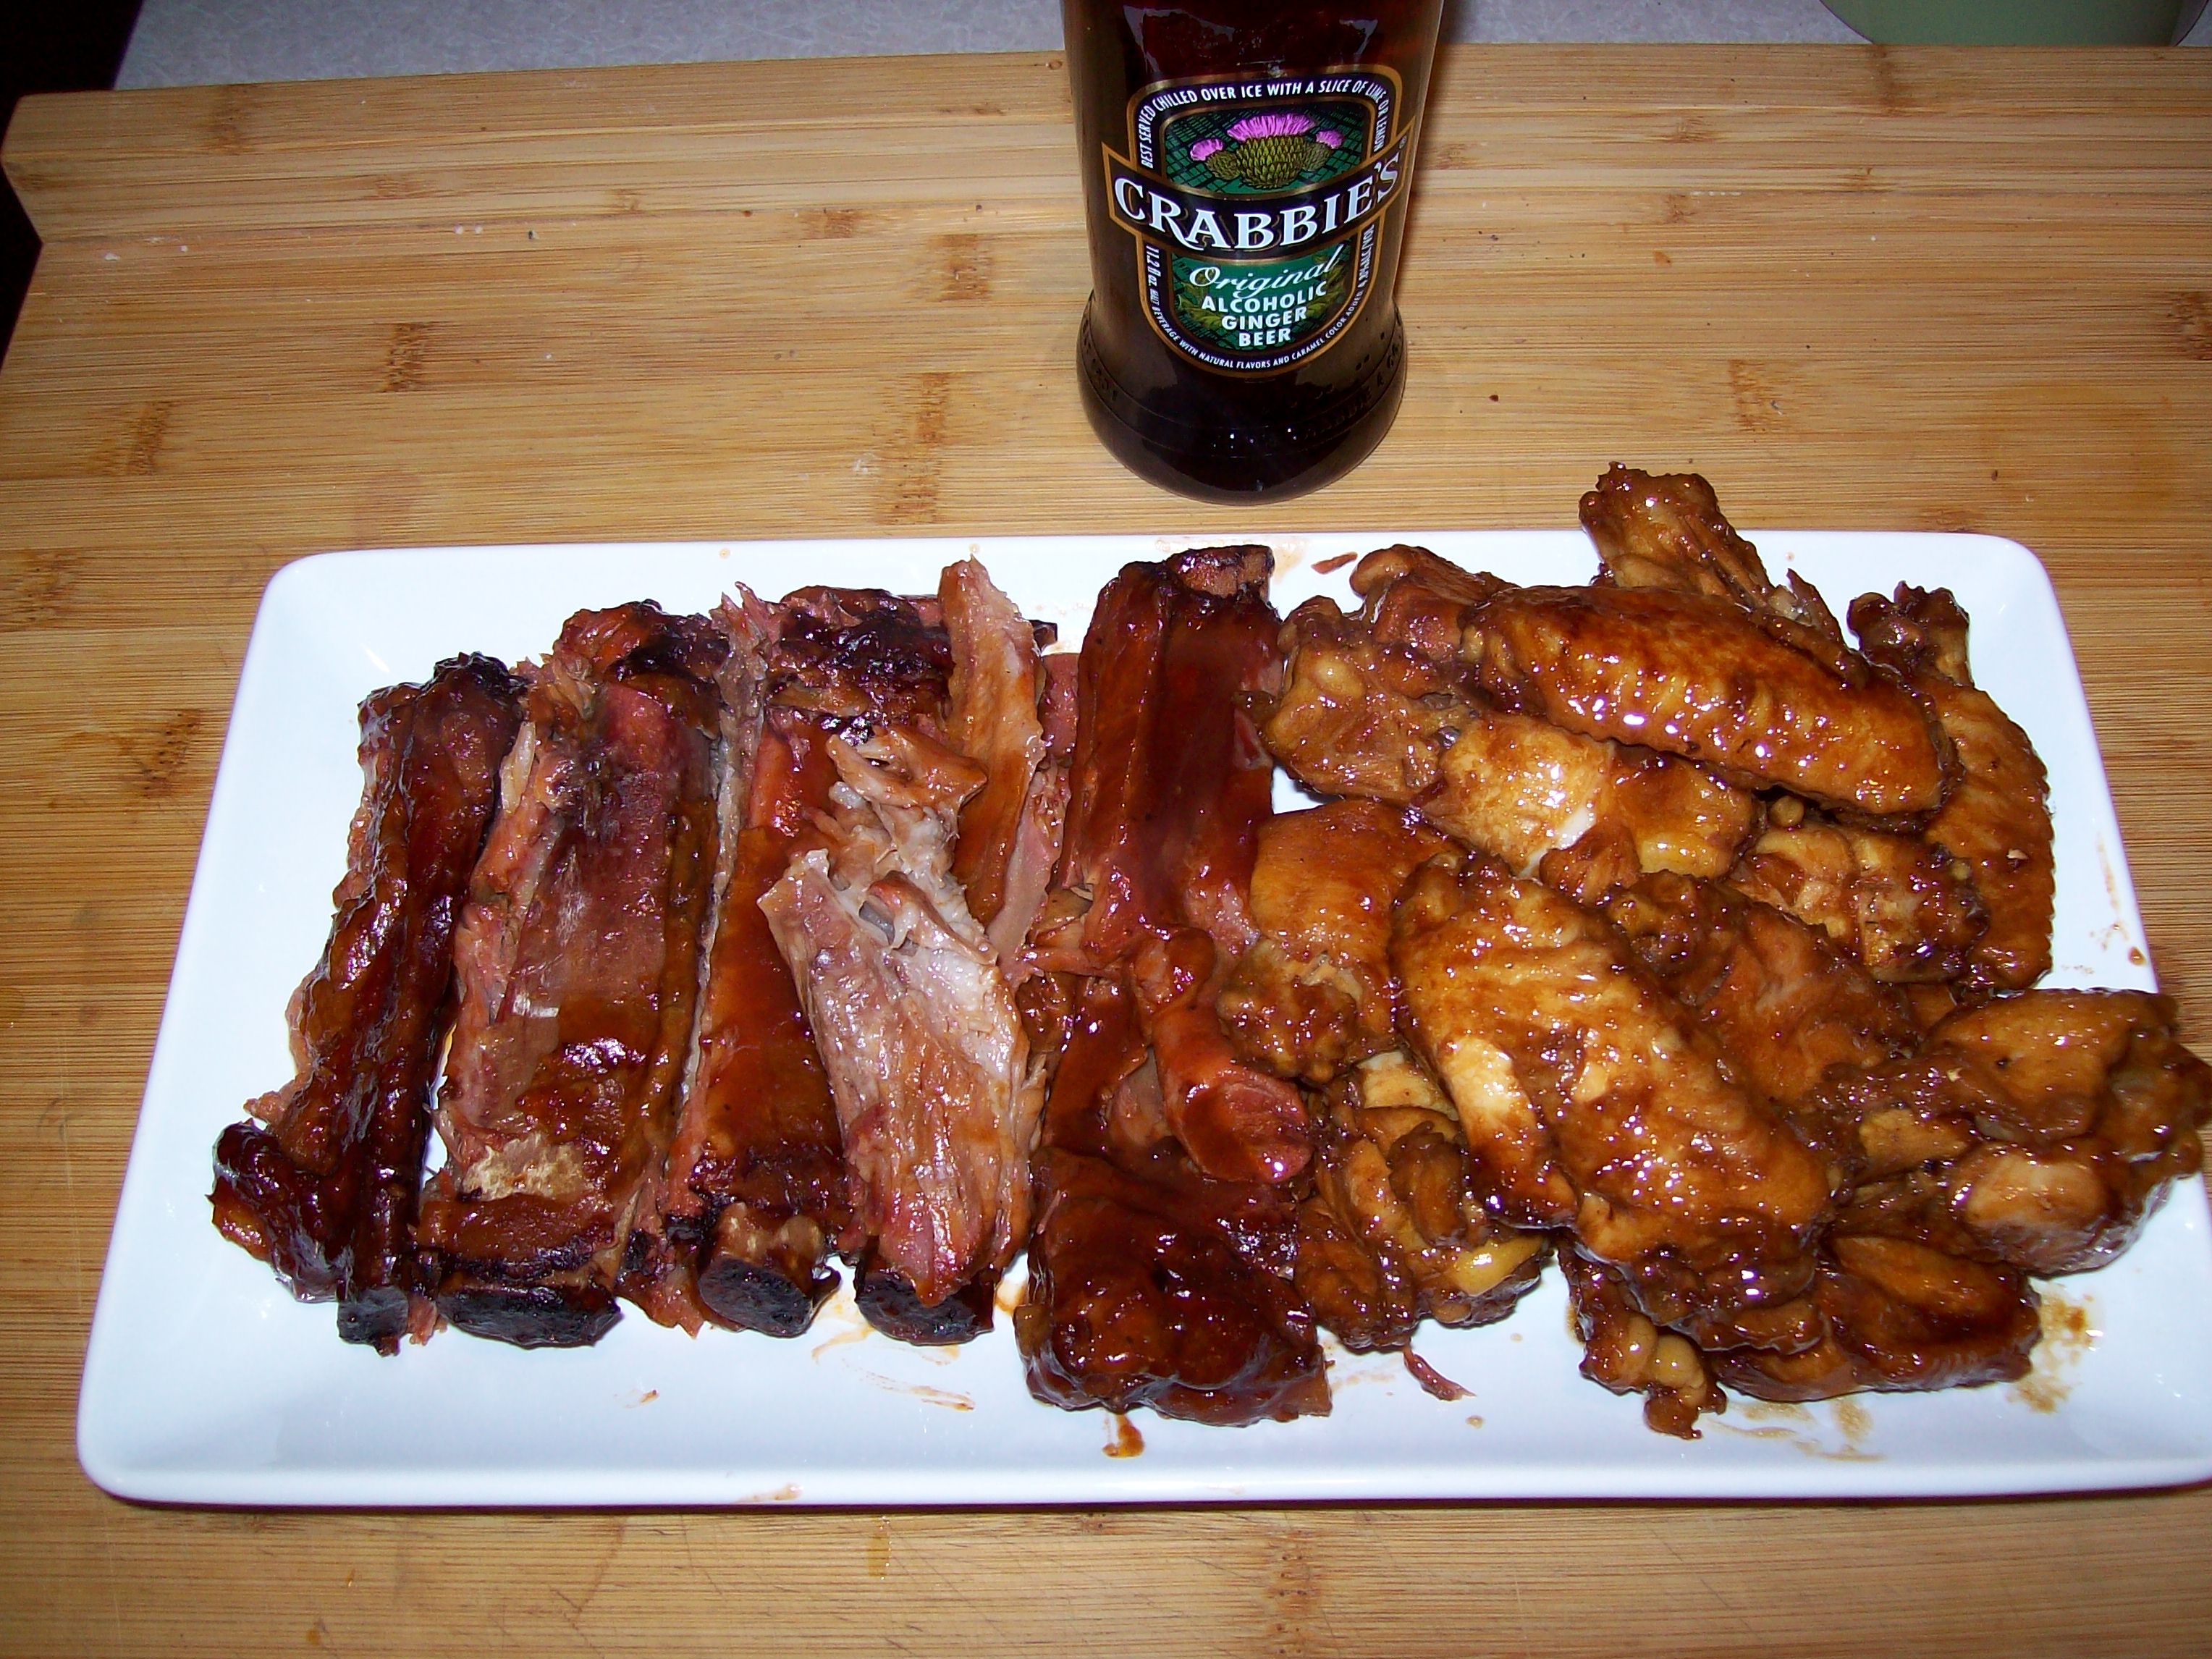
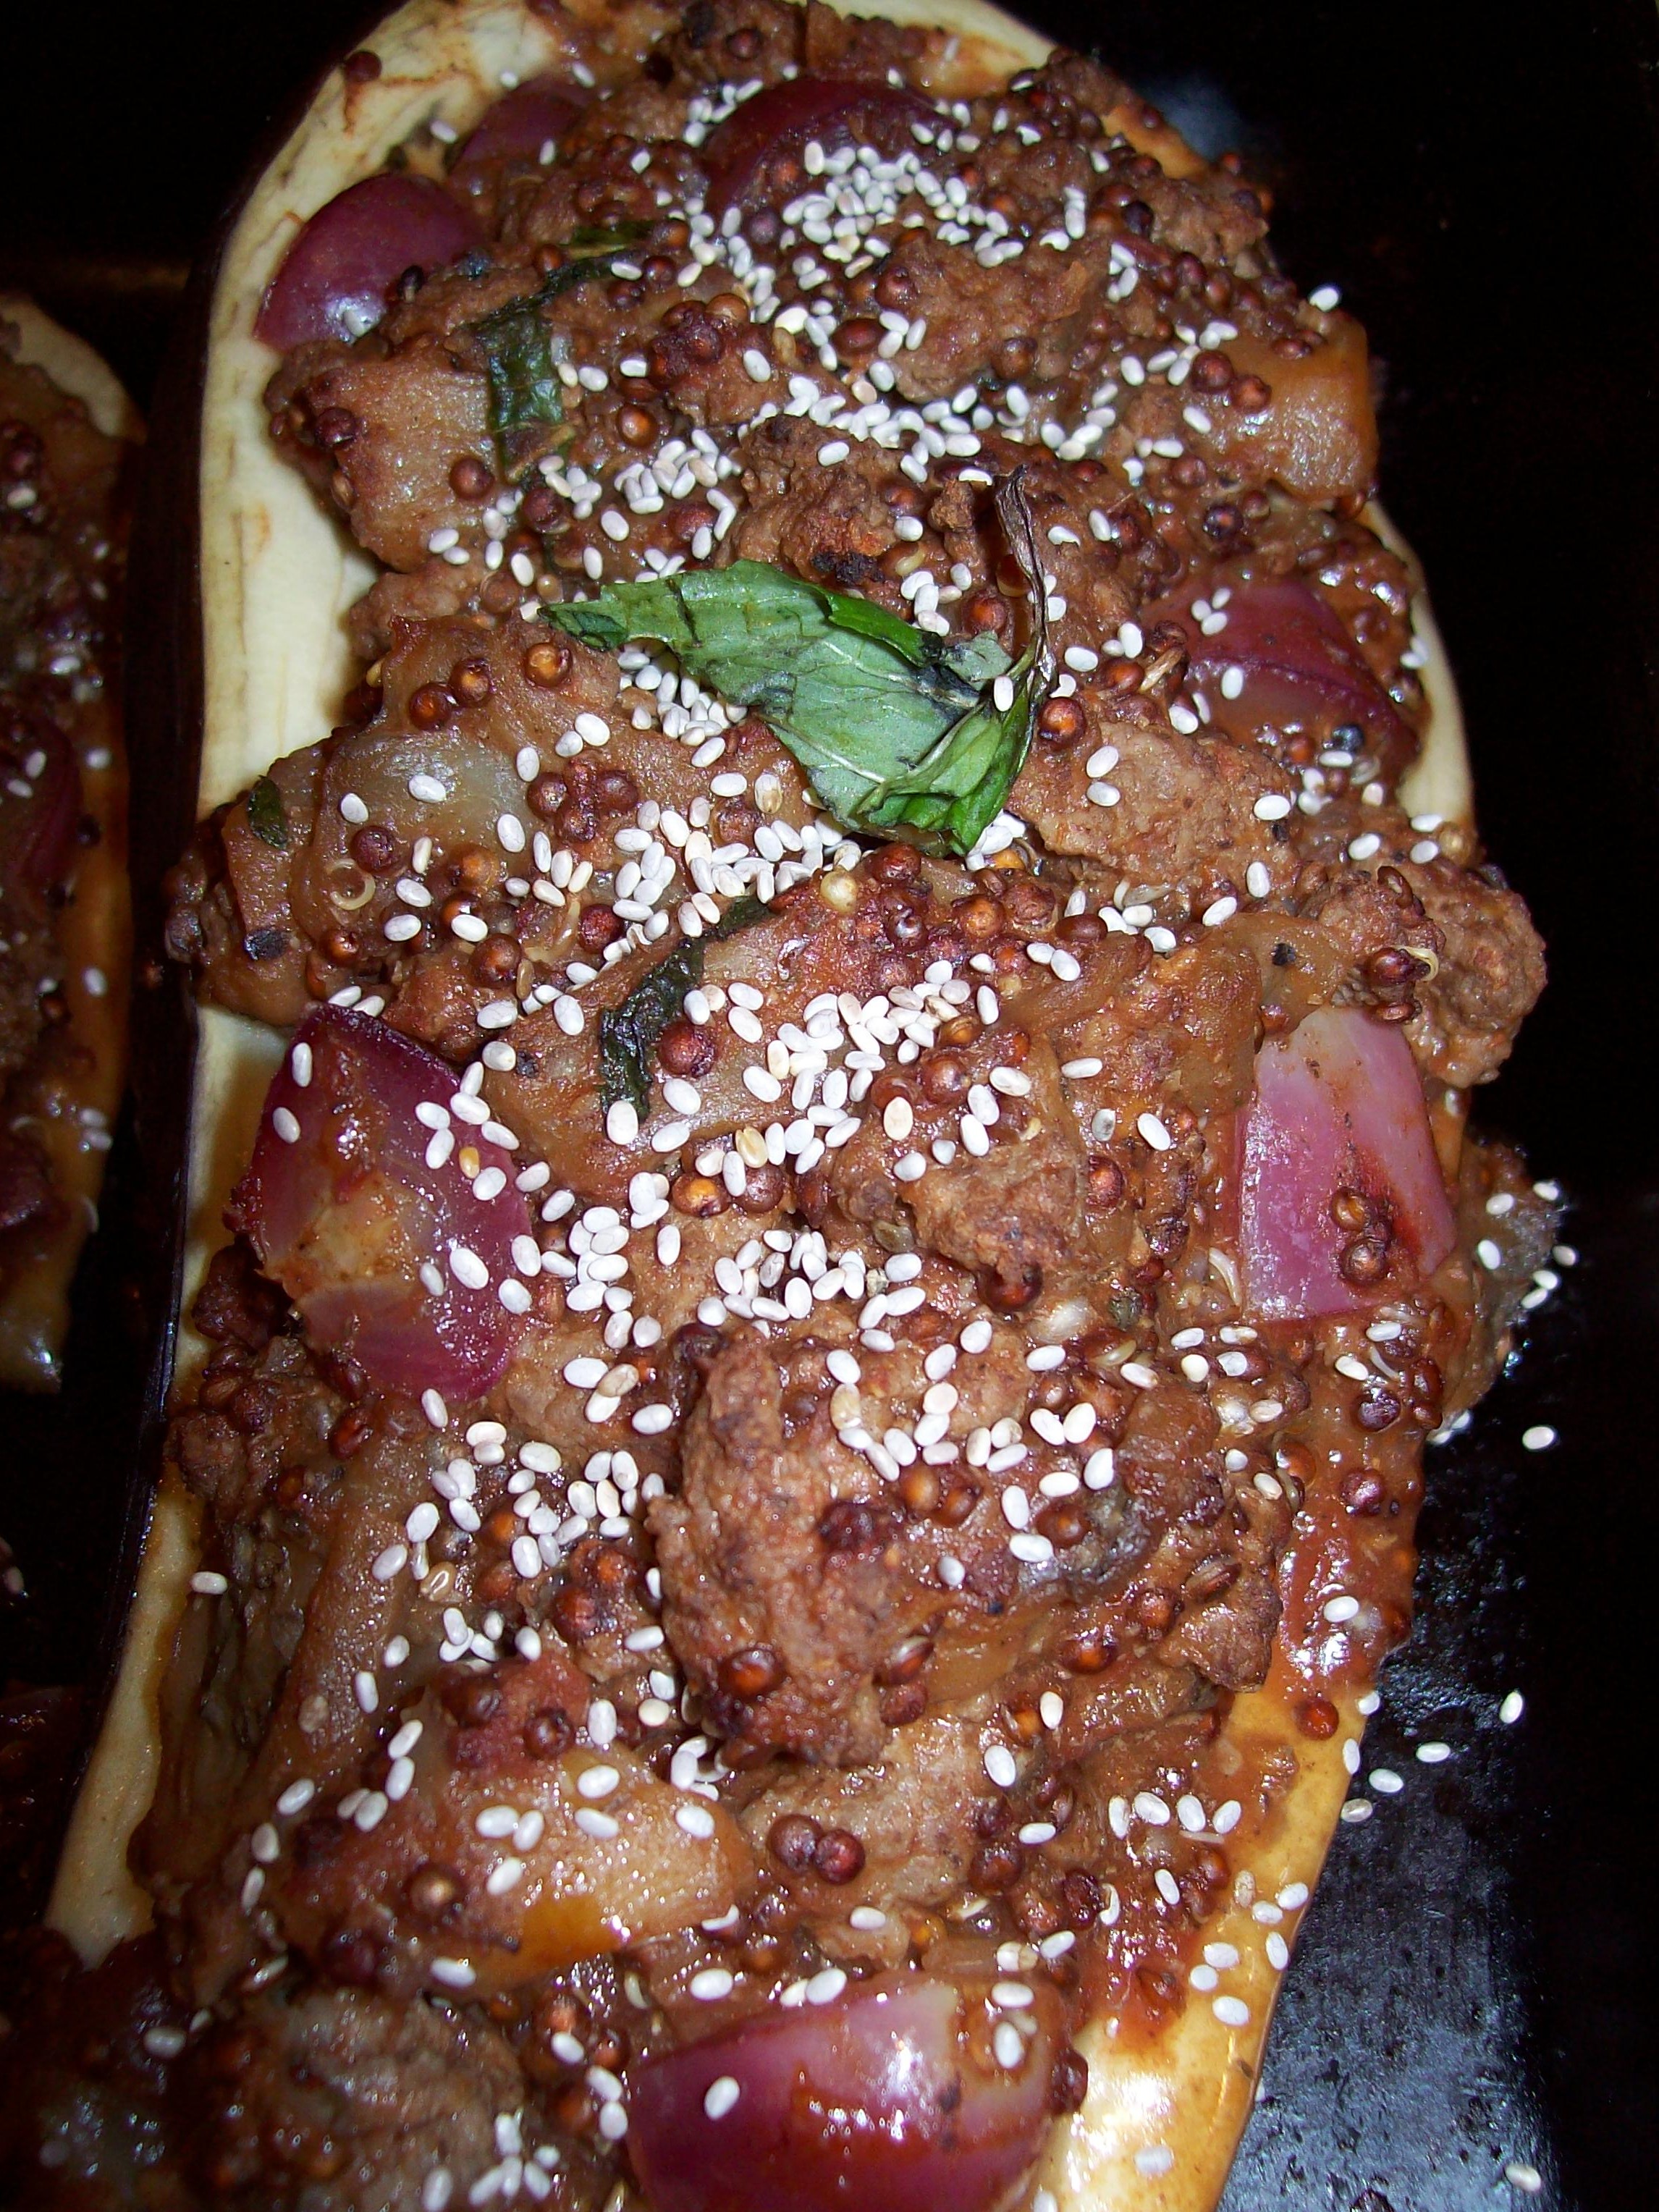
It’s Super Bowl Sunday and I already made the ribs I was going to make hot wings or maybe five spice wings but then I remembered something I have not made in about 13 years since Yale Drive – Mut Jup Mun Gai Yik or Honey Soy Braised Chicken wings. Hey it is Chinese New Year after all. I used to love cooking Asian and have this great book  The complete Asian Cookbook its pages well my favorites all stained with this or that sauce. All I can say is good choices……we could not wait even had some of the stuffed eggplant that Lyn made double mmmm.

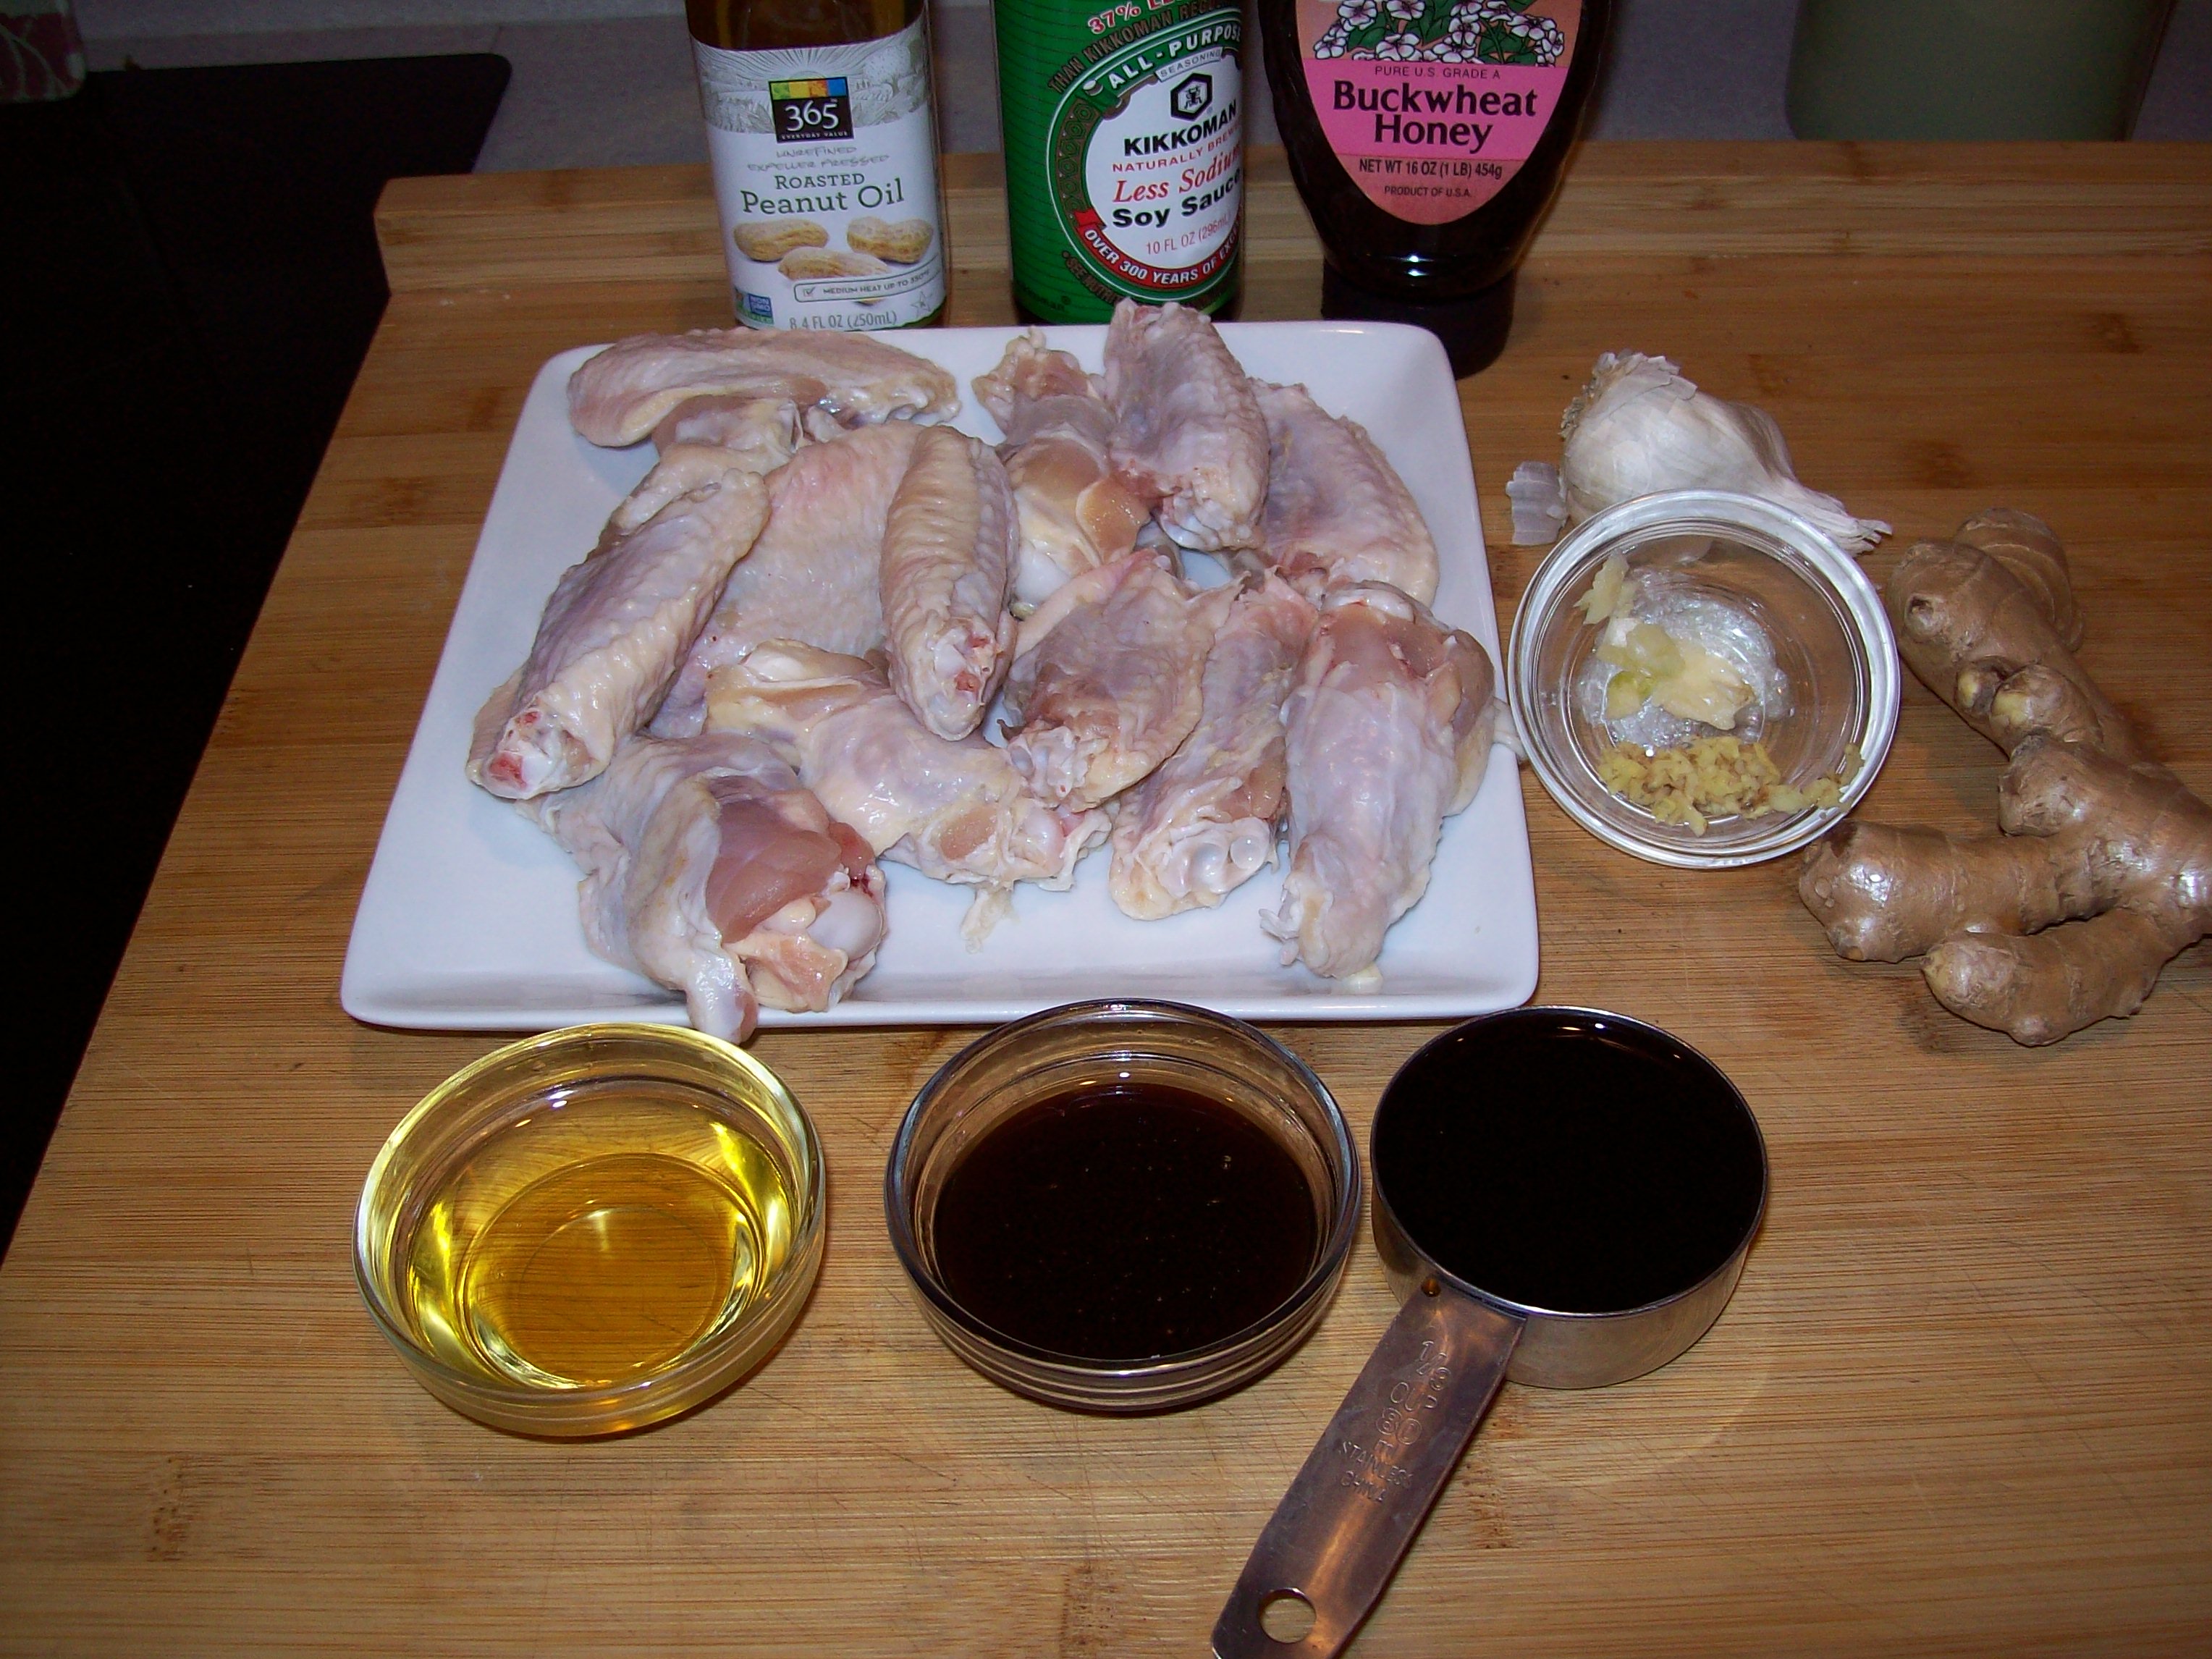
Ingredient

  • About 2 lbs chicken wings
  • 2 tablespoon peanut oil (or cooking oil)
  • 1/3 cup  dark soy sauce
  • 2 tablespoon honey
  • 2 tablespoon Chinese wine or 2 tablespoon dry sherry
  • 1 garlic clove, crushed
  • 1/2 teaspoon finely grated fresh ginger
I forgot to add wine to picture

I forgot to add wine to picture

How

Cut each chicken wing into 3 pieces. Discard wing tips or reserve for stock.

Heat oil in wok or skillet and fry joints on high heat for 3-4 minutes, or until browned.

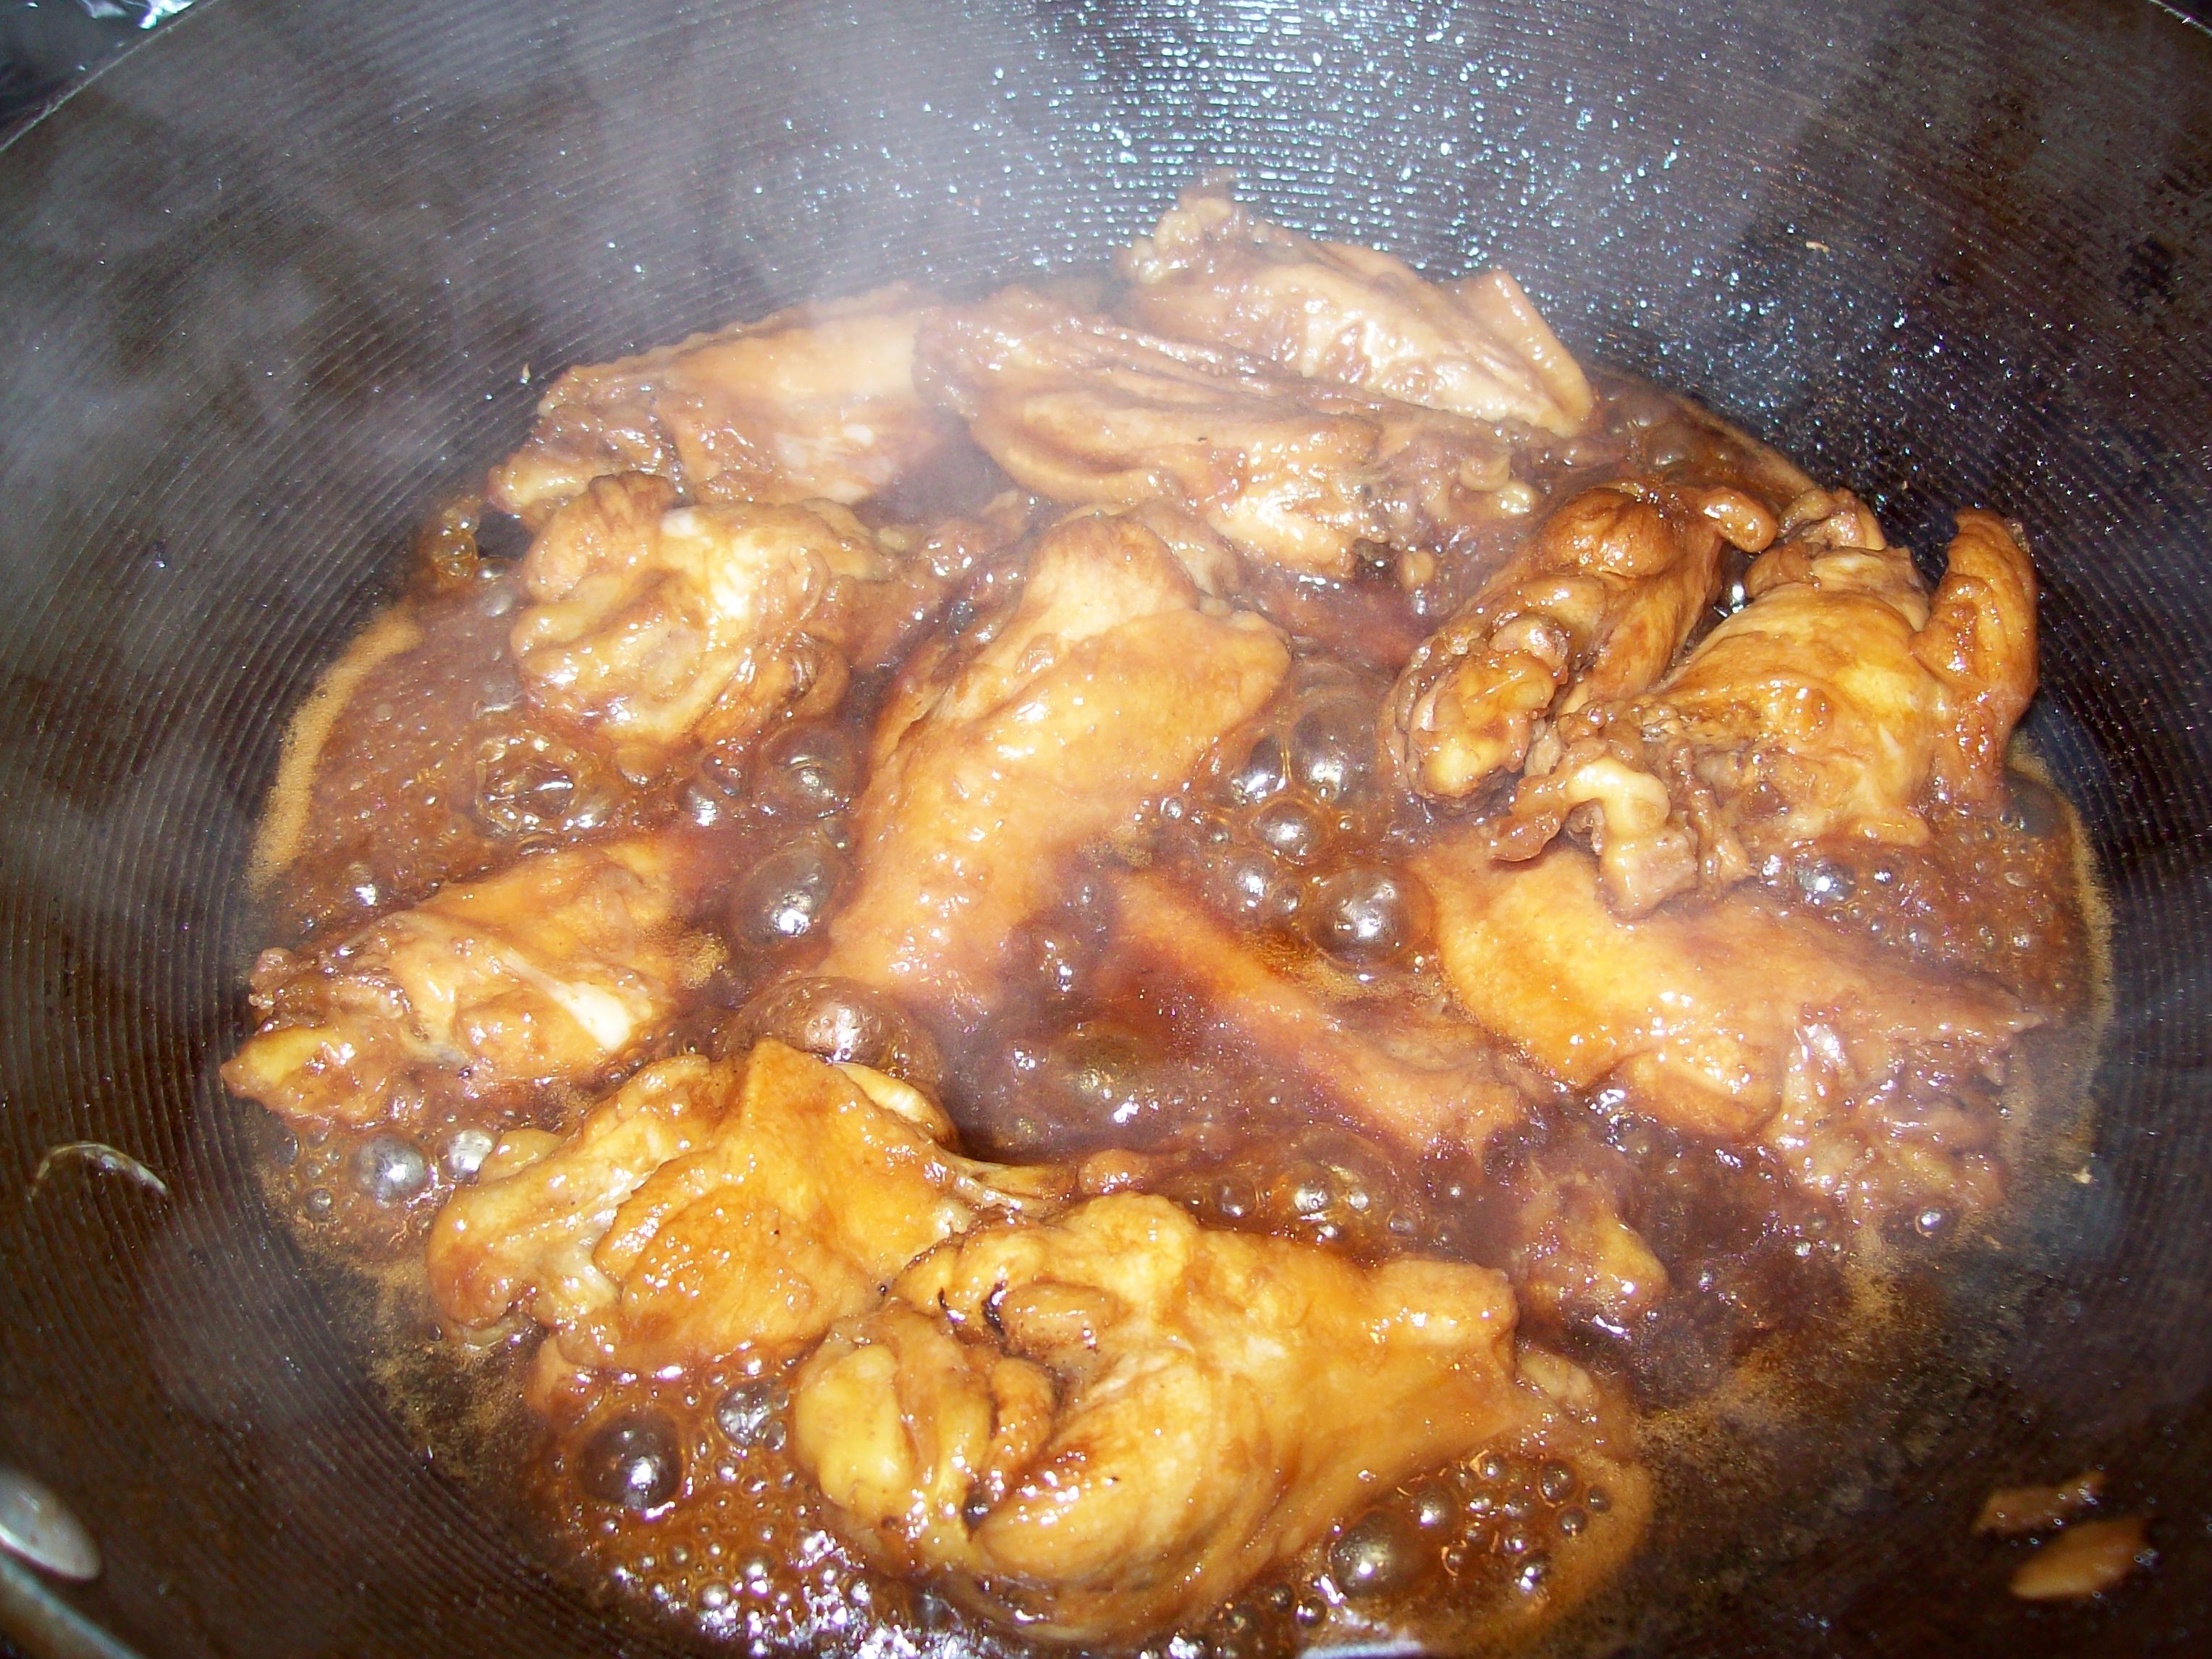
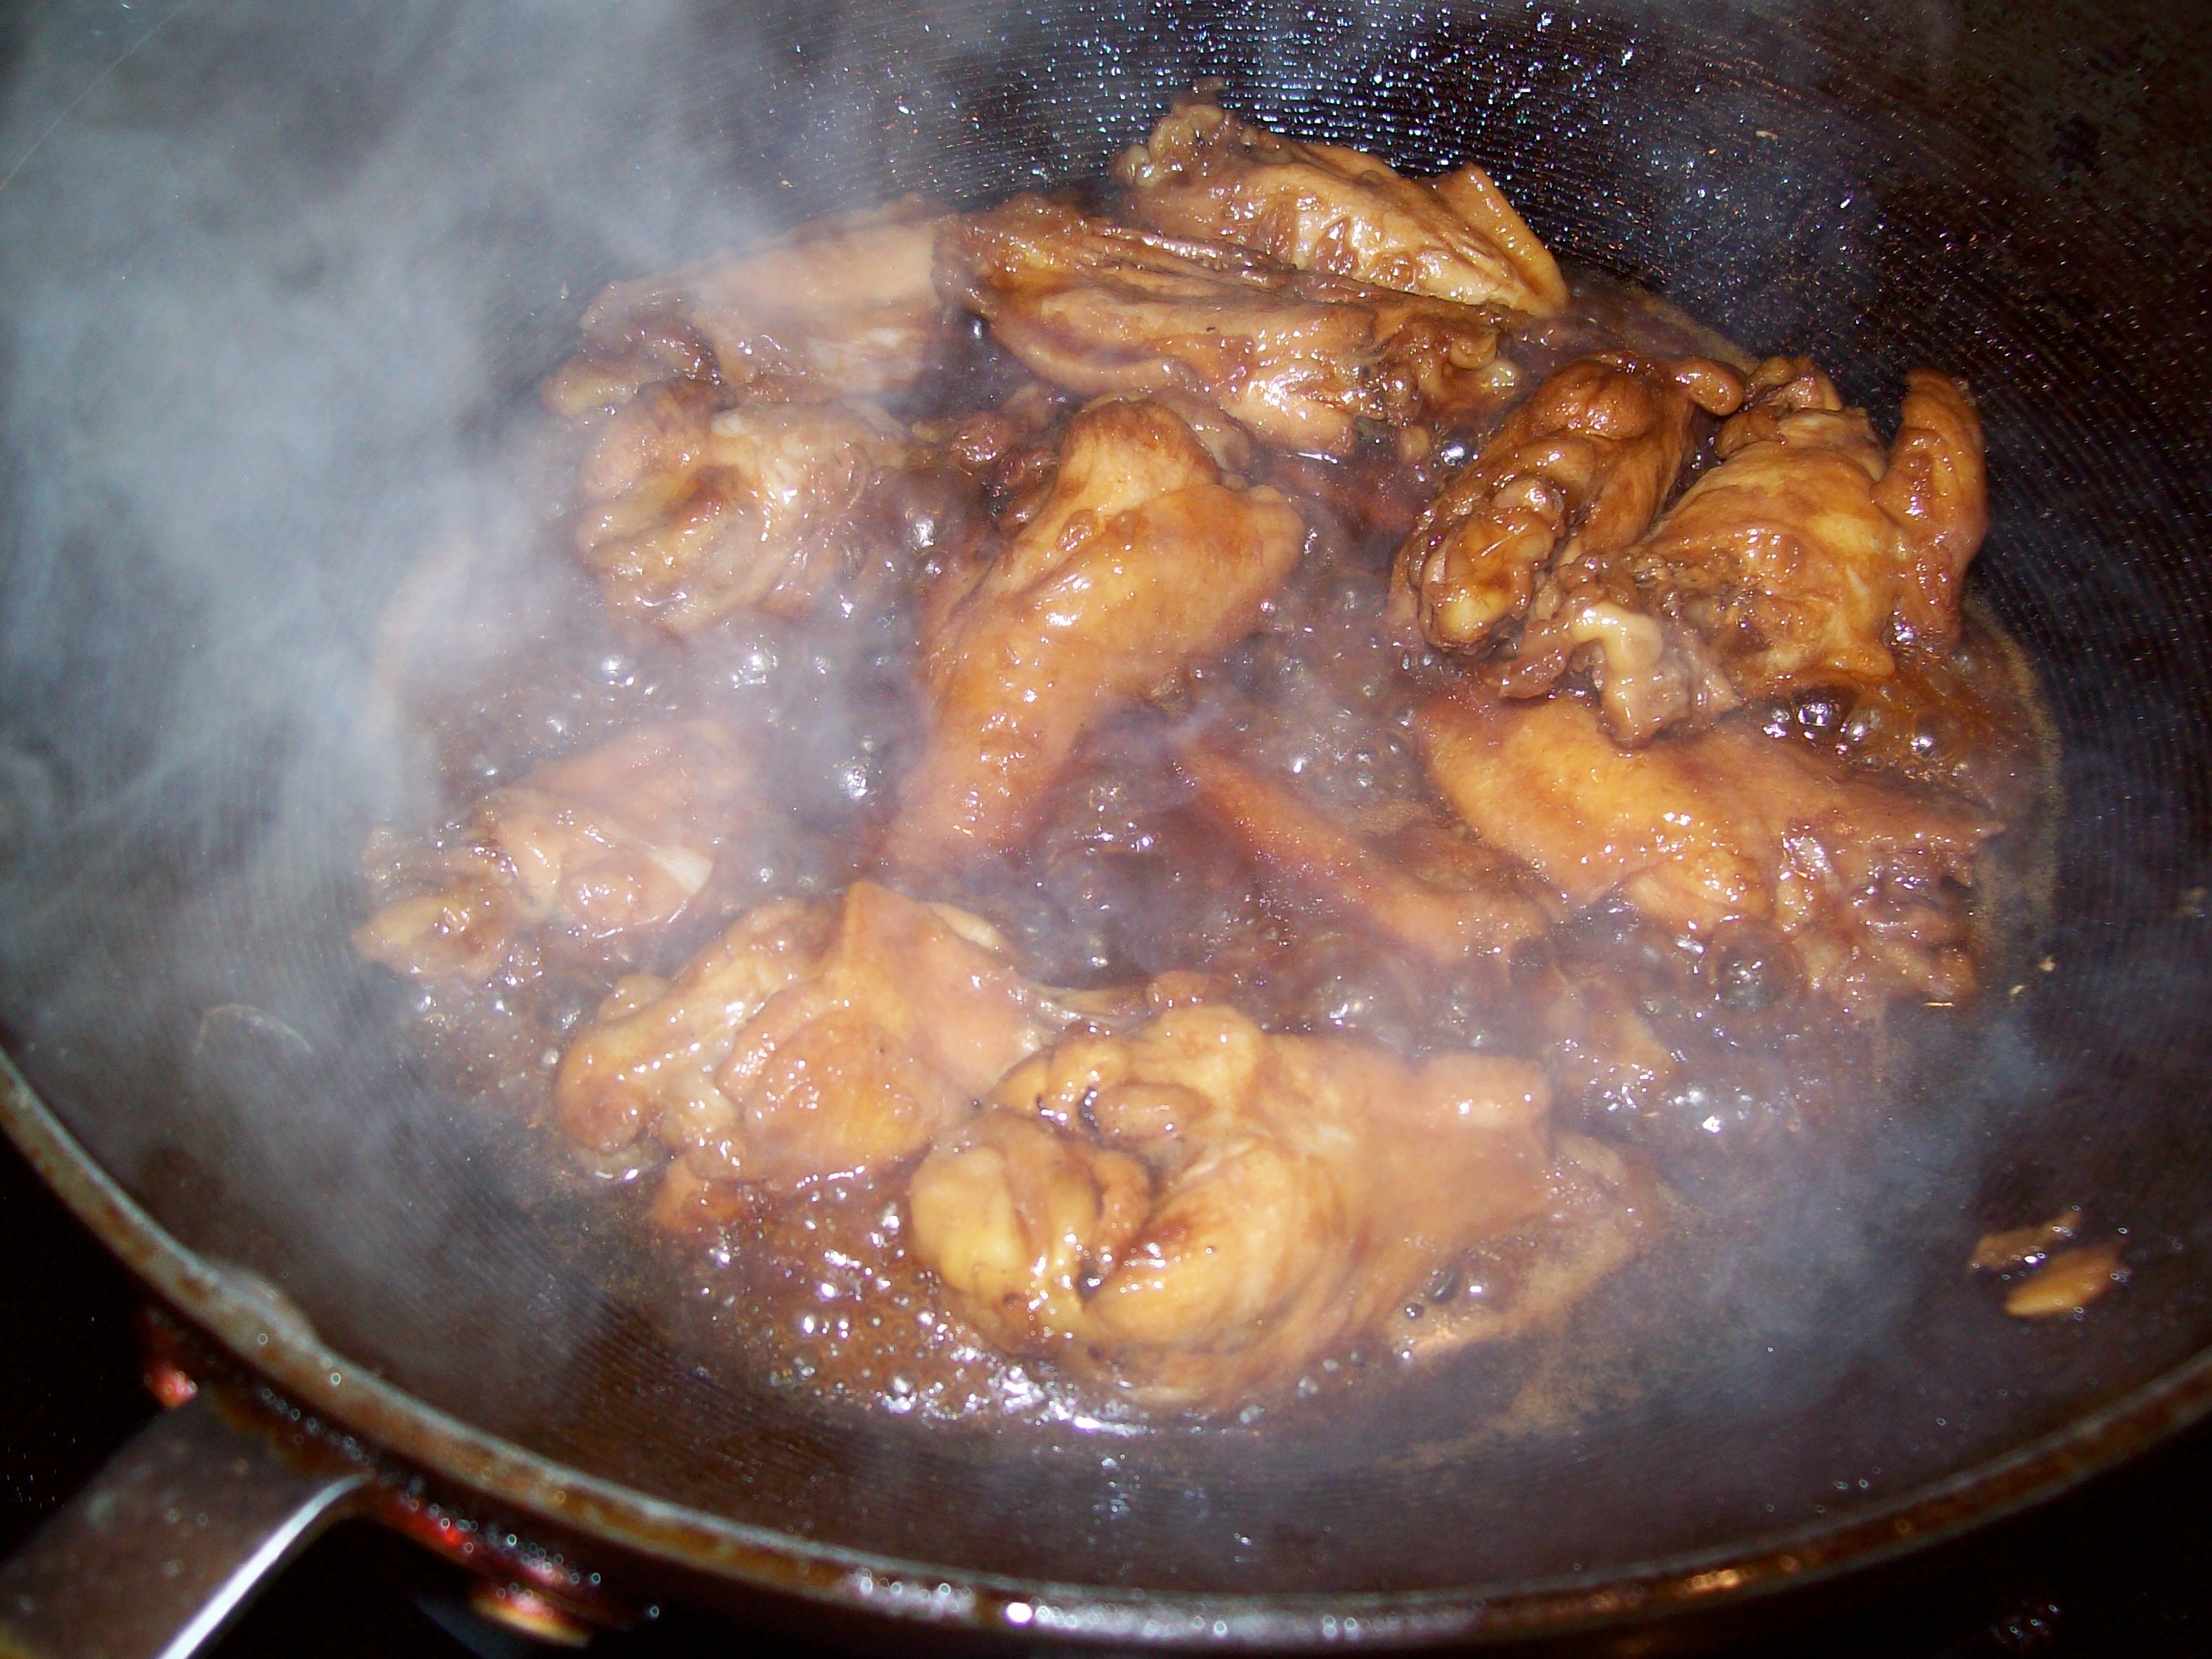
Add soy, honey, wine or sherry, garlic and ginger, stir well.

100_2629

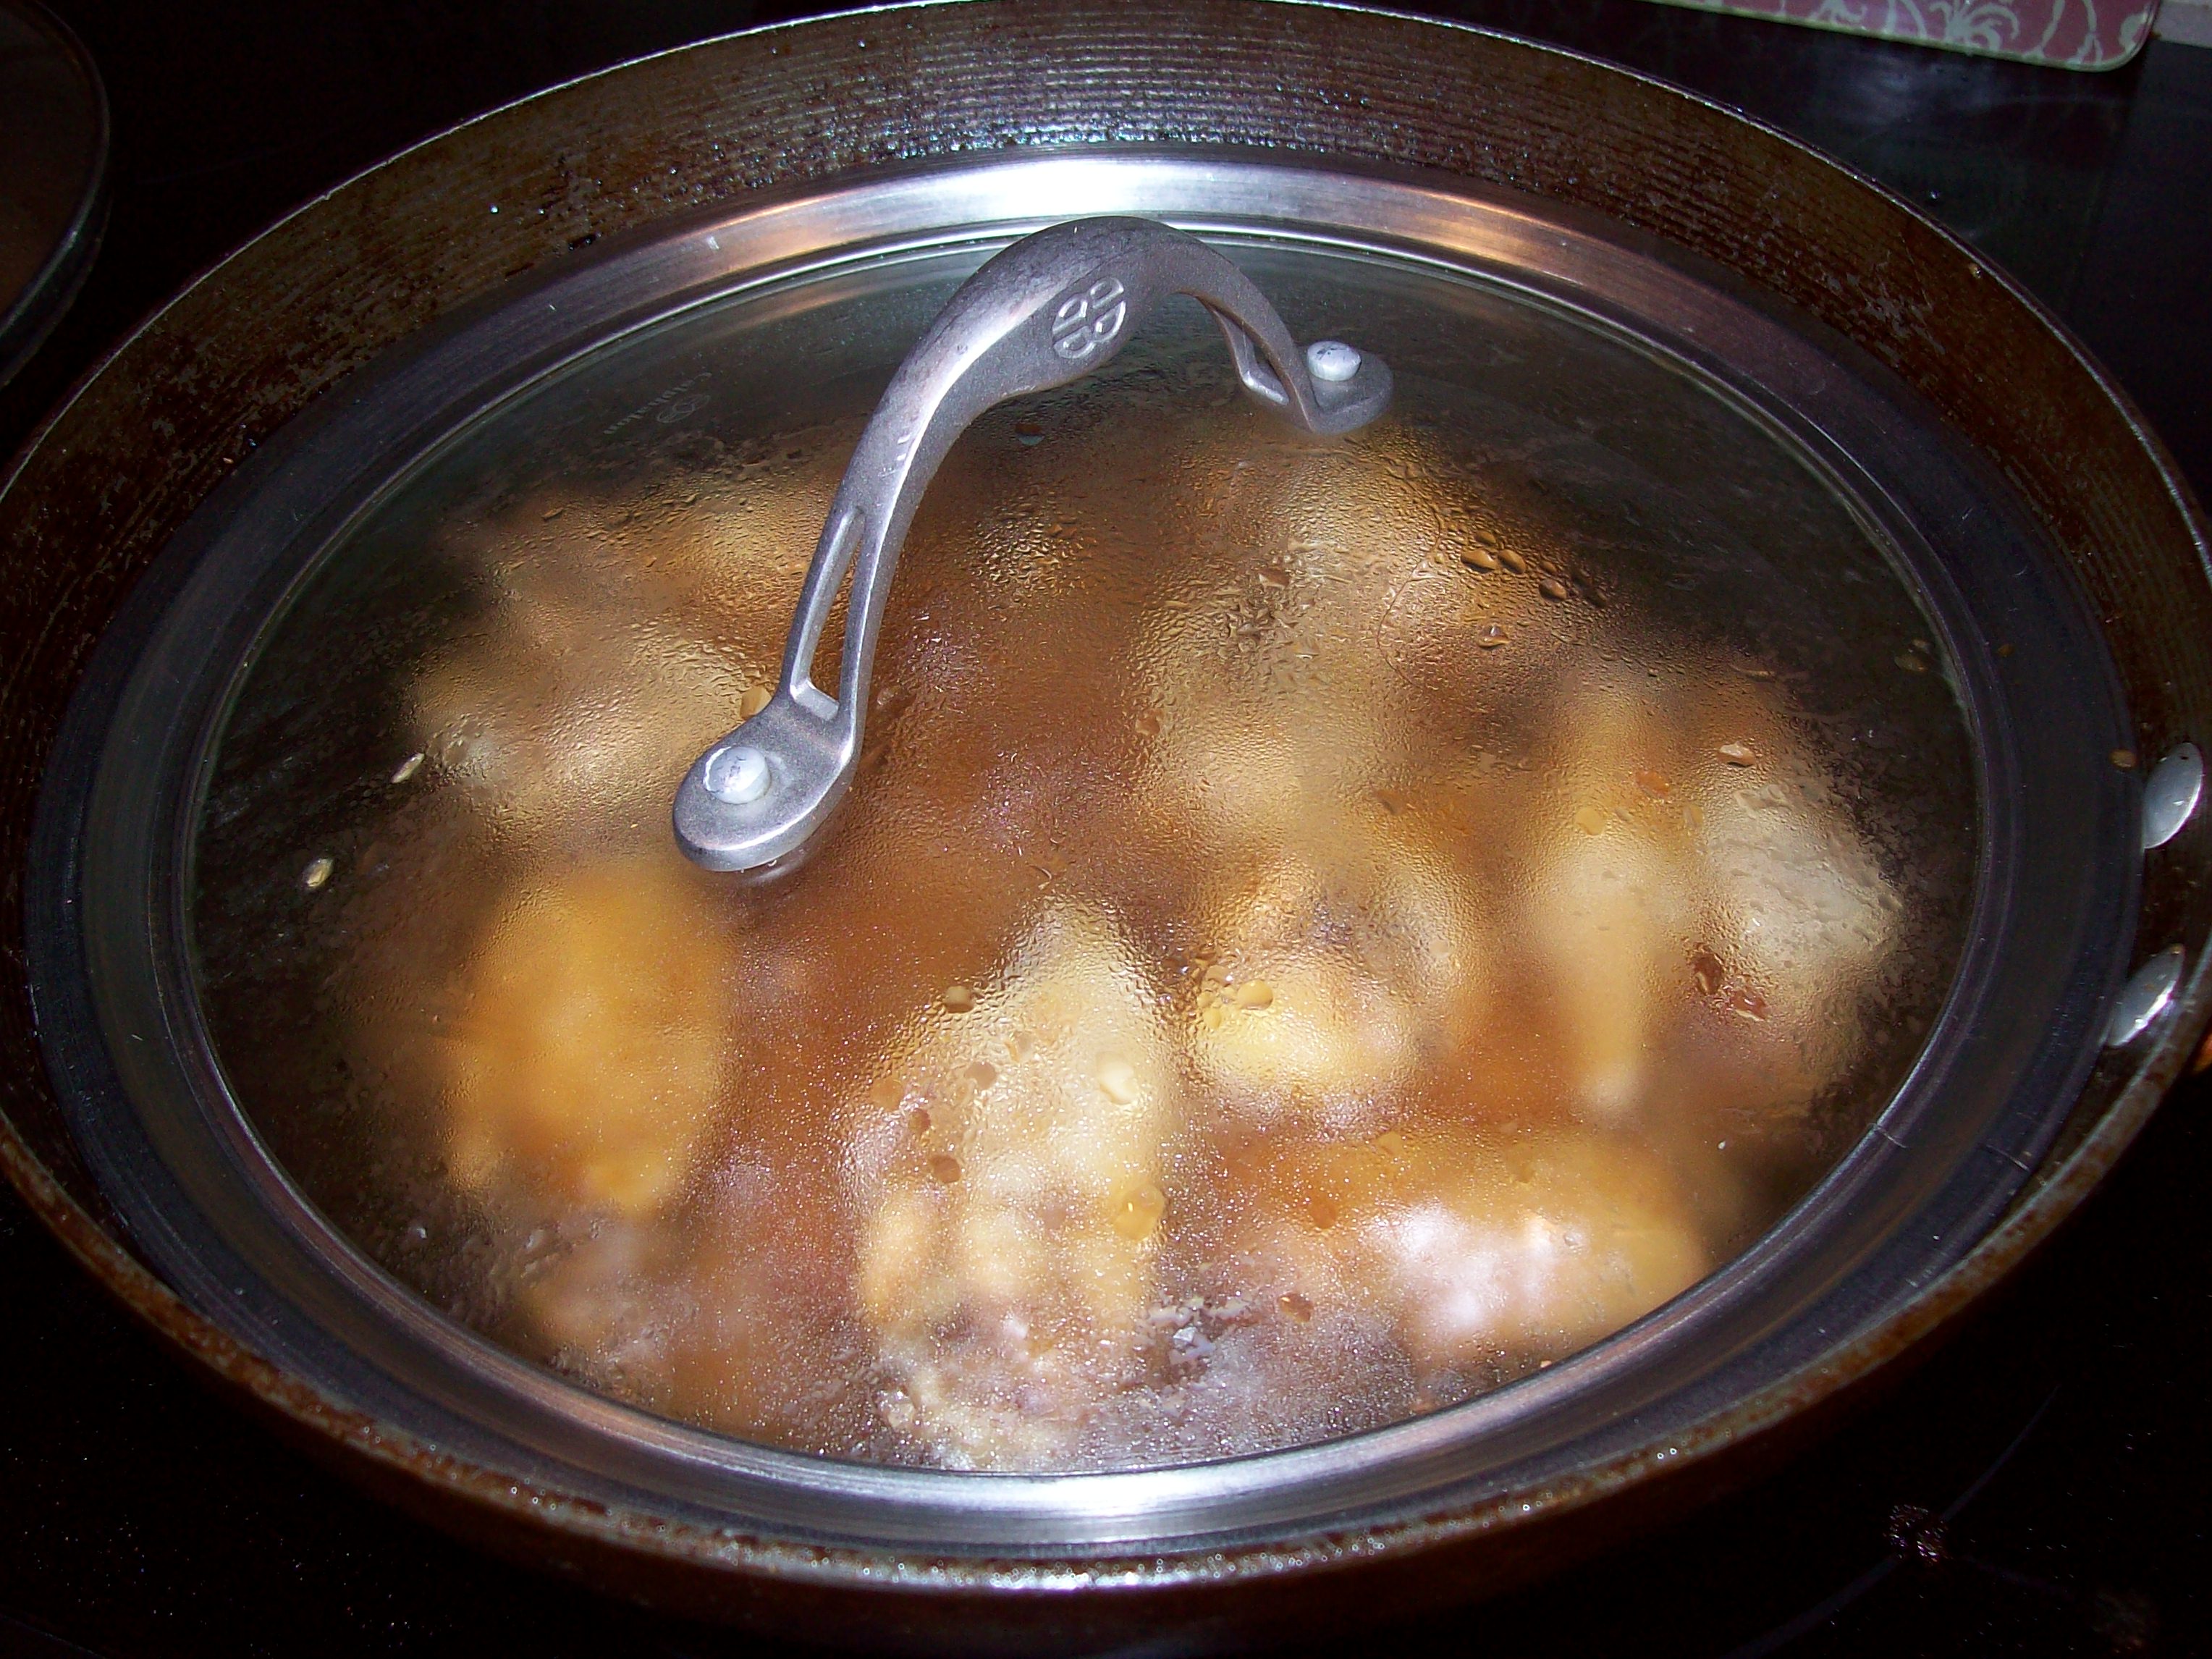
Reduce heat to low, cover and simmer about 30 minutes or until tender.

100_2626

Stir frequently towards end of cooking and make sure the sweet does not burn.

100_2627

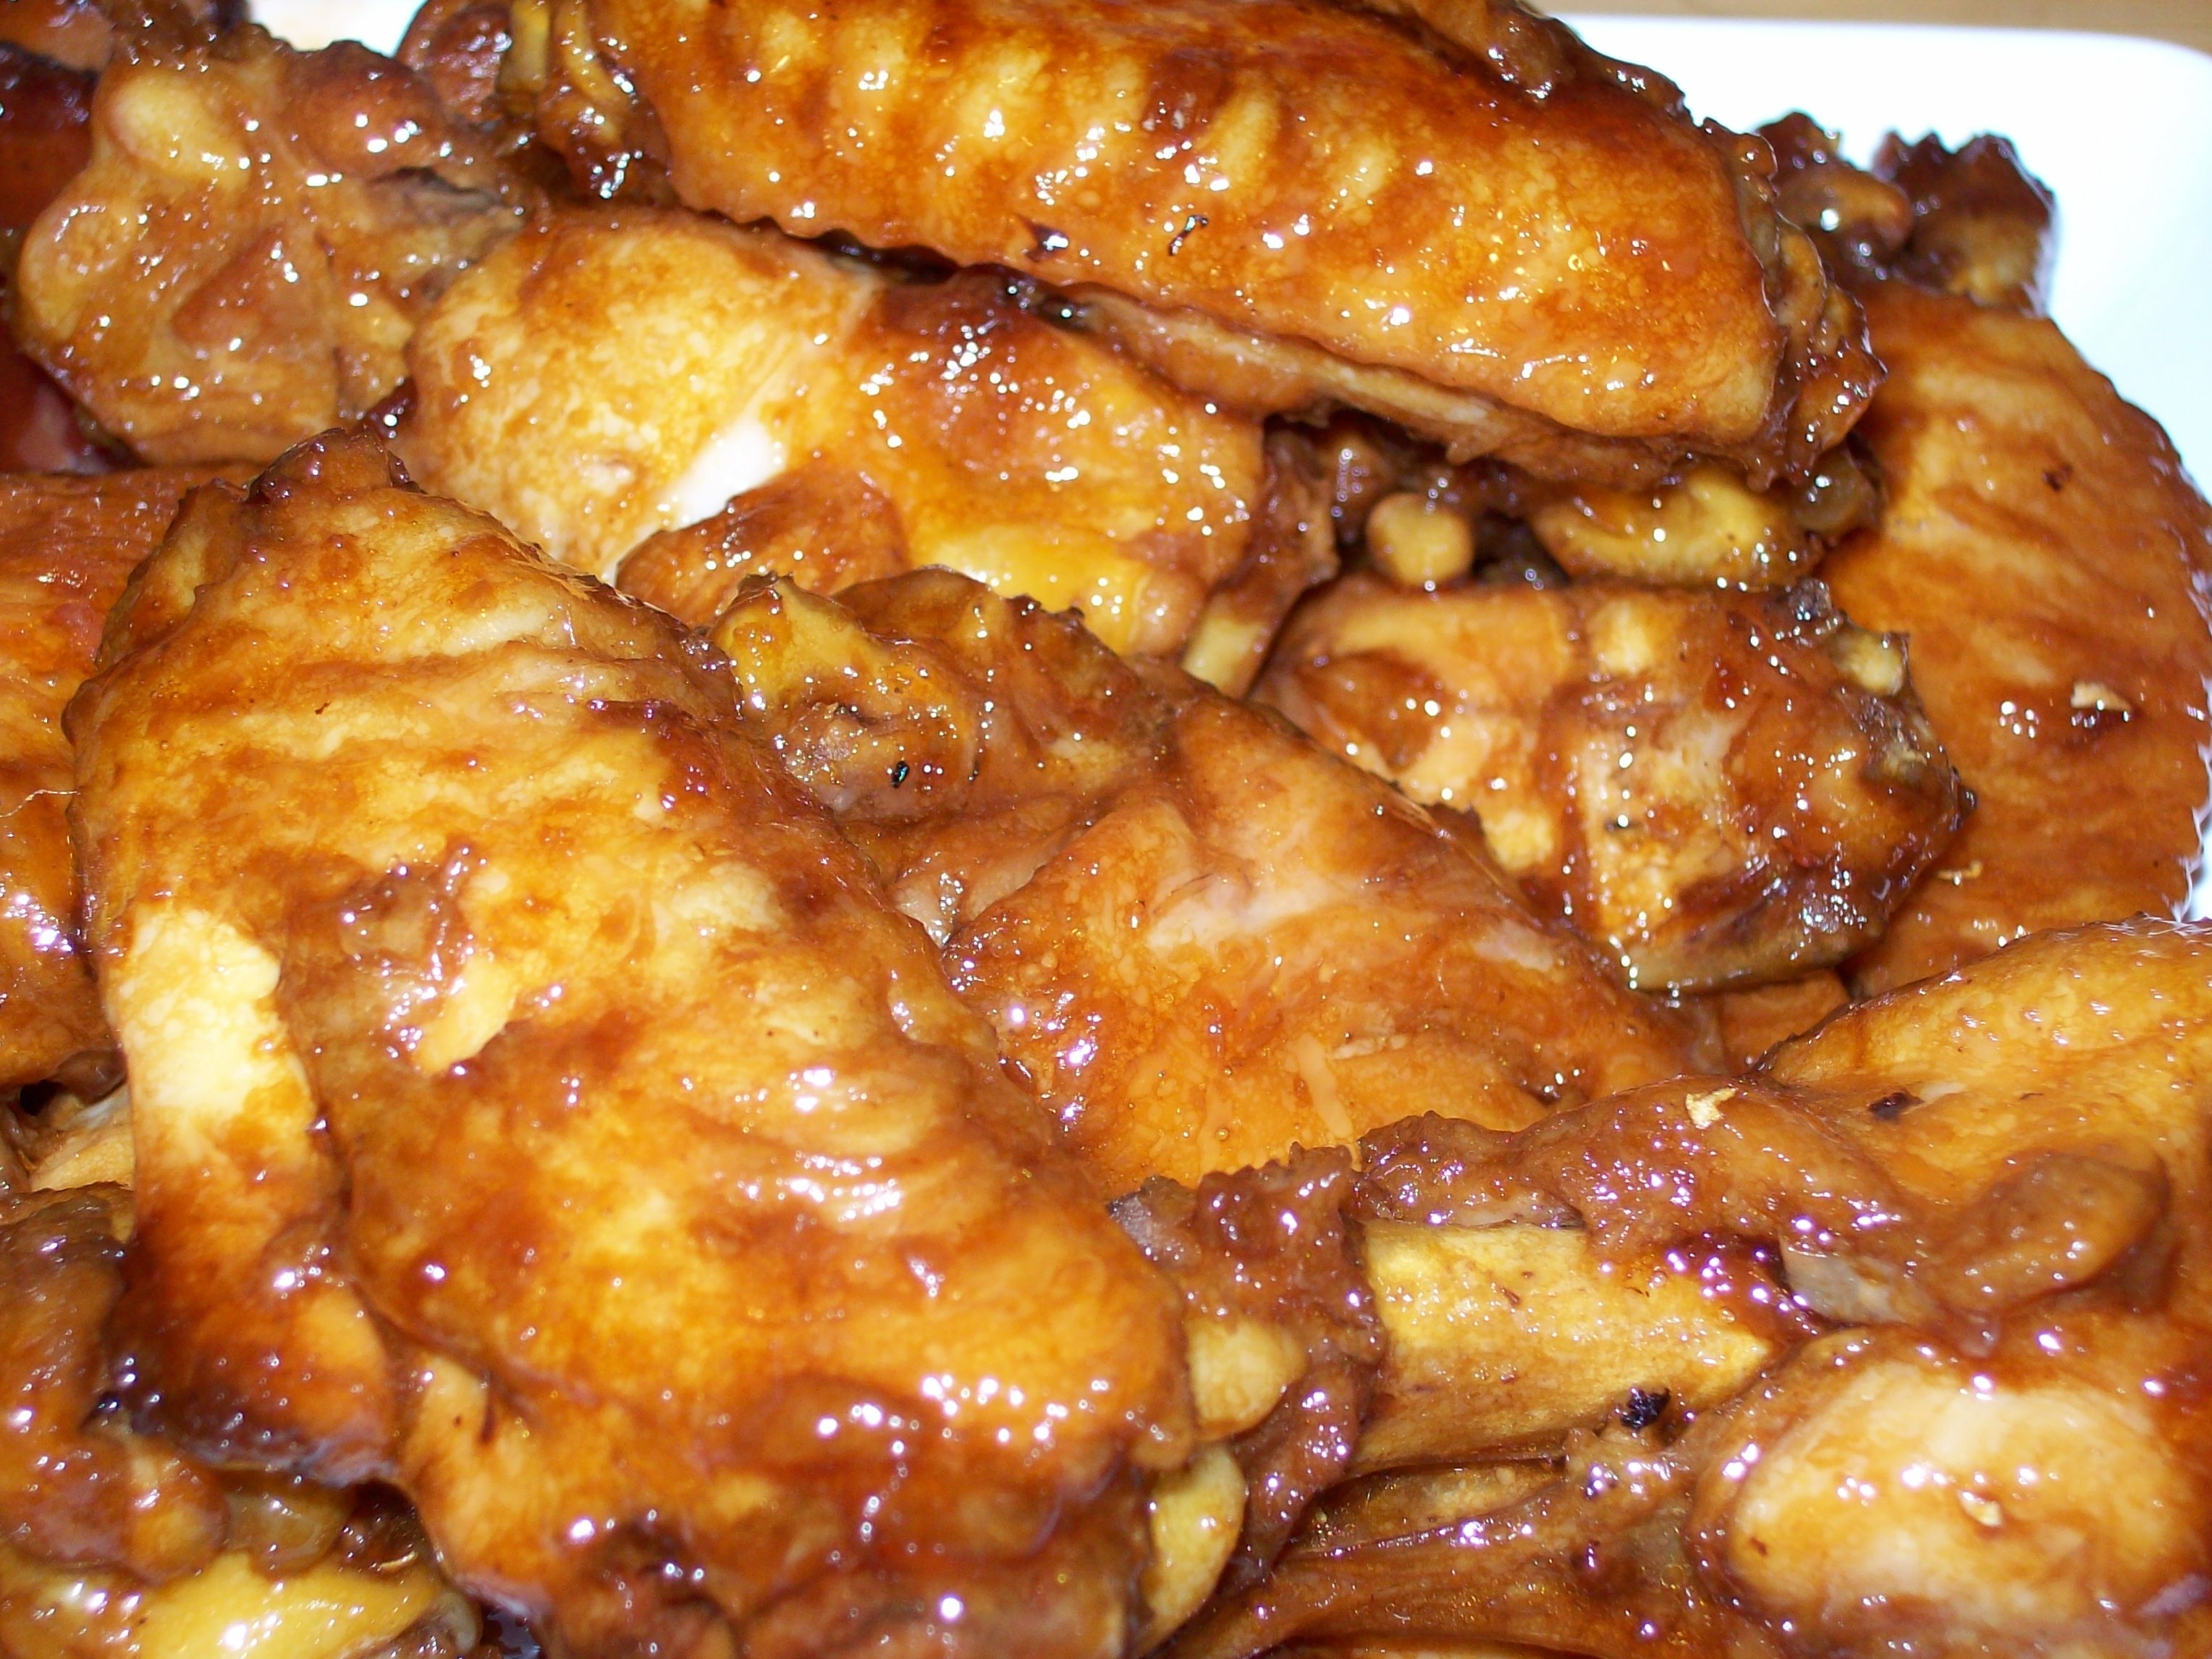
Serve warm or room temperature

100_2633

Mut Jup Mun Gai Yik or Honey Soy Braised Chicken Wings

Lyn’s stuffed eggplant – I will get the recipe out of her.

100_2637

Quick Chicken Thigh Dinner

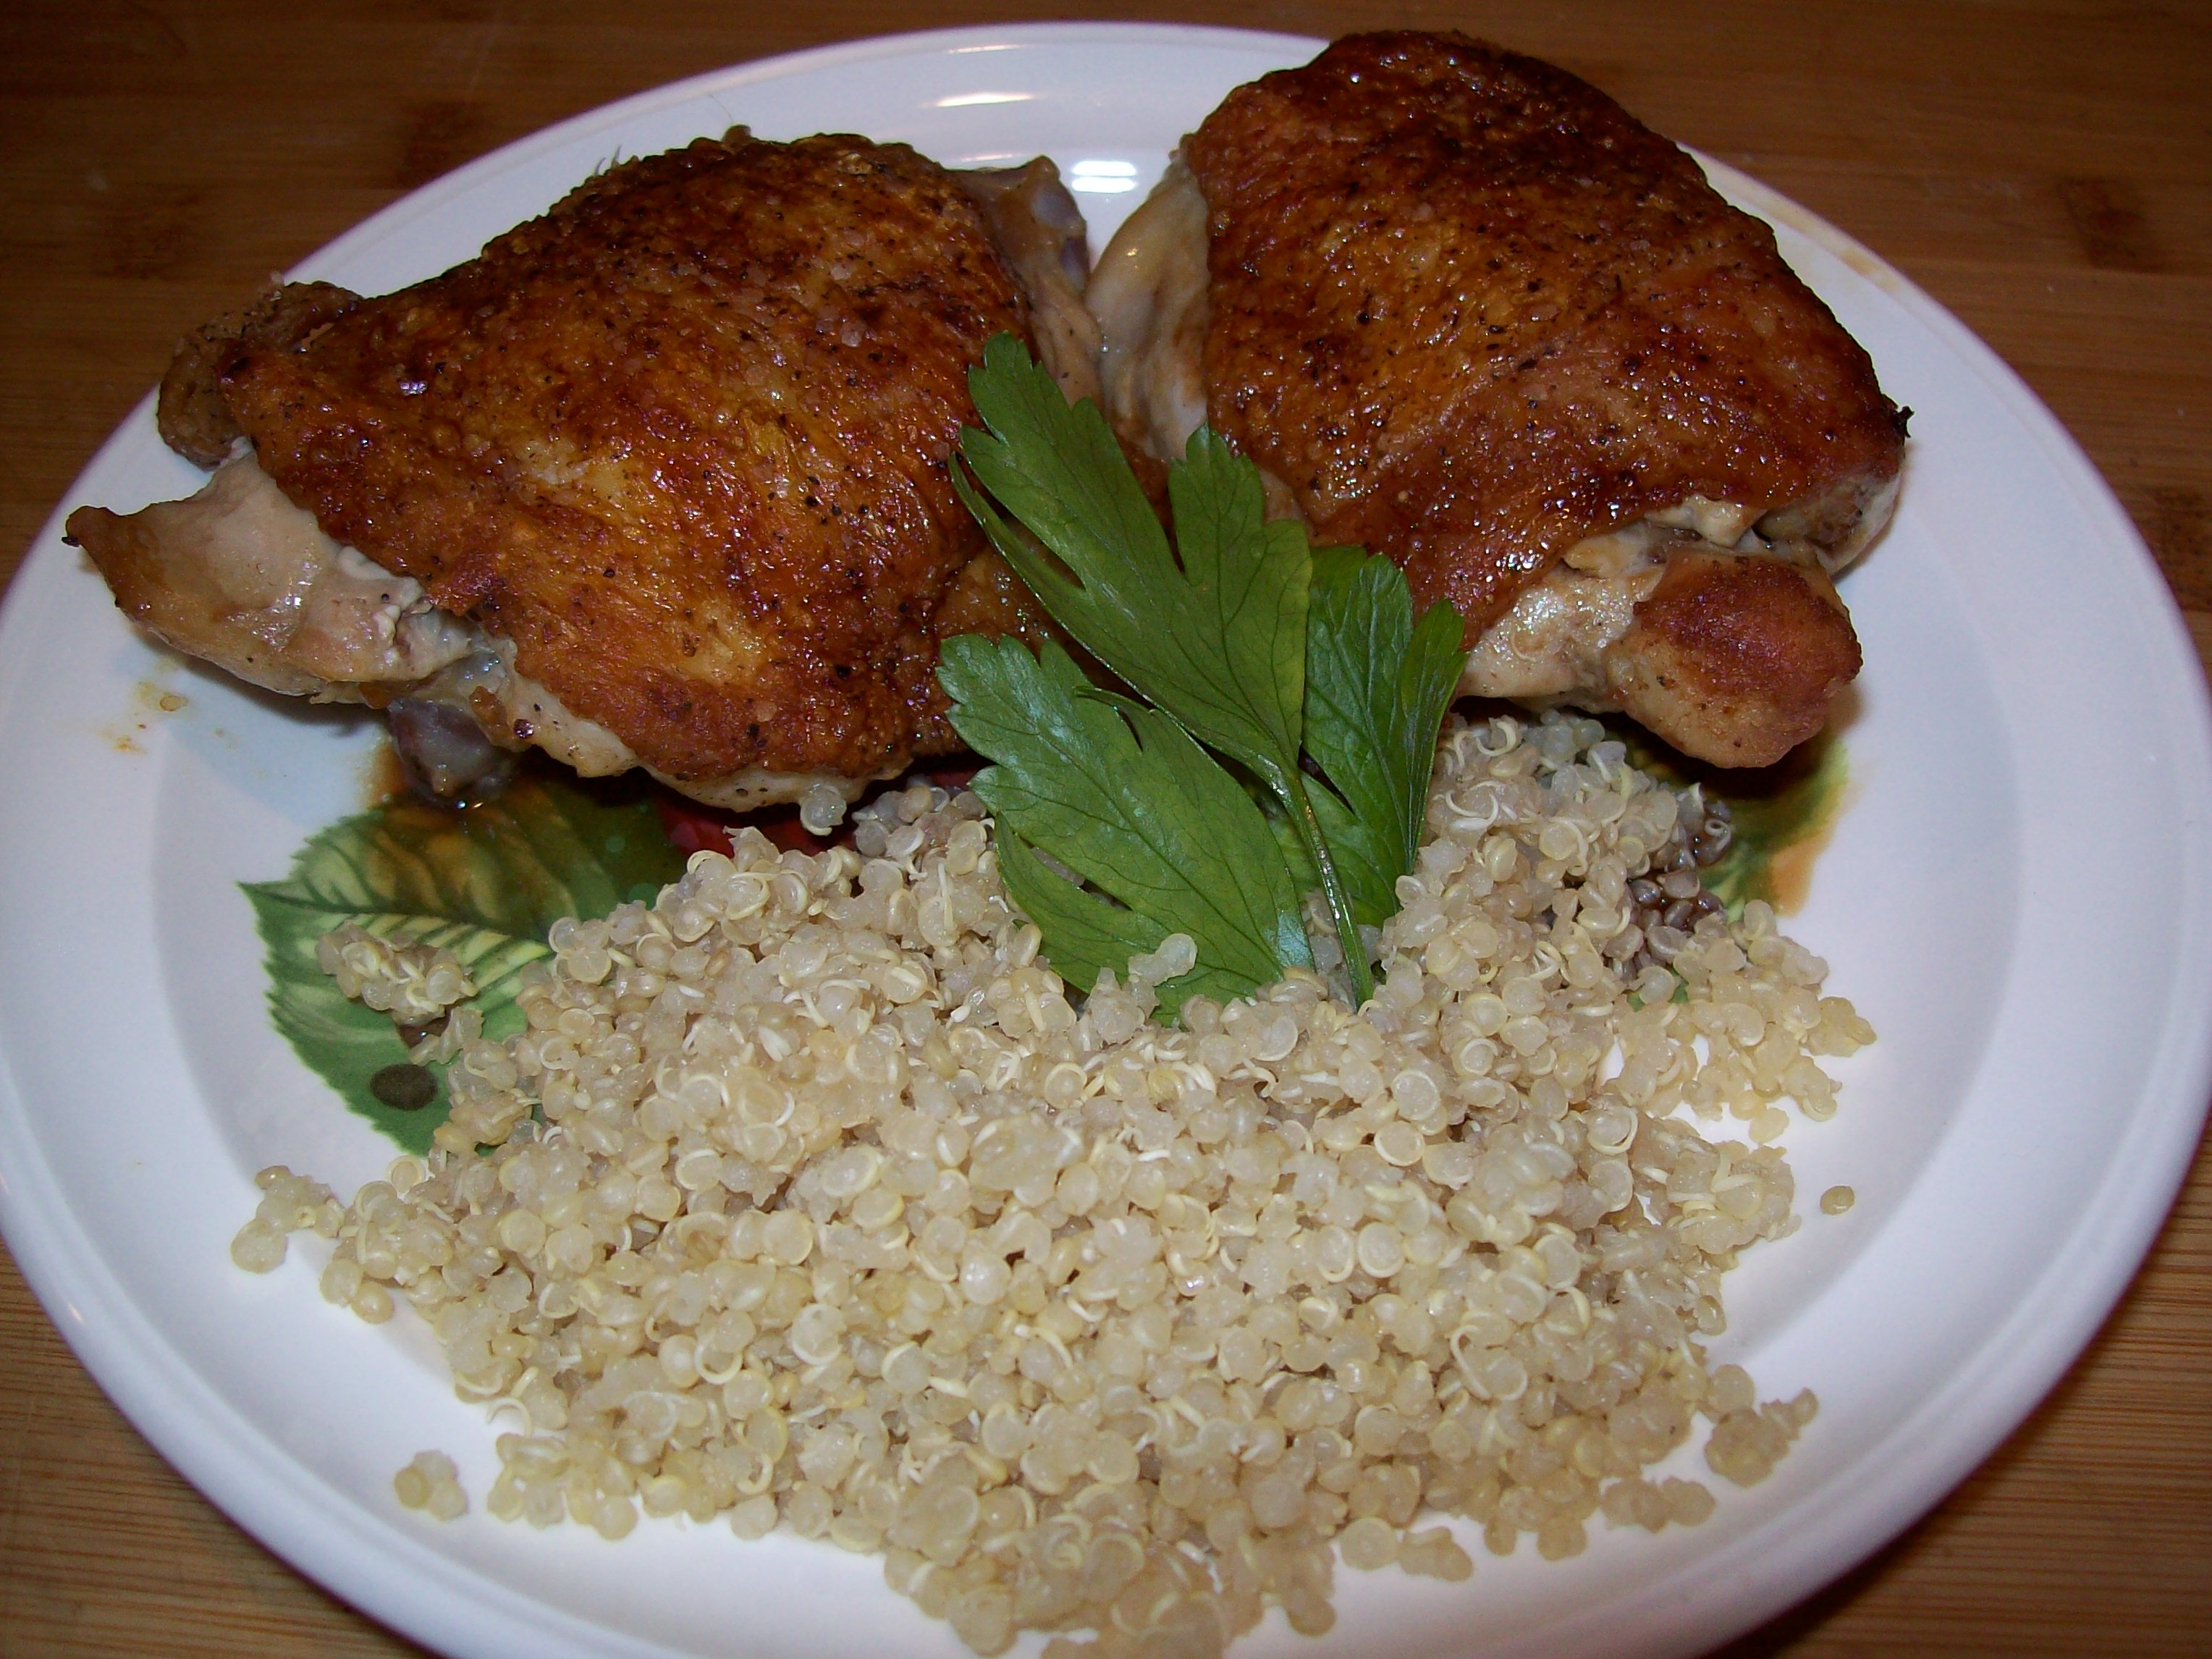
I’ve had a hell of week at work it is the full moon syndrome as I call it. I do the IT at work supporting 3 branches 4 remote people and the travelers who are in Asia. Anyway I had planes for a couple of chicken thighs but was pretty burnt when I arrived home so I quickly pan seared skin side down for about 4 minutes and turned over and placed pan and all in a 350 degree oven for about 30 minutes. Lyn had made some couscous so that was my side.

Quick and easy and good. I love that crispy chicken skin, ya I know no veggies tonight.

100_2556

Brown Sugar Basting Glaze – Turkey

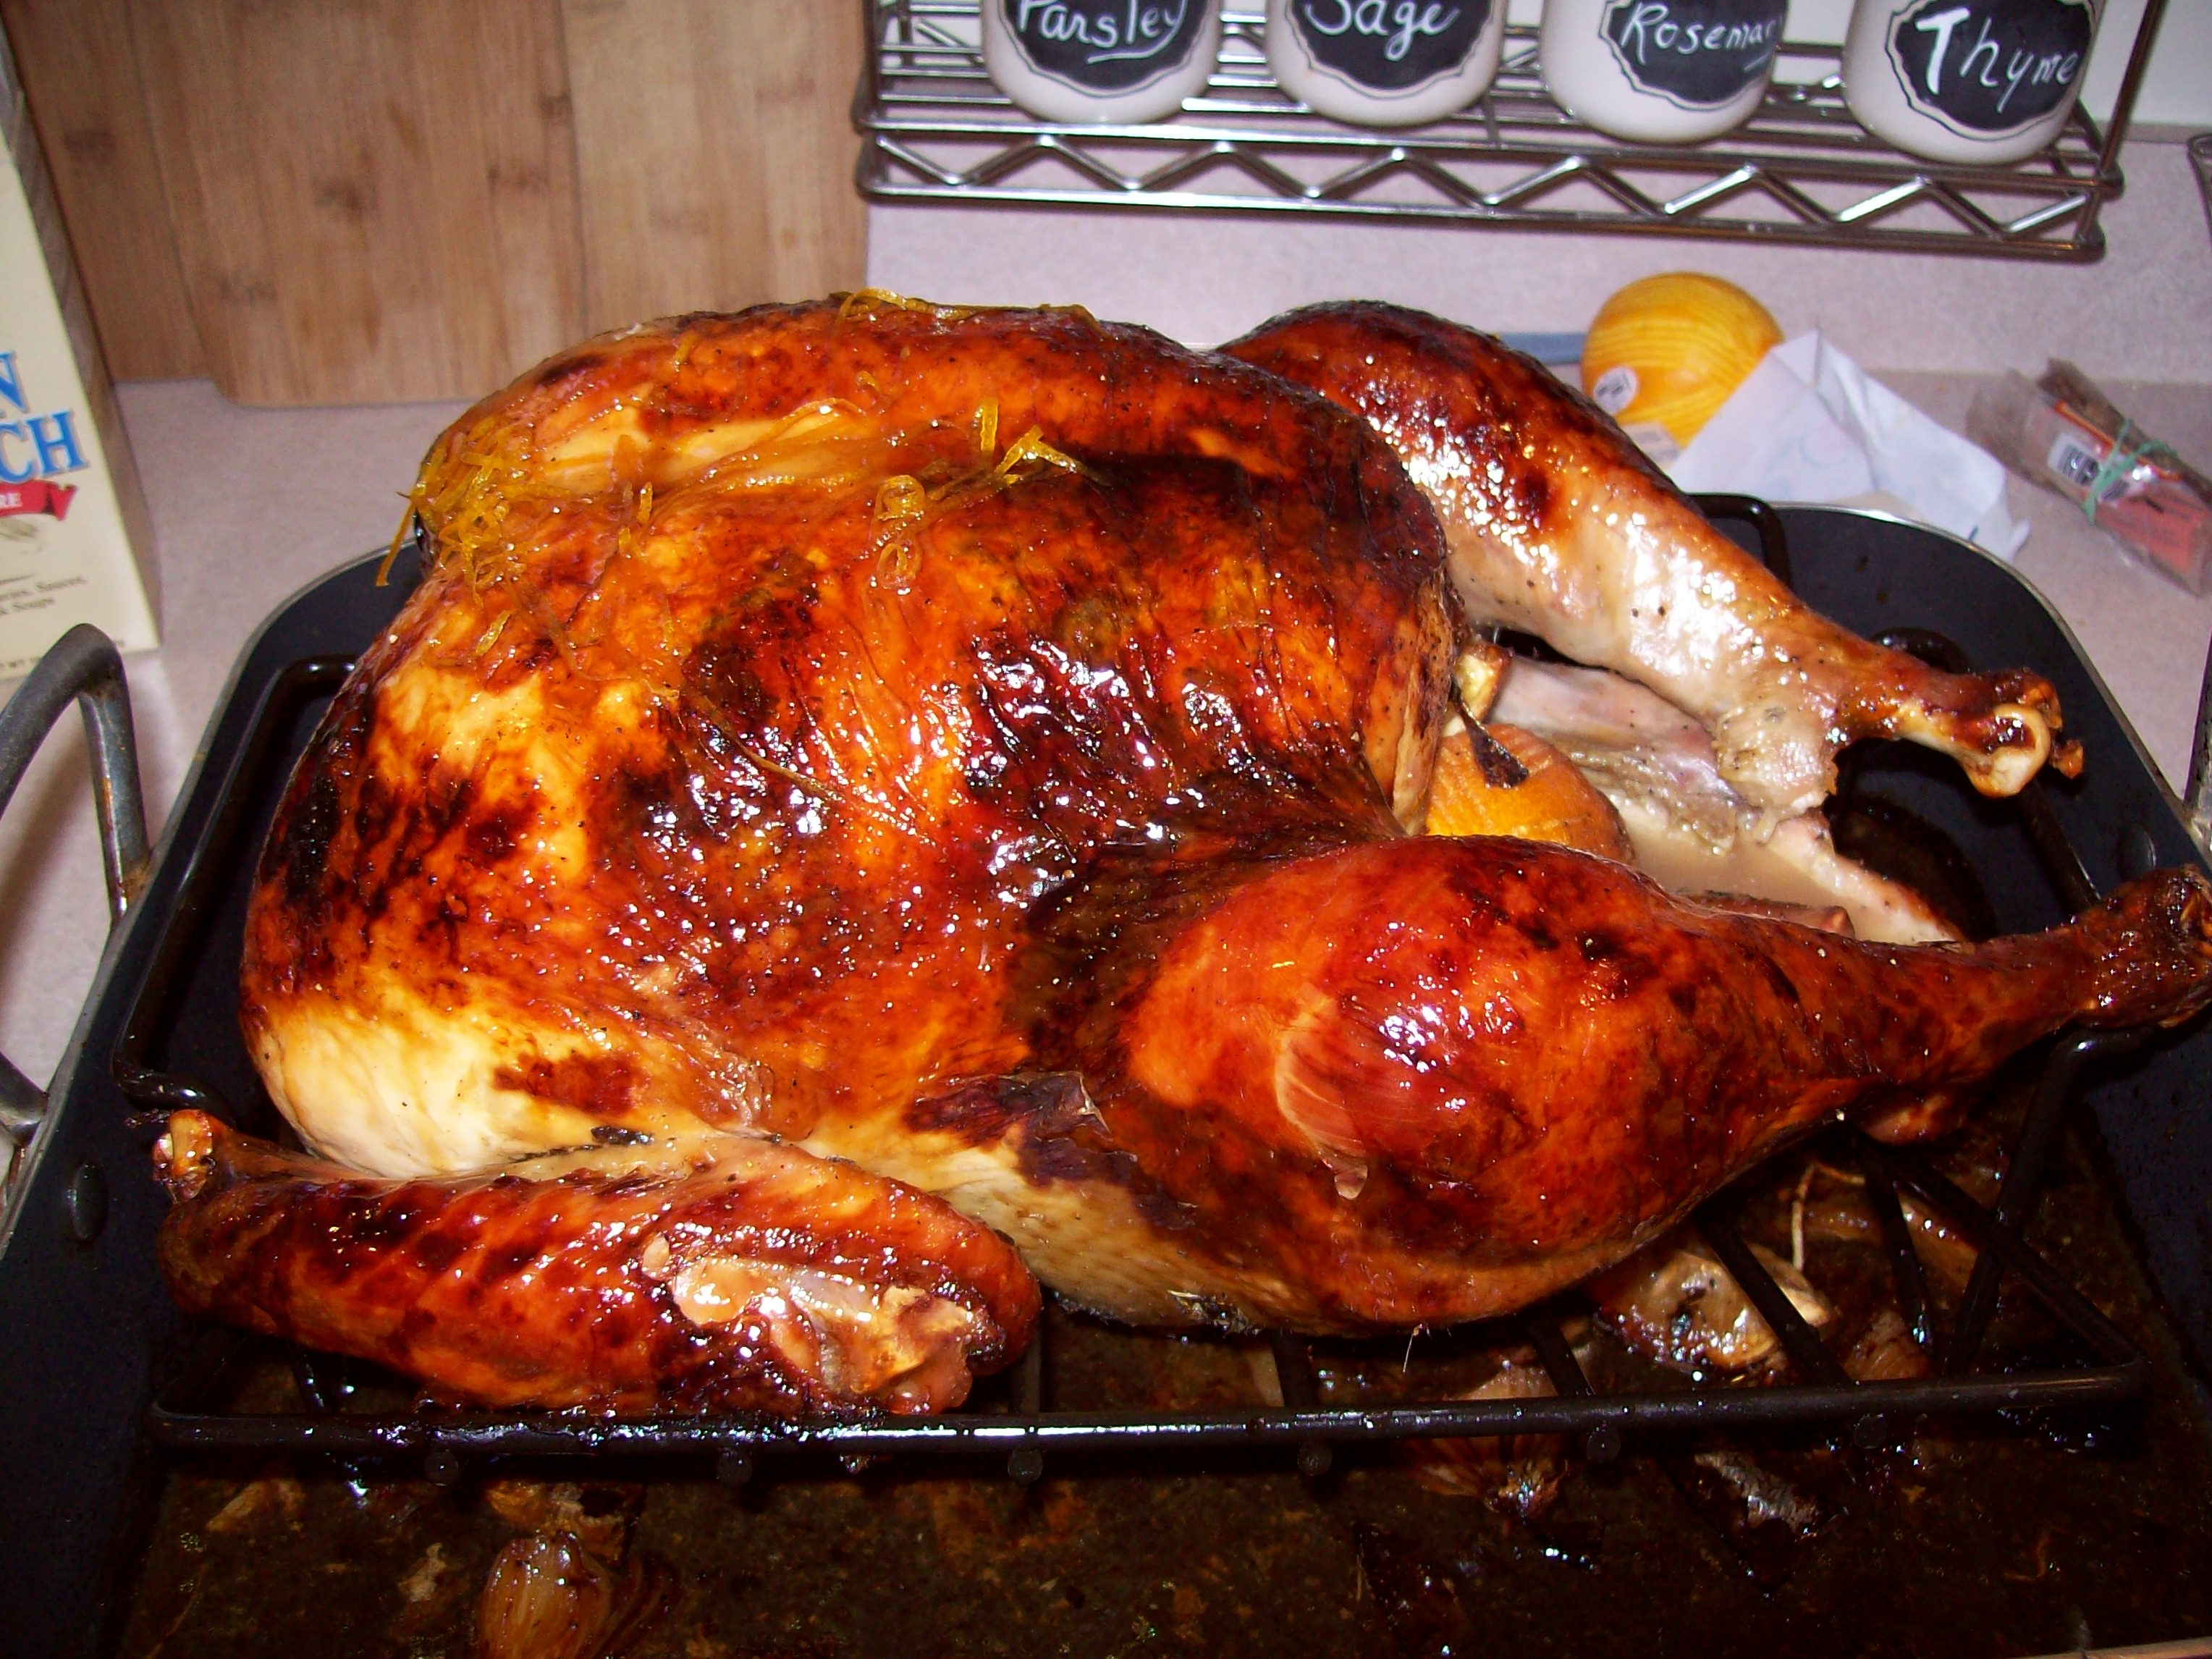
I used the buttermilk turkey marinade method, then stuffed it with lemon, oranges garlic and onions and roasted and then brushed on this nice glaze to get not only flavor but that great caramelized color. Make a head gravy is always a must make that last minute prep so much easier.

Ingredients:

100_2422

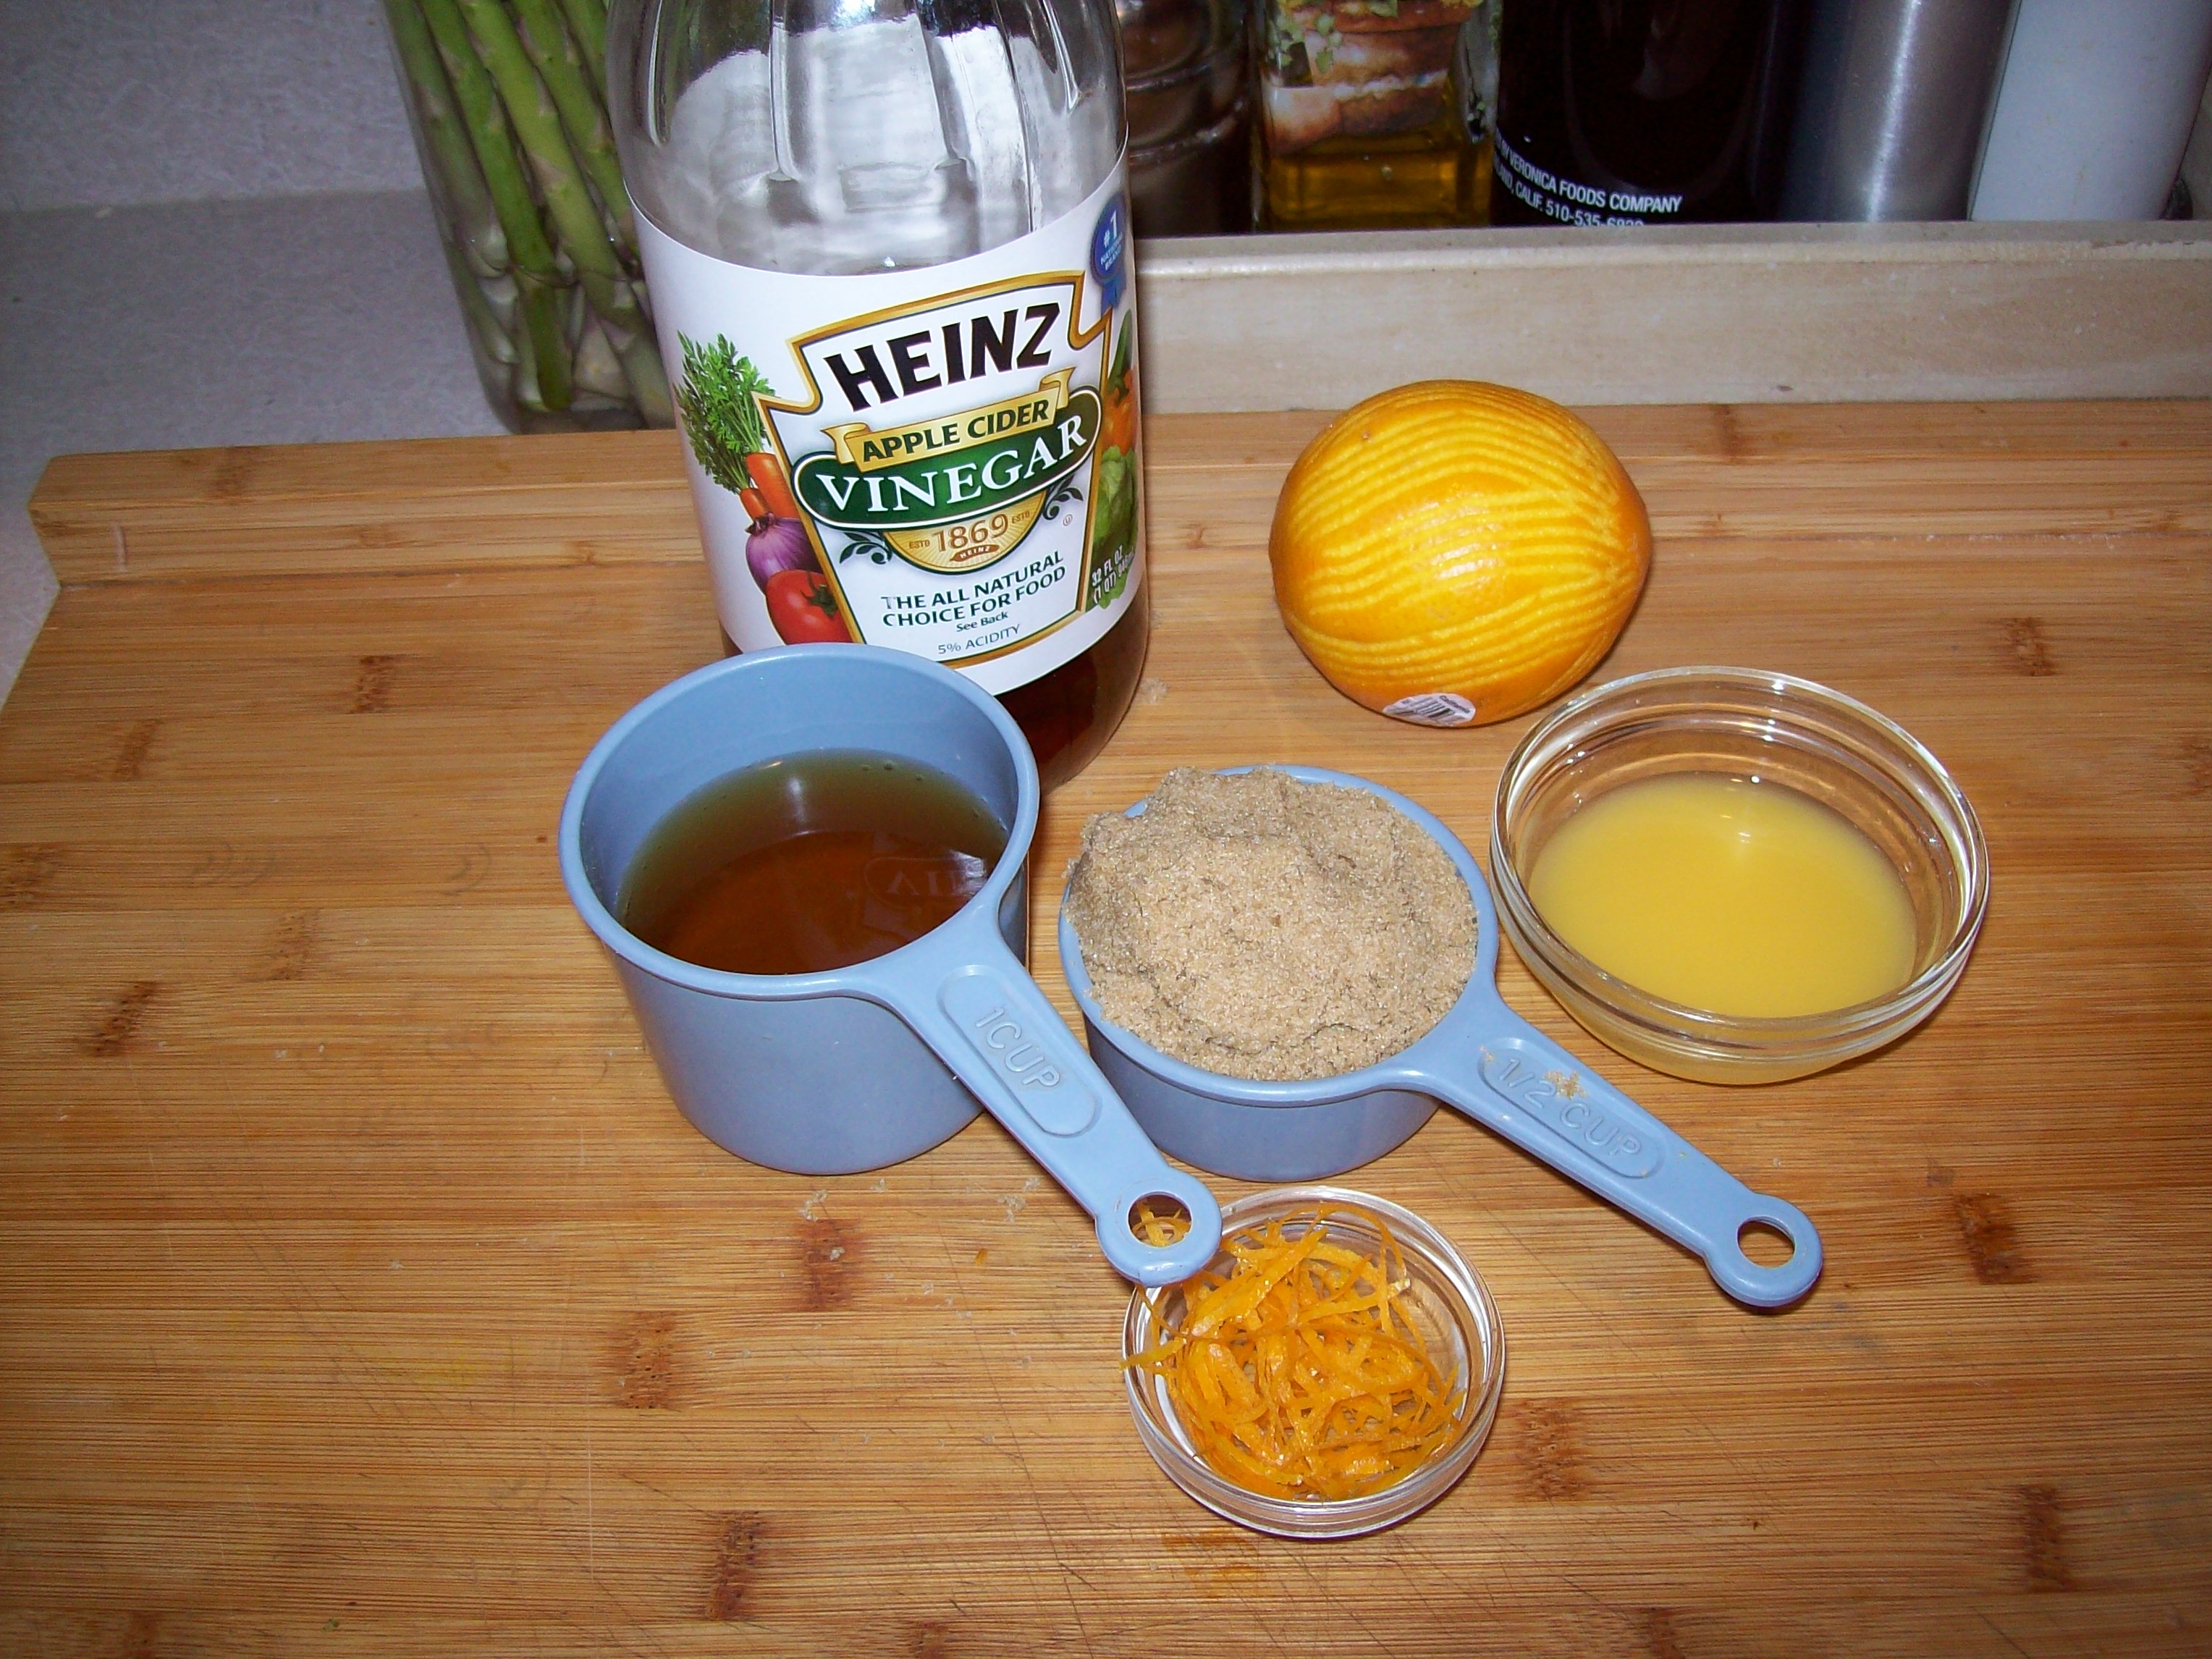
  • 2/3 cup cider vinegar
  • 1/2 cup packed dark-brown sugar
  • 2 tablespoons orange juice
  • 1/2 teaspoon grated orange zest

100_2404

100_2407

100_2431


How:

In a small saucepan, bring vinegar, brown sugar, and orange juice to a boil over high, stirring occasionally. Reduce heat and simmer, stirring occasionally, until mixture is syrupy, about 10 minutes. Remove from heat and whisk in 2 tablespoons butter and orange zest.

Use this to baste the turkey once it reaches 125 degree every 15 minutes until done. Tent with tinfoil if gets too browned.

We also make a brined turkey the day before so everyone who came could have plenty of leftovers. – just roasted regularly

Related

Buttermilk Turkey (stevesacooking.com)

Maple Syrup and Bacon Turkey (stevesacooking.com)

Make Ahead Gravy (stevesacooking.com)