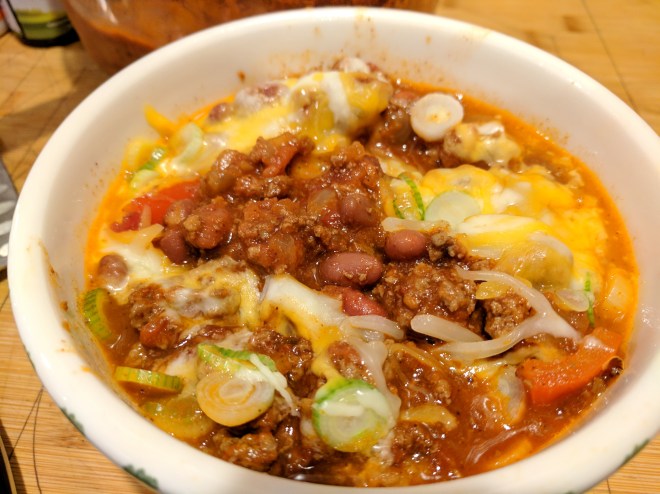
It was a cold day and the skies were threatening snow we were off to the grocery store and my stomach spoke up Beef…. Beef Stew. I wanted a stew that was thicker than the other Instant pot stew I made and this one looked good, so good I’m using their finished picture. It came out just like my mind’s eye had pictured full of flavor and the veggies cooked perfectly. The only thing I did was substitute some red wine for the sherry also had pre-cut stew meat. The extra effort and time was well worth it!
They said and I agree:
You’ll Enjoy Instant Pot Beef Stew Because:
- Easy to make
- Cut short half the cooking time comparing to cooking on stovetop
- Huge flavors – packed with *umami!
- Soul-satisfying, cozy comfort food
- Healthy – packed with earthy root vegetables
- Tenderized, juicy, moist beef in hearty thick sauce full of body & texture
Instant Pot Beef Stew are Great for:
- Cold weather
- When you’re craving for a filling & comforting meal
- Dinner parties
- Holiday meals
*Umami (/uˈmɑːmi/), or savory taste, is one of the five basic tastes (together with sweetness, sourness, bitterness, and saltiness). It has been described as brothy or meaty. People taste umamithrough taste receptors specific to glutamate.
INSTANT POT BEEF STEW
Classic American Instant Pot Beef Stew Recipe: Make this soul-satisfying beef stew. Tender & moist pressure cooker chuck roast immersed in a rich, hearty, umami sauce.
Author: Amy + Jacky | Pressure Cook Recipes
Recipe type: Dinner, Lunch, Main Course, Meat, Stew, Vegetables, Easy
Cuisine: American
PREP: 10 MINS | COOK: 110 MINS | TOTAL: 2 HRS
SERVING: 2 – 4
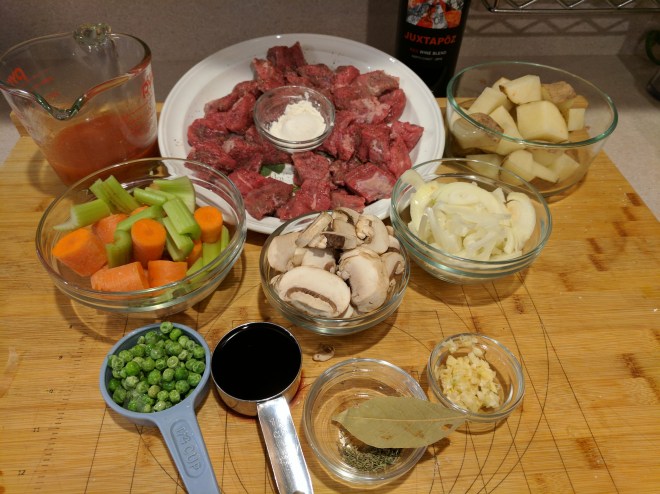
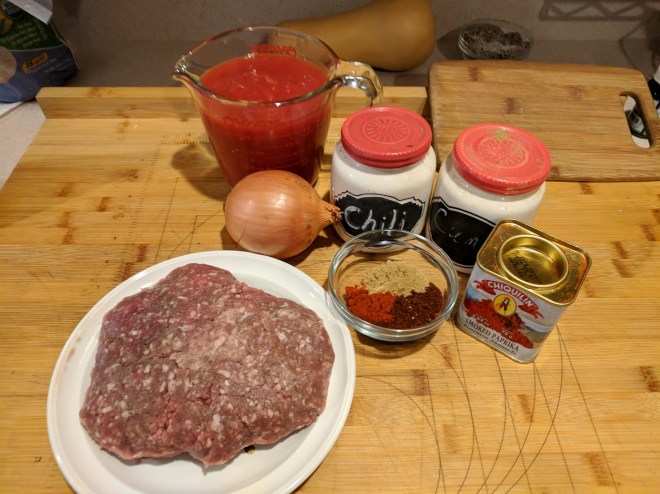
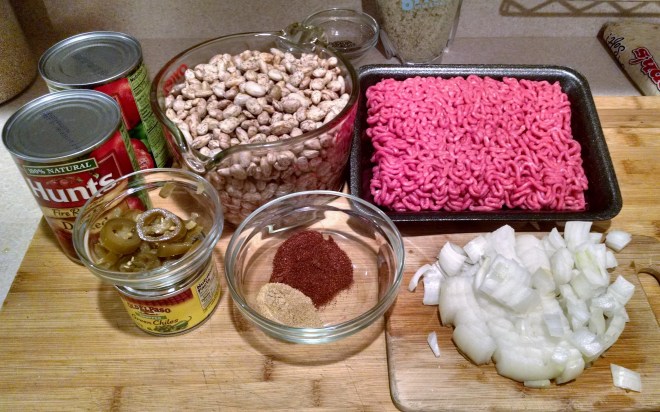
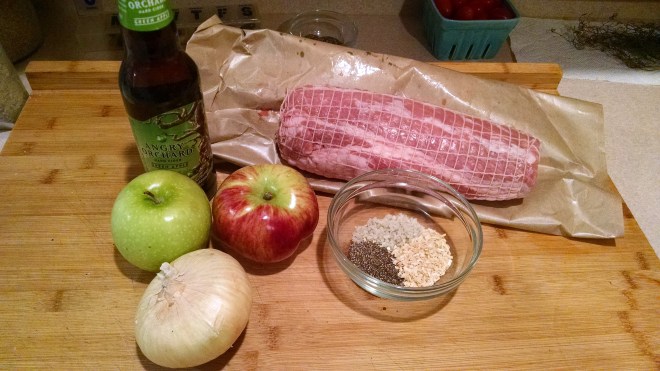
INGREDIENTS
- 2 pounds (1001g) USDA Choice Grade Chuck Steak (Canada AAA Grade Blade Steak), 1.5 inch in thickness – I bought precut stew meat.
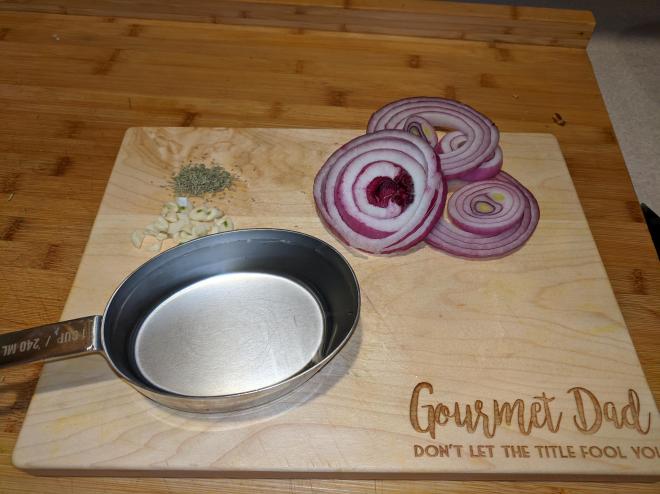
- 3 medium garlic cloves (15g), crushed and minced
- 12 white mushrooms (150g), thinly sliced
- 2 small onions (214g), thinly sliced
- 2 celery stalks (150g), cut in 1 ½ inch (4cm) chunks
- 2 medium carrots (200g), cut in 1 ½ inch (4cm) chunks
- 3 – 4 small Yukon gold potatoes (365g), quartered
- ½ cup (65g) frozen peas
- ¼ cup (63ml) of sherry wine – I used Juxtapoz red wine instead that I had opened.
- 2 bay leaves
- ¼ teaspoon (0.35g) dried thyme
- 1 tablespoon (8g) flour
- Kosher salt and black pepper to taste
Chicken Stock Mixture
- 1 ½ cup (375ml) unsalted homemade chicken stock
- 1 tablespoon (15ml) Worcestershire sauce
- 1 tablespoon (15 ml) light soy sauce
- 1 tablespoon (15ml) fish sauce
- 3 tablespoons (50ml) tomato paste
Note:
One batch of vegetables stayed in the pot to enhance flavor and acts as a natural thickener for the beef stew.
The other batch of vegetables was set aside and added back into the beef stew afterwards. This adds texture for the overall dish.
How
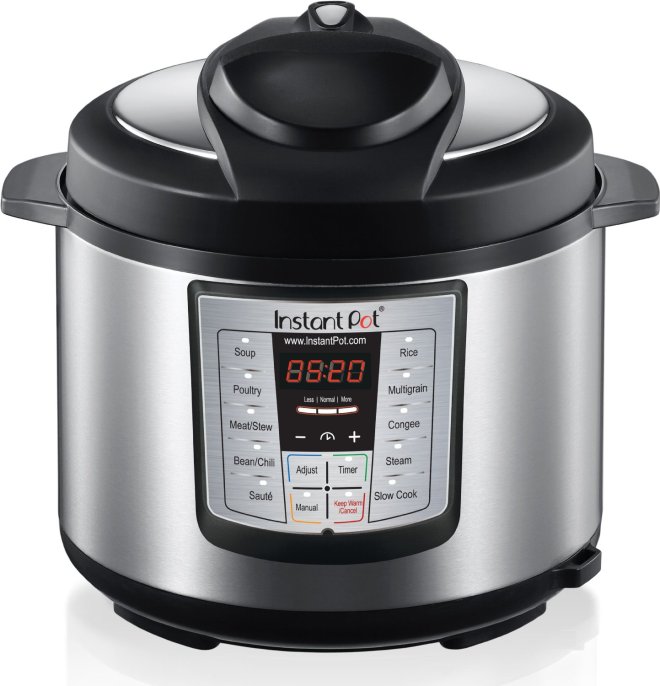
- Prepare the Pressure Cooker:Heat up your pressure cooker (Instant Pot: press Sauté button and click the adjust button to go to Sauté More function) over medium high heat. Make sure your pot is as hot as it can be (Instant Pot: wait until the indicator says HOT).
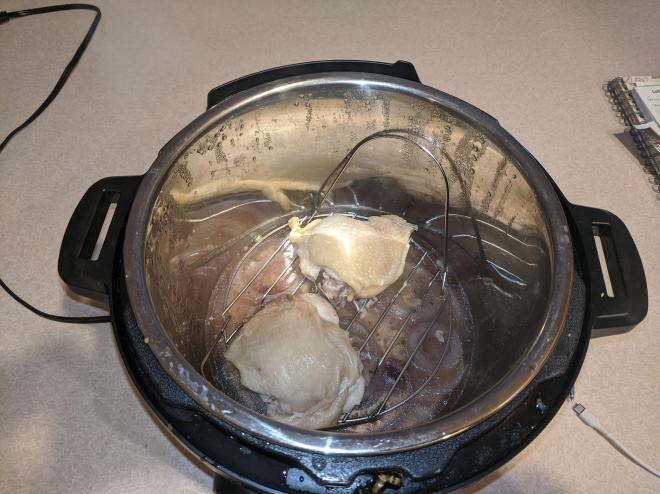
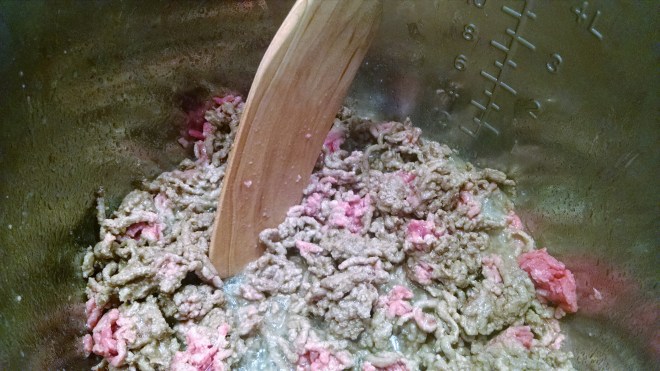
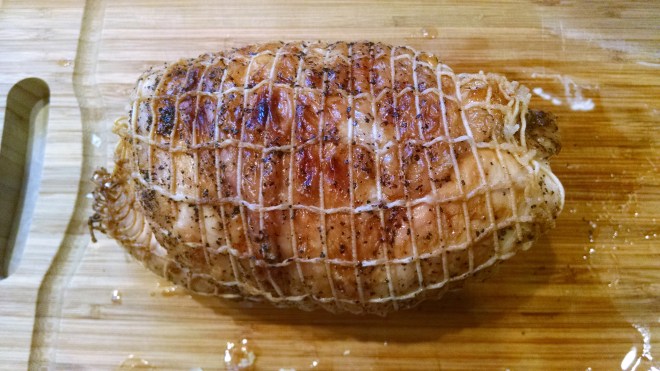
- Brown Chuck Steak:Note: I had already cut up pieces but browned the same way except season all sides first.
- Season one side of the chuck steak generously with kosher salt and freshly ground black pepper. Add 1 tablespoon (15ml) olive oil in pressure cooker. Ensure to coat the oil over whole bottom of the pot. Carefully place the seasoned side of chuck steak in pressure cooker. Generously season the other side with kosher salt and freshly ground black pepper. Brown for 6 – 8 minutes on each side without constantly flipping the steak. Remove and set aside in a large mixing bowl.
- Make Chicken Stock Mixture:While the chuck steak is browning in pressure cooker, mix 1 tablespoon (15ml) Worcestershire sauce, 1 tablespoon (15ml) light soy sauce, 1 tablespoon (15ml) fish sauce, 3 tablespoons (50ml) tomato paste with 1 ½ cup (375ml) unsalted homemade chicken stock.
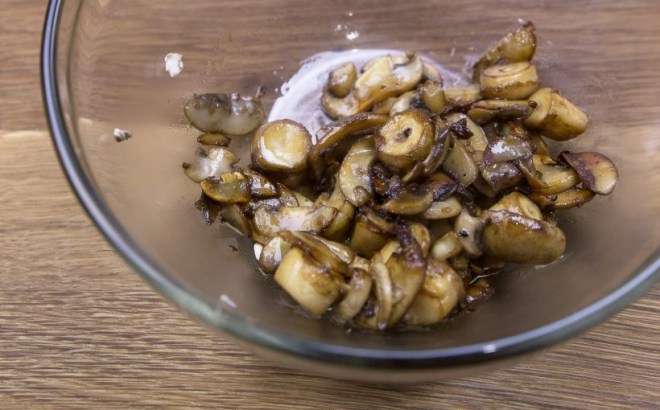
- Sauté the Mushrooms:Add sliced mushrooms in pressure cooker. Sauté until all moisture from the mushrooms have evaporated and the edges are slightly crisped & browned. Roughly 6 minutes. Taste and season with kosher salt and freshly ground black pepper if necessary. Remove and set aside.
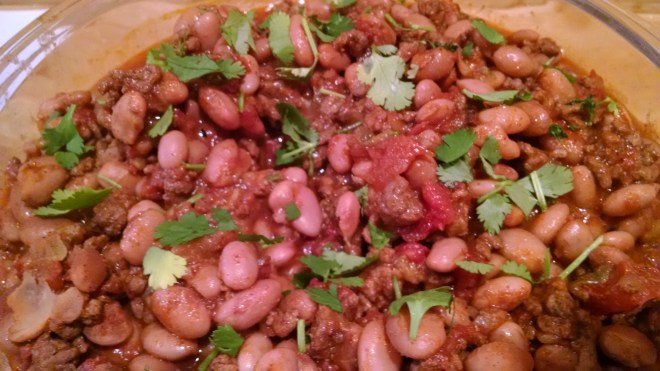
Their picture was better than mine.
- Sauté the Vegetables:Add 1 tablespoon (15ml) of olive oil in pressure cooker if necessary. Add thinly sliced small onions and sauté until soften and slightly browned. Add minced garlic cloves and stir for roughly 30 seconds until fragrant. Add all celery chunks, carrots chunks and sauté until slightly browned. Season with salt and freshly ground black pepper if necessary.
- Deglaze: Pour in ¼ cup (63 ml) sherry wine and completely deglaze bottom of the pot by scrubbing the flavorful brown bits with a wooden spoon. Let the sherry wine reduce to allow some of the alcohol to evaporate.
- Pressure Cook the Vegetables:Add 2 bay leaves, ¼ tsp (0.35g) dried thyme, quartered potatoes, and chicken stock mixture in the pot. Mix well. Close lid and pressure cook at High Pressure for 4 minutes and Quick Release. Open the lid.
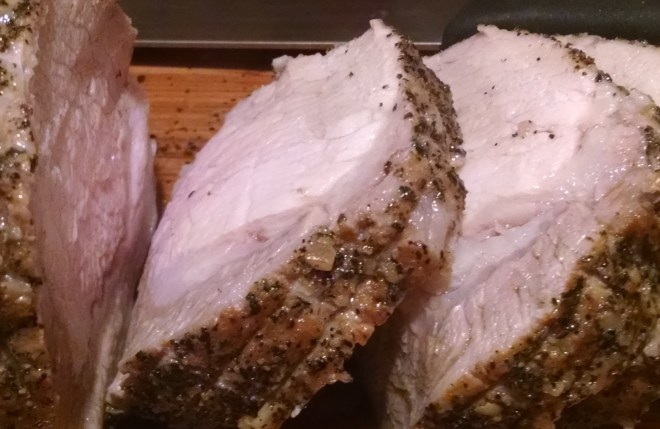
- Cut the Chuck Steak:While the vegetables are pressure cooking. Cut the chuck steak into 1.5 inch – 2 inches stew cubes on a large chopping board. Place all chuck stew meat and the flavorful meat juice back in the large mixing bowl. Add 1 tablespoon (8g) flour in mixing bowl and mix well with the stew meat. Don’t worry, your pressure cooker can get up to pressure with a small amount of flour.
- Pressure Cook the Beef Stew:Remove half of the carrots, celery, potatoes from pressure cooker and set aside. Place beef stew meat and all its juice in the pressure cooker. Partially submerge the beef stew meat in the liquid without stirring, as you don’t want too much flour in the liquid at this point. Close lid and pressure cook at High Pressure for 32 minutes + 10 minutes Natural Release. Turn off the heat. Release the remaining pressure. Open the lid.
- Thicken Beef Stew and Add Vegetables:On medium heat (Instant Pot: press Sauté button), breakdown the mushy potatoes and carrots with a wooden spoon. Stir to thicken the stew. Add frozen peas, sautéed mushrooms, and the set aside carrots, celery and potatoes in the pot. Taste and season with kosher salt and freshly ground black pepper if necessary. We added 2 pinches of kosher salt.
- Serve:Serve with mashed potatoes, pasta or your favorite starch.
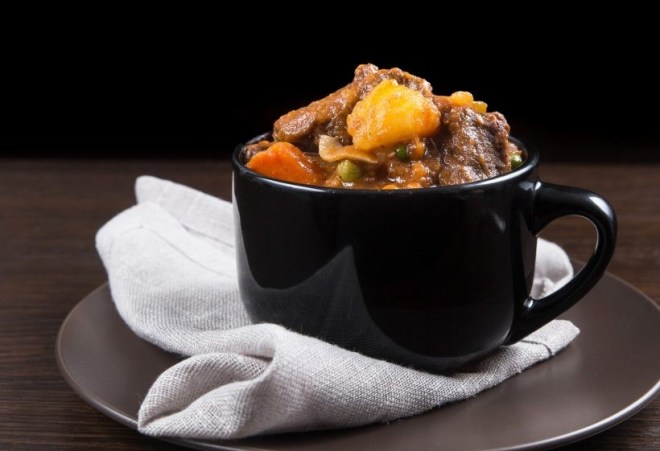
Doesn’t their picture look so good?
I did notice that leftovers required a little more liquid when reheating
Cooking Tips for Instant Pot Beef Stew
- Why are we browning the chuck steak as a whole before cutting it up?
Due to less surface area, browning the chuck steak as a whole will retain more moisture. Maillard reaction excels in dry and high heat environment, so the chuck steak will also brown faster and better when compared to cubed stew.
The caramelized flavors from browning is one of the secrets to a rich hearty beef stew.
- Can I use other beef cuts for this recipe?
Chuck roast is one of the most suitable cuts for the pressure cooker. For optimal result, choose one that is well marbled! Beef Brisket is also a good choice, but it will take a longer time (~70 minutes).
- Can I skip the sauté steps and dump everything into the pressure cooker for this beef stew?
Yes, you can dump everything into the pressure cooker and cook for 32 minutes. But if you want to up your beef stew game, give it some time and love.
- In Step 7 – Dried thyme:Release the flavor of dried thyme by scrubbing them against your fingers while adding them to the stew.
- In Step 9, why did we remove half of the carrots, celery, potatoes from the Instant Pot?
We first perfectly cooked all the vegetables and separated them into 2 batches.
Share my babble with a friend: