

One of my fall favorites, Butternut Squash and Apple Soup then there is plain roasted, fries, replace sweet potato, mashed with a little butter and brown sugar, the list goes on. So when I saw that sale sign and a huge basket of butternut and acorn squash it was another case of my eyes were bigger than my menu. I had some room in the freezer so I did not panic just a quick blanch and freeze.
Mature winter squashes like the butternut have tough skin that protects their firm, yellow-orange flesh and allows them to last longer than their fleeting summer squash relatives. A butternut is so self-reliant that it doesn’t even need to be refrigerated, and can be stored in a cool dark place for several weeks. So how do you choose a good one? First, pick it up. It should be heavy for its size. Look it over and make sure its skin is firm and free of bruises. Check for brown frostbite scars, which can affect the squash’s texture and longevity, and punctures or cuts, which can let bacteria in and cause mold. I like to choose one with a longer neck, especially if I am cubing make life easier. www.cookthink.com
Ingredients
Butternut squash (Quantity depends on you)
How
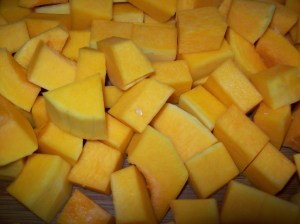
Cut ends on and peel and scrap seeds out
Cut the squash into 1/2-inch cubes.
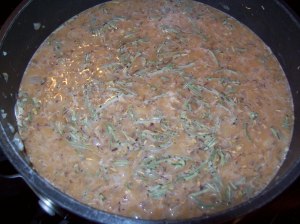
In a larger pot bring at least 8 cups of water to a full boil

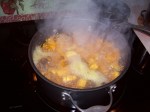
Blanch the squash for about 3 minutes
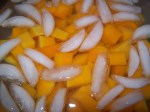
Strain the squash in collider and then immediately put in large bowl of ice water to stop cooking
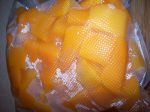
Place on a large cookie sheet and into the freezer until frozen about 30 minutes to an hour.
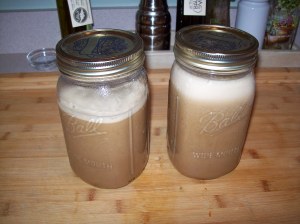
Place in freezer bag (we use Food Saver), suck it and back into the freezer.
Butternut squash is an edible member of the gourd family whose roots have been traced back to Mexico in 5500 B.C. (Along with beans and corn, squash is one of the “Three Sisters,” the cornerstones of Native American cuisine.)
A mature winter squash, it grows on a vine, and has a giant pear-shaped body, tough skin, rich-tasting, vivid yellow-orange flesh and a sweet flavor. (It can often substitute well for the sweet potato.) Butternut squash can be baked, steamed, puréed or simmered, and is often referred to by cooks as a “workhorse” because of its versatility. Once cooked, its dry flesh has a glossy and silky texture that makes it a favorite in soups, curries and other dishes. http://www.cookthink.com
The word “squash” comes from the Narragansett word that means “to eat raw or green.” You certainly won’t be eating your squash raw or green, and you must cook it even before you freeze it to make sure that the squash retains its color and texture once it is thawed. The process of cooking squash is called blanching. When you blanch squash, you boil it just long enough to stop the enzymes that cause squash to deteriorate. The process for preparing and blanching squash for freezing depends on whether you are freezing summer or winter squash. http://www.livestrong.com


