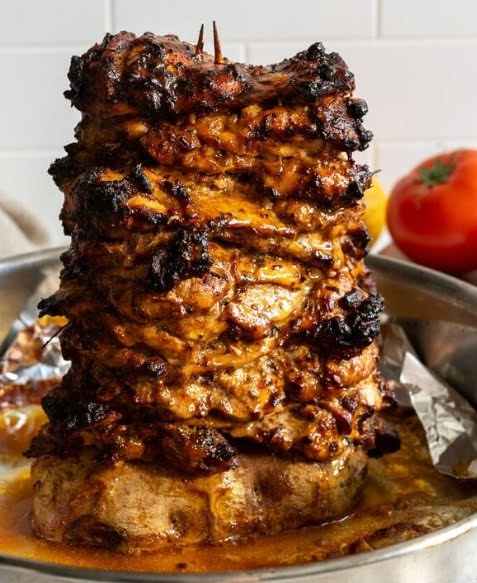
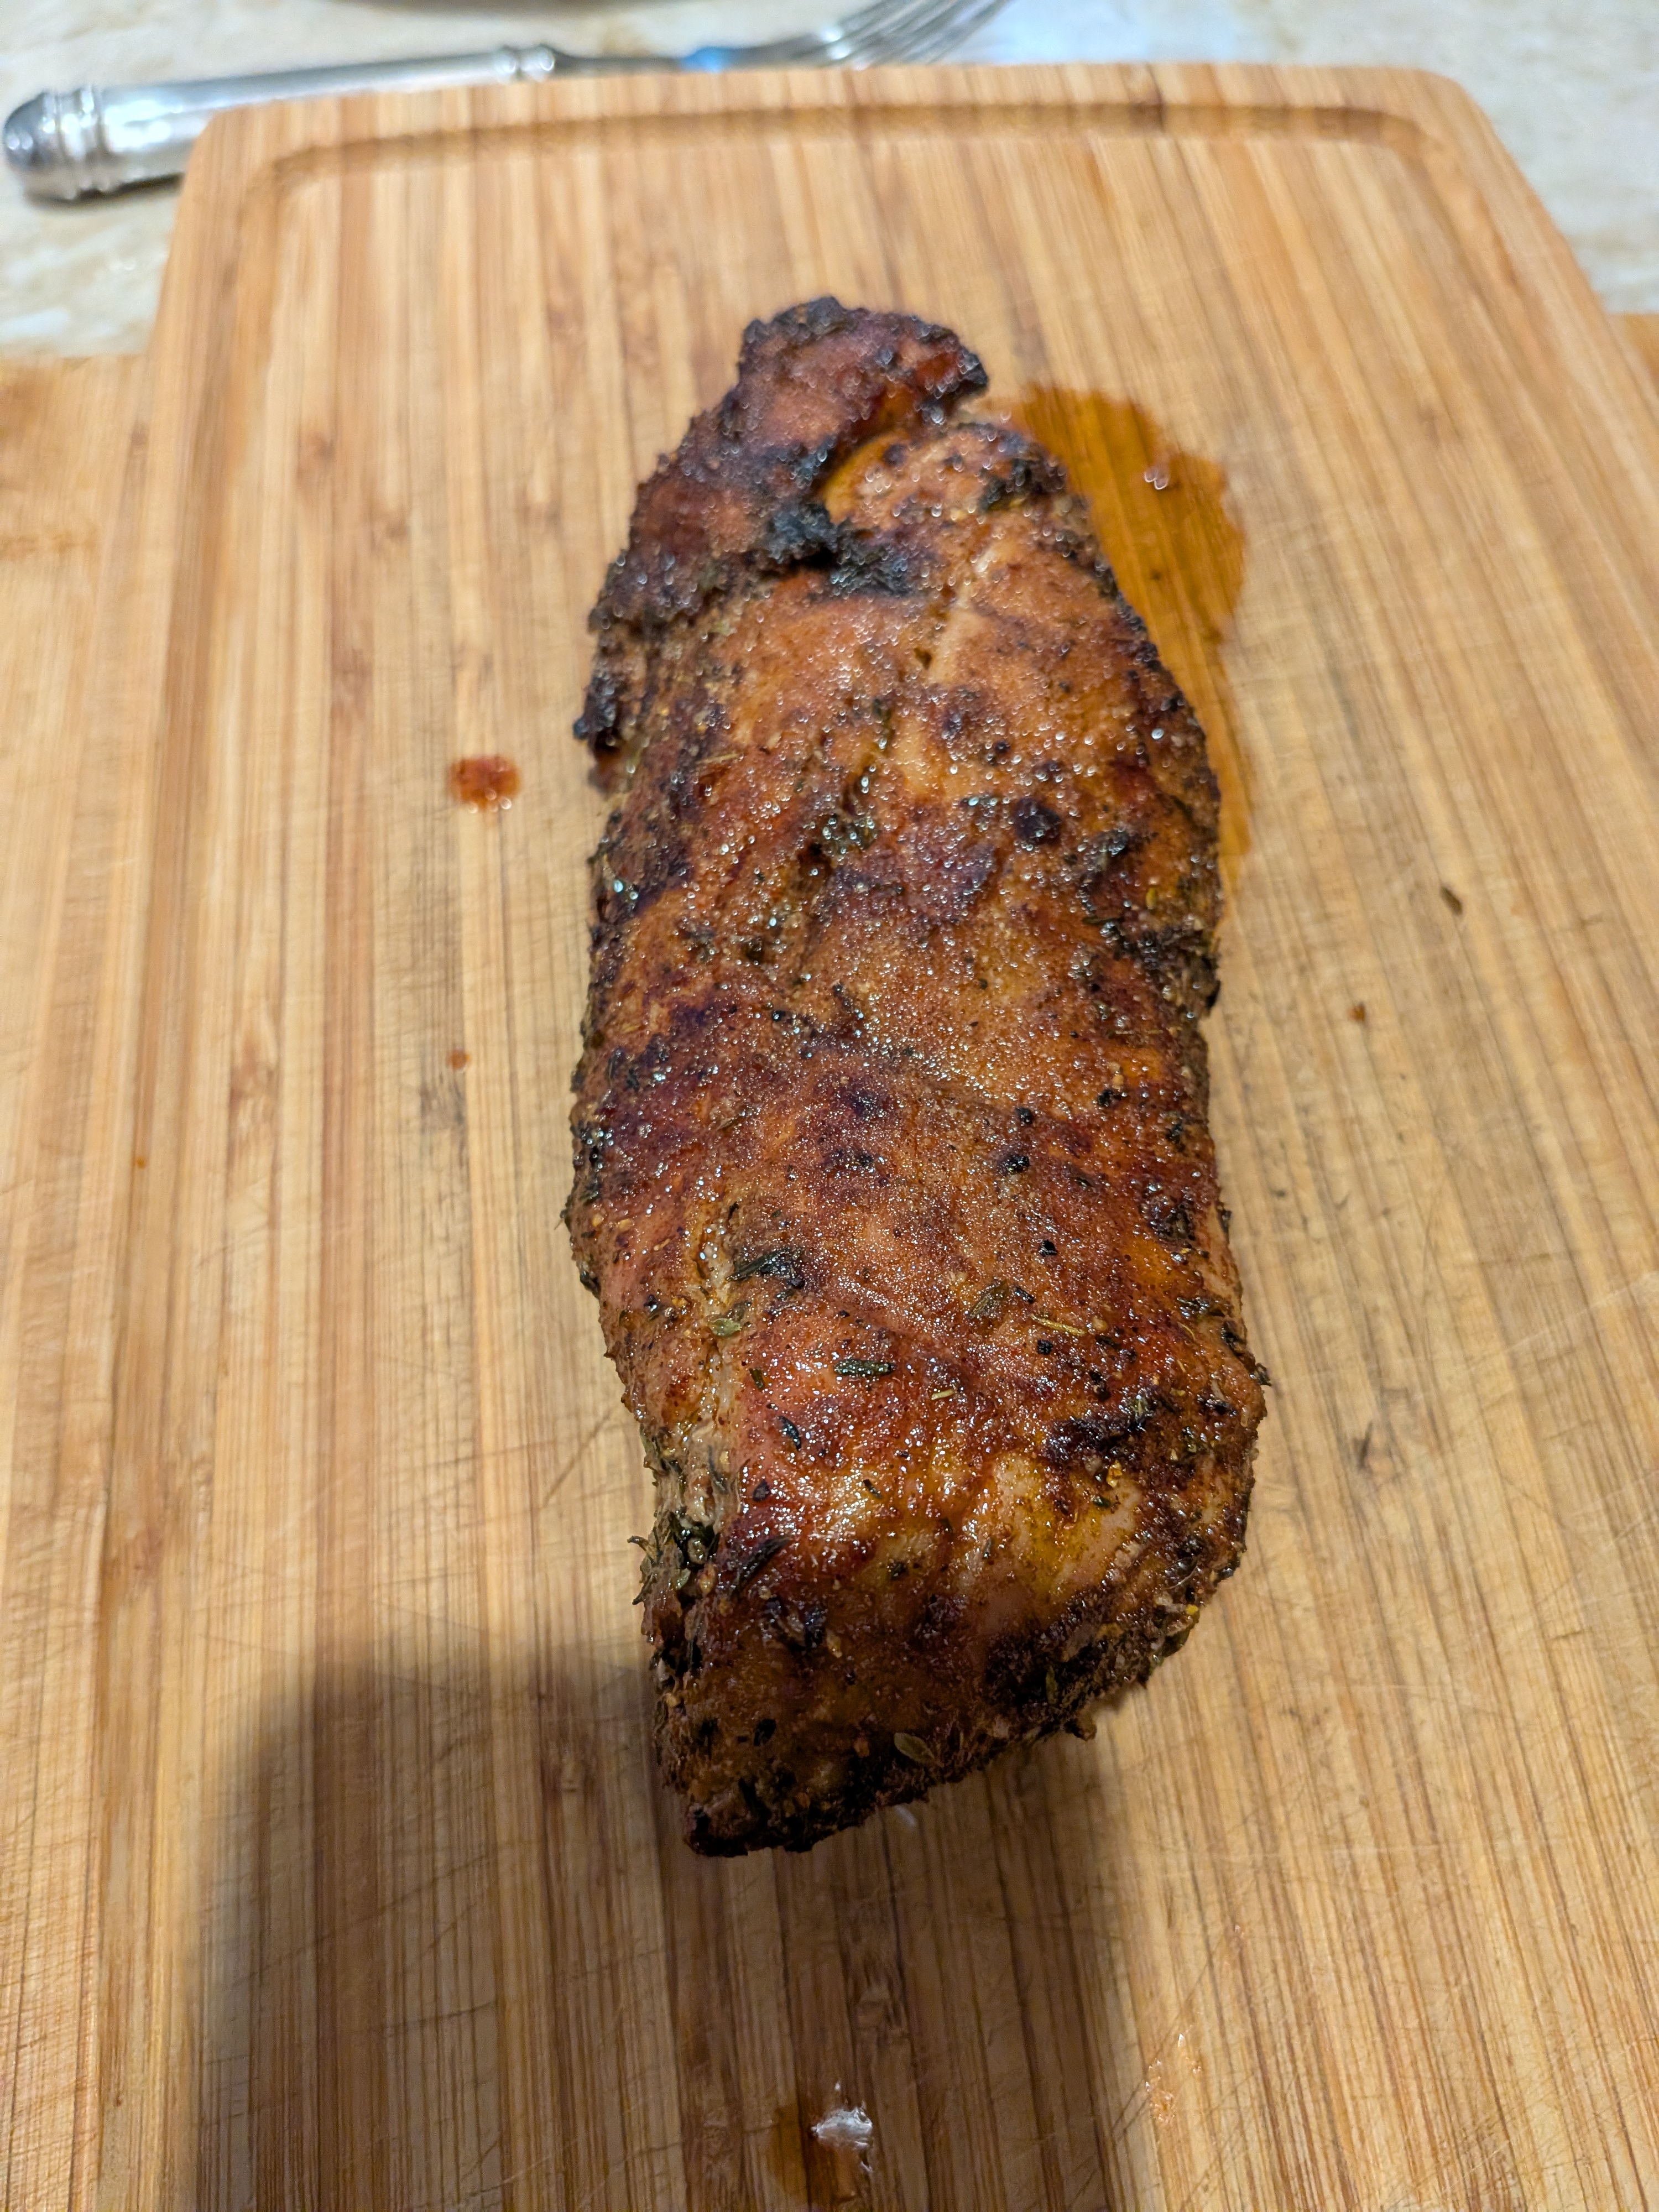
It’s the juiciest pork tenderloin you’ll ever make!
I’ve wanted to try cooking in air fryer, and this popped up. I decided to try something different, so I did a search and Pioneer Women recipe. I was kind of BBQ tasting next time I might use smoked paprika.
Ingredients
- 1 1/2 lb. pork tenderloin Note: mine was a smaller piece so I did not have to cut in half
- 2 tsp. kosher salt
- 2 tsp. light brown sugar
- 1 tsp. ground black pepper
- 1 tsp. dried thyme
- 1 tsp. paprika
- 1/2 tsp. garlic powder
- 1 Tbsp. olive oil
Directions
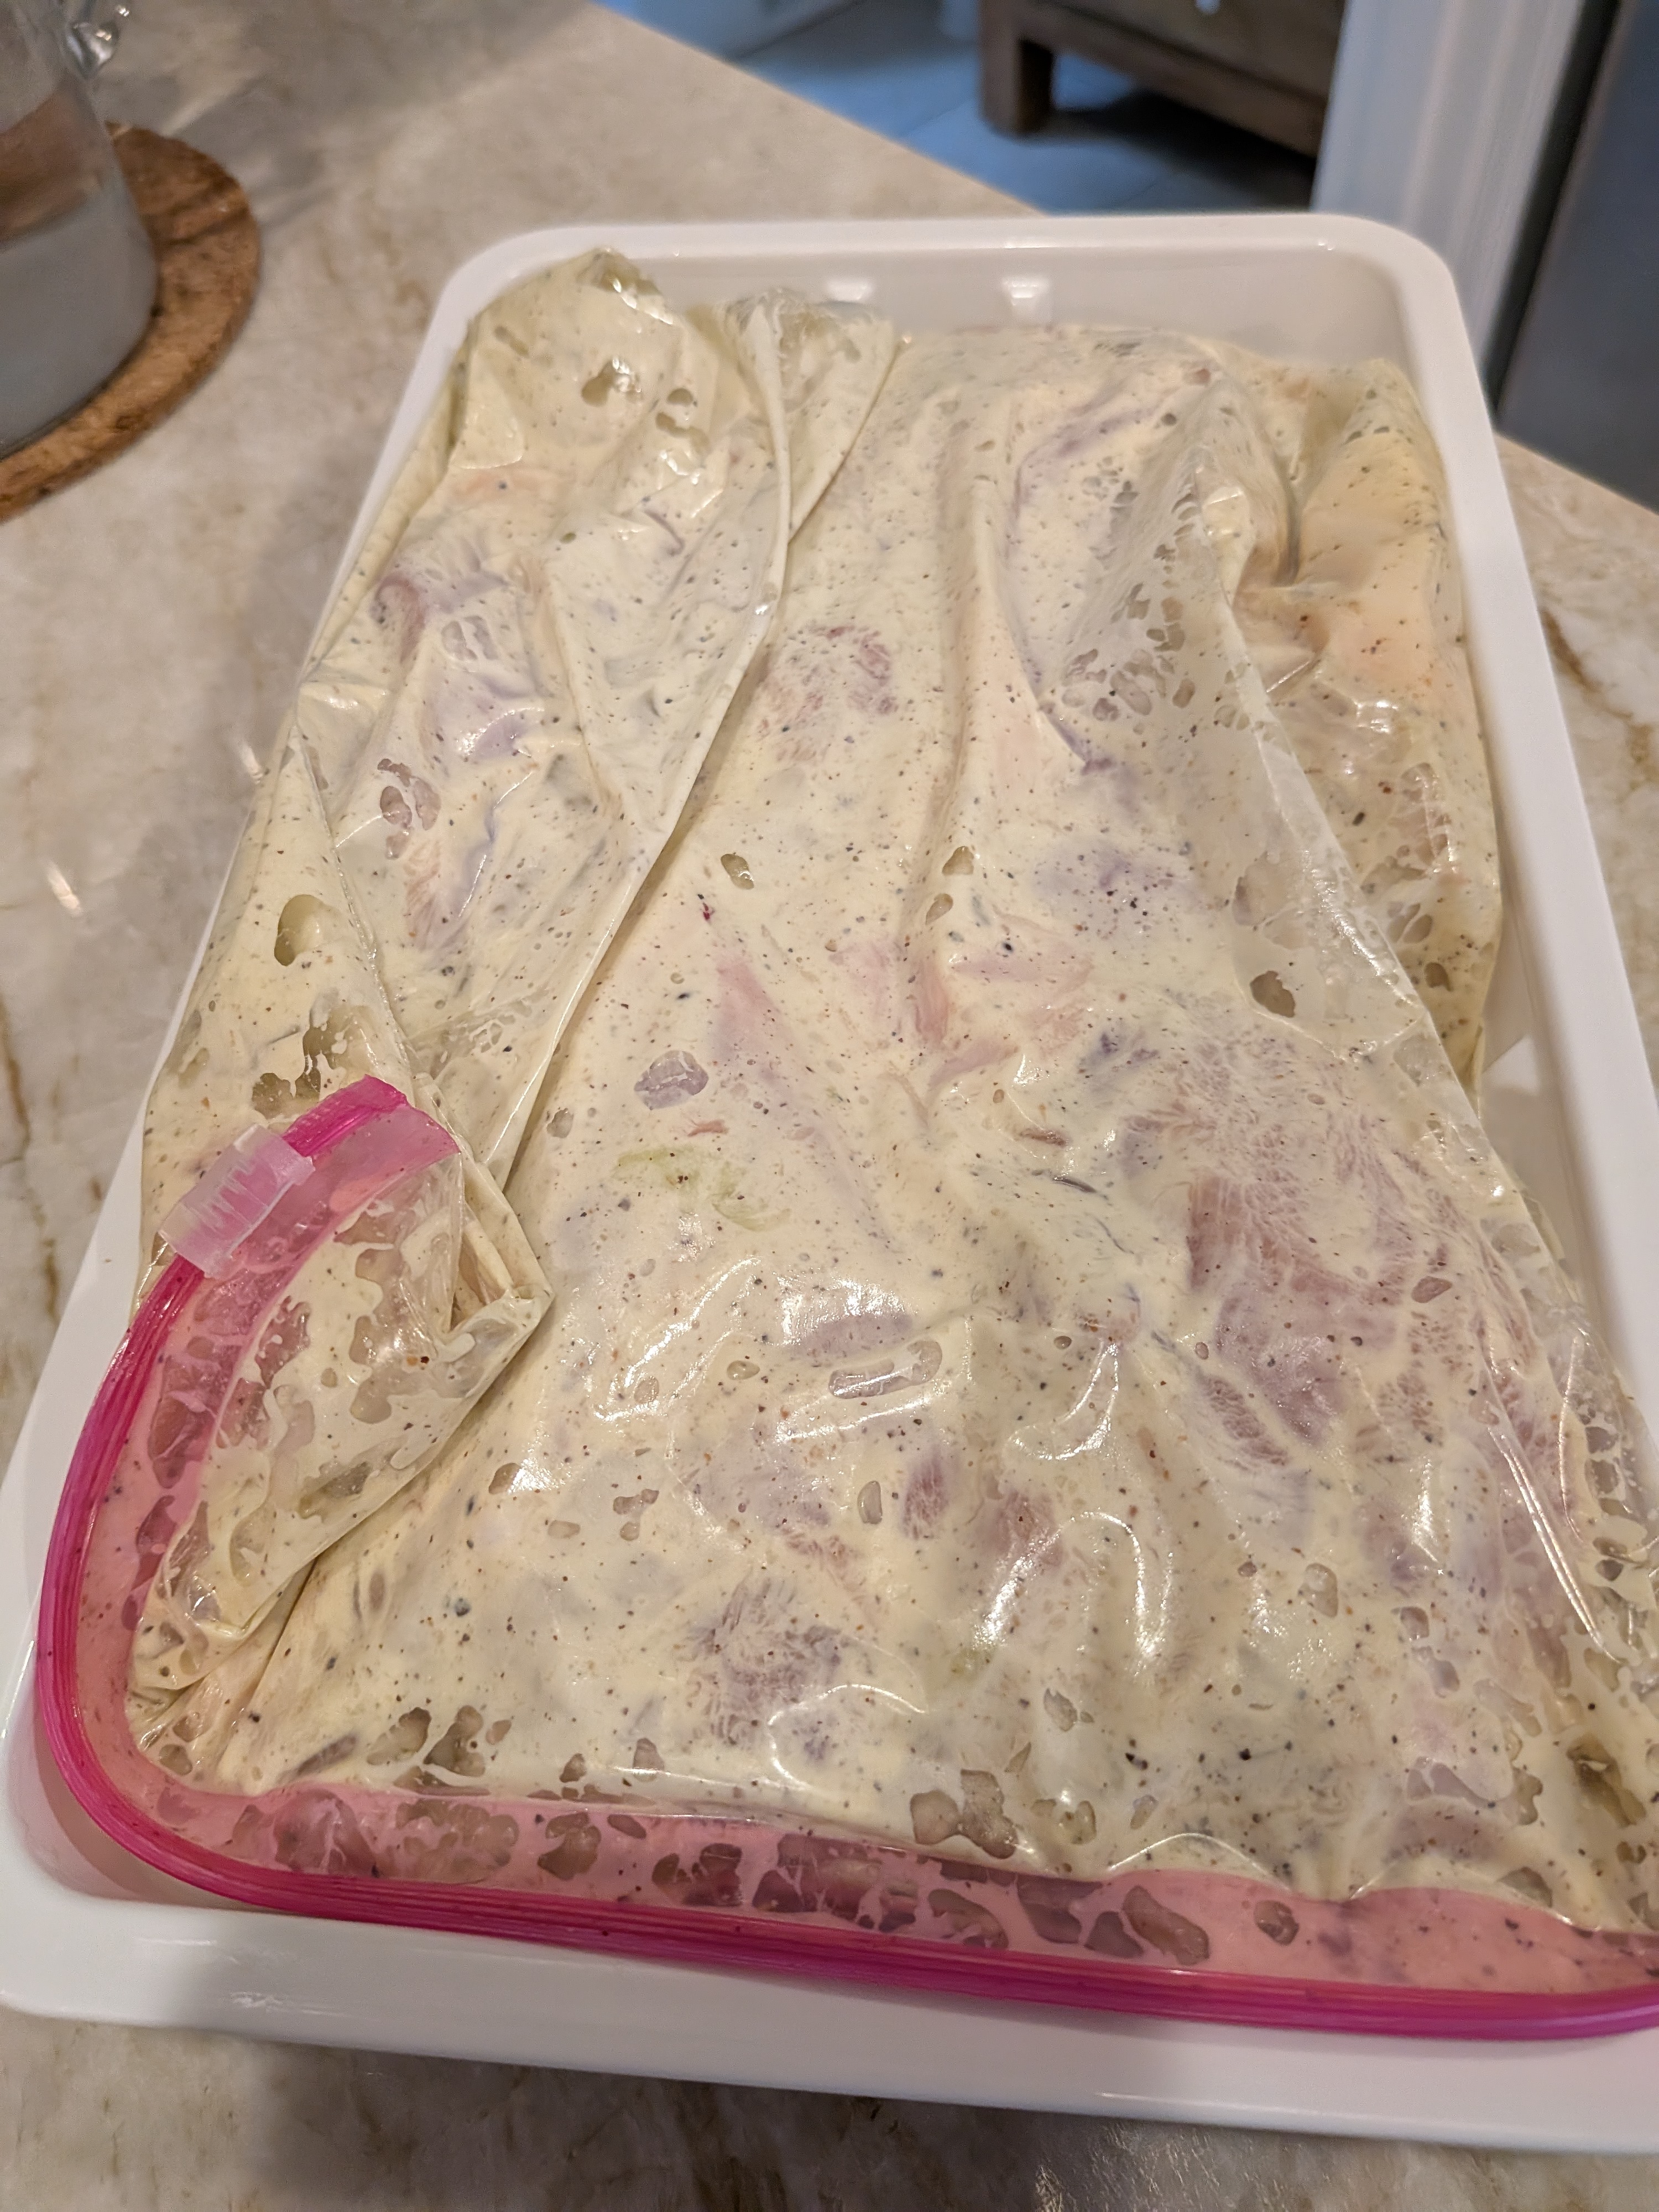
Remove the pork tenderloin from the refrigerator and pat very dry. Cut in half so that it will fit into the basket of a 6-quart air fryer.
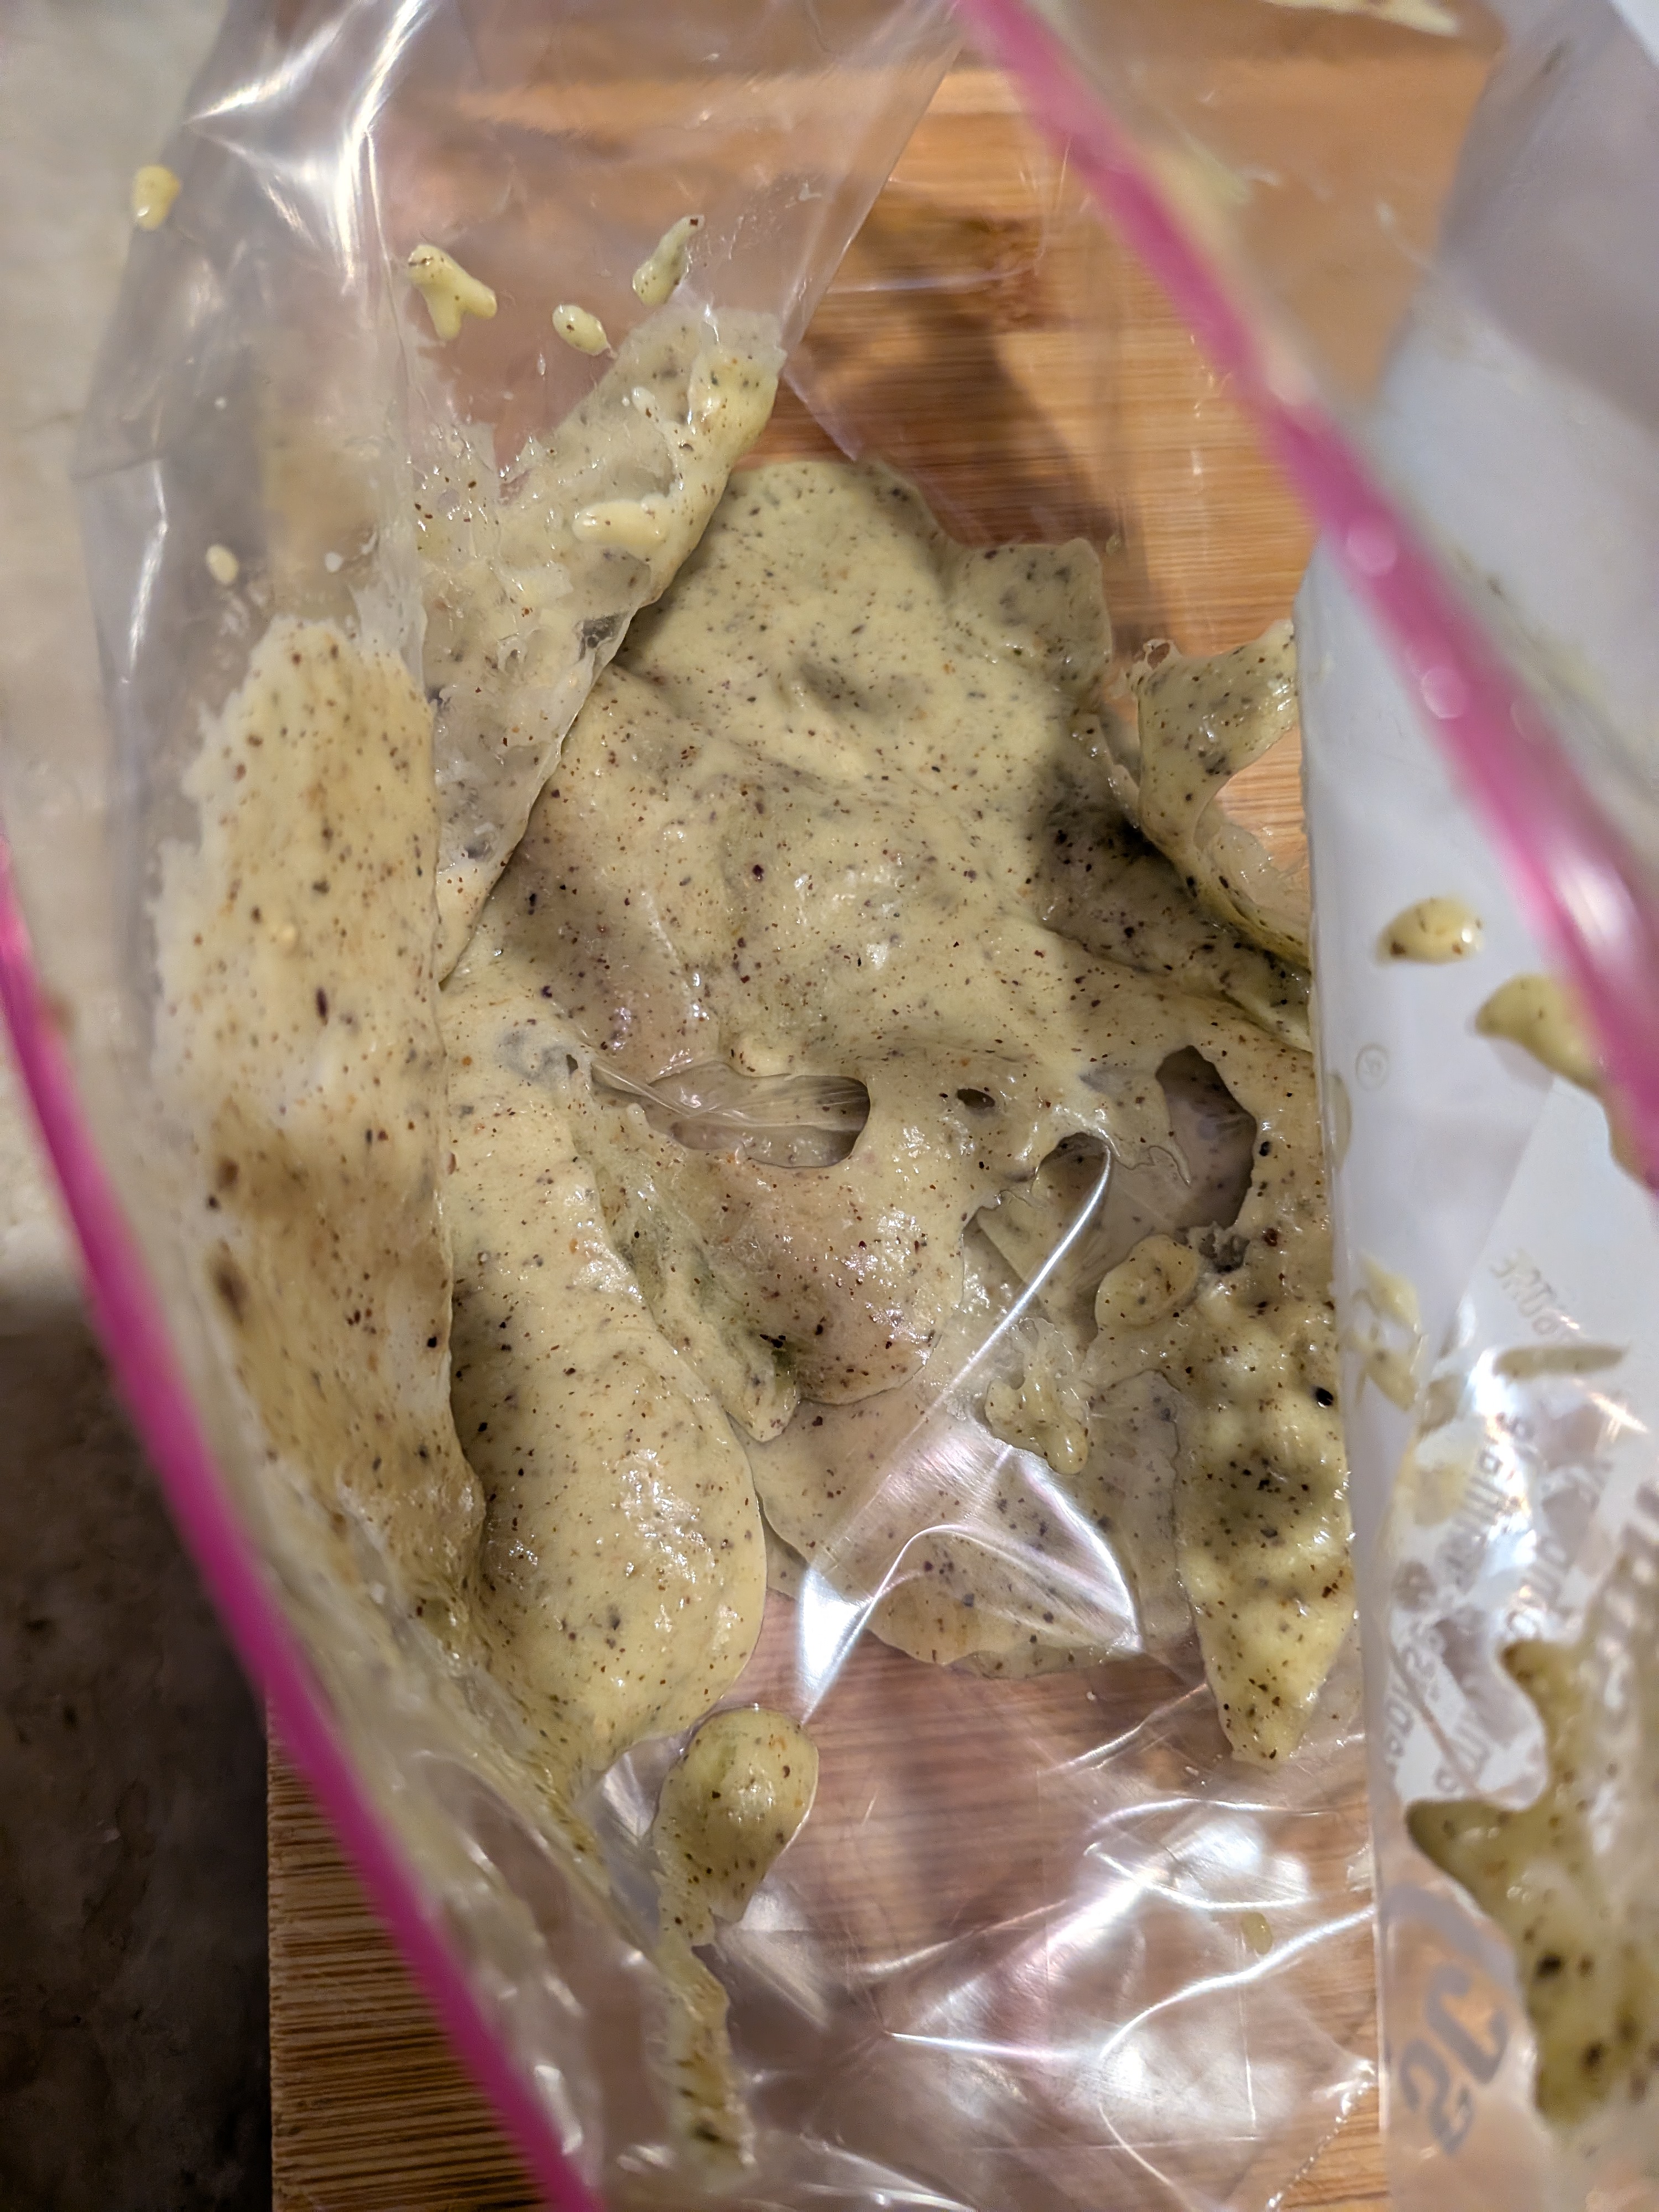
In a small bowl, combine the salt, brown sugar, pepper, thyme, paprika, and garlic powder. Brush or rub the olive all over the pork tenderloin. Sprinkle the spice mixture all over, pressing it in to the pork tenderloin to adhere.
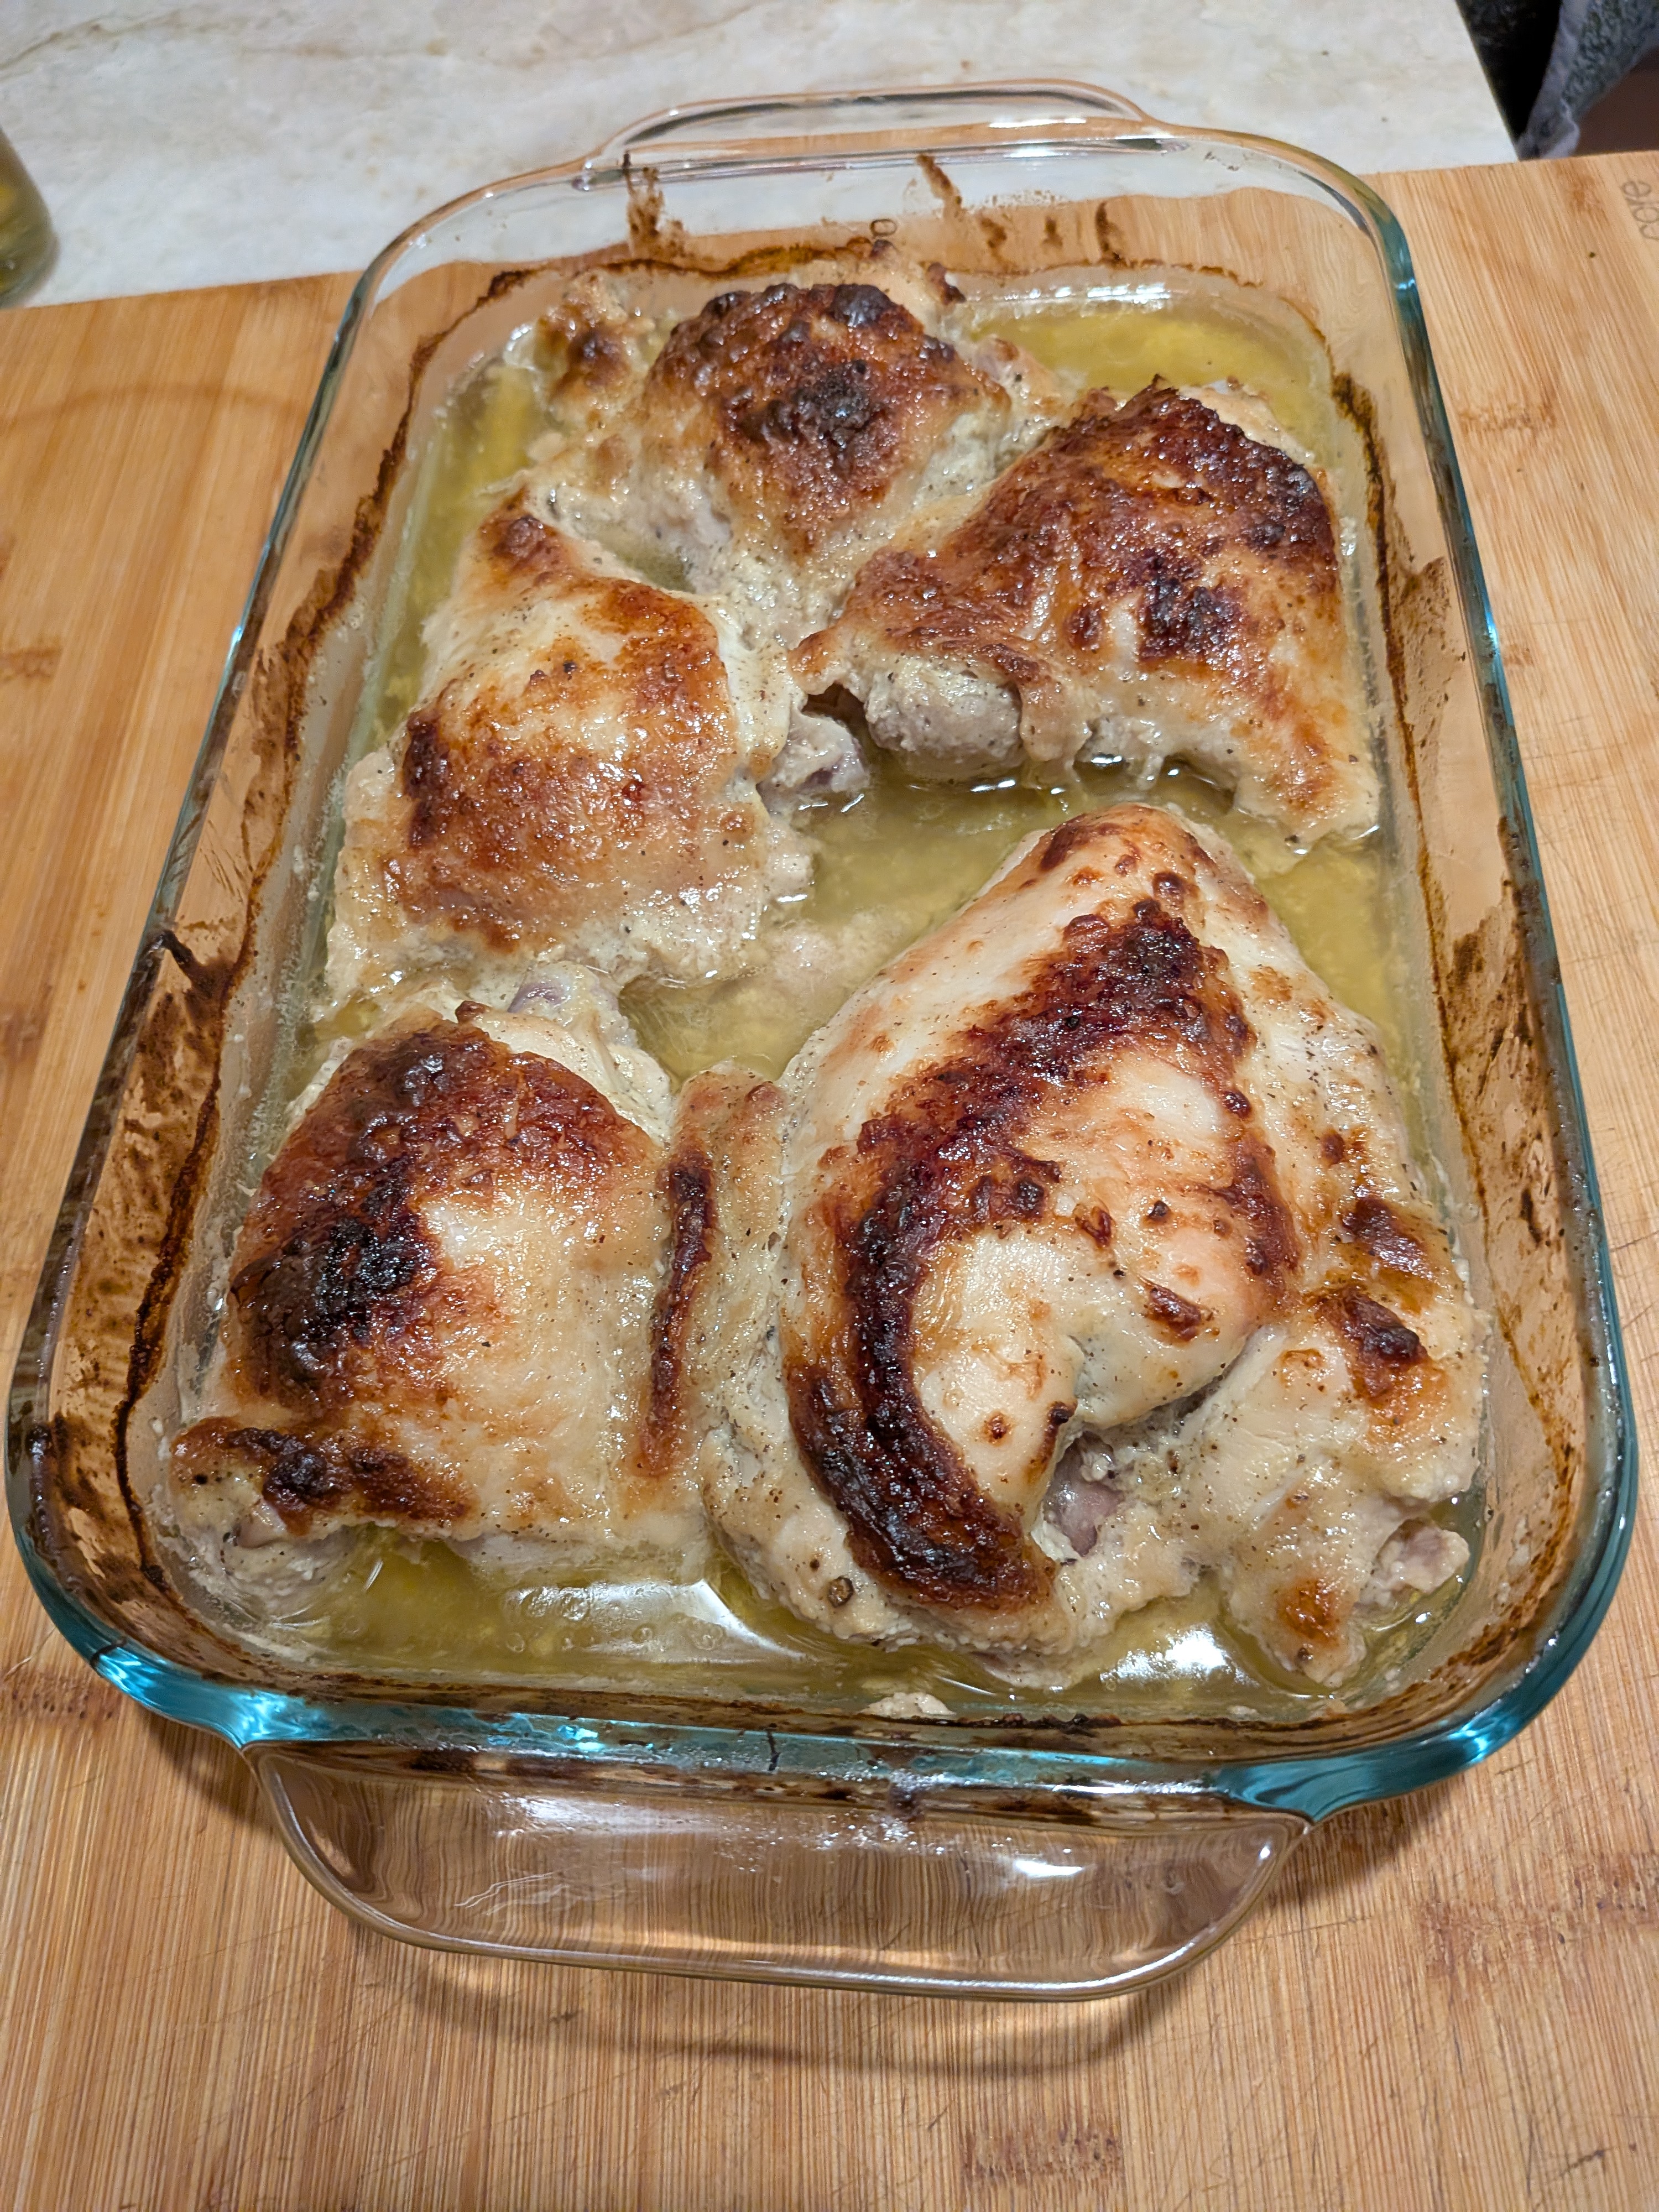
Place the two pieces in the basket of the air fryer with space between. Cook at 400°F for 10 minutes. Flip the pork tenderloin and continue cooking at 350°F for 10 to 15 minutes more, or until the internal temperature in each piece reaches at least 145°F.
Transfer the pork to a cutting board and let rest for 5 minutes before slicing and serving.


")