Food Processor Ground Beef

Food Processor Ground Beef

Did this last week with lamb so you can use lamb, beef, chicken, turkey whatever your heart or honey desires.
I had seen this on the food shows always said I would try but then we had a food grinder attachment for the blender, I just never got around to it.
Sorry I did not do sooner.

Benefits you get to control the fat content.

Ingredients

What ever poundage of meat needed -depending how much fat you trimming you may need slightly more that required for final ingredient.

Cube the meat trimming away and discarding the fat

Place on a flat cookie tray and into the freezer for 25-40 minutes until very firm

In batches put in food processor and pulse until desire texture is reached


100_2462

100_2461

Related

American chop suey

American chop seuy and Mom’s old recipe

Advertisement
Pork Carnitas in a Pita Pocket

Pork Carnitas in a Pita Pocket

With the warm weather sneaking in everyone started to talk about ribs, pulled pork and the likes. I love pulled pork, saw this recipe and pinned it for another time. Well today my last day of vacation was that another time. I am so glad I did, I did to have any taco or tortillas but we did have some pita pockets worked just fine. I will warn you this is a slow cooking meal and the smell is like a brisket on a cold winter day it fills the air and it is hard to keep your stomach quiet.  I made the double mistake of doing some outside choirs then walking into the house.

 Ingredients

  • 4 pound boneless pork butt, fat trimmed and cut into 2 inch cubes
  • 1 1/2 tsp. salt
  • 3/4 tsp. pepper
  • 1 tsp. ground cumin
  • 1 onion, peeled and halved
  • 2 bay leaves
  • 1 tsp. dried oregano
  • 2 Tb fresh lime juice
  • 2 C water
  • 1 medium orange, juiced and keep the spent halves

ingredients

How

1.  Adjust oven rack to lower middle position and heat to 300 degrees.  Combine all the ingredients in a large Dutch oven, including the spent orange halves and juice.  Bring the mixture to a simmer over medium-high heat, uncovered.  Once it simmers, cover pot and transfer it to the oven.  Cook until the meat falls apart when prodded with a fork, about 2 hours.

cut into 2 inch chunks add all ingredients to dutch oven

2.  Remove the pot from the oven and turn on the broiler.  Use a slotted spoon to remove the meat from the pan and place it on a large foil-lined jelly roll pan.  Remove and discard everything from the pot except for the cooking liquid.  Place pot over high heat on the stove and boil until thick and syrupy, about 20 minutes.  You should have about 1 C of liquid remaining when it is finished.

simmer for about 2 hours break into 3 eaqual parts

3.  While the liquid is reducing, use two forks to pull each cube of pork into three equal sized pieces.

reduce to about 1 cup break into 3 eaqual parts

Once the liquid has become a syrup, gently fold in the pieces of pork into the pot.  Try not to break up the pork any further.

fold meat back into sauce

Taste and add additional salt and pepper.

4.  Spread the pork back onto the foil lined pan and evenly spread the meat around so there is a single layer of meat.  Place the jelly roll pan on the lower middle rack of the oven and broil until the top of the meat is well browned and edges are slightly crisp, about 5 to 8 minutes.

remove from pot to cookie sheetUsing a wide metal spatula, flip the pieces of meat and broil the other side until well browned and edges are slightly crisp, 5 to 8 minutes.  Serve immediately in a tortilla with all your favorite toppings.

Serve2

I intially thought it would be too dry but that was not an issue this was moist and tender no topping required.

Note: I squeezed some extra lime juice on it just before serving.

BBQ Grilled New York Strip Steak

BBQ Grilled New York Strip Steak

When it comes down to it I am really a red meat person, I’ll eat the other stuff but if given the choice I will always reach for the red meat. With spring coming and Eastover here I decide that along with the Salmon there would be meat. So I grabbed a couple of NY Strips at Wholefoods and a bottle of A1 sauce for Lyn and grilled up those babies.

Eastover Surf and Turf BBQ Rub Salmon, Grill NY Strip Steak, Roasted potatoes, carrot root, turnips and carrots, Fennel salad and asparagus.

Eastover Surf and Turf BBQ Rub Salmon, Grill NY Strip Steak, Roasted potatoes, Celery root, turnips and carrots, Fennel salad and asparagus.


Ingredients

Steak

Salt and pepper to taste

Ingredients

How

Pat dry the steaks with paper towels.

liberally Salt and pepper the steaks, place in freezer for 15-20 minutes.

In the meantime prepare the grill

Cook the steaks about 4 minutes per side don’t touch just turn when ready, maybe 5 minutes on second side.

Remove from grill let sit for 8-12 minutes, slice and serve.

NY Strip


A1 Sauce

A1 is marketed as a steak sauce in the USA as a condiment for use with meat or game dishes. It was developed, produced and marketed in the United Kingdom as a brand in 1831 and was later introduced to the United States by G.F. Heublein and (&) Bros., and was officially registered as a trademark in North America in 1895. Widely available in the US, the sauce today is only available in selected Tesco stores in the UK its country of origin.


The original sauce upon which A.1. is based was created in 1824 by Henderson William Brand, a chef to King George IV of the United Kingdom.[2] A popular myth has it that the king declared it “A.1.” and the name was born.[3] It went into commercial production under the Brand & Co. label in 1831, marketed as a condiment for ‘fish, meat and fowl’, and continued production under this label after bankruptcy forced ownership of Brand & Co. to be transferred to W.H. Withall in 1850. It was renamed A.1. in 1873, after a trademark dispute between creator Henderson William Brand and Dence & Mason, who had since purchased Brand & Co. from Withall. It continued to be produced by Brand & co until the late 1950s at the firm’s factory in Vauxhall London.[4] It was introduced to the United States in 1895 under the ownership of G.F. Heublein & Brothers and marketed as A.1 ‘steak’ sauce’. In 1931, A.1. was introduced to Canada.

Quick Lemon Herb Pan Sauce

Shallot bulbs

Ingredients

  • 1-2 shallots, minced fine – in a pinch substitute ¼ cup sweet onion
  • ½  cup chicken stock
  • 1 tsp. dried thyme (estimated – fresh would be better – a few sprigs)
  • 1 tsp. dried rosemary (estimated – fresh would be better – a few sprigs)
  • ¼ cup fresh lemon juice
  • 1 tbsp. butter
  • Salt and pepper to taste

How:

Remember this is after searing and or roasting something usually chicken

Heat pan over medium heat. Add the shallots to the pan and sauté, stirring, for about 30 seconds to 1 minute, until the onion is softened. Add the chicken stock and herbs, turn the heat to high. Scrape the bottom of the pan with a wooden spoon to loosen all the browned bits of chicken, bring to boil until the stock until reduced by half, about 5 minutes. The plate holding the chicken breasts will have some chicken juice on the bottom; add it to the pan. Turn off the heat, and remove the herb sprigs if you used fresh. Whisk the butter into the sauce, and add salt and pepper to taste.

Quick and easy – wine instead of broth?

Smoked Wilfork Tender Brisket

Smoked Wilfork Tender Brisket

I am still on the fend for yourself diet and very much against my promise to Lyn to eat healthy I could not resist the temptation when at BJs and there it was as if it had my name on it a full brisket sitting in an open space in the meat counter all by itself. It was calling me. I told her that I needed it for a Patriots game day recipe and besides most of the fat will render off. She begrudgingly let me win the discussion not only because the fat content in this cut of meat is not healthy for me but I feel more that she knew the aroma that spreads through the neighborhood and the house will be driving us crazy all day. I don’t know about you but there is something about cooking any style of slow cook meal that is tortuous. Go out for a little while and when you come back and enter the house OMG. And I never use that terminology. Think of last Turkeyday when you enter the house and you will know what I mean.

Remember this was a spur of the moment thing so I basically winged it.

Ingredients

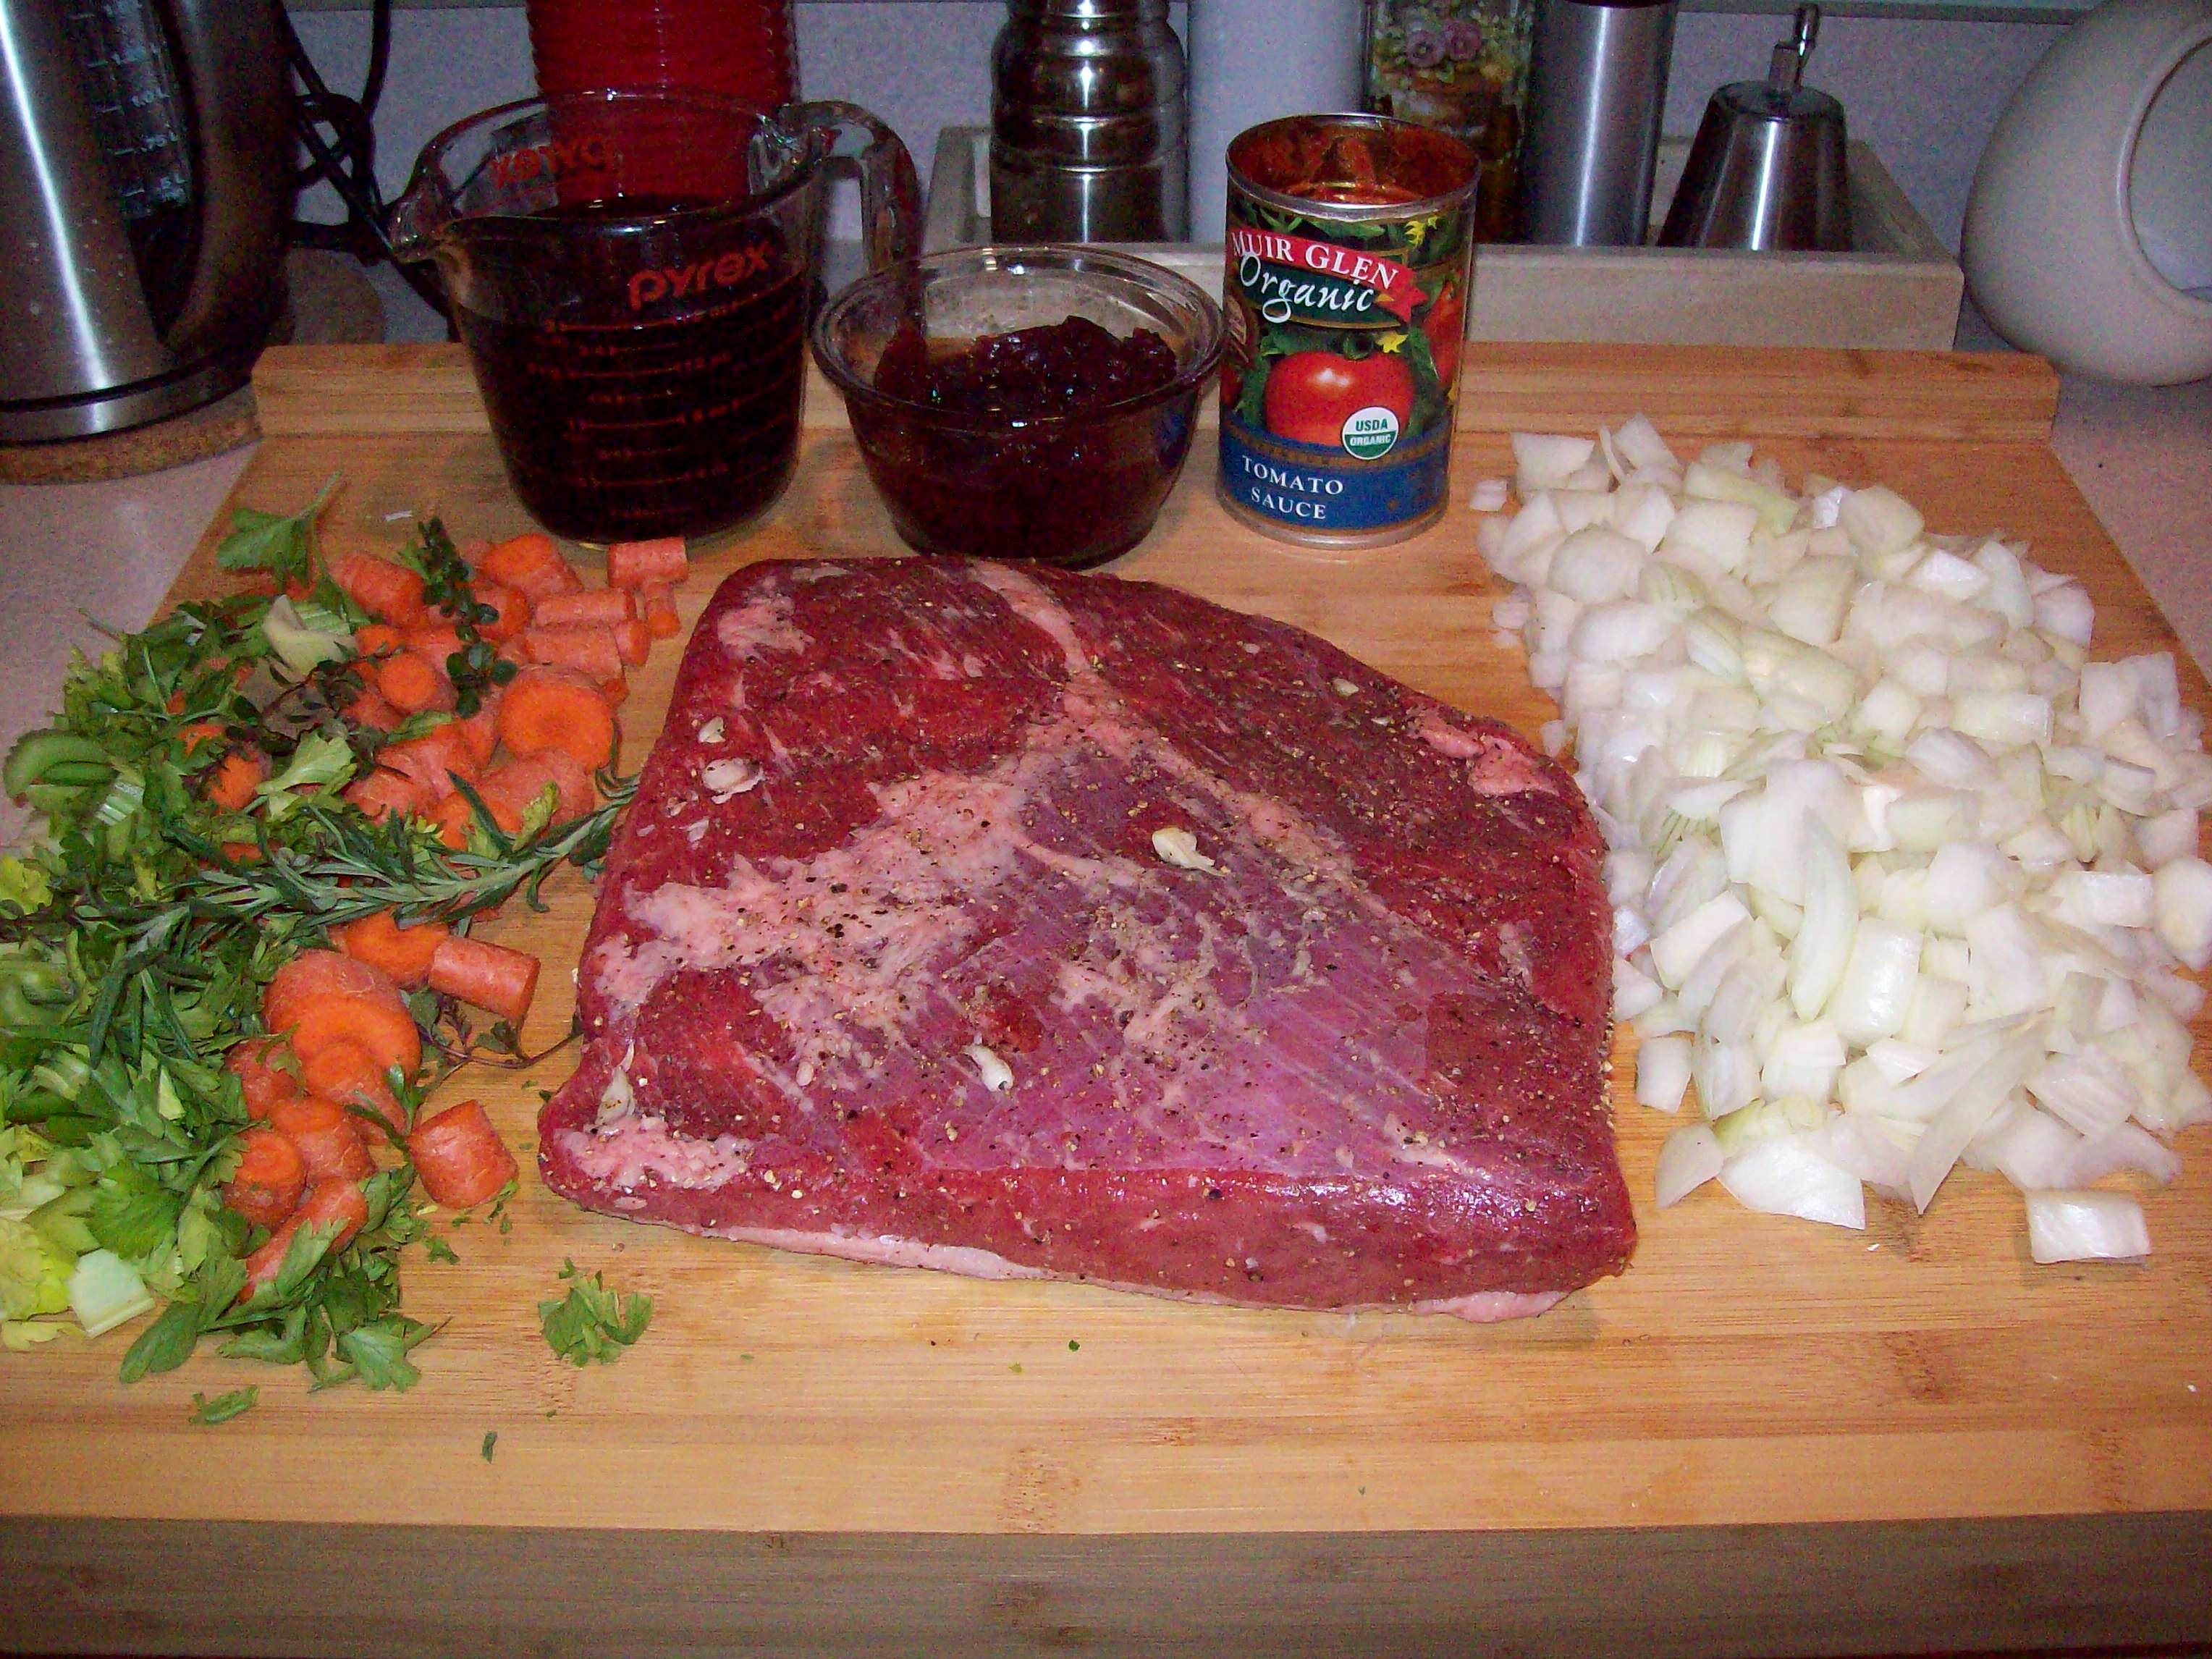
  • 1 whole brisket about 8 lbs.
  • Favorite homemade or store bought rub
  • A few large onions chopped
  • Liquid your choice water, beer, broth


How

Presoak some wood chips when ready place in smoking tray. IF you do not have one I use two sheet of aluminum foil make a pouch and put some holes in it. I have used a disposable tin foil tray not covered place on the flame.

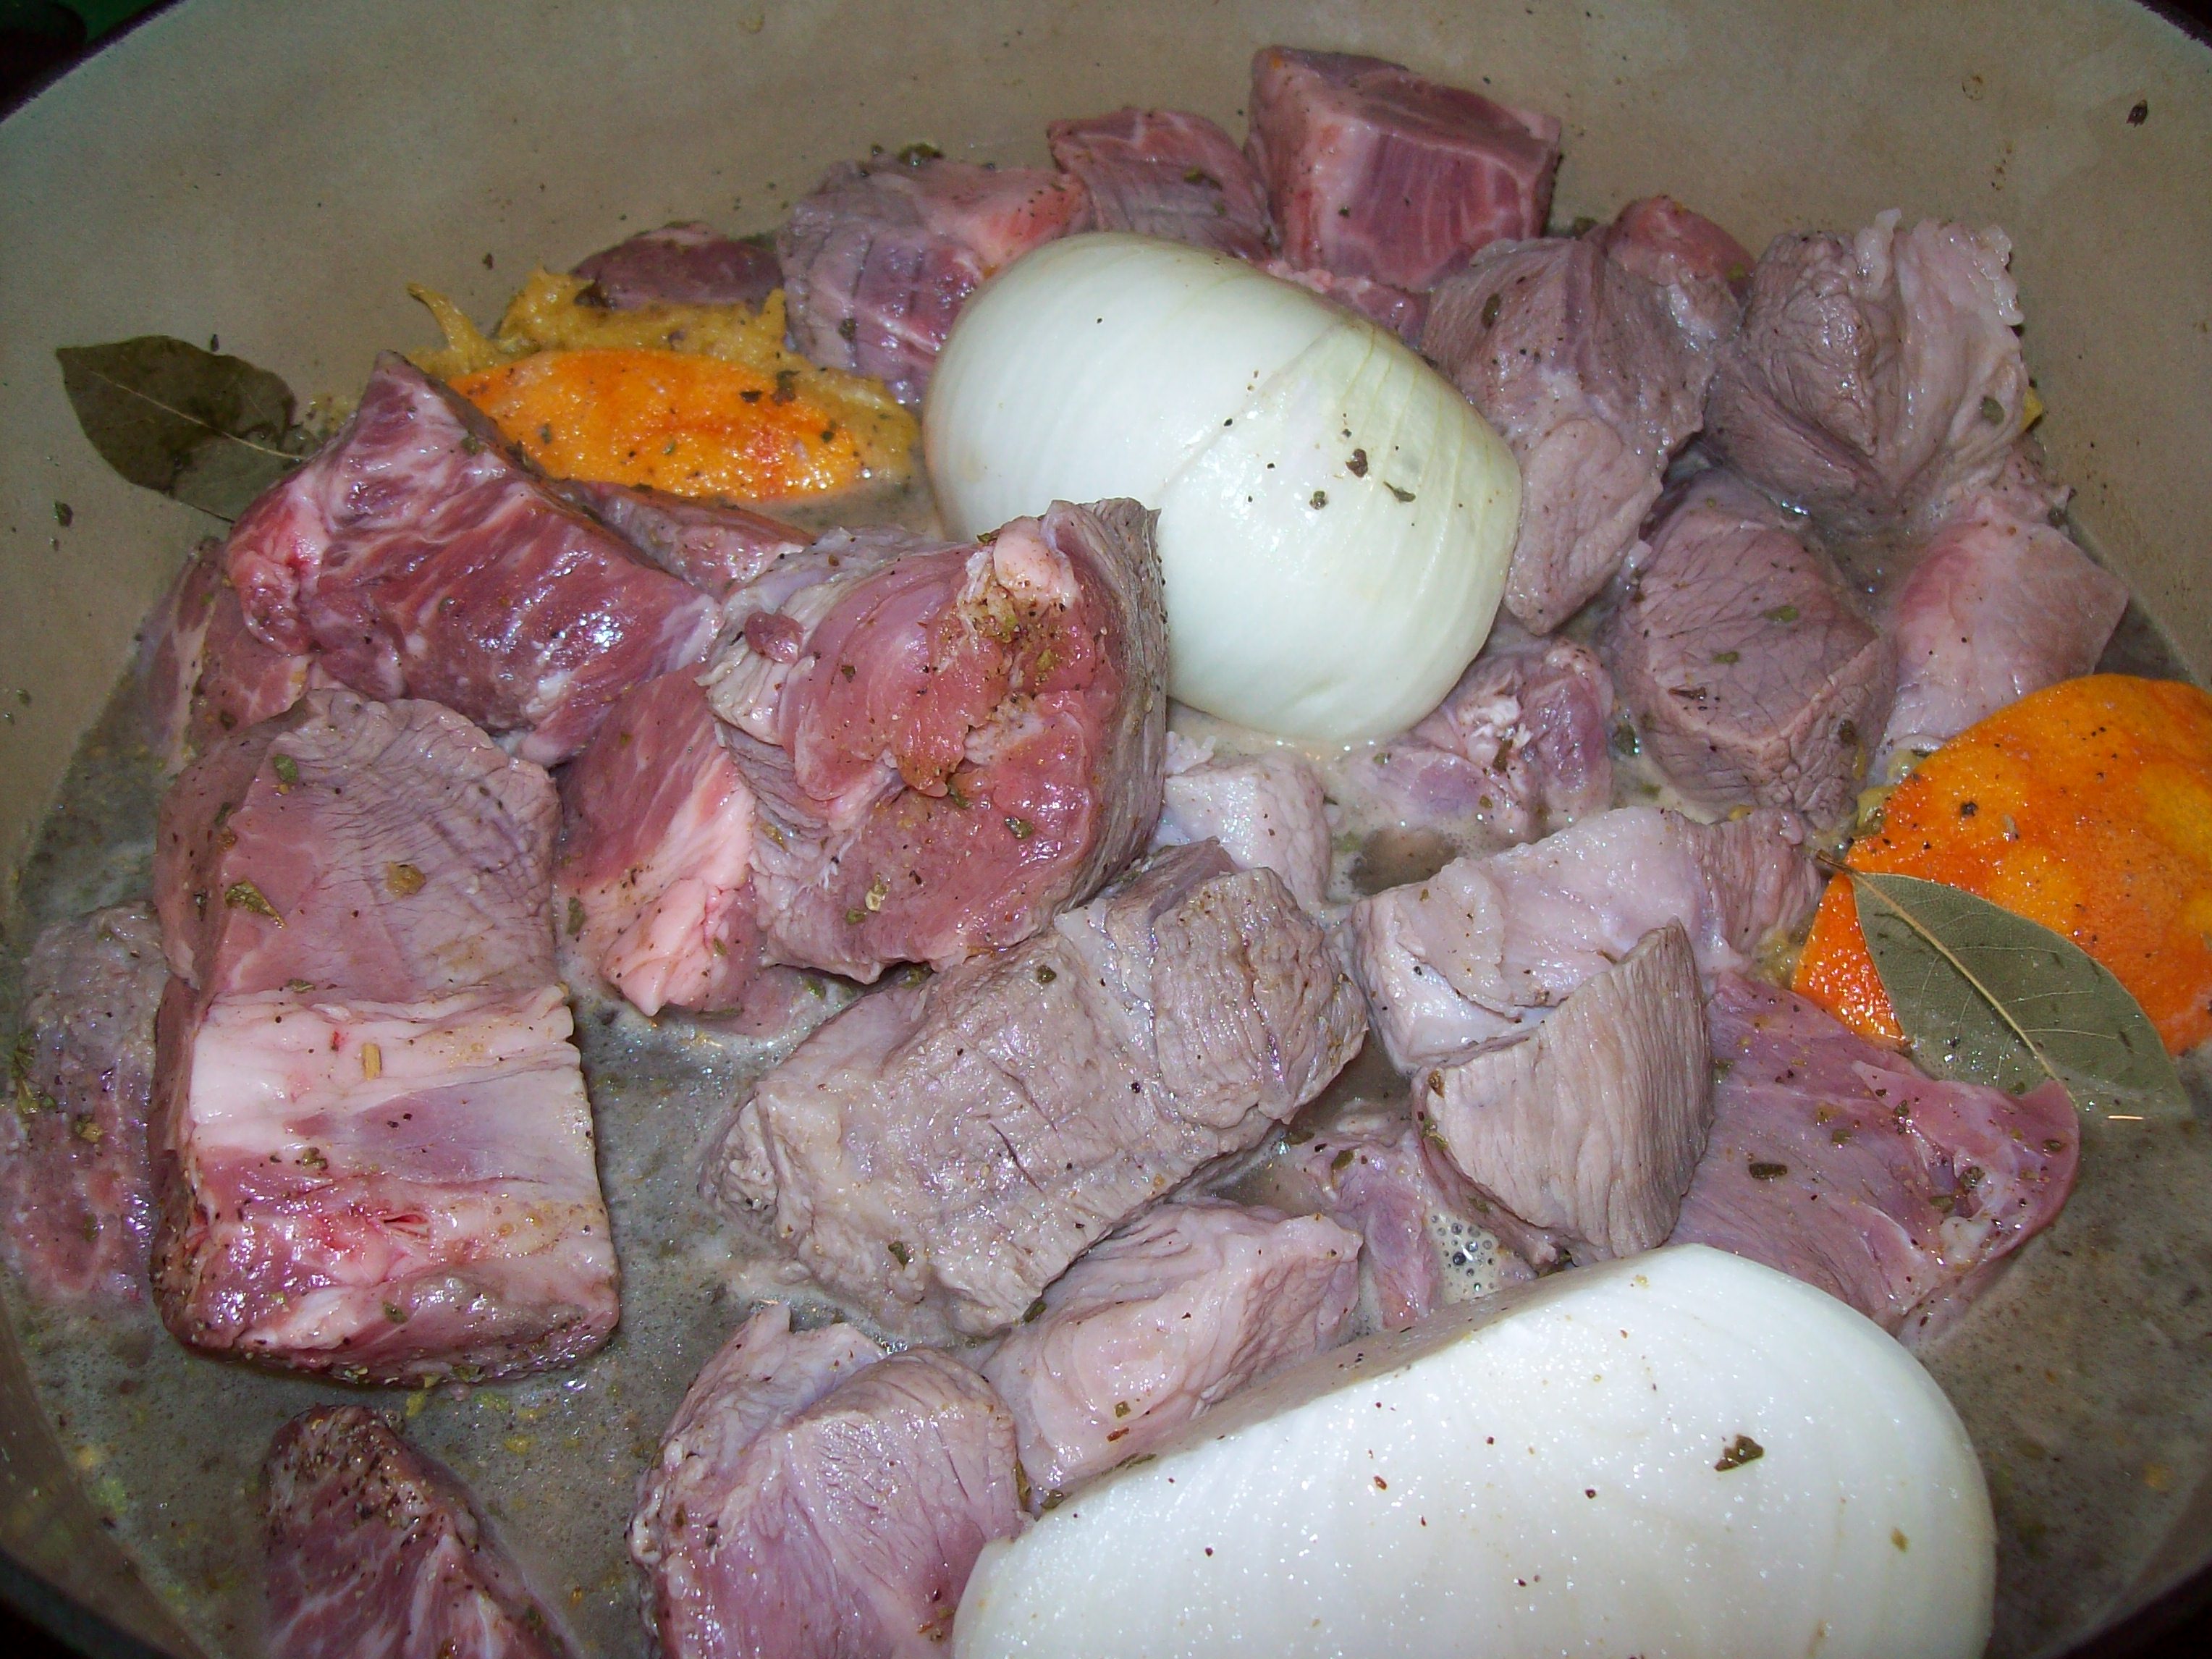
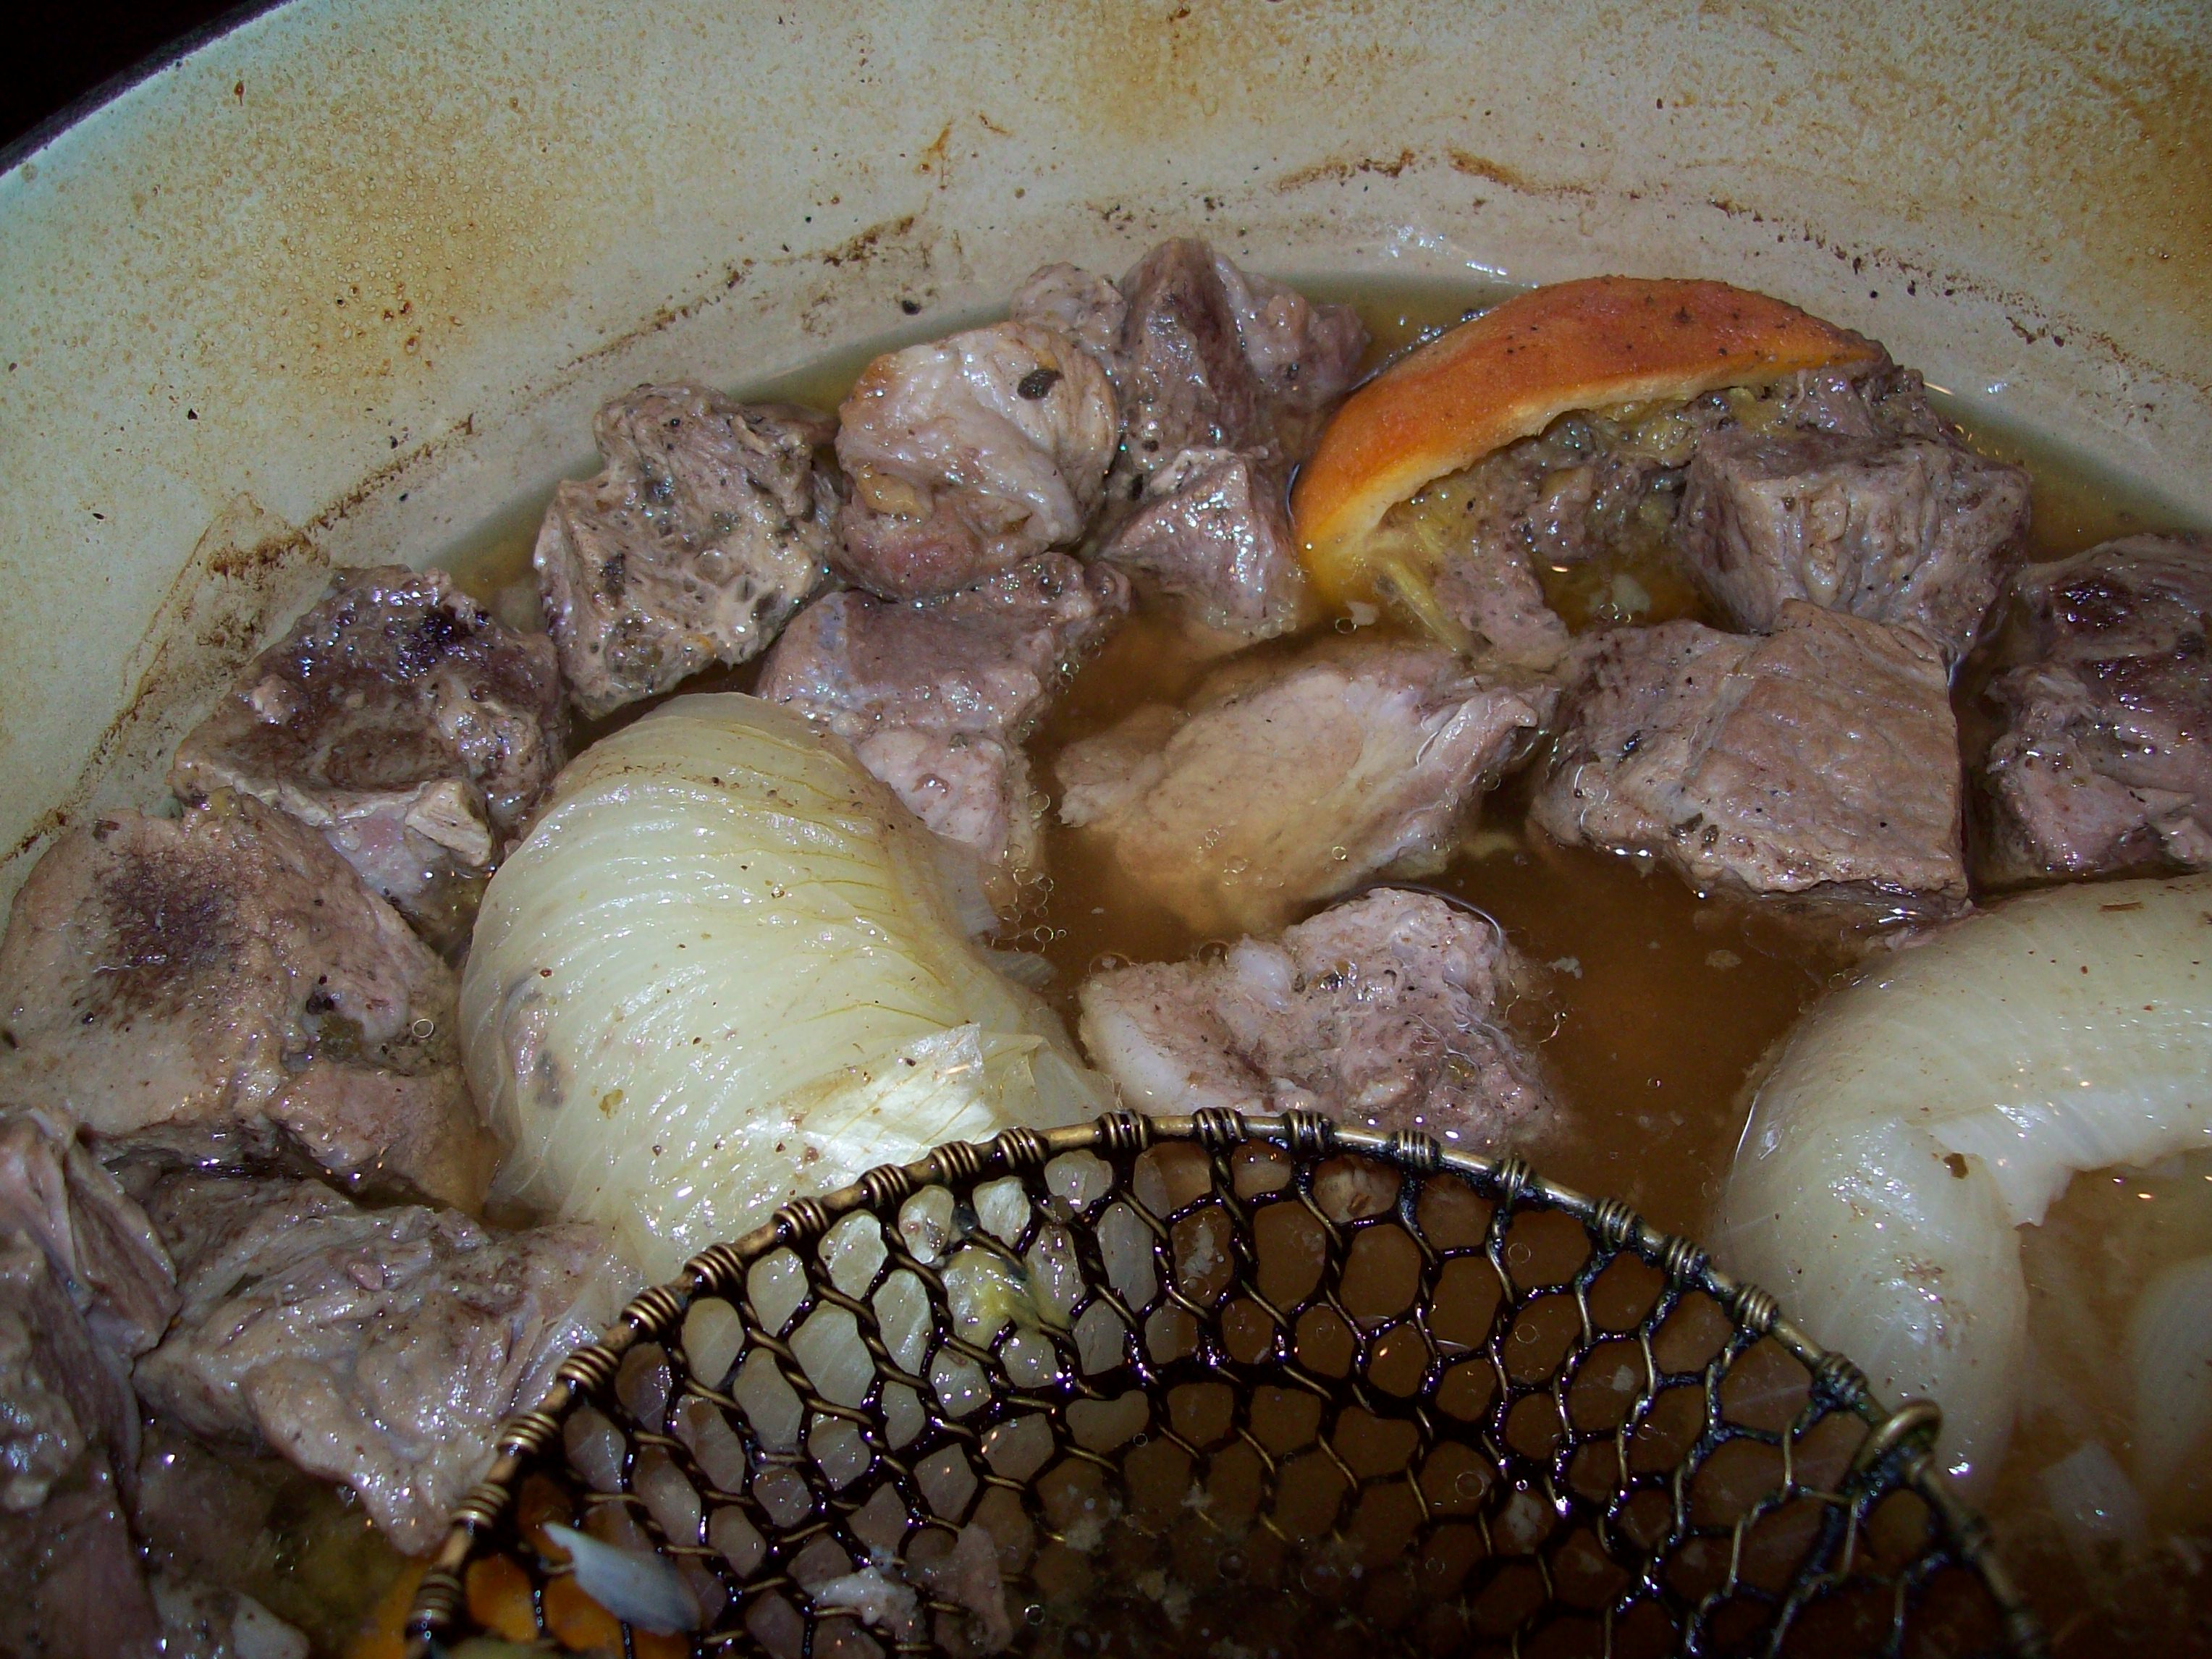
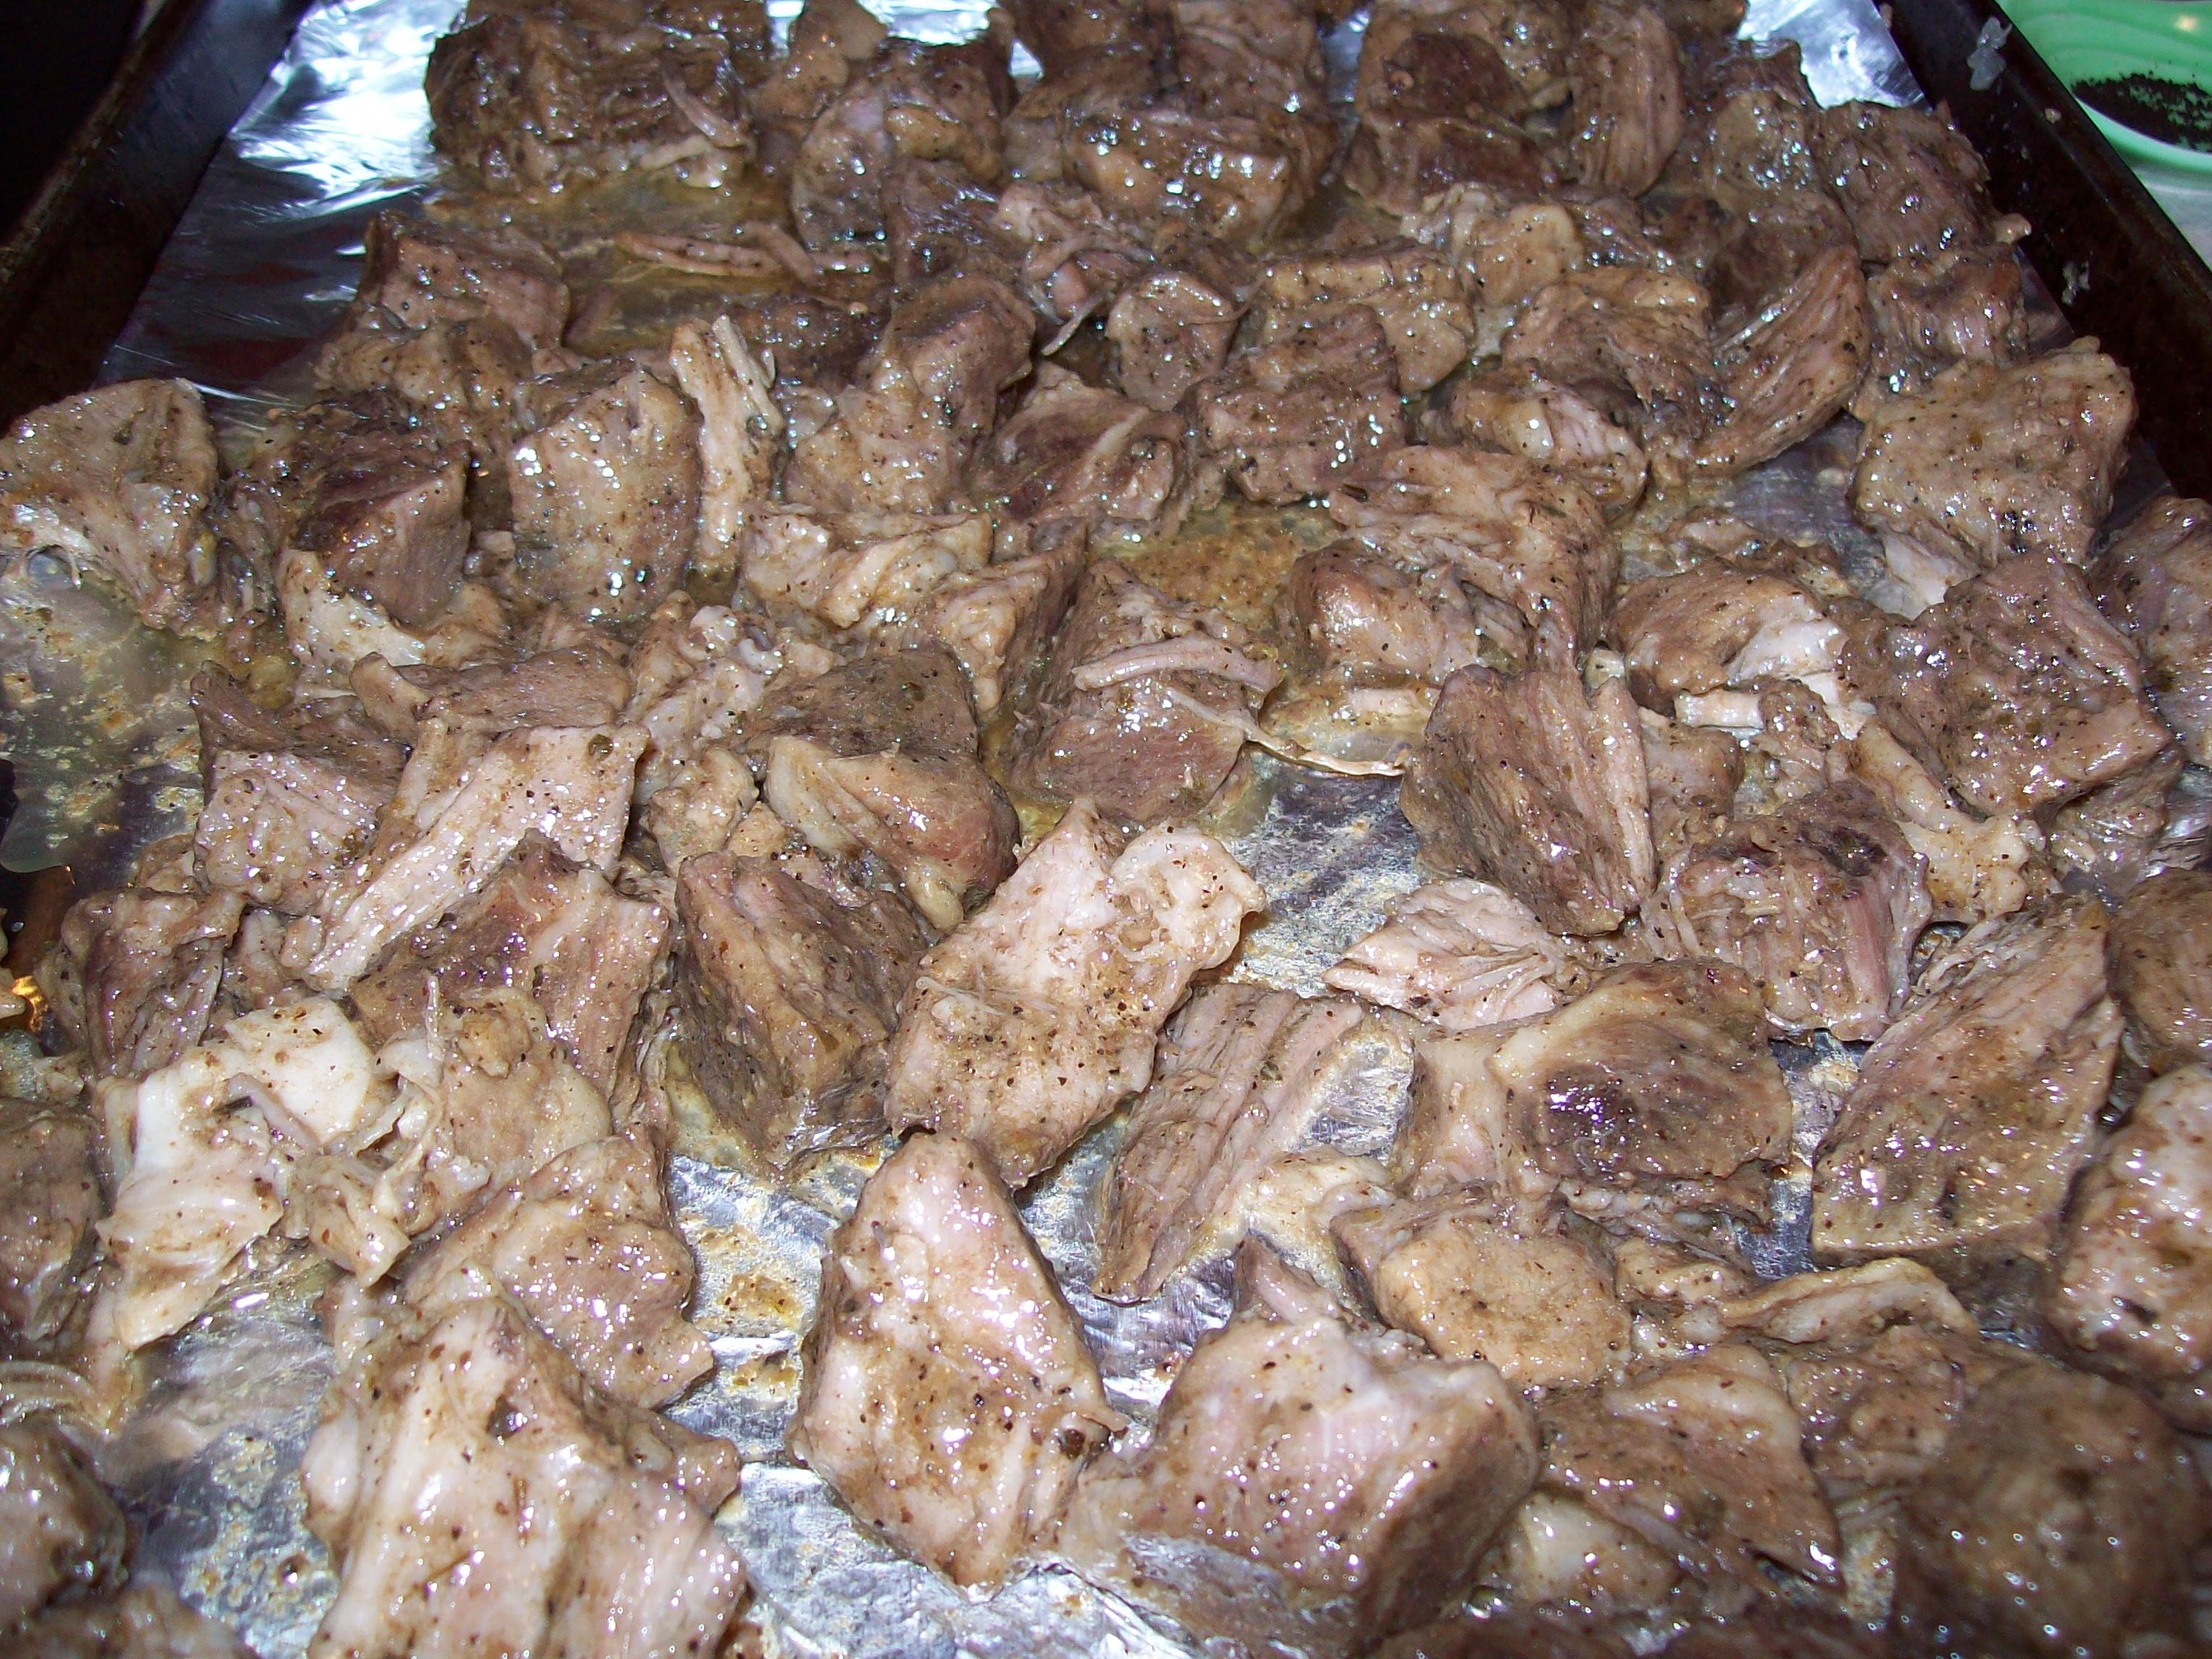
I dragged a sharp knife across the beef not going very deep and made a diamond pattern on both sides.

Then I rubbed the beef with my rub, see pulled pork receipe. Wrapped and refrigerate for 1 hour, overnight is much better.

Preheat oven to 225-250 degrees

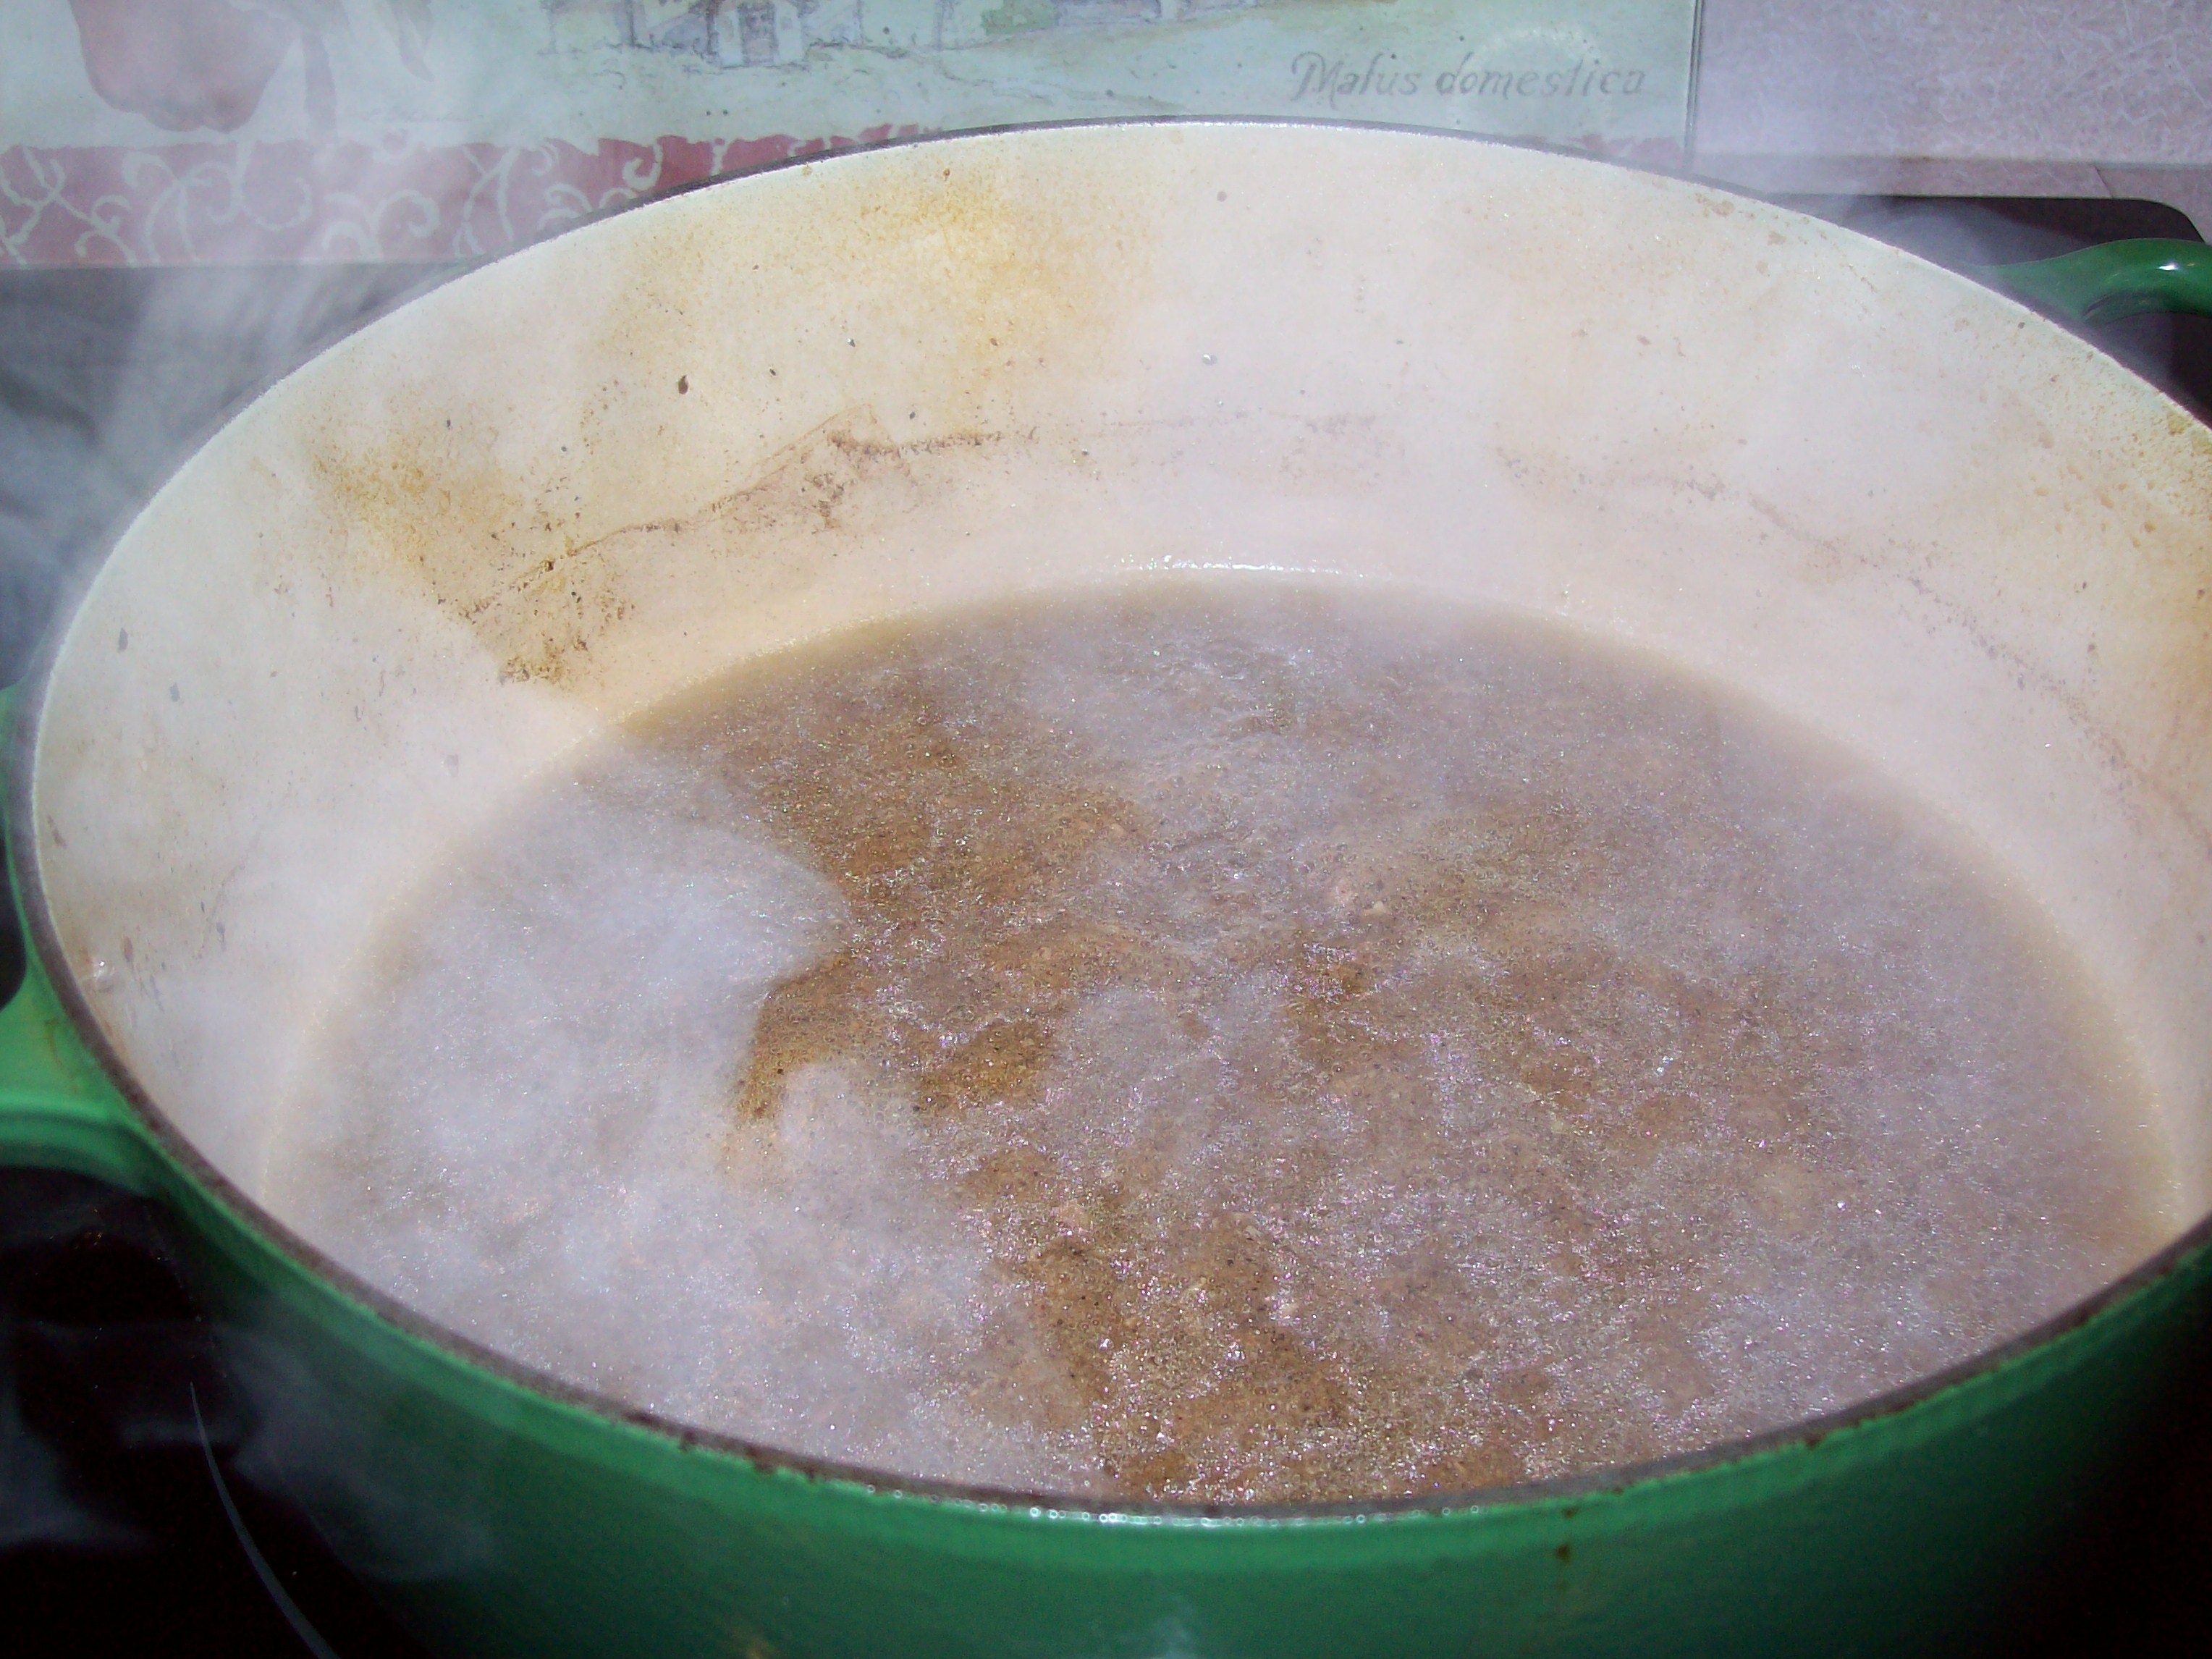
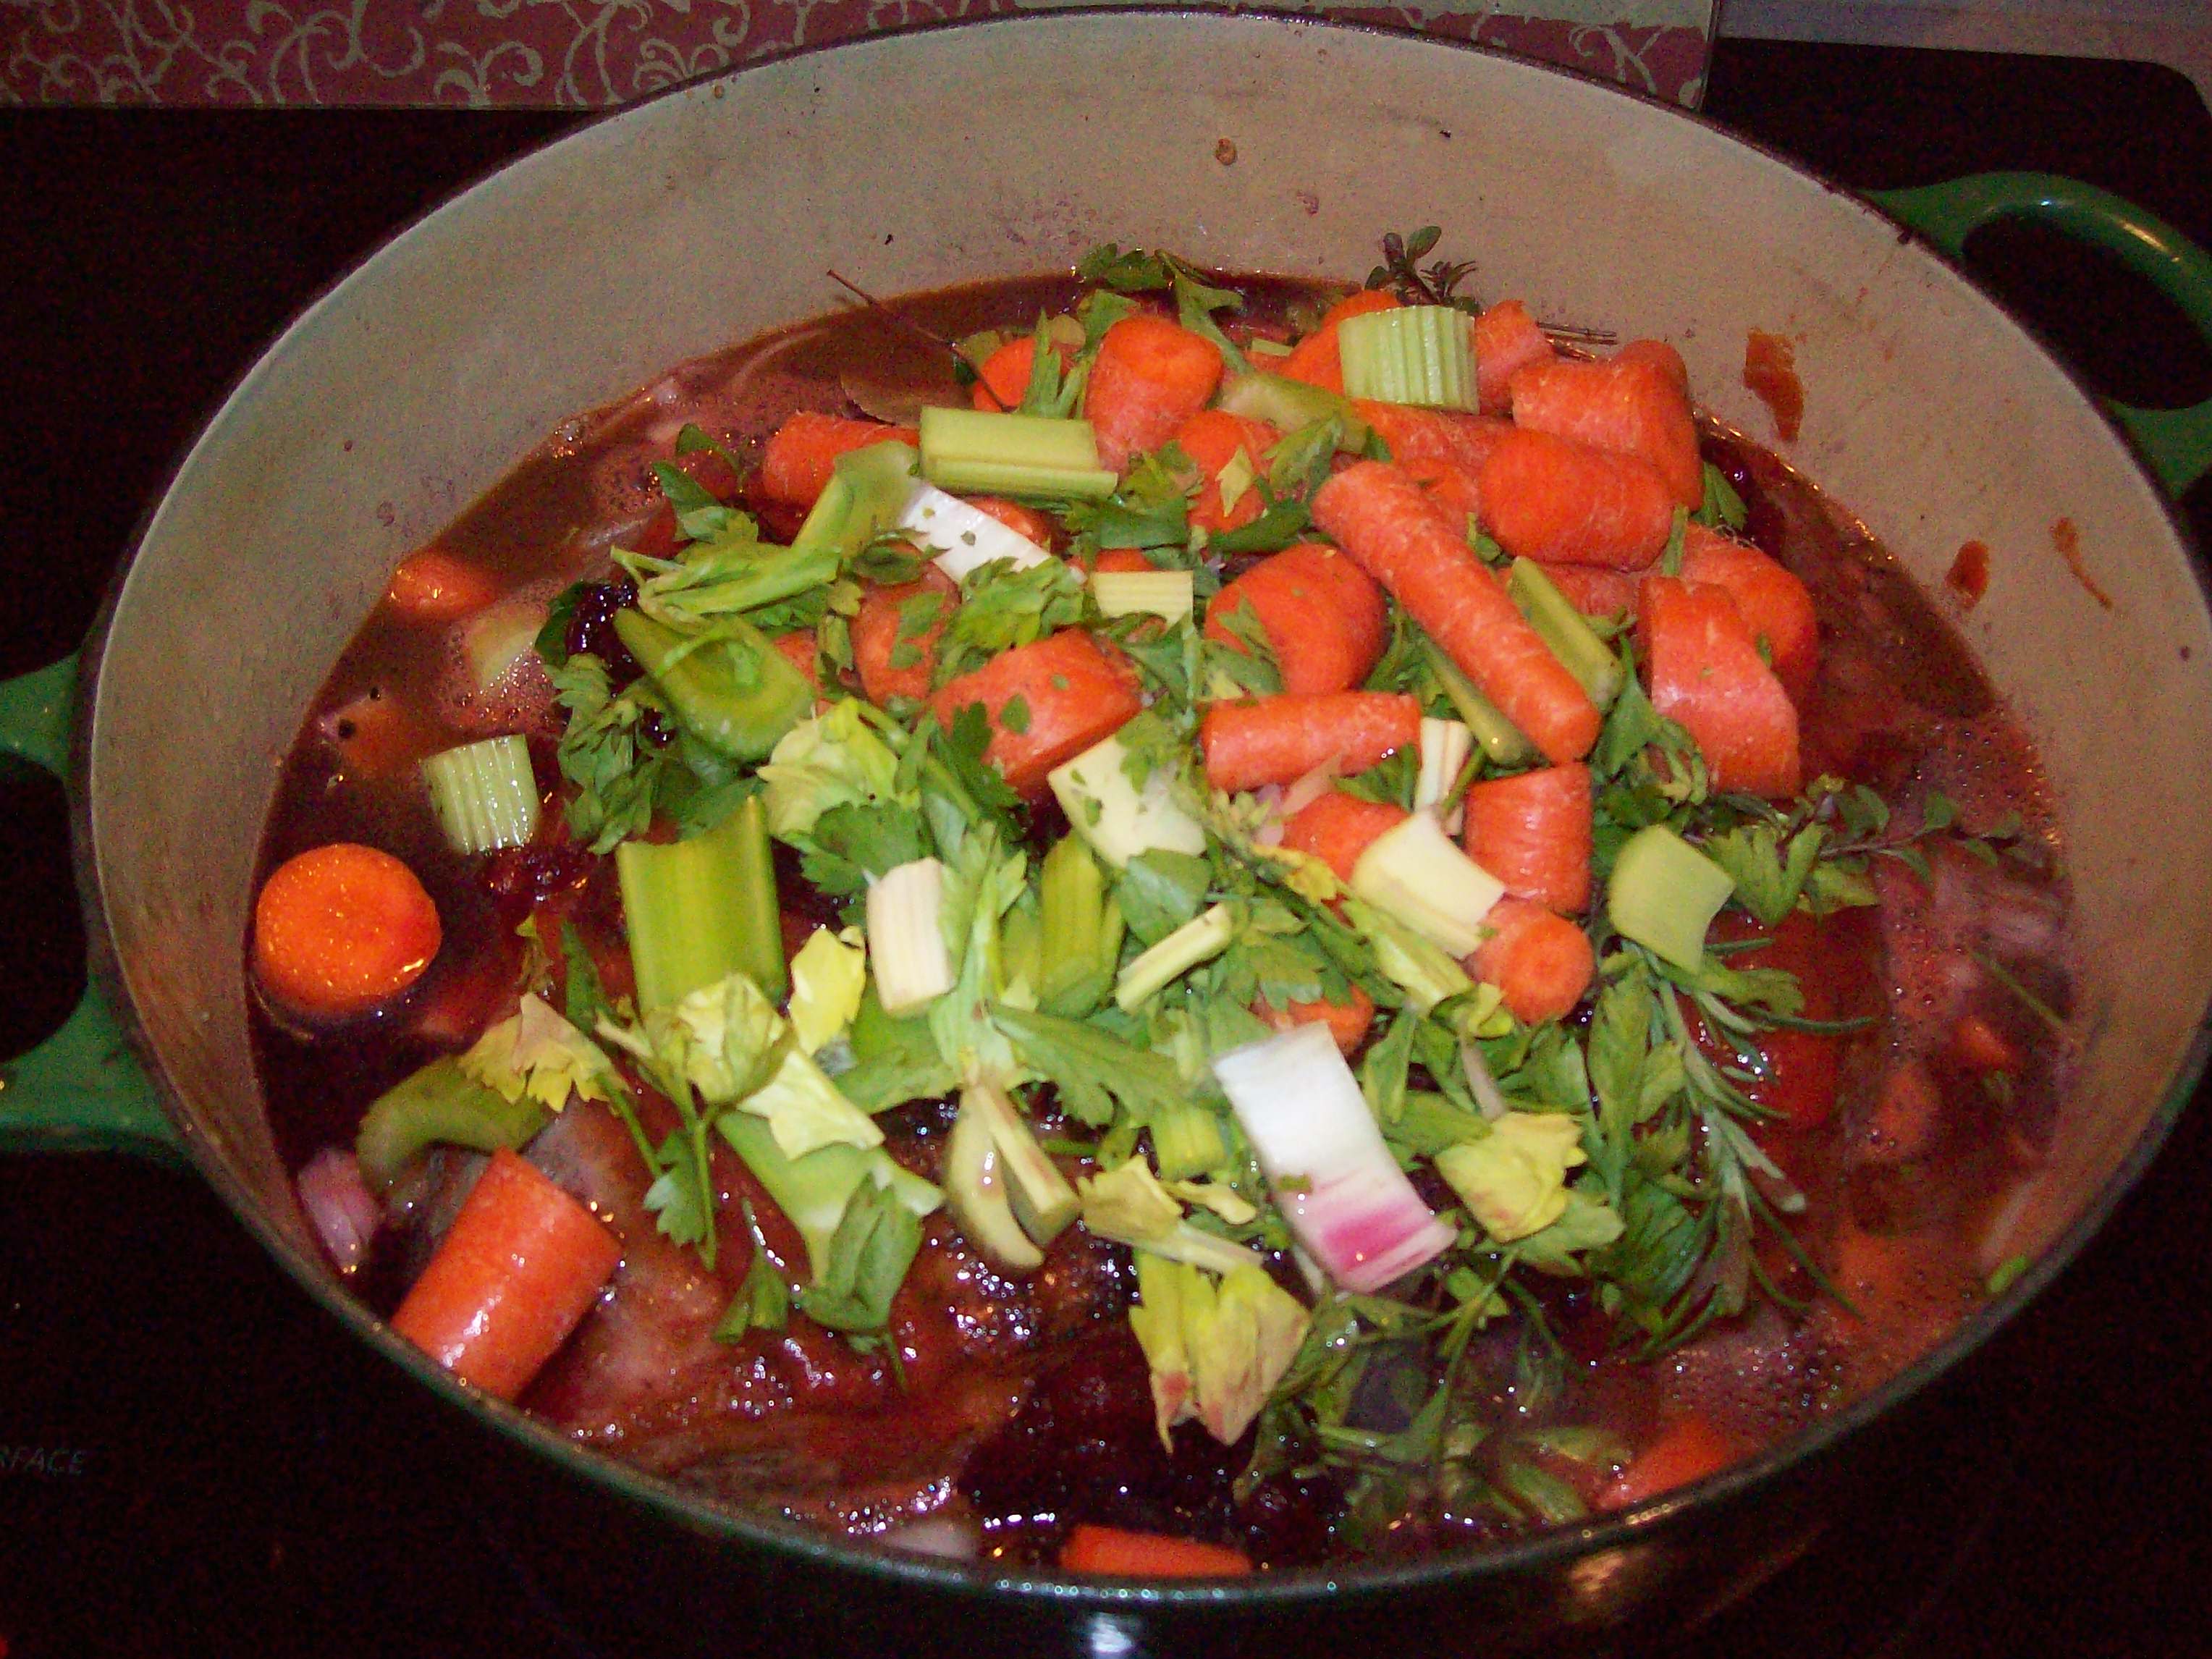
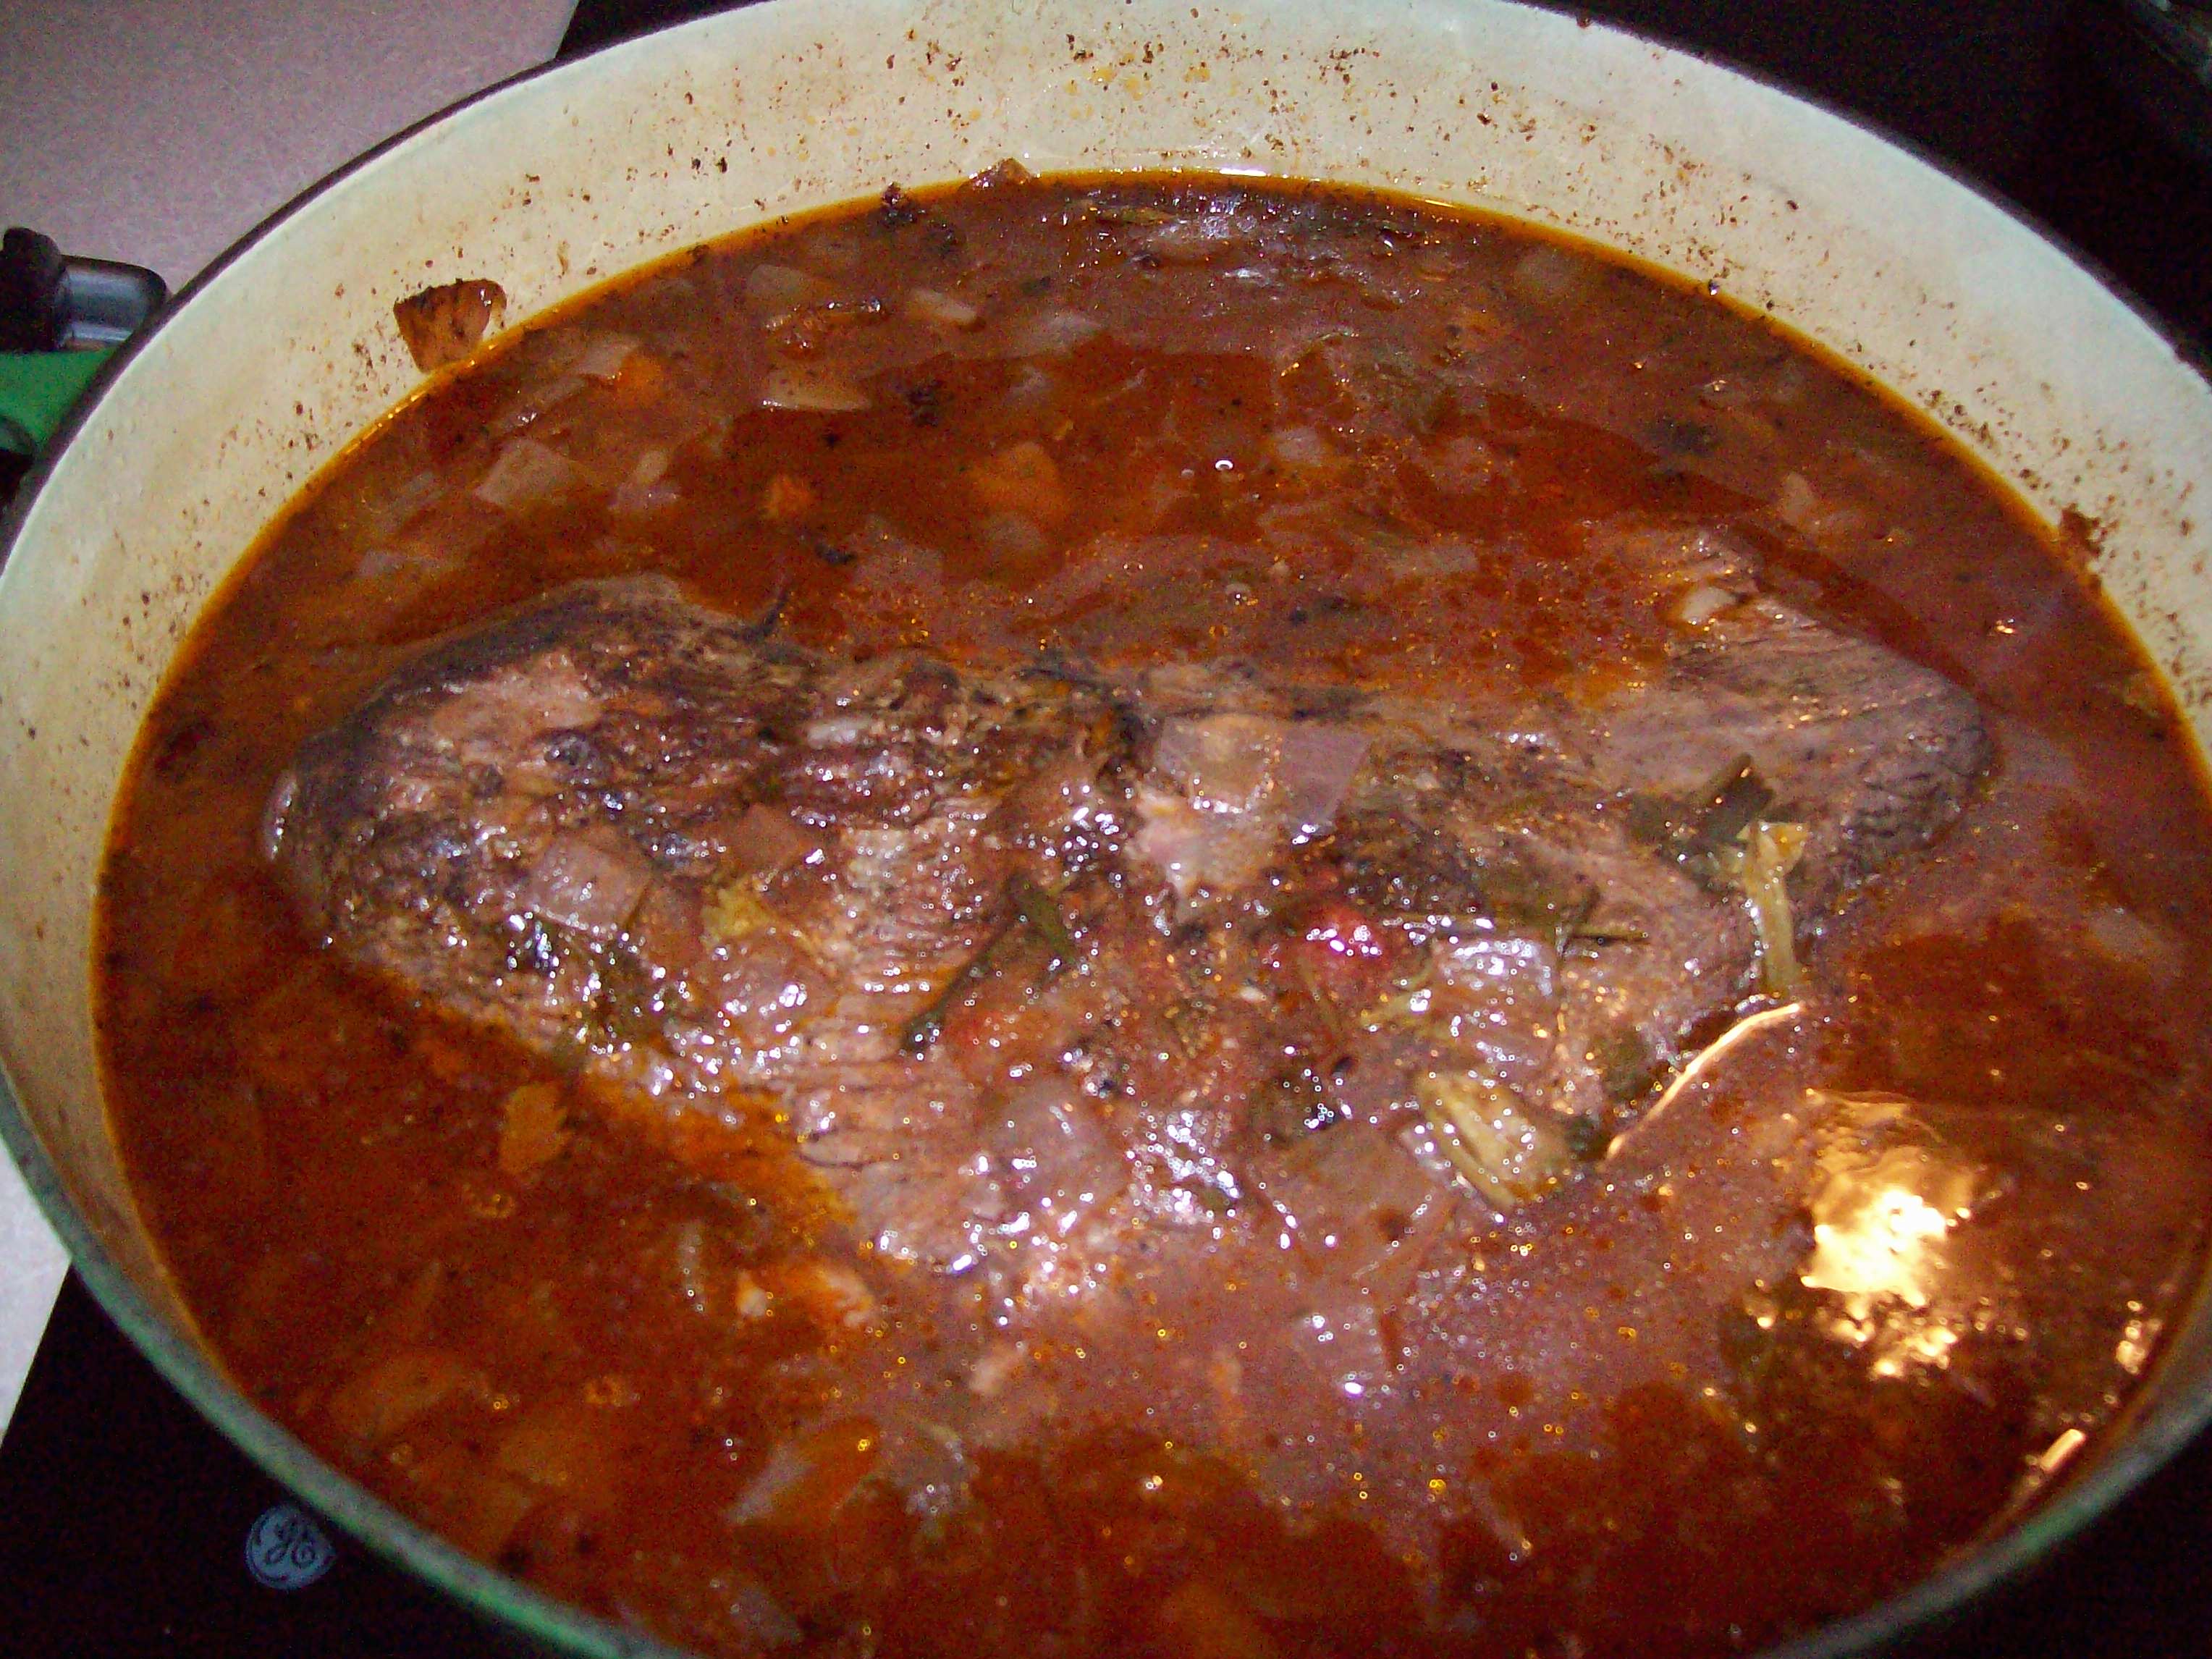
Place chopped onions and liquid (your choice I only had one beer left so I used broth) enough to cover bottom of roasting pan and cover. If your roasting pan does not have tight cover, cover with aluminum foil tightly. I cook at this temp for about 4 hours

Towards the end prepare your grill. – I have an old gas grill that is only front and back so I cover one side with aluminum foil, poke a few drip holes and replace the grates. On the open side I place the woodchip pouch I made while the grill is heating up to high.

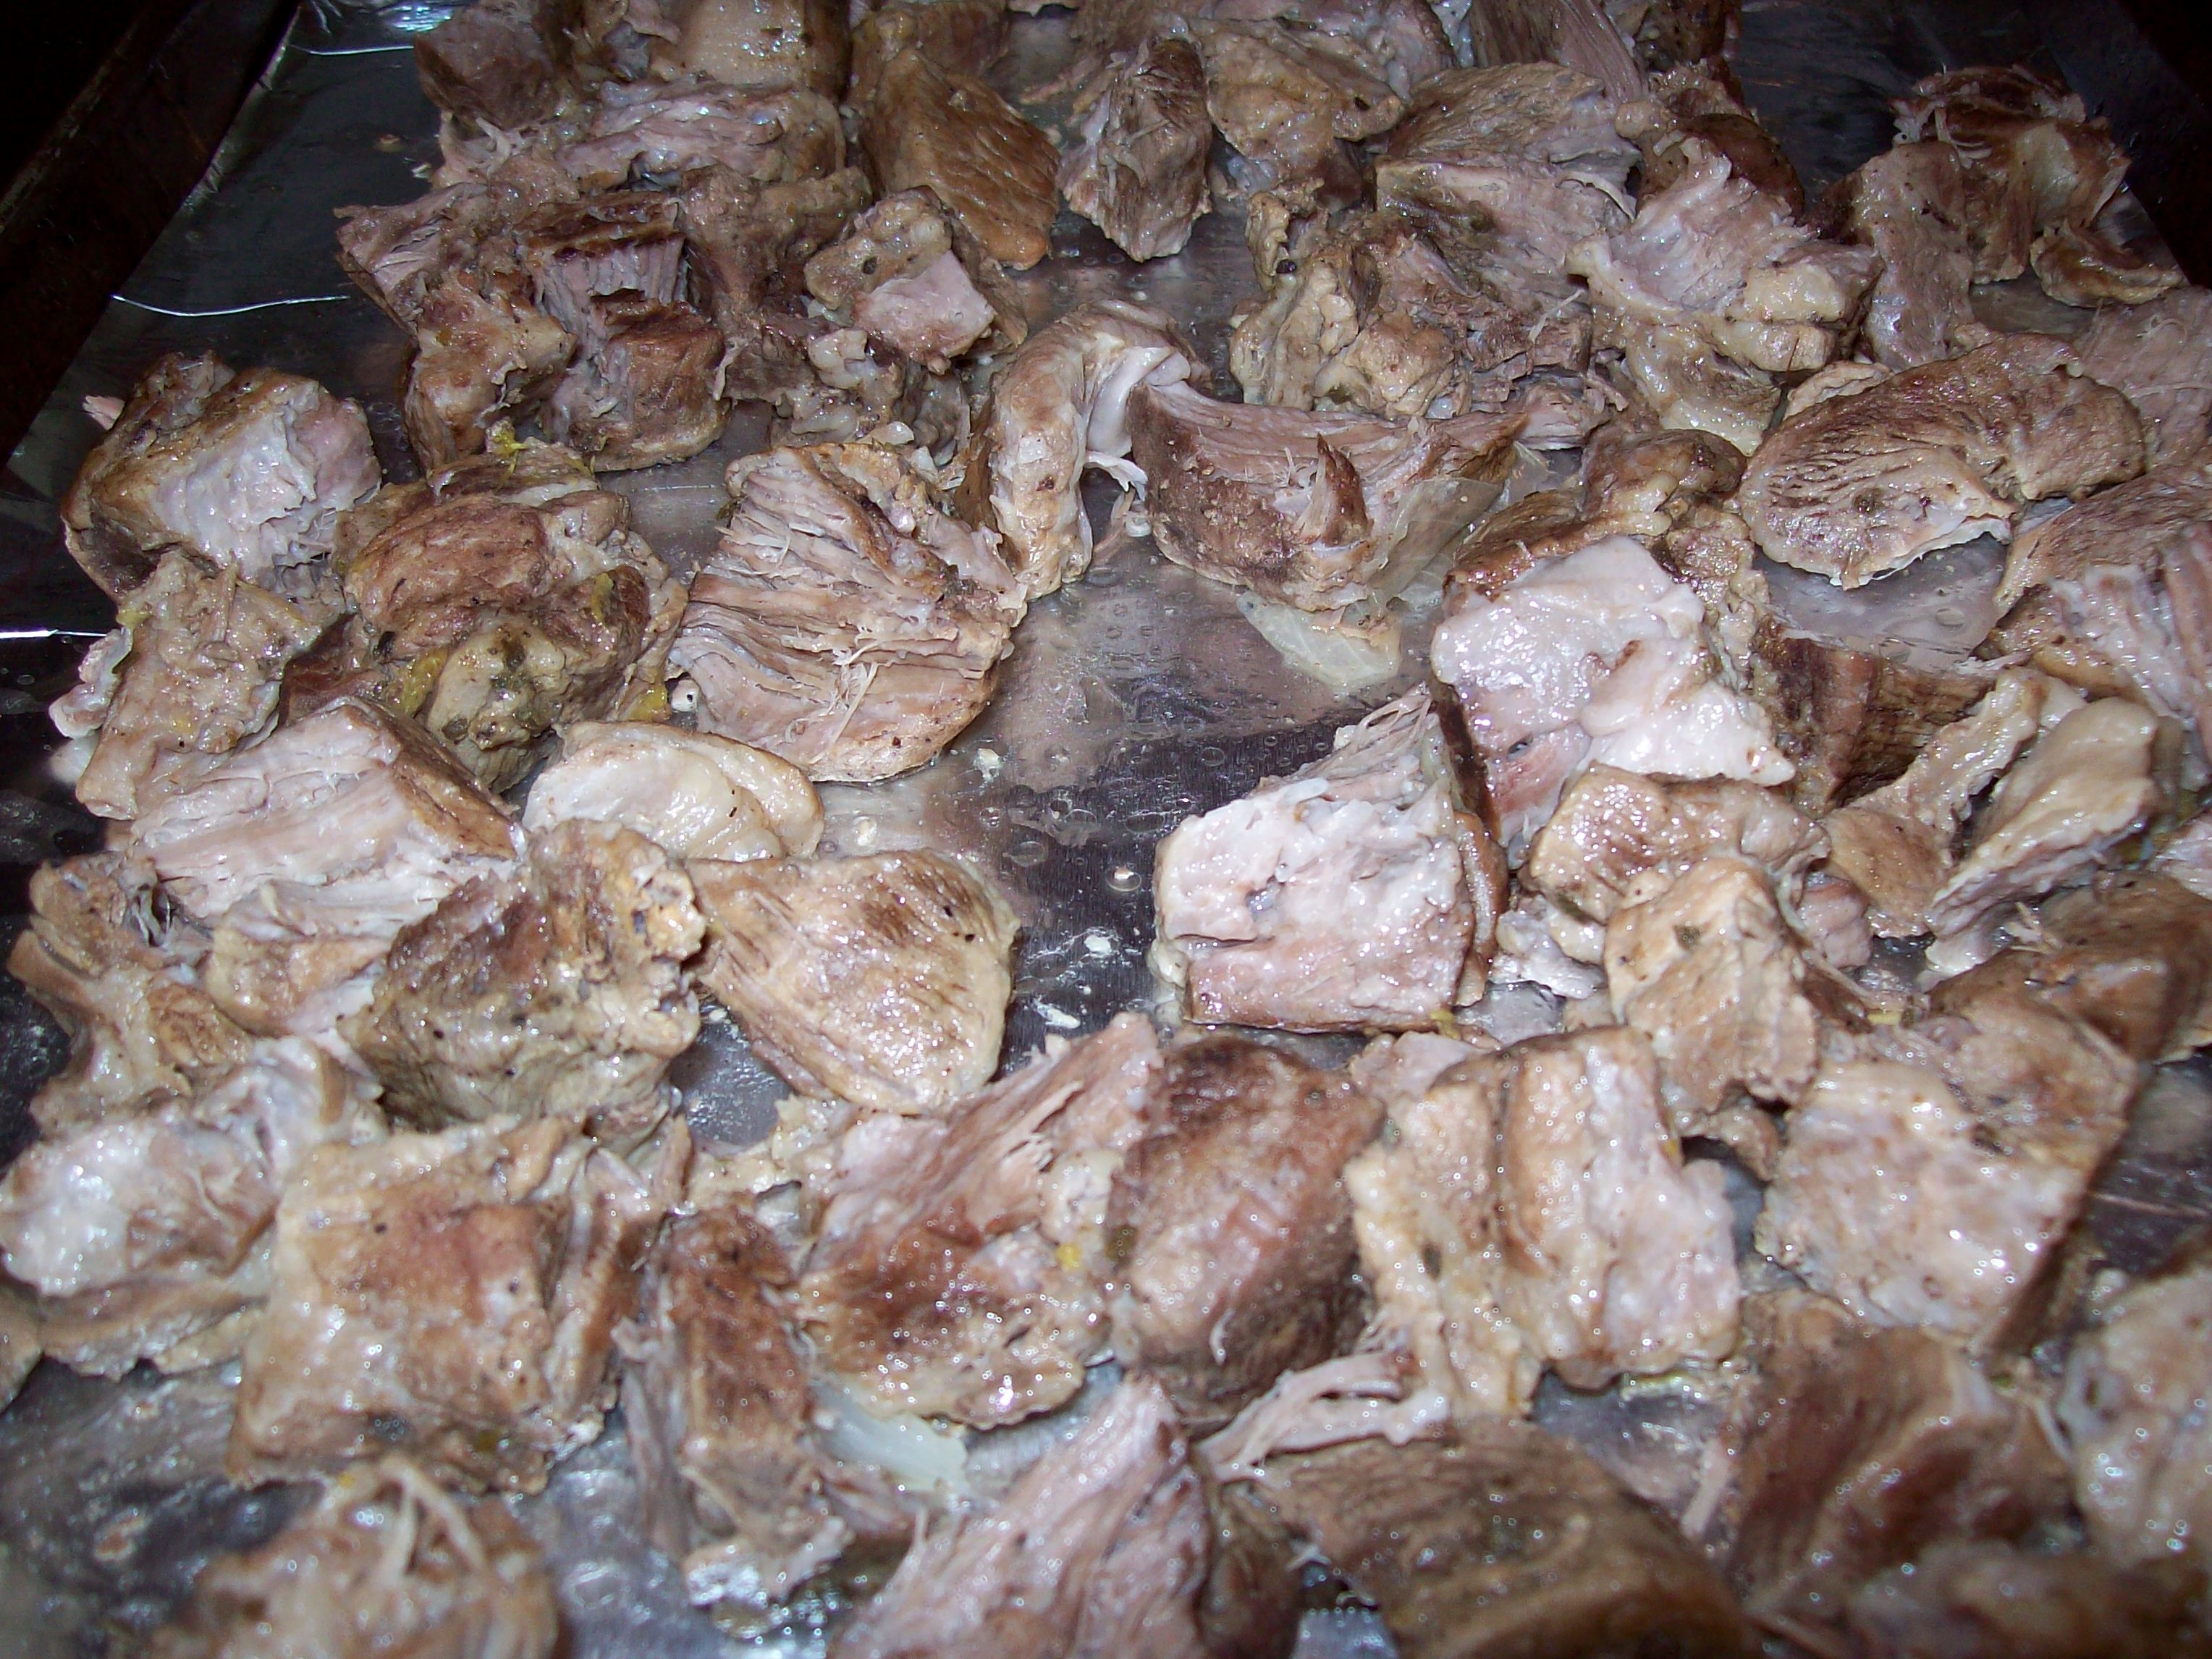
Place the meat on grill fat side up, over the aluminum foil side to get as close to cooking with indirect heat as I could. Next year I swear I will buy a new grill. Cook for another 3-6 hours checking the internal temperature toward the 3 hour mark see below for end temp 180-185. I also would watch the temp of the grill remember with smoking low and slow is the trick. I would open the grill cover from time to time to drop the temperature down around 225 degree.

Whn you reach the correct internal temp place the meat directly over flame and about cook 10 minutes each side.

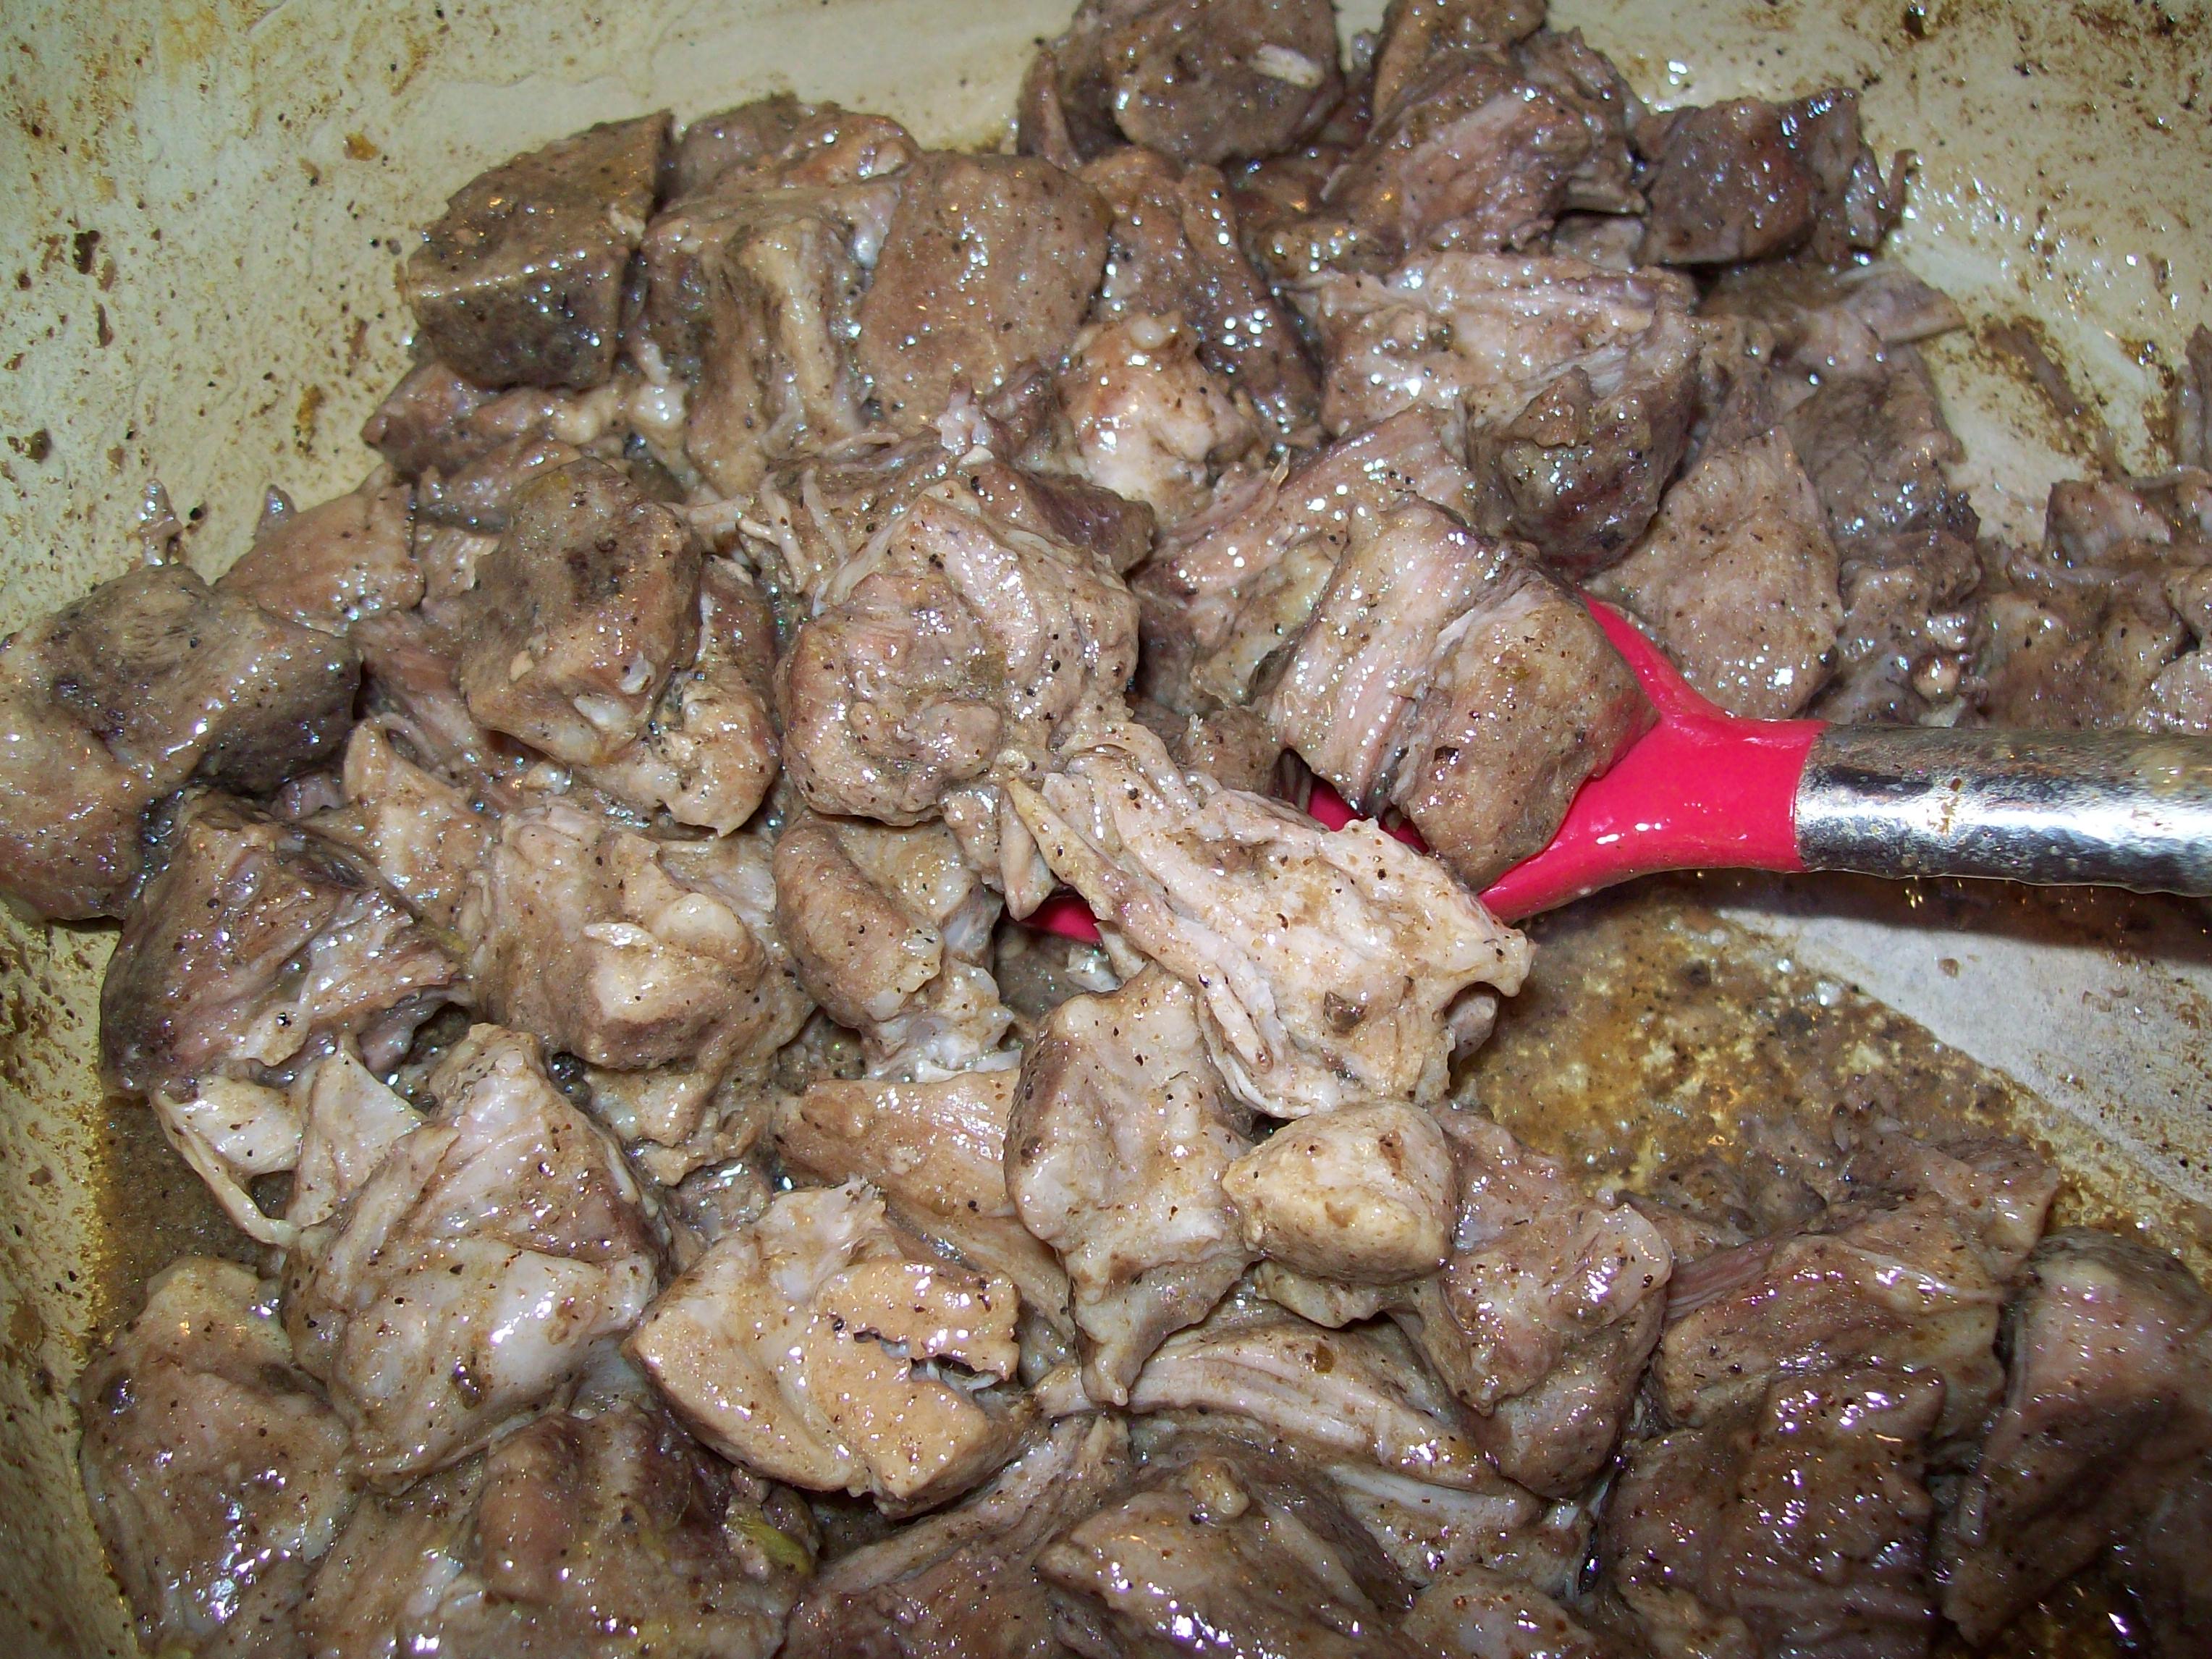
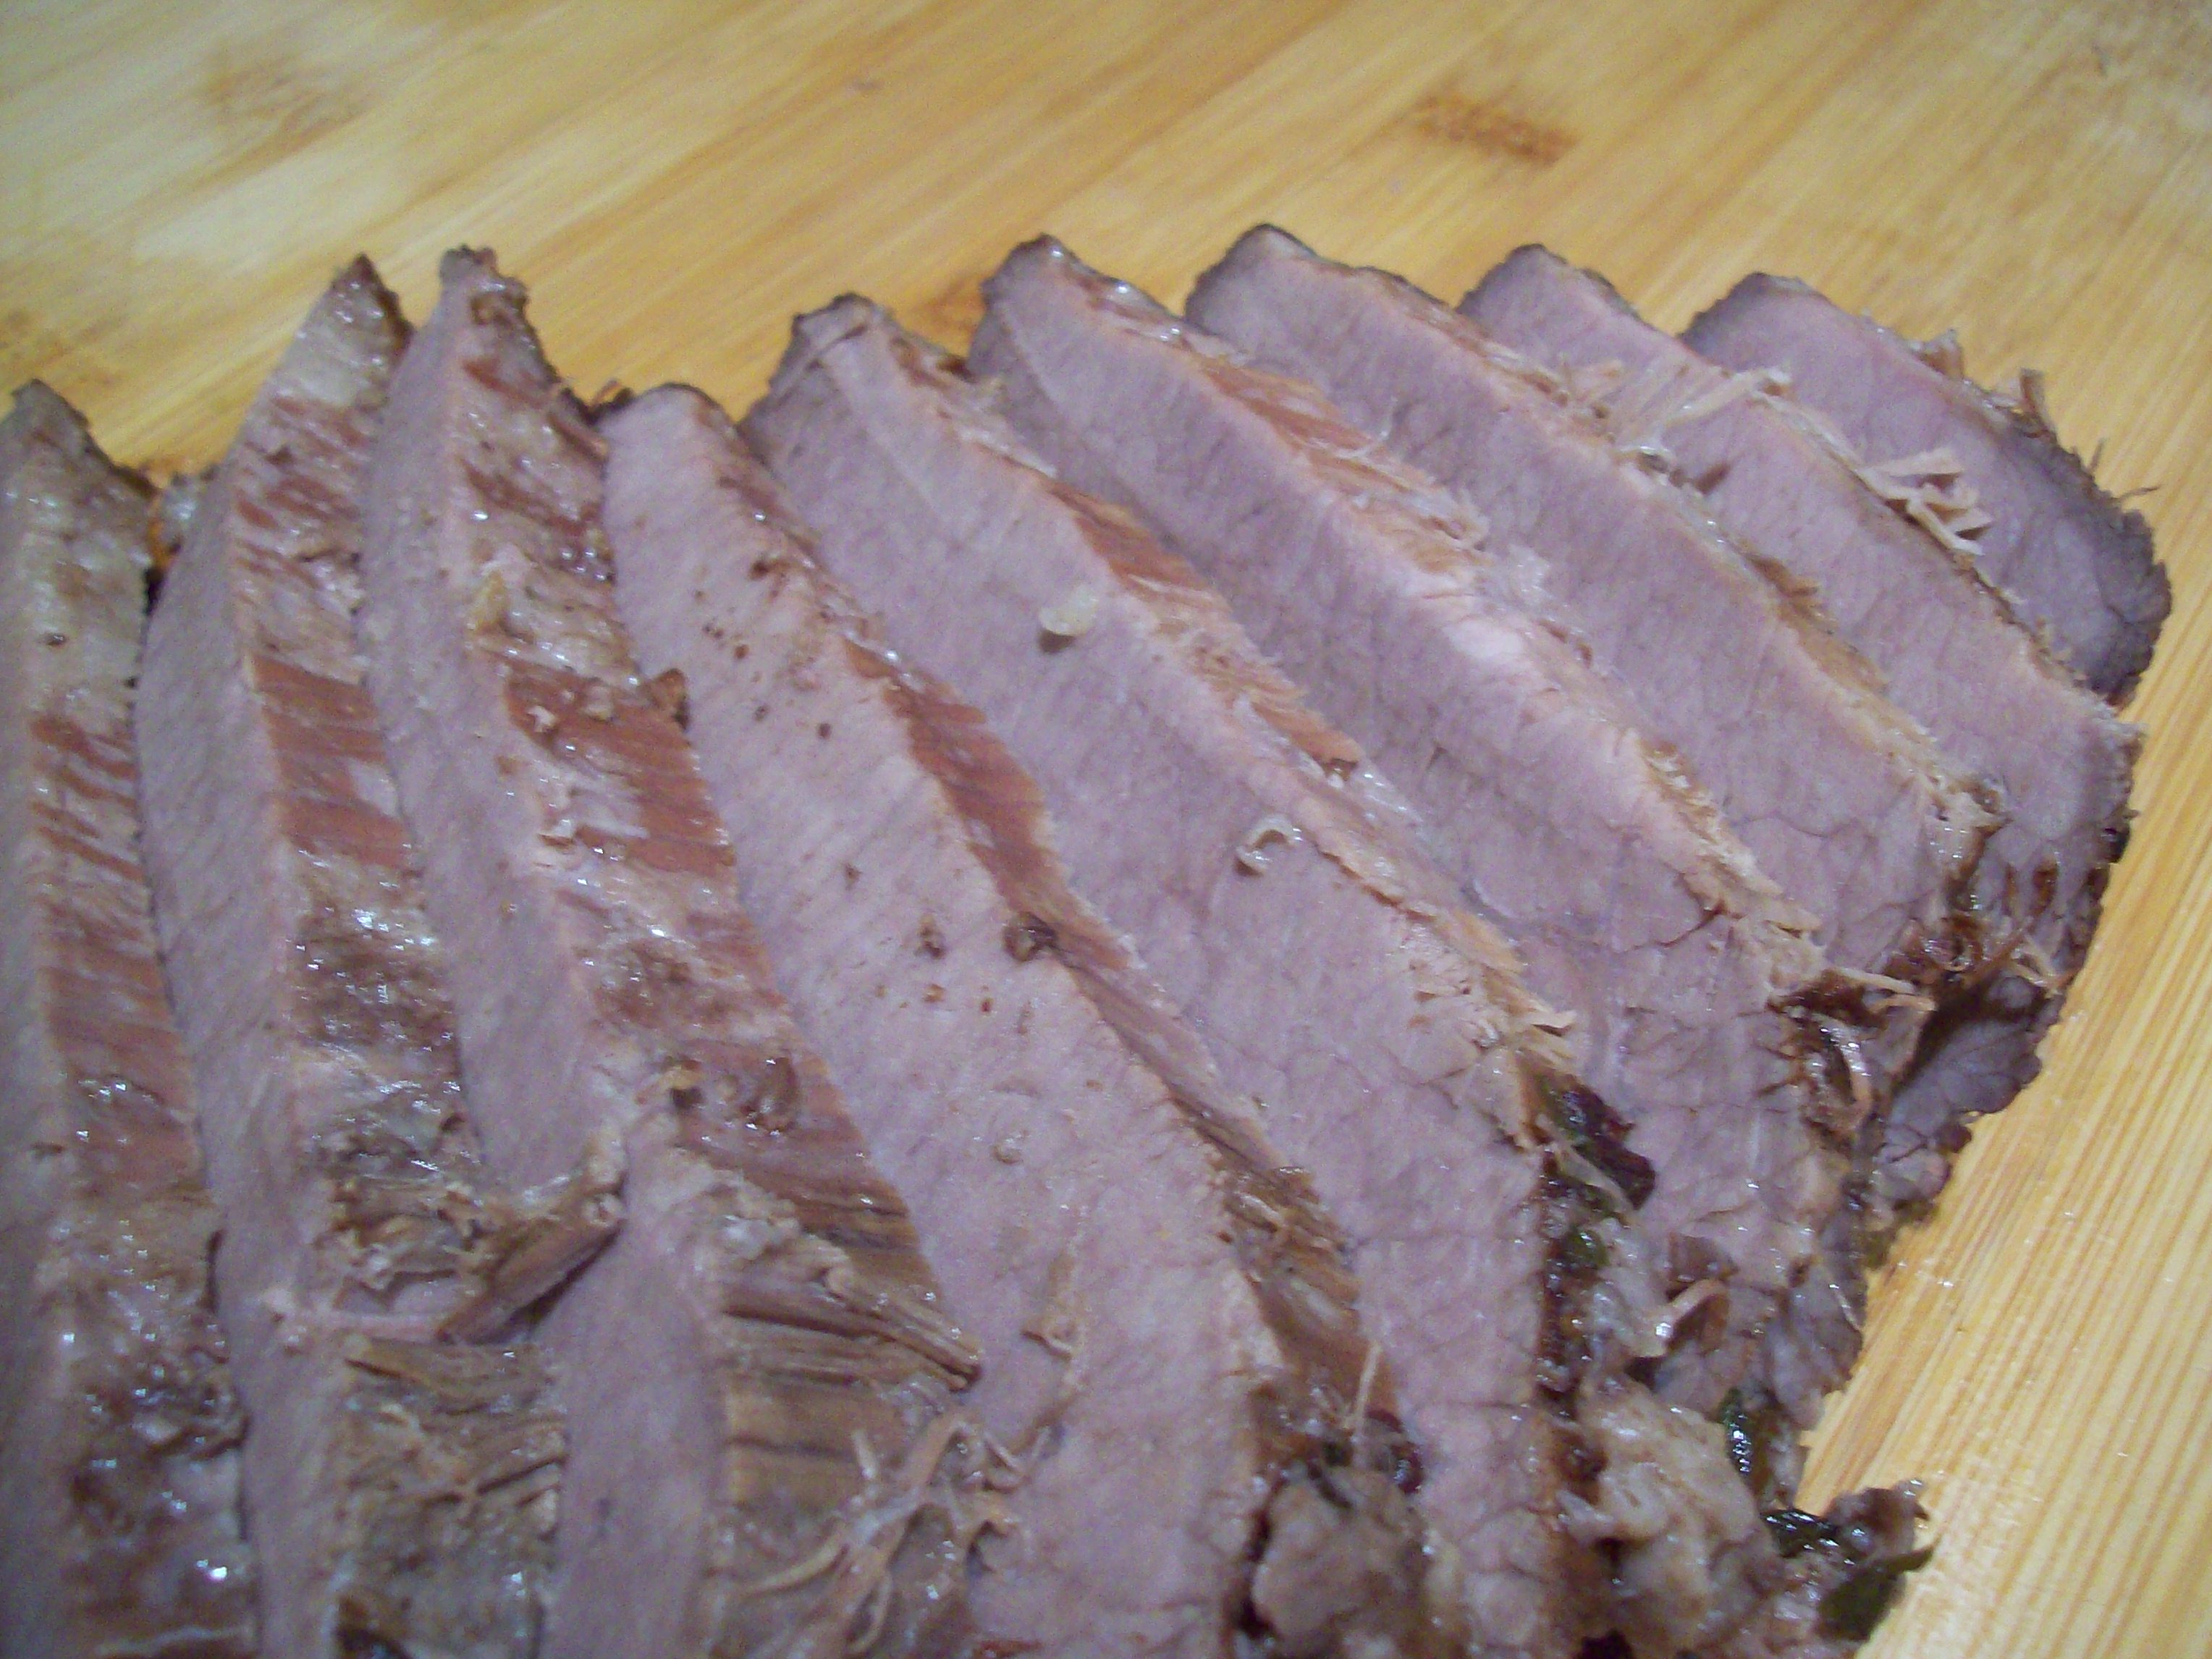
When done place on platter cover loosely and let sit for about 15-20 minutes. Trim the fat off by running knife under it and put aside there is a lot of great meat and burnt ends in there.

You should have most of the fat removed, now cut thin slices ACROSS the grain.

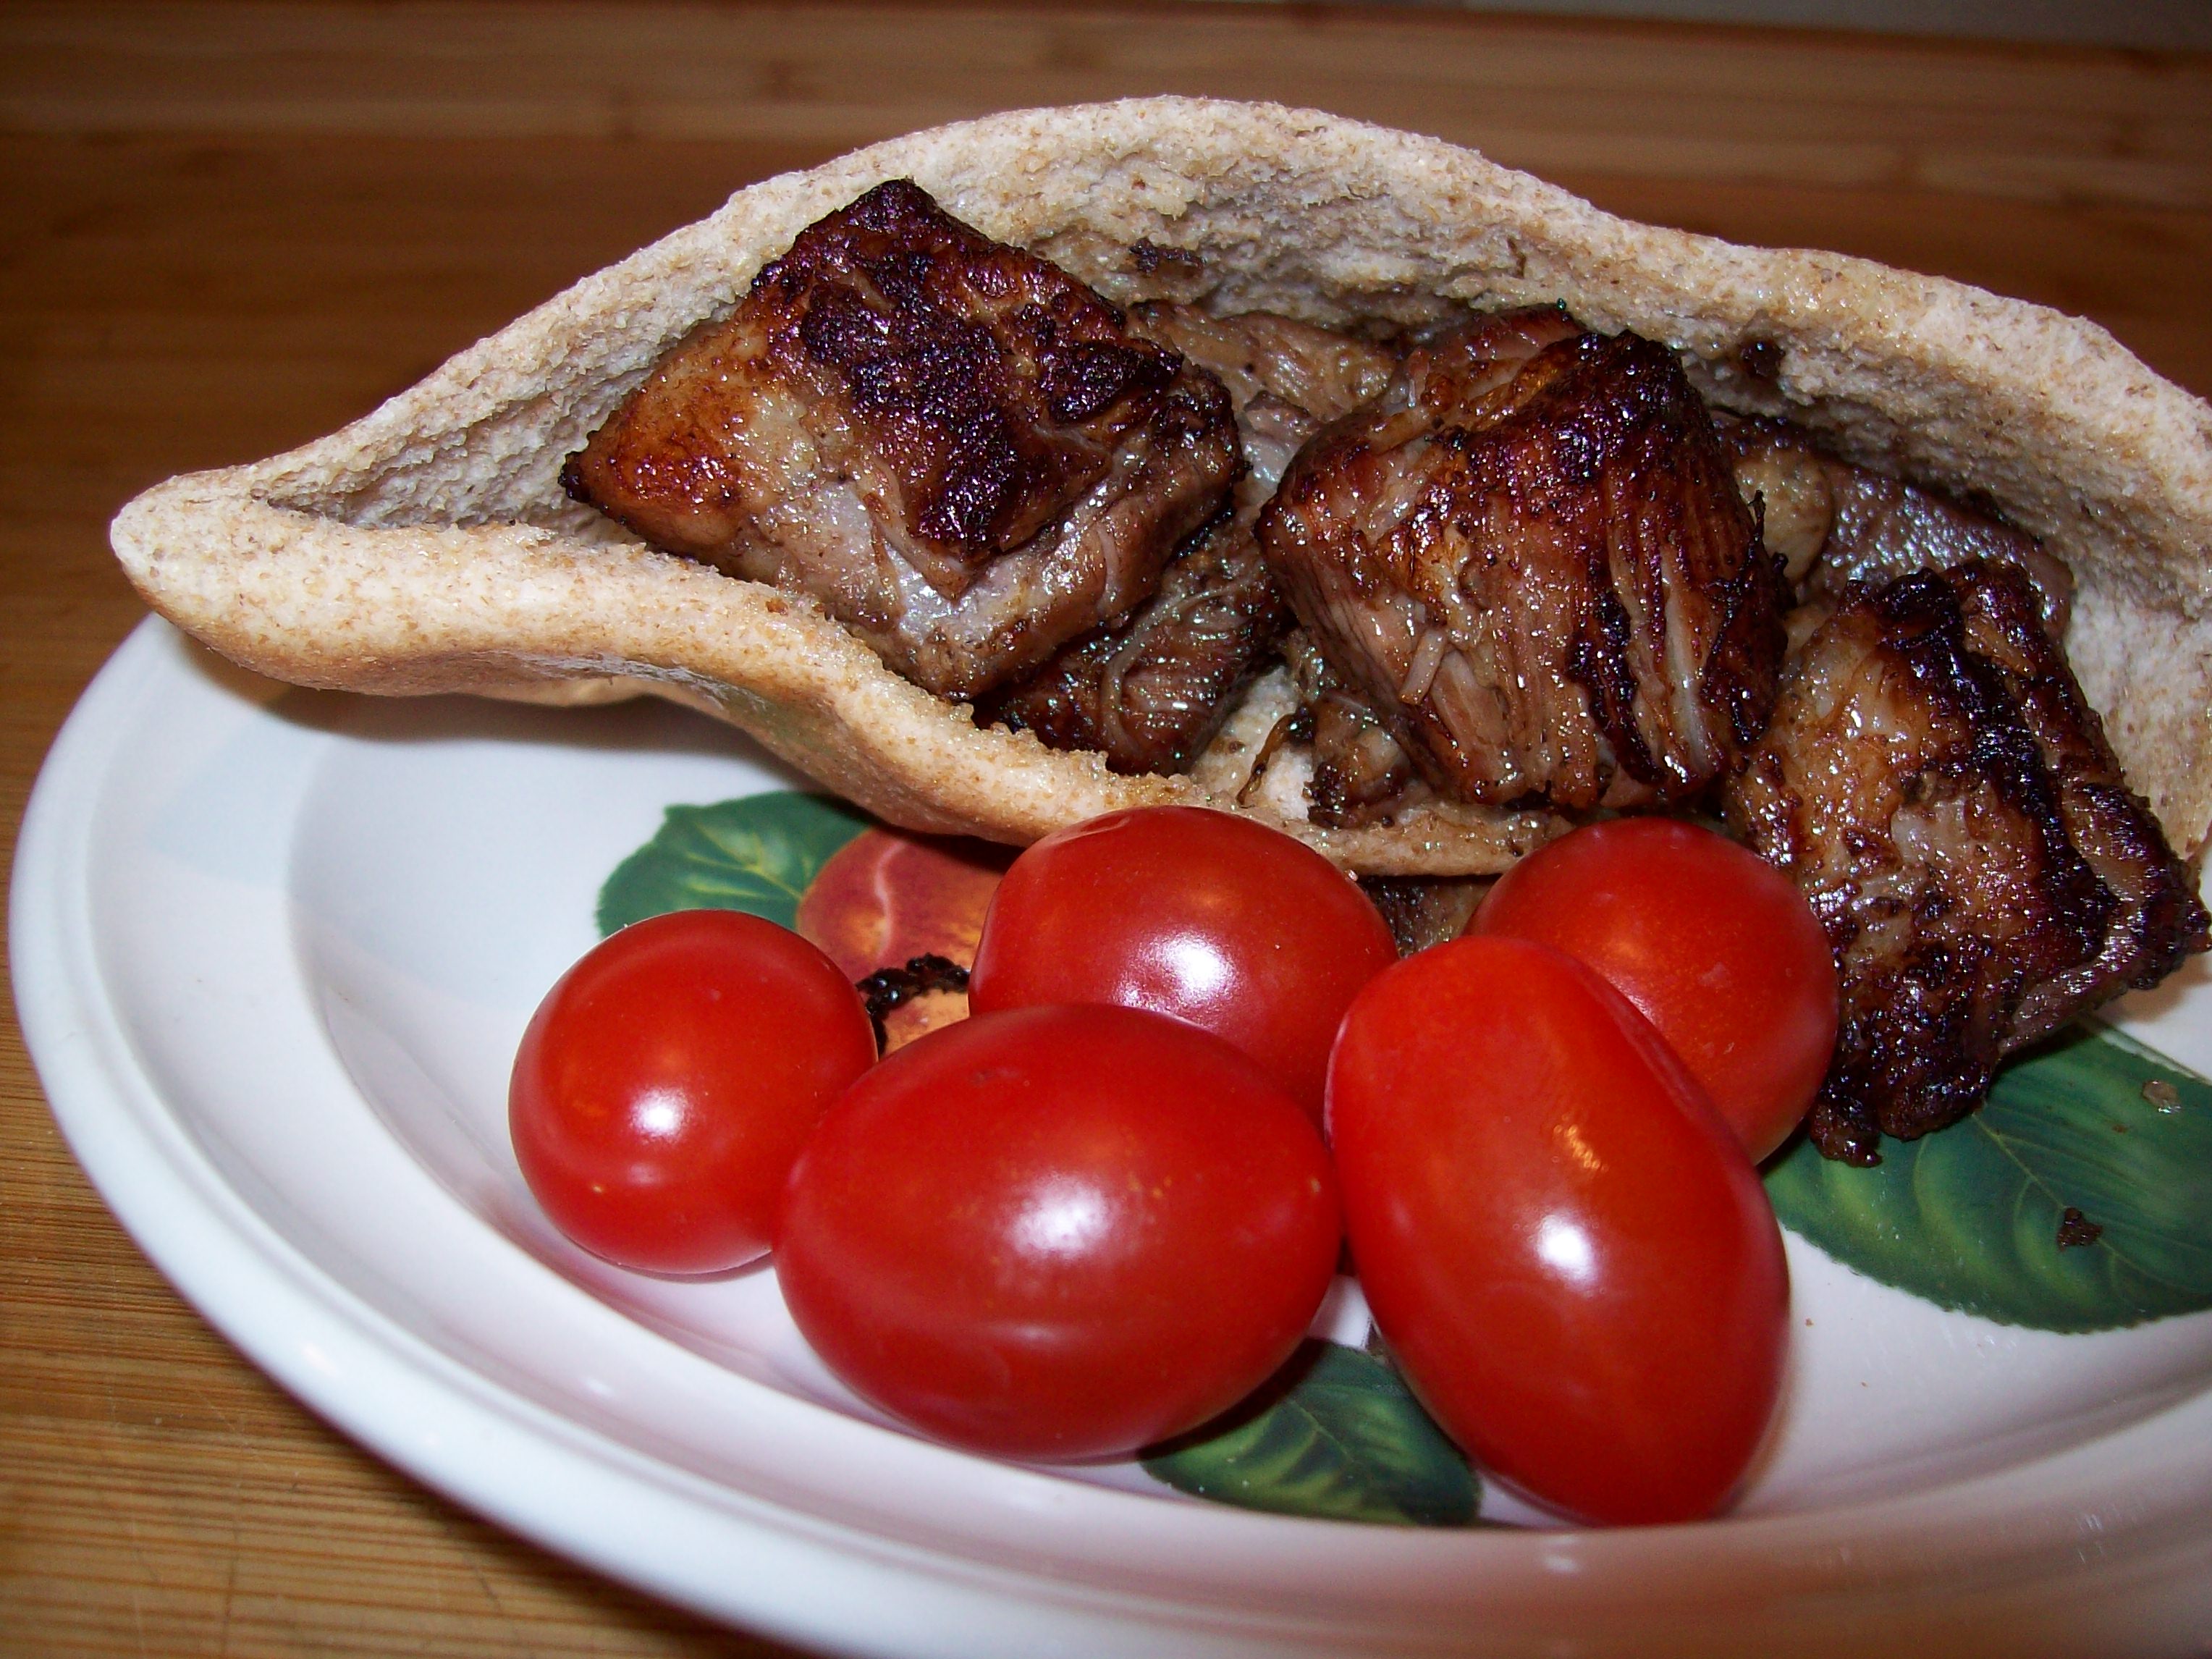
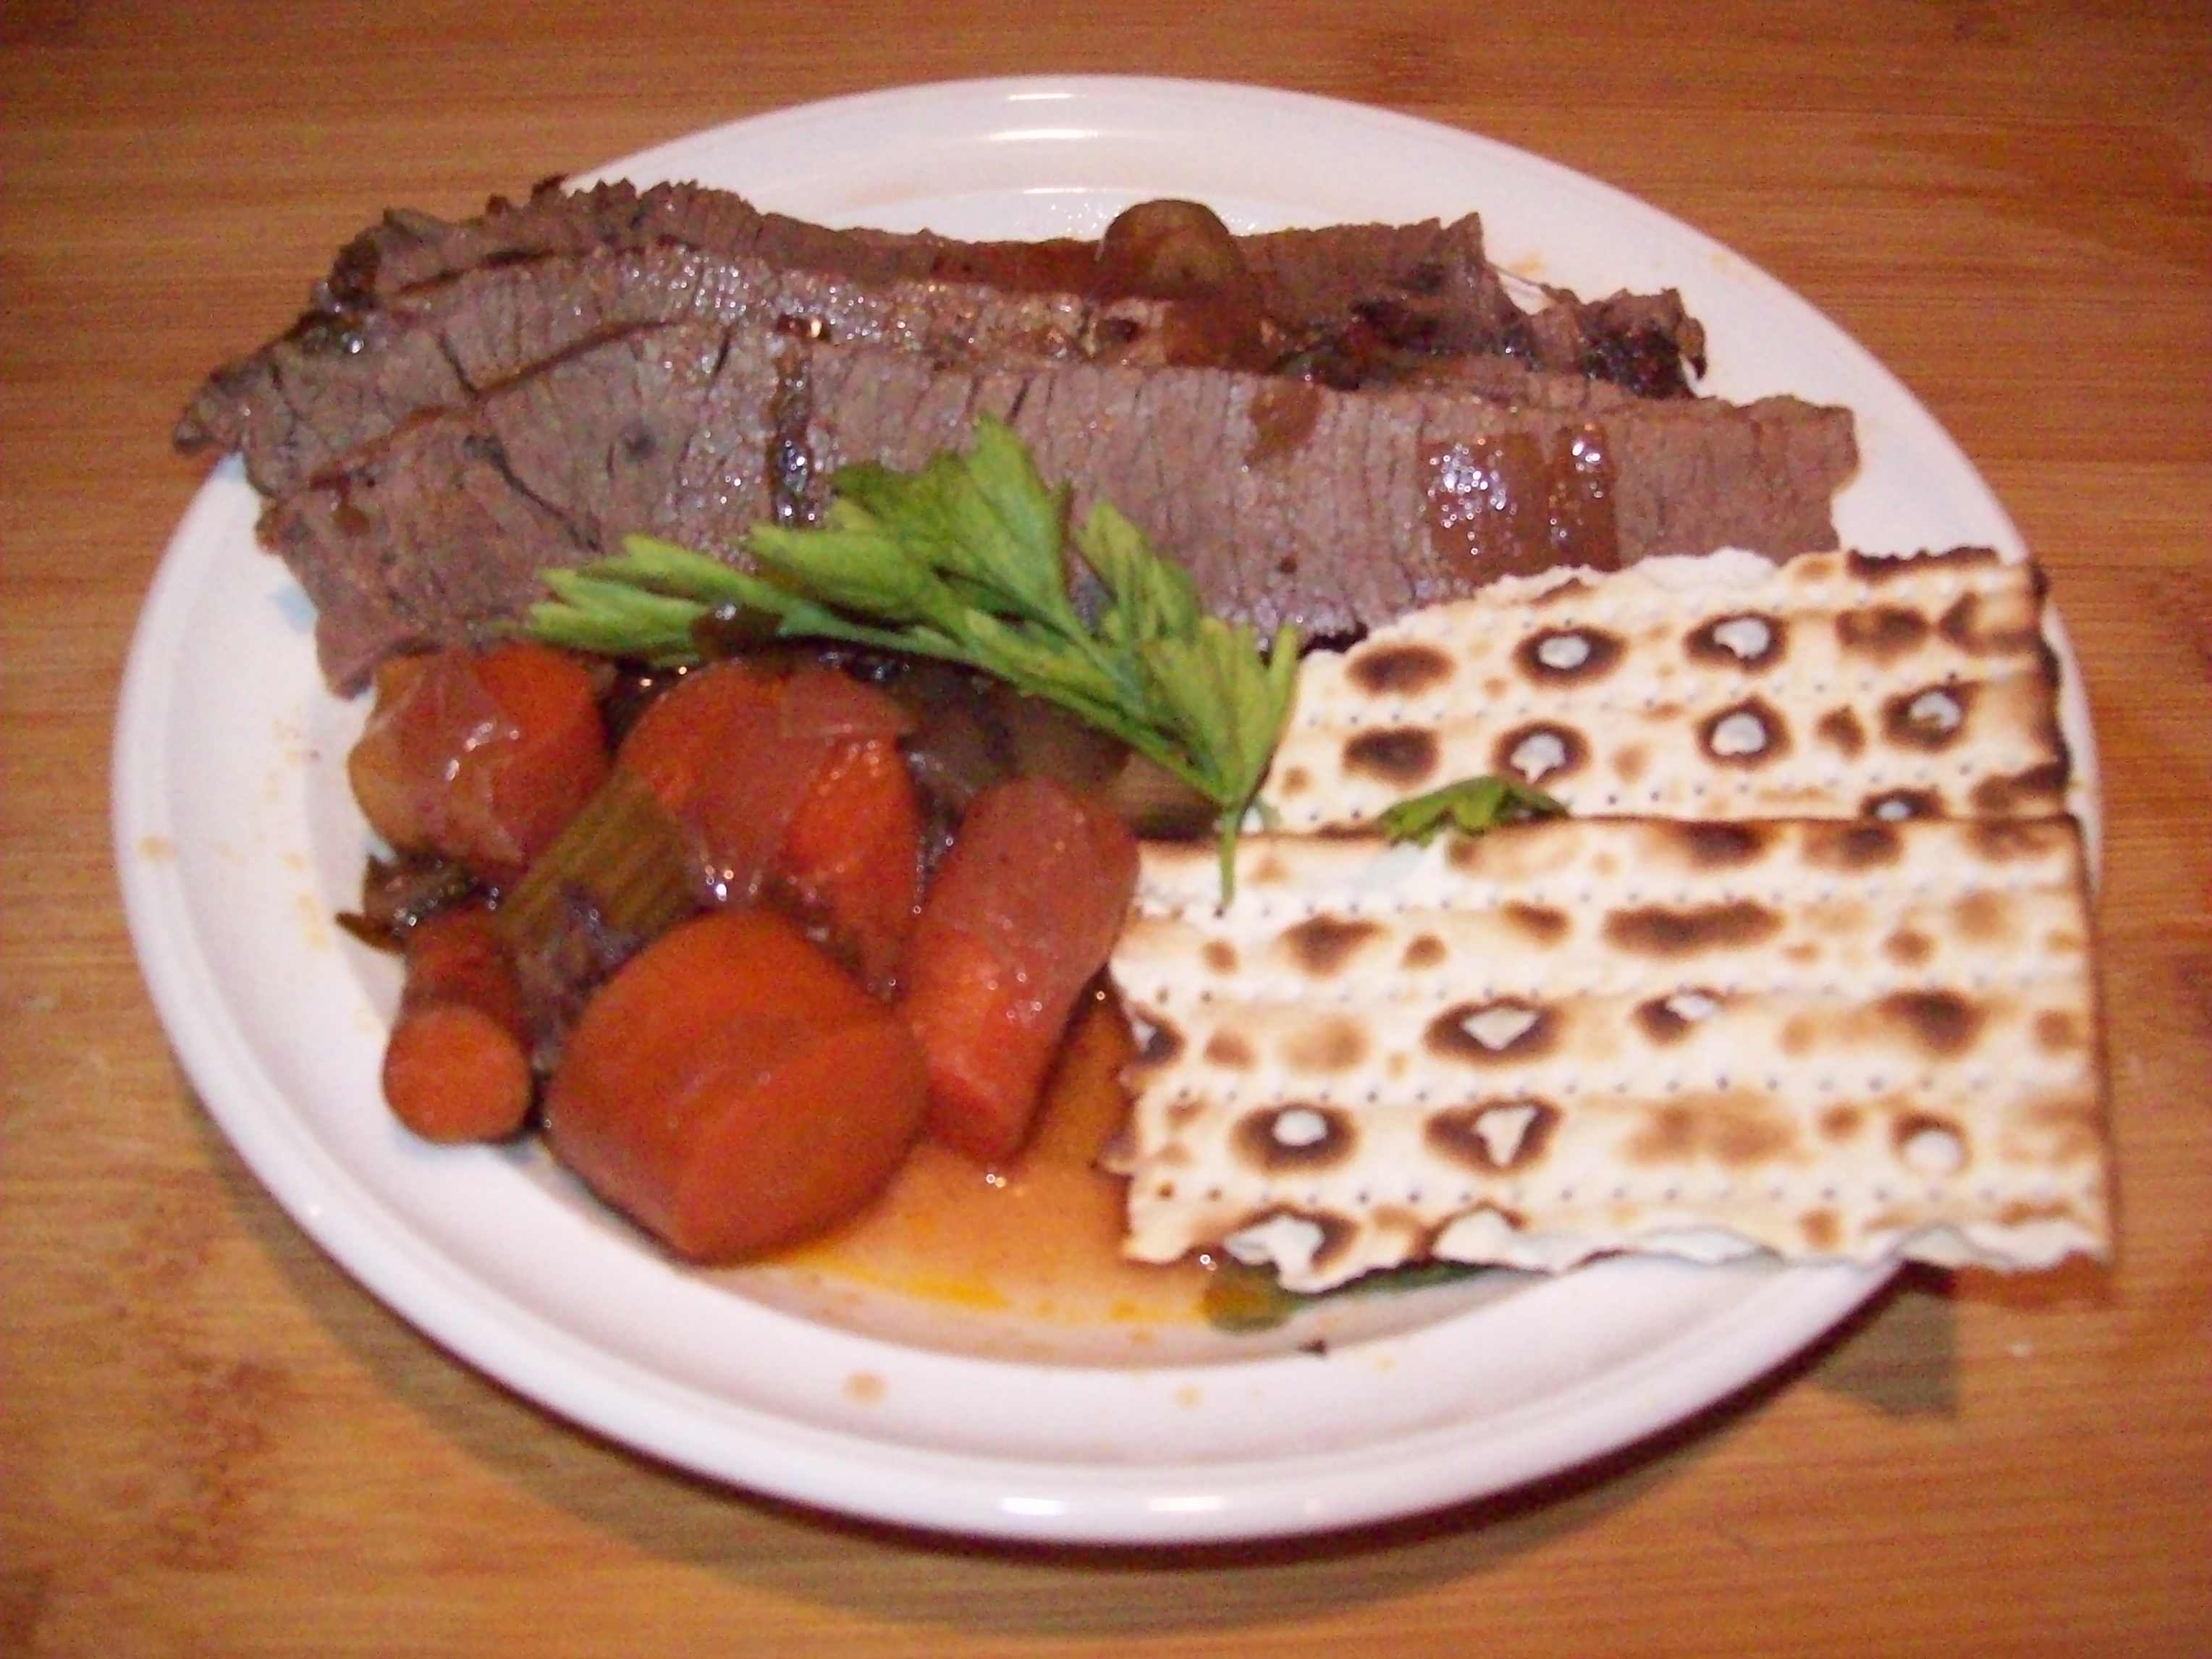
Serve with your favorite BBQ sauce, coleslaw, corn and beverages in my case only one beer.

With the flat fat piece you remove trim all the meat out and chop it mix with BBQ sauce and serve on buns.

Remember you have to have a lot of will power because it is tortuous smelling this cooking all day.


What do they mean by Fork tender

Barbecue experts with years of cooking experience say a brisket is done when it’s “fork tender”, meaning that a fork or a probe thermometer goes in and out of the meat with little resistance. The problem is that both a properly cooked brisket and an overcooked one will both be “fork tender”. For most folks like you and me, it’s best to rely on internal meat temperature to determine when a brisket is properly cooked.


What most everyone does agree on is that a properly cooked slice of brisket should pull apart easily, while still maintaining good texture. Technically the meat is done at 160°F but continue on for more tender meat. An overcooked slice will fall apart when picked up. 188°F and 190°F seem to be the most popular target temps. When I barbecue a brisket entirely I cook to an internal temp of 185-190°F. In this temperature range, the flat will be fork-tender and the slices cut from the flat will hold together. Remember Slow and Low is the trick.


Quick Grilled Rosemary Chicken and Sweet Potato

Quick Grilled Rosemary Chicken and Sweet Potato

Lyn is on a strict diet and I am on my own for meals but she made me promise to eat healthy and none of those bachelor meals eaten over the sink to save on plates. I feel I have done pretty well for the last two weeks. Only once did I go with a meal of prepackage frozen mac and cheese from Annie’s but it was organic and not bad. I think it is hard to cook for one, not sure about you but I tend to get more inventive no creative when I cook for someone else.  But on the other hand I am more willing to try something if I know that I will be the only one eating who cares if it was a failure, one learns from them.  I started with this grilled chicken, sweet potato and roasted cauliflower on the side. Ok I forgot to take a picture with the cauliflower you caught me.

Ingredients

  • 1 skinless chicken breast split
  • Salt and pepper to taste
  • 1 Tbsp. garlic rosemary oil (I had a lot of rosemary from the garden so infused some oil, 1 just rosemary and one with rosemary and garlic)
  • Some fresh chopped rosemary.
  • 1-Sweet potato and cauliflower

How

Rinse and dry the chicken very well

Salt and pepper rub with olive oil

Wrap in plastic wrap and refrigerate for 20-30 minutes.

Preheat the grill to high and clean off the grates

Grill trying only to turn once until done about 160 degree internally about 4-5 minutes per side.

Remove, cover and let sit for at least 10 minutes

Slice against the grain

See recipe for roasting vegetables.

Cook the sweet potato in the microwave so it is partially cooked then finish on the grill

Against the Grain

I not talking about rubbing someone the wrong way, I’m talking about the way to cut most meats so that they are tenderer a better chew if you will. We read it in cookbooks all the time: “Slice thinly against the grain.” But what does slicing against the grain really mean?

  • The grain is the most important characteristic: it is the direction which the muscle fibers are aligned, and properly identifying it can make the difference between tough and tender. Take a close look at your meat, and you’ll see that just like wood, it’s got a grain.
  • Grill marks are probably the lines most often confused with grain. Many a time, I’ve seen some start slicing meat at a 90° angle to the grill marks, rather than to the natural grain of the meat (which may or may not coincide with those grill marks).
  • Can’t see the grain well sometime if you bend the piece of meat you can see it or a thin slice on the end and then look at the cross section for the direction. I can’t tell you how many times I look at the grain precooking and then after I grill it is sometimes hard to tell.
The Finger Test to Check the Doneness of Meat

The Finger Test to Check the Doneness of Meat

I know there are a ton of sites out there explaining this I just happen to like this one, if you haveothers let us know.

Method

Open the palm of your hand. Relax the hand. Take the index finger of your other hand and push on the fleshy area between the thumb and the base of the palm. Make sure your hand is relaxed. This is what raw meat feels like. (Check this out the next time you have a raw steak to cook.)

Now gently press the tip of your pinky and your thumb together. Again feel the fleshy area below the thumb. It should feel quite firm. This is what well done meat feels like when you press on it. (Check this out the next time you overcook a piece of meat.)

Press the tip of your ring finger and your thumb together. The flesh beneath the thumb should give a little more. This is what meat cooked to a medium doneness feels like.

Gently press the tip of your middle finger to the tip of your thumb. This is medium rare.

Press the tip of your index finger to the tip of your thumb. The fleshy area below the thumb should give quite a bit. This is what meat cooked to rare feels like. Open up your palm again and compare raw to rare.

Simply Recipes http://www.simplyrecipes.com

Pan Seared Oven Roasted Tenderloin

Pan Seared Oven Roasted Tenderloin

I know you have gone out to dinner and had that wonderful melt in your mouth steak Filet Mignon. Being that it is an expensive cut of meat at the restaurant it is much more economical to cook at home especially when you do not eat as much, heck Lyn and I can share one and are completely satisfied. I used to laugh to myself watching my parent split such a small piece of meat. At home some like to broil or grill but I prefer to pan sear and finish off roasting it in the oven. Do yourself a favor don’t buy grocery store cuts unless it is something that equals the quality of Wholefoods or a local butcher the $4 to $6 a pound you save is not worth it

FYI from about.com

Question: What is filet mignon?

Filet mignon is an expensive tender cut of beef

Answer: Filet mignon is considered the king of steaks because of its tender, melt in the mouth texture. A prime filet mignon can literally be cut with a fork. This beef cut can be quite expensive when dining out, but much more reasonable to make at home, especially if you purchase a whole tenderloin.

Filet mignon is French, of course, with filet meaning “thick slice” and mignon meaning “dainty.” It first appears in American print in 1899. Filet mignon comes from the small end of the tenderloin (called the short loin) which is found on the back rib cage of the animal. This area of the animal is not weight-bearing, thus the connective tissue is not toughened by exercise resulting in extremely tender meat.

The tenderloin term (also erroneously called chateaubriand) applies to the entire strip of tenderloin meat, whereas slices of the tenderloin are termed filet mignon. Filet mignon slices found in the market are generally 1 to 2 inches thick and 2 to 3 inches in diameter, but true mignons are no more than 1 inch in diameter and are taken from the tail end. Although this cut is very tender, the beef flavor is proportionately lessened. As such, it is often served with an accompanying sauce incorporating the pan juices.

Ingredients

  • 1 or 4 Filets depending on how many you are serving about 1 ½ to 2” thick
  • 1 small or medium sweet onion sliced very thin
  • Button mushrooms
  • 1 small clove garlic
  • Butter
  • Vegetable oil

How

Season the steaks with salt and pepper and bring to room temperature.

Slice the onion very thin.

Preheat oven to 4250 rack in center.

Heat the oil over medium heat in an oven proof pan.

Sear the steaks for about 5 minutes.

Turn and place the pan in oven for about 7 minutes.

Remove cover very loosely with tin foil and let set for 5 minutes before serving.

Either the mushrooms or onions are optional but we like them.

Meanwhile sauté in butter, half the onion, garlic and mushrooms to be used as side.

In another pan heat the vegetable oil until simmering and add a little at a time some of the remaining onions, the goal is to crisp. I will be honest here I have only been successful in crisping the onions to my liking once or twice but they always are a good topper for the steak. If anyone can share how to do it let me know. Thanks


This is always a 2 head bobbing up and down from Lyn and Steve.


Some other recipes from Stevesacooking.com

Flank Steak Stir-Fry with Asparagus, Red Bell Peppers and Caramelized Onions

Herb Rubbed Flank Steak


Grind It Baby Grind It – Fresh home ground beef

Grind It Baby Grind It – Fresh home ground beef

I’ve been busy lately hence the slew of postings but I just have to tell you about my Father’s day present.  I know, I know a little early but we used it on Mother’s day. I am used to all the packages come to our house Lyn’s brother works for the post office and I suppose she is doing her part to support him. So I usually put them on the counter and forget them. Anyway it was one of those rare weekdays that Lyn was home when the mail came and she looked at me with this odd smile, then she blurted out that it was my Father’s day present.  I was happy with that but she was not, she opened the box and pulled it out a meat grinder attachment for our mixer. You see for two years now, maybe longer, we had been toying with the idea of one of these, read all the articles but really could not justify it. Anyway it was just in time for mother’s day so she decided that fresh grilled burgers were called for.

Now what cut of meat….Sirloin Roast too pricy, Chuck roast too fatty for us, the butcher suggested the eye of the round Ok will give it a try.

Ingredients

  • 4 lbs Eye of the Round roast, trim some of the fat off
  • Salt and pepper or rub

How

This is the fun part

Attached the grinder to the mixer

Cut the roast into chucks that will fit into the grinder tube

Place of baking sheet and into the freezer for about 20 minutes – do not freeze

Turn the mixer on and feed the meat into the tube until all meat has been ground, a second grinding really makes it tender.

Form patties, indent the center slightly, sprinkle and rub with favorite rub let sit for a few minutes

Grill about 4 minutes per side depending on size.

The meat had very little shrinkage and cooked faster than I thought, it was tender, very tender, I thought too dry but no one else found it that way.

Best early present I ever got.

Side note: Lyn found sirloin steaks on sale and we ground up for lunch today very tasty and tender especially after double grinding. I cooked about 4 minutes per side and they came out very tender, juicy and medium. Like grass feed beef it looked more well down than it was.


My Favorite Brisket recipe

My Favorite Brisket recipe

Funny story we originally had planned on a candied brisket and went shopping on Friday night instead of our usual Saturday morning. Wholefoods was very crowed at the meat counter and I forgot to get the brisket so we looped back to the crowed counter and without thinking purely out of habit asked for a single cut brisket instead of a corned beef. To top it off it was kids night and I had to fight for the samples.

So what does one do when they get home, adapt. When it was all said and done we voted that my original Jewish style recipe was better it created thicker richer tasting gravy the meat absorbed more of this flavor. This had a soupier more wine tasting gravy which flavored the meat as such. Don’t get me wrong it was very good but could have used a little kick. Maybe more garlic and onions or some sweetness.

Ingredients

  • 2 teaspoons salt
  • Freshly ground pepper to taste
  • 1 5-pound brisket of beef, shoulder roast of beef, chuck roast, or end of steak
  • 1 garlic clove, peeled
  • 2 tablespoons vegetable oil
  • 3 onions, peeled and diced
  • 1 10-ounce can tomatoes
  • 2 cups red wine
  • 2 stalks celery with the leaves, chopped
  • 1 bay leaf
  • 1 sprig fresh thyme
  • 1 sprig fresh rosemary
  • 1/4 cup chopped parsley
  • 6 to 8 carrots, peeled and sliced on the diagonal
  • I added about of whole berry cranberry sauce.

How

  • Sprinkle the salt and pepper over the brisket and rub with the garlic. Sear the brisket in the oil and then place, fat side up, on top of the onions in a large casserole. Cover with the tomatoes, red wine, celery, bay leaf, thyme, and rosemary.
  • Cover and bake in a preheated 325-degree oven for about 3 hours, basting often with pan juices.
  • Add the parsley and carrots and bake, uncovered, for 30 minutes more or until the carrots are cooked. To test for doneness, stick a fork in the flat (thinner or leaner end of the brisket). When there is a light pull on the fork as it is removed from the meat, it is “fork tender.”
  • This dish is best prepared in advance and refrigerated so that the fat can be easily skimmed from the surface of the gravy. Trim off all the visible fat from the cold brisket. Then place the brisket, on what was the fat side down, on a cutting board. Look for the grain – that is, the muscle lines of the brisket – and with a sharp knife, cut across the grain.
  • When ready to serve, reheat the gravy.
  • Put the sliced brisket in a roasting pan. Pour the hot gravy on the meat, cover, and reheat in a preheated 350-degree oven for 45 minutes. Some people like to strain the gravy, but I prefer to keep the onions because they are so delicious.

From JEWISH COOKING IN AMERICA by Joan Nathan (Alfred A. Knopf, 2001)