Instant Pot MAPLE SMOKED BRISKET

Instant Pot MAPLE SMOKED BRISKET

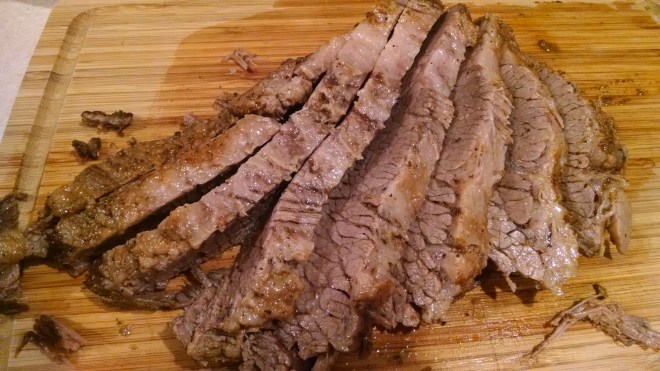
I’m such a brisket nut that the first thing I made in our new Instant Pot was a BBQ flat cut brisket. When you cook brisket one of the best things is after a few hours coming back into the house and being taken over by the aroma. Well with the Instant pot you start to get that aroma in maybe 5-10 minutes and it is torture, your stomach starts to tell you Hey! I’m Hungry already FEED ME! I like the fact that with this new toy it does not take long before it is done and ready to eat. The only thing with this recipe was the liquid smoke, although adding that BBQ flavor and smell it was the smell that linger for almost a week. A good and bad thing. I felt like I was walking into a BBQ restaurant which in my mind is pretty much heaven. Anyway……


IMG_20160227_173714161

From BARE Root Girl

Directions:

Remove the brisket from the refrigerator about 30 minutes before cooking.   Pat it dry with paper towels and set it aside.

Mix the spice blend by combining the maple sugar, smoked sea salt, pepper, mustard powder, onion powder, and smoked paprika.   Coat the meat generously on all sides.  The rub will get a bit sticky due to the sugar.

Set your Instant Pot to “Sauté” and allow it to heat up for 2-3 minutes.  Grease the bottom with a bit of high heat cooking oil and add the brisket.  Brown on all sides until deeply golden but not burnt.  Turn the brisket to fatty side up and add the broth, liquid smoke, and thyme to the Instant Pot.  Scrape the browned bits off the bottom and cover with the lid.

Switch the setting to “Manual” and increase the cook time to 50 minutes.  Once finished, allow the Instant Pot to release steam on it’s own (EDIT: I’ve found that using the quick release valve can leave large, leaner cuts of meat tasting a little dry).  Remove the brisket from the pot and cover it with foil to rest.  Switch the Instant Pot to “Saute” again to reduce & thicken the sauce (optional) with the lid off for about 10 minutes.

Slice the brisket on a bias and serve it with your favorite whipped veg (this recipe for Creamy Whipped Parsnips shown here) and drizzle with the reduced sauce.

IMG_20160227_174001077


*Notes:

-Make sure you find a liquid smoke that has no additives or MSG.  You can skip the liquid smoke but you’ll get a more subtle smoke flavor.

-With a bit of experimentation, I’ve found that increasing or decreasing your meat size by ½ lb. (when the meat is kept whole and not chopped up) requires about a 10 minute change in cooking time.  For example, 1 lb. needs about 40 minutes, where 2 lb. needs about 60 minutes.  The nice thing about the Instant Pot is that it’s quick and easy to throw the lid back on and add another 10 minutes, as needed.

-If using a slow cooker, brown the brisket in a saute pan before adding it to your slow cooker.  Add the broth to the saute pan to deglaze and grab all the flavor from the browned bits.  Then pour the broth straight into the slow cooker, along with the liquid smoke and thyme.  Cook on “Low” for 6-8 hours or until the meat is tender and slices easily.
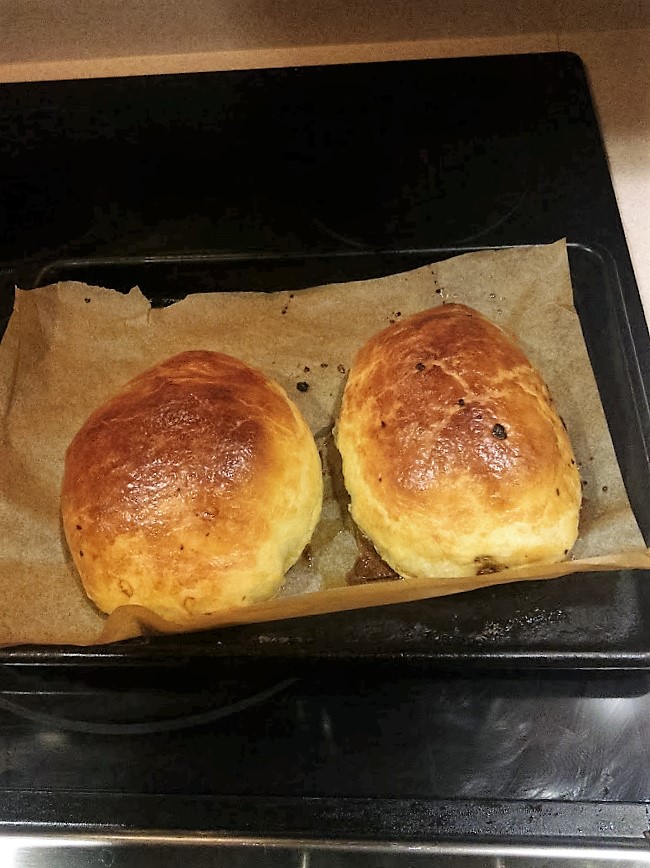
 

Instant Pot Meatballs and Sauce

IMG_20160306_100236499

I adapted my Rose’s Meatballs to this and Dukan.

I made some in the Instant Pot and also the oven and compared.

Everyone has their own sauce recipe so I loosely used Lyn’s

First with Lyn’s guidance I season some heated oil with some onion and garlic powder

To the heated pressure cooker add the olive oil and onion.

Add the tomato puree, salt and water basil, parsley and mix well (leave the heat/sauté’ mode on).

Move the bowl with the meat mixture next to the pressure cooker and start making meatballs

If you’re not handy at making them the same size you can use a tablespoon to measure the quantity of meat for each meatball. I like to use a medium size ice cream scoop rounded.

I used my regular meatball recipe Rose’s Meatballs but instead of Italian bread crumbs I used season oak bran. I also have cut that recipe down to 1 eggs per pound so this was 3 pounds and I had larger eggs so I used 2 eggs.

As you make each meatball, drop them into the sauce. To get them in an even layer drop them in clockwise, then fill the center and start again with the second layer until you run out of meatball mixture – there is no need for precision here.

Close and lock the lid of the pressure cooker

Cook for 5 minutes at high pressure. When the cooker indicates it has reached high pressure it begins counting 5 minutes pressure cooking time. When time is up it will go to keep warm, you can hit cancel and let it naturally release the pressure about 10 minutes., Then, release the rest of the pressure slowly using the valve.


When we tested and compared the oven method was slightly drier but then I usually finish in the sauce so I think it was about the same after I let them sit in sauce. What do you think Lyn.


INSTANT POT LEMON GARLIC CHICKEN THIGHS

INSTANT POT LEMON GARLIC CHICKEN THIGHS

INSTANT POT LEMON GARLIC CHICKEN THIGHS

MARCH 17, 2015 BY PREDOMINANTLYPALEO


Ok I did not cook this melt in your mouth delicious entre, Lyn did and for the, as she put it, and it only took 15 minutes to cook. Man this was good especially where I am the thigh lover not as crazy about the breast meat, too dry for me although we do eat a fair amount. Also none of my pictures I borrowed Jennifer Robins.


Ingredients:

  • 1-2 pounds chicken breasts or thighs
  • 1 teaspoon sea salt
  • 1 onion, diced
  • 1 tablespoon avocado oil, lard, or ghee
  • 5 garlic cloves, minced
  • 1/2 cup organic chicken broth or homemade
  • 1 teaspoon dried parsley
  • 1/4 teaspoon paprika (omit for AIP)
  • 1/4 cup white cooking wine (omit for AIP)
  • 1 large lemon juiced (or more to taste)
  • 3-4 teaspoons (or more) arrowroot flour
  1. Turn your Instant Pot onto the saute feature and place in the diced onion and cooking fat
  2. Cook the onions for 5-10 minutes or until softened. You can also choose to cook until they start to brown
  3. Add in the remaining ingredients except for the arrowroot flour and secure the lid on your Instant Pot
  4. Select the “Poultry” setting and make sure your steam valve is closed
  5. Allow cook time to complete, release steam valve to vent and then carefully remove lid
  6. At this point you may thicken your sauce by making a slurry. To do this remove about 1/4 cup sauce from the pot, add in the arrowroot flour, and then reintroduce the slurry into the remaining liquid
  7. Stir and serve right away. This also reheats well as leftovers

garlic lemon chicken

Instant Pot – Apple Cider Pork Center Cut Roast or Pork Loin

Center cut Pork roast

Center cut Pork roast

Lyn got a new toy and I have to say at first I figured it was going to be one on those use a couple of times and put on the top shelf. Well I kind of like it and have cooked a few things here is the 3rd thing we tried in our new Instant Pot.

Oh, I found a great cooking time chart: http://instantpot.com/cooking-time/ of course depending on the weight the times might be slightly different. Below called for 20 minutes but I had ½ pound more so I added a couple of minutes.(just a guess)

Anyway this was great as was pretty much everything else I made will post later.


Ingredients

  • 2.5  pound  Center Cut Pork Loin – more of a center cut pork loin raost
  • 2  tablespoon  olive oil
  • 2  cup  Hard Cider (can use regualr cider if you want)
  • 1  Medium onion, sliced
  • 2  Apples, cored and sliced
  • 1  tablespoon  Sea Salt
  • 1  tablespoon  Freshly ground black pepper
  • 1  tablespoon  Minced dry onion

IMG_20160313_153552713

Directions

  1. Season the pork loin with salt, pepper and minced dry onions.
  2. Place the inner pot in the cooker. Place the olive oil in the inner pot. Press Sautee button sear the pork loin on all sides. Remove and set aside.
  3. Sauté the onions.
  4. Add the remaining ingredients and the pork loin.
  5. Place the lid on the Instant Pot, lock the lid and switch the pressure release valve to closed.
  6. Press the CANCEL button.
  7. Press the meat button and then TIME ADJUSTMENT to 22 minutes.
  8. Once the timer reaches 0, the cooker will automatically switch to KEEP WARM. Press the CANCEL Button. Switch the pressure release valve to open. When the steam is completely released, remove the lid.
  9. I placed the fat side up under broiler to crisp the fat a little, ended up cutting the fat off it was a big chunk.
  10. Let’s Eat!

IMG_20160313_171420658

Instant Pot

instantpot

Instant Pot is the latest 3rd Generation Programmable Pressure Cooker designed by Canadians with the objectives of being Safe, Convenient and Dependable. It speeds up cooking by 2~6 times using up to 70% less energy, and, above all, produces nutritious healthy food in a convenient and consistent fashion.

If you live a fast-paced, health-oriented and green-conscious life style, Instant Pot is designed specifically for you.

With multiple sensors and a micro-processor,  Instant Pot is an intelligent multi-cooker, capable of completely replacing pressure cooker, slow cooker, rice cooker/porridge maker, sauté/browning pan, steamer, yogurt maker and stockpot warmer. Most importantly, Instant Pot cooks meals faster with less energy while preserving more nutrients.


Instant Pot is manufactured by the No.1 electric pressure cooker factory which has produced over 50 million units already in household use worldwide. The benefits of Instant Pot can be summarized in five aspects.

  1. Convenient:  12 turn-key function keys for the most common cooking tasks. Planning the meal with delayed cooking up to 24 hours,  reducing cooking time by up to 70%. Read about the convenience of electric pressure cooker …
  2. Cooking healthy, nutritious and tasty meals: smart programming for delicious healthy food, consistent every time.Read more on making healthy meals with electric pressure cooker …
  3. Clean & Pleasant: absolutely quiet, no steam, no smell, no spills, no excessive heat in the kitchen. 6-in-1 capability reduces clutter in the kitchen. Read more about why electric pressure cooker keeps your kitchen clean and pleasant …
  4. Energy efficient: saves up to 70% of energy. Find out how electric pressure cooker does it …
  5. Absolutely safe and dependable: Instant Pot is UL/ULC certified and has 10 fool-proof safety protections. Read more about electric pressure safety protections …

Molasses-Peanut Slaw and Masa Biscuits

Lyn asked me what I thought, I liked so posted here, showed her that I saved. Good she replied, now go make it!

Molasses-Peanut Slaw
‘The Boston Globe’ – 2016-02-21
MAKES ABOUT 9 CUPS
The recipes for this slaw and the biscuits are inspired by Texas Home
Cooking by Cheryl Alters Jamison and Bill Jamison.
1½ pounds green cabbage (about half a medium head), finely shredded (about 12 cups) Salt and pepper
½ small red onion, quartered lengthwise and very thinly sliced (about 2/3 cup)
3 large carrots, scraped and coarsely grated
1/3 cup chopped fresh cilantro
3 tablespoons juice plus
1 teaspoon zest from
1 lime
2 tablespoons molasses
1 teaspoon minced garlic (about 2 small cloves)
¼ cup olive or neutral oil
½ cup roasted, lightly salted peanuts,roughly chopped

In a colander over a medium bowl, toss the cabbage with 1 tablespoon salt.
Allow cabbage to stand until it wilts slightly, at least 1 and up to 4 hours.
Rinse the cabbage well under very cold running water; drain well and dry with paper towels, transfer it to a large bowl and fluff it up with your fingers (you will have about 8 cups; can be covered and refrigerated for up to 3 days).

In a small bowl, cover the onion with cold water and set aside to soak for at least 15 minutes. Drain the onion and dry it with paper towels.

Add the onion, carrots, and cilantro to the cabbage and toss to combine.

In a medium nonreactive bowl, whisk the lime juice and zest, molasses, garlic, ¼ teaspoon salt, and pepper to taste. Vigorously whisk in the oil. Taste and adjust the seasoning with salt and pepper if necessary.

Add the dressing and most of the peanuts to the cabbage mixture and toss to combine. Taste and adjust the seasoning with salt and pepper if necessary, sprinkle with the remaining peanuts, and serve.

© 2016 The New York Times Company

Masa Biscuits
‘The Boston Globe’ – 2016-02-21
MAKES 10 TO 12 BISCUITS
Adam Ried appears regularly on America’s Test Kitchen. Send comments to cooking @globe.com.
Take care not to overprocess or over-knead the dough.
1 cup all-purpose flour,
plus extra for patting out dough and cutting biscuits
1 cup masa harina
1 tablespoon baking powder
½ teaspoon baking soda
2 teaspoons light brown sugar
Pinch cayenne pepper and Salt
8 tablespoons (1 stick) cold, unsalted butter, cut into roughly ½-inch cubes
¾ cup cold buttermilk

With the rack in the middle position, heat the oven to 450 degrees.
Line a large baking sheet (roughly 18 by 13 inches) with parchment paper or silicone liner and set aside.
In a food processor, combine the all-purpose flour, masa harina, baking powder, baking soda, brown sugar, cayenne, and 1¼ teaspoons salt until well blended. Scatter the butter pieces evenly over the flour mixture in the food processor and pulse until mixture resembles coarse cornmeal, about 6 2-second pulses. Add the buttermilk and pulse until dough is just beginning to come together into a single, scrappy-looking mass, about 10 2-second pulses.
Generously flour work surface, turn out the dough, and sprinkle with a little more flour. Knead the dough gently, folding it in half and rotating it 3 or 4 times, just until it is uniform and cohesive. Sprinkle a little bit more flour on the work surface and dough to prevent sticking, if necessary, and gently roll the dough into a circle that is roughly 1 inch high.
With a 2½-inch biscuit cutter, punch biscuits out of dough. Transfer the rounds to the baking sheet, positioning them about 1 inch apart. Push the leftover dough scraps together, knead them gently once or twice until cohesive, and repeat.
Bake for 5 minutes. Adjust the oven heat to 400 degrees and continue baking until the biscuits are puffed, light golden on top, and deep brown on the bottom, about 10 minutes longer, rotating the sheet halfway through baking time. Transfer the biscuits to a wire rack, cool briefly, and serve warm.

© 2016 The New York Times Company

INDIVIDUAL MINI BEEF WELLINGTONS

Someone posted this to Facebook and I shared on my FB page cause it look good and easy. Lyn batted her eyes and asked what about Valentines Day …I said once again our minds were in meld. So off to Wholefoods we went bracing the subzero temps. this came out pretty good, melted in your mouth but could have been cook just a little more maybe 5  minutes or so. the meat thermometer said it was done but then one never knows. The video – link below- does not mention putting the beef in freezer after searing and letting the mushroom mixture cool but over all it is not that long. I put meat in freezer while I was doing the mushroom. I also think I over cooked the mushrooms but still tasted pretty damn good.

Anyway her was my first attempt

IMG_20160214_161533434

IMG_20160214_174852

IMG_20160214_175103

IMG_20160214_175212

INDIVIDUAL BEEF WELLINGTONS <<<here is the video link

Serves 2 generously

You’ll Need
– Two 2 ½-to-3-inch-tall pieces beef tenderloin (filet mignon), about ¾ pound
– 1 tablespoon vegetable oil
– 3 tablespoons unsalted butter
– 6 ounces finely-chopped baby bella mushrooms
– 1/3 cup finely-chopped sweet onion
– 1 large clove garlic, minced
– ½ teaspoon kosher salt, or more to taste
– Freshly-ground pepper, to taste
– ¼ cup dry sherry
– 1 large sprig fresh thyme
– 1 tablespoon chopped fresh parsley
– 1 sheet (1/2 box) puff pastry
– 1 tablespoon Dijon mustard
– Egg wash (1 beaten egg + 1 tablespoon milk)

How To

  1. Heat a stainless steel pan or cast iron skillet over medium-high heat. Add the vegetable oil and heat until just starting to smoke.
  2. Rub the meat generously with salt and pepper.
  3. Once the pan is very hot, sear the two filets very briefly on each side. You don’t want to cook the interior of the meat at this point, so it shouldn’t be more than a minute or two per side. Remove the filets from the pan and place on a plate in the freezer while you make the filling.
  4. Let the pan cool slightly and turn the heat down to medium. Add the mushrooms, onion and garlic to the pan, and sprinkle on salt and pepper. Cook until the mushrooms release all their water and the onion is translucent.
  5. Add the sherry and thyme. Cook until the sherry evaporates. Taste for salt and pepper, and season as necessary.
  6. Remove from the heat and refrigerate until cold, then stir in the chopped parsley.
  7. Roll out one puff pastry piece and cut in half, so you have two rectangular strips of dough.
  8. Remove the steaks from the freezer and brush with the Dijon mustard on both sides.
  9. Put a quarter of the mushroom mixture in the middle of one piece of the puff pastry. Top with one steak, then add a quarter more of the mushrooms. Repeat with the other steak, puff pastry piece and mushrooms.
  10. Fold the long sides of the pastry over the steak, tucking in and tightly sealing all the edges so the juice doesn’t escape. Wrapping it all in plastic wrap can help!
  11. Preheat the oven to 425 degrees Fahrenheit and line a sheet pan. While the oven preheats, put the wrapped beef in the freezer.
  12. Once the oven is hot, remove the beef from the freezer and put on the lined sheet pan. Coat with the egg wash.
  13. Bake for 25 minutes, until a thermometer inserted into the middle of the steak reads 135 to 140 degrees Fahrenheit (medium-rare) and the pastry is a deep golden brown.
  14. Cut in half so you can see the intersection of steak, pastry and mushrooms, and serve.

Expert Tips

  • Make the puff pastry easier to work with by keeping it cold. That’s why this recipe calls for chilling the meat and filling in between steps!
  • The pan needs to be very hot in step 3 because it’s the key to searing the meat and subsequently adding flavor. If the pan isn’t hot, the meat either won’t brown, or it will take too long to brown and the middle will start to cook.
  • You can make this recipe ahead of time by following it up to step 9, then freezing until ready to bake. When you’re ready to cook, just put it in the oven directly from the freezer without thawing, and cook until the interior temperature of the meat is 135 to 140 degrees Fahrenheit (for medium rare), which may take longer than the 25 minutes.

Ricotta, Spinach and Sundried Tomatoes Stuff Chicken Breast

I’m not sure what it is about the cold winter but it brings out the gut cooking in me. You know opening the frig and saying what do I have and throwing something together. Lyn takes advantage of these days and throws different ideas at me. Last night I grabbed a couple of chicken breast that had been sitting in butter milk pound them flat and did a little salt and pepper. In a  bowl I took some ricotta cheese, chopped up some spinach and tomatoes mixed together until it look right to me. I spread the mixture on each of the breast and rolled like a jelly roll. A couple of toothpicks to hold them together and scrapped off the cheese that was oozing out. I browned in a little oil on all sides (start with the seam side down) then put the pan in a 350 degree oven for about 20 minutes. Yum it was good. I supposed some pasta sauce and shredded cheese on top would have been nice but did not have any at that time. There is still one left perhaps I’ll make a quick sauce and shred some cheese and have with some zucchini spaghetti and leftover meatballs.

IMG_20160127_051754759[1]

Pork loin roast with fruit stuffing

This is a combination of two recipes that I have made before, fruit stuffed pork chops and fig stuffed pork loin roast with chestnut puree gravy. I started with about a 3 lbs pork loin which I butterflied and pounded  to uniform size,  then salt and peppered (1 tsp kosher salt 1\2 tsp pepper). Made fruit stuffing 1\4 chops fresh orange, 1 cup bread crumbs, 1\2 cup raisins, sprinkle of nutmeg mix well and spread over pork leaving room on edge roll and bind with twine at 1 inch intervals. I wrapped and refrigerated about 6 hours but over night works. Melt 1 tbs butter and olive oil in pan and brown roast all sides about 5 minutes. Put in preheated oven 325 cook until about 142 degree. Remove and cover let sit for 30 minute to an hour.  Reheat pan that you used to brown pour and dripping in melt 2 tbs butter, add 1 cup of hard apple cider, 1\2 cup water, 1 tbs fresh chop thyme. Bring to boil reduce half. Whisk in 1 cup chestnut puree. There ya go slice the meat pour the gravy and eat.

IMG_20160124_100723688 IMG_20160124_100810584 IMG_20160124_100851378 IMG_20160124_101941821 IMG_20160124_102051324 IMG_20160124_150211585 IMG_20160124_150947620 IMG_20160124_160620258 IMG_20160124_165752980_HDR IMG_20160124_165830497 IMG_20160124_170103725
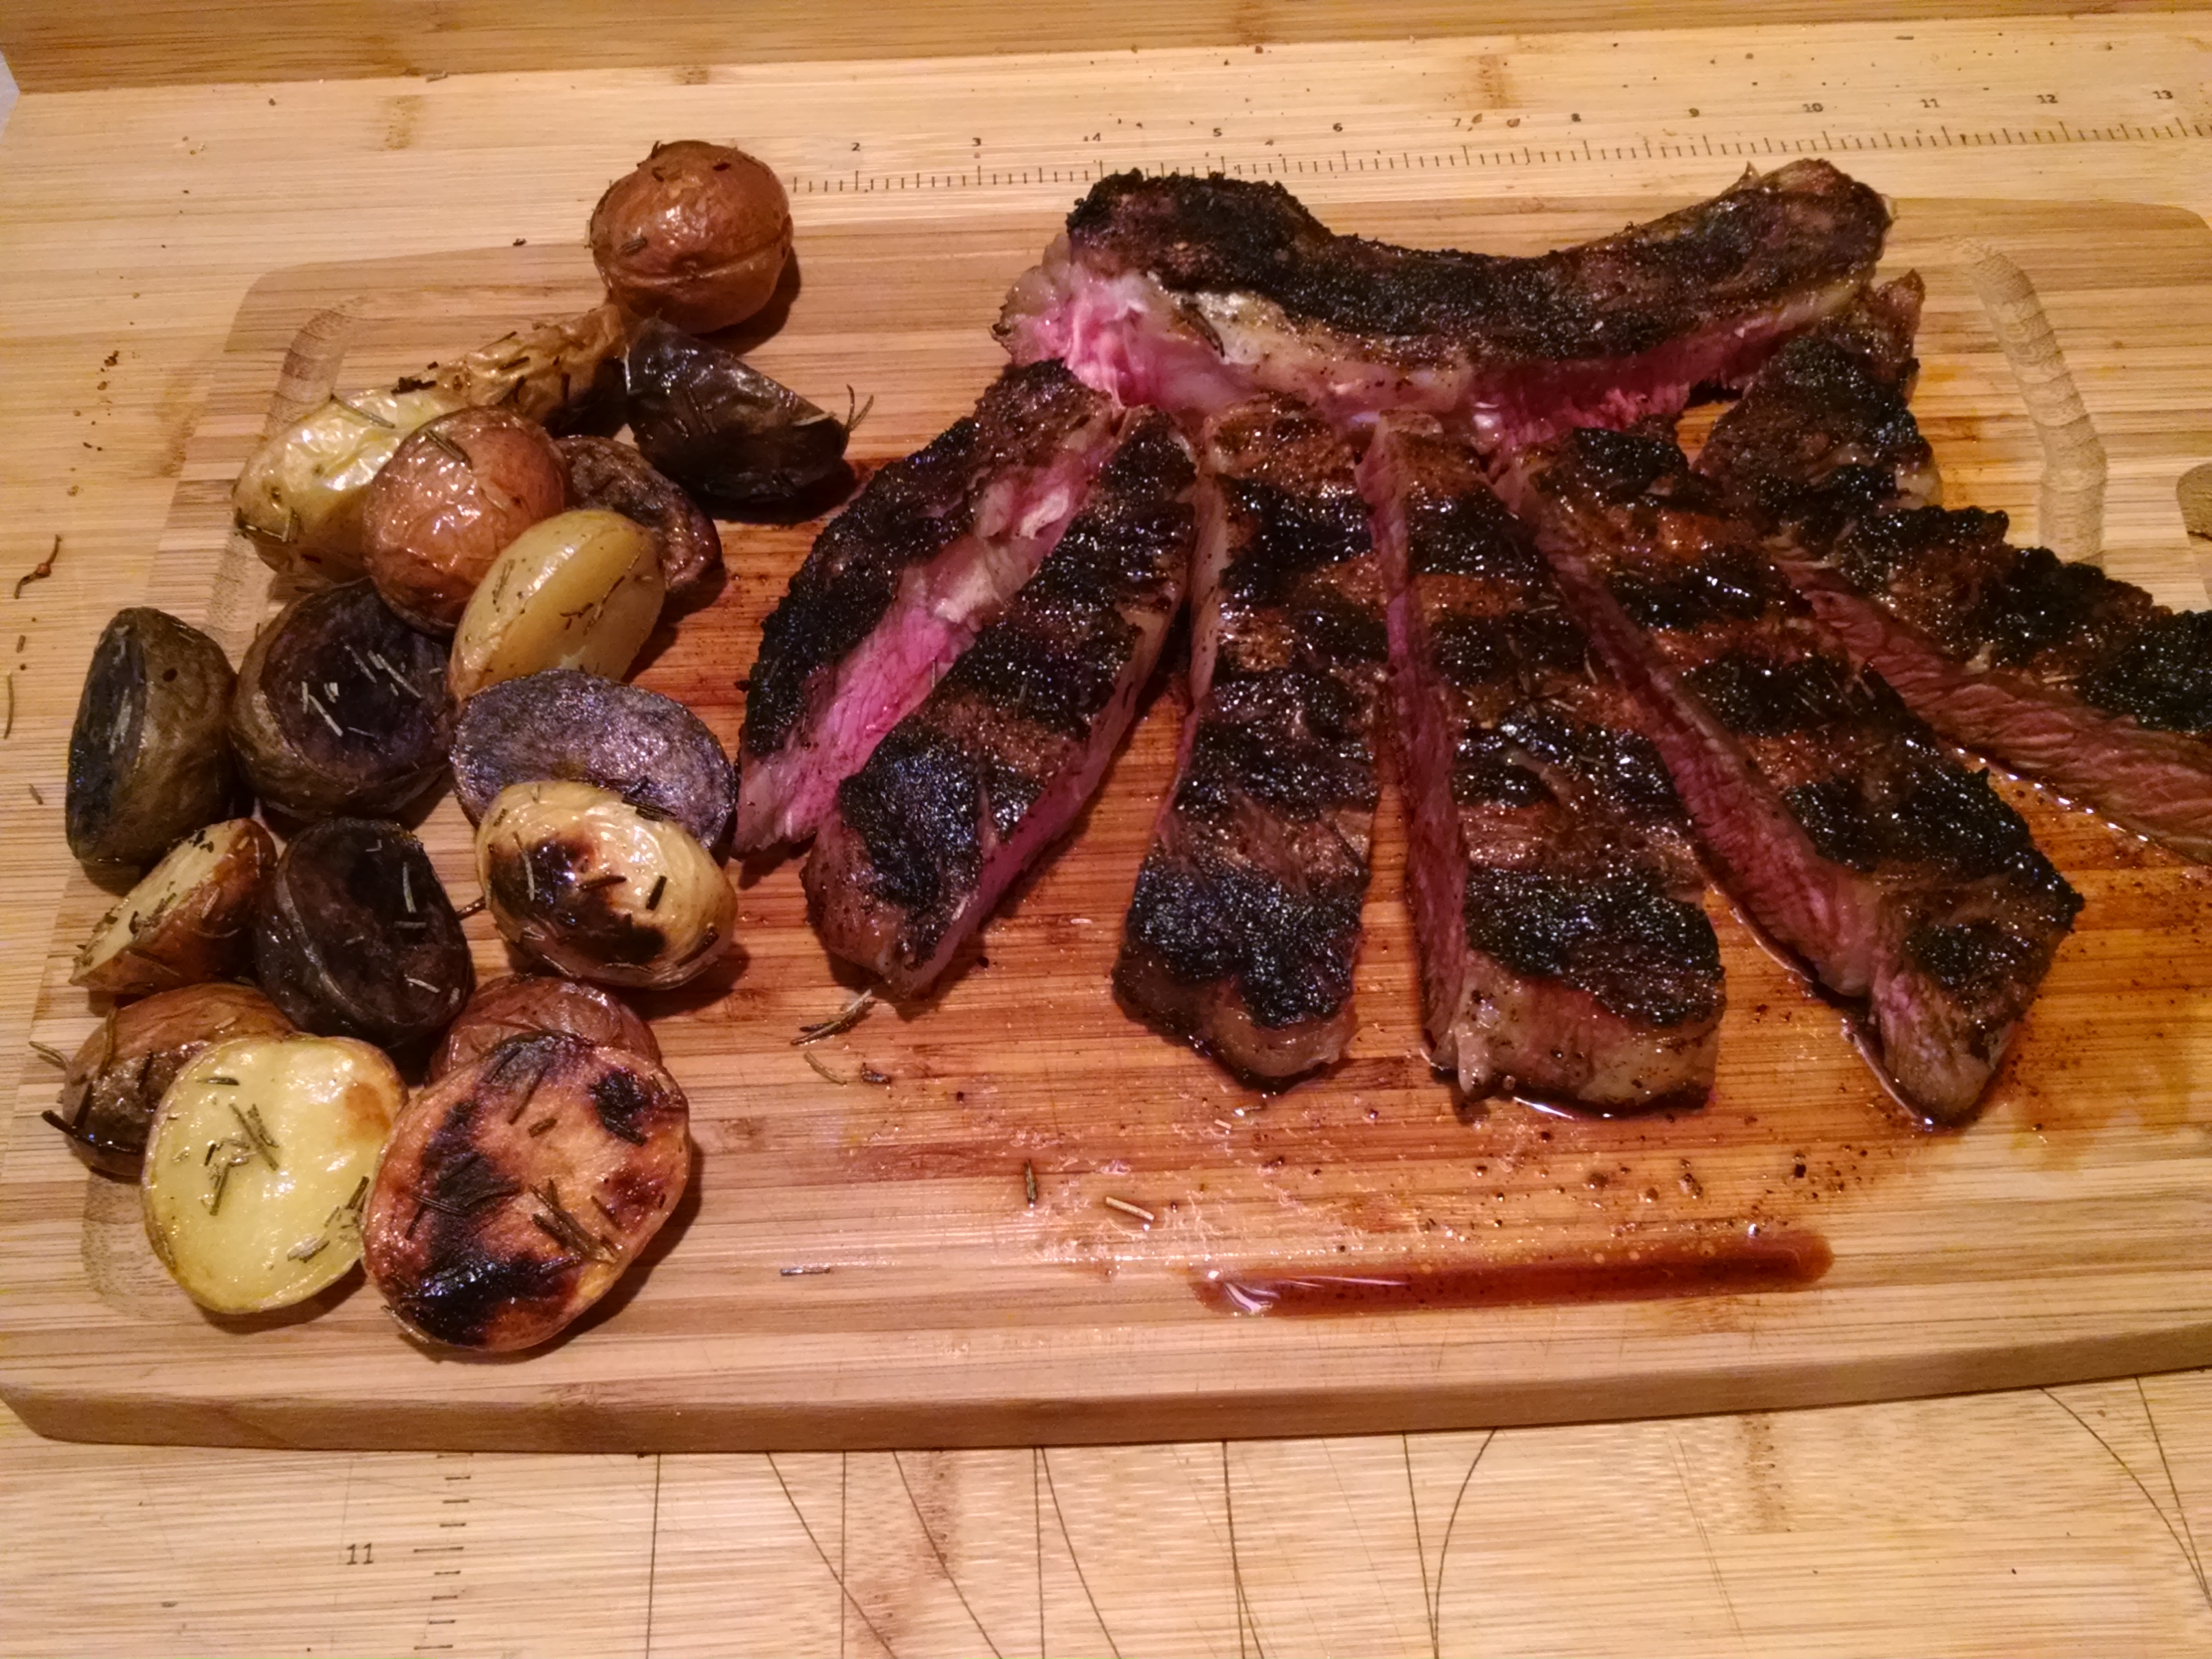
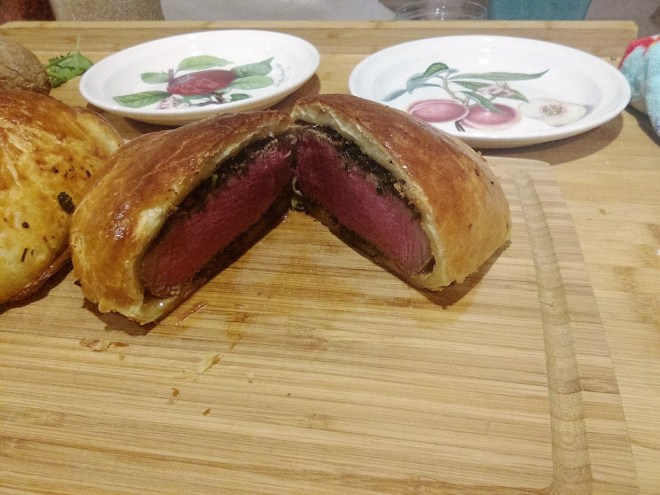
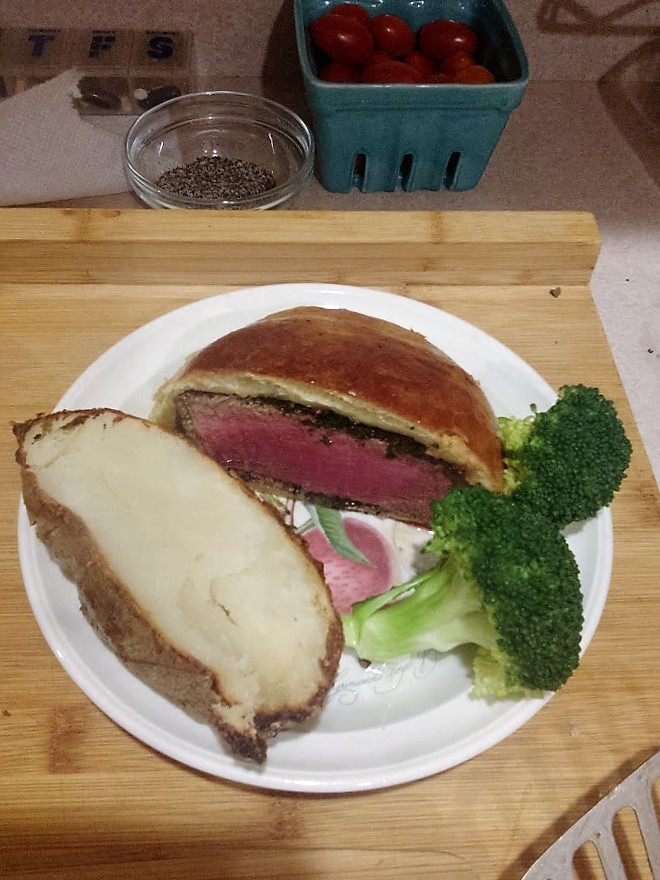
Sorry Lyn I like this better than pork tenderloin.


Thanksgiving redu

For Xmas Lyn wanted to do a Thanksgiving redo since it came out so tasty. It was a Wholefoods brined turkey that I smothered with my herb infused butter. Got to admit it did come out good. So we got a natural turkey grabbed the brine that Missy gave us way back when and brined that baby overnight. Of course this one came out better and it is one of those never to duplicate ones well at least the brining part.
image

image

Anyway the next day I made turkey soup,  canned it and today as I prepared to watch the Patriots play like shit I made my first turkey Pie. I don’t bake its to much of exact measurements for me but at least this way the inside was my cooking style. It came out pretty darn good.

image

image

Grilled Bone in Ribeye Steak with BBQ Roasted New Potatoes.

Wholefoods was having a sale and I love a good Ribeye so grilled up this baby with a little coffee rub and some BBQ roasted new potatoes.

Rub steak out of fridge with coffee rub – I made some a while back so I always have a a can at the ready. let it sit and come close to room temp. Pat dry and grill them up.

I sometimes will put steak in freezer for 10-15 minutes before grilling this gives a nice crisp out side and it does not dry out the inside during cooking, but this I like the rib eye on the rare side so was not afraid of drying it out.

IMG_20151009_173309972

Put the potatoes in a little olive oil , salt pepper and rosemary, wrapped in tin foil with a few holes in it to vent the steam

I placed on the grill while heating up

I finished off open with cut side down on the flatten tin foil.

IMG_20151009_173326258