Grilled Swordfish and Tuna Steaks

Grilled Swordfish and Tuna Steaks

It used to be a joke when I was growing up that on Lobster boil day on the cape I would be the only one at the table without the bib around the neck, without bowl of melted butter and without the nutcracker in front of me. No I would insist on a big fat juicy steak. I was not a lobster or much of a fish lover and living on the Cape that was hard to believe. I did like to suck the legs which I suppose got me trained for my days in New Orleans of pinching tail and sucking head. Then I discovered swordfish, oh yeah! I still grill swordfish the same way Mom showed me, pat it dry some salt and pepper and then give it a good rub in some mayo.

Ingredients

  • 1 swordfish and one tuna steak about 1” thick.
  • Mayo
  • Salt and pepper
  • Olive Oil
  • Fish rub

How

I like to let the fish sit in some grapefruit juice for a little especially if not using right away. Someone once told me or I read that is what Legal seafood does.

Pat dry with paper towel

Salt and pepper the swordfish then take about 1-2 Tbsp. of Mayo and rub all over, set aside

Pat and dry the tuna steak rub with fish rub and then drizzle some Olive oil and rub all over, set aside

Preheat grill until Hot about 15 minutes

Clean the grill and rub with some olive oil on paper towel. Use tongs as to not burn your fingers.

Grill fish about 4 minutes per side

Fish has always been tricky for me to grill it seems 1 second to long and it is dry, especially tuna. I am not a seared tuna lover I tend to prefer medium to medium rare. So I guess what I am saying is cooking time is in your hands.

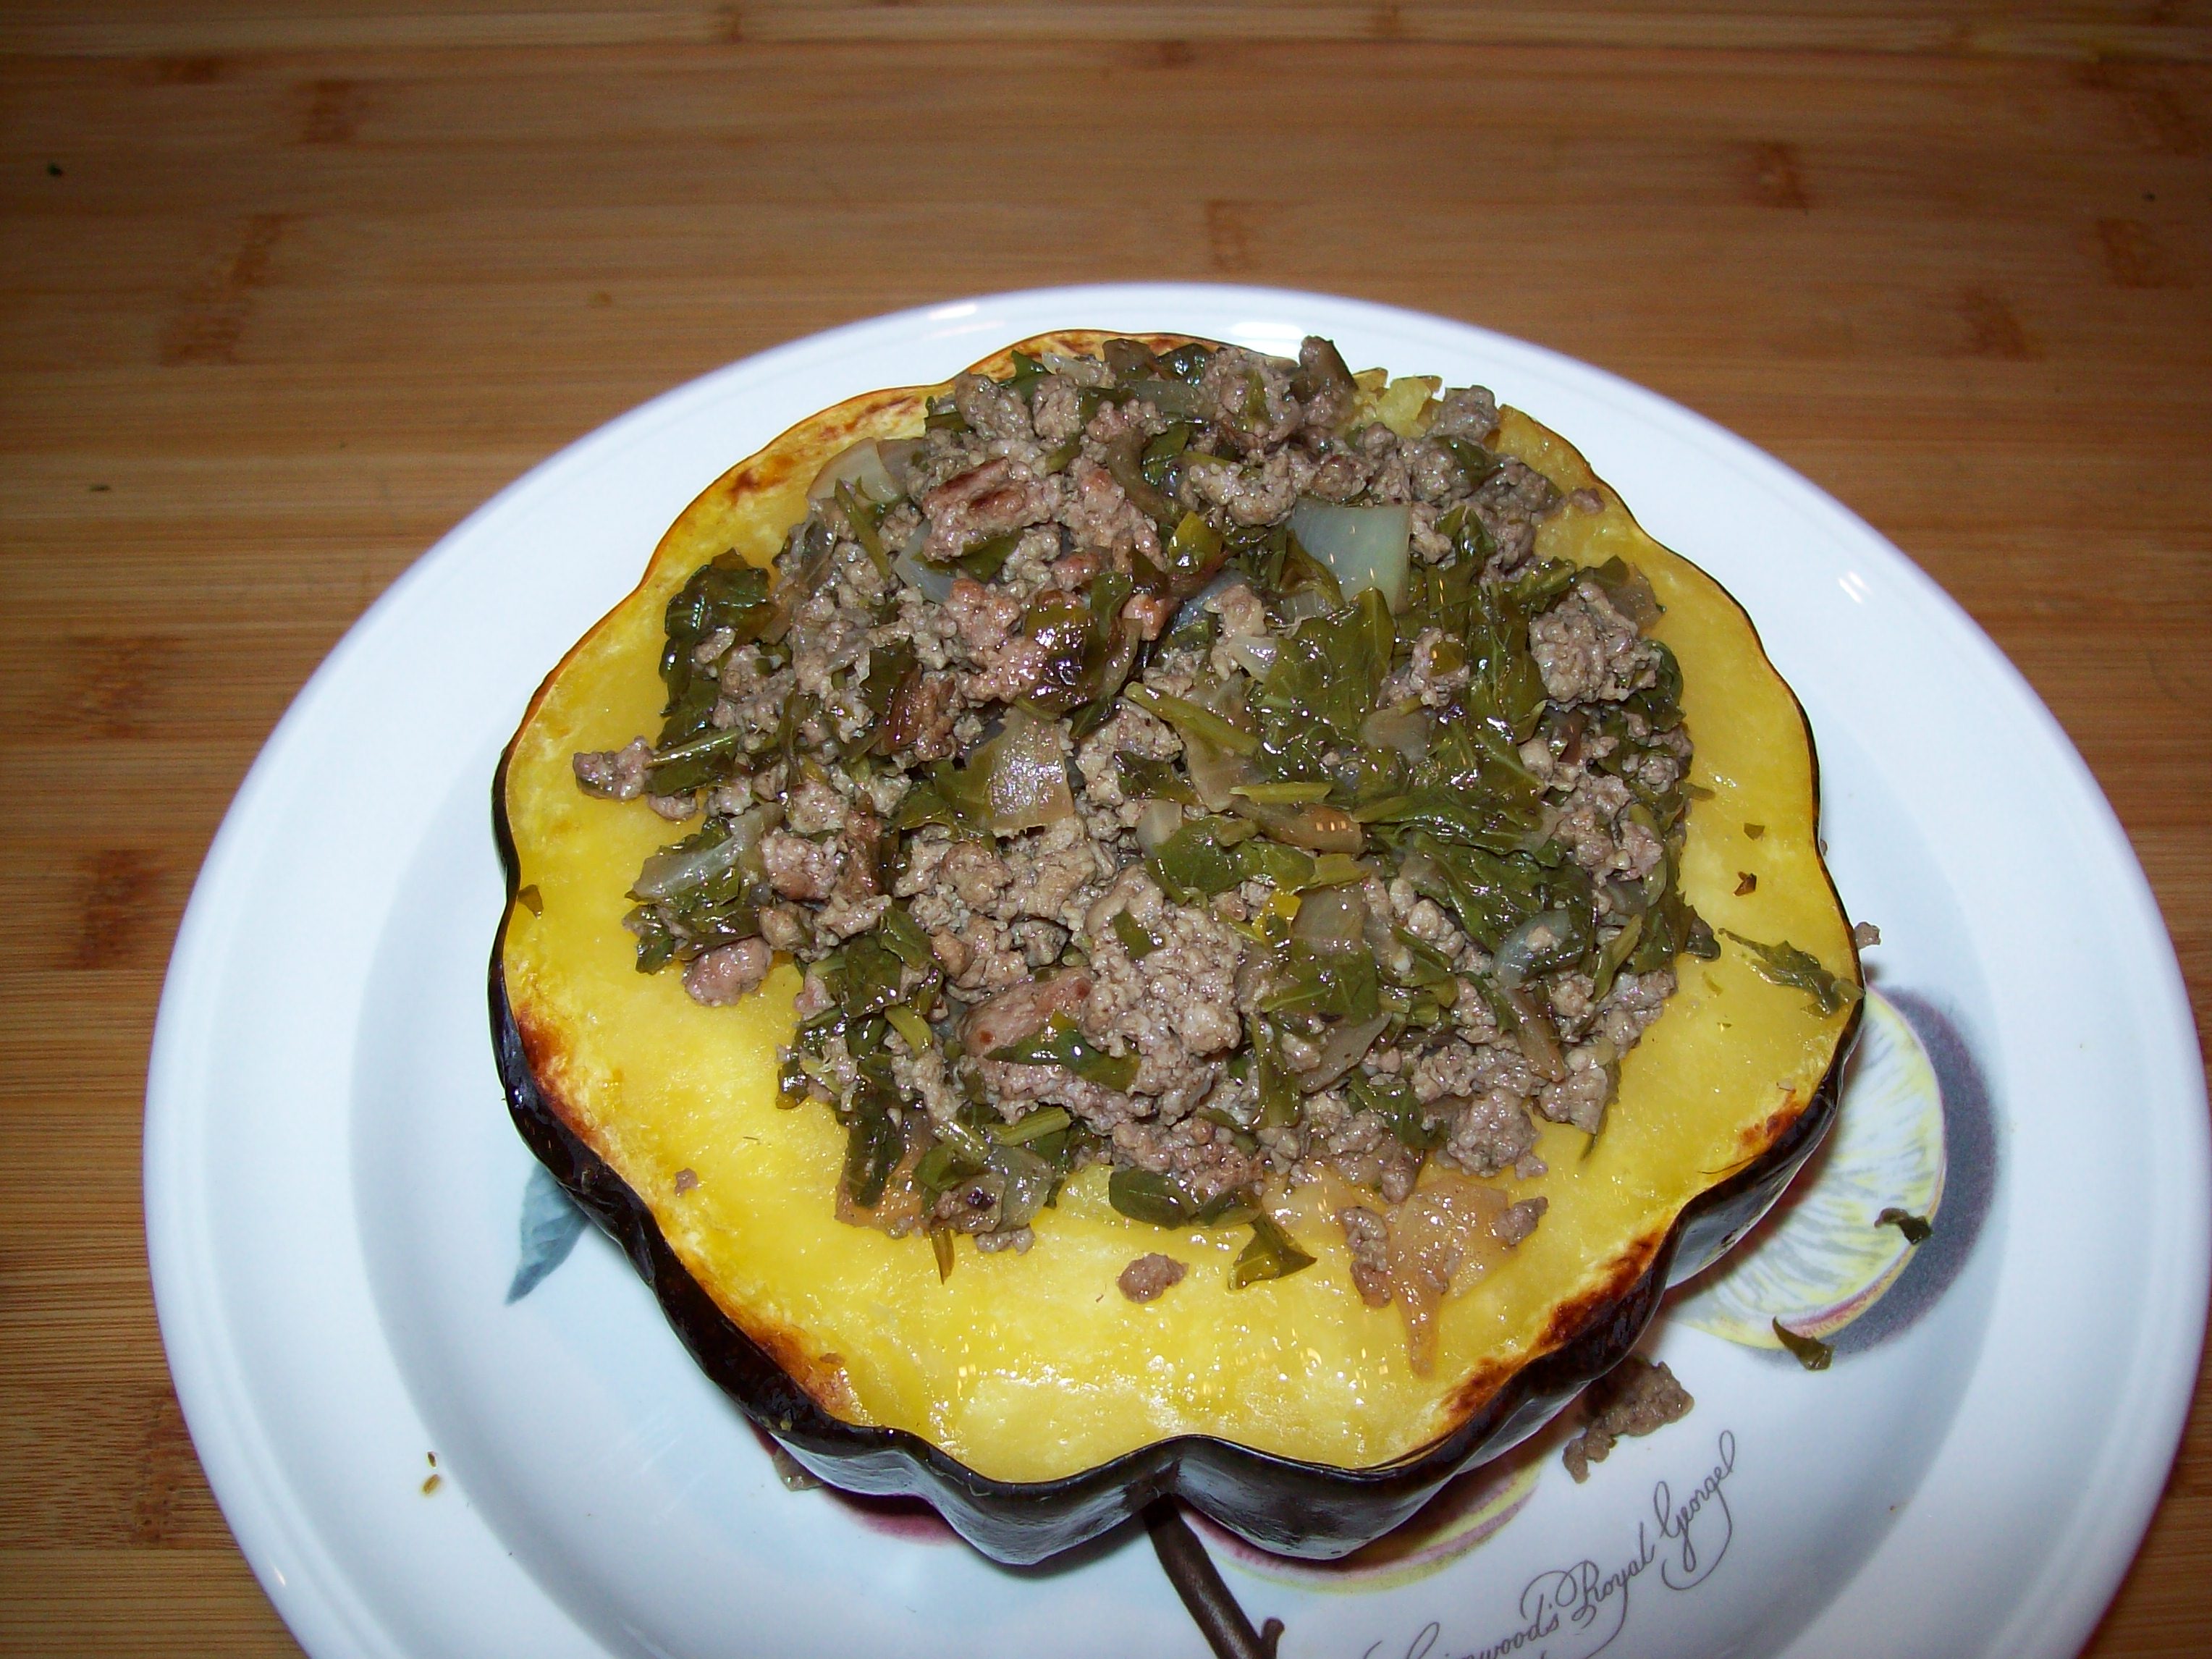
Server with whatever your heart desires I suggest whatever veggies are in season I did Corn and asparagus.

June 2013

June 2013

What are the benefits of swordfish?

Swordfish is a versatile food, and you can eat it as a main course or in salads. Although it does not cure or prevent specific diseases, a moderate amount of swordfish as part of an overall balanced diet may provide some health benefits. Pregnant women should not have swordfish because it is has higher levels of mercury, an unhealthy environmental contaminant, than other seafood.

Prevent Heart Disease

Cooked swordfish has 108 mg of eicosapentaenoic acid, or EPA, and 656 mg of docosahexaenoic acid, or DHA, in each 3-oz. serving. DHA and EPA are omega-3 fatty acids, and your risk for heart disease may decrease when you have a total of 250 mg of EPA and DHA per day, according to the 2010 Dietary Guidelines from the U.S. Department of Health and Human Services. You can get DHA and EPA from other fatty fish, such as herring, mackerel and salmon, and from shellfish, including oysters, mussels and shrimp.

Sponsored Links

Help Control Weight

Swordfish has only 146 calories in a 3-oz. serving, and it can be part of a calorie-controlled diet to prevent weight gain. Obesity increases your risk for developing chronic diseases such as heart disease and Type 2 diabetes, and you will gain weight if you eat more calories than you expend. Another benefit of swordfish for weight control is that each serving provides 20 g protein, a filling nutrient. Protein slows stomach emptying so that you feel full for longer after a meal and may eat less at the next meal, according to the Harvard School of Public Health.

Support Bone Health

Swordfish can help you build or maintain strong bones because each serving supplies 14 mcg of vitamin D, or 93 percent of the daily value. Vitamin D is necessary for your body to properly absorb calcium from food, and a deficiency can cause osteoporosis, or weak bones, and a high risk for fractures. Many Americans, including older adults and individuals who do not get much exposure to the sun, are at risk for inadequate vitamin D intake, according to the 2010 Dietary Guidelines from the U.S. Department of Health and Human Services. Fatty fish, such as swordfish, are among the few natural food sources of vitamin D.

Prevent Nutritional Deficiencies

Each 3-oz. serving of cooked swordfish provides 7.9 mg niacin, or about 40 percent of the daily value for niacin. Niacin, or vitamin B-3, is essential for metabolizing fat, carbohydrates and protein, and a deficiency can lead to dermatitis, dementia and diarrhea, according to the Linus Pauling Institute Micronutrient Information Center. Selenium is an essential mineral that supports antioxidant activity in your body, and swordfish provides 58 mcg of selenium, or 83 percent of the daily value.

Read more: http://www.livestrong.com/article/506189-what-are-the-health-benefits-of-swordfish/#ixzz2408uzf7J

Acorn Squash with Ground Lamb and Kale

Acorn Squash with Ground Lamb and Kale

My brother in-law Mike (seems to be about 12 Mike’s in our families) usually has good taste in most things including food he posted this to his Facebook, I in turn pinned as it is called to my Pinterest and Lyn in turn batted her eyes and ask “Do you think you could…” So yesterday as we were drying some more Kiwi (metzah metz attempt) we went to Wholefoods to picked up so ground lamb and kale and as Lyn put it on the way home “ I am going to go home have a glass of wine while my husband cooks me dinner” Spoiled maybe but deservedly so, beside I love her ever so much.

From The Paleo Secret

Ingredients

  • 2 acorn squash halved and seeds removed (cut ends off both sides so they sit on a flat surface)
  • 1 to 1 ½ lbs of ground lamb
  • 2 bunches of kale (washed, de-stemmed and chopped)
  • 2 large onions (chopped)
  • salt and pepper
  • cumin
  • coriander
  • 4 Tbsp coconut or palm oil for cooking

Steve note: they do not give measurements I suggest from 2 Tsp to 1 Tbsp. or cumin and coriander. Also next time I am adding some cinnamon.

How

Preheat oven to 400 deg. Place acorn squash halves upside down in a baking dish and fill dish with a little bit of filtered water. Bake for 40 minutes or until soft and fork goes through easily.

While squash is baking, heat oil in a large skillet and sauté onions. Add kale and cover until it cooks down. Stir frequently. Heat oil in a second skillet and brown the ground lamb. Add salt, pepper, cumin and coriander to lamb while cooking. When kale is cooked down, add ground lamb to mixture with a slotted spoon. Stir and spoon into acorn squash bowls (once the squash halves are cooked). Drizzle with olive oil and serve. If you want extra meat, add a helping of meat mixture to the side of the bowl. Enjoy!

Other lamb recipes from stevesacooking.com

BBQ Masala Yogurt Marinated Butterflied Leg of Lamb

Leftover Lamb Flatbread Pizza drizzled with Pomegranate Molasses

Roast Leg of Lamb with Lemon, Garlic, and Rosemary

Lamb Stew with Spring Veggies

Gyros Sandwich “Lambie Pie”


Kale

What's New and Beneficial About Kale from Wholefoods
  • Kale can provide you with some special cholesterol-lowering benefits if you will cook it by steaming. The fiber-related components in kale do a better job of binding together with bile acids in your digestive tract when they’ve been steamed. When this binding process takes place, it’s easier for bile acids to be excreted, and the result is a lowering of your cholesterol levels. Raw kale still has cholesterol-lowering ability–just not as much.
  • Kale’s risk-lowering benefits for cancer have recently been extended to at least five different types of cancer. These types include cancer of the bladder, breast, colon, ovary, and prostate. Isothiocyanates (ITCs) made from glucosinolates in kale play a primary role in achieving these risk-lowering benefits.
  • Kale is now recognized as providing comprehensive support for the body’s detoxification system. New research has shown that the ITCs made from kale’s glucosinolates can help regulate detox at a genetic level.
  • Researchers can now identify over 45 different flavonoids in kale. With kaempferol and quercetin heading the list, kale’s flavonoids combine both antioxidant and anti-inflammatory benefits in way that gives kale a leading dietary role with respect to avoidance of chronic inflammation and oxidative stress.
Local Corn

Local Corn

Ok like the saying if you don’t like the weather wait a minute applies to anywhere you live the same with the best corn is from wherever you happen to be living. Everyone brags about how great their corn is in their part of the country. The real answer is try to get corn that is grown and picked no more than a few miles from where you live and picked with in the last few hours. At least that is my general rule.

Sweet corn is a warm-season crop and one of the major vegetables grown in New England.

  • It is an extremely popular crop for roadside stand and farmers market sales.
  • The average ear of corn has 800 kernels, arranged in 16 rows.
  • There is one piece of silk for each kernel.
  • A bushel of corn contains about 27,000 kernels.
  • Each tassel on a corn plant releases as many as 5 million grains of pollen.
  • Corn is an ingredient in more than 3,000 grocery products.
  • One bushel of corn can make 33 pounds of sweetener, 32 pounds of starch, or 2 1/2 gallons of ethanol fuel.

Selecting Corn on the Cob

Fully ripe sweet corn has bright green, moist husks. The silk should be stiff, dark and moist. You should be able to feel individual kernels by pressing gently against the husk. As soon as corn is picked, its sugar begins its gradual conversion to starch, which reduces the corn’s sweetness. Corn will lose 25% or more of its sugar within 25 hours after harvesting it. Fresh corn, if possible, should be cooked and served the day it is picked or purchased.

Between the time of purchase and cooking, keep the corn moist and cool. Refreigerate it immediately to help the corn stay sweet. You can add a teaspoon of sugar for each quart of water used to cook corn that has not been used immediately. Be sure to use corn within 2-3 days.

In the Husk – Grilled or Baked:

In American regional cooking, corn is important in many recipes, such as corn chowder, creamed corn, succotash, and cornbread. But no preparation can come close to the timeless appeal of simple buttered corn on the cob. All over New England, small towns celebrate the harvest with sweet corn festivals. Settlers adapted the Indian style of roasting corn with the husks removed, and to this day, street vendors around the world sell husked corn.

To prepare, pull husk back off each ear of corn, but leave attached at base of cob. Pull off and discard silk; trim off any insect damage, and rinse ears. If you want to butter them pat ears dry and rub with soft butter. Pull husks back up around corn.

If you want the husk to stay snugly against the ear, pull off one or two of the outer husk layers, tear length wide into thin strips, and tie them around ear in several places. Just before cooking, immerse the ears in cool water (this prevents burning). Just as soon as the husk picks up the dark silhouette of the corn kernels underneath and begins to pull away at the tip of the ear, the corn is ready to remove off the grill.

To Grill: Husk corn and discard silk; wrap each ear loosely with aluminum foil. Over gas or hot coals, place corn onto a hot grill over medium heat. Cover barbecue with lid, open any vents, and cook fifteen to 20 twenty minutes; turn occasionally.

To Bake: Preheat oven to 375 degrees. Prepare corn as directed for grilling, but put ears in a single layer, separating them slightly, directly onto the oven rack or onto a baking pan. Bake twenty to twenty-five minutes or until corn is tender when pierced and very hot.

To: Steam: Husk corn and discard silk. Place some water on bottom of pan and place corn in steamer tray or in water Corn is not covered but my Mom used to. Cover pot bring water to boil and steam about 1-3 minutes turn off heat and let sit covered until ready to eat about 10-15 minutes.

To Microwave: Perfect for cooking just one ear of corn. Husk corn and discard silk. Rinse and wrap each ear loosely in a paper towel. Cook on full power one to two minutes or until ears are very hot to touch.

From my days at Paul’s Market I still prefer raw corn, which is how Paul and I would determine which row of corn we would be buying that day for the store.

Fire Roasted Smoked tomatoes – Soup, Salsa, Pizza

Fire Roasted Smoked tomatoes – Soup, Salsa, Pizza

I love the smell of smoking chips I swear I would turn on the grill and smoke some chips, sit on the deck and take it in.  When smoking I imagine the neighborhood up wind of me being instantly jealous as they exit their houses taking in the sweat smell of hickory or mesquite chips drifting past their nose. Smoking is a relaxing hobby it means that the mood has shifted to low and slow sit back enjoy a beer and good company, occasionally  getting up to adjust a vent or add more coals and chips. Hours of kicking back and waiting.

The other day we made of first trip the Kelly’s for some native corn and they had Roma tomatoes by the box.  Instantly to the tune of what do you do with a drunken sailor, my mind started singing and thinking. SO an hour later I had my first batch of roasted tomato basil soup on the stove, a batch of cucumber, tomato basil salad in the fridge and some fire roasted smoked tomatoes on the grill, which led to salsa and jar of smoke tomatoes.

Ingredients

  • 3 lbs. Roma tomatoes slice in half length wise.
  • ¼ Olive Oil
  • Finely chopped fresh rosemary, oregano and basil, salt and pepper
  • Soaked wood chips

How

Place the halved tomatoes in large bowl add the oil and herbs, salt and pepper, mix to coat. Place cut on aluminum foil covered BBQ tray

Place wood chips in smoking tray, supposable aluminum tray, or make tinfoil pouch

Put chips in BBQ and heat to high about 15 minutes the chips should be smoking

Place tray of tomatoes and grill about 35-45 minutes until you think are done.

Salsa

Combine chipped smoked tomato, 1 scullion, some chopped red bell pepper, pinch of hot red pepper flakes and some oil let flavors come together. You can add whatever you want to this basically what’s in the fridge.

Gluten free Smoked tomatoes, broccoli, spinach and goat cheese pizza.

Chop some tomatoes and spread on UDI’s gluten free pizza crust, place broccoli and spinach and top with globs of goat cheese. Heat at 350 for 8-10 minutes.

Rib eye Steaks with Rasberry Sauce

Rib eye Steaks with Rasberry Sauce

Arbie turned me on to Rib Eye steaks way back when, not sure if he even remembers. A few of us got together at the Silver Lounge

and he ordered a Rib Eye, I never had so tired I could not believe the flavor and it has been one of my “eat out” favorites for many years. A few weeks ago Whole Foods had Rib Eye on sale so we bought a bunch and froze. So we have been trying different things with them and try use things in season.

Lyn, once dub the catalog queen of Milford by the postman, found this in Country living. She now subscribes to all her catalogs and magazine online saving trees whenever she can.

Ingredients

  •  1 bottle(s) red Zinfandel
  • 2 cups raspberries
  • 1 cups ketchup
  • 3/4 cups seedless raspberry jam
  • 3 Tbs. balsamic vinegar
  • 1 tsps. sweet paprika
  • 1/2 tsps. ground cinnamon
  • Salt
  • Freshly ground pepper
  • 4 (1 pound each) bone-in rib-eye steaks

How

In a medium pot over medium-high heat, bring wine to a boil. Lower heat and simmer until reduced by half, about 25 minutes. Add raspberries, ketchup, jam, vinegar, paprika, and cinnamon; simmer, stirring, for 20 minutes. Season with salt and pepper; set aside.

Heat grill to medium-high.

Something that I read and have been doing when grilling steaks is to place the meat in freezer for about 20 minutes before grilling. This has been giving me great steaks grilled on outside yet juicy and cooked just right on the inside with really good flavor. I know I was brought up never cook meat right out of the frig let alone partially frozen but I tried and it is now my way.

Pat steaks dry, Season steaks with salt and pepper place in freezer for about 20 minutes.

Grill for medium-rare, grill for 6 minutes per side. Brush steaks with sauce, flip, and grill for 2 minutes. Repeat on other side. Serve sliced, drizzled with sauce.

Thiers had bone in I cut my grilling time to about 4 minutes instead of 6 per side since mine did not have the bone in.

You can use the ball of thumb method I posted or a meat thermometer to test for doneness.

Raspberries

What’s New and Beneficial About Raspberries

  • One of the most fascinating new areas of raspberry research involves the potential for raspberries to improve management of obesity. Although this research is in its early stages, scientists now know that metabolism in our fat cells can be increased by phytonutrients found in raspberries, especially rheosmin (also called raspberry ketone). By increasing enzyme activity, oxygen consumption, and heat production in certain types of fat cells, raspberry phytonutrients like rheosmin may be able to decrease risk of obesity as well as risk of fatty liver. In addition to these benefits, rheosmin can decrease activity of a fat-digesting enzyme released by our pancreas called pancreatic lipase. This decrease in enzyme activity may result in less digestion and absorption of fat.
The Finger Test to Check the Doneness of Meat

The Finger Test to Check the Doneness of Meat

I know there are a ton of sites out there explaining this I just happen to like this one, if you haveothers let us know.

Method

Open the palm of your hand. Relax the hand. Take the index finger of your other hand and push on the fleshy area between the thumb and the base of the palm. Make sure your hand is relaxed. This is what raw meat feels like. (Check this out the next time you have a raw steak to cook.)

Now gently press the tip of your pinky and your thumb together. Again feel the fleshy area below the thumb. It should feel quite firm. This is what well done meat feels like when you press on it. (Check this out the next time you overcook a piece of meat.)

Press the tip of your ring finger and your thumb together. The flesh beneath the thumb should give a little more. This is what meat cooked to a medium doneness feels like.

Gently press the tip of your middle finger to the tip of your thumb. This is medium rare.

Press the tip of your index finger to the tip of your thumb. The fleshy area below the thumb should give quite a bit. This is what meat cooked to rare feels like. Open up your palm again and compare raw to rare.

Simply Recipes http://www.simplyrecipes.com

Dried Kiwis like really good gummy bears

Dried Kiwis like really good gummy bears

Nicole at work pointed me to a Groupon for Water Fresh Farm in Hopkinton, MA. (BTW Hopkinton hosts the starting line for the Boston Marathon) that had fresh hydroponically grown vegetables.  Lyn and I are always looking for new shopping experience and in my younger years while living in the mud flat desert in Temecula CA. I worked on a construction site that was building hydroponic greenhouses and then moved right into the growing end after they were completed. Back then Temecula boasted 101 residents, a one salon, one gas station town.  I hear it has grown quite a bit since my days there a Willy jeep, two horses and miles and miles of open land. We were there during the big gas shortage but never realized because our gas station was only open 2 days a week. Anyway that is a story for another day, but I should tell you this one story which probably dates me but do you remember the commercials we took the Clorox away from XYZ town? Well Temecula was one of those towns and from what I understand only about 20 people used it so it was not such a hard task.

Back to Water Fresh Farms, a nice little grocery store hidden away on route 85 is actually a small group of vendors nestle together in a little cul-de-sac anything from ice cream, gift , crafts  to  gifts. One of the many items we picked up on our first visit was dried kiwi. The only way I can describe them is like a really good gummy bear. So we decided to give it a shot.

Ingredients

  • 9-10 Kiwis

How

Peel Kiwis
Slice in ¼” slices – don’t go thinner gets to dry. Lay them out on dehydrator trays. Turn on and wait. The length is tricky it depends on the dehydrator and the Kiwis but maybe around 3 hours Doneness is up to you. Let cool and store in airtight container or bag.

The picture of finished product is not ours, do not do what we did, we forgot and went to see Batman and some food shopping at Whole Food, they are very good but were dried a little too long. Next time we stay around and I will post the pictures and time.

 1/4" thick


Kiwi and its Many Health Benefits

By: Alexandria Hardy, RD

What’s in a Name?

For this fruit, quite a lot! The kiwi, originally called the Chinese gooseberry and later the “sunny peach”, was renamed the kiwi by New Zealand natives after their national bird. There are over 400 varieties of this fuzzy fruit, which grows off of vines on a trellis, much like grapes are cultivated.

Quintessential Kiwi Research

Researchers exploring the potential positive features of the kiwi fruit have conducted several studies involving children and adults. A study in Italy indicated that children had less trouble with wheezing, shortness of breath, and coughing in the night when they consumed 5-7 servings of kiwi or citrus fruit a week. Asthma sufferers were found to derive the most benefit from the kiwi, even when eaten as few as 1-2 times a week. Adults can also benefit from eating the jewel-toned fruit! Another study demonstrated that eating 2-3 kiwi fruits a day can reduce the potential for blood clots and decrease triglycerides. Yet another study cited the kiwi’s ability to protect and repair the body from DNA damage, which could protect against cancer.

Nutritional Nods

From disease prevention to an abundance of vitamins and minerals, the kiwi provides a wide array of nutrition benefits. According to a study at Rutgers University, the kiwi is the most nutrient dense fruit, ounce for ounce. Below is a list of the different ways that the naturally fat-free kiwi can help our health:

•Disease Prevention

Fiber: Kiwi provides 16% of the RDA for fiber and has a role in the prevention of constipation and some cancers.

Phytonutrients: Kiwis have phytonutrients, which repair DNA, act as the body’s protection against some cancers, and function as antioxidants. Learn more about phytonutrients plant powers.

•Vitamins

Folic Acid: Kiwi provides 10% of the RDA for folic acid, which is important for expectant mothers and works to produce red blood cells.

Vitamin C: One serving of kiwi gives the body 230% of the RDA for Vitamin C, which helps heal wounds, increase iron absorption, and boost the immune system.

Vitamin E: Kiwi provides 10% RDA for Vitamin E and decreases the risk of heart disease.

•Minerals

Calcium: Kiwi provides 5.5% of the RDA for Calcium.

Chromium: Kiwi aids in regulating heartbeats.

Copper: Kiwi provides 8% of the RDA for Copper.

Iron: Kiwi provides 4% of the RDA for Iron.

Magnesium: Kiwi provides 6% of the RDA for Magnesium, which  can enhance your energy level.

Potassium: Kiwi aids in fluid maintenance.

Zinc: Kiwi helps keep hair, skin, teeth, and nails healthy.

Selecting, Storing, and Eating a Kiwi

How do I choose a kiwi?

•Look for a fruit that is plump and fragrant with no visible bruising or wrinkles and a slightly firm feel

What if I chose a fruit that isn’t yet ripe?

•Kiwis ripen quickly when placed in either a paper or plastic bag with a banana. However, once they are ripened, store them away from other fruit or they will decompose more quickly!

How long are kiwis good for once I buy them?

•Ripe kiwi fruit can last in the refrigerator for 1-2 weeks.

Can I eat the skin?

•You can, but wash carefully to remove unwanted pesticides! Rub it a bit to minimize the fuzz. The skin actually provides more fiber to your sweet snack. If you’re not fond of the fuzzy exterior, simply “sloop” it out by slicing the kiwi in half horizontally and spooning out each end to enjoy.

What is a serving size?

•A serving of kiwi fruit is ½ cup, or 1 medium-sized kiwi.


Almond-Oat Strawberry Shortcakes

Almond-Oat Strawberry Shortcakes

I love cooking but I love it even more when Lyn and I are both cooking together doesn’t matter the same dish or different, cooking in the kitchen with my honey is one of my favorite things to do.

Lyn and I are big on good quality meats and organic fruits and vegetables, usually it pays off with taste but the other day we got some organic strawberries that just were not that sweet. Not sure if it was a bad batch or just the end of the season but there we were with a huge pile of strawberries. Normally we grab a bowl full and munch on for a satisfying desert or snack, Lyn makes smoothies too much air in that for my liking you know what air in the belly gives you. Anyway what to do?

We divided in half and I was given the task of maceration, as Lyn called it. She had bought a new fancy dancy potato masher Fancy Dancy Potato Masher(I can hear Laurel in my mind oooohhhhhh, she just loves cooking stuff) but it was not working on the strawberries. I grabbed the old faithful and squashed, as I call it, away. Meanwhile Lyn went to work on the shortcakes. Soon the smell filled the house and the tummies were grumbling.

Influenced by Bon Appétit

Ingredients

  • 1 cup all-purpose flour
    • Substitute with gluten-free flour and it’s a gluten-free desert, just a little more crumbly!
  • 1/2 cup old-fashioned oats
  • 1/3 cup slivered almonds
  • 1/3 cup plus 2 tablespoons maple sugar, divided.
  • 2 teaspoons baking powder
  • 1/2 teaspoon kosher salt
  • 6 tablespoons (3/4 stick) chilled unsalted butter, cut into 1/2″ cubes
  • 1 cup chilled butter milk, divided, plus more for brushing
  • 1 1/2 teaspoons vanilla extract, divided
  • 4 cups fresh strawberries, hulled, sliced
  • 1 tablespoon Grand Marnier or other orange liqueur (optional)

How

Shortcakes

Preheat oven to 375°F. Line a baking sheet with parchment paper. Pulse flour, oats, almonds, 1/3 cup maple sugar, baking powder, and salt in a food processor until finely ground. Add butter; pulse until only pea-size pieces remain. Add 1/2 cup butter milk and 1 teaspoon vanilla; pulse until large moist clumps form. Transfer to a work surface.

Knead until dough comes together, about 4 turns. Pat into a 4×6″ rectangle. Halve lengthwise, then crosswise into thirds. Round each biscuit if you want and arrange on prepared baking sheet. Brush with butter milk; sprinkle with 1/2 tablespoon maple sugar.

Bake, rotating sheet halfway through cooking, until golden brown around edges and a tester inserted into center comes out clean, about 20 minutes. Set biscuits on a wire rack; let cool.

Strawberries

Meanwhile, combine strawberries (my job), 1 tablespoon maple sugar, and Grand Marnier, if using, in a large bowl. Toss to coat. Let strawberries sit, tossing often, until juices release.

Whipped Cream

Whisk 1/2 cup Cool Whip or Cool Whip lite, 1/2 tablespoon maple sugar, and 1/2 teaspoon vanilla in a small bowl until peaks form.

Place shortcake on plates. Divide Cool Whip mixture and strawberries over. You could probably cut the shortcake in half, build as above and then top with top of shortcake and a dollop of strawberry and cream.

Bahn Mi-Style Turkey Burger

Bahn Mi-Style Turkey Burger

This is a two heads bobbing approval from Lyn and Steve

Lyn says it’s like a Big Mac but good for you. Now remember we have not had a Big Mac in years so can only go by what our memory says they taste like but she was very close in her description. You just have to try this even if you hate the thought of a turkey burger.

Weight Watchers Recipe

Prep time:  15 min

Cook time:  10 min

Serves: 4

A taste of Vietnam in an American favorite. Serve with grilled corn and peppers for a marvelous meal.

Ingredients

  • 2 spray(s) cooking spray

Slaw

  • 1 cup(s) packaged coleslaw mix (shredded cabbage and carrots)    I used broccoli and carrots coleslaw mix.
  • 1/4 cup(s) English cucumber(s), julienned or sliced super thin
  • 1 Tbsp. fresh lime juice, or to taste
  • Added some seasoned rice wine vinegar
  • 1/4 tsp. kosher salt

 Burger

  • 1 pound(s) uncooked 93% lean ground turkey
  • 2 Tbsp. cilantro, fresh, finely chopped
  • 1 Tbsp. low-sodium soy sauce
  • 1 Tbsp. ginger root, grated or finely chopped
  • 1-2 clove(s) (medium) garlic clove(s), finely chopped
  • 4 tsp. reduced-calorie mayonnaise
  • 1 tsp. chili sauce, sweet variety
  • 4 muffin(s) light English muffin, toasted I used a whole wheat organic hamburger bun for mine Lyn likes the English muffins.

How

Coat a large griddle, outdoor grill rack or stove top grill pan with cooking spray; preheat to medium-high.

I used a Panini grill it cut the cooking time in half

In a medium bowl, combine slaw mix, cucumber, lime juice and salt; toss to coat and set aside.

In a large bowl, combine turkey, cilantro, soy sauce, ginger and garlic; divide mixture into four balls and then gently press each one into a 4-inch patty.

In a small bowl, combine mayonnaise and chili sauce.

Grill or broil patties until internal temperature of burgers reaches 165°F, about 4 to 5 minutes per side.

Spread half of each English muffin with 1 1/4 teaspoon chili-mayonnaise; top with a burger, a scant 1/3 cup slaw mixture and a muffin top.

Yields 1 burger per serving.

Notes

The slaw that tops these burgers is quite basic. For added flavor, add some seasoned rice wine vinegar, minced cilantro, hot chili oil or hot sauce

Ingredients  Turkey Burger ready to grill  Turkey Burger slaw and sauce

Cooked Turkey Burgers  Turkey Burger on Whole Wheat bun  Turkey burger plated bun Turkey Burger on English Muffin weight watchers picture

Other recipes from stevesacooking

Turkey burger

Grilled Turkey Salisbury Steaks with Tomatoes and Cheddar Sauce

Pan Seared Oven Roasted Tenderloin

Pan Seared Oven Roasted Tenderloin

I know you have gone out to dinner and had that wonderful melt in your mouth steak Filet Mignon. Being that it is an expensive cut of meat at the restaurant it is much more economical to cook at home especially when you do not eat as much, heck Lyn and I can share one and are completely satisfied. I used to laugh to myself watching my parent split such a small piece of meat. At home some like to broil or grill but I prefer to pan sear and finish off roasting it in the oven. Do yourself a favor don’t buy grocery store cuts unless it is something that equals the quality of Wholefoods or a local butcher the $4 to $6 a pound you save is not worth it

FYI from about.com

Question: What is filet mignon?

Filet mignon is an expensive tender cut of beef

Answer: Filet mignon is considered the king of steaks because of its tender, melt in the mouth texture. A prime filet mignon can literally be cut with a fork. This beef cut can be quite expensive when dining out, but much more reasonable to make at home, especially if you purchase a whole tenderloin.

Filet mignon is French, of course, with filet meaning “thick slice” and mignon meaning “dainty.” It first appears in American print in 1899. Filet mignon comes from the small end of the tenderloin (called the short loin) which is found on the back rib cage of the animal. This area of the animal is not weight-bearing, thus the connective tissue is not toughened by exercise resulting in extremely tender meat.

The tenderloin term (also erroneously called chateaubriand) applies to the entire strip of tenderloin meat, whereas slices of the tenderloin are termed filet mignon. Filet mignon slices found in the market are generally 1 to 2 inches thick and 2 to 3 inches in diameter, but true mignons are no more than 1 inch in diameter and are taken from the tail end. Although this cut is very tender, the beef flavor is proportionately lessened. As such, it is often served with an accompanying sauce incorporating the pan juices.

Ingredients

  • 1 or 4 Filets depending on how many you are serving about 1 ½ to 2” thick
  • 1 small or medium sweet onion sliced very thin
  • Button mushrooms
  • 1 small clove garlic
  • Butter
  • Vegetable oil

How

Season the steaks with salt and pepper and bring to room temperature.

Slice the onion very thin.

Preheat oven to 4250 rack in center.

Heat the oil over medium heat in an oven proof pan.

Sear the steaks for about 5 minutes.

Turn and place the pan in oven for about 7 minutes.

Remove cover very loosely with tin foil and let set for 5 minutes before serving.

Either the mushrooms or onions are optional but we like them.

Meanwhile sauté in butter, half the onion, garlic and mushrooms to be used as side.

In another pan heat the vegetable oil until simmering and add a little at a time some of the remaining onions, the goal is to crisp. I will be honest here I have only been successful in crisping the onions to my liking once or twice but they always are a good topper for the steak. If anyone can share how to do it let me know. Thanks


This is always a 2 head bobbing up and down from Lyn and Steve.


Some other recipes from Stevesacooking.com

Flank Steak Stir-Fry with Asparagus, Red Bell Peppers and Caramelized Onions

Herb Rubbed Flank Steak